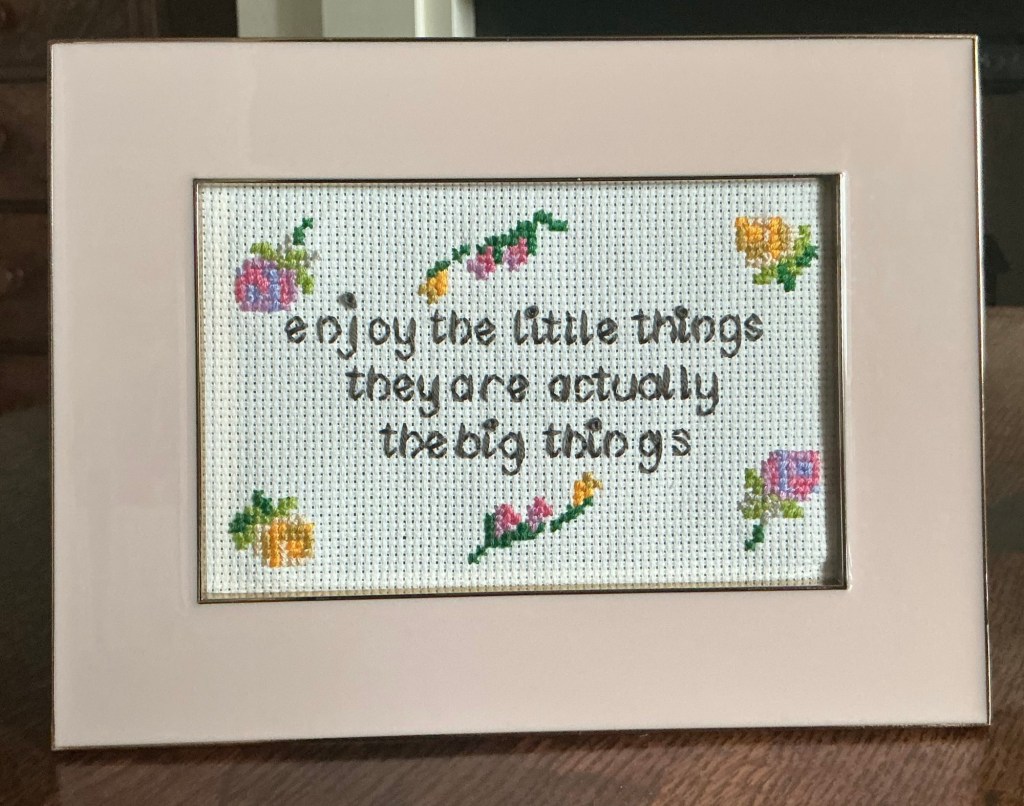
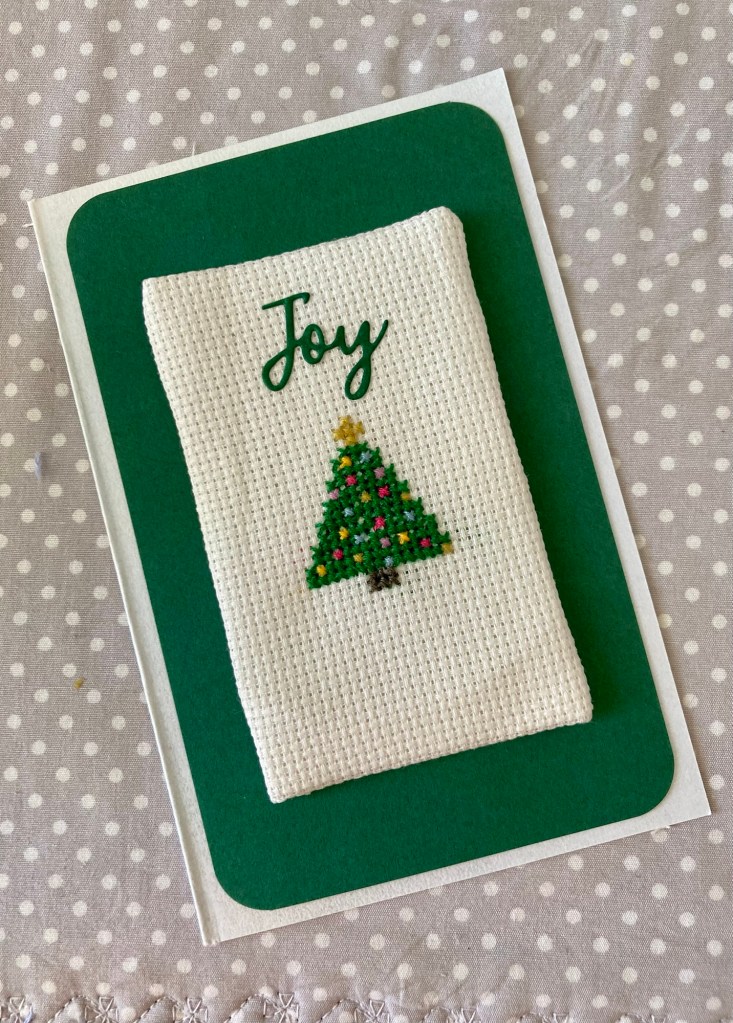
The use it up campaign continues with one of many surplus photo frames used to mount a little cross stitch.
Once the chosen phrase is charted out to get the letters centred I can work out the size of fabric required and then choose a frame big enough so I can add cross stitch decoration.
Essential tools:
Friction heat erasable pens help me centre the lettering and position the stitching.
Graph paper to write out the wording and get the spacing right.
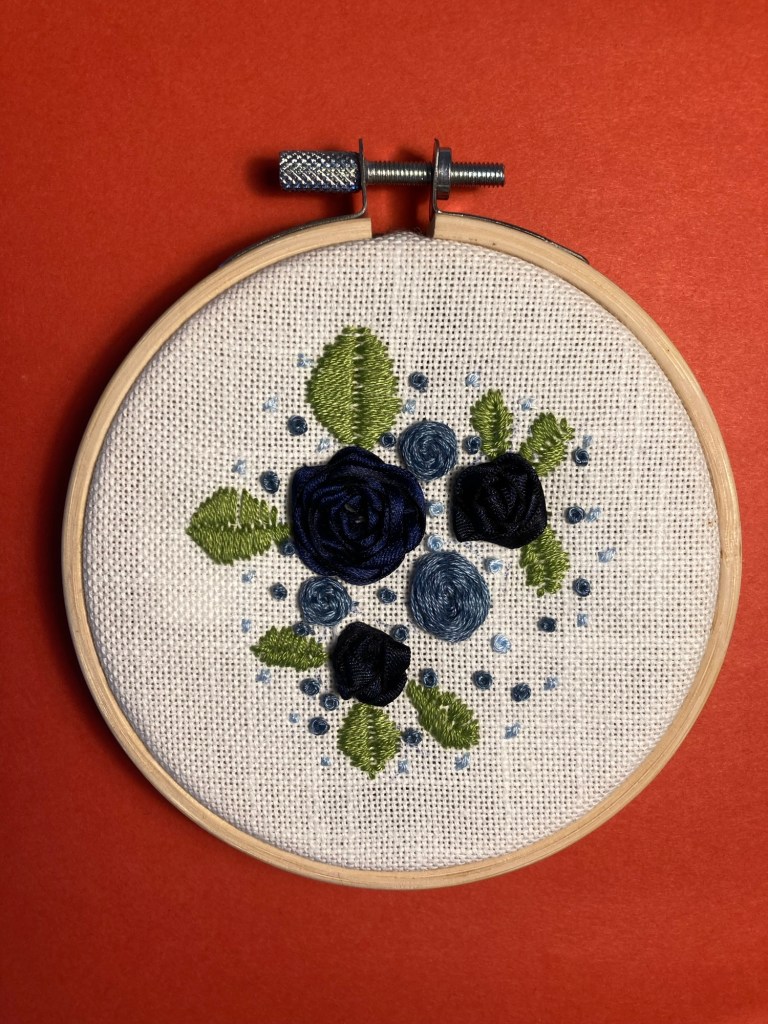
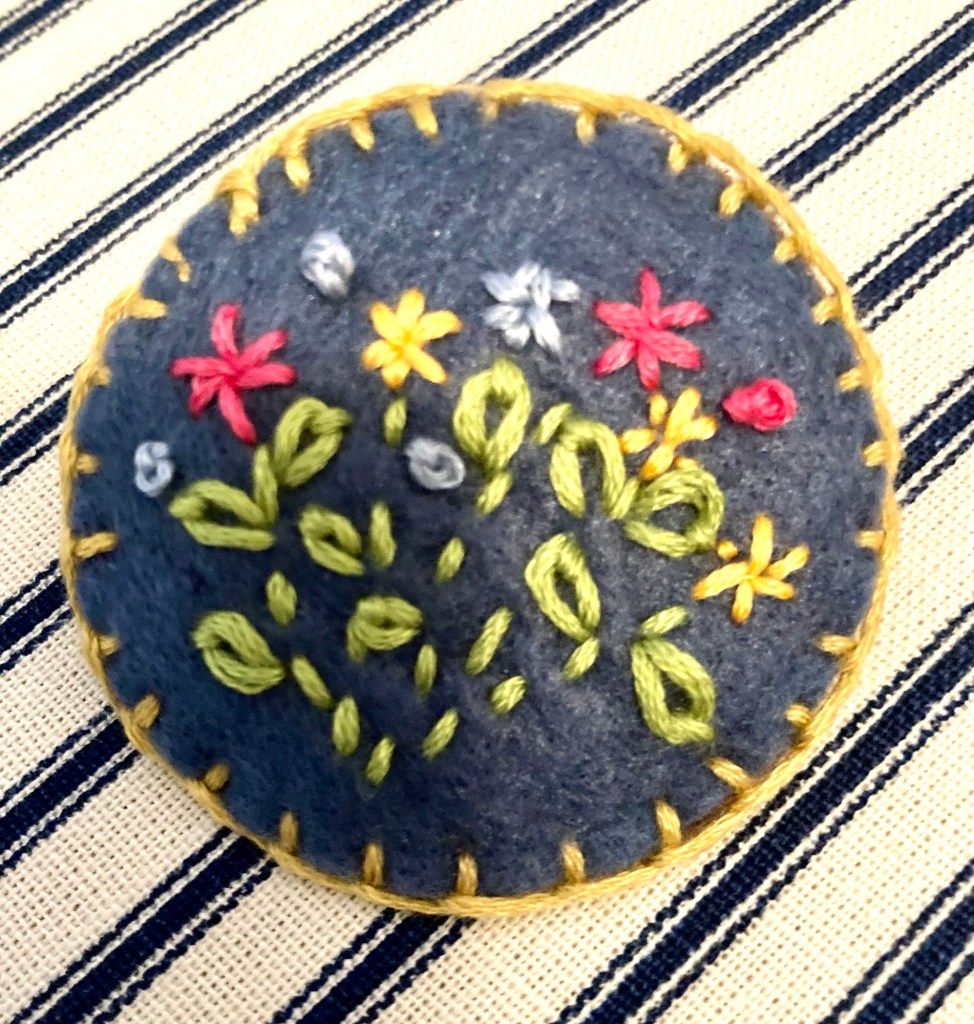
ribbon roses (from the tags cut from new clothes), satin stitch leaves, French knots and a few scattered cross stitches made this a basic, but pretty little stitch project.
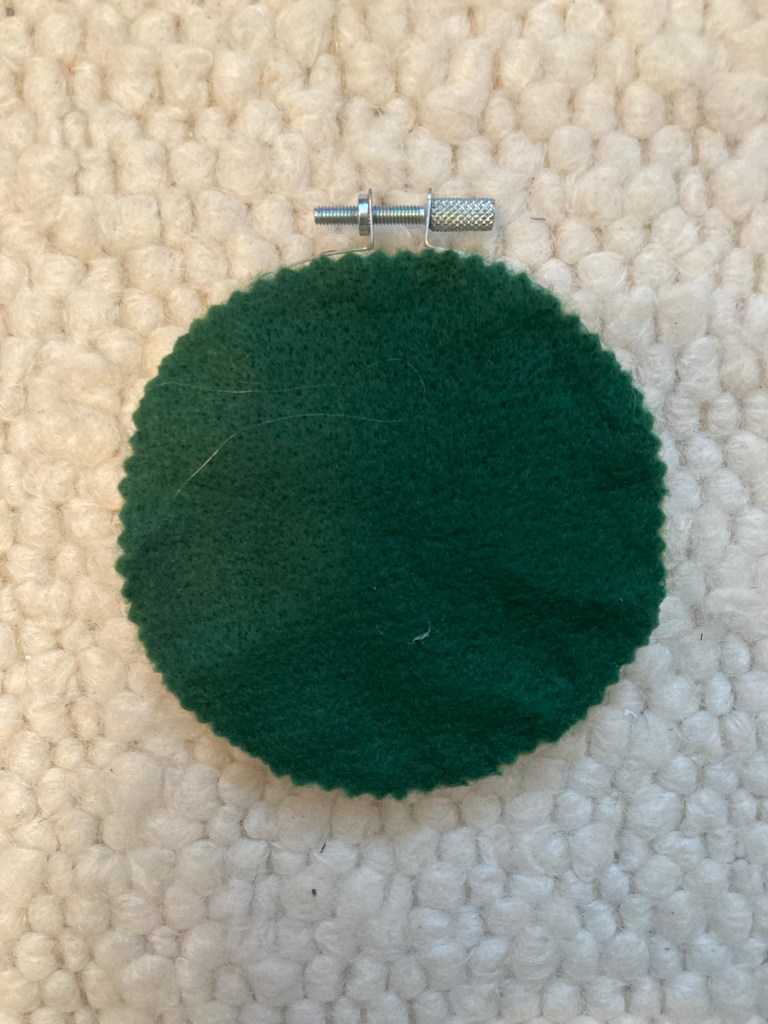
I hot glued some felt to the hoop to cover my workings in the back.
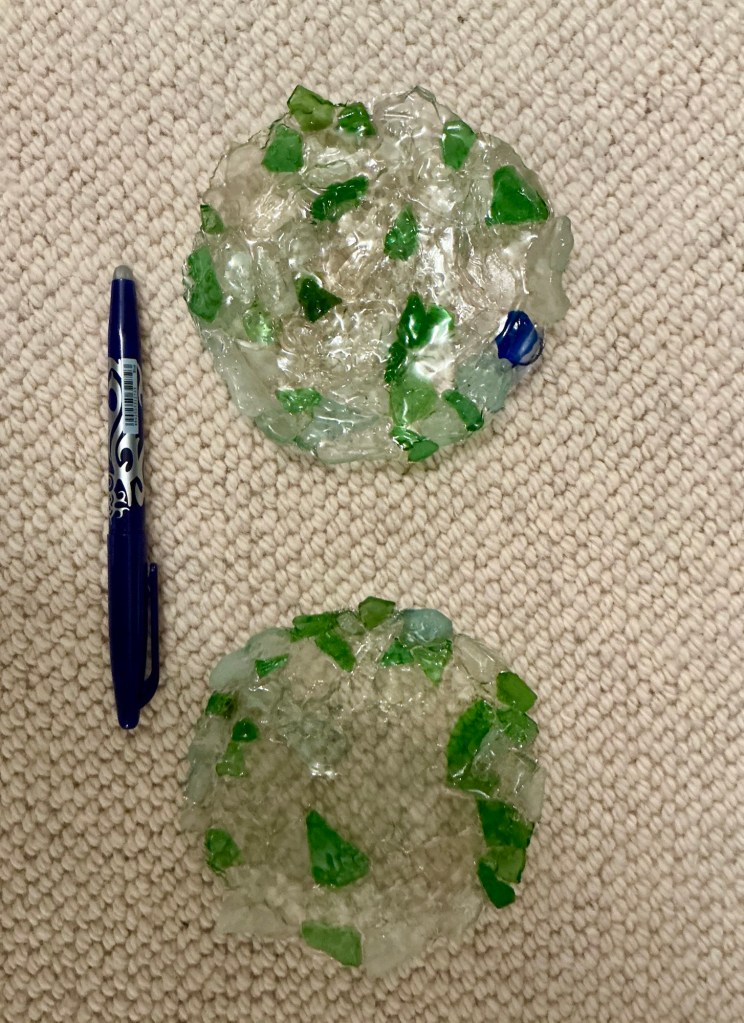
These little dishes were made by lining a saucer with cling film to make a mould, then mosaic-ing small, flat pieces of seaglass together in a sort of free style jigsaw leaving as few gaps as I could.
To stick it together I brushed uv resin over and set it before peeling the sea glass from the cling film (comes off quite cleanly) brushing more resin on the underside and setting that.
Final stages involve more thin layers of resin on both sides to smooth over dips and fill little gaps.
The first dish was thicker and had a more crinkly surface. For the second dish I used slimmer glass and less resin. Not sure which I like best.
These are both sturdy and stable as well as being useful. only took about an hour from start to finish.
The card list is shrinking as people choose not to send and receive cards… but I keep making for those we don’t see and who aren’t into electronic messages.
Most are upcycled from last year’s received cards with the rest made with long held supplies. In this case cross stitch fabric. The goal is to use what I have!
Now to face up to the postage costs and get them off in the mail…