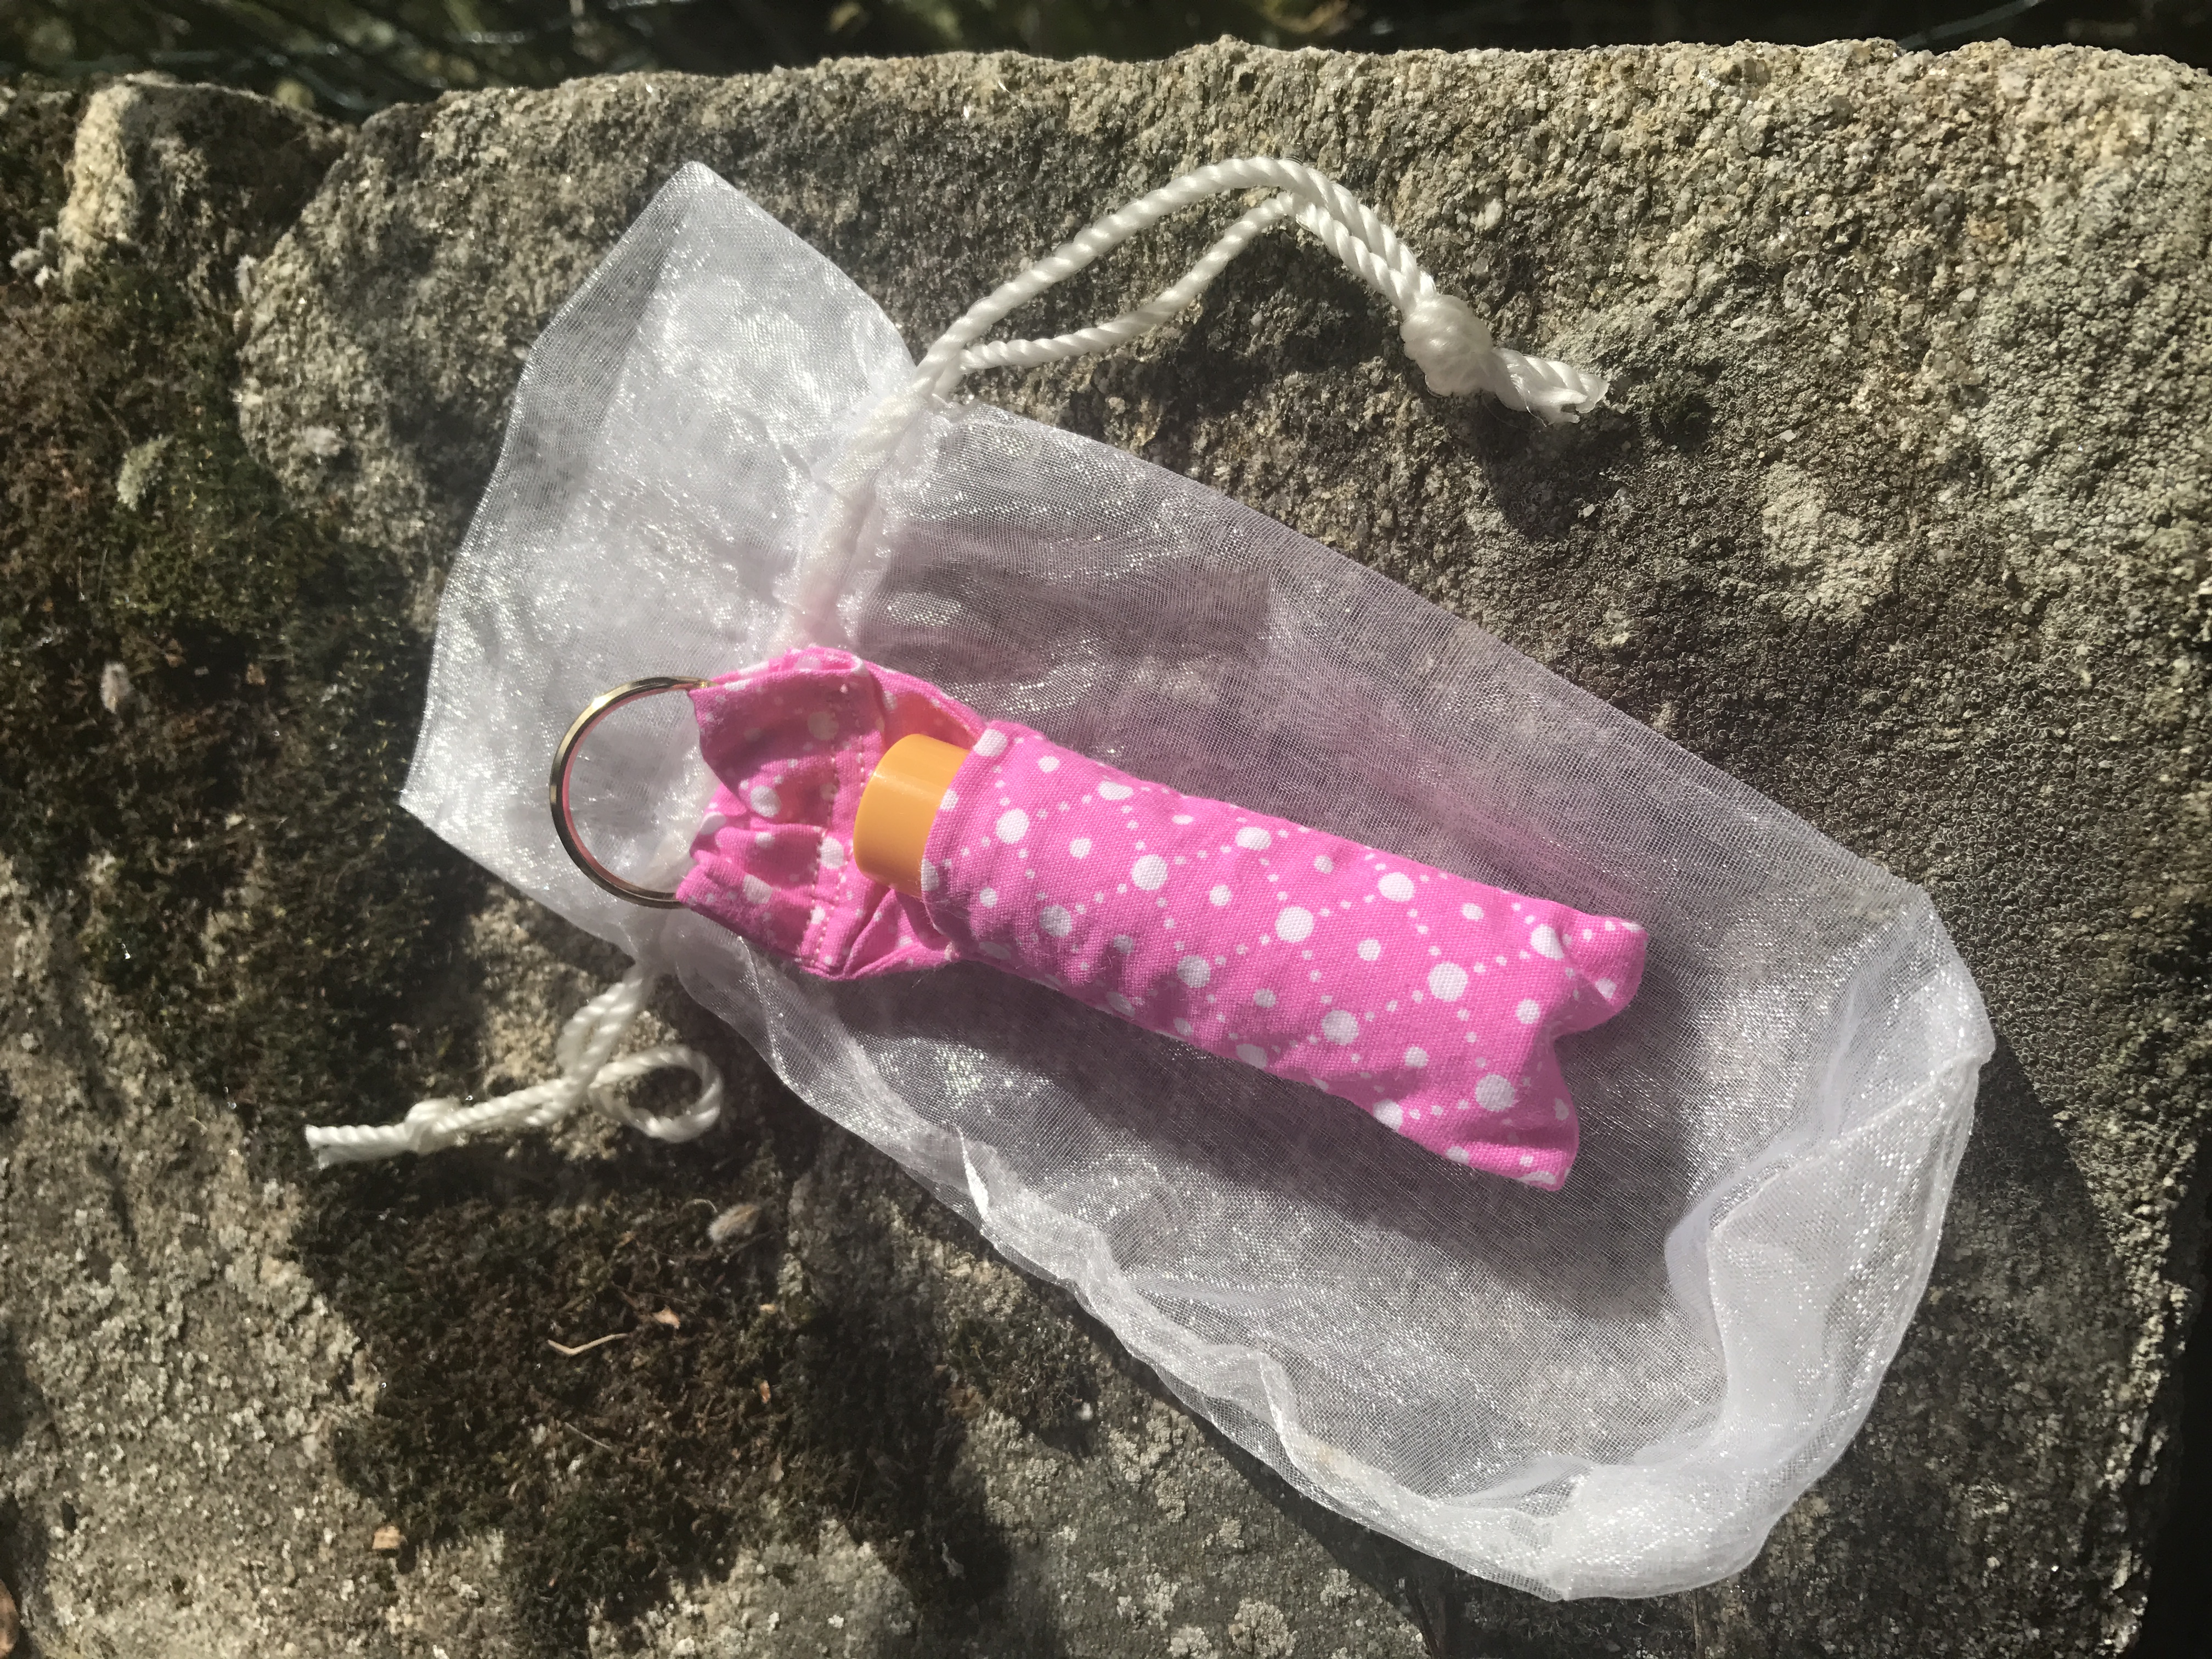
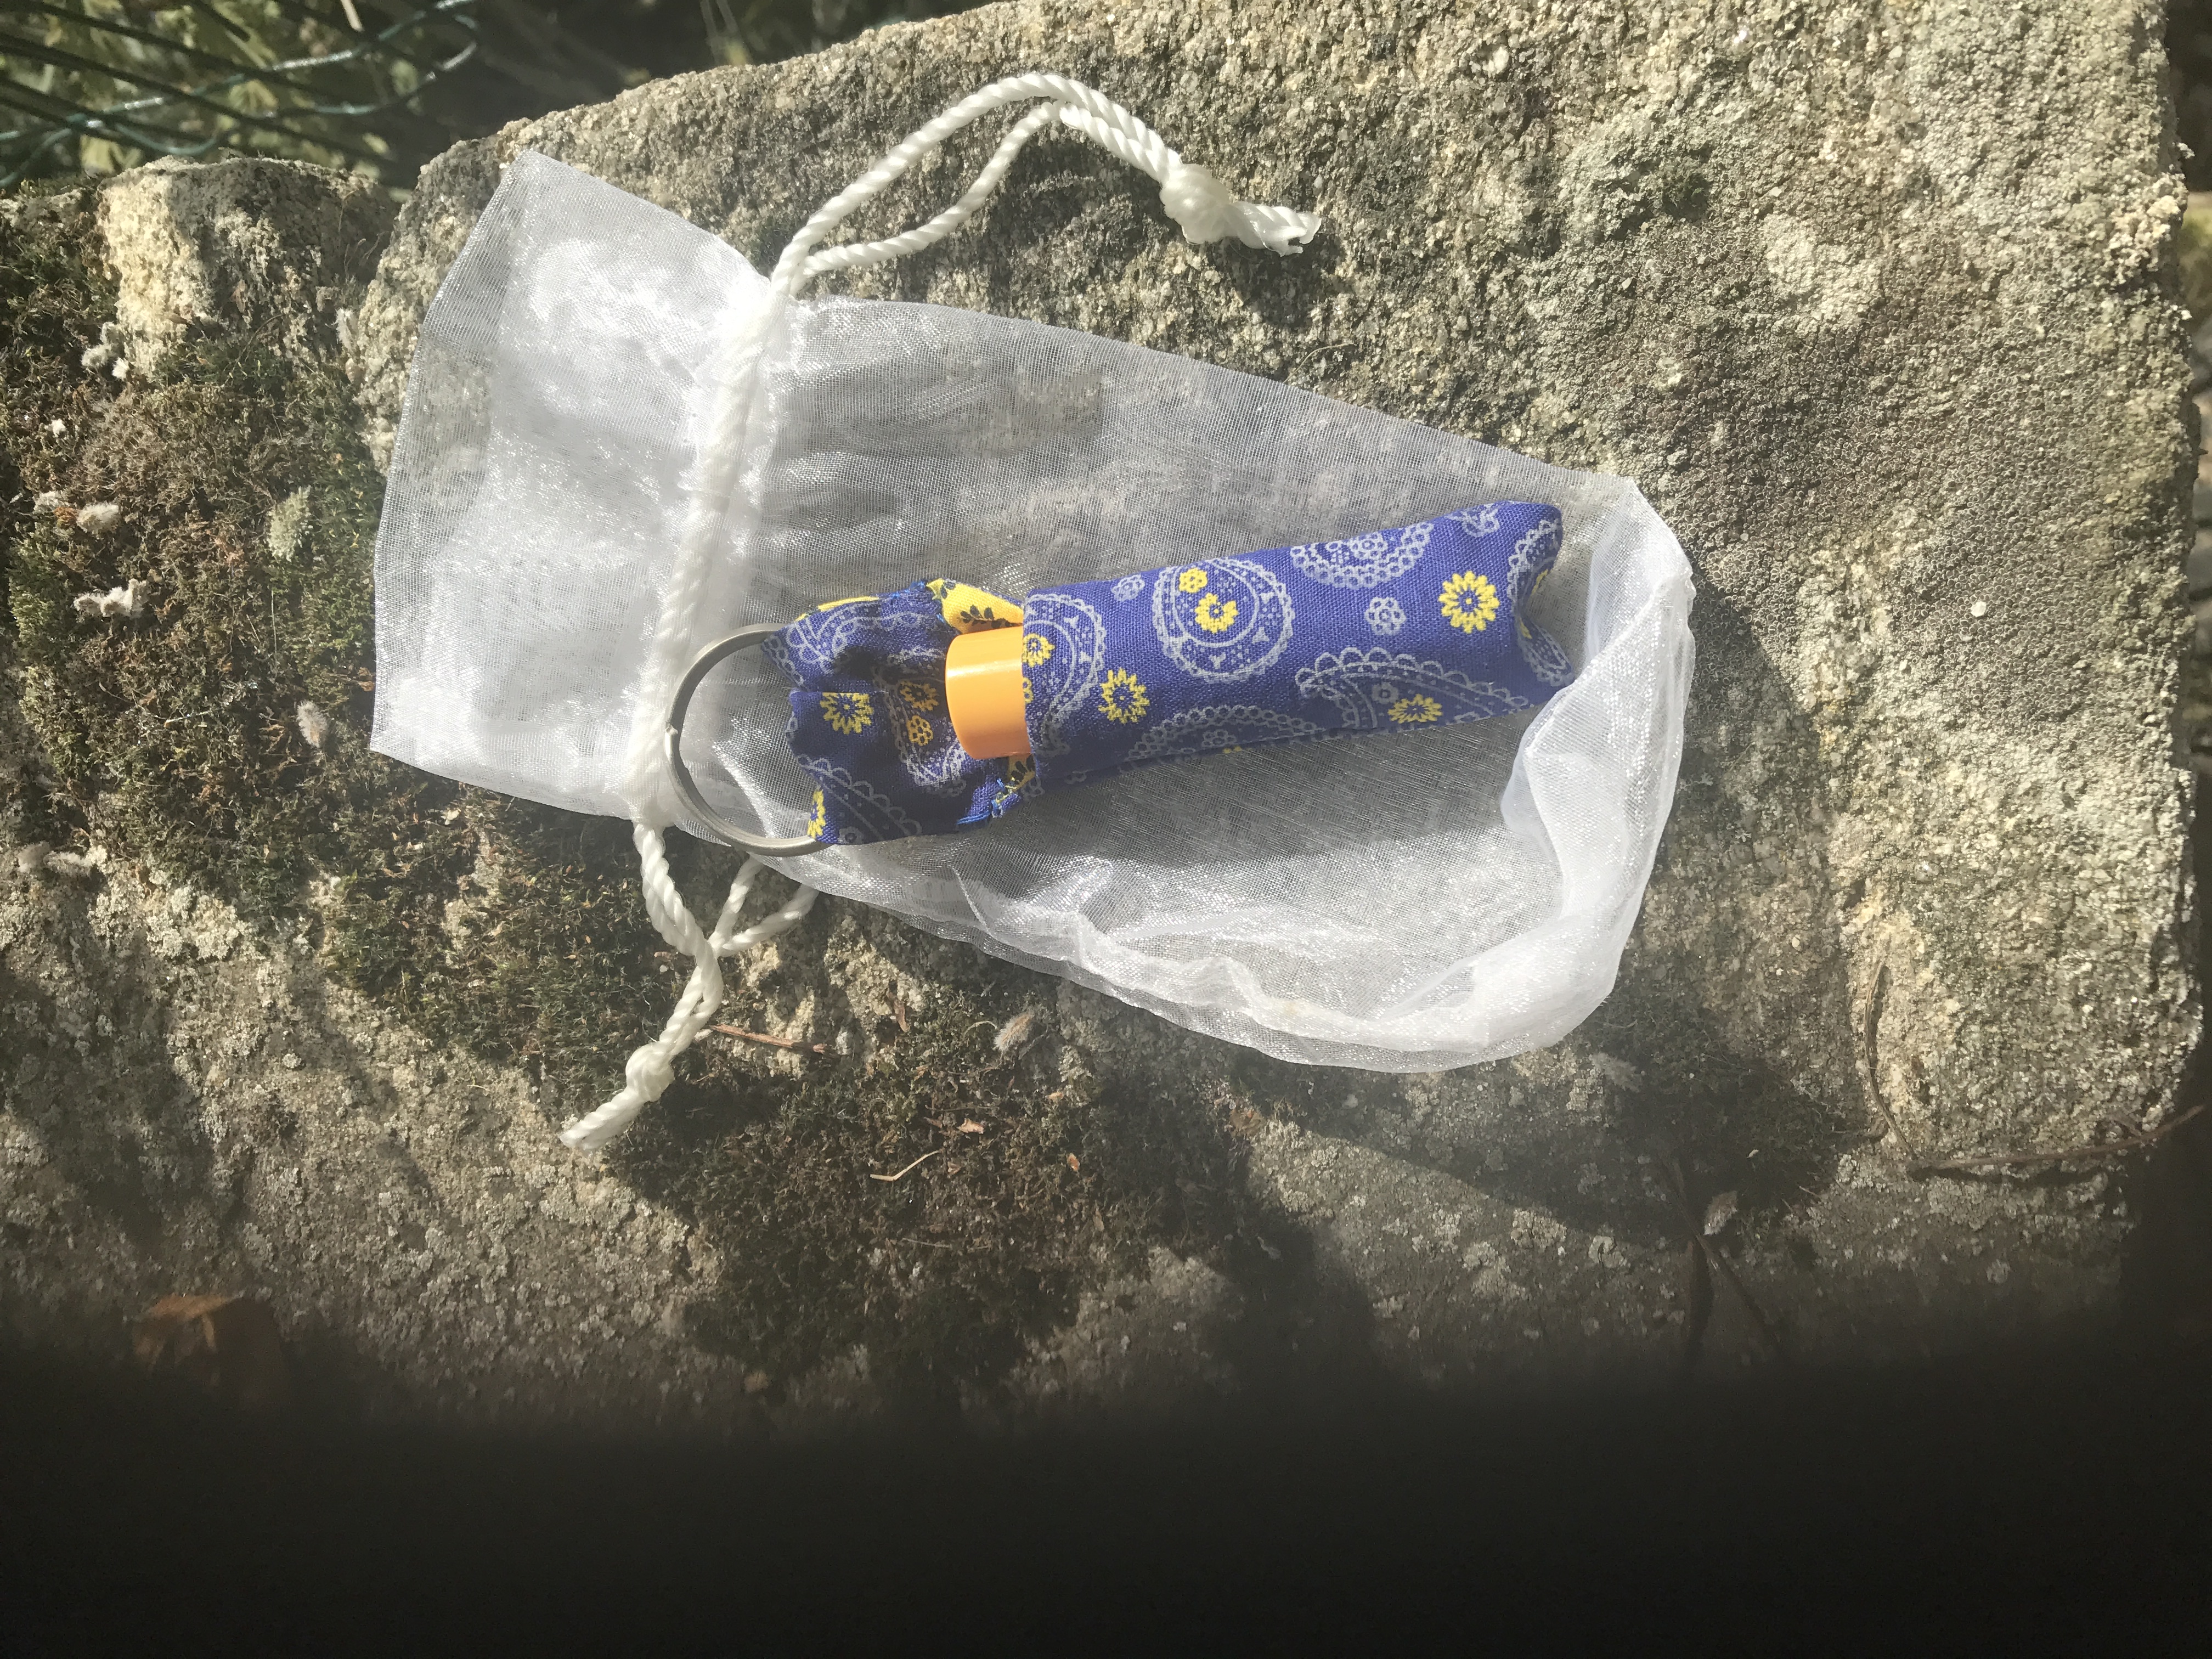
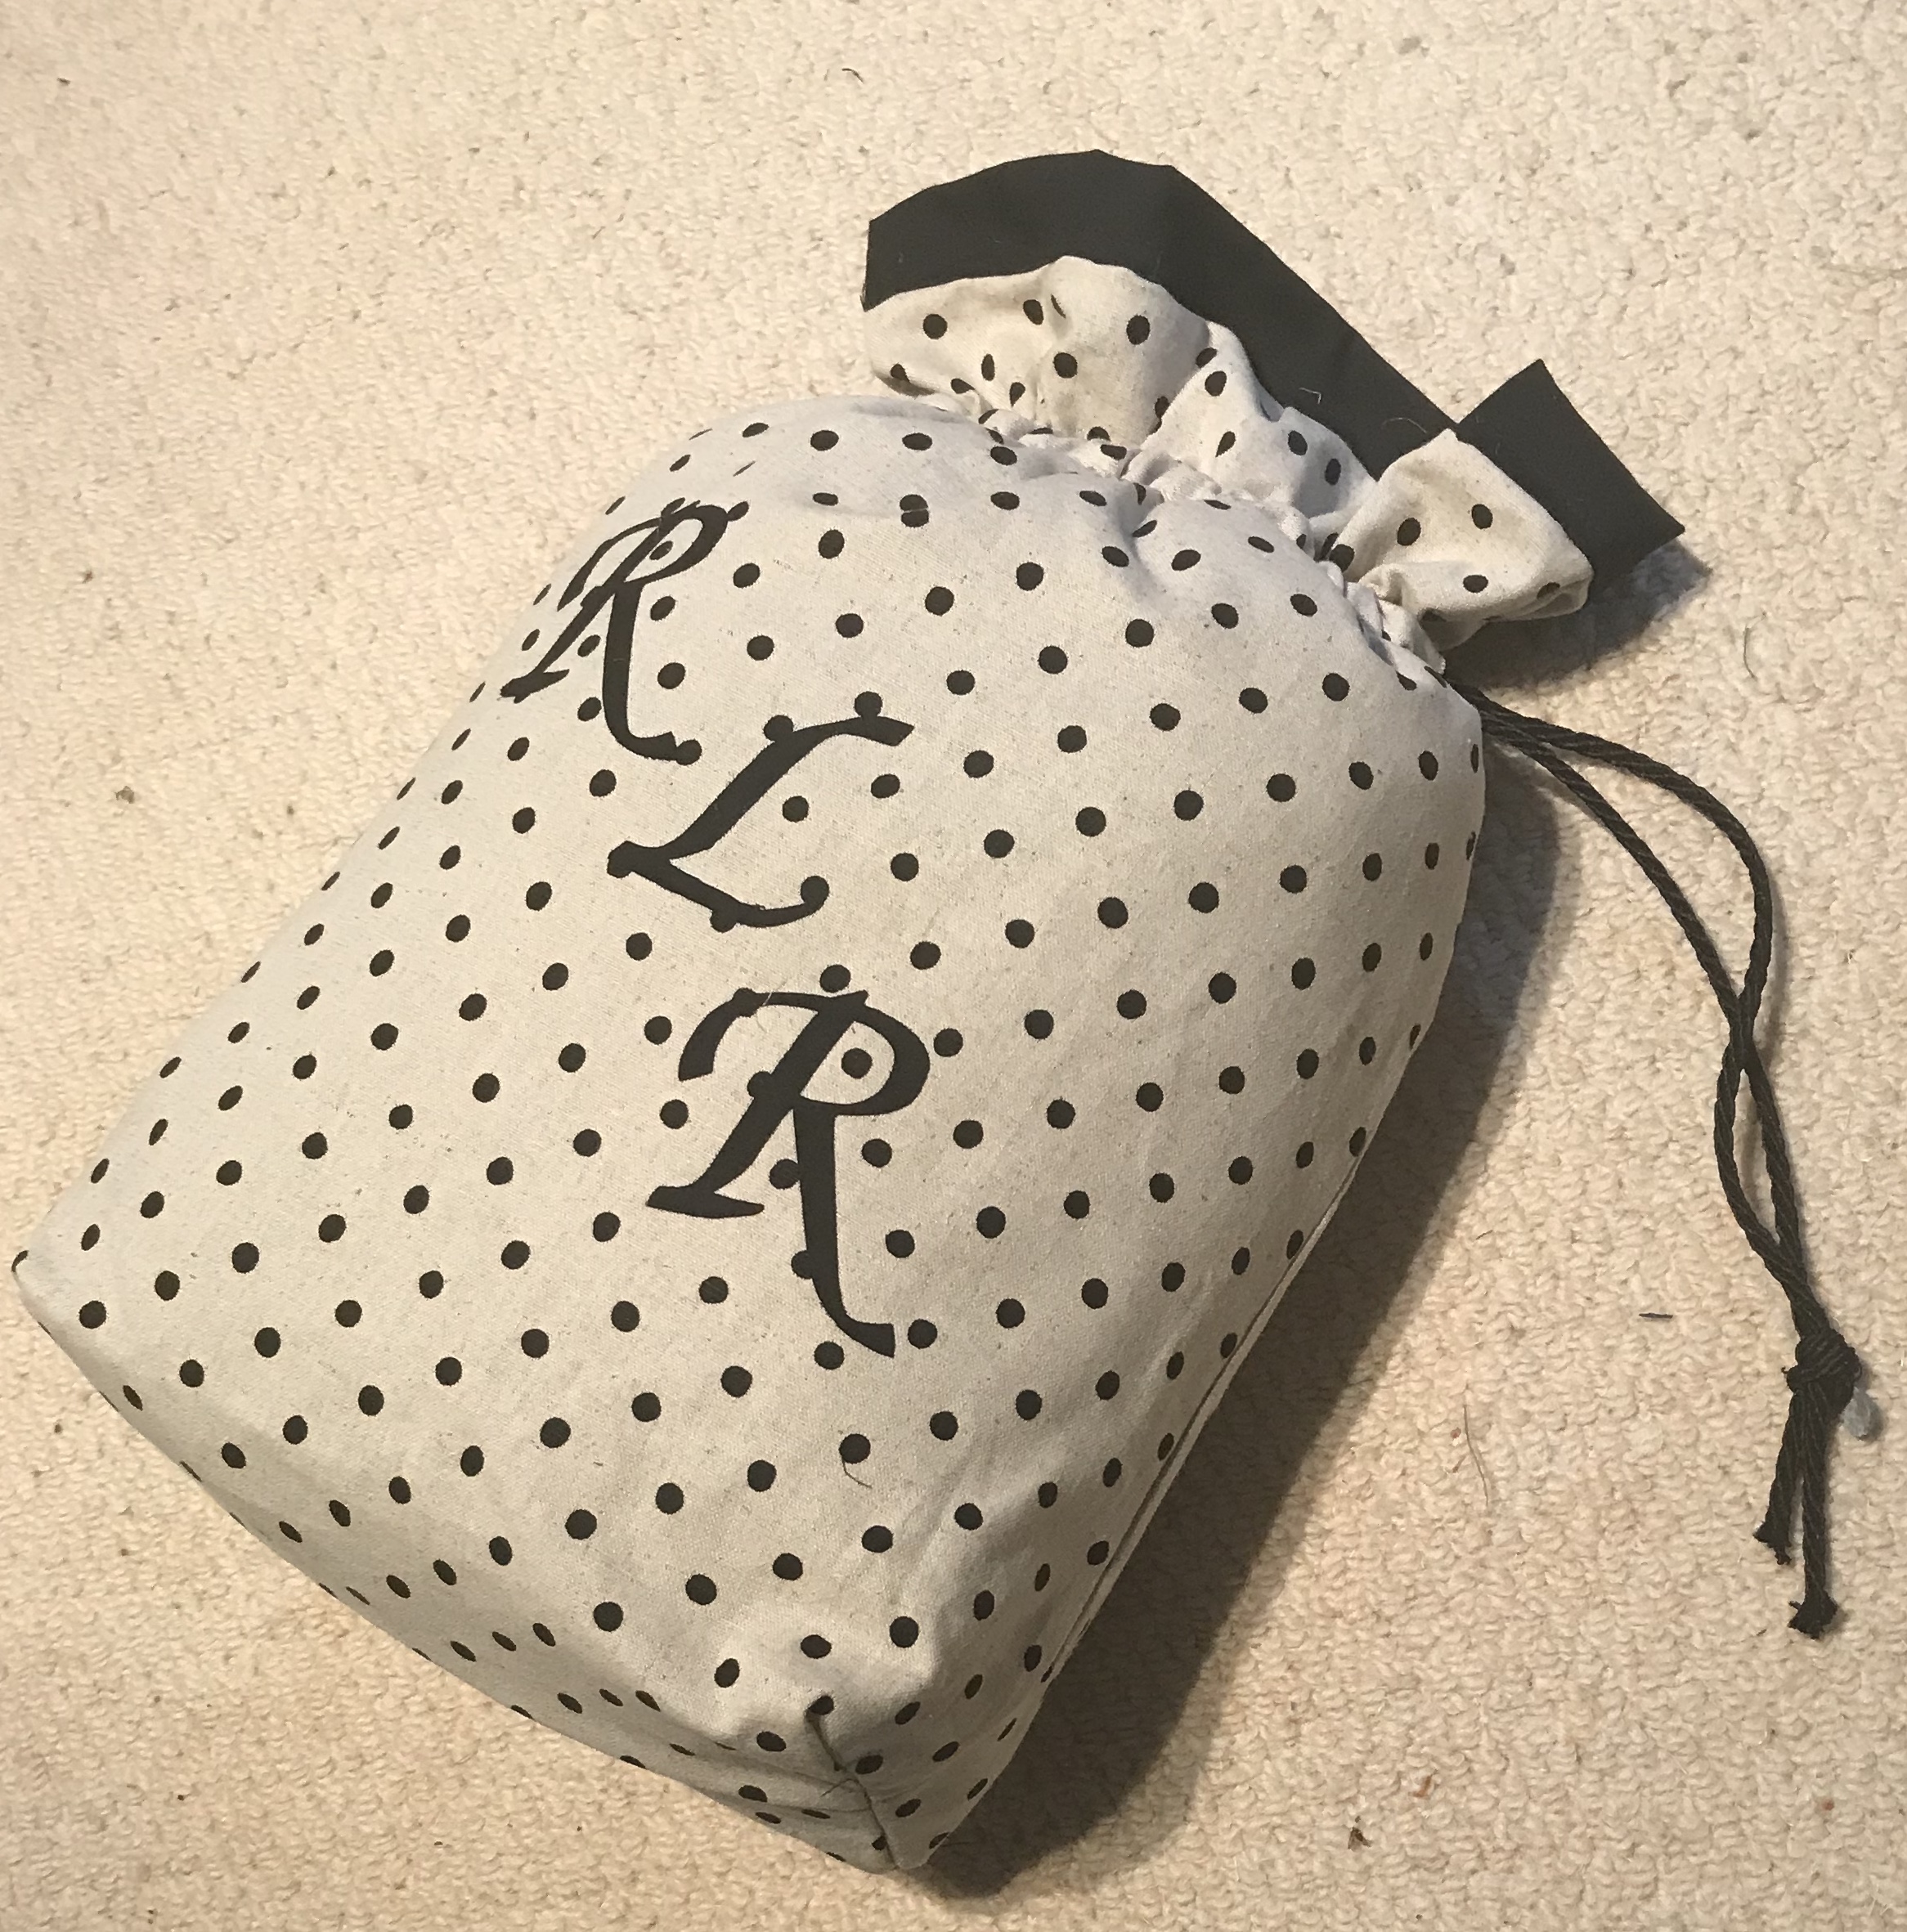
This bag has the drawstring channels stitched on the outside so they create a nice ruffle top
outside fabric one piece (mine was 22 x 9”), lining fabric two inches longer to create the contrast border, two strips of outer fabric about two inches narrower than the width of the bag and three inches high, scrap of contrast fabric backed with heat and bond for appliqué monogram and one metre cord
method: press raw edges of strips under then fold in thirds to create thin channel to thread cord through,
fold outer fabric in half and pin strip to outside about two inches from upper edge on each side – you want there to be an equal ish gap at either side of the bag. Sew top and bottom of both strips in position, leaving sides open
If sewing appliqué monogram, position and stitch now
now turn fabric inside out and seam both sides closed, if you want a boxed bottom cut a 2 inch square out of each bottom corner and then bag it out
seam lining fabric sides , leave a gap for turning, use same seam allowance as for the outer, and box bottoms or not to match your outer
with right sides of bag and lining together pin upper edges together, match seams. The lining will be a bit baggy as it is longer than the outer, that is deliberate but the top edge of lining and outer should match as you pin it. Sew around the top.
reach through the turning gap and pull the inside out, then push the lining inside the bag so the bases match and the longer lining top poking out. Press. Reach inside and sew up the turning gap in the seam
top stitch around the top, use decorative stitch or hide in the seam if you prefer
cut cording in half, thread from each side all the way round and knot ends to secure
iron appliqué at end if you are using iron on
job done

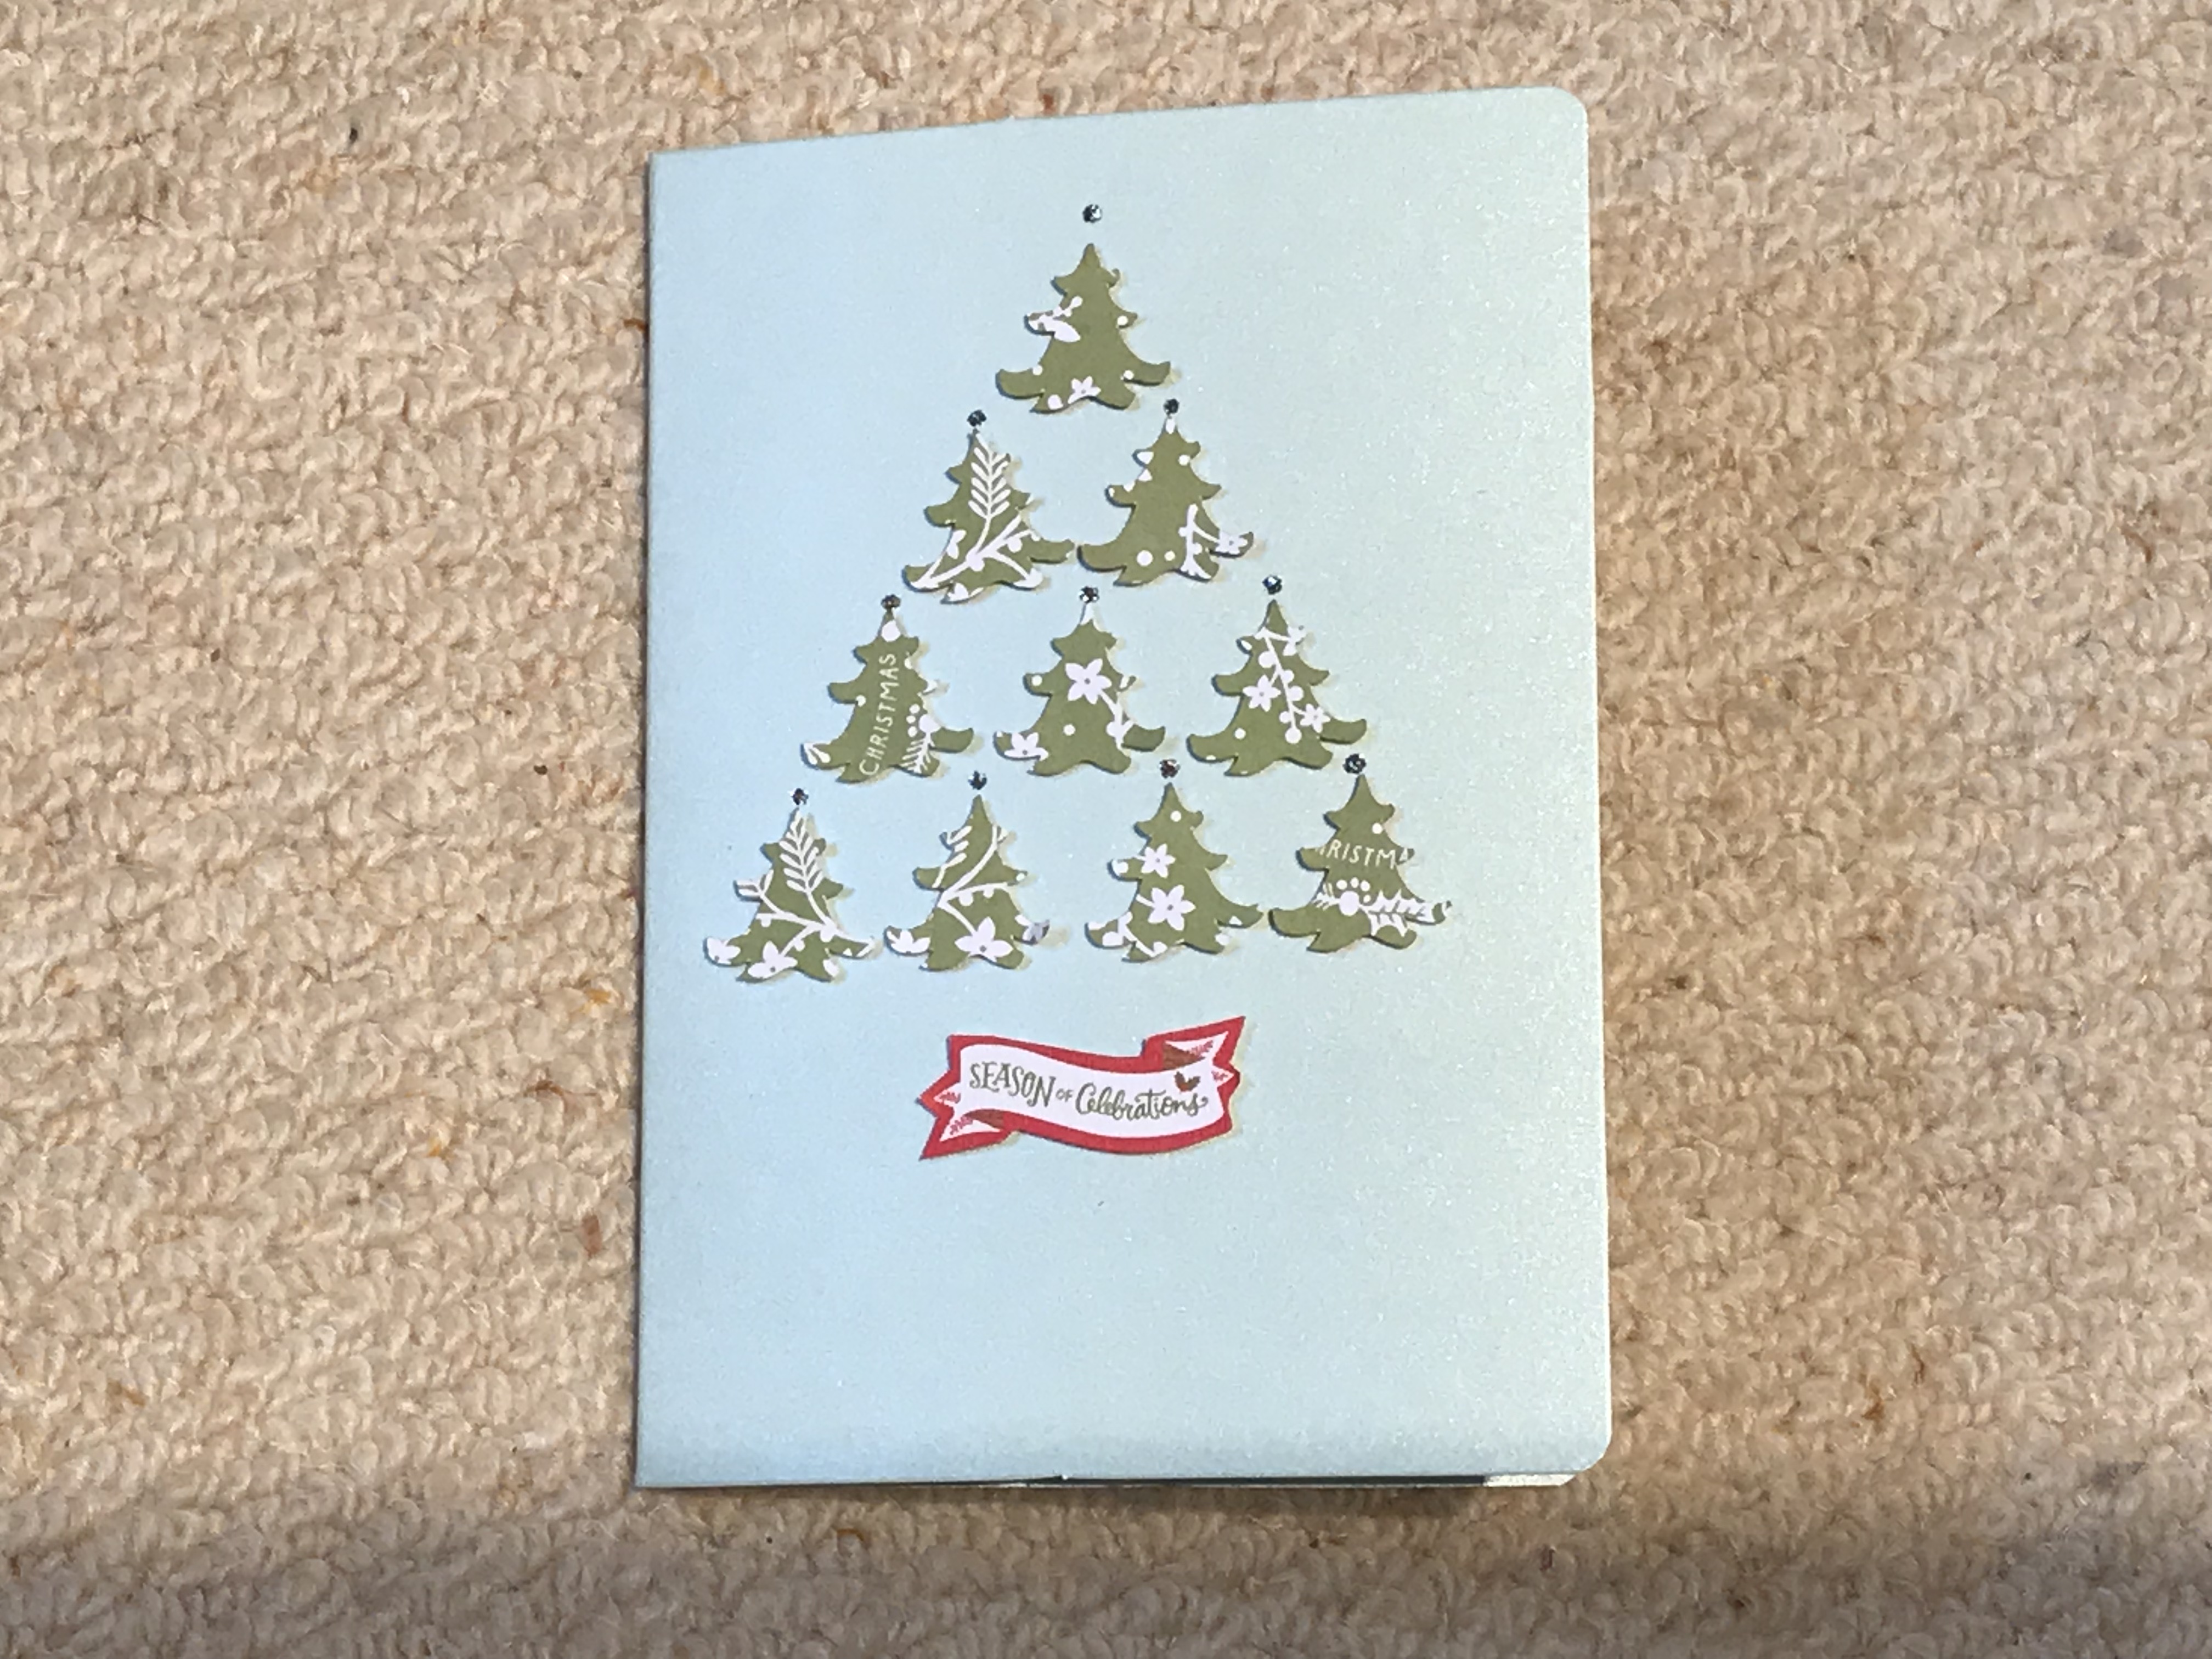 I love making clean and simple cards, these use scraps from the seemingly everlasting Docrafts Folk Christmas kit.
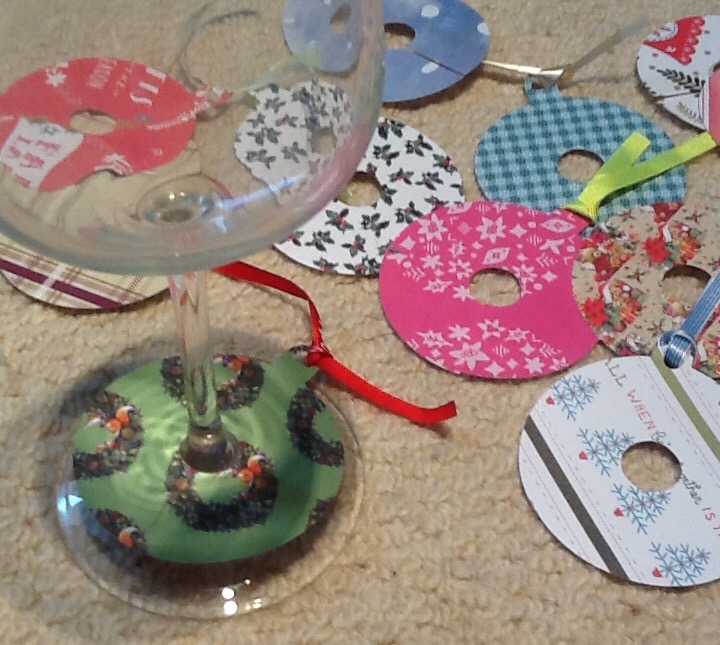
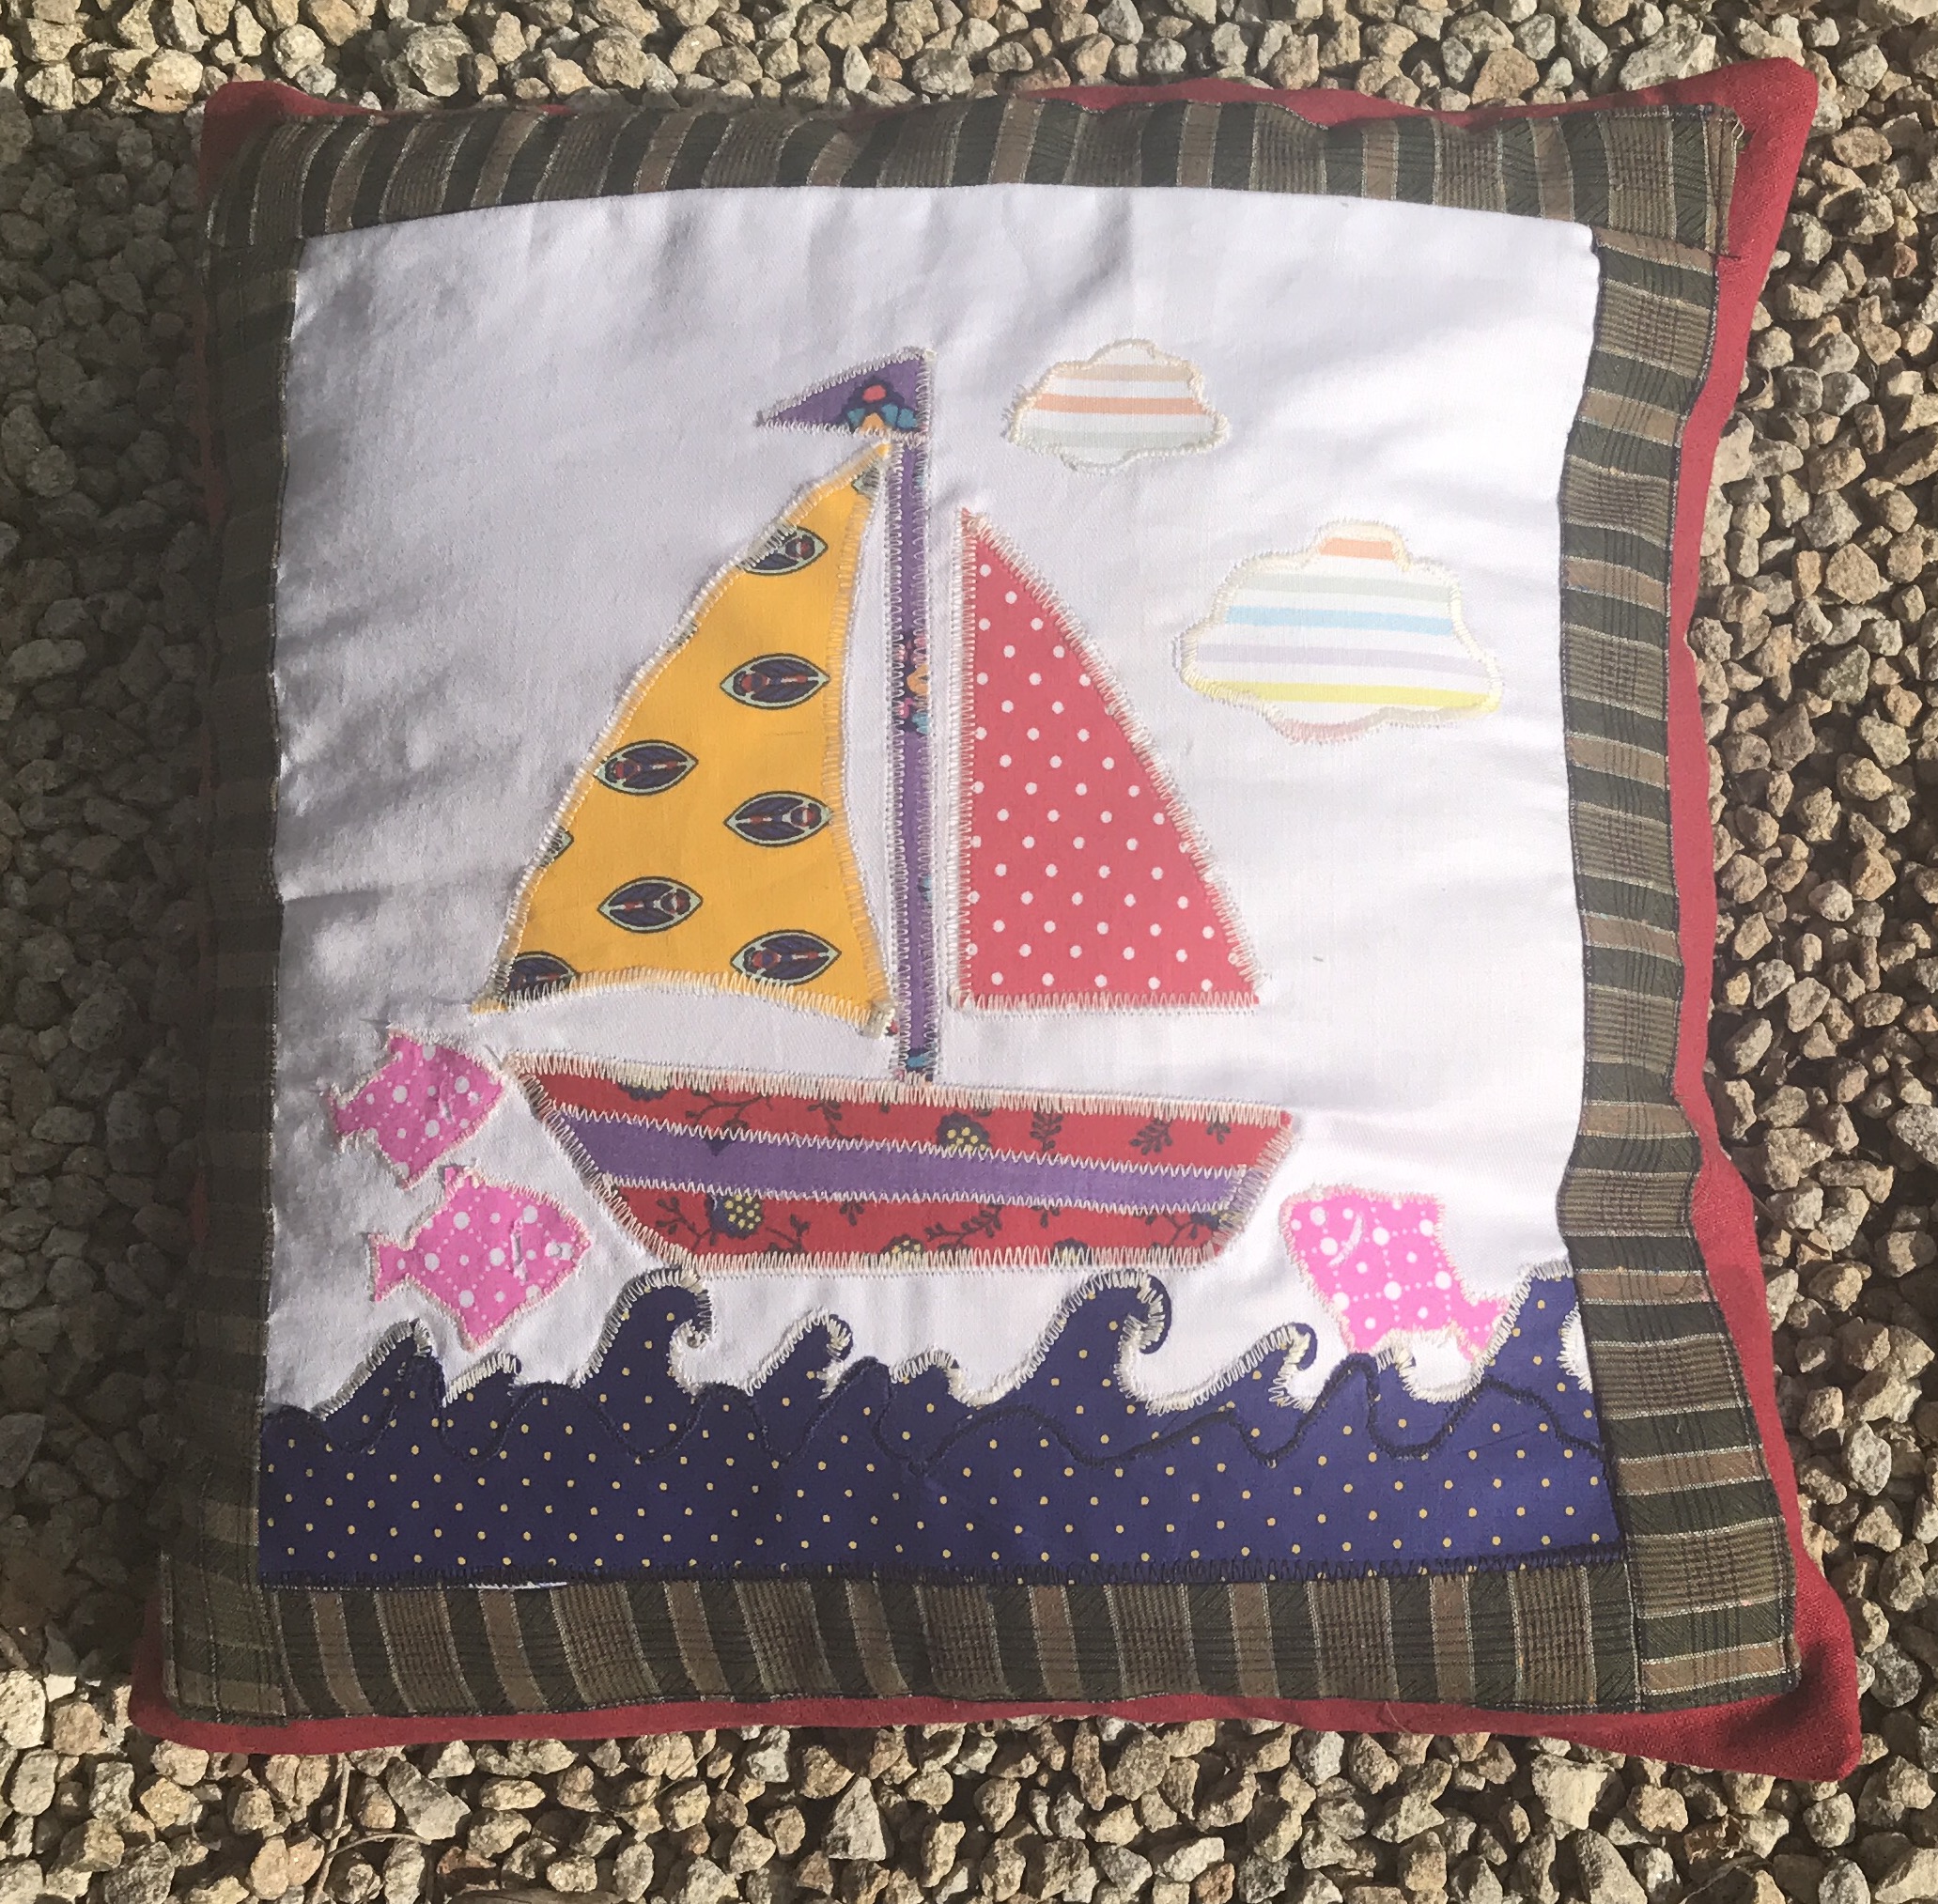 A unique creation made for a particular person!