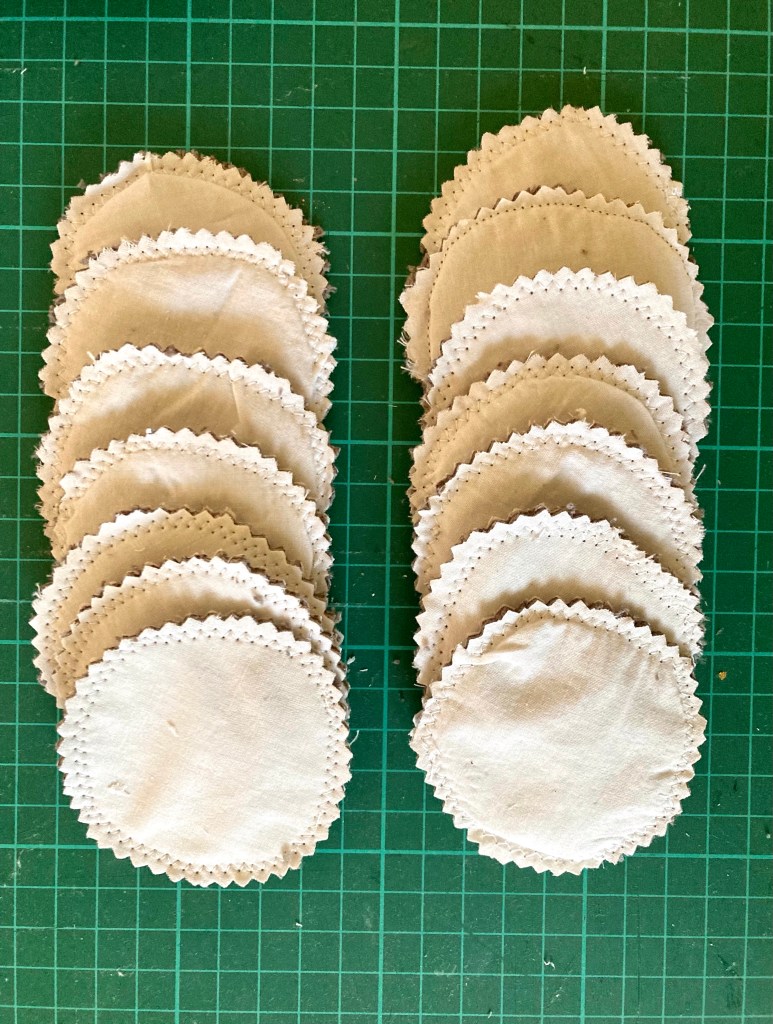
A clear out of surplus hand towels too good to dispose of led to today’s make. Sets of make up remover pads to pair with my diy cleanser.
Sandwich the towel (bindings cut off) between sheets of cotton and pin. Then draw circles using a jar of glass as template. I use a Frixion heat removable pen.
Zig zag around the circles. It doesn’t matter if you go off piste a bit.
Then cut around the lines with pinking shears. Voila.
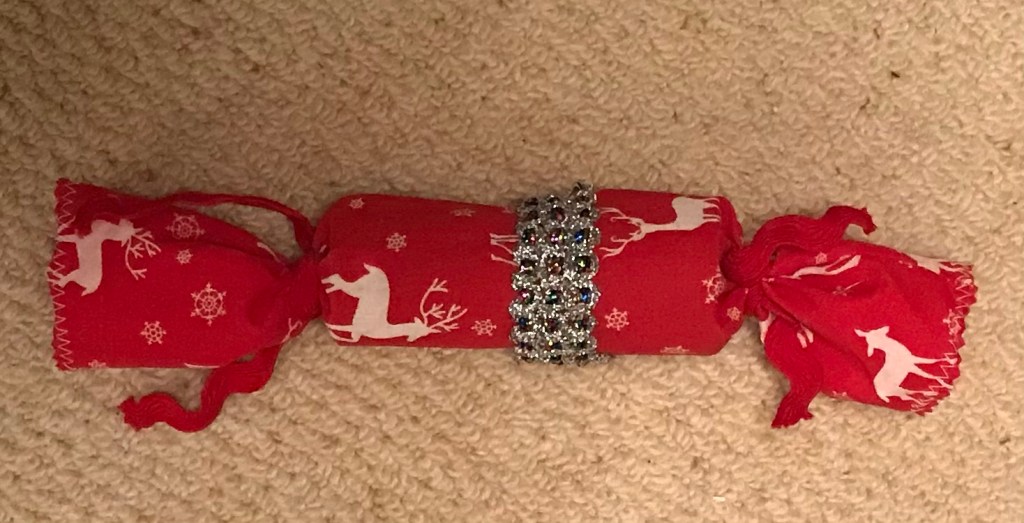
Cover cardboard tubes with fabric instead of paper to make reusable crackers.
I used up some Christmas fabric found while tidying but this would work for any seasonal table gift.
Use cardboard tubes of different diameters so that one slides tightly inside the other. I used loo roll and kitchen towel inner. Cut the larger tube to half the length of the other. My loo roll inner was 10 cm tall so I cut 5 cm from the larger kitchen roll.
Make snug fitting fabric coverings by sewing long rectangles (width being circumference of cardboard plus 1cm, length being height of tube plus 10cm) of fabric into tubes then folding in half and sliding the fabric inside.
I finished my raw edges with pinking shears and zig zag stitch. I then stuck bling tape around the edge of the larger roll so when assembled the bling tape masked the join.
No bang when pulled -although you could put snaps inside – but a bit of fun to make.
I set myself a task to use up lavender as part of my decluttering project. Trawling pinterest for ideas reminded me that I can stamp on fabric and that I have eyelets and buttons galore, so lots of little trimmings could be added to my fabric de-stashing effort.
But all the above only use small quantities of lavender, fabric and trim so the lavender tin, now replenished with the 2020 harvest, remains well stocked.
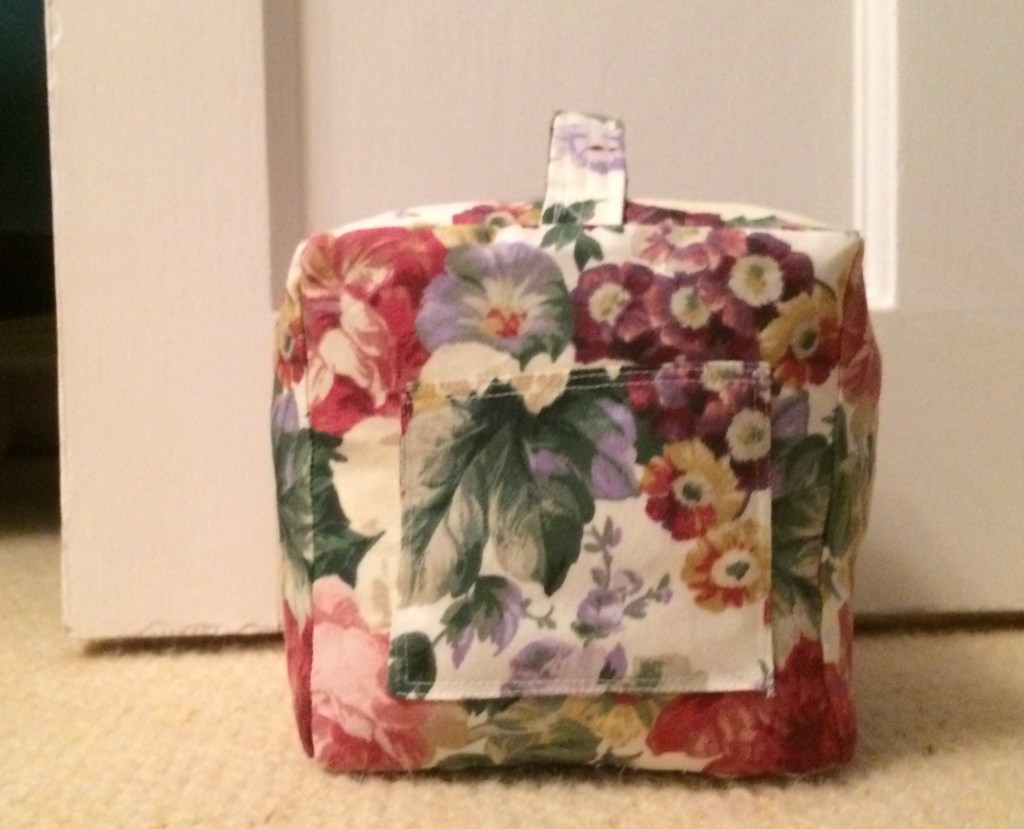
Another door stop but this time with a pocket so you can tuck a key or pen in.
The cube is my favourite door stop format.
Six identical squares and a rectangle that is folded to make the strap. Plus, this time a smaller square to make the pocket. Weighty curtain fabric doesn’t need interfacing and being sensible this cube is weighted with stones and stuffed with sheeting strips.
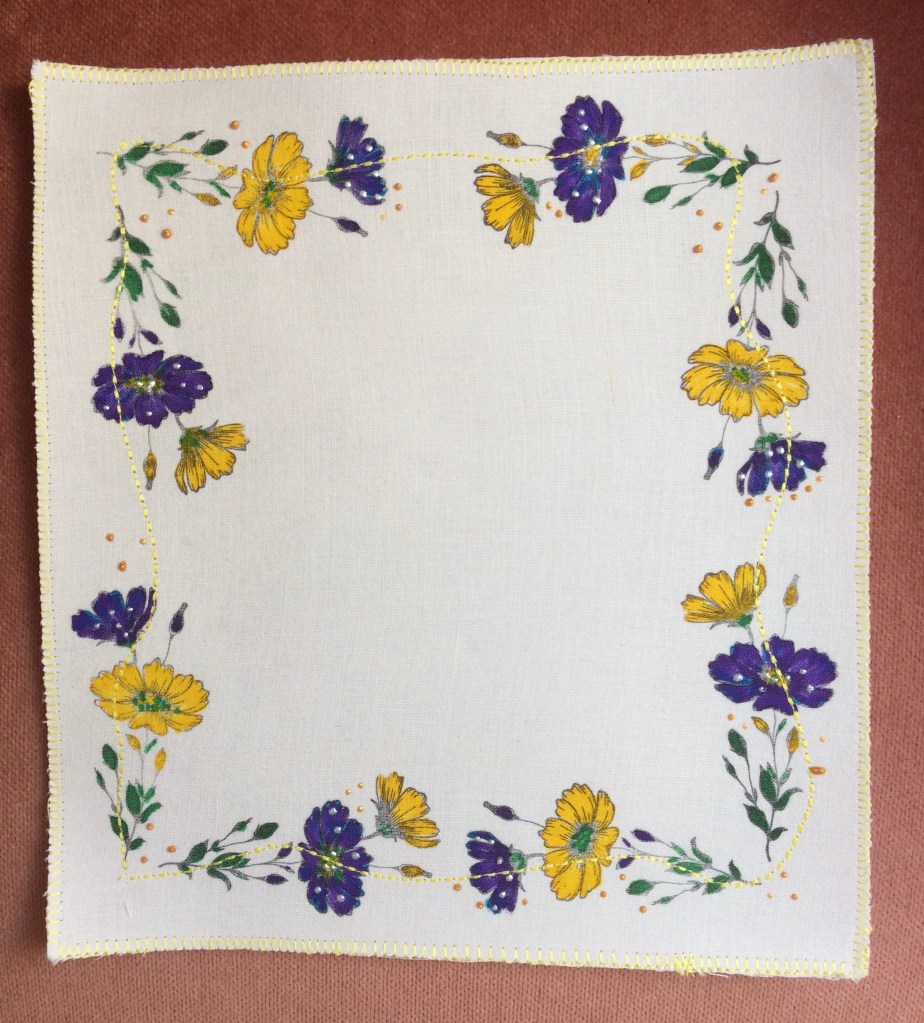
I up-cycled a beloved old shirt into mats this week. The fabric was ironed on to a firm interfacing, then a rummage through old stamps unearthed florals suitable for creating this border image.
Stazon ink and Ikea fabric pens were used before the mat was trimmed to a neater rectangle. A backing fabric adhered with spray fabric glue was then sewn permanently with my machine’s decorative blanket stitch.
To finish I sewed another decorative stitch through the stamping then decorated with some Pebeo Perlen fabric ‘pearl drops’.
Once heat set with an iron this is theoretically washable.
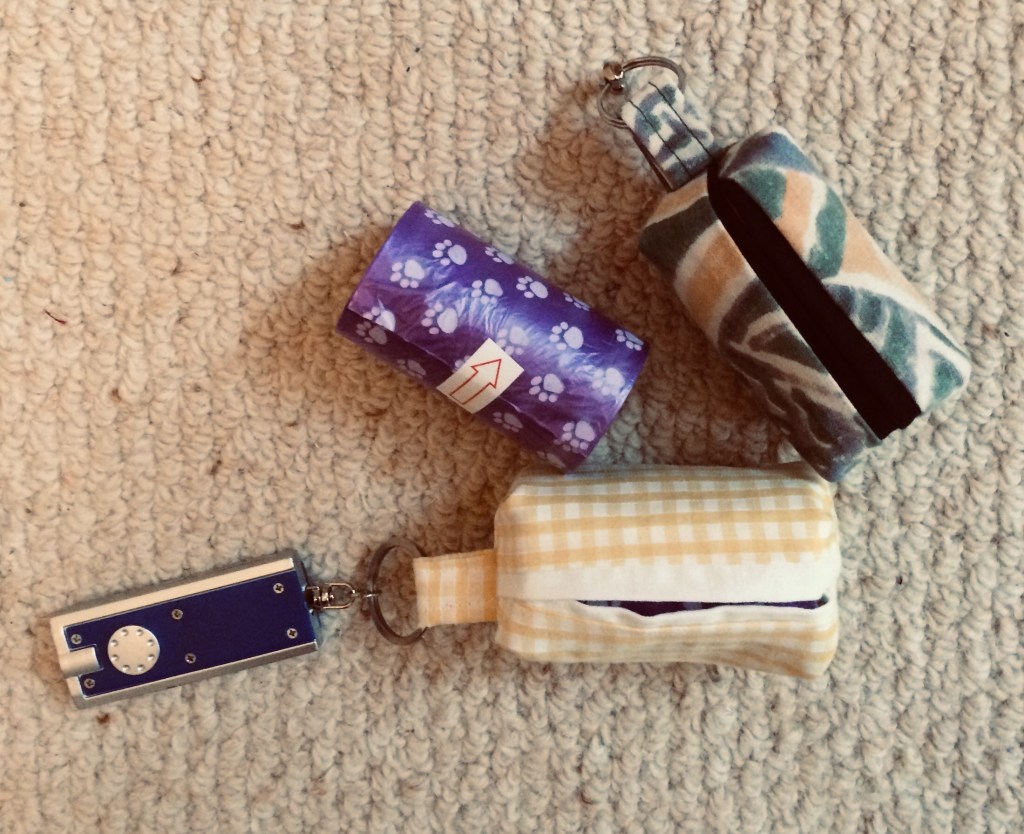
A cute little bag to carry a roll of poo bags on a key ring. This is a simple variation on the tissue holders I have made by the dozen over the years. Thanks Lorrie Nunemaker for the idea.
Cut outer fabric at 6” by 4 1/2” and lining at 5” by 4 1/2” then cut a 2” square of either fabric. Turn the little square into a loop for the key ring by creasing it in half then folding two sides in to the crease and then folding it again so you have a strip that is 1/2” wide with the raw side edges encased. Sew down the strip (I usually sew two lines to make it look tidier)
Follow the tissue holder instructions: sew the short sides of the two fabric pieces – right sides facing- together then flip right sides out and press so that there is an equal amount of lining at either side. See picture below.
With outer facing up, fold the sides to the middle so they just touch or overlap, and pin. Tuck the loop piece inside where the sides are touching. Sew the top and bottom raw edge and then zig zag those raw edges to tidy them up.
What changes this is to Box the corners with a 3/8” seam before turning right sides out.
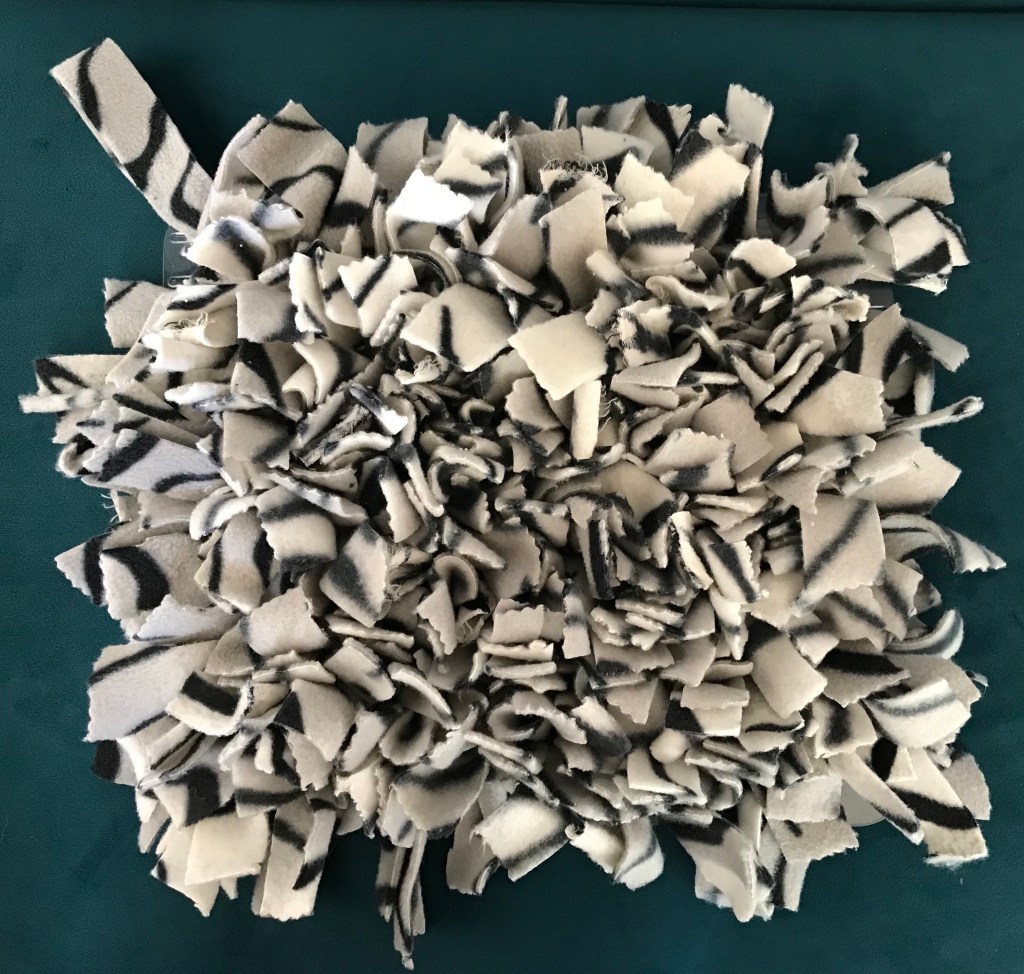
Love this simple home made craft. It is designed so that the feeder of a greedy dog sprinkles biscuits/kibble/dry food on the mat giving the dog a challenge to find and retrieve the food.
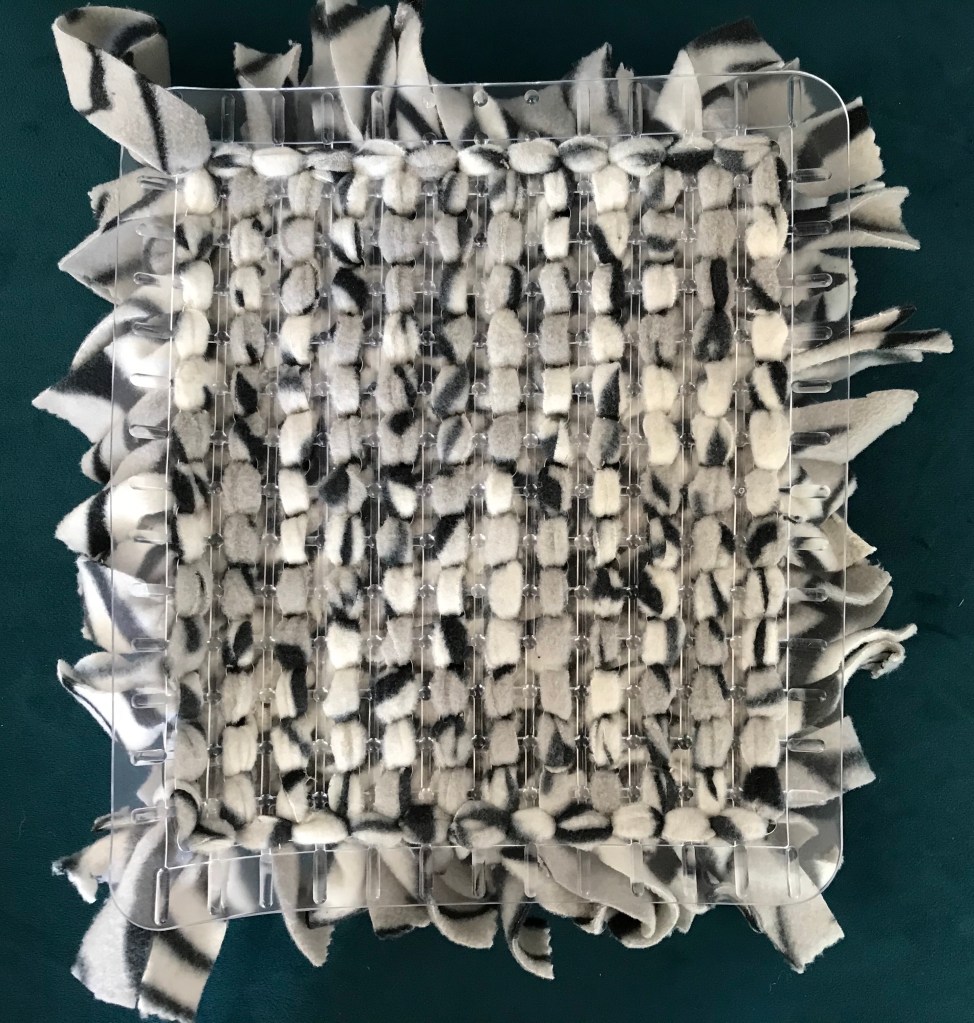
Simply made with an inexpensive sink mat (mine Addis 30 cm approx square) with lots of drainage holes in it. Spend 20 minutes cutting a metre of fleece into 2.5 x 10 cm ish strips. Then sit in front of the tv knotting the fleece through the holes. Thread a strip up and down through adjacent holes and tie a single, simple knot to secure each strip until every hole is filled.
I used a thick fleece so stopped when the back looked like this. I finished by threading and stitching a 20 cm strip of fleece through a corner hole to make a hanger. This mat is washable and easy to make.
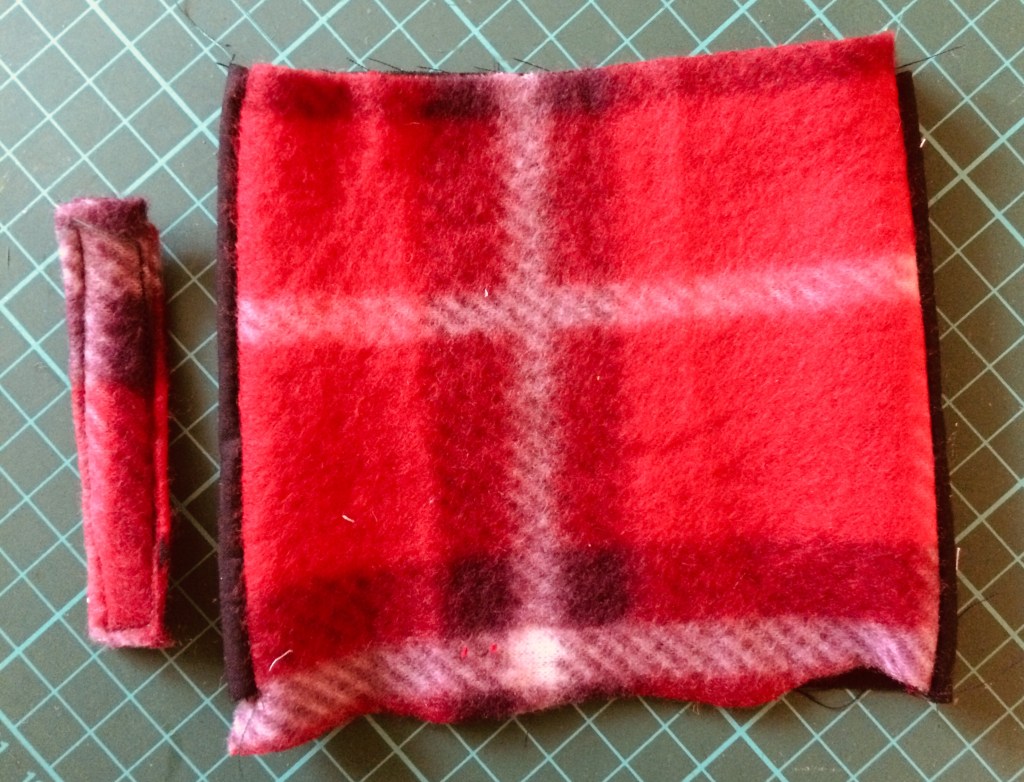
Protect your hands when stoking the fire or picking up a hot pan – and use your scraps!
A ‘use what you have’ project as I couldn’t bear to throw out some wadding scraps when decluttering.
I made a rough pattern of an oval about 9 inches tall and 6 inches wide. (That is big enough to grab a small log or oven dish.) I cut out four ovals of fabric and one piece of wadding. Two ovals of fabric were cut in half widthways to make the pockets.
Each of the pairs of halves was pinned right sides facing and stitched along the straight edge to make two shapes like this…
Then the pieces were stacked in the following order : wadding, complete piece face up, pocket pieces face up, complete piece face down. Carefully pinned together I stitched around the edge leaving a big turning gap towards the bottom of the oval.
After turning right sides out, flip the pockets inside out and stitch closed the turning gap, then flip them back the right way and you are done.
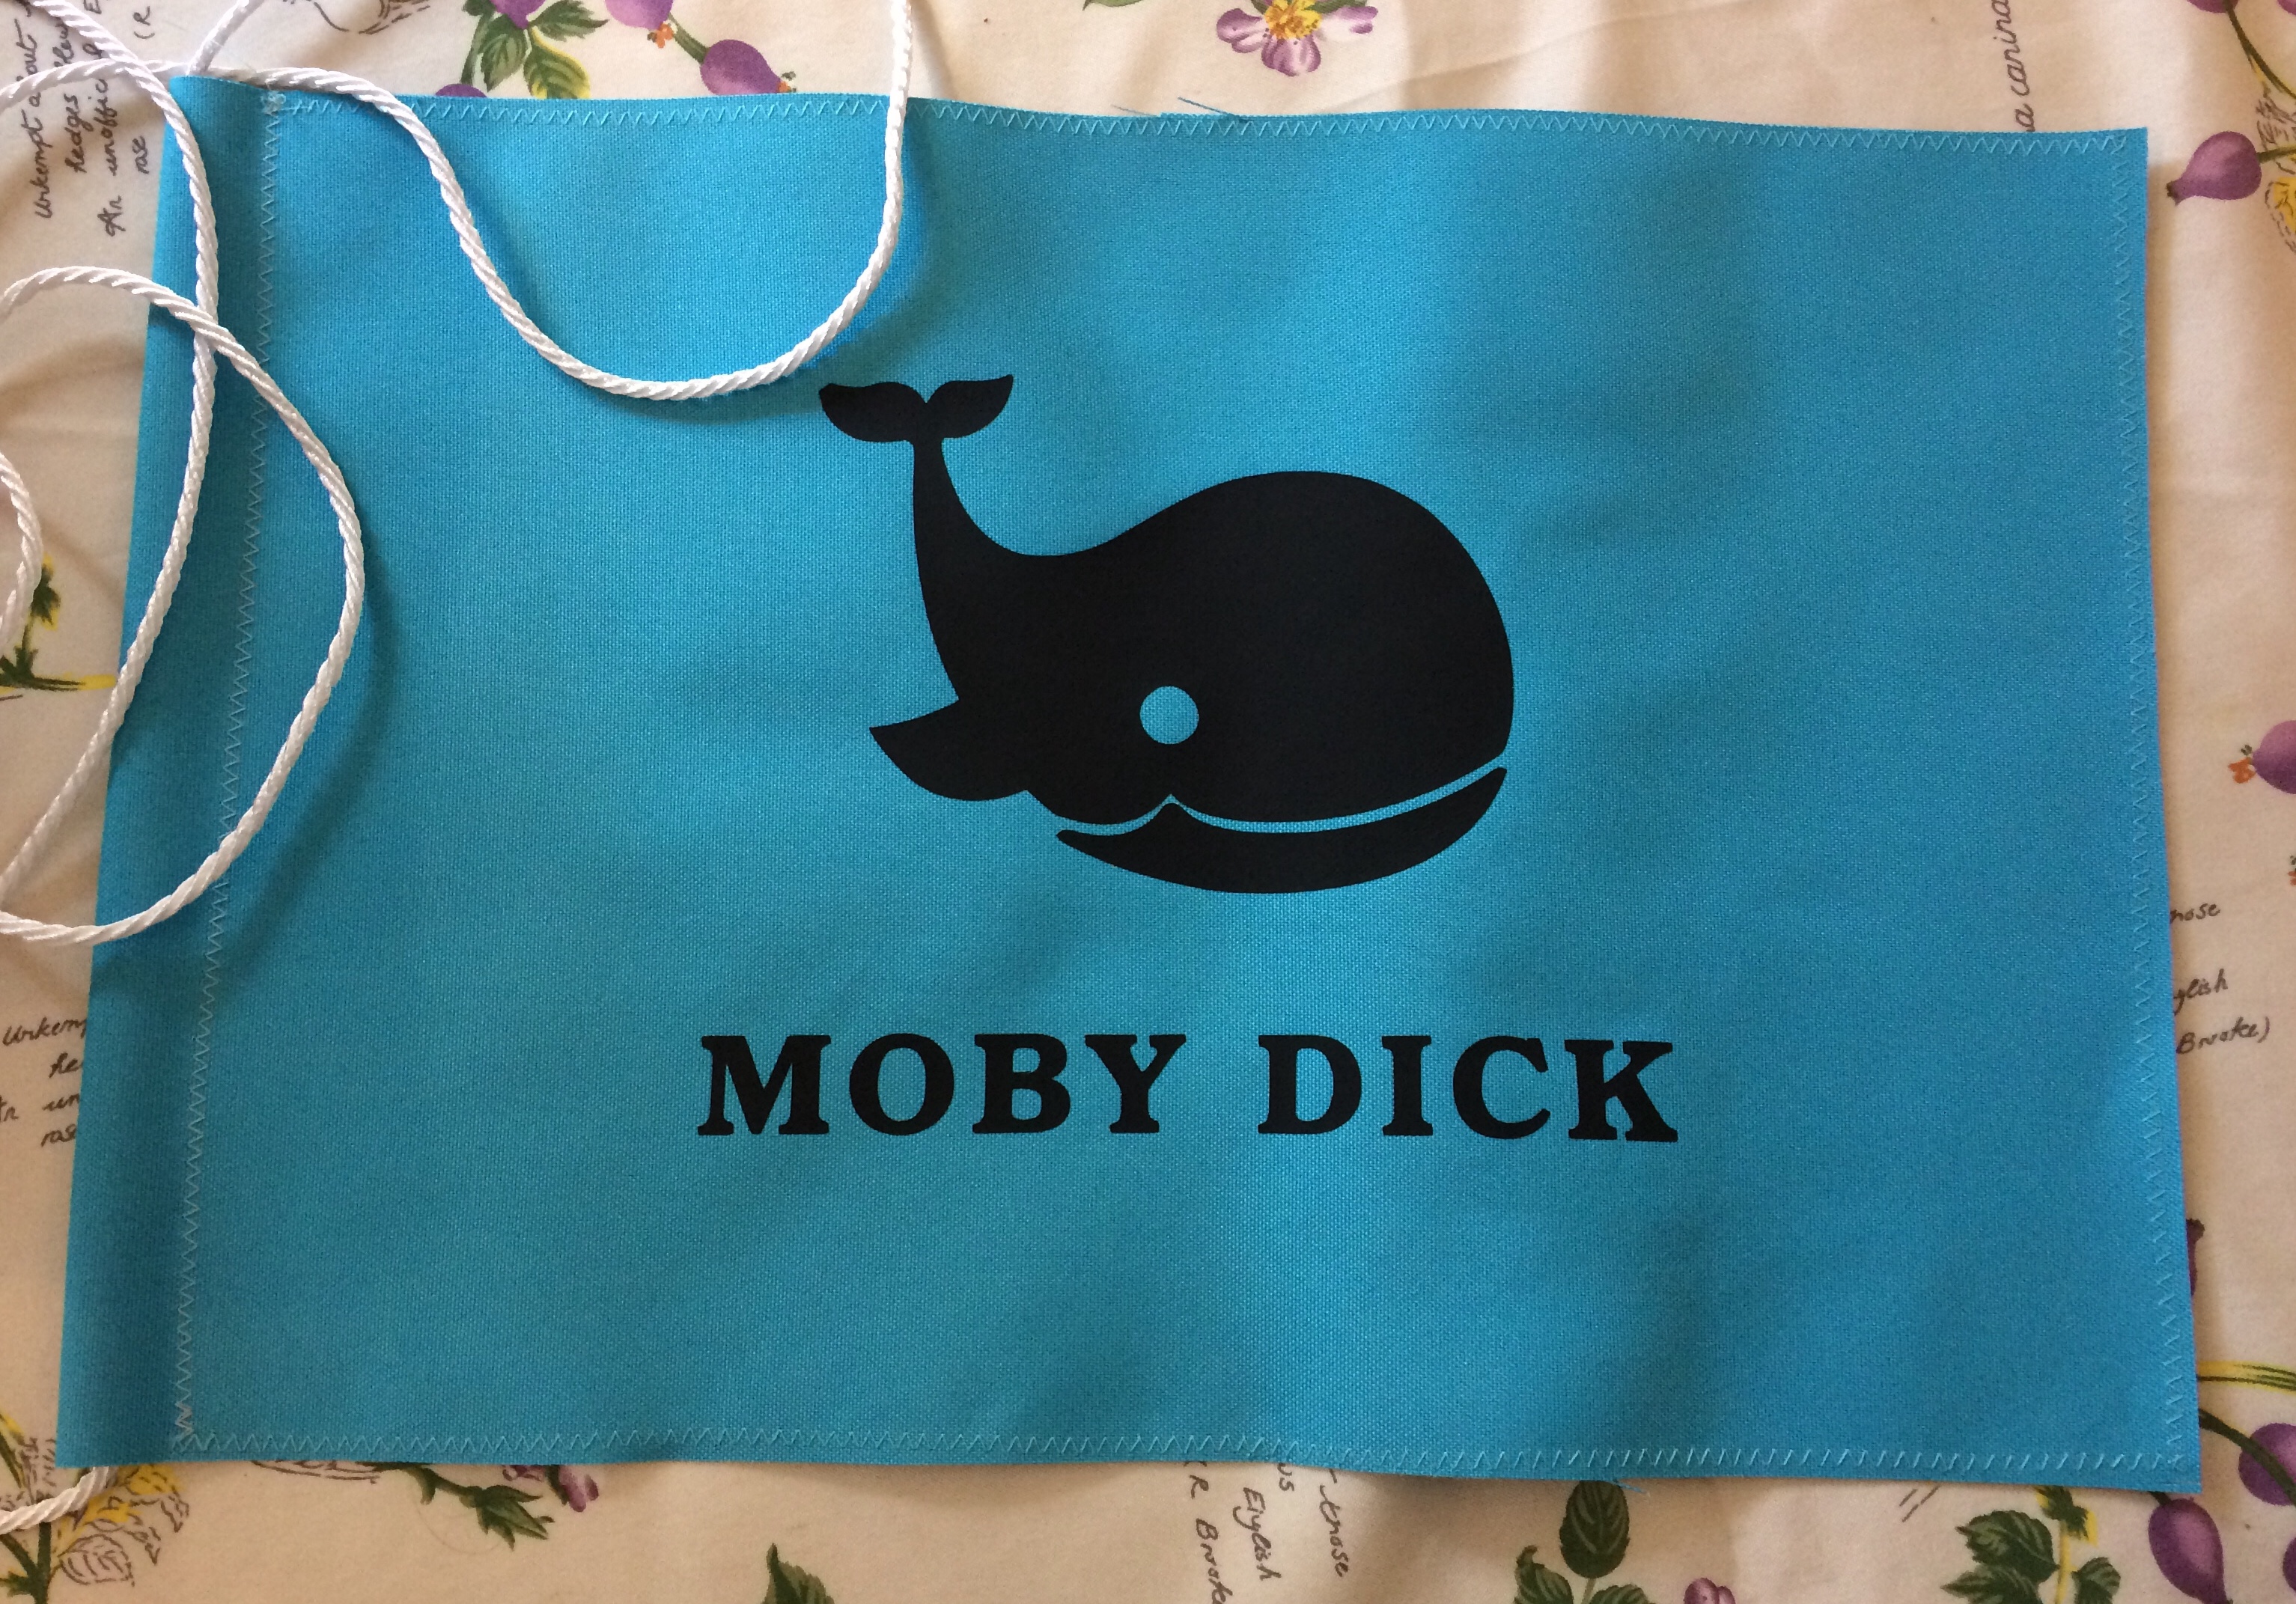
Remnants from a ‘remake the outdoor blinds’ project have been transformed, thanks to heat transfer vinyl …
This premium vinyl is much better than the economy version I have used before and I am surprised how well it melds into the canvas fabric. Let us see how the boat flag survives its outdoor life.
The other projects created from this crafty session with the trusty scan n cut (the whale is a standard supplied svg) will remain a Christmas surprise for the lucky few!