I resolve to try this

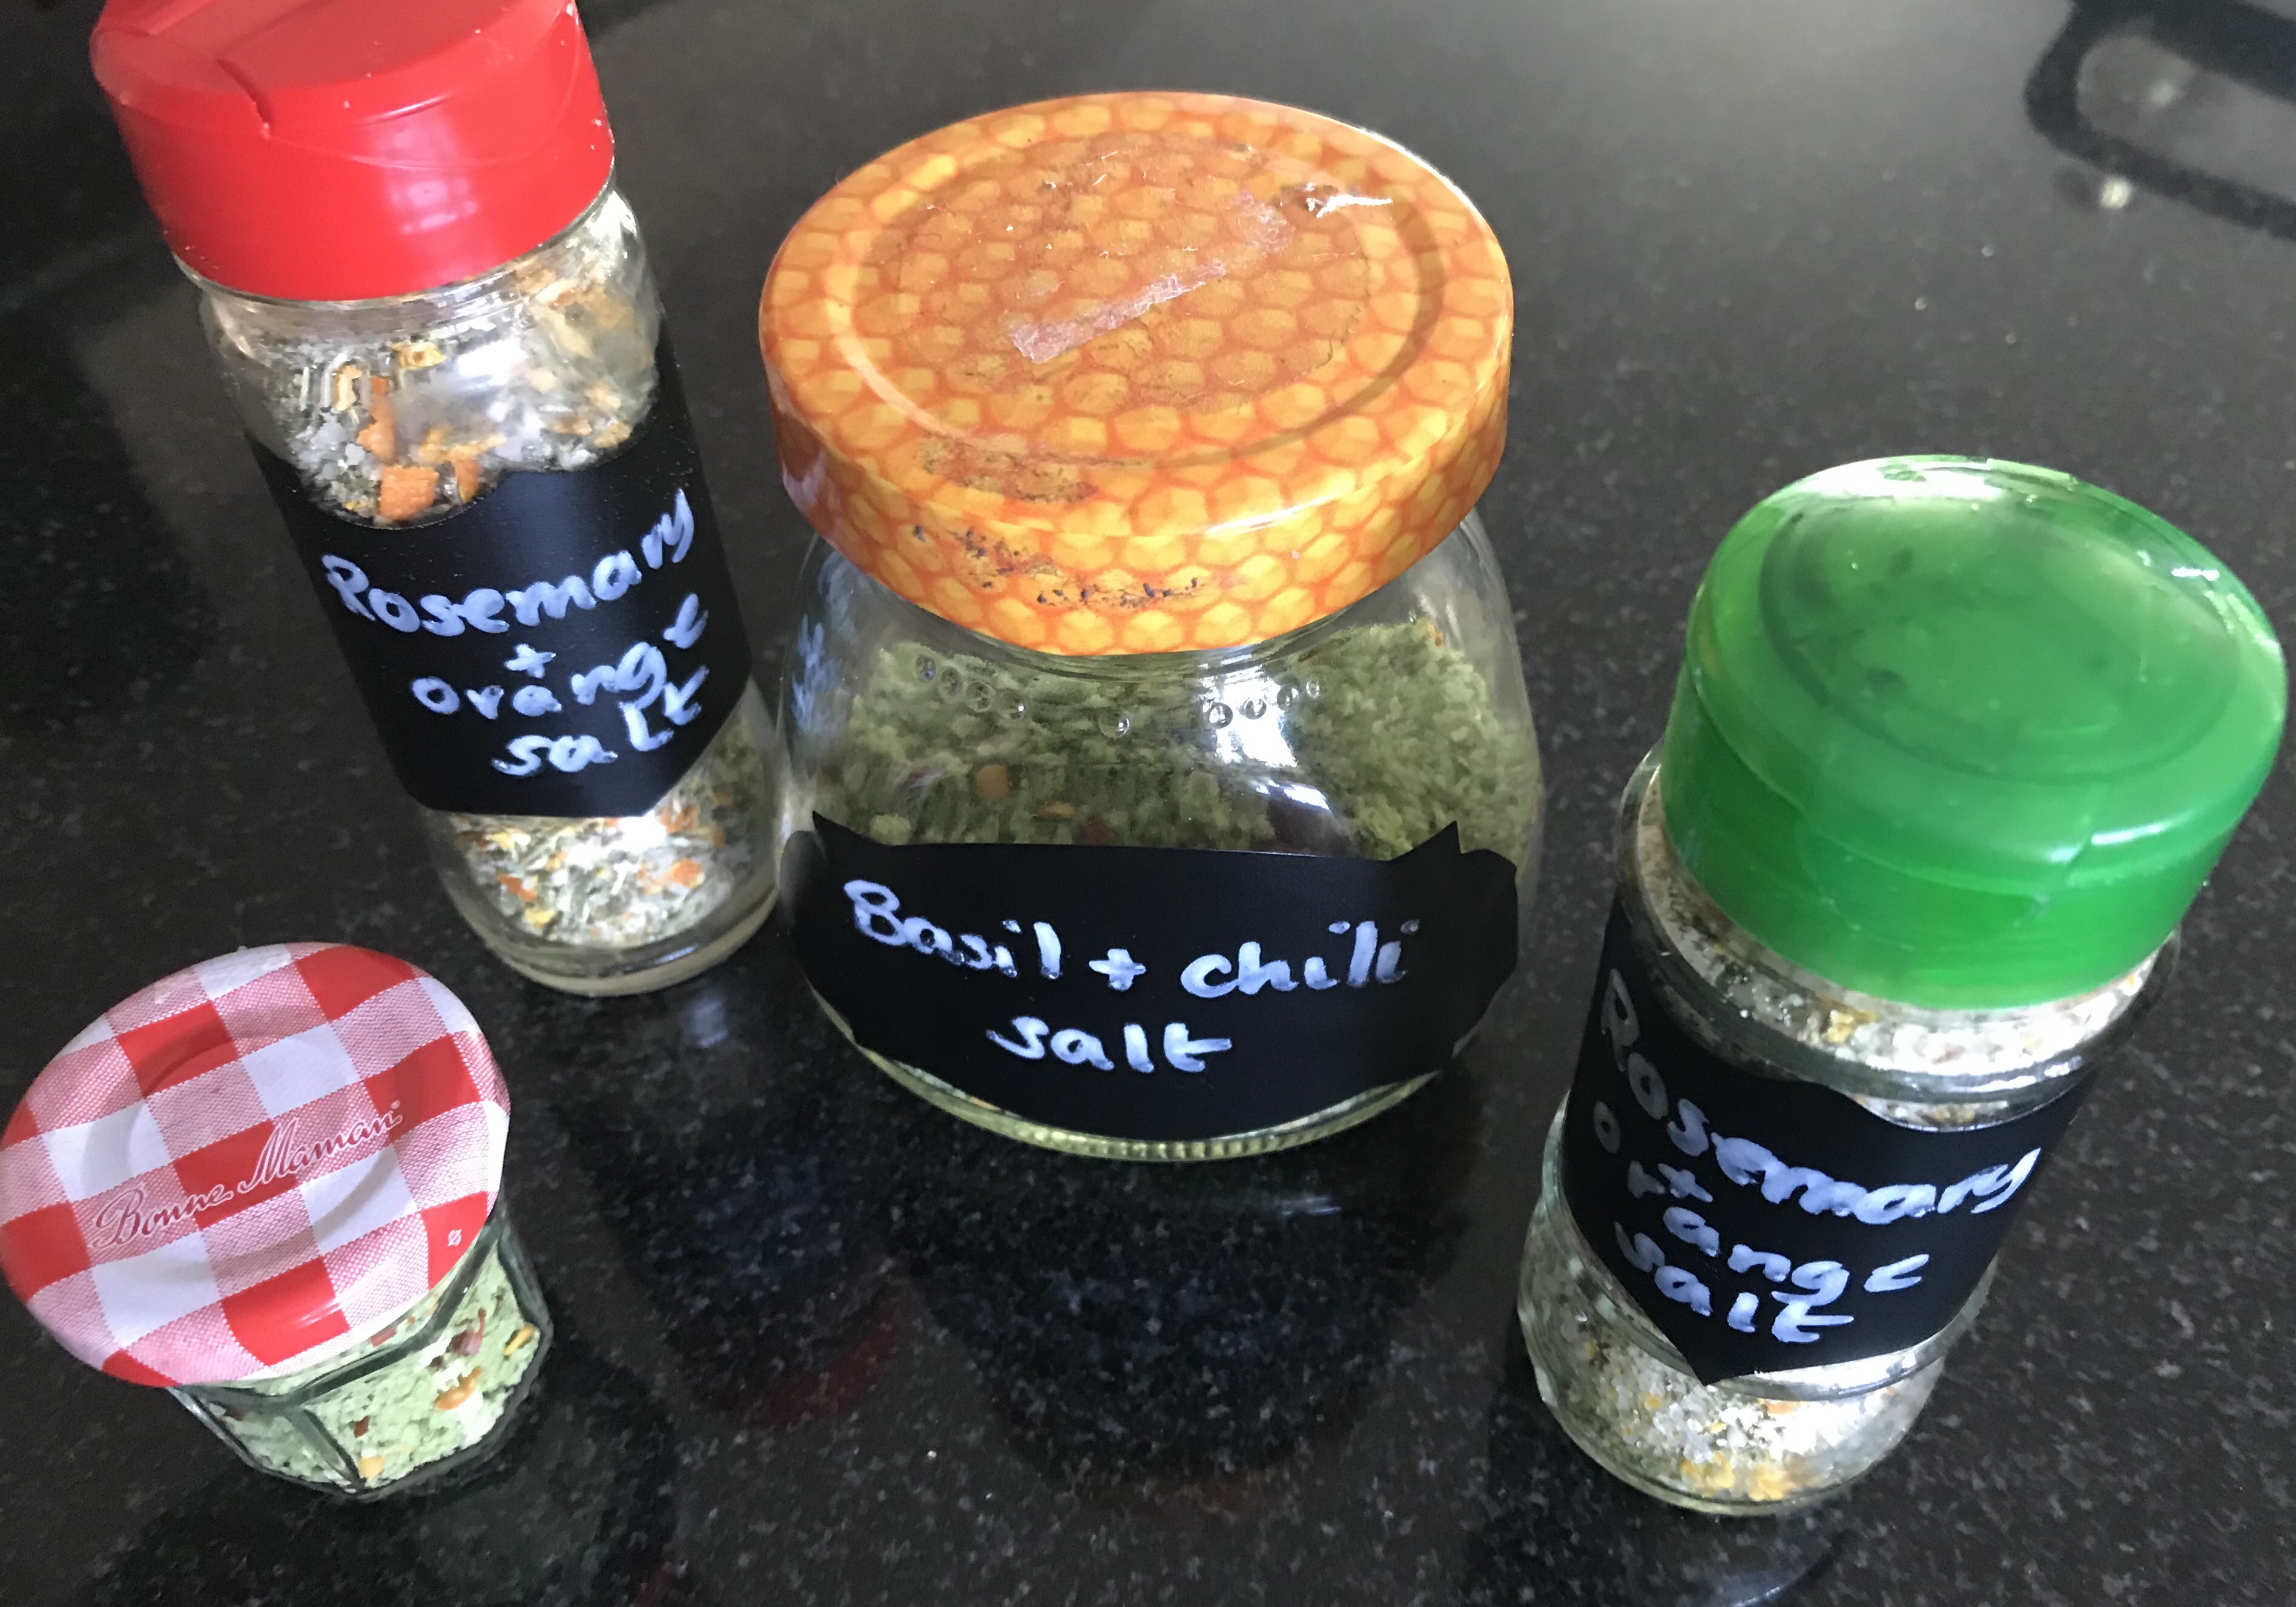
Flavoured salts lift simple recipes, they avoid waste by preserving herbs and fruit, they look great and are easy to make. Why not? Here are two ‘no weigh, use what you have’ versions.
For the rosemary and orange version the rosemary leaves were stripped from 5 long stalks ( I am keeping the stalks as kebab sticks). I peeled an ancient mandarin/satsuma that was lurking in the bottom of the fruit bowl, squeezed the juice over the rosemary, scraped the pith from the peel then chopped the peel into slices. The rosemary and orange peel was blitzed with about three tablespoons of coarse salt using the chopping attachment on my stick blender (I usually use it for making breadcrumbs).
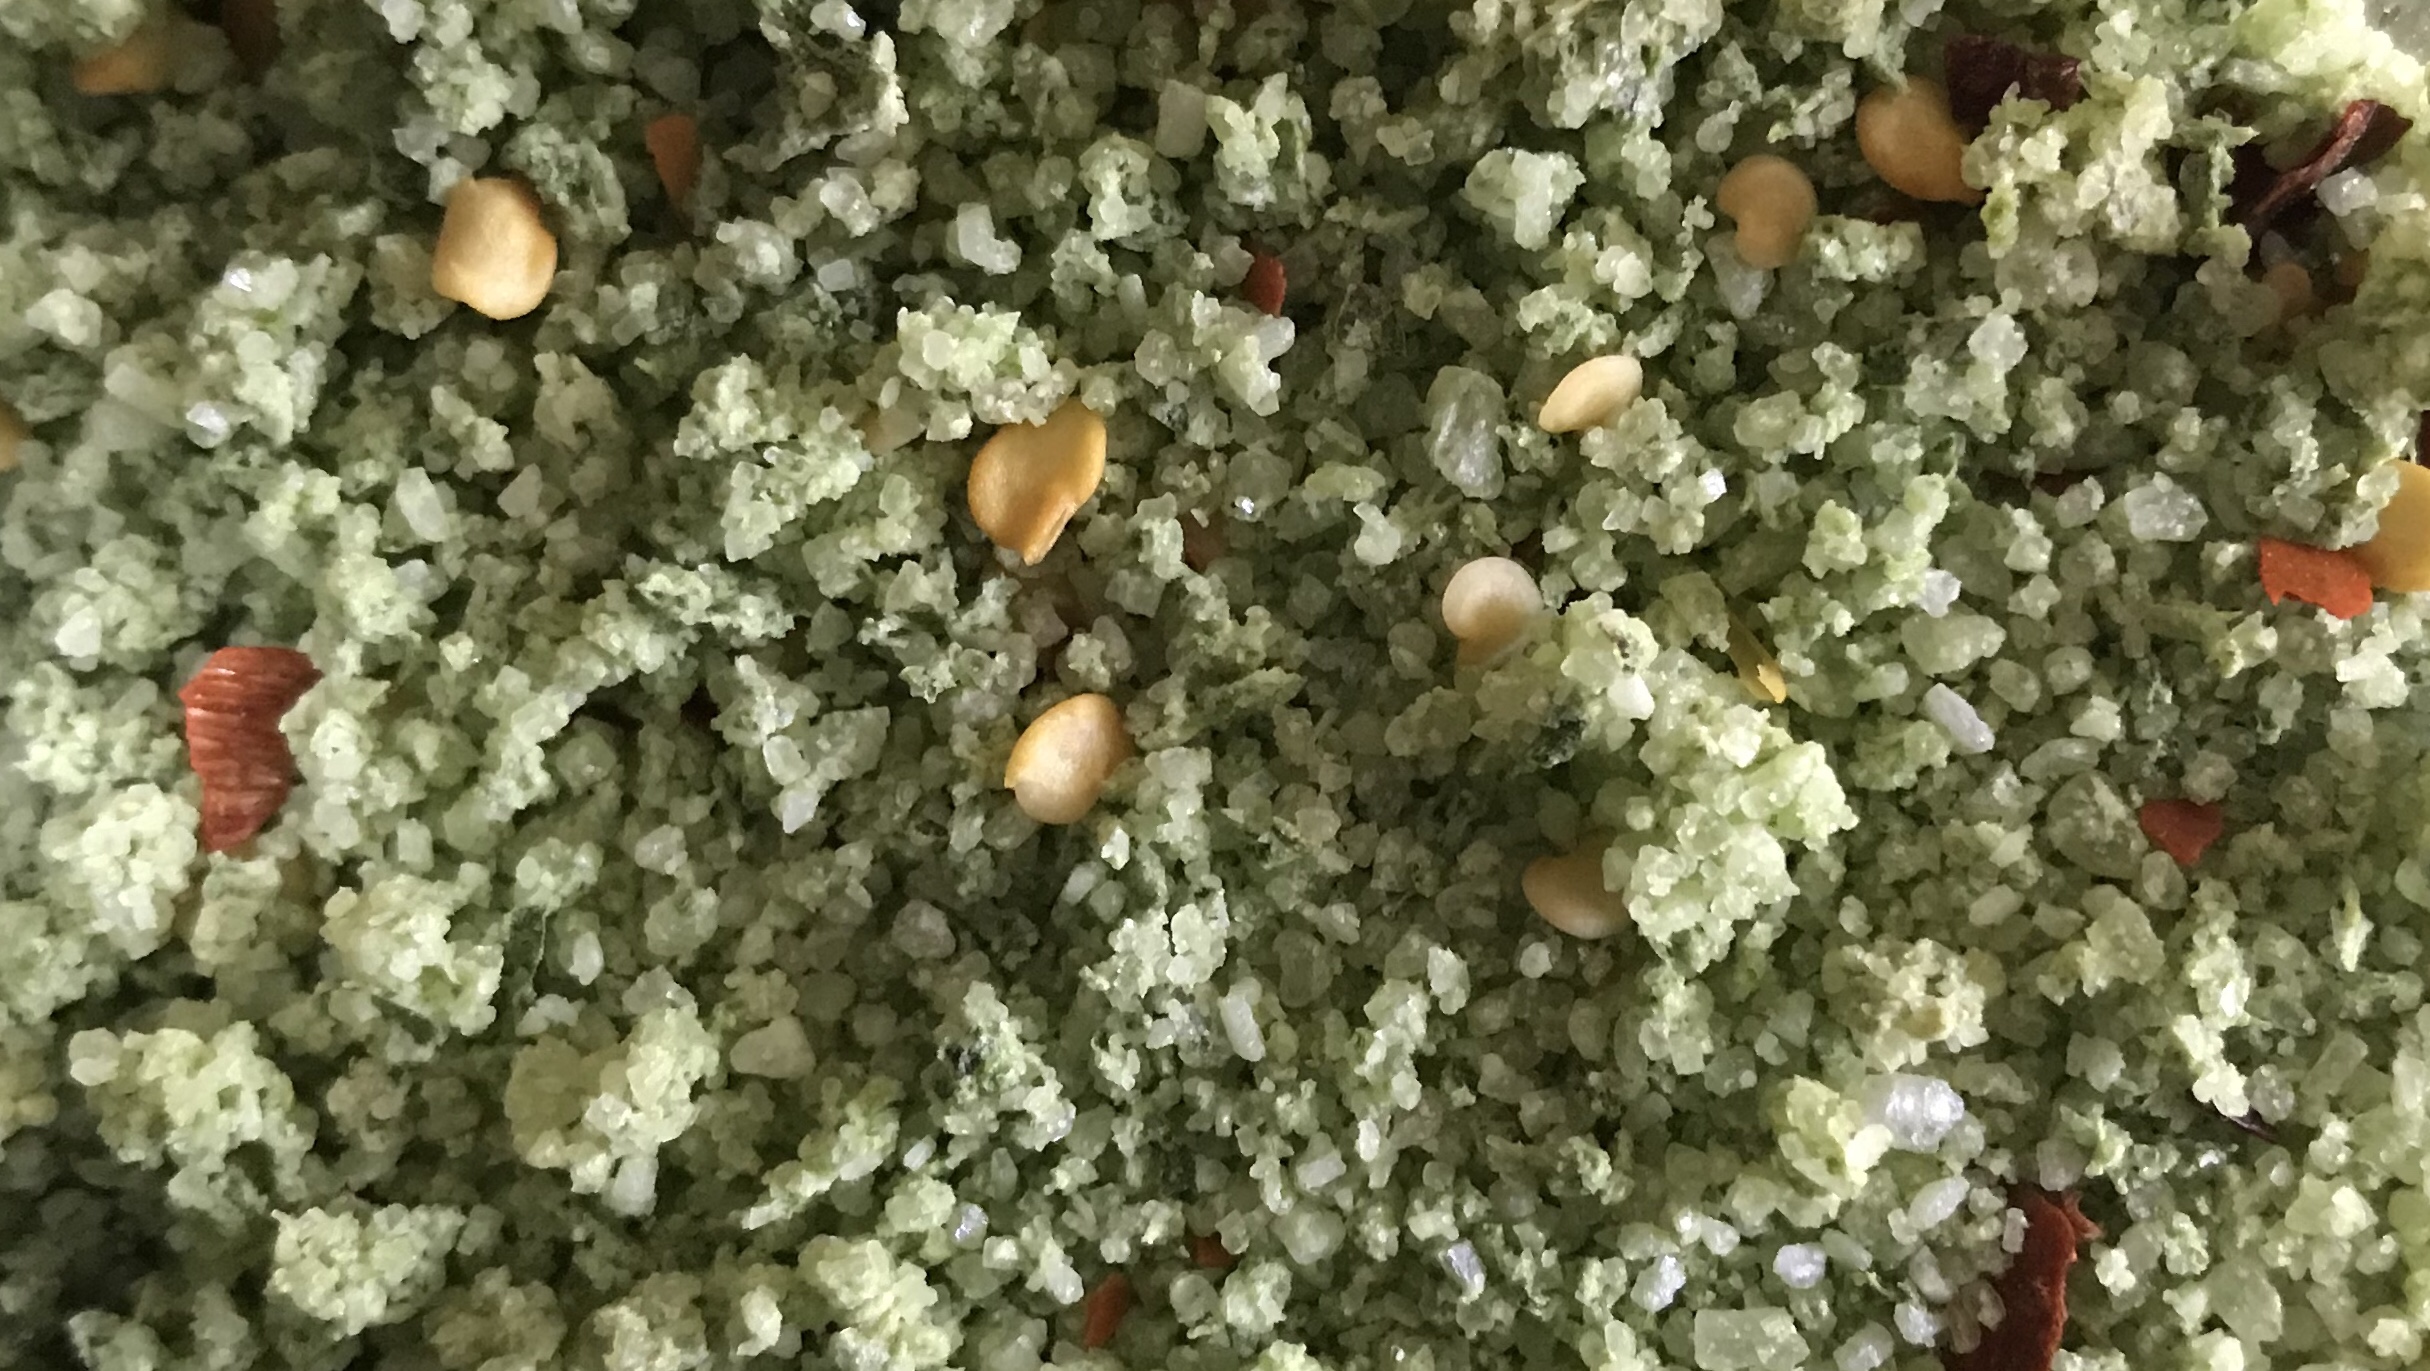
Just a few seconds of blitzing produced a kaleidoscope of coloured salt. The mix was spread on a silicone baking sheet and dried in a low oven for about 30 minutes before storing in recycled herb jars.
The basil version was even easier. Once the basil leaves were blitzed into 3 tablespoons of salt I spread the lovely green mix on a silicone sheet and dried it in a low temp oven for about 30 minutes. I sprinkled dried chili flakes in before storing in glass jars. So pretty.
Try rubbing into chicken before you roast it, over boiled new potatoes or other plain veg, over sliced tomatoes …
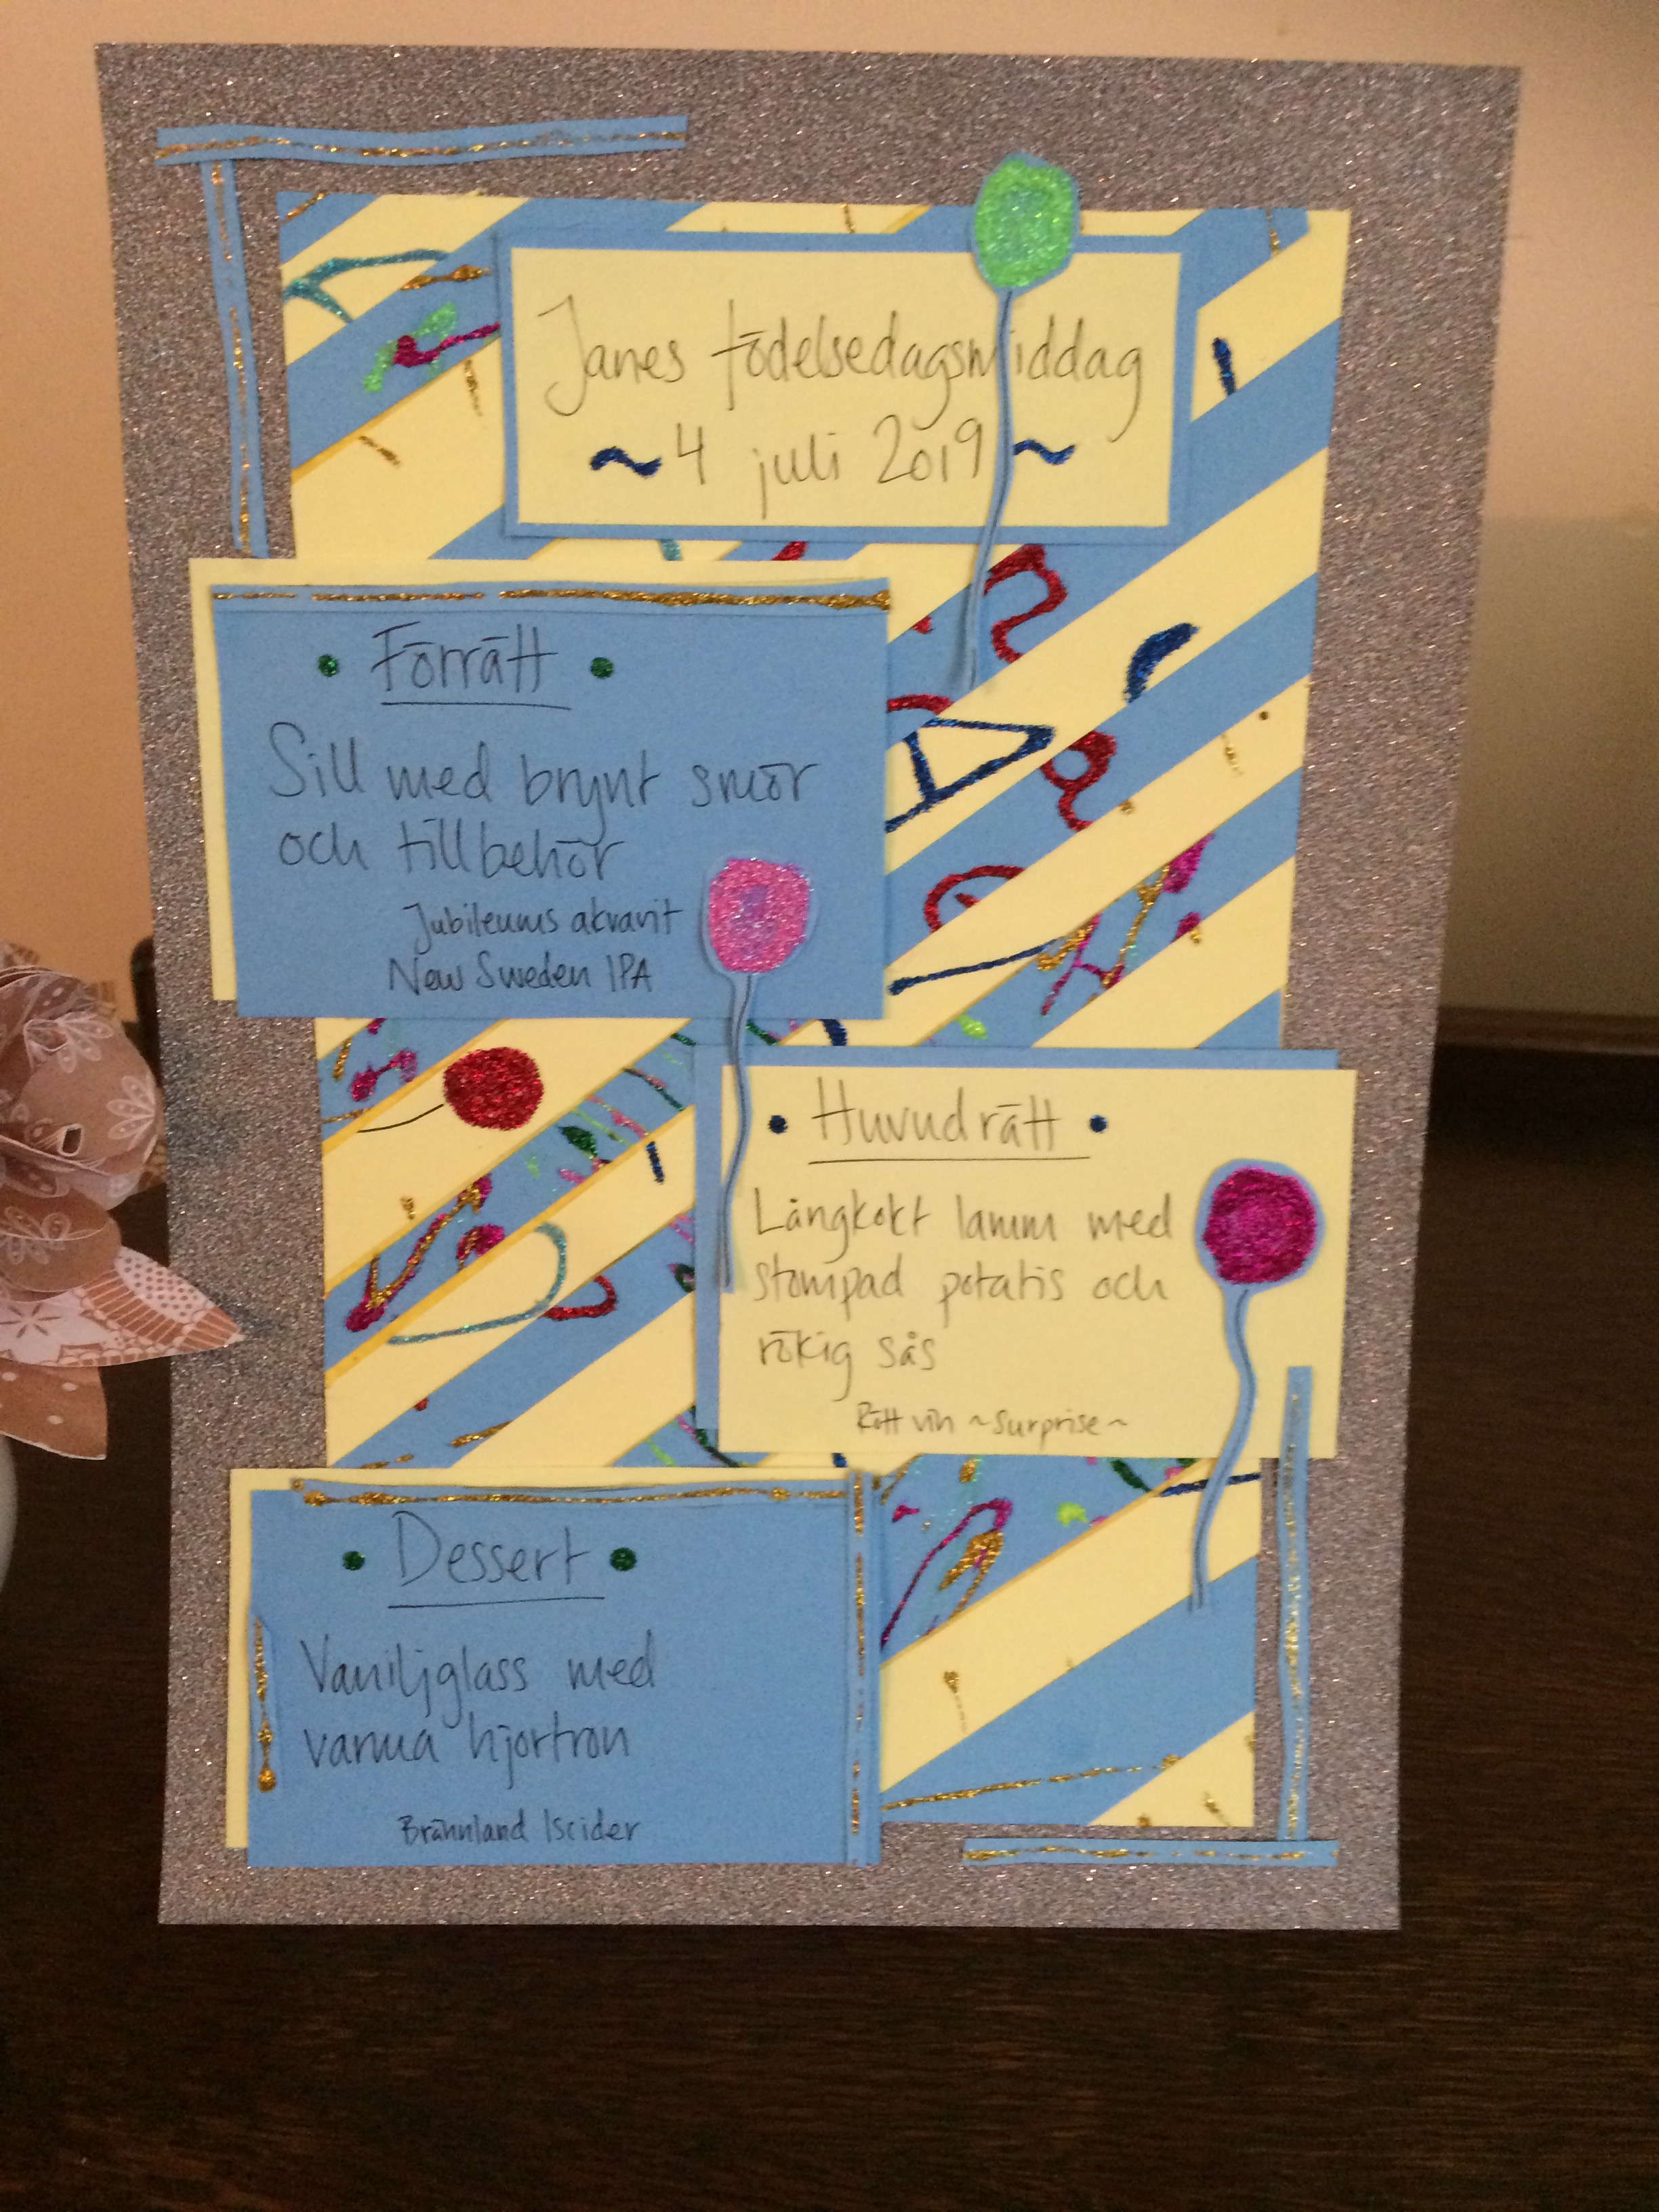
I chopped up two of the menus handwritten for a special birthday and turned them into a page that goes with our historic family meals display.


hand sewn using whatever felt, embroidery thread and embellishments you have…
inspired by Debbie Shore and using some crafters companion classic flower dies for the fiddliest shapes
these will have a life after Easter if scented and used on clothes hangers …
 So quick yet makes such a difference…
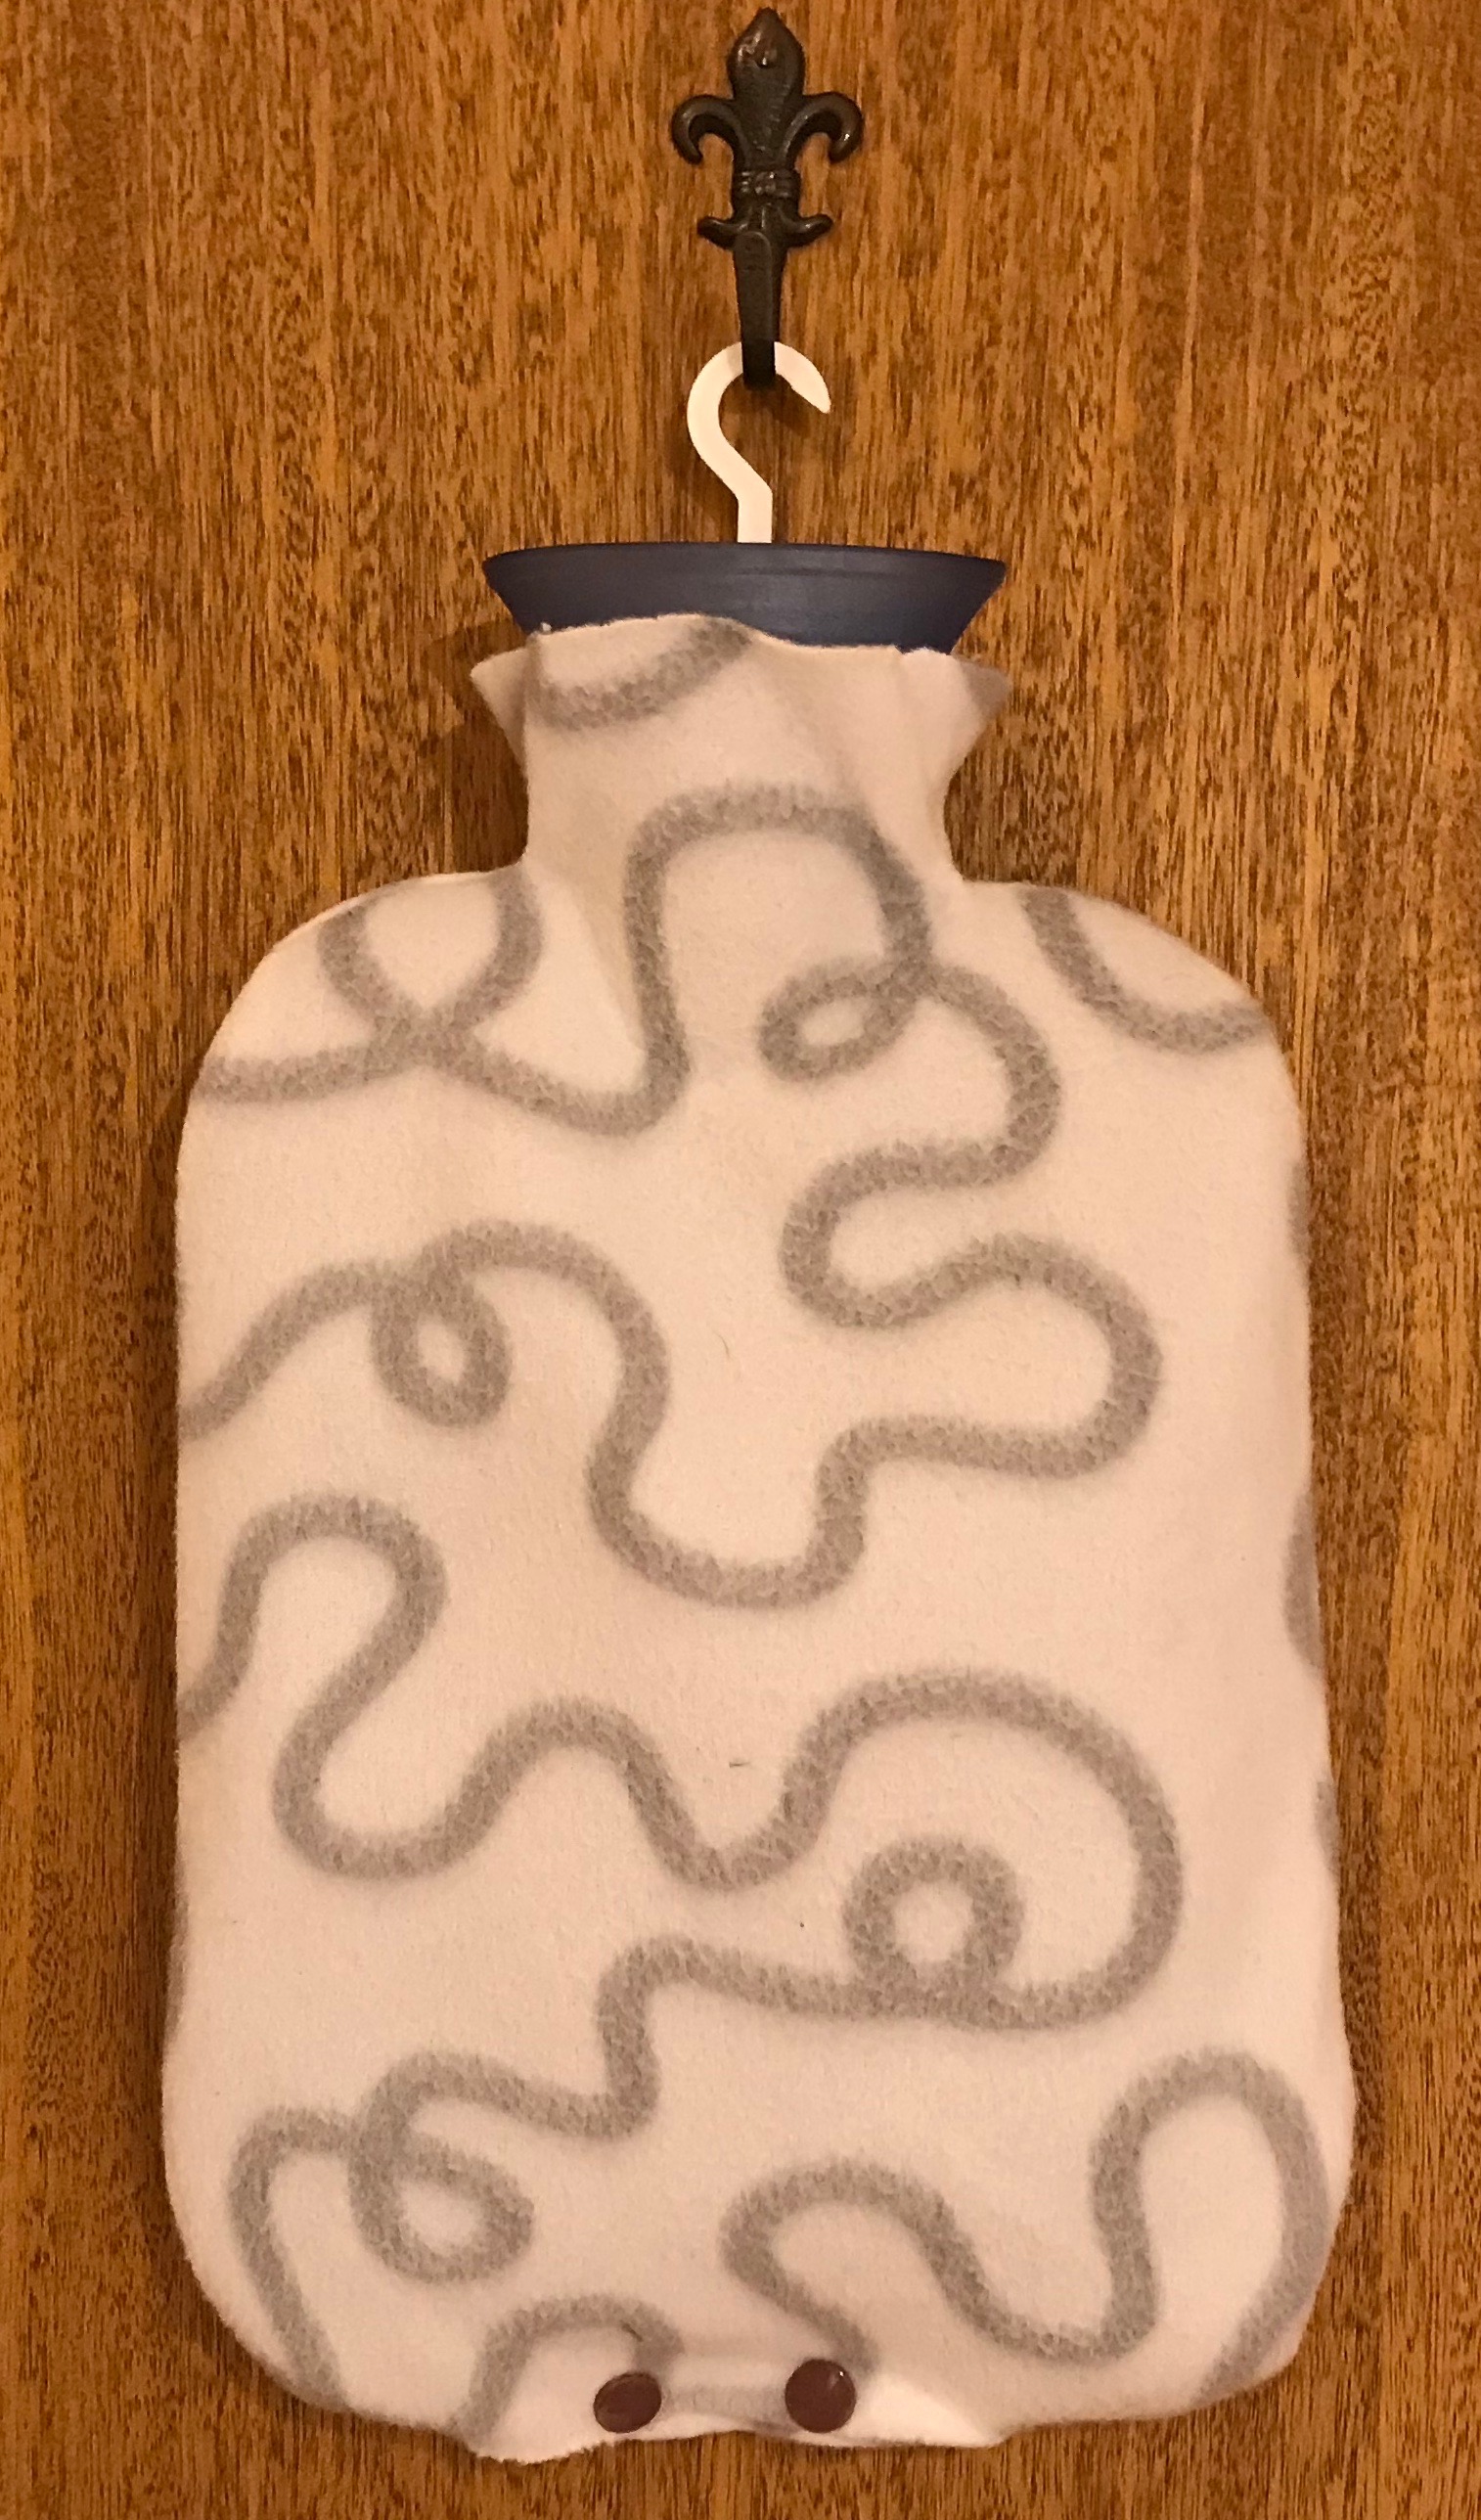
I laid the bottle on the fabric, traced round it leaving a half inch seam allowance then cut out a matching pair of fabric pieces.
With wrong sides facing, I sewed the sides from neck to bottom before flipping fabric right sides out and sliding in the bottle.
On one version I hand stitched the bottle in permanently, on the pictured version I used kam snaps to close up the bottom. With IKEA fleece I don’t have to worry about hemming the exposed edges.
This is a huge success as it keeps the bottle water hot for longer and is nice and cuddly too. Great return on the time spent on this one.

Who knew I would be such a sensitive soul? The first diy beauty fail for ages …
The recipe from Wellness Mama (and many other sites) did warn that some people are sensitive to baking soda in this, but surely not me …
But maybe you won’t be sensitive or you could try this without the baking soda (bicarbonate of soda) as I will be.
To make a trial batch – plenty for a couple of weeks – just mix
3 teaspoons coconut oil with 2 teaspoons of shea butter then add 2 teaspoons of baking soda and 2 teaspoons of arrowroot or cornflour. Finish with a couple of drops of rosemary essential oil (or lavender or clary sage or whatever you fancy).
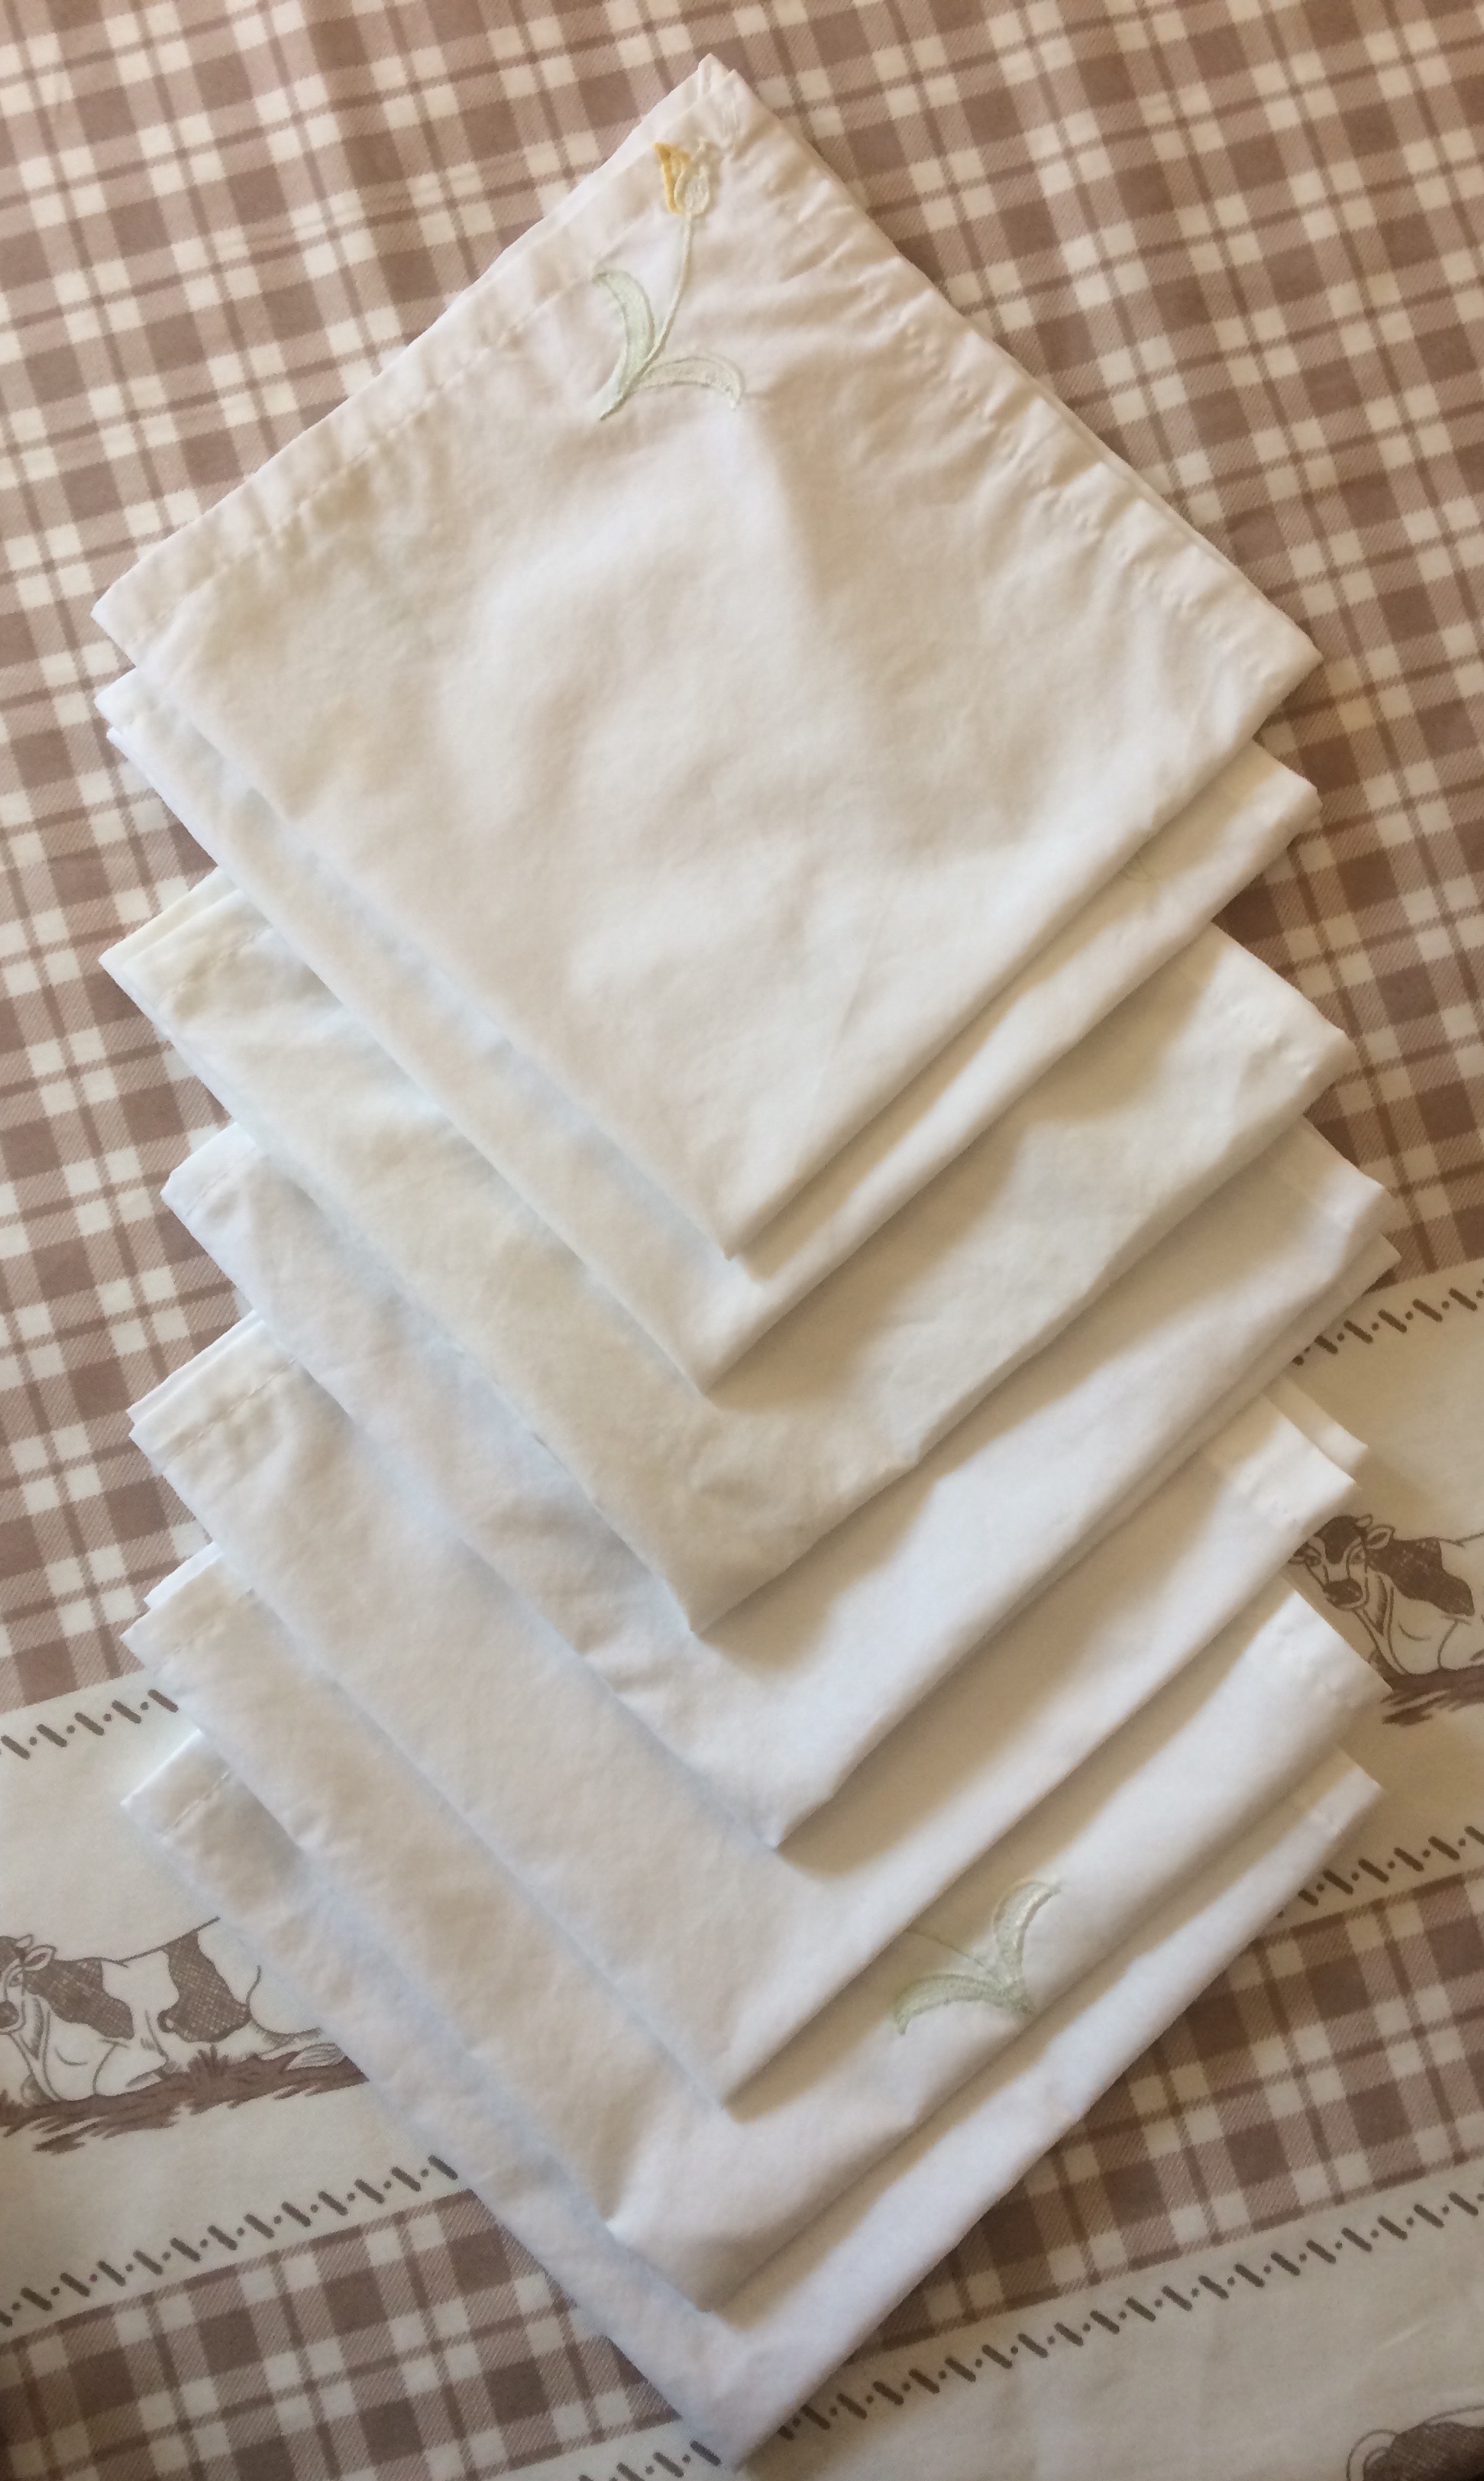 Vintage sheeting and duvet covers have been repurposed as everyday napkins as part of the effort to reduce the rubbish.
Thanks to the Crafty Gemini I also made a hemming guide which improved the accuracy of my hems and saved a few finger burns. this is just a piece of card with quarter inch lines marked in permanent ink that you butt up to the fabric edge when ironing to get a straight and measured seam. This makes mitred corners easy too.
However, I can foresee the ironing basket full of napkins waiting for my attention so maybe the paper version might still come into service sometimes.
 yummy but dangerously strong …
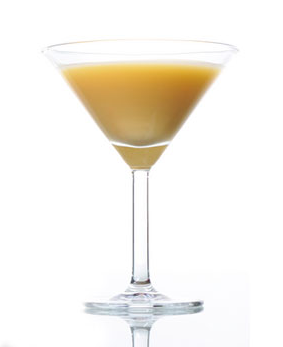
Ingredients
6 egg yolks, 1 can condensed milk, 1 teaspoon vanilla essence, 350 ml vodka (or brandy), lemonade
whisk the milk, then the essence then the vodka into the egg yolks – decant into small bottles and chill until ready to tipple
(this quantity made some little gifts but bear in mind that without preservatives this has a limited life)
then pour a measure into a champagne glass and dilute with lemonade
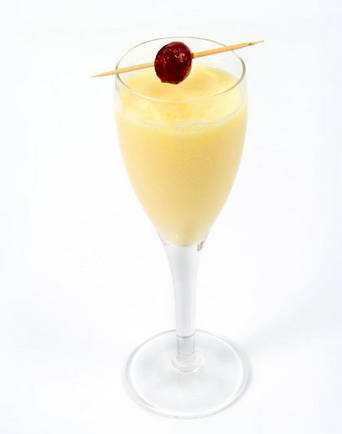 snowballs from my childhood (we drank them made with Warninks which is 17.2% alcohol, really!? well it was only once a year…) were topped with a glace cherry on stick but a little grated nutmeg looks good
for a wicked version replace the lemonade with sparkling wine (don’t waste good stuff on this)


Thank you Sam Clayton, Mixed up crafts channel. I have been following your laminating projects and now made a bundle of folders and file envelopes, this time secured with the snaps you motivated me to buy.
This is such an easy make and uses up papers that would otherwise be gathering dust in the ‘one day I will get around to liking these’ pile.
Now I have durable, fastening envelopes for keeping stamps, receipts, presenting gift cards and tickets or holding assorted papers.
I now plan to print some photos to make some personalised wallets as gifts…
Method
Just sandwich paper in a laminating sleeve then, when sealed, gently slice along the inside sealed edge between the paper layers to create a pocket. Trim any excess laminating plastic and send the folder back through the laminator to tidy rough edges. Follow one of her tutorials for clear demonstrations.
For the pink wallet I glued on a strip of paper as a tab, to mimic a wallet closure. This worked surprisingly well.
The size of the folders and combination of pockets is only limited by the size of your laminating pouches.
Fixing the snaps is easy. Again lots of you tube tutorials but my kit came ready set up to use and was logical. The only hurdle is positioning the snap near to the edge of a sheet as there isn’t much of an ‘elbow’ on the crimper.
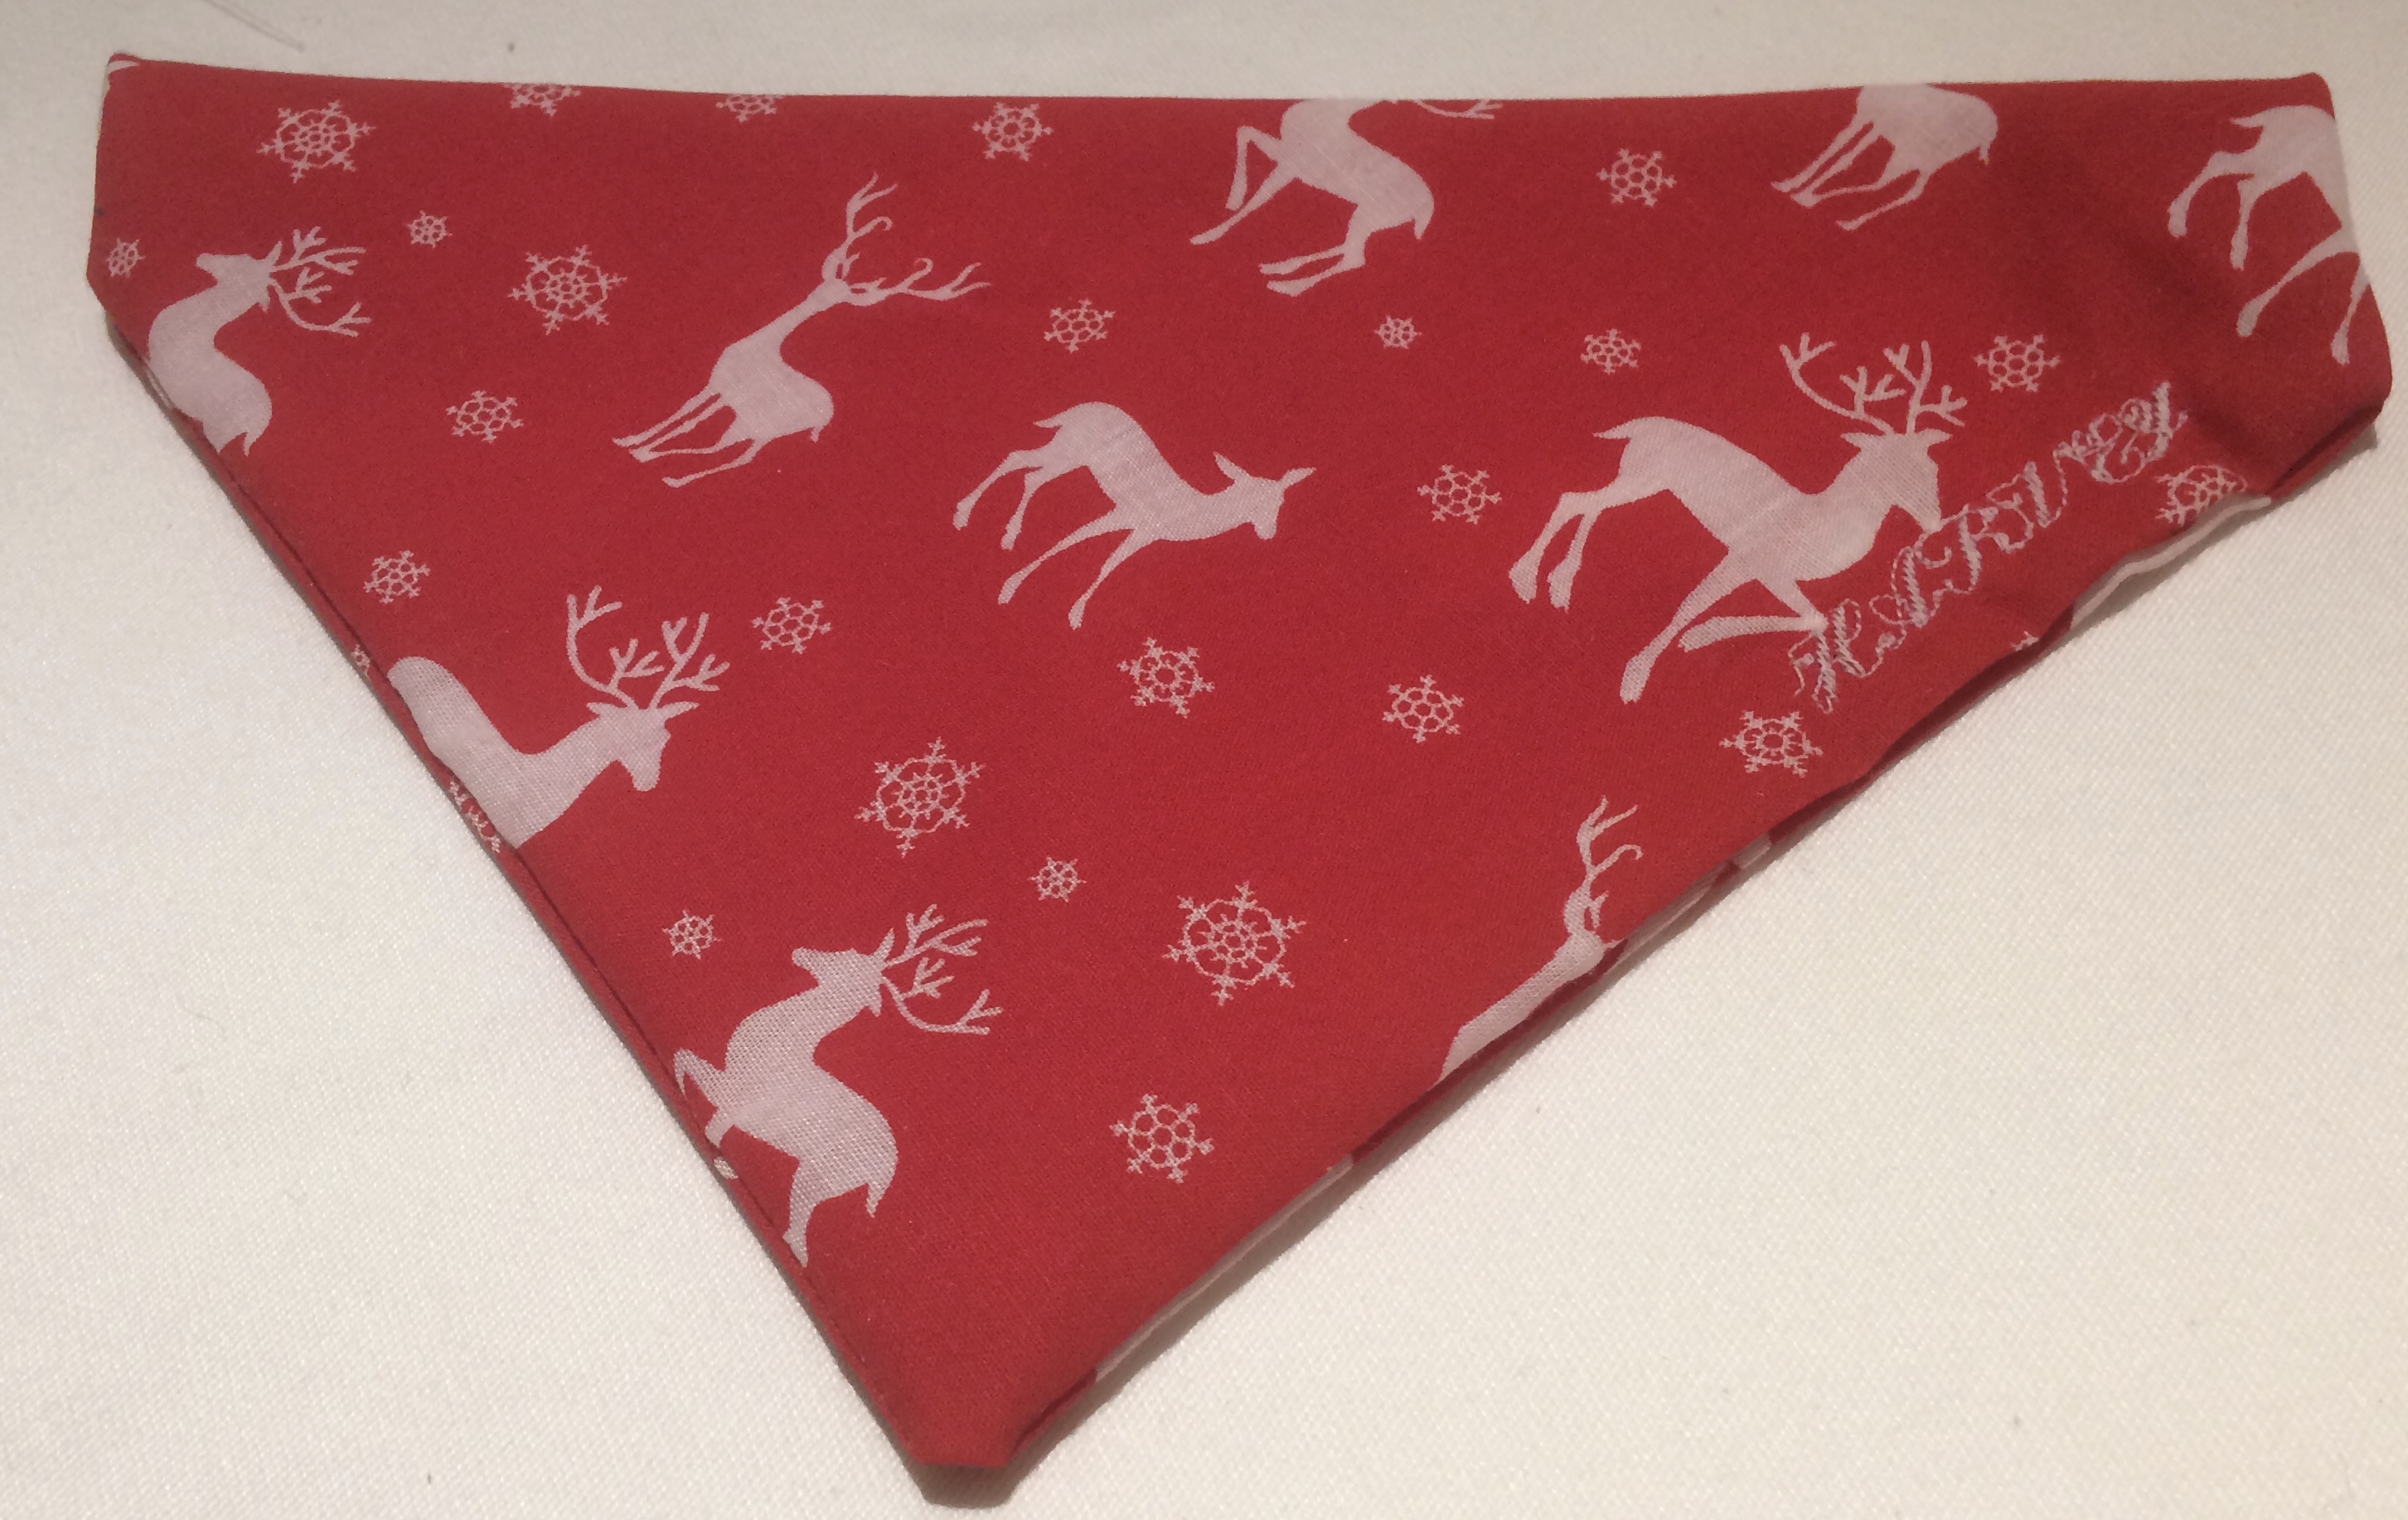 Just two minutes to make and sooo cute.
Cut a square of fabric so that the diagonal is the same length as your dog’s collar. Fold the fabric, right sides together, on the diagonal and press. Unfold the fabric and leave right side down.
At either end of the diagonal and fold a triangle about 5cm back to the middle so when you refold on the diagonal you get this shape, albeit inside out
sew the raw edges from just below one side fold round to just below the other and then turn right sides out through one of the gaps
done , just thread the collar from gap to gap and it is ready for wearing
if you want a more tailored finish you can run a line of stitching parallel to the top fold to create a channel for the collar
if you have a friend with a posh sewing machine why not add a little monogram or name as here …
