Vinyl signage

I over-ordered some exterior vinyl for 2021 Christmas projects so was pleased to use some on this lovely piece of wood we received at Christmas this year.

I used the scan n cut inbuilt font for the lettering. The font was stretched up to make it fit the wood fully.

After carefully applying the vinyl, resident DIYer drilled holes for the cord loop which he stained to tone it down.

Heat transfer vinyl

Remnants from a ‘remake the outdoor blinds’ project have been transformed, thanks to heat transfer vinyl …

This premium vinyl is much better than the economy version I have used before and I am surprised how well it melds into the canvas fabric. Let us see how the boat flag survives its outdoor life.

The other projects created from this crafty session with the trusty scan n cut (the whale is a standard supplied svg) will remain a Christmas surprise for the lucky few!

Use what you have wreath

A huge donation of crafty stuff set me up for months of playtime so I decided to use some of the flowers in a decor wreath

I cut a disc of cardboard from the recycling bin and wrapped it with wool before hot gluing flowers around. To keep balance I visualised the wreath as a clock face positioning flowers roughly at the hours but clustering them in odd numbers.

I kept going until the wreath felt full then gifted it to the lady who gave me the wool stash in the first place. Happy 90th!

Mind your head, dangler

A low newel post is a peril for taller visitors to our home so I tend to dangle seasonal ‘creations from it to avoid bumps. This month’s version uses one of my less used die sets.

The pirate ship die alone is 4 inches square (about 10.5 cm) so works well as part of a dangler.

Each element from the set was cut from card two or three times and stuck together to give it some stability and to sandwich in the thread hanger. I tried to use most of this fun Docrafts die set but couldn’t quite work the palm tree, desert island or octopus into this version. Next time maybe.

Tea bag holder

image
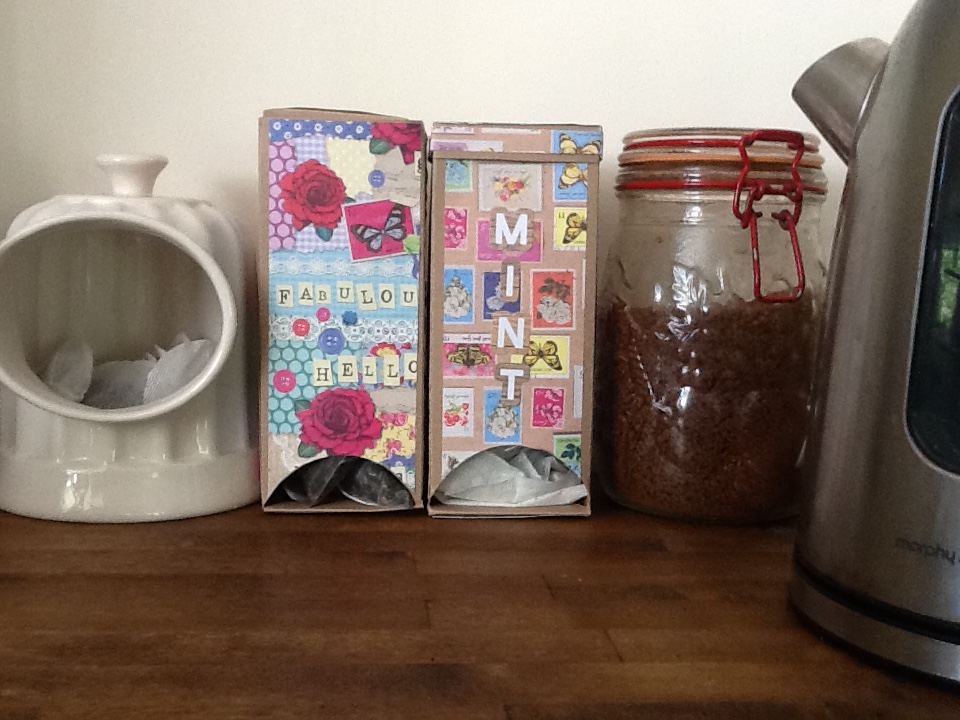
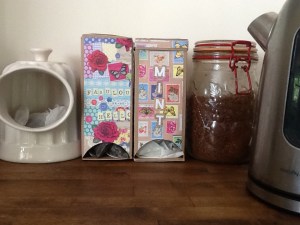
the jumble of teas was a mess so a set of boxes to tidy them up was needed

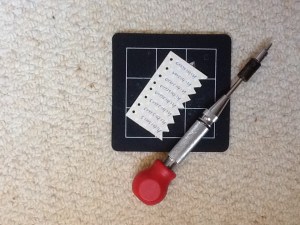
i ordered some fill your own tea bags to sort the loose leaf teas and made and labelled the tags with paper scraps.
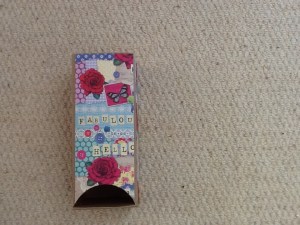
image

For the holder

1 sheet  craft card plus 11cm square craft card

2 sheets 8×8 inch scrapbook paper, I used Bohemian dreams from craftwork cards

scalpel, glue and roll of red liner tape

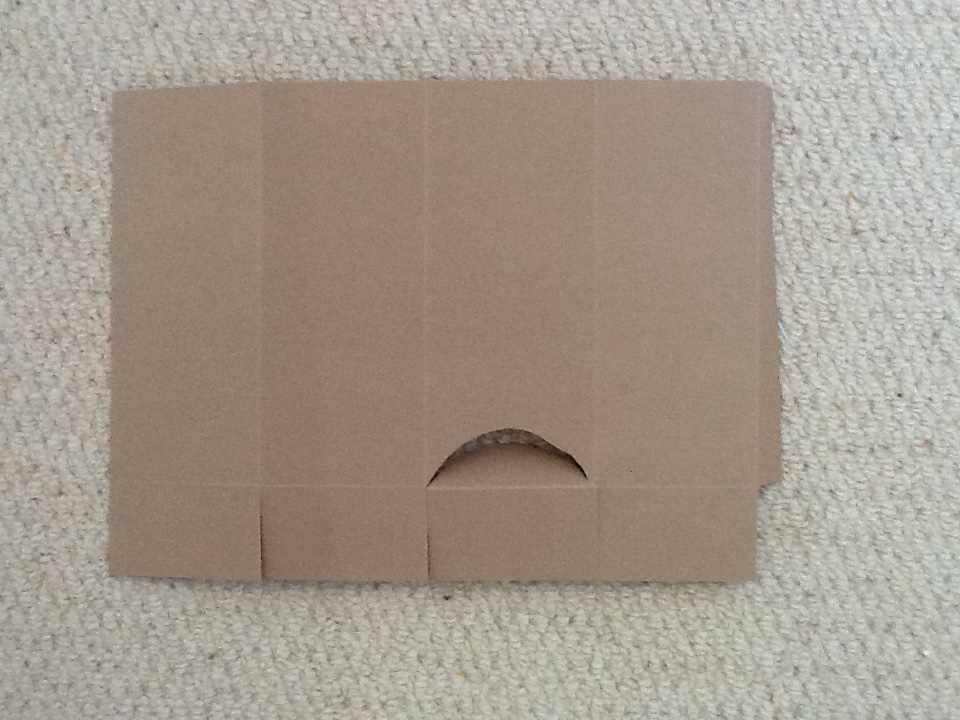
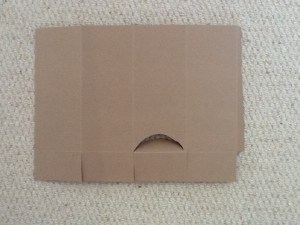
lay the sheet landscape in front of you and score at 7, 14, 21 and 28 cm down then 4 cm across. Cut out the tiddly corner and cut up the bottoms as shown to create the base flaps. Place the tape roll on one of the panels at the bottom crease and scalpel inside it to create the opening

image

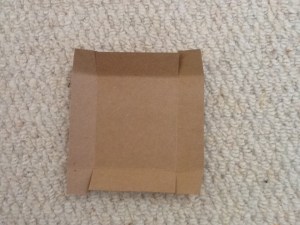
on the square card score around at 2 cm and cut one side of each of the corners as shown. I find it tidier to cut a tiny wedge out of these snips to make folding neater.

image


tape the boxes with red liner to keep them secure, tape the half moon flap to the base for extra stability and cover the outside panels with paper that is just a bit smaller  to create a mat effect

image

Pyrography, done?

image

Another craft ticked off the list.

a piece of driftwood, my hot fix tool and I have established that if we ever need a new house sign, this is do-able.

ideally I would have a thin tip to draw with but my method works:

sketch the the word or design with an erasable pen, I used a friction one. Make dots by tapping the hot tip along the traced lines and repeat so that the dots join up. I sealed the finished piece with mod pudge