Toothbrush travel cover

A3B8E326-615B-4E49-8206-339AA6047813

Just back from a trip where my toiletries bag wasn’t quite perfect, so this cover for my toothbrush is ready for next time. It keeps the toothbrush head clean away from other items but doesn’t take up room in your bag.

I cut a strip from a bargain IKEA shower curtain, my strip was 55 cm by 10cm – this is big enough for brush and toothpaste so you could go narrower and shorter if you take a manual brush.

The short ends were each folded under by about 1 cm twice to enclose the raw edges. I then folded the short ends together and sewed a 1cm seam along each open side to make a tube

(Tip: clip rather than pin shower curtain to avoid visible pierce holes and use a long straight stitch and a walking foot to minimise slippage on slippery fabric).

Finally. turn the tube inside out to hide the seam. I used snaps to close mine but you could fasten with a hair clip or paper clip.

nb Although it looks like I boxed the corners, I didn’t. I just didn’t poke the corners out fully as the sewing isn’t super hardy on this fabric.


peppermint bites

Rather than go and buy some sweeties in case we get callers – we are a bit off the beaten track for most trick or treaters – I whipped up some peppermint bites that we can unwrap and  enjoy ourselves if not collected this weekend.

these are easy – about 5 mins once you have got the ingredients together, plus a couple of hours chilling time

3oz of Philadelphia type cream cheese, a tablespoon of softened butter, 3 cups of icing sugar (yes it is a lot), a drop or two of green colouring and a drop or two of peppermint oil

mix everything together and put teaspoons of the mix on a silicone or wax paper sheet – chill till firm

wrap in waxed paper and decorate for the season

apparently they will also freeze for a few months

Food covers

image

Originally conceived to cover the dog bowl but now I have realised these food protectors are as efficient as the umbrella type food domes I have been using and much more space efficient.

Cut a circle of paper or card slightly larger than the intended bowl, laminate and trim the excess plastic to fit the circle ( both cuts can be done on a cutting machine or by hand). If you re laminate the trimmed circle the heat softens any rough edges you may have left.

I used some of my stash of letters to decorate the circle before laminating but these function without decoration.

The laminate may warp if used on hot bowls or over steaming hot foods but otherwise these easy wipe covers do a useful job.

The next batch will have new wording, after all – there are no flies on me!

Laminated, snap-close folders

Thank you Sam Clayton, Mixed up crafts channel. I have been following your laminating projects and now made a bundle of folders and file envelopes, this time secured with the snaps you motivated me to buy.

This is such an easy make and uses up papers that would otherwise be gathering dust in the ‘one day I will get around to liking these’ pile.

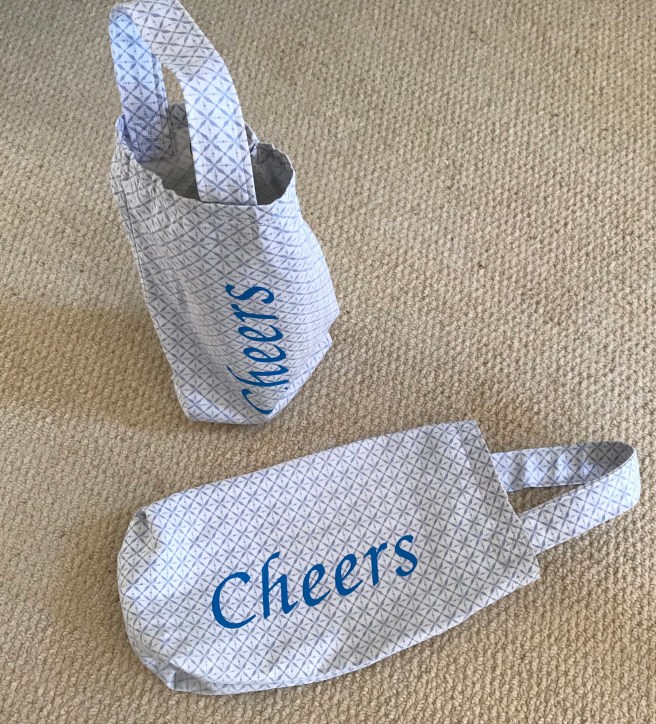
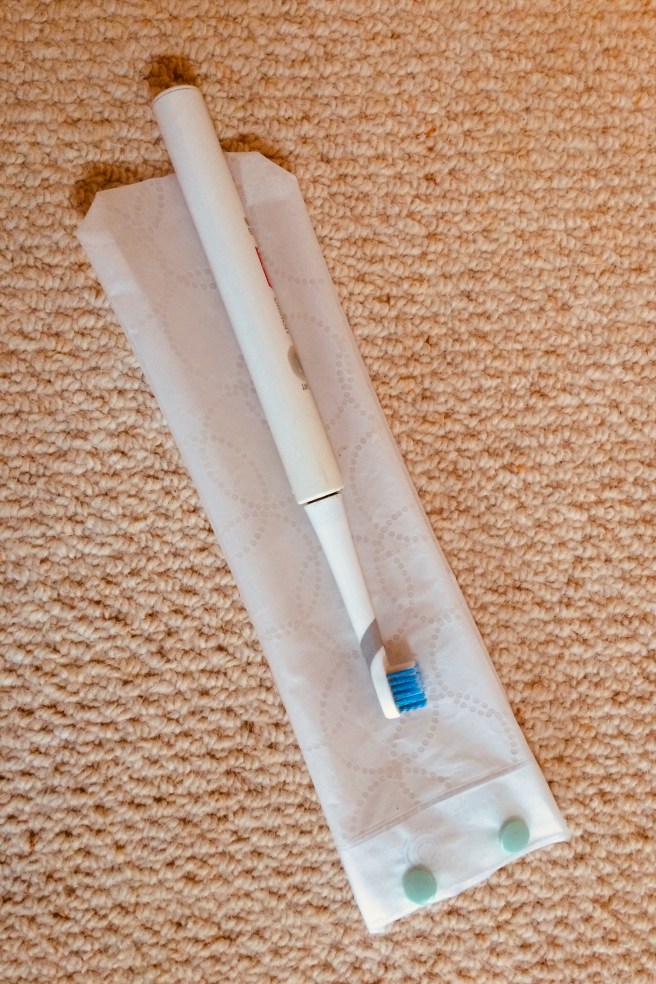
Now I have durable, fastening envelopes for keeping stamps, receipts, presenting gift cards and tickets or holding assorted papers.

I now plan to print some photos to make some personalised wallets as gifts…

Method

Just sandwich paper in a laminating sleeve then, when sealed, gently slice along the inside sealed edge between the paper layers to create a pocket. Trim any excess laminating plastic and send the folder back through the laminator to tidy rough edges. Follow one of her tutorials for clear demonstrations.

For the pink wallet I glued on a strip of paper as a tab, to mimic a wallet closure. This worked surprisingly well.

The size of the folders and combination of pockets is only limited by the size of your laminating pouches.

Fixing the snaps is easy. Again lots of you tube tutorials but my kit came ready set up to use and was logical. The only hurdle is positioning the snap near to the edge of a sheet as there isn’t much of an ‘elbow’ on the crimper.

Paper roses, paper roses … oh how real?

I have an ear worm of that song and a vision of marie osmond singing it. Never mind that though,  I am happy with the paper flowers produced in this crafting session.

The flowers look quite different depending on paper used and the container/ vase displayed in. The blue themed group are my favourites but the patterned paper flowers aren’t trying to be real and look cute.

I was determined to use up some of my craftwork cards paper stash and I set the scan n cut to work. But you could cut a similar set for each flower quite easily by hand.

5EE86A4F-36D1-4858-8438-E67BB9842876Tips

soften the paper fibres by rolling each petal around a barbecue stick or rubbing it against a bone folder

I used hot glue to form each petal layer into a cup shape but tacky glue works as well – albeit making assembly a little slower

I made a hole with my pokey tool in the centre of each glued cup then impaled a set of petals with an I-pin, a long sewing pin would work as well. Then I glued the single petals, including the rolled one, over the pin head. Some flowers have some Candi ( a small circle of paper that came with the paper pads from craftwork cards) at their centres. These were fixed with foam pads and hid the pin very well.

I stuck the pins directly into oasis in the bucket style containers and for the vase bound the pin against a length of barbecue stick. I used washi tape to bind, florist tape would have been better.

Some leaf shapes filled in the gaps in the arrangements, I needed far more flowers than I thought I would to fill the containers. Next time I will distress the leaves with ink to make them look softer.


Crayola cartons

IMG_0647img_0646.jpg
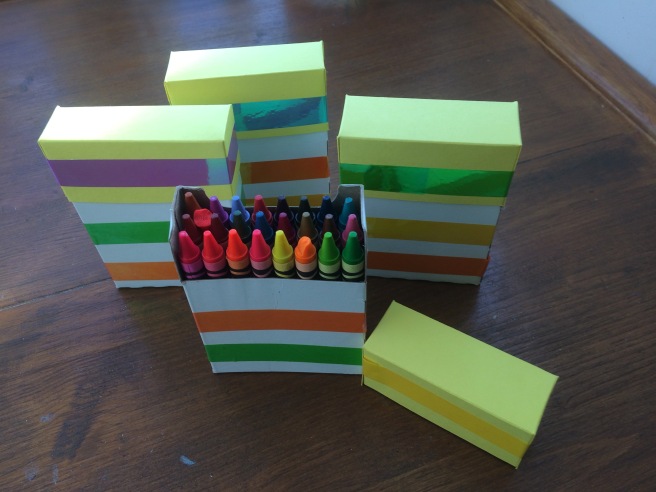
A quick fix to box up some of the very many loose crayons I have accumulated to go to a charity drive and present them nicely (plus use up some of the acculululated washi tape.

The lid was a piece of 14.5 x 9 cm card scored at 3.2 cm in from each long side and 2 cm n from each short side then cut and trimmed as shown.

I used my Tonic trimmer which has a very handy scoring blade that makes meauring a little job like this quick and easy.

The lid was folded to shape and fixed with a length of washi and then further washi in contrast colours was stuck around the base carton to unite the top and bottom.

Jeans to bottle bags…

0FBD631B-C8B8-4AAE-954A-23D4BDB3A94C.jpeg

A worn out pair of jeans is repurposed so the bottoms of both legs have become bottle carriers.

This is a quick job suitable for heavy weight fabric, such as denim. Lighter weight material will need lining. With straight leg adult jeans the resulting bag is big enough for champagne or magnums if you are feeling generous.

method

Cut the bottom of the jeans leg off.  I took 15 inches off. Cut up one of the seams so you have a rectangle 15 inches tall and the width is the circumference of your jeans leg. Mine were straight leg jeans so plenty big enough for the next step. (If your jeans are skinny, cut a further 3 inch strip from the remaining jeans leg to make your handle)

Cut a strip about three inches wide from the side of the rectangle. Turn in the raw edges , fold this strip in half and then sew down both sides to make a 15 inch long handle. Set aside.

Turn the remaining fabric so the hem is at the top then fold it right sides facing  and seam down the side and across the bottom of the rectangle. This leaves the hemmed edge open so it becomes the neat, finished top of your bag. I boxed the corners of my bag, but it isn’t essential.

Sew the ends of the handle inside opposite edges of the top of the bag. I took care to double stitch the handles in to avoid breakages.

As a finishing touch I added a heat transfer vinyl ‘cheers’.