 A quick and easy sew that is very practical…
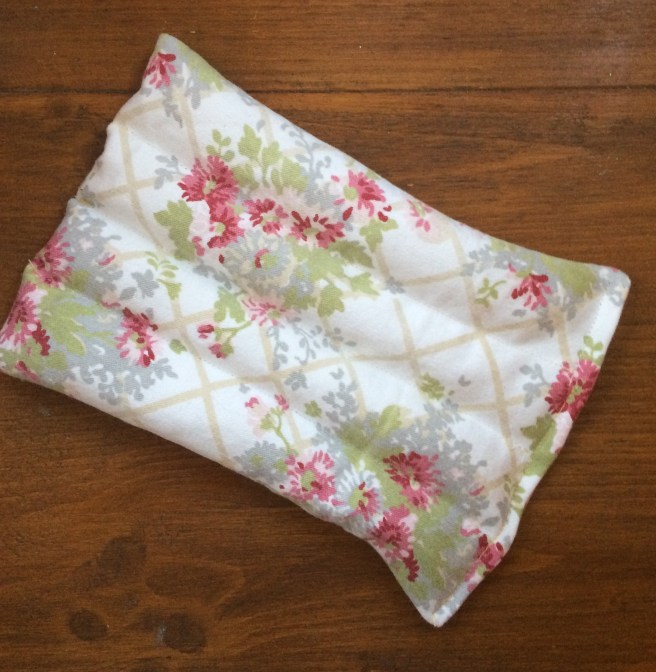
1. cut two rectangles of a cotton or fleece, any size that suits you. Hand or forehead size about 4” by 6”, neck size a bit wider, up to 12” by 8” for a big tummy comforter.
2. With right sides facing, sew along the edges of both long sides and one short side. A small seam allowance is fine as long as you don’t leave any gaps. Start and finish 1” inch from the end to give yourself wriggle room at step 7
3. Turn right sides out and press. Fold in a half inch hem on the remaining raw edge and press.
4. Sew a straight line along the middle of the rectangle from one closed short side to the open short side, again stop 1” from the open end
5. Sew two more lines, each equally spaced between the centre line and edges so you end up with three parallel lines that form four tubes in the fabric.
6. Fill the tubes with rice that is scented with your choice of essential oils. I chose peppermint and lavender but whatever you have that will soothe and relax you. Fill to create a firm pad but don’t fill over the end of your lines. You might want to pin or clip the open end closed to avoid rice spilling out.
7. Sew closed the remaining edge closed.
I keep my rice pads in sealed bags until needed and then pop them in the microwave for 30 seconds bursts until warm then hug until aches are soothed.


 Rescue an old t shirt, make a fancy dress effort with minimal expenditure, make gifts a bit special or just personalise your stuff. I love htv ( makes me sound professional using the acronym doesn’t it?).