Poo bag holders, on the go!

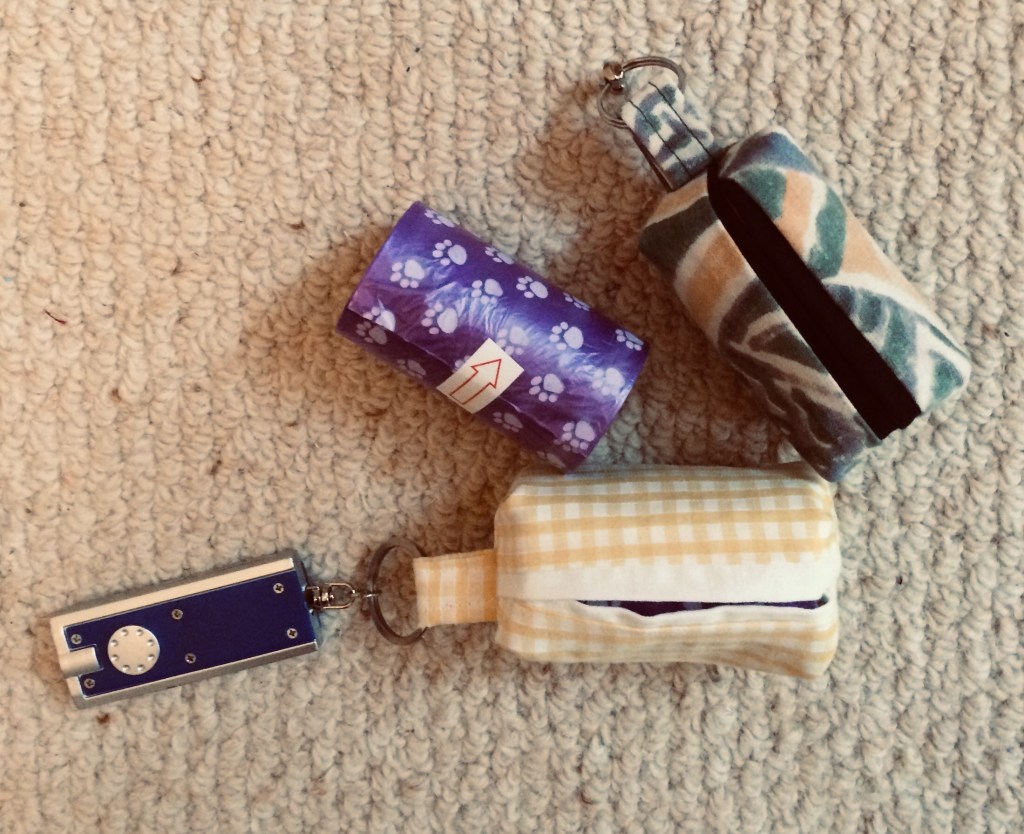
A cute little bag to carry a roll of poo bags on a key ring. This is a simple variation on the tissue holders I have made by the dozen over the years. Thanks Lorrie Nunemaker for the idea.

Cut outer fabric at 6” by 4 1/2” and lining at 5” by 4 1/2” then cut a 2” square of either fabric. Turn the little square into a loop for the key ring by creasing it in half then folding two sides in to the crease and then folding it again so you have a strip that is 1/2” wide with the raw side edges encased. Sew down the strip (I usually sew two lines to make it look tidier)

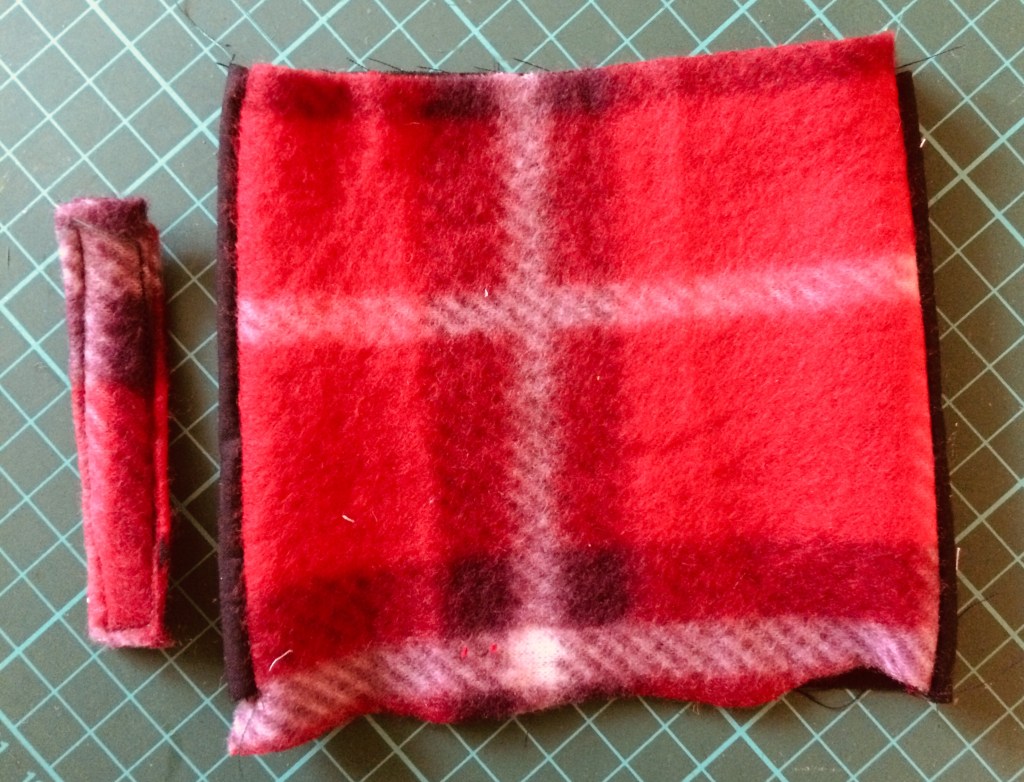
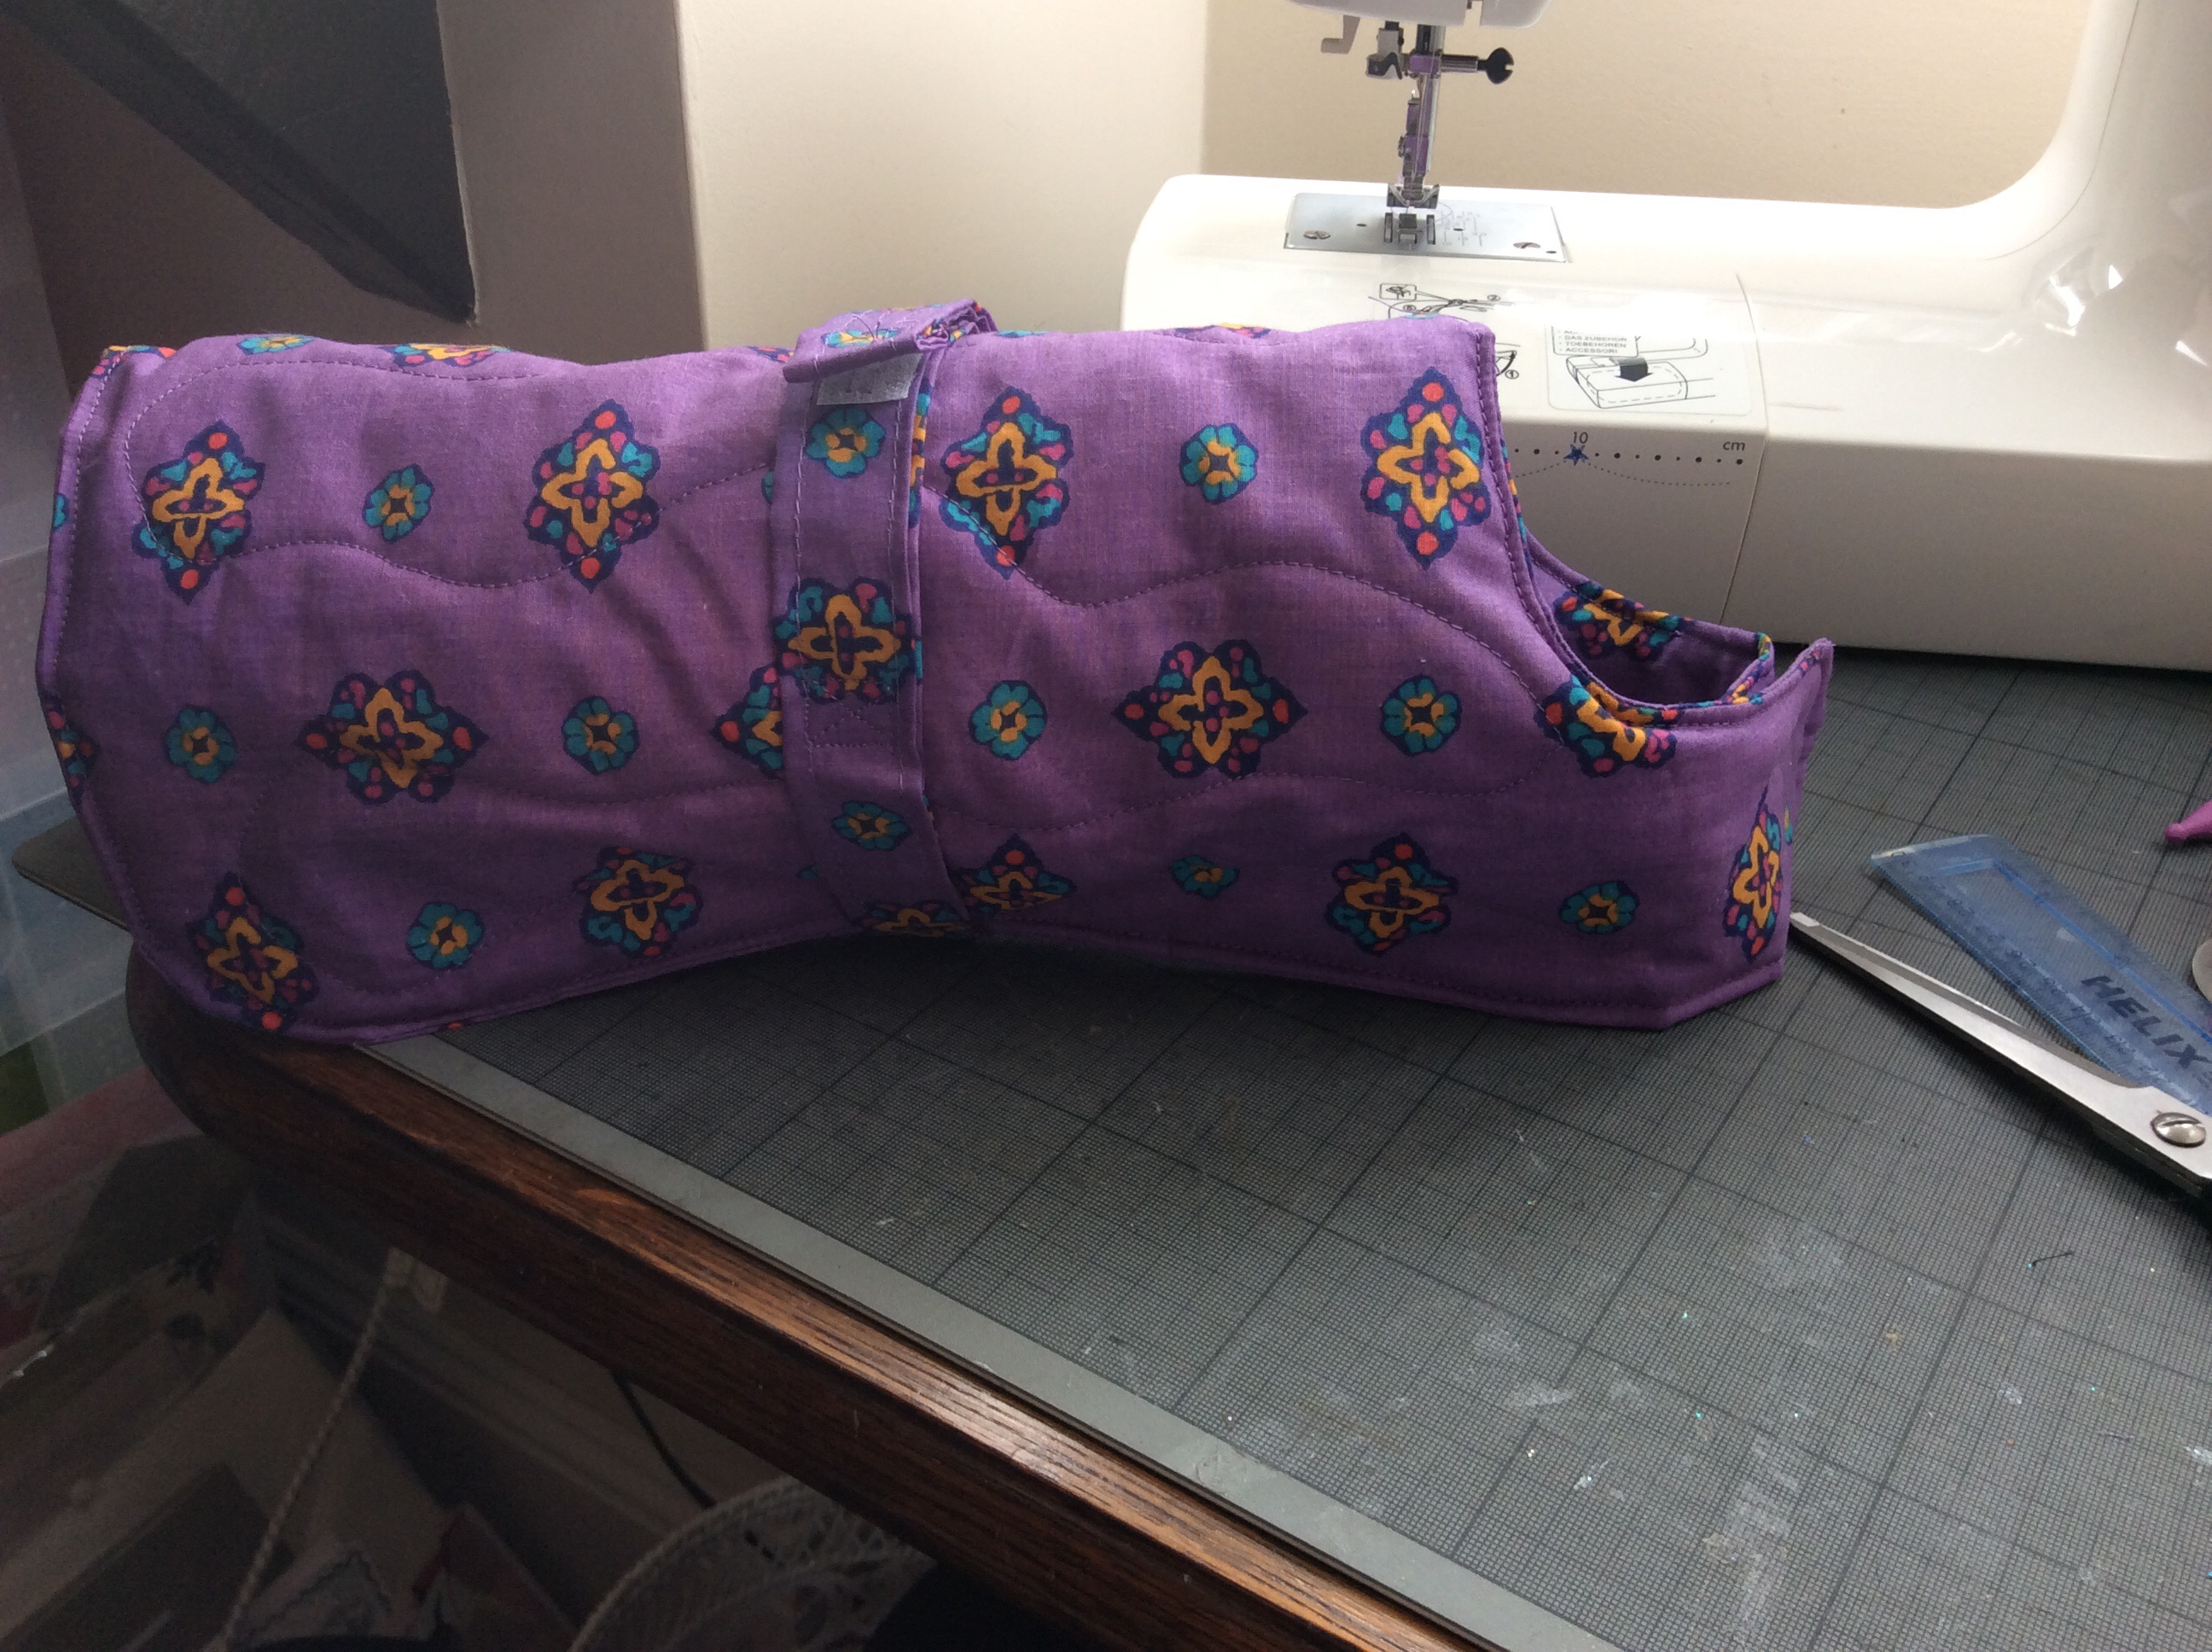
Follow the tissue holder instructions: sew the short sides of the two fabric pieces – right sides facing- together then flip right sides out and press so that there is an equal amount of lining at either side. See picture below.

With outer facing up, fold the sides to the middle so they just touch or overlap, and pin. Tuck the loop piece inside where the sides are touching. Sew the top and bottom raw edge and then zig zag those raw edges to tidy them up.

What changes this is to Box the corners with a 3/8” seam before turning right sides out.

The wider lining fabric should just peek out …

Snuffle mat, to slow doggy feeding

Love this simple home made craft. It is designed so that the feeder of a greedy dog sprinkles biscuits/kibble/dry food on the mat giving the dog a challenge to find and retrieve the food.

Simply made with an inexpensive sink mat (mine Addis 30 cm approx square) with lots of drainage holes in it. Spend 20 minutes cutting a metre of fleece into 2.5 x 10 cm ish strips. Then sit in front of the tv knotting the fleece through the holes. Thread a strip up and down through adjacent holes and tie a single, simple knot to secure each strip until every hole is filled.

I used a thick fleece so stopped when the back looked like this. I finished by threading and stitching a 20 cm strip of fleece through a corner hole to make a hanger. This mat is washable and easy to make.

Dog collar doodahs

AC986697-0493-4B34-8DB9-AF8CE78A9D33
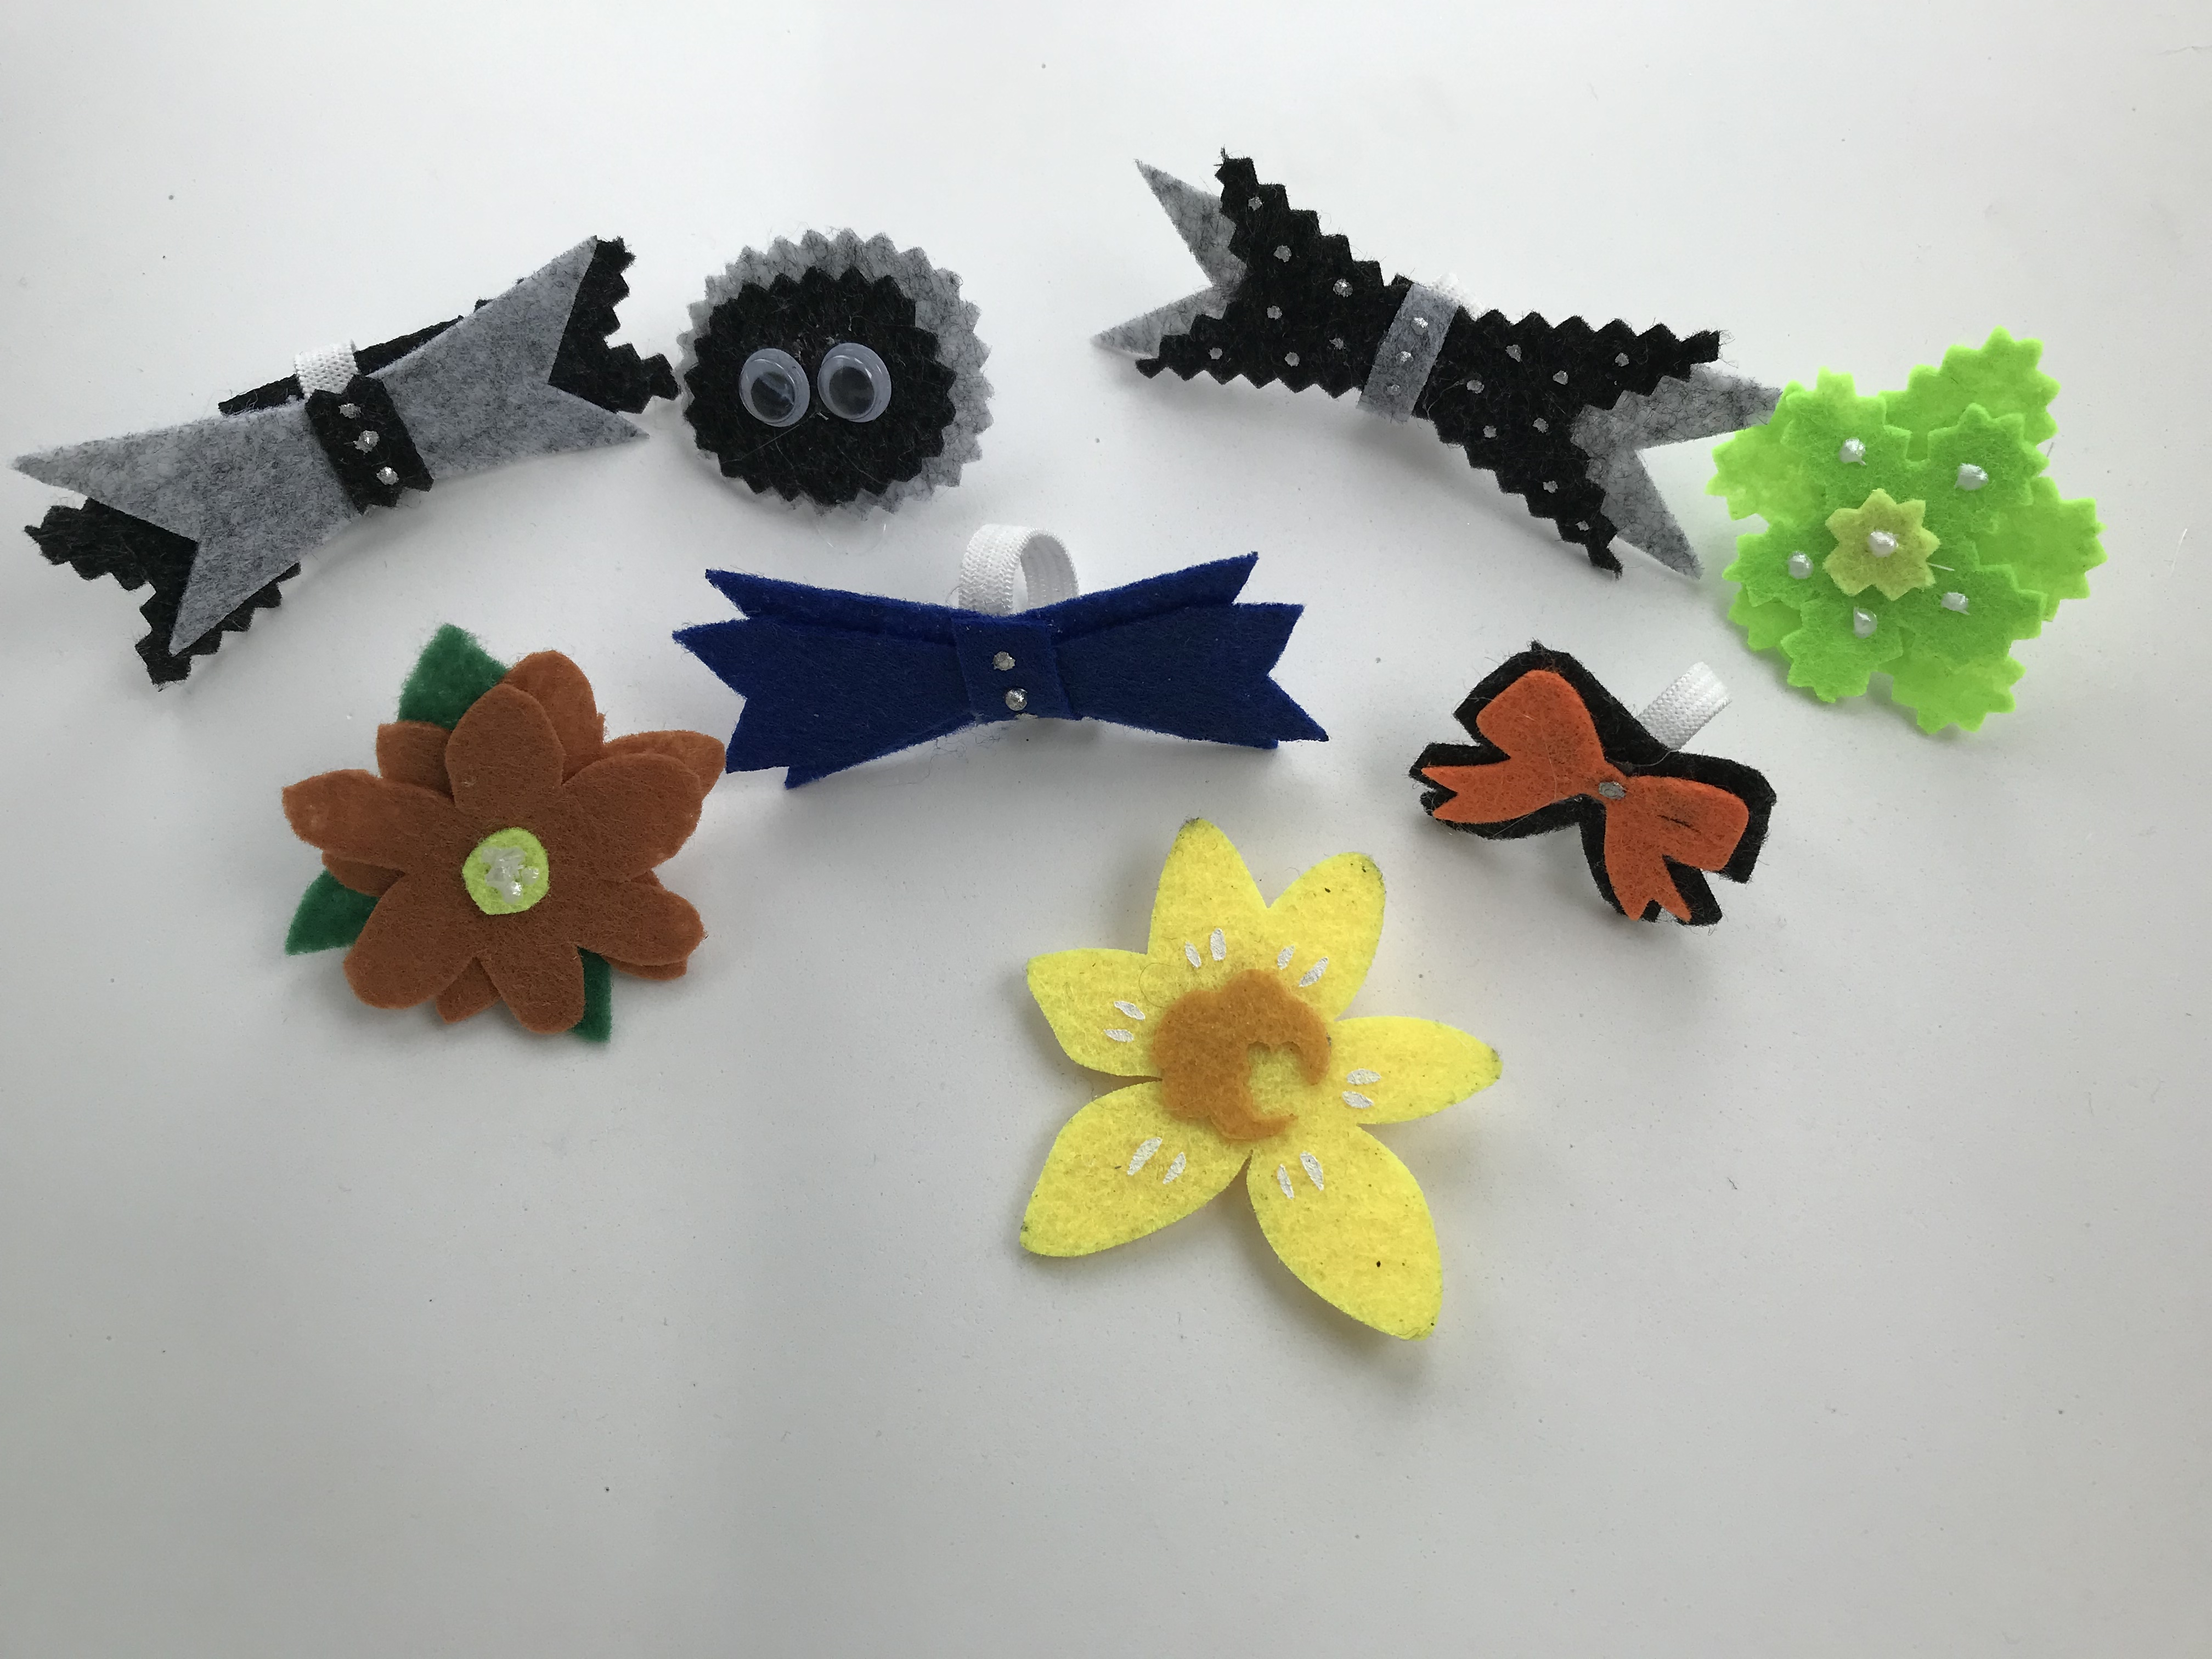
Inspired by a charity fund raiser daffodil shown centre above

These are simple felt shapes stitched on to a loop of elastic which will slip over the dog’s collar

cheap, stiff felt seems to be best for these, although I am not sure how long the googly eyes or any part will survive tear and wear

I plan Christmas cracker ones for this year’s doggy stockings!

Quick doggy bandana

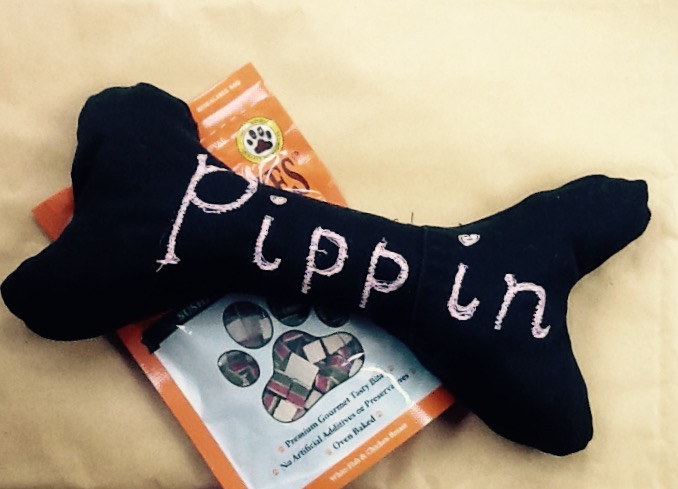
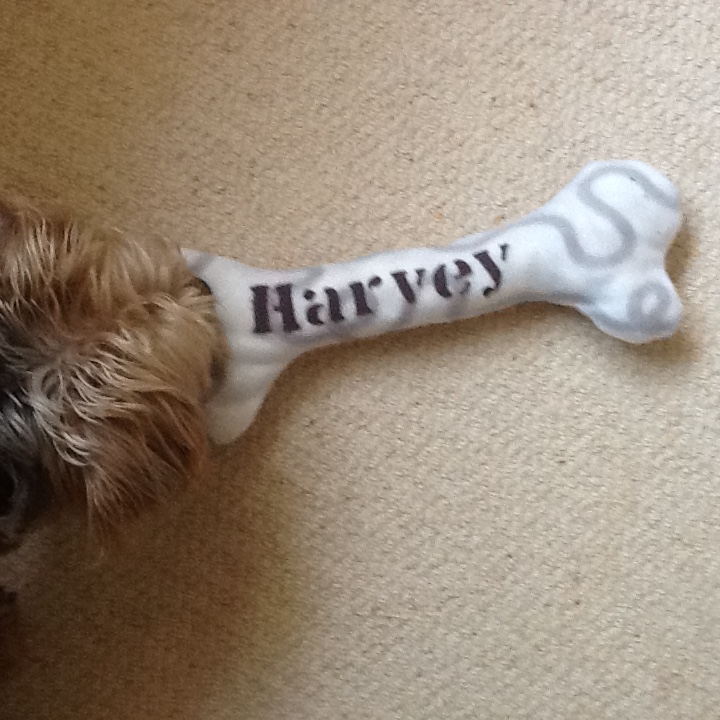
Just two minutes to make and sooo cute.

Cut a square of fabric so that the diagonal is the same length as your  dog’s collar. Fold the fabric, right sides together, on the diagonal and press. Unfold the fabric and leave right side down.

At either end of the diagonal and fold a triangle about 5cm back to the middle so when you refold on the diagonal you get this shape, albeit inside out

sew the raw edges from just below one side fold round to just below the other and then turn right sides out through one of the gaps

done , just thread the collar from gap to gap and it is ready for wearing

if you want a more tailored finish you can run a line of stitching parallel to the top fold to create a channel for the collar

if you have a friend with a posh sewing machine why not add a little monogram or name as here …

No sew appliqué

scan n cut with heat and bond made this a doddle

this old pillow sis in the dog basket I made some while back. It needs an upgrade and I wanted to practice my scan n cut fabric cutting technique in it. The pillow and case are standard ones recycled to the dog bed so a bit of no sew appliqué does the upgrade and helps me practise for other projects.

simple instructions

iron heat and bond onto a piece of lightweight cotton. Mine was about 10″ by 6″ , I chose plain black because of the type style bit white on a patterned pillowcase  would work as well

peel off the paper backing and press on the scan n cut mat, set blade to 4, pressure and speed to  4 , let the machine cut out the design then peel fabric from the sheet

position the design on the ironed pillowcase, I used a ruler to line the letters up – I forgot I have some transfer tape to try out

when in desired position, cover with a cloth and hot iron to seal in place

Jeans to … Puppy present

Next step on the jeans up cycling project …. A tug toy for a friend’s new puppy.

Inspired  by pinterest, I drew a bone shaped paper template and then cut matching pieces of old jeans leg with the seams at artistic(!) angles on each side then free motion embroidered the name before seaming, turning and stuffing. (Stuffed with trimmings from an ongoing sewing project)

The weak point might be my hand sewn closing of the seam but let’s see.

A quick, easy project that my dog approved before posting. So I did him his own version.

Christmas wreath for friends with pets

img_0183

A bonio bonus as we now have a dog and have many friends with dogs that we want to include in Christmas fun.

I cut the hoop form from cardboard packaging using a dinner plate as a guide for the outside and a side plate for the inside of the ring then wrapped long strips of fabric round and round to cover the cardboard.

I then took bias binding, (this one is of the same as the base fabric) and left a long tail before wrapping the rawhide bones firmly in place around the wreath. Once all the way back to the beginning of the circle, I tied a knot with the beginning tail and then made a hanging loop with the spare length of binding.

later versions use more colourful tape on hessian backing and different types of treats are bound in but all were made without glue, string or embellishments just in case the dogs get unsupervised access to the wreath.


A chic’n cheap dog bed

As doggy outgrew his favourite bed and declined to use the giant pillow we bought him,  I decided to make a new one out of what we had around. A faded Indian cotton throw, a large IKEA pillow pad and  old duvet (world is mad when it is cheaper to buy a new one than get it drycleaned) filling.

Method:make a ‘pillow case’ for the base pillow. make four smaller pillow cases, one  for each side of the base leaving half of a narrow end open for stuffing. sew one  long seam of each of the four smaller pillows to the base  case. stuff as firmly as you can and insert the base pillow in. hand sew  the opening of the pillows closed and then hand sew the short ends of the smaller pillows together . This  pulls the four sides up and together around the base.

Success – he loves it! So much that another one made with the same set of materials.

IMG_0468


Dog coat

image
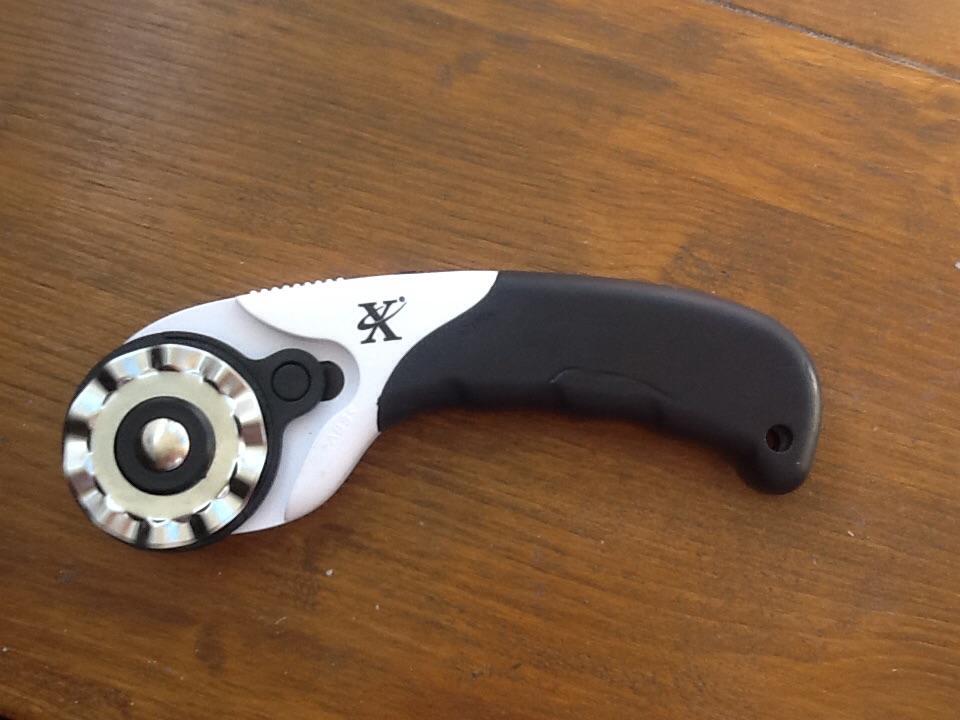
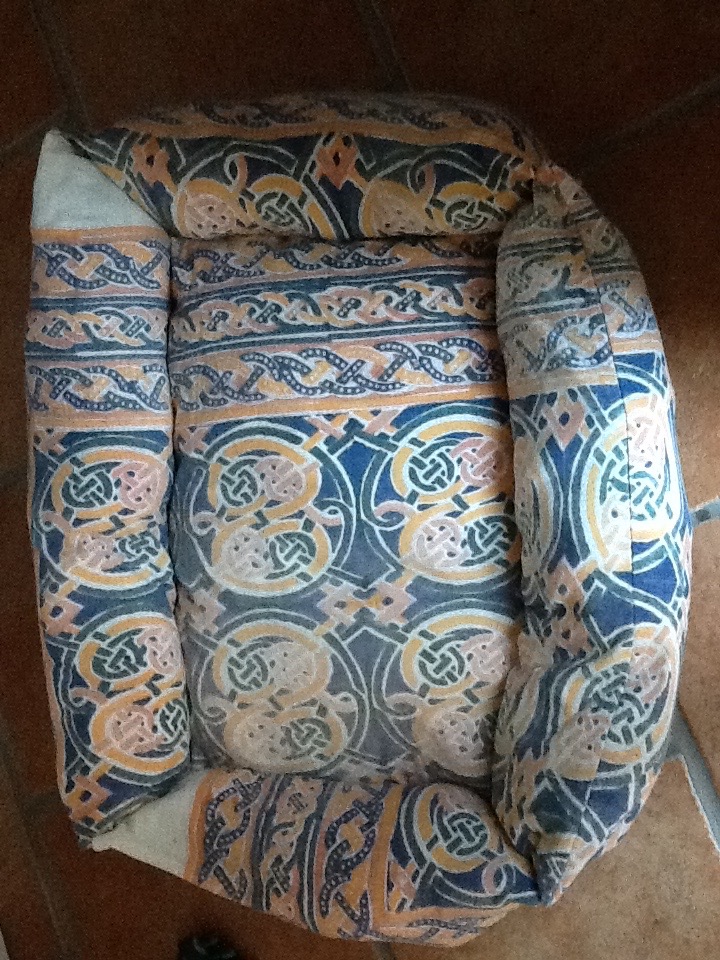
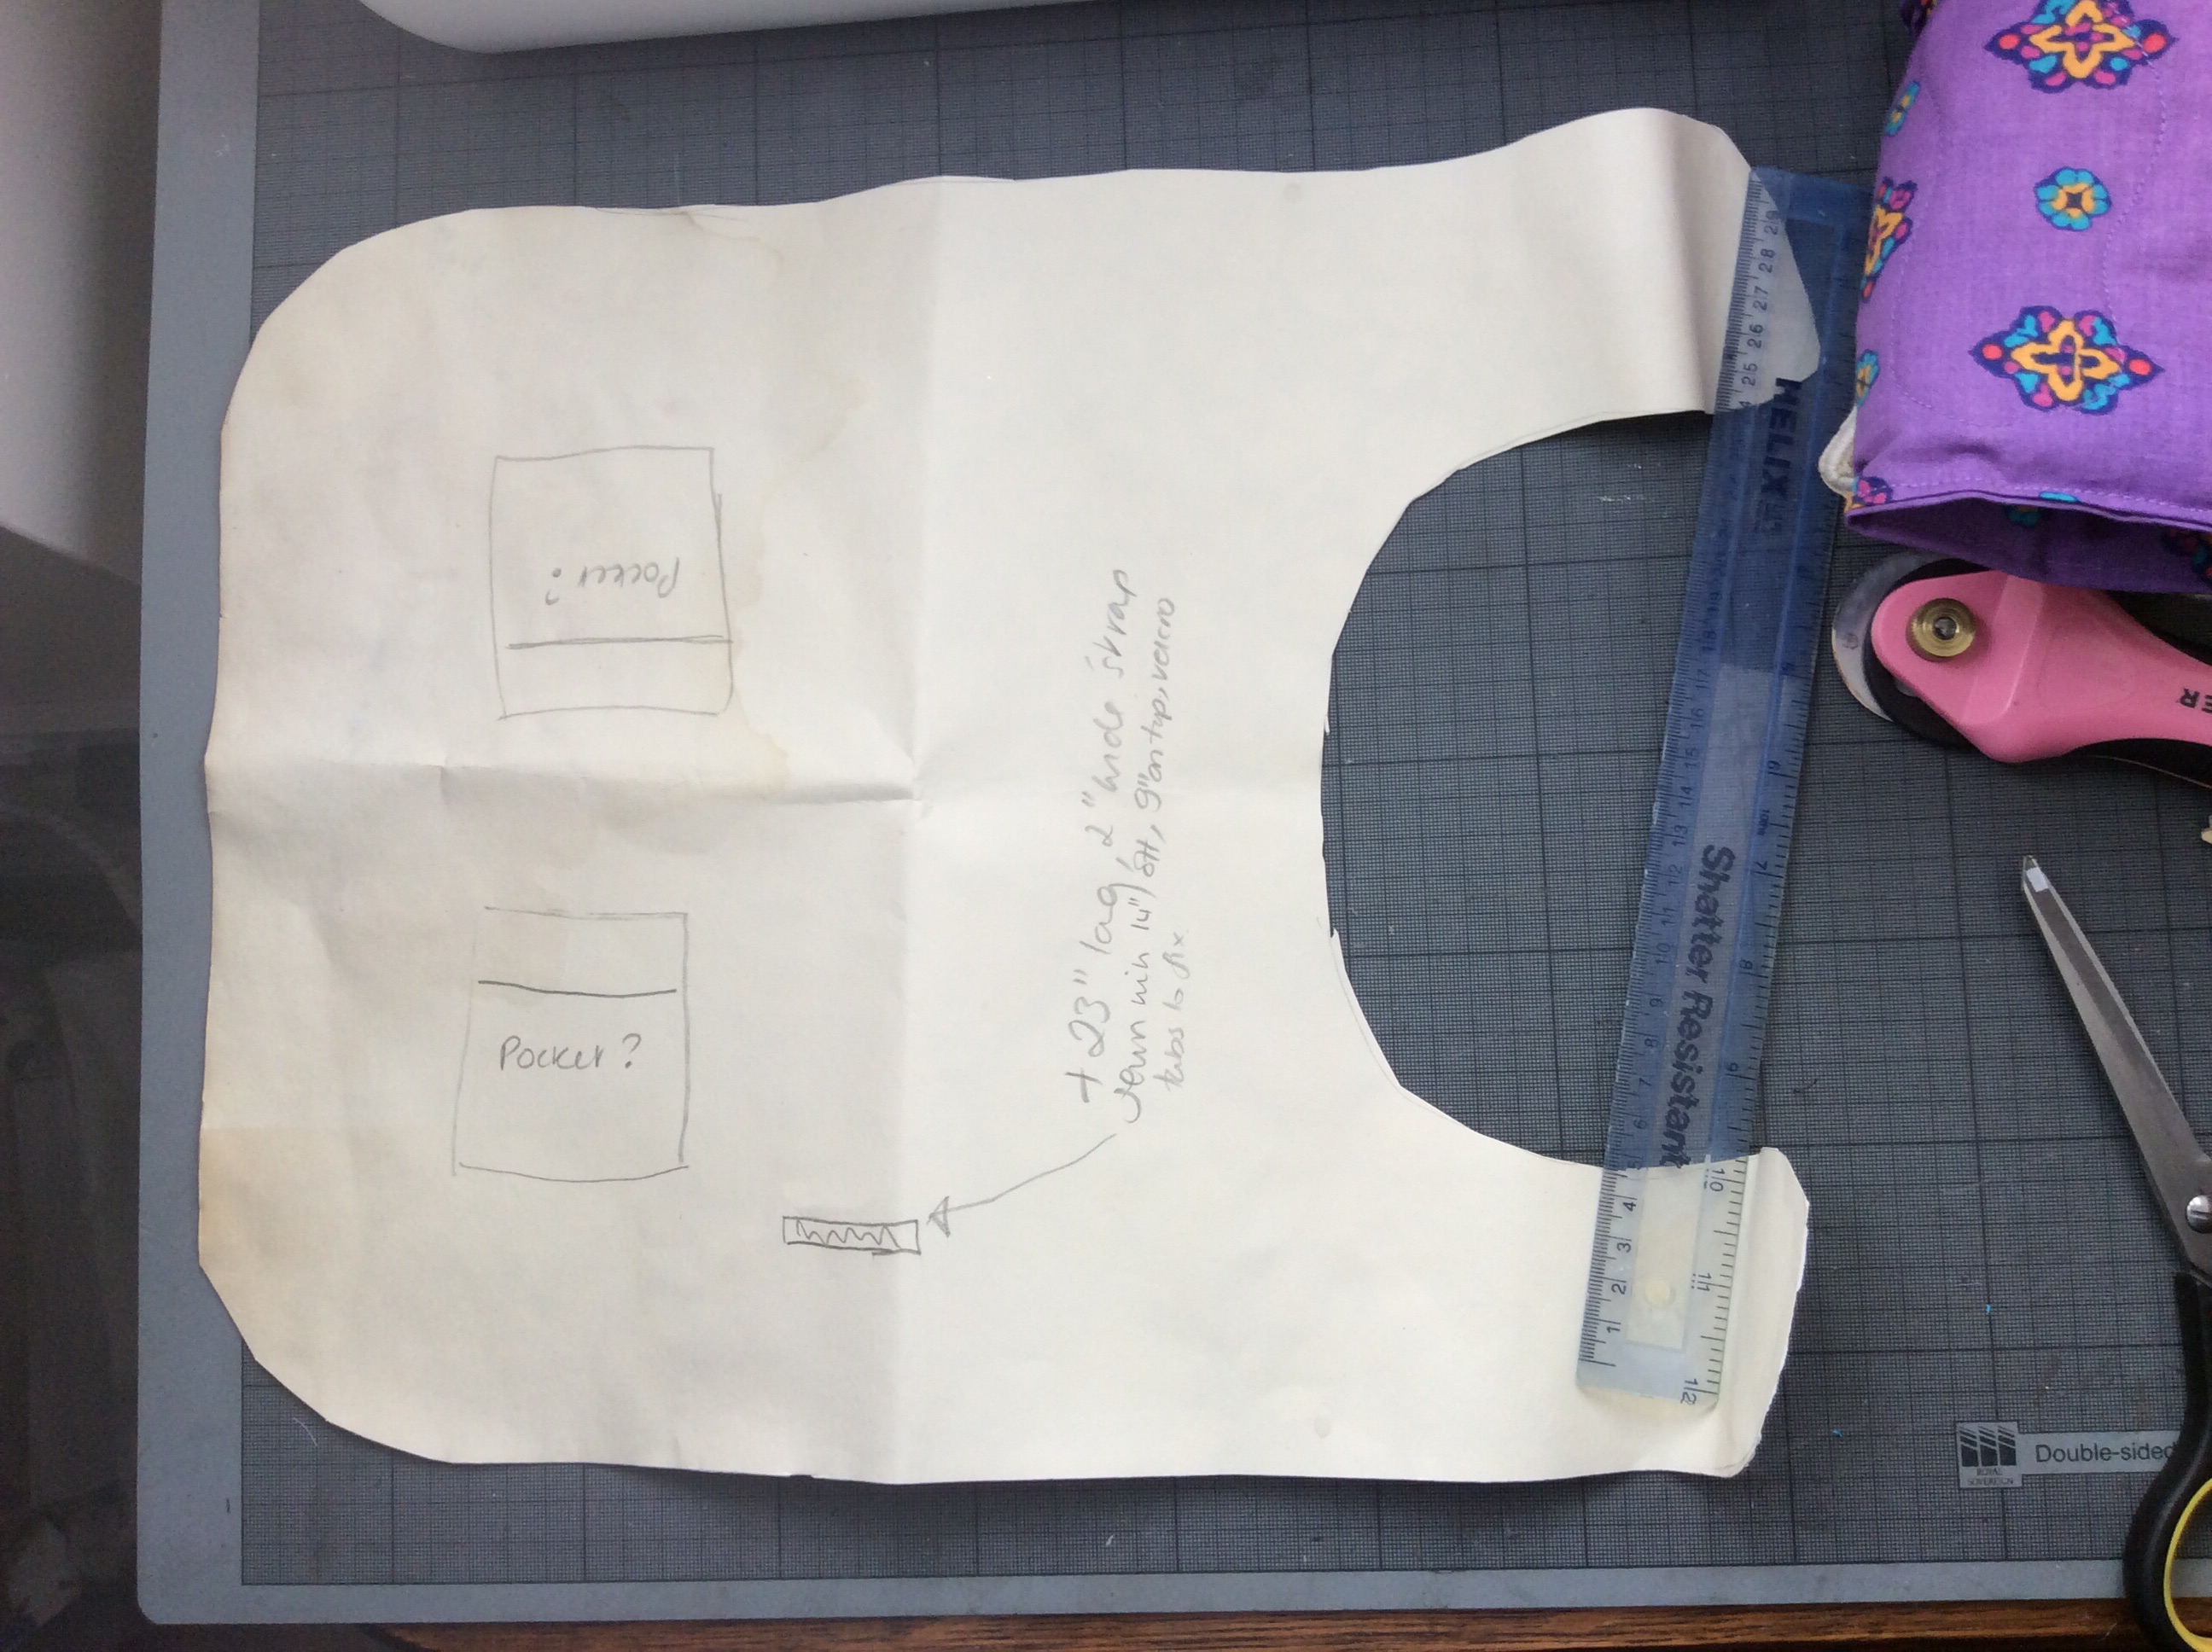
the most expensive dog coat turns out to be the easiest pattern to copy, just traced.


to fit Harvey this is 12.5 inches wide, 11.5 inches back to neck, 17 inches back to end of each tab

image

Method: use pattern to cut two fabric shapes and a 23 inch long four inch wide strip. Quilt wadding to the reverse of one shape then sew shapes wrong side together, leaving a gap to turn. Top stitch the edge, this also seals the turning gap. Iron the strip in half then turn in each edge to make a four ply strip . Top stitch along each edge and fix as on pattern.

once checked on doggie for fit,  affix Velcro tabs on neck and on strip. Now just waiting for the reflective tape to arrive, so his night time walks are warm and safe.