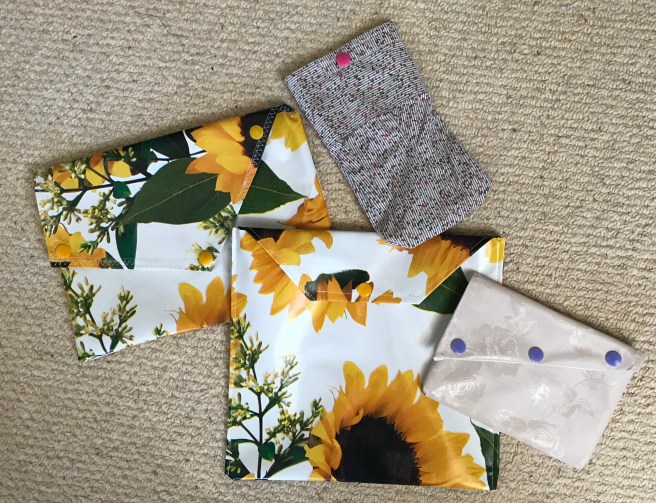
‘Snap’ was a local word for packed lunch in Nottingham/ Derbyshire when I was living there many, many years ago. So these lunch bags fastened with Kam snaps had an obvious snappy name.
I used remnants of vinyl from an Amazon job lot which meant cutting front and back panels to use the fabric best. If you have a plasticised tablecloth or even a heavy duty shower curtain to upcycle that would work well.
Because the remnants weren’t squared, one of the sunflower bags has an angled flap which needs three snaps to keep it closed well. But because the colour of the snaps is a positive (there were about 20 sachets of different colour snaps in the beginner set I bought) it makes the end result better in a quirky way.
While the snaps were out I made a small lined bag (angled flap and 3 snaps again) and turned the cuff end of a shirt sleeve (left over from last week’s laundry bag make) into a phone holder to avoid scratches when it is in my bag.
to make: cut vinyl into required shape (back bigger so the flap folds over)
with right sides facing sew round the sides and bottom – use a long stitch length to make as few puncture holes in the vinyl as possible and don’t do too many back stitches at beginning and end or the vinyl will be too holey and might tear when in use.
trim seam allowance and clip the seam really close to the stitches at the corners before turning right sides out – the clipping helps neaten the corners as vinyl is quite bulky.
fold the edges of the flap over and seam these in place, on one of the bags I used zig zag for this to hide a blooper I had made.
position the snaps or you could use Velcro to finish the bag…


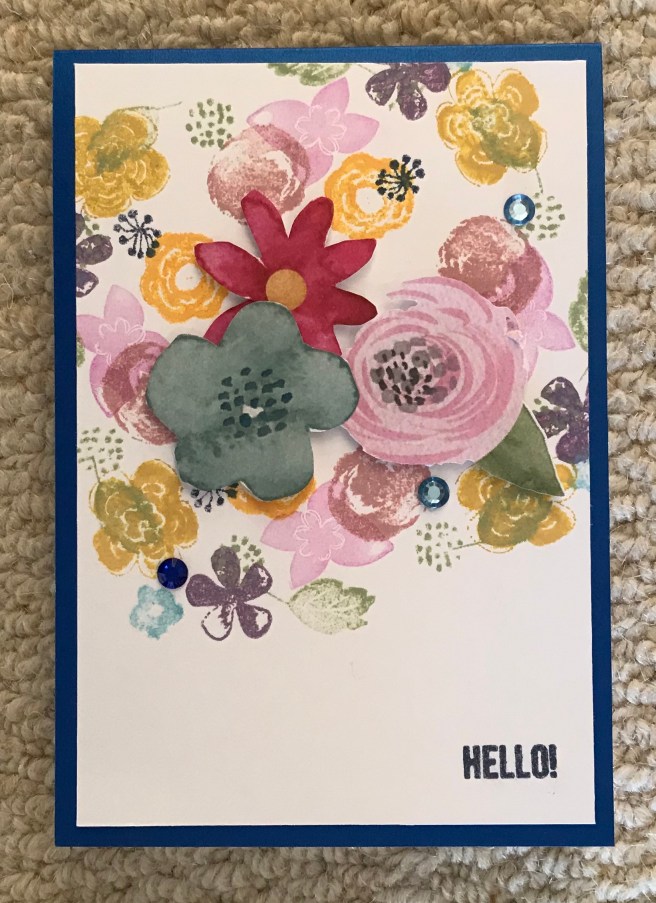
 It may look like I have only made 5 cards, but I have worked my way through the magazine, tried out the stamps, dies and stencils and ‘cased’ these cards so far.