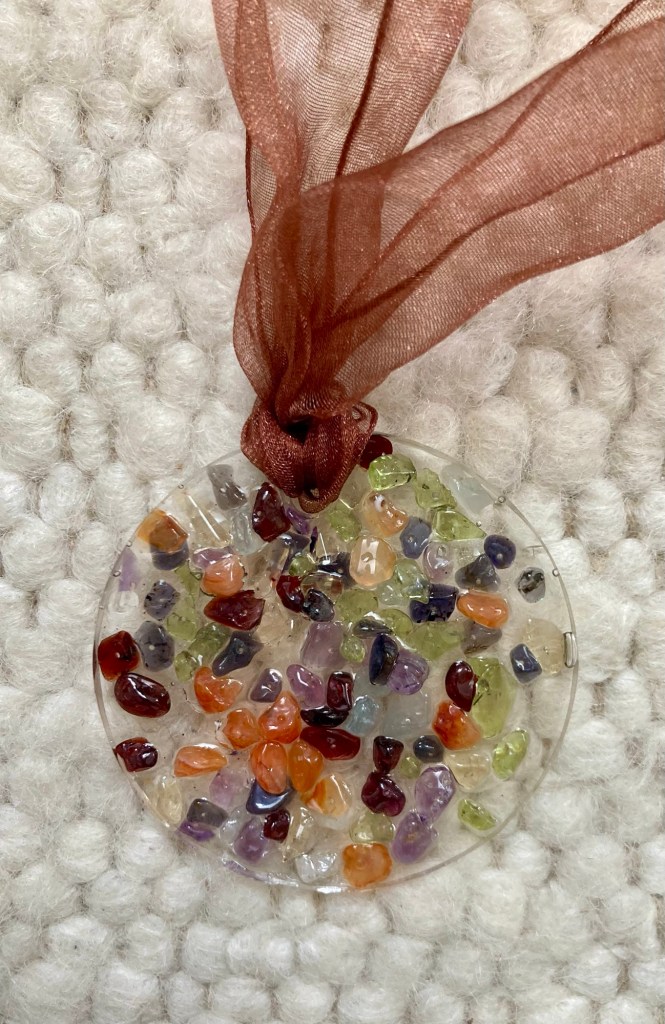
When sorting through my late Aunt’s jewellry I broke a necklace. Although it was probably on its way to the charity shop, I felt guilty so decided to craft it into a new life.
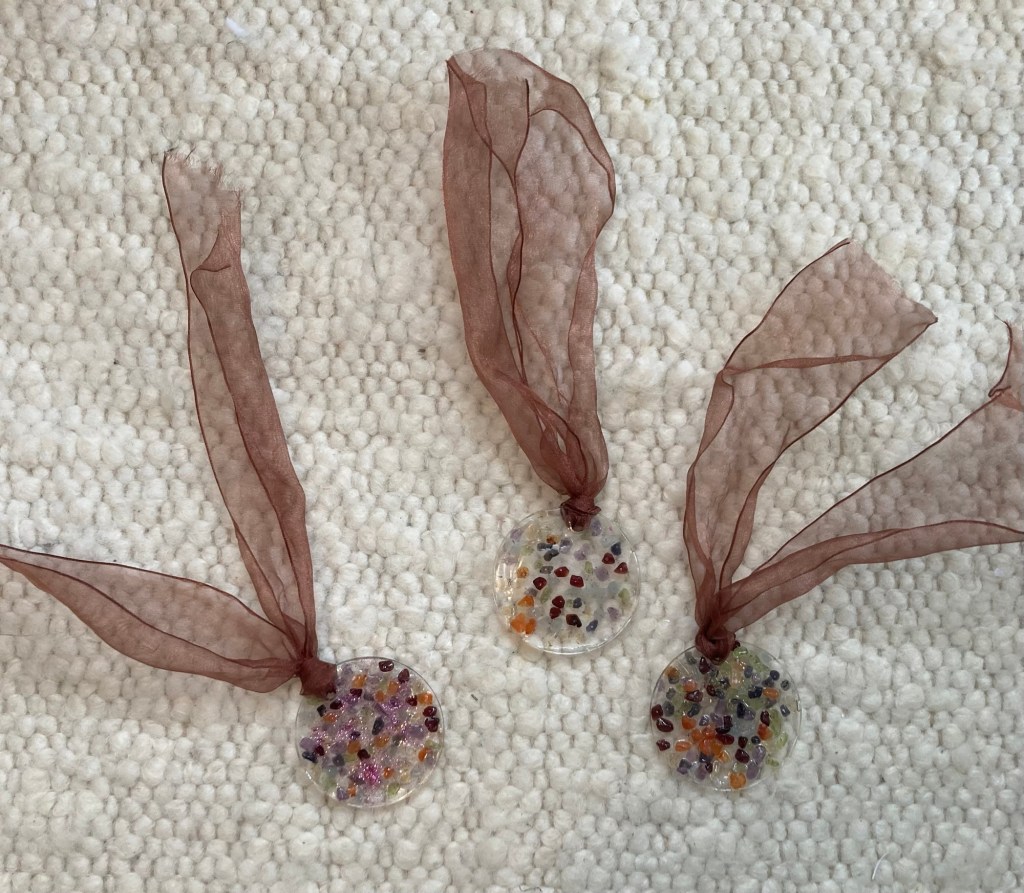
I set the beads in uv resin to make three pendant baubles. These can be hung on a window latch, car rear view mirror or Christmas tree (with the right string) but here I have used some toning ribbon from my stash so I can finish the project off without buying.
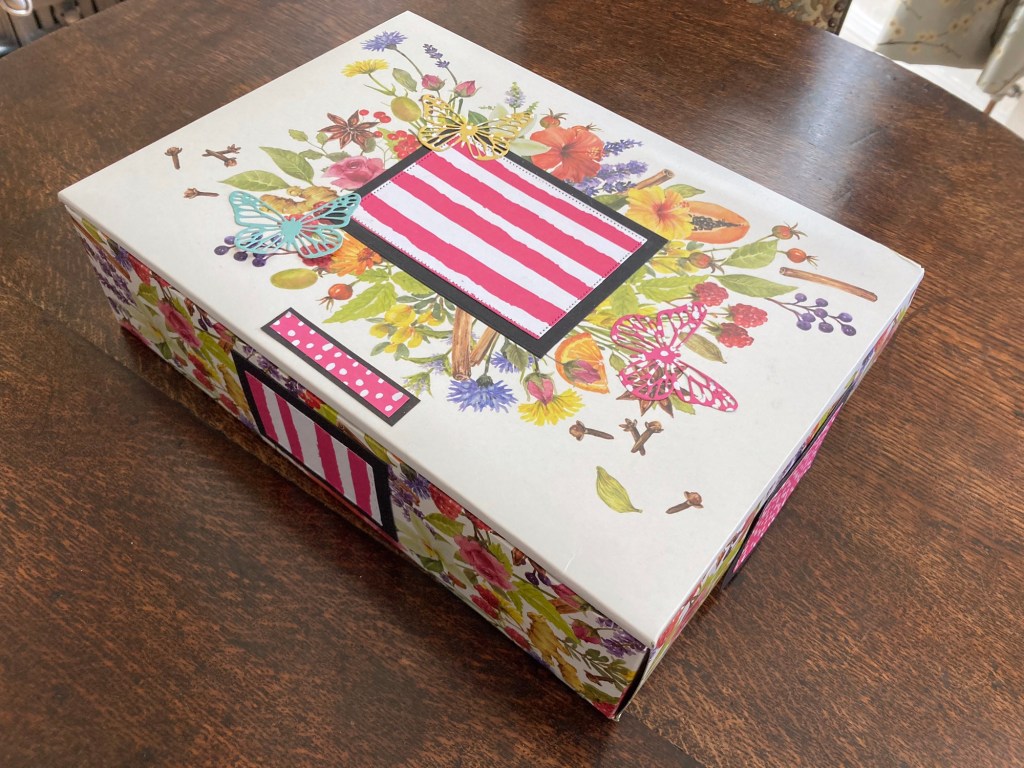
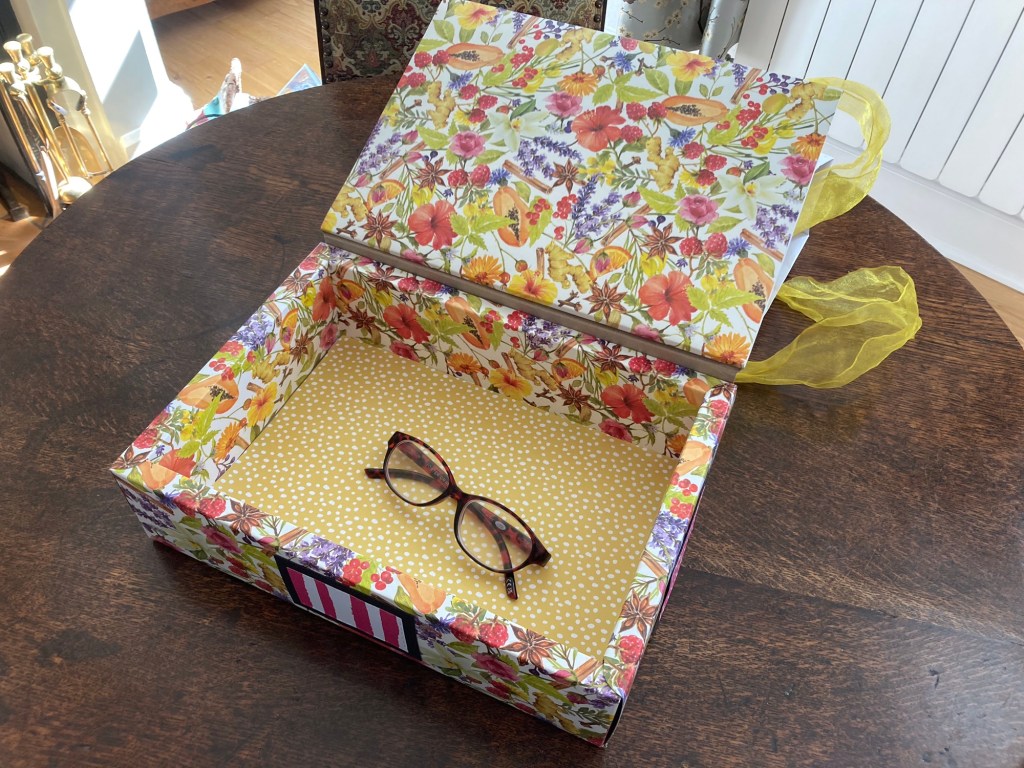
A crafter gets as excited about the packaging as they do about a gift received. Just cover any commercial messages with paper from the stash and put the beautiful box ready to present home made gifts in the future!
I salvaged a pretty serviette from a coffee morning and decided to use it up when I upcycling a cheese tray about to hit the recycling and scallop shells from a yummy ready meal.
I just pasted the top ply of the napkin on with mod podge (using up the giant pot of gloss where I can so I can get some Matt finish glue soon).
Layers of mod podge not only stick the paper, they also seal it enough for casual trinket dishes.
Mod podge also sealed the paint I put on one of the shells and I finished off the edges with some Goldfinger burnish effect.
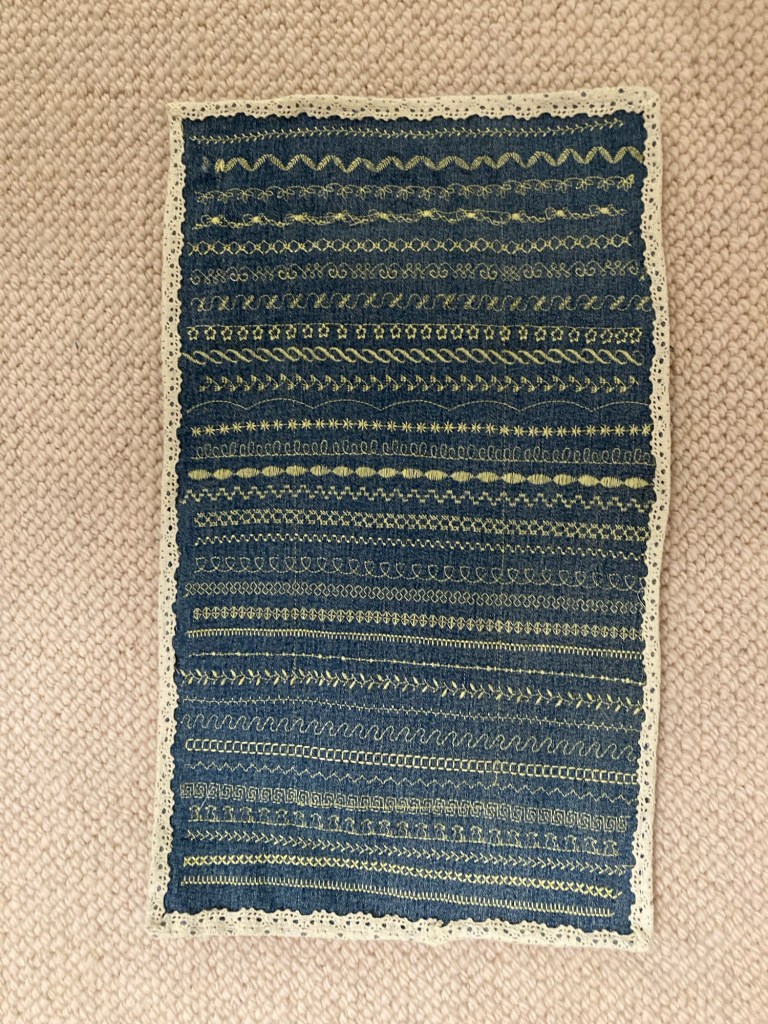
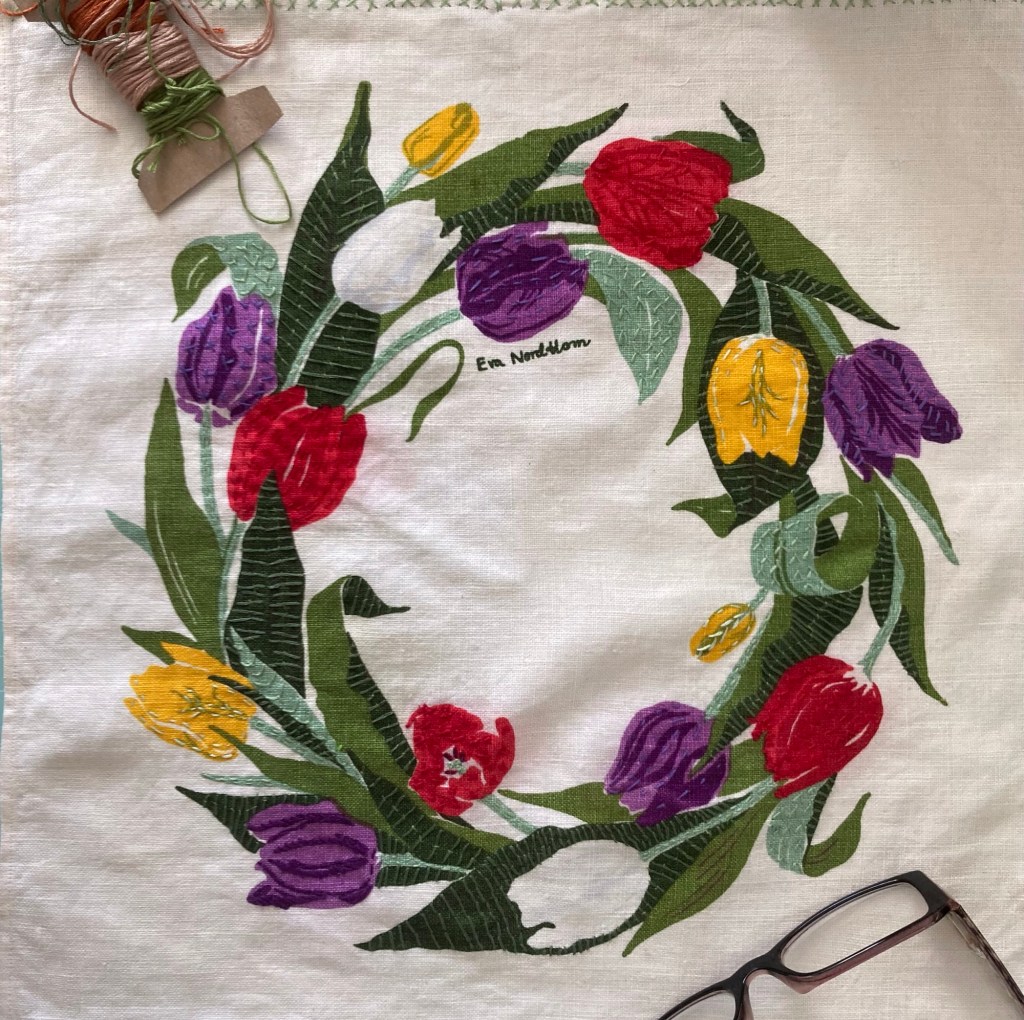
This beautiful Swedish mat had a small stain on it so I stitched (simple straight and cross stitch with embroidery floss) over the printing until the stain ‘disappeared’ and now it is back in use as beautiful as ever.
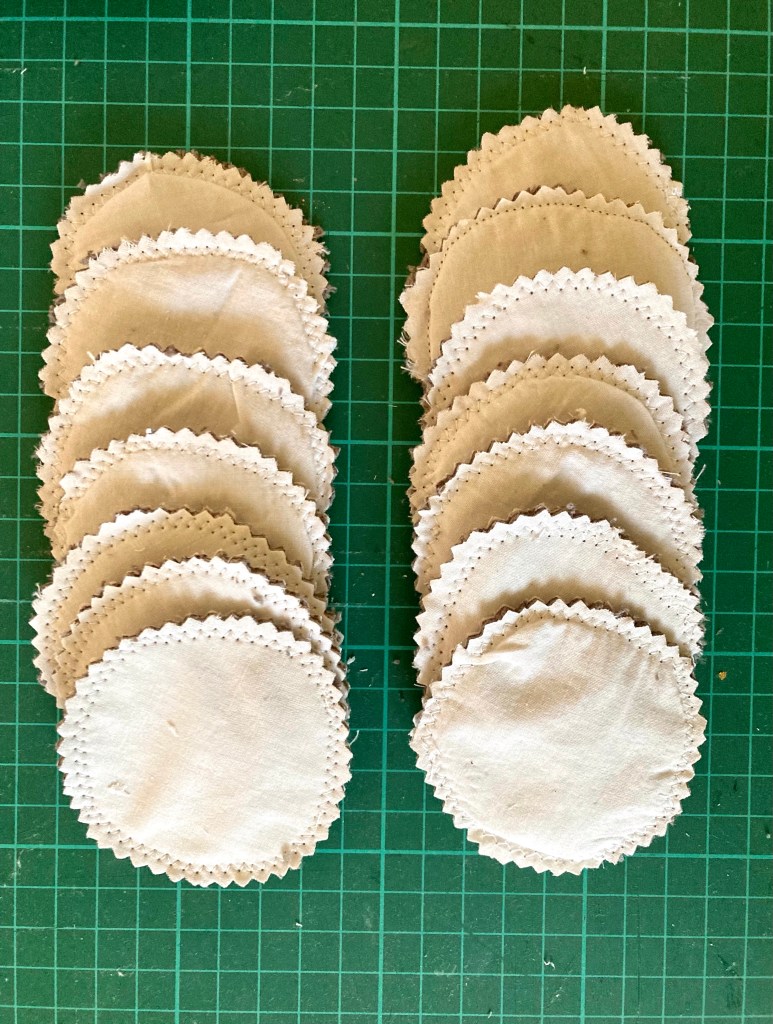
A clear out of surplus hand towels too good to dispose of led to today’s make. Sets of make up remover pads to pair with my diy cleanser.
Sandwich the towel (bindings cut off) between sheets of cotton and pin. Then draw circles using a jar of glass as template. I use a Frixion heat removable pen.
Zig zag around the circles. It doesn’t matter if you go off piste a bit.
Then cut around the lines with pinking shears. Voila.
I just couldn’t bin the 20 year old x-rays found in a clear out, so decided to turn some into bookmarks.
The sheets feel like heavyweight acetate. They cut and dry emboss well but there is a lot to use up.
This turned into a labour of love as I decided to paper piece die cuts on top of the embossed x-rays sheets. I used a bookshelf themed stamp, die and embossing folder set that came free with a crafty magazine years back, so all round thrifty crafting.
As you can see, I also made more conventional card bookmarks in a fun crafty morning.
Inspired by a sizzix promotion, I upcycled a plain jar into a rustic summer vase.
Assorted die cuts were glued on the clean jar with mod podge. I then used an old tester pot of emulsion paint to cover the jar. A light touch of metallic finish – gold finger by daler rowney – and a sealing coat of mod podge made it a useable vase.
What I learnt: (1) Three coats of paint were needed for an opaque finish. (2) Impatient as ever, I used a heat gun to dry the paint which lifted a couple of the die cuts a little. Actually a happy accident as it added to the rustic effect. (3) less is more with the metallic finish and you can’t take it away if you put too much on.