Stamping and colouring fabrics

First of the custom size mats

I up-cycled a beloved old shirt into mats this week. The fabric was ironed on to a firm interfacing, then a rummage through old stamps unearthed florals suitable for creating this border image.

Stazon ink and Ikea fabric pens were used before the mat was trimmed to a neater rectangle. A backing fabric adhered with spray fabric glue was then sewn permanently with my machine’s decorative blanket stitch.

To finish I sewed another decorative stitch through the stamping then decorated with some Pebeo Perlen fabric ‘pearl drops’.

Once heat set with an iron this is theoretically washable.

So I made more!

Snuffle mat, to slow doggy feeding

Love this simple home made craft. It is designed so that the feeder of a greedy dog sprinkles biscuits/kibble/dry food on the mat giving the dog a challenge to find and retrieve the food.

Simply made with an inexpensive sink mat (mine Addis 30 cm approx square) with lots of drainage holes in it. Spend 20 minutes cutting a metre of fleece into 2.5 x 10 cm ish strips. Then sit in front of the tv knotting the fleece through the holes. Thread a strip up and down through adjacent holes and tie a single, simple knot to secure each strip until every hole is filled.

I used a thick fleece so stopped when the back looked like this. I finished by threading and stitching a 20 cm strip of fleece through a corner hole to make a hanger. This mat is washable and easy to make.

Transparent gift bags

Use what you have for quick make bags…

I have a roll of book covering plastic doing nothing in my stash, so cut rectangles from it and headed to the sewing machine

I folded copy paper (yes I also have a lot of coloured copy paper to use up) over the short ends and stitched it in place with a long zig zag.

The covered ends were folded together and the open sides zig zagged together to make a bag. I even boxed the bottom of the bigger one shown but am not sure it was worth the effort.

Two tips: use an old blunt needle as the plastic will ruin a new needle and long stitch lengths will minimise problems with the plastic slipping.

Rope coil baskets


Surprisingly easy to learn this technique, but it does take quite a while at the sewing machine

Cotton washing line rope is coiled, pinned and then secured with a zig zag stitch. The coil grows as big as you choose then  to create bowl sides you lift the coil as you zig zag.

For this set I wrapped scraps of fabric around the rope at random intervals.

Ideal for kitchen keys, bread or fruit bowls…might try some place mats and coasters next time

No measure gift bags

You tube easy gift bag how toimage 
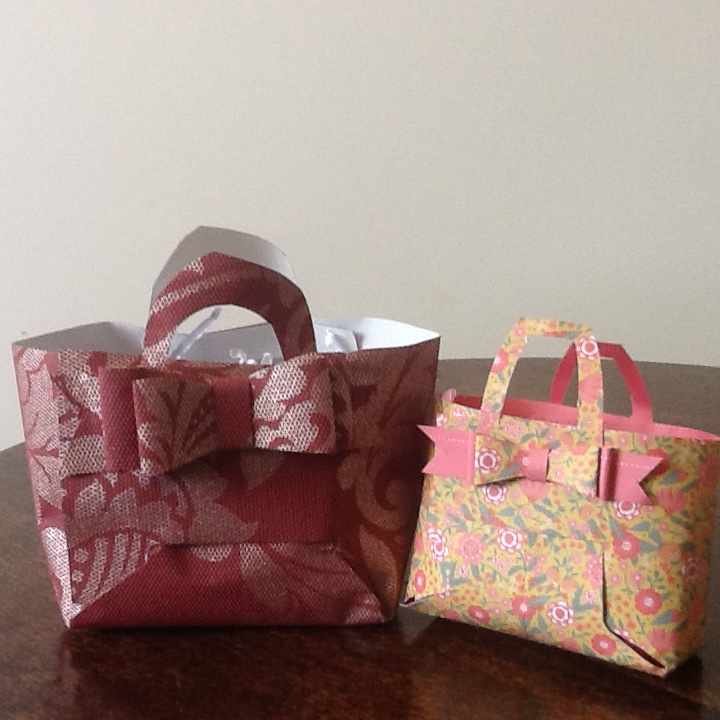
need a gift bag but no time to fuss?

just fold a rectangle of paper as below … or watch the video

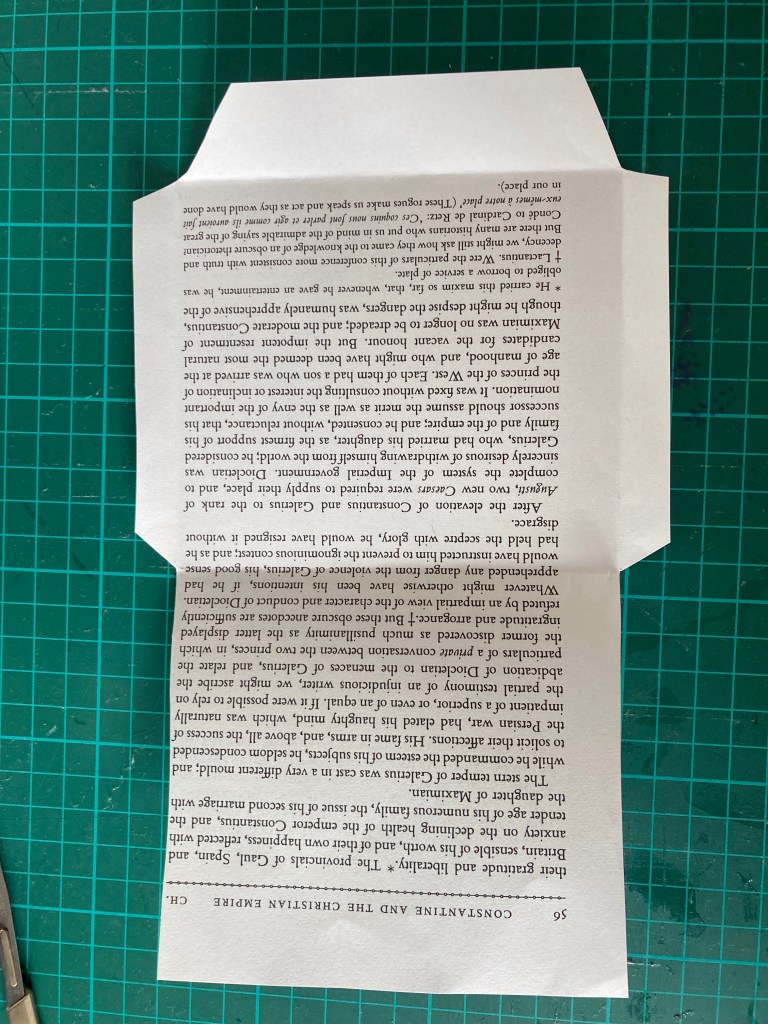
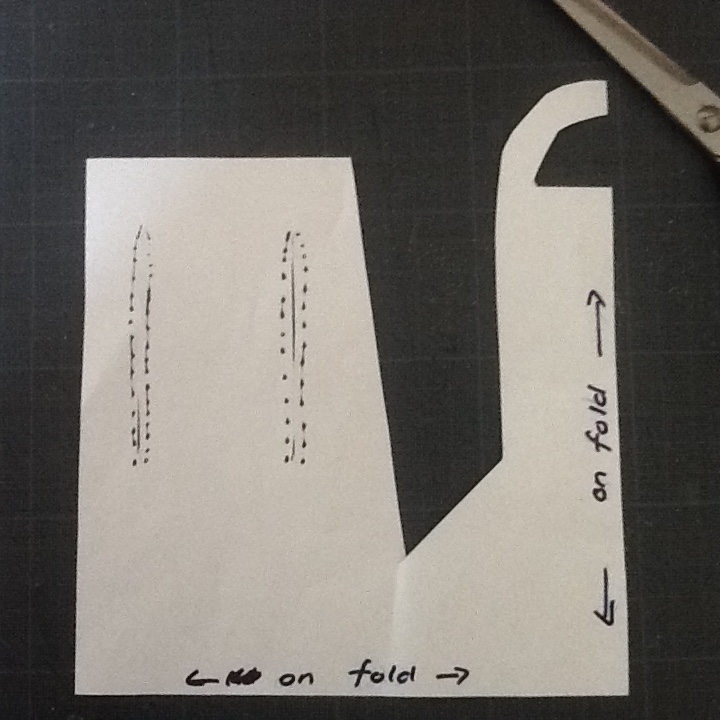
place the paper face down and landscape (long sides north and south)

fold  a small border on the west edge of the paper, just wide enough to later run some tape or glue along, then fold the remaining width of paper in half and  in half again to create four equal panels. With the paper still folded in four, crease up from the south a panel that will  form the base of the bag. An optional last step is to open out the sheet then fold down a little collar along the top this is only needed if your paper is flimsy and you want to strengthen it a bit

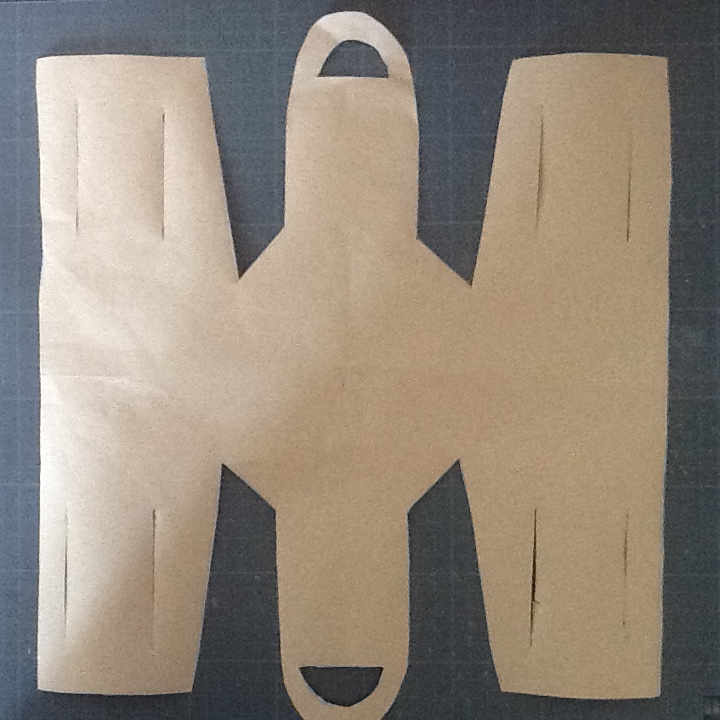
cut – cut out the little rectangle at the south of the border fold then cut up the three bottom creases just as far as the first width crease – if you are being smart you can cut either side of the creases to make final assembly even easier

stick – if you have a collar  stick it down

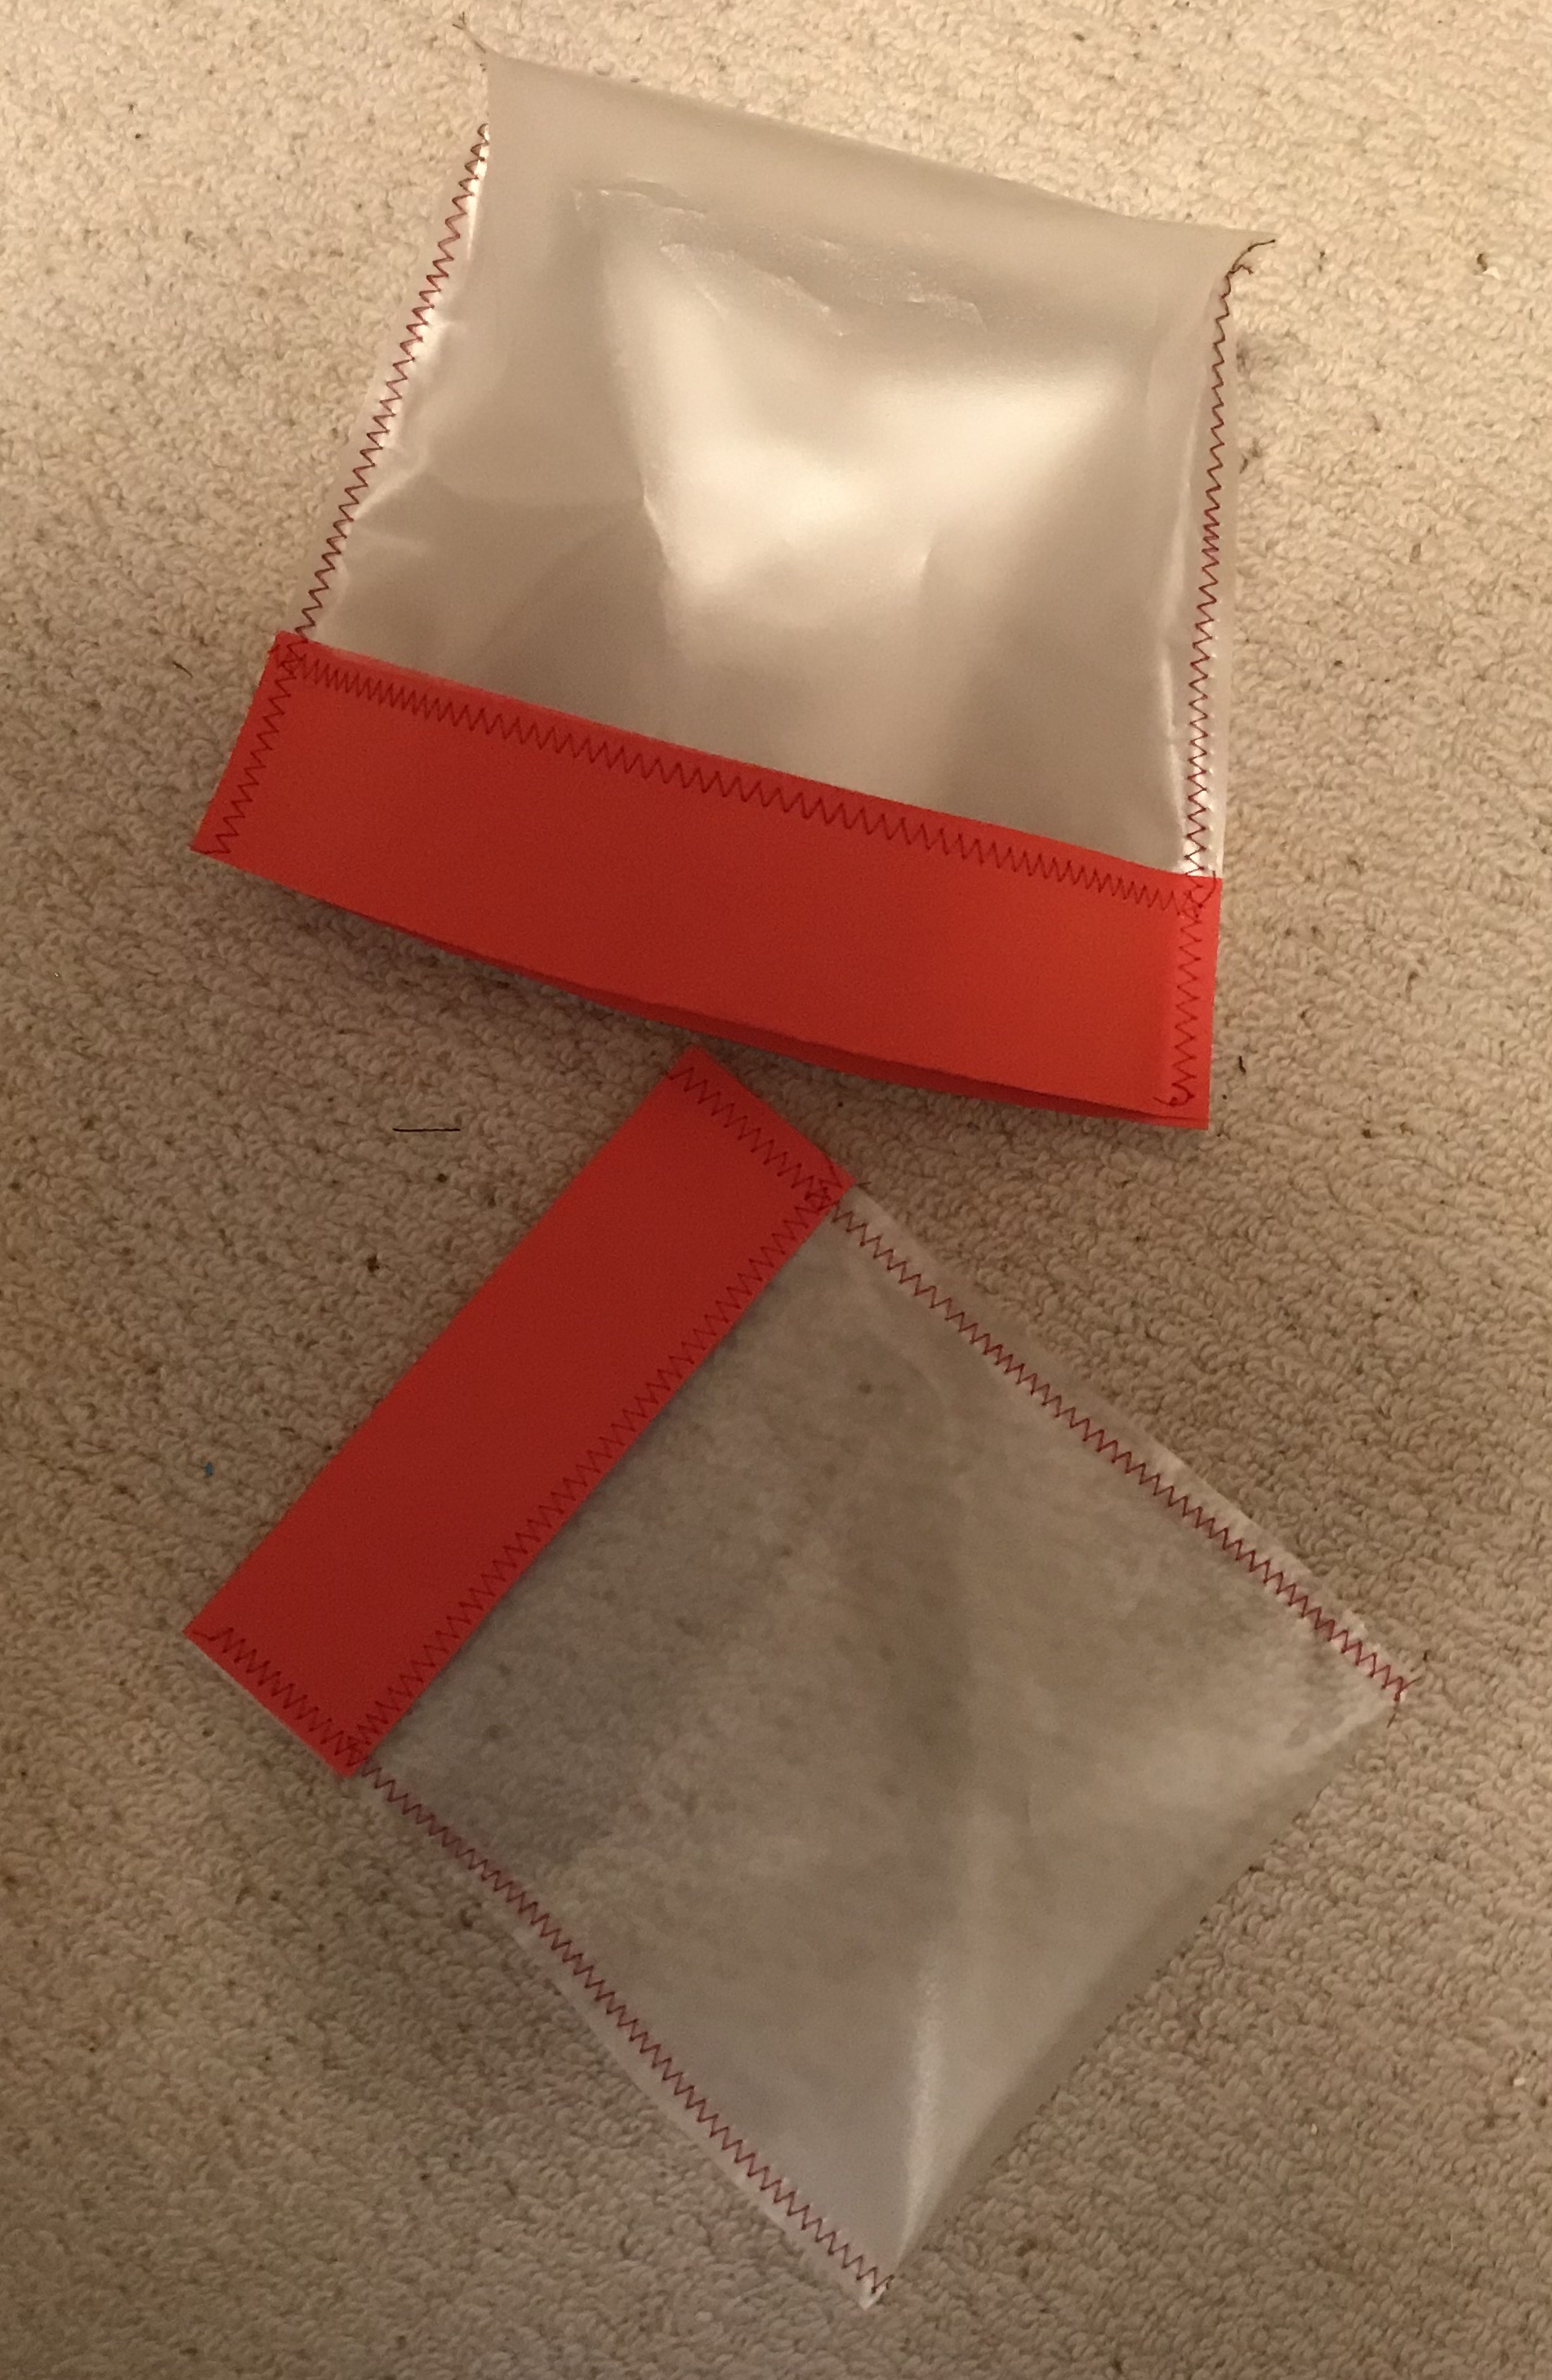
then fold the little border over so a little bit of the pretty side of the paper is facing you, run tape or glue down the border and then fold the eastern side of your sheet over and on to the sticky border. once the glue is set wobble the paper to form a floppy box,  crease each of the panel folds to encourage the paper to set in the final shape

now fold each of the bottom panels up, you may need to crease them with your fingers to set the folds in the right direction, add some tape or glue on the plain side of the last two bottom pieces. You may need to put your hand inside the bag/box to ‘set’ the adhesive.

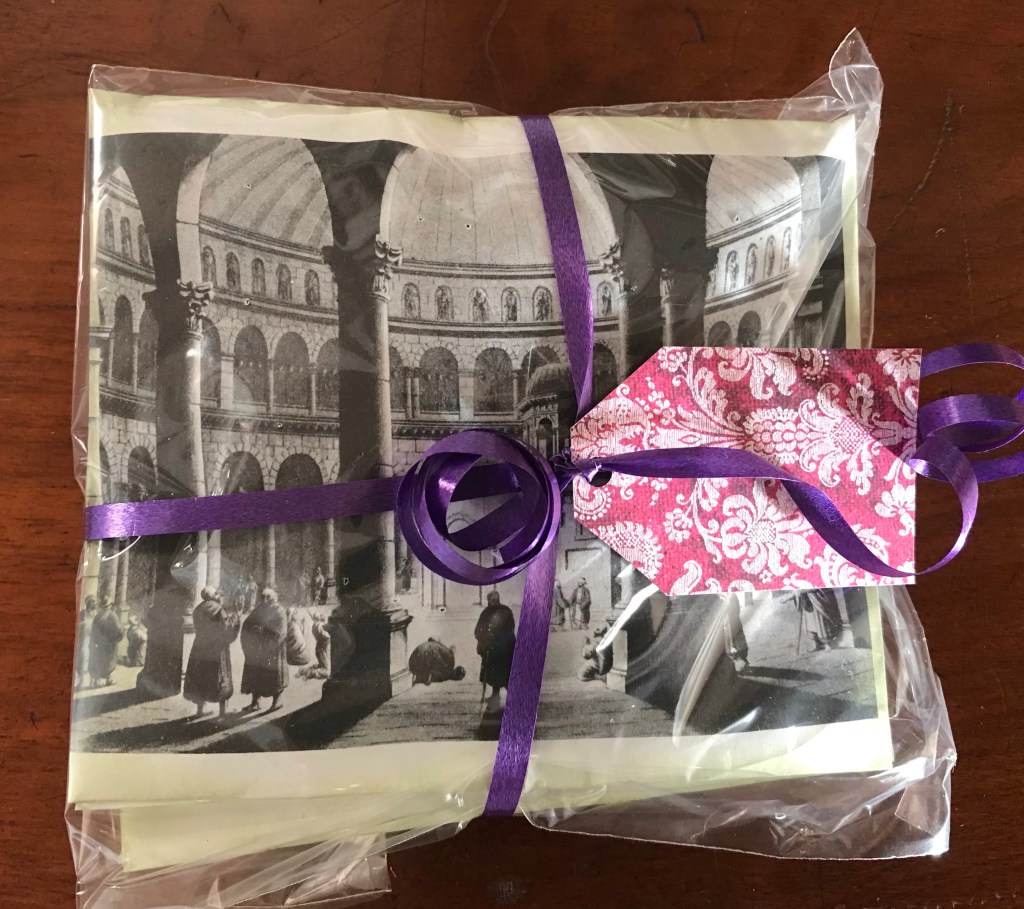
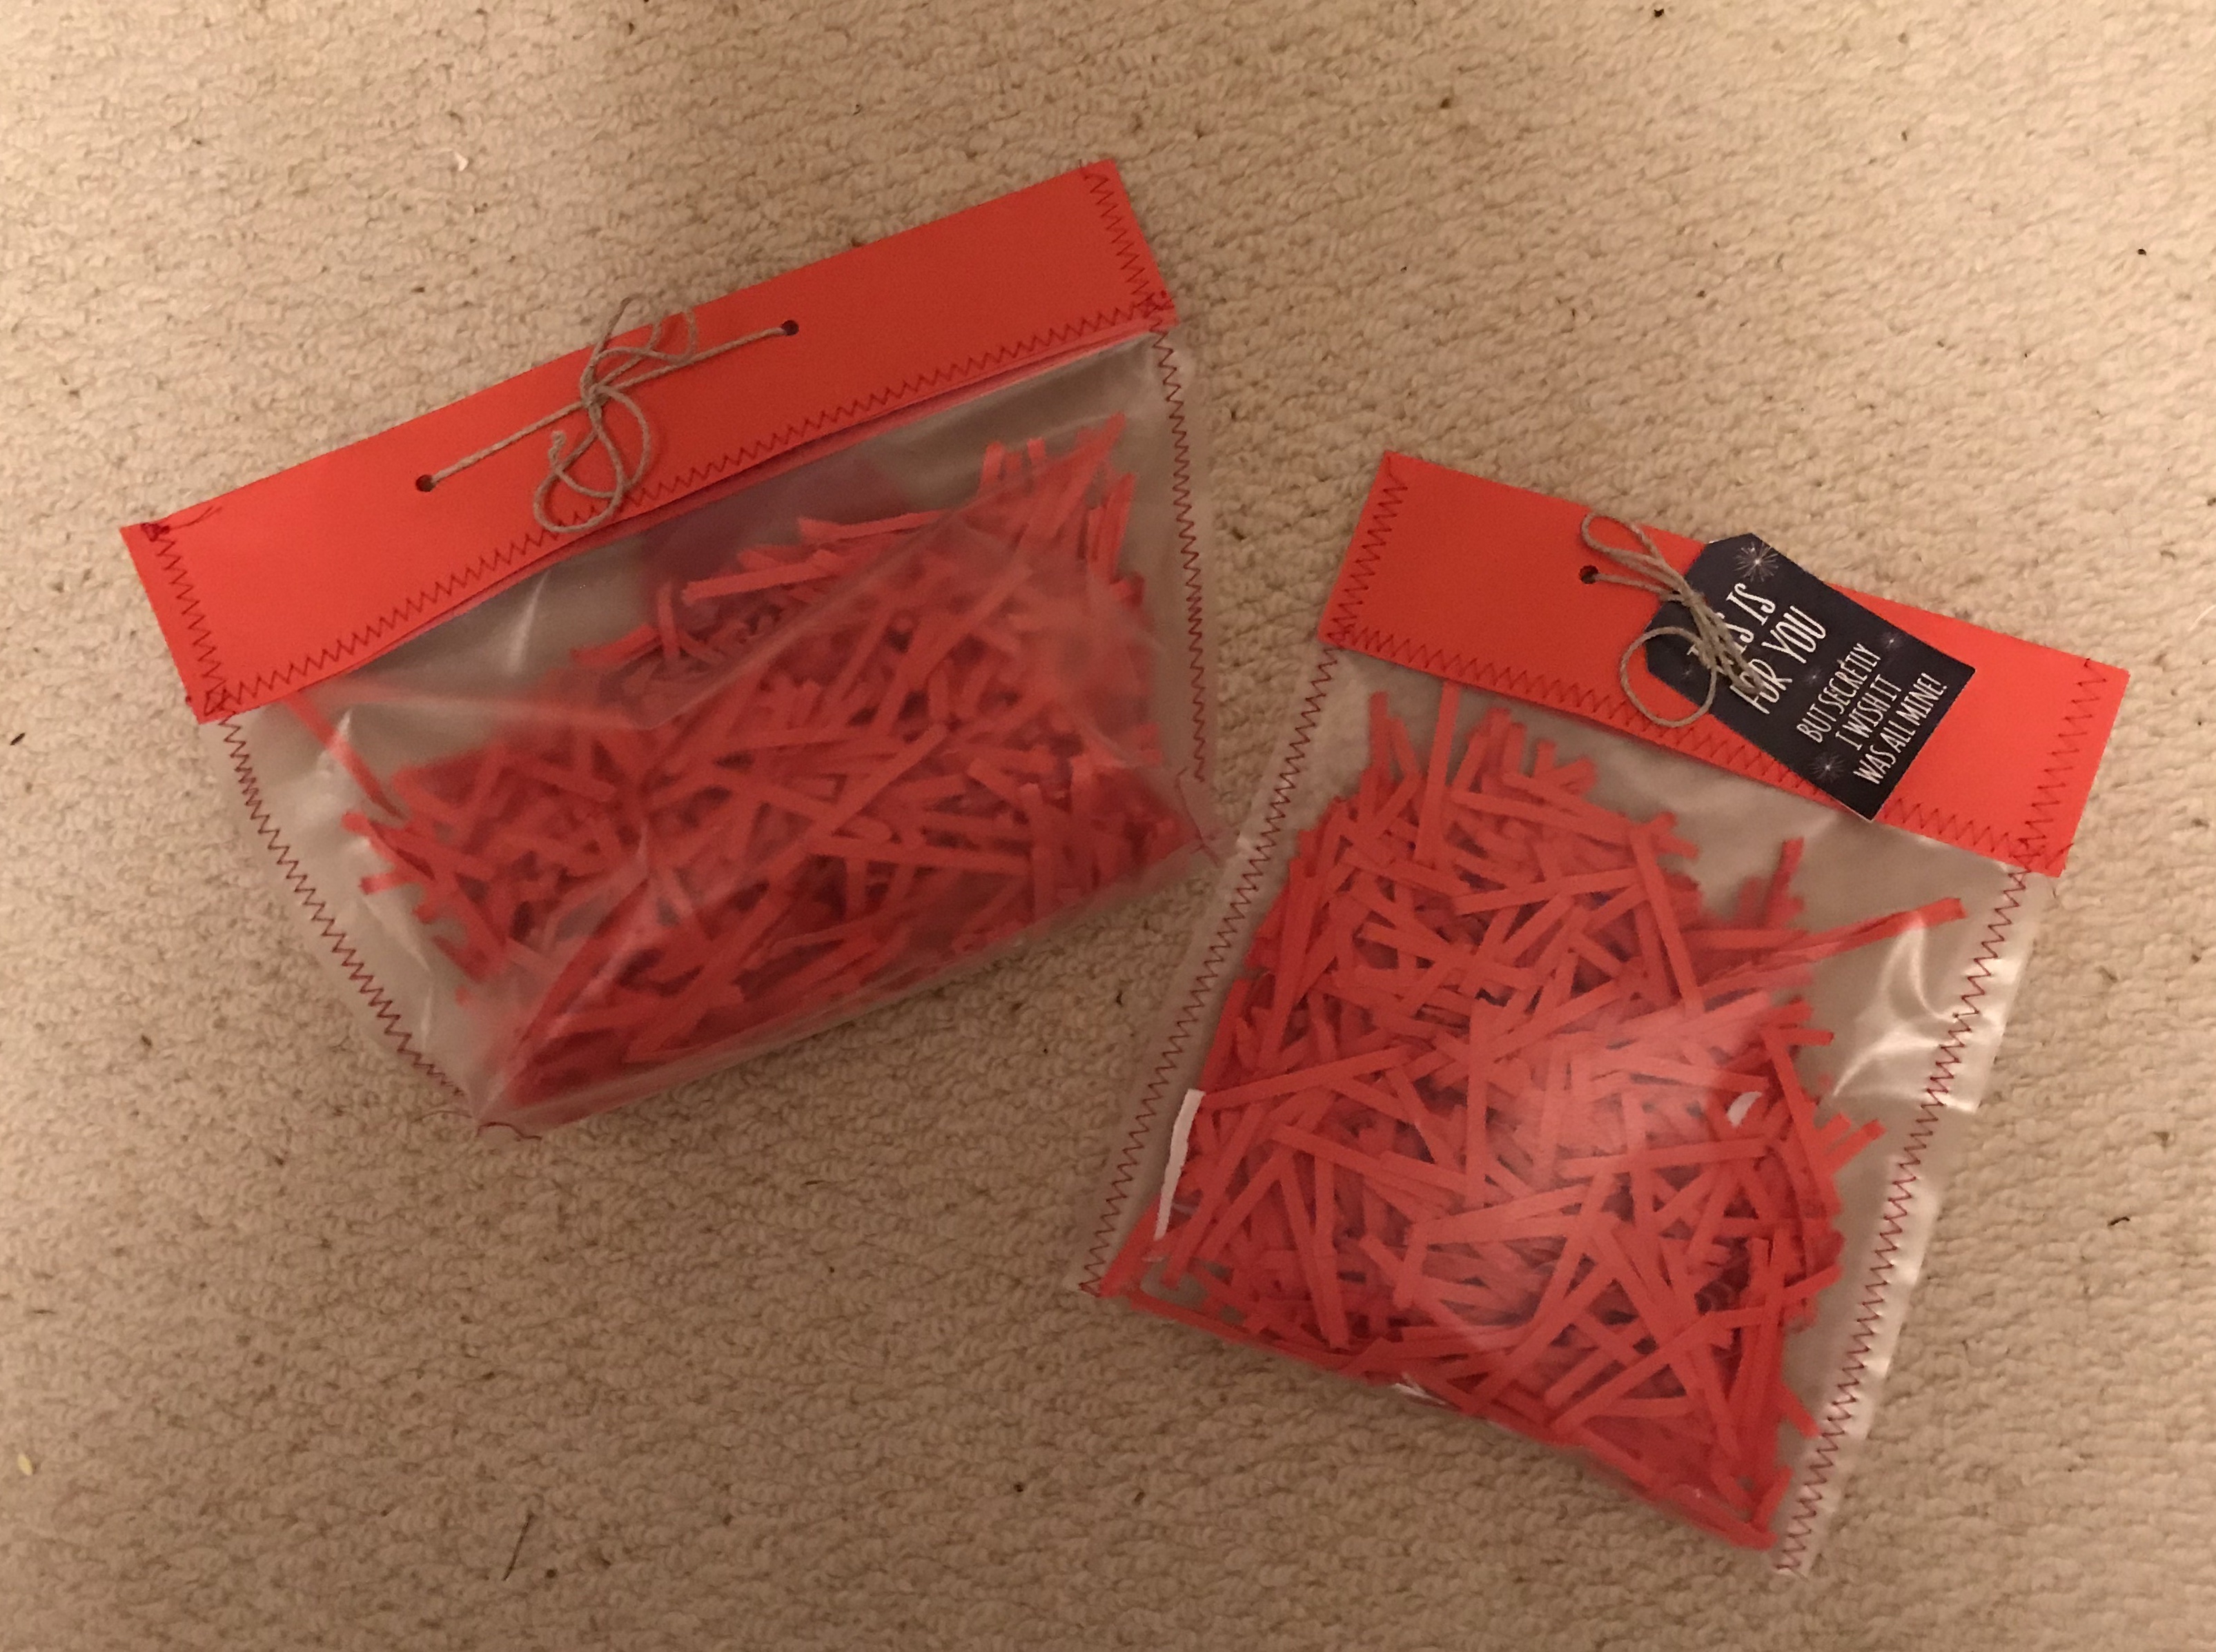
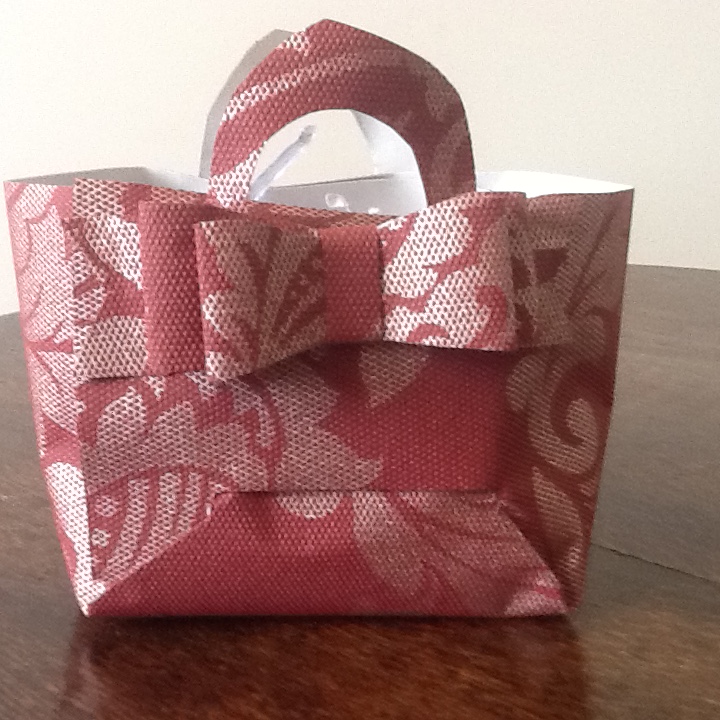
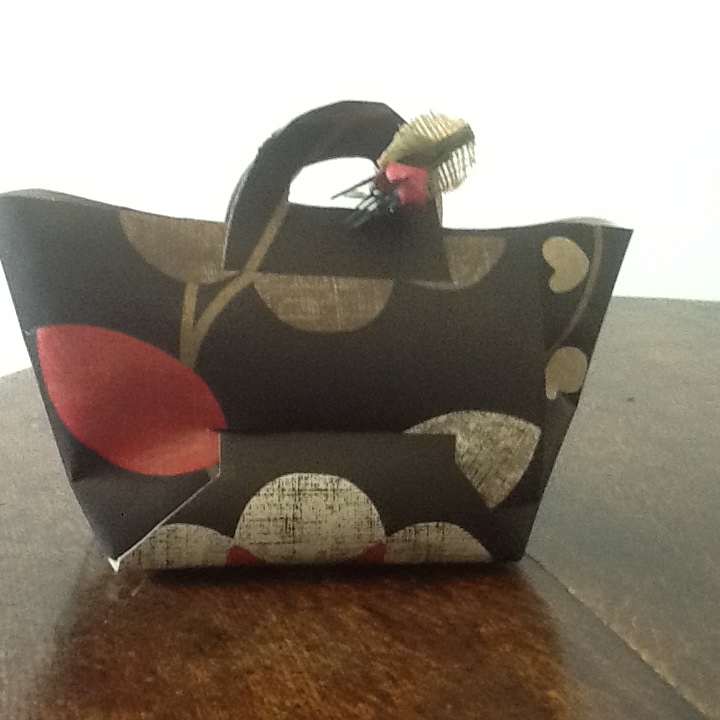
close and decorate with paper clips, pegs, stickers, brads, staples or ribbon threaded through punch holes


No glue gift bags

image

Exacto knife and paper is all you need to make a quick, cute and quite strong gift bag…

The pattern for this came from ohappyday.com where they are intended as brown paper picnic snack bags but they are far too cute to stay in brown paper.

I started by downloading the template from the diy picnic basket post. It makes a quarter of the template needed so should be placed on a larger piece of paper folded in four to get the whole template. You can just cut round the folded paper with an exacto knife. Or you could follow their instruction to rotate and trace the template, but I found that a longer process.

imageimage

I decided to trace mine on some wallpaper remnants – only 50pence in the end of line box at B&Q. This made for an even stronger bag and handle than a brown paper version.

Once the shape is cut, the side flaps are folded in and round and the handles are just threaded through the slits in the flap and the bag pulls together. So satisfying.

I couldn’t resist embellishing with a cheater’s ribbon made from three strips of the paper scraps – yes this was taped together and stuck on the bag. But tags tied around the handle would look good too.

The first bag was filled with shredded paper, the second one had its handles clipped together with a mini peg which pushed out the sides to make more of a handbag shape. Oh this is addictive.

image

Buoyed by success I then scaled the template down to make a mini bag from a piece of unloved 12”x12” paper.image


Even cuter. Can’t recommend this highly enough.


Decorated pegs

Makes a useful,  basic and inexpensive tool just a little prettier…

Plain, wooden clothes pegs are useful in the craft room for box making, clamping glued items and stacking papers as well as storing cords and fabrics

Glued on a shelf in the utility room they are great for holding odd socks until their ‘sole mates’ re-appear or holding dog leads out of the way

And in the kitchen they keep packets and bags closed to stop spills

Functional is good but prettified and still functional is even better, so a stamping session took place this week.

Prettified, these pegs will also add a final, rustic touch to attach a tag and close a gift bag.

Maker’s tip: I used a floral stamp and placed it on an acrylic pad, took the ink pad to the stamp and then rested the peg on the stamp to get the right position. It is easier than trying to balance the peg on a work surface then tap your much bigger stamp on top of it.

Use the right ink to avoid smudges and stains- I used stazon – or découpage pretty papers with something like modpodge to keep them durable…