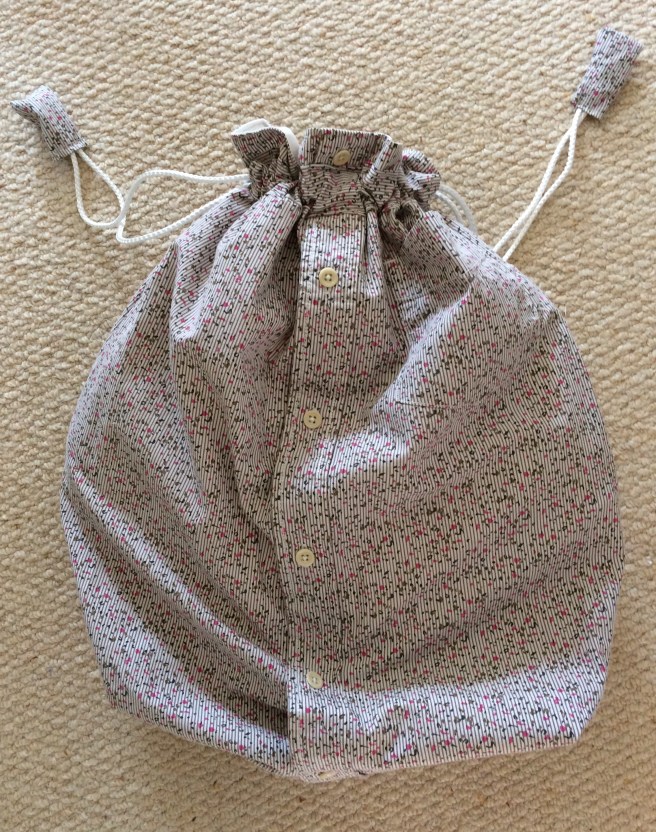
Thanks to Edward for finally clearing out his aging shirts. The less lovely patterns will be used to line projects but this shirt is worth using on the outside
I decided to keep the placket (learnt that word from Sewing Bee) so just chopped off the collar and sleeves leaving equal rectangles. (I unpicked a dart on the back but this really wasn’t necessary).
I then cut two matching rectangles from lining material (I am finally making headway into the old duvet cover that is flattering up my fabric stash/jumble).
To make a drawstring tube, I cut two strips of fabric from the remnant about 10 inches by 4, hemmed the short ends and ironed under about an inch on the long sides before stitching the long ends a couple of inches down from the top of the outside of front and then back of the shirt
With right sides facing I hemmed the sides and bottom of both shirt and lining (leaving a gap for turning in the bottom of the lining. I boxed the corners with a 2 inch box cut out but this isn’t necessary.
I then turned the lining right sides out and sat it inside the shirt bag. I pinned the tops of the bags together, matching the seams and smoothing out any wrinkly bits before hemming all the way round.
I pulled the shirt through the gap in the lining, stitched the gap shut and then pushed the lining back inside the bag. I ironed and top stitched around the top hem before threading cord loops through the drawstring.
This is an easy project as the shirt front does all the style work needed. I didn’t even stitch the two sides of the front together, just left them buttoned up. This means the user could tuck things between front and lining if desired. And that’s in addition to the original shirt pocket on the front. I did put fabric tabs over the cord ends to use up some of the little remnants but it’s really not required.
Perhaps this is too good for a laundry bag!
On another version I tried using the sleeves to shape the bag by cutting just inside the shoulder seam. It made the bag slightly wider but a bit more fiddly and saggy when finished.

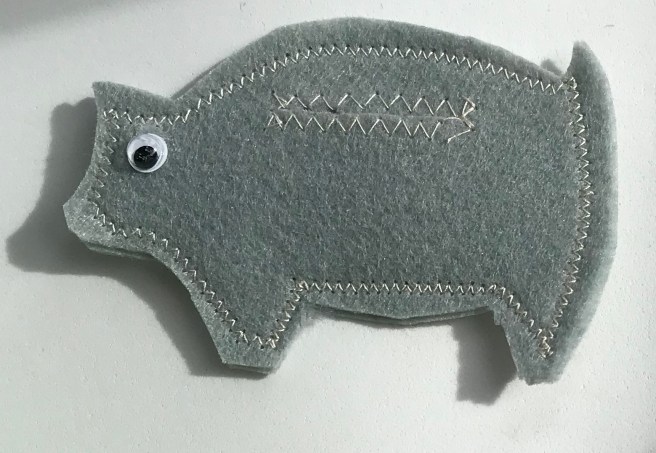
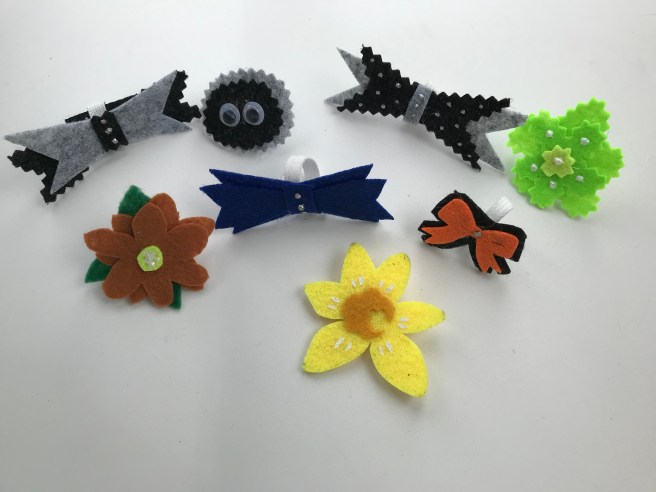
 While the felt and googly eyes were on the table, I remembered this Pinterest inspired ‘to do’.
 Inspired by a charity fund raiser daffodil shown centre above