Stationery holder

image

image
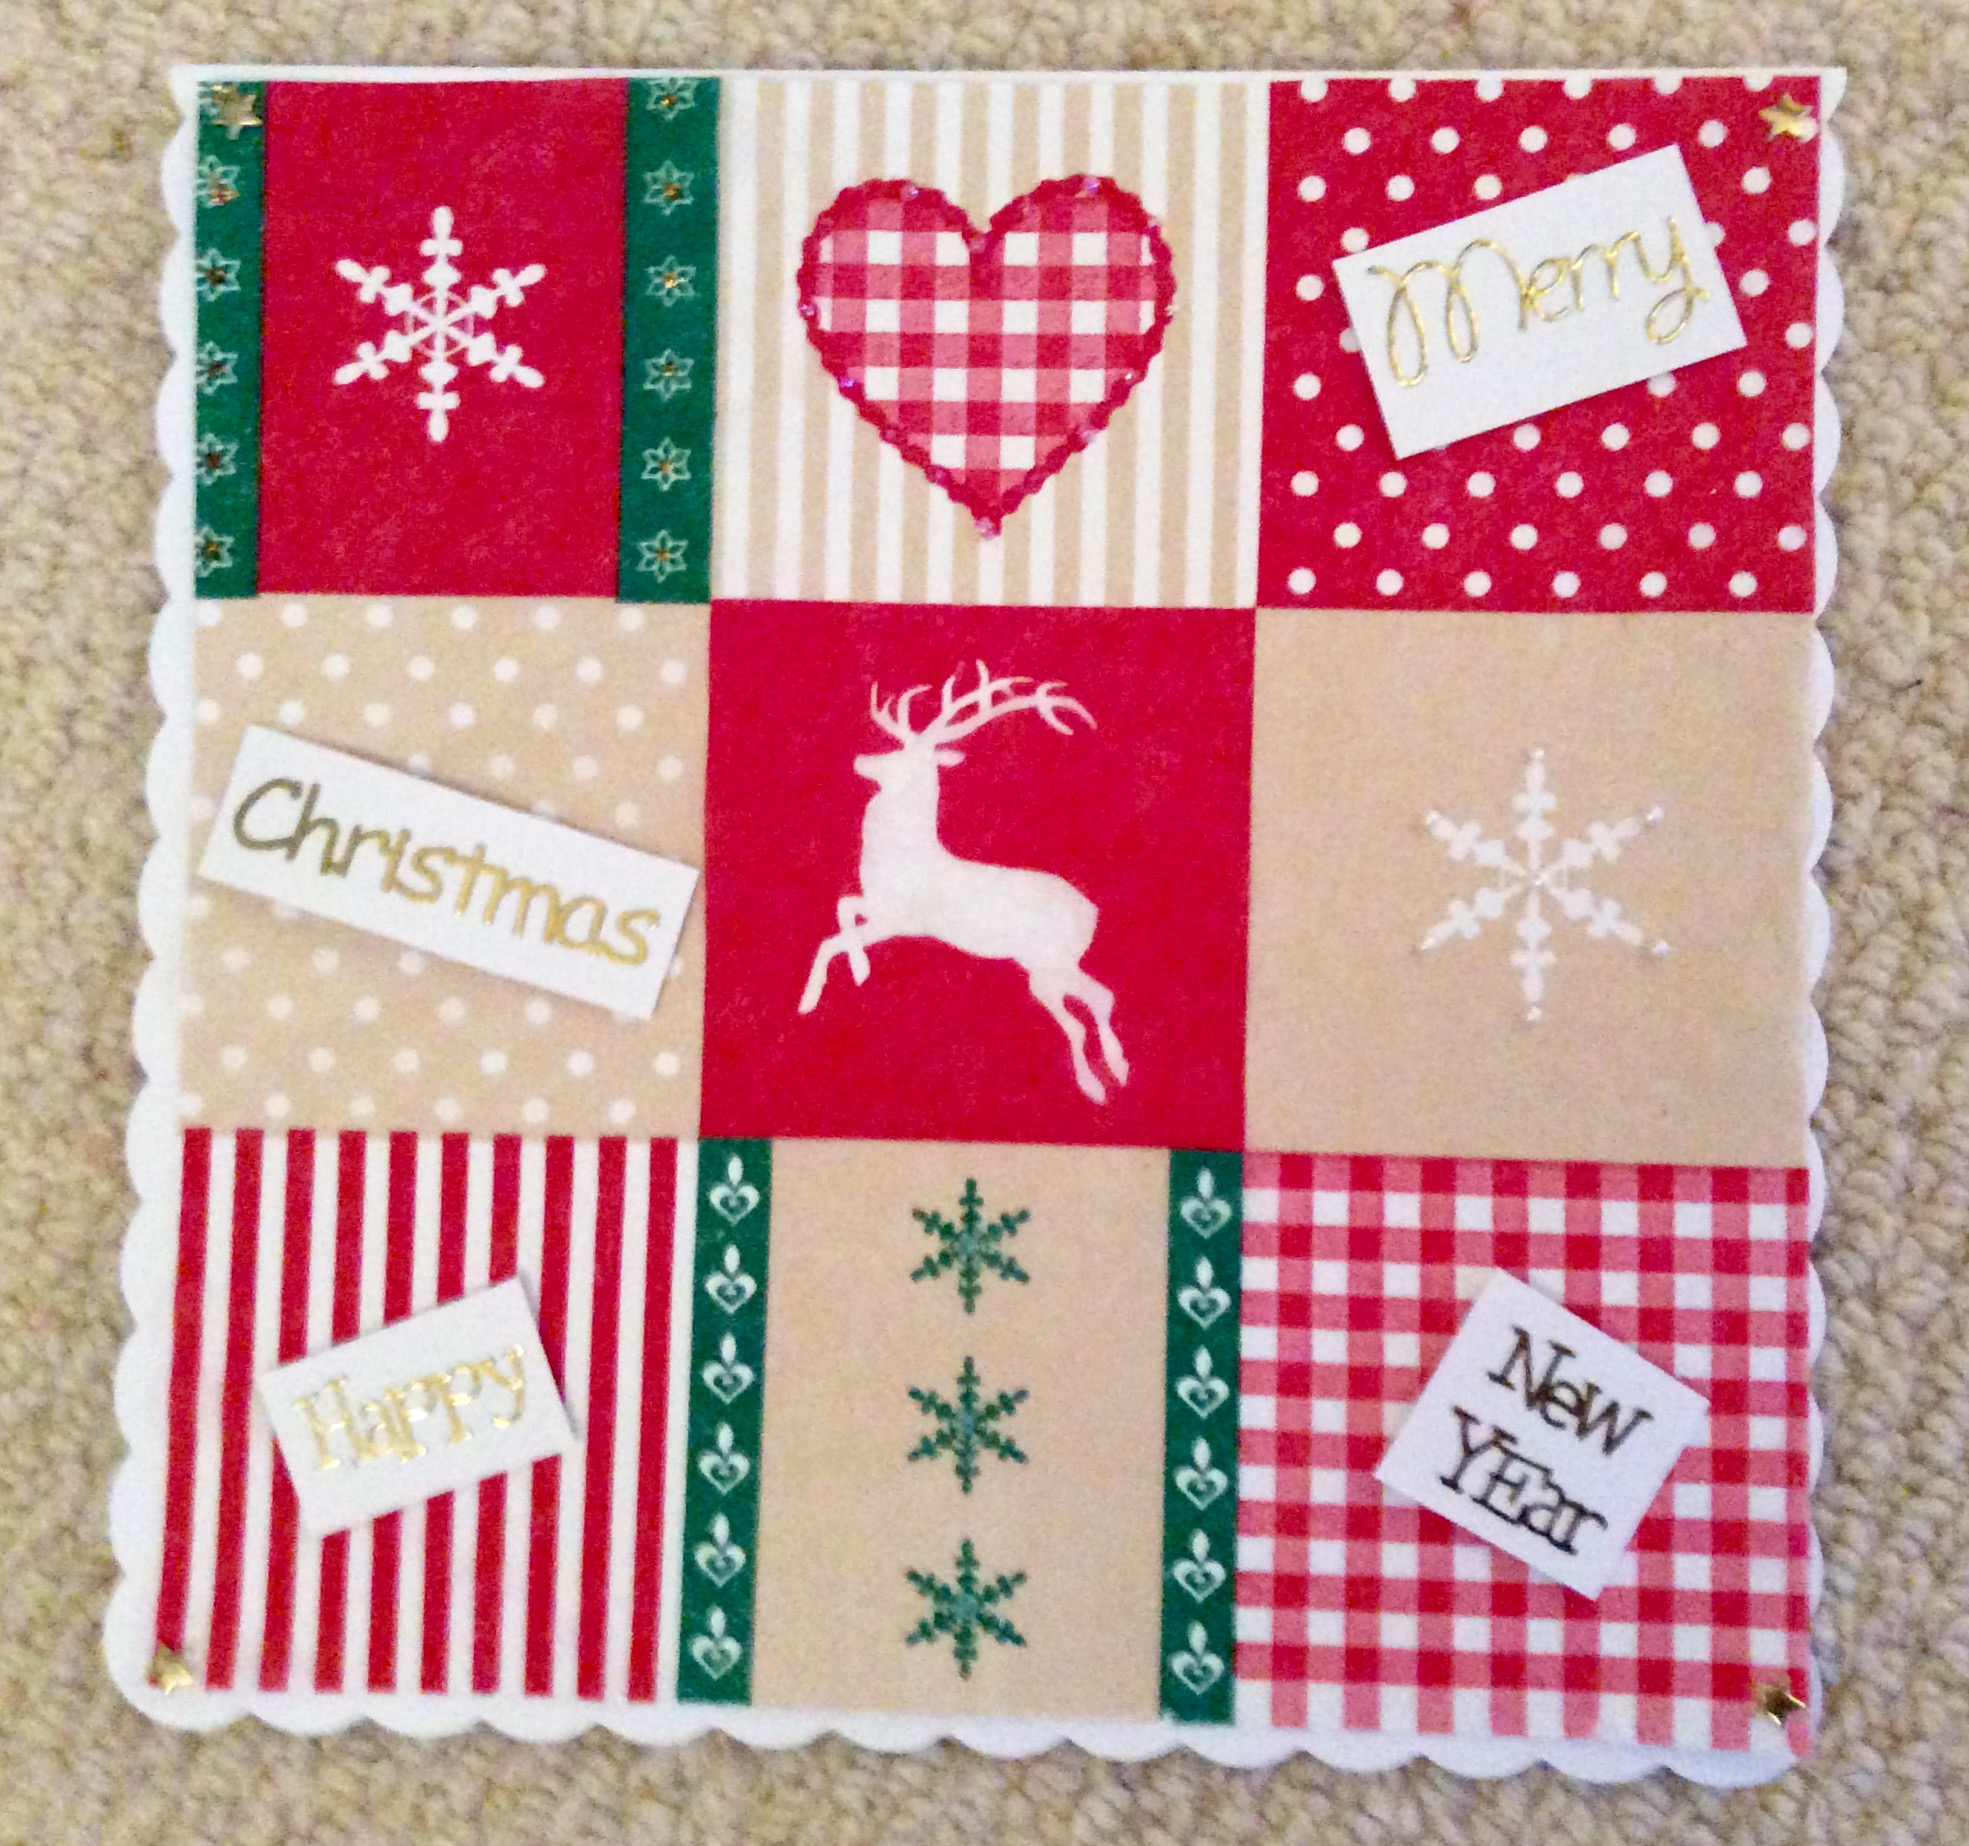
What started as a card organiser inspired by a Crafter’s Companion You Tube tutorial turned into a lovely stationery holder gift.

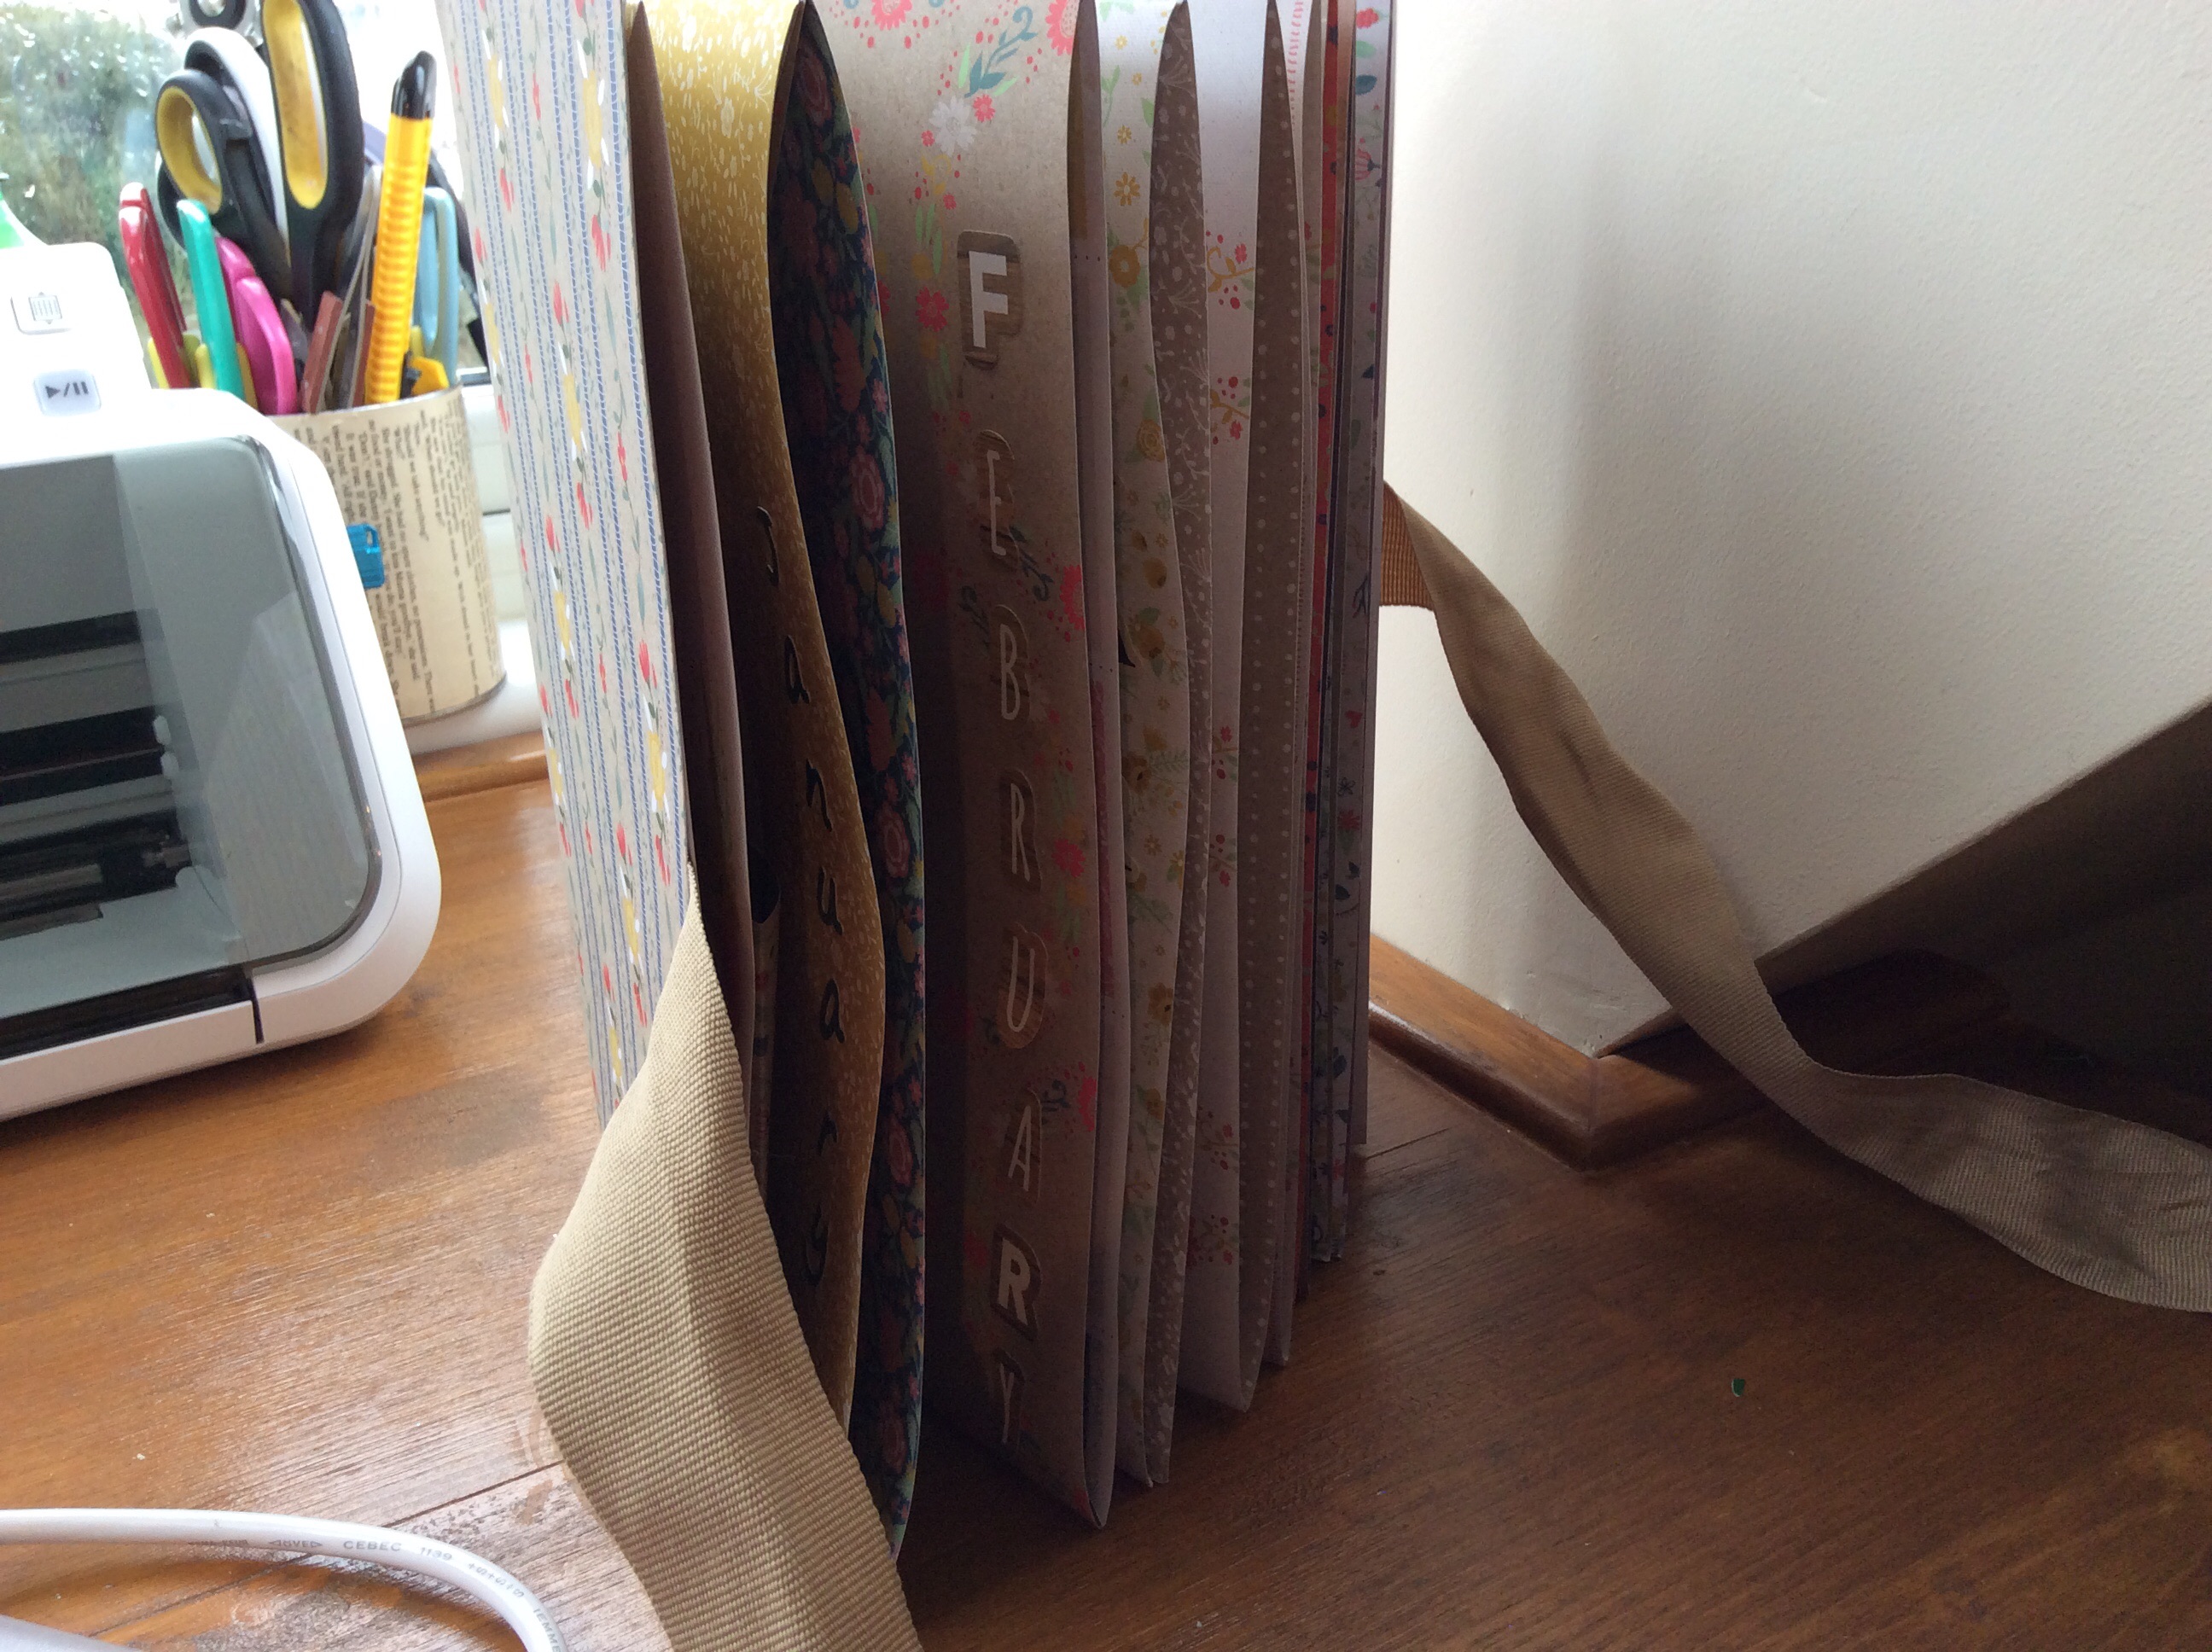
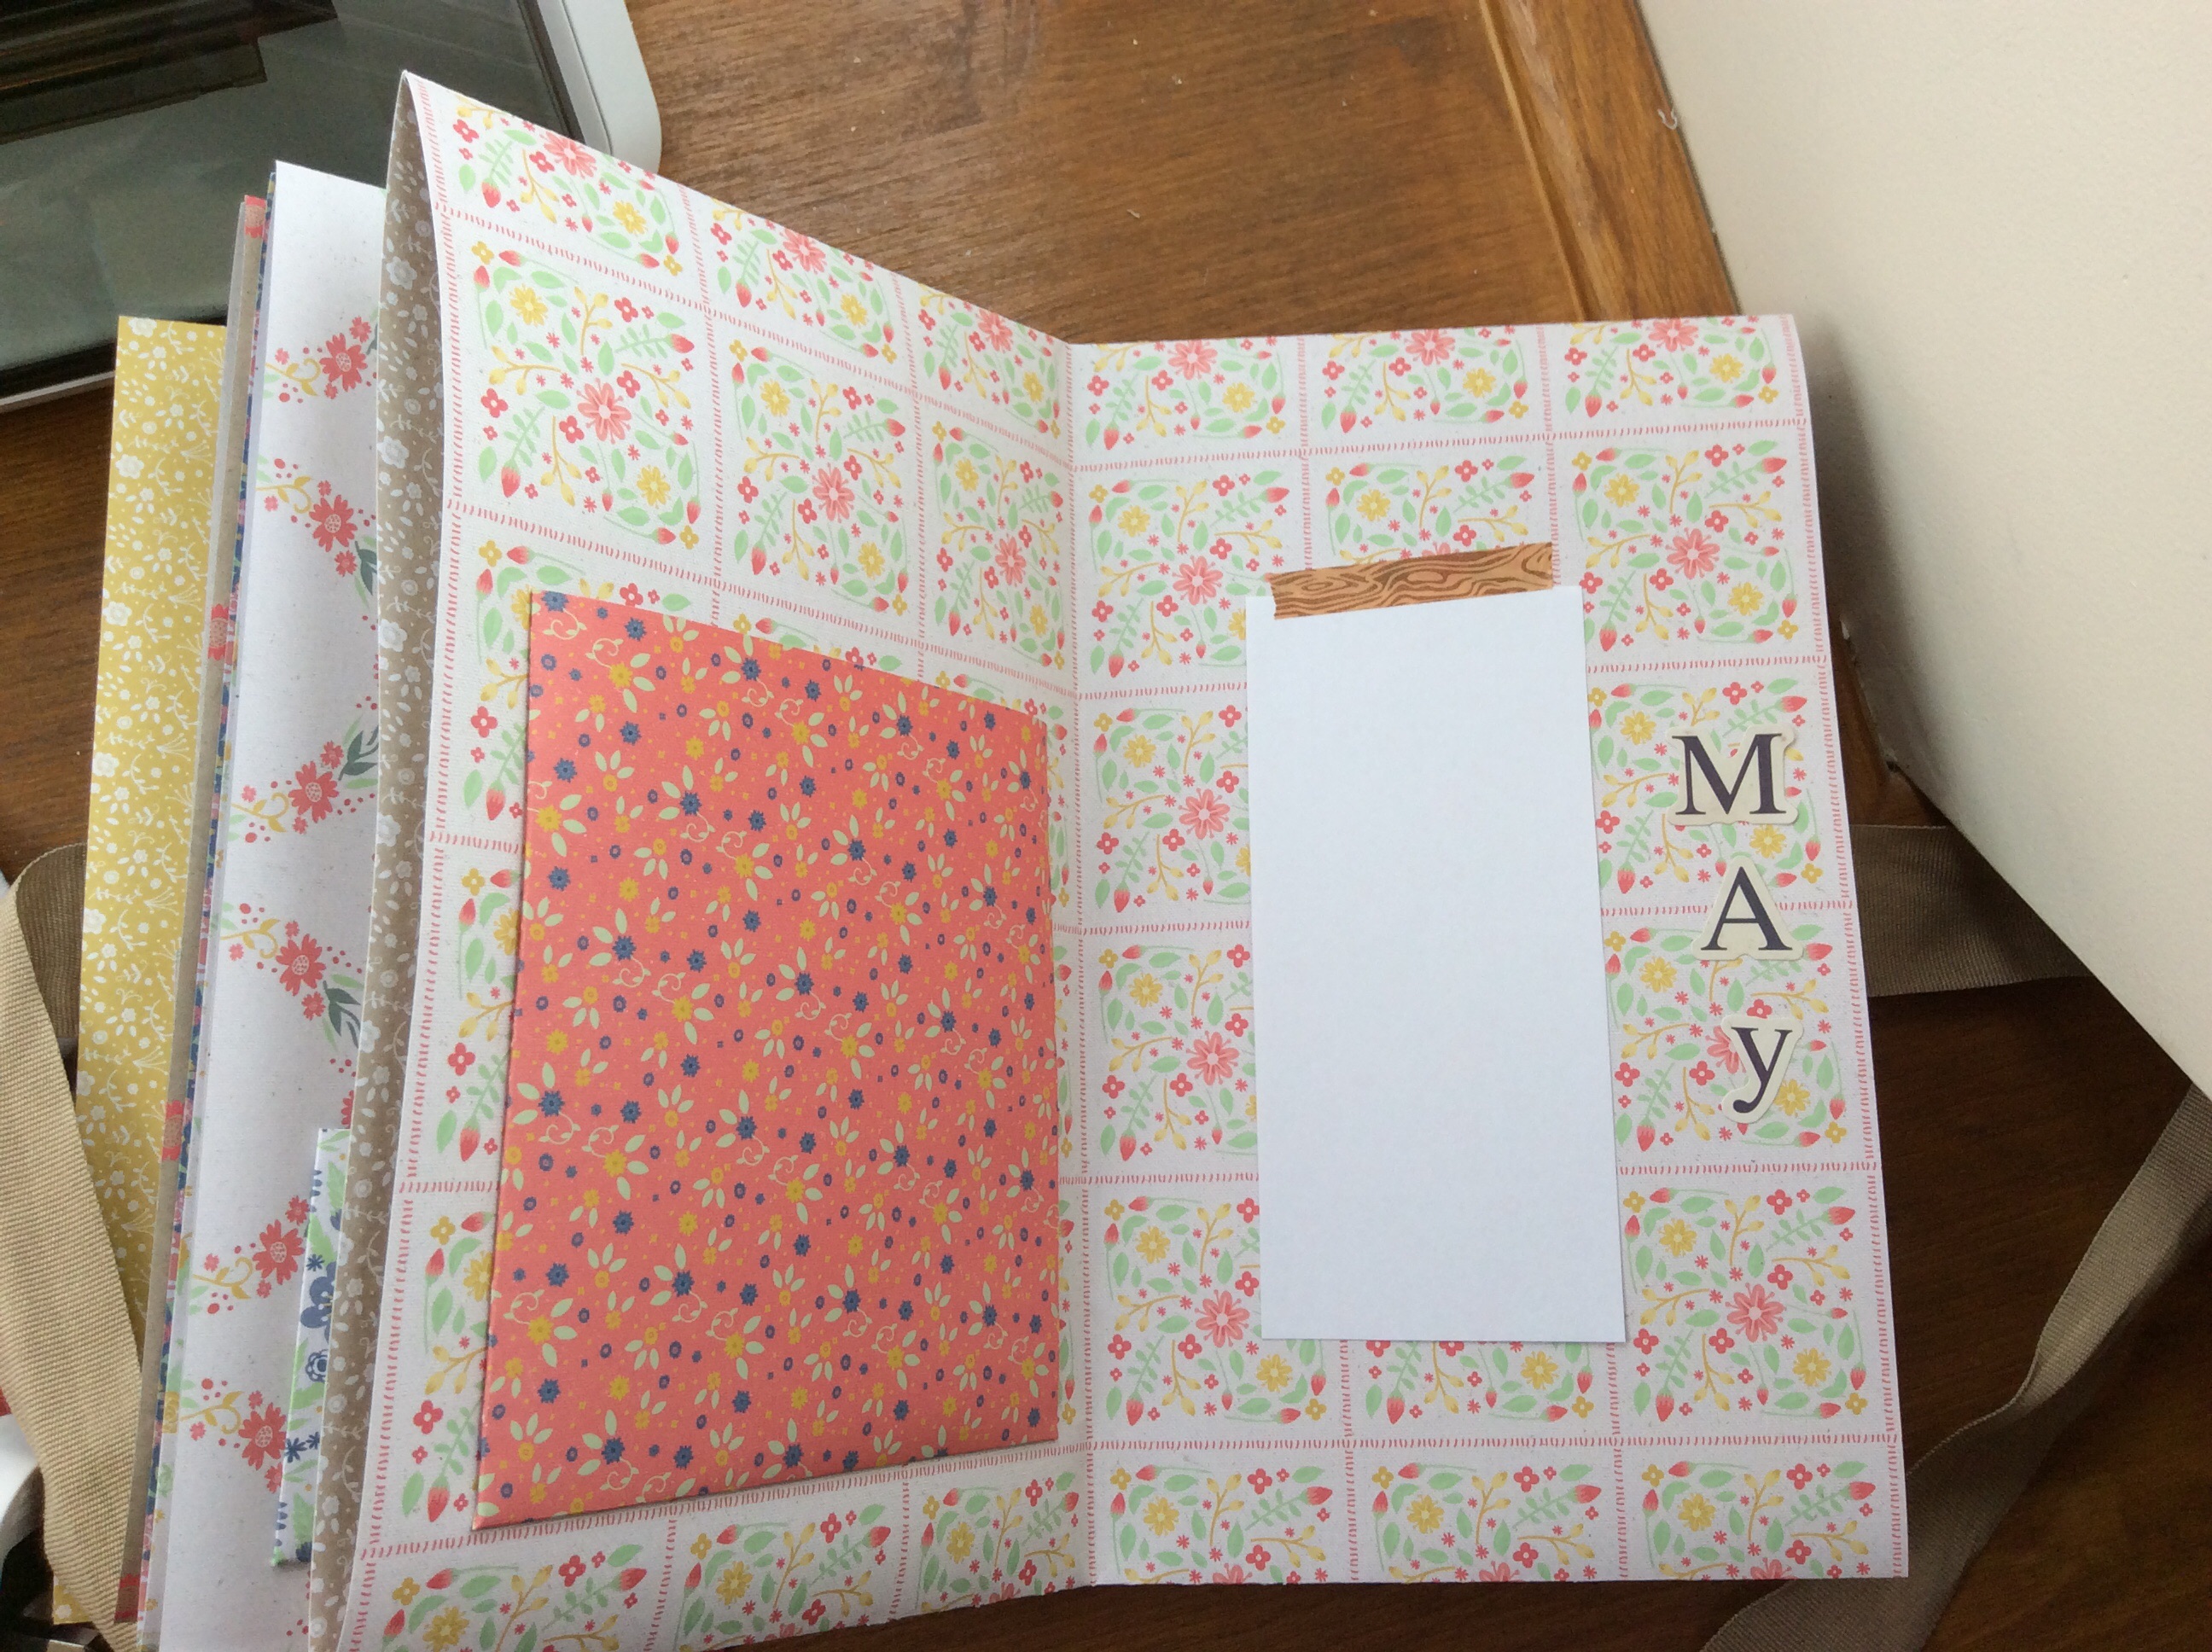
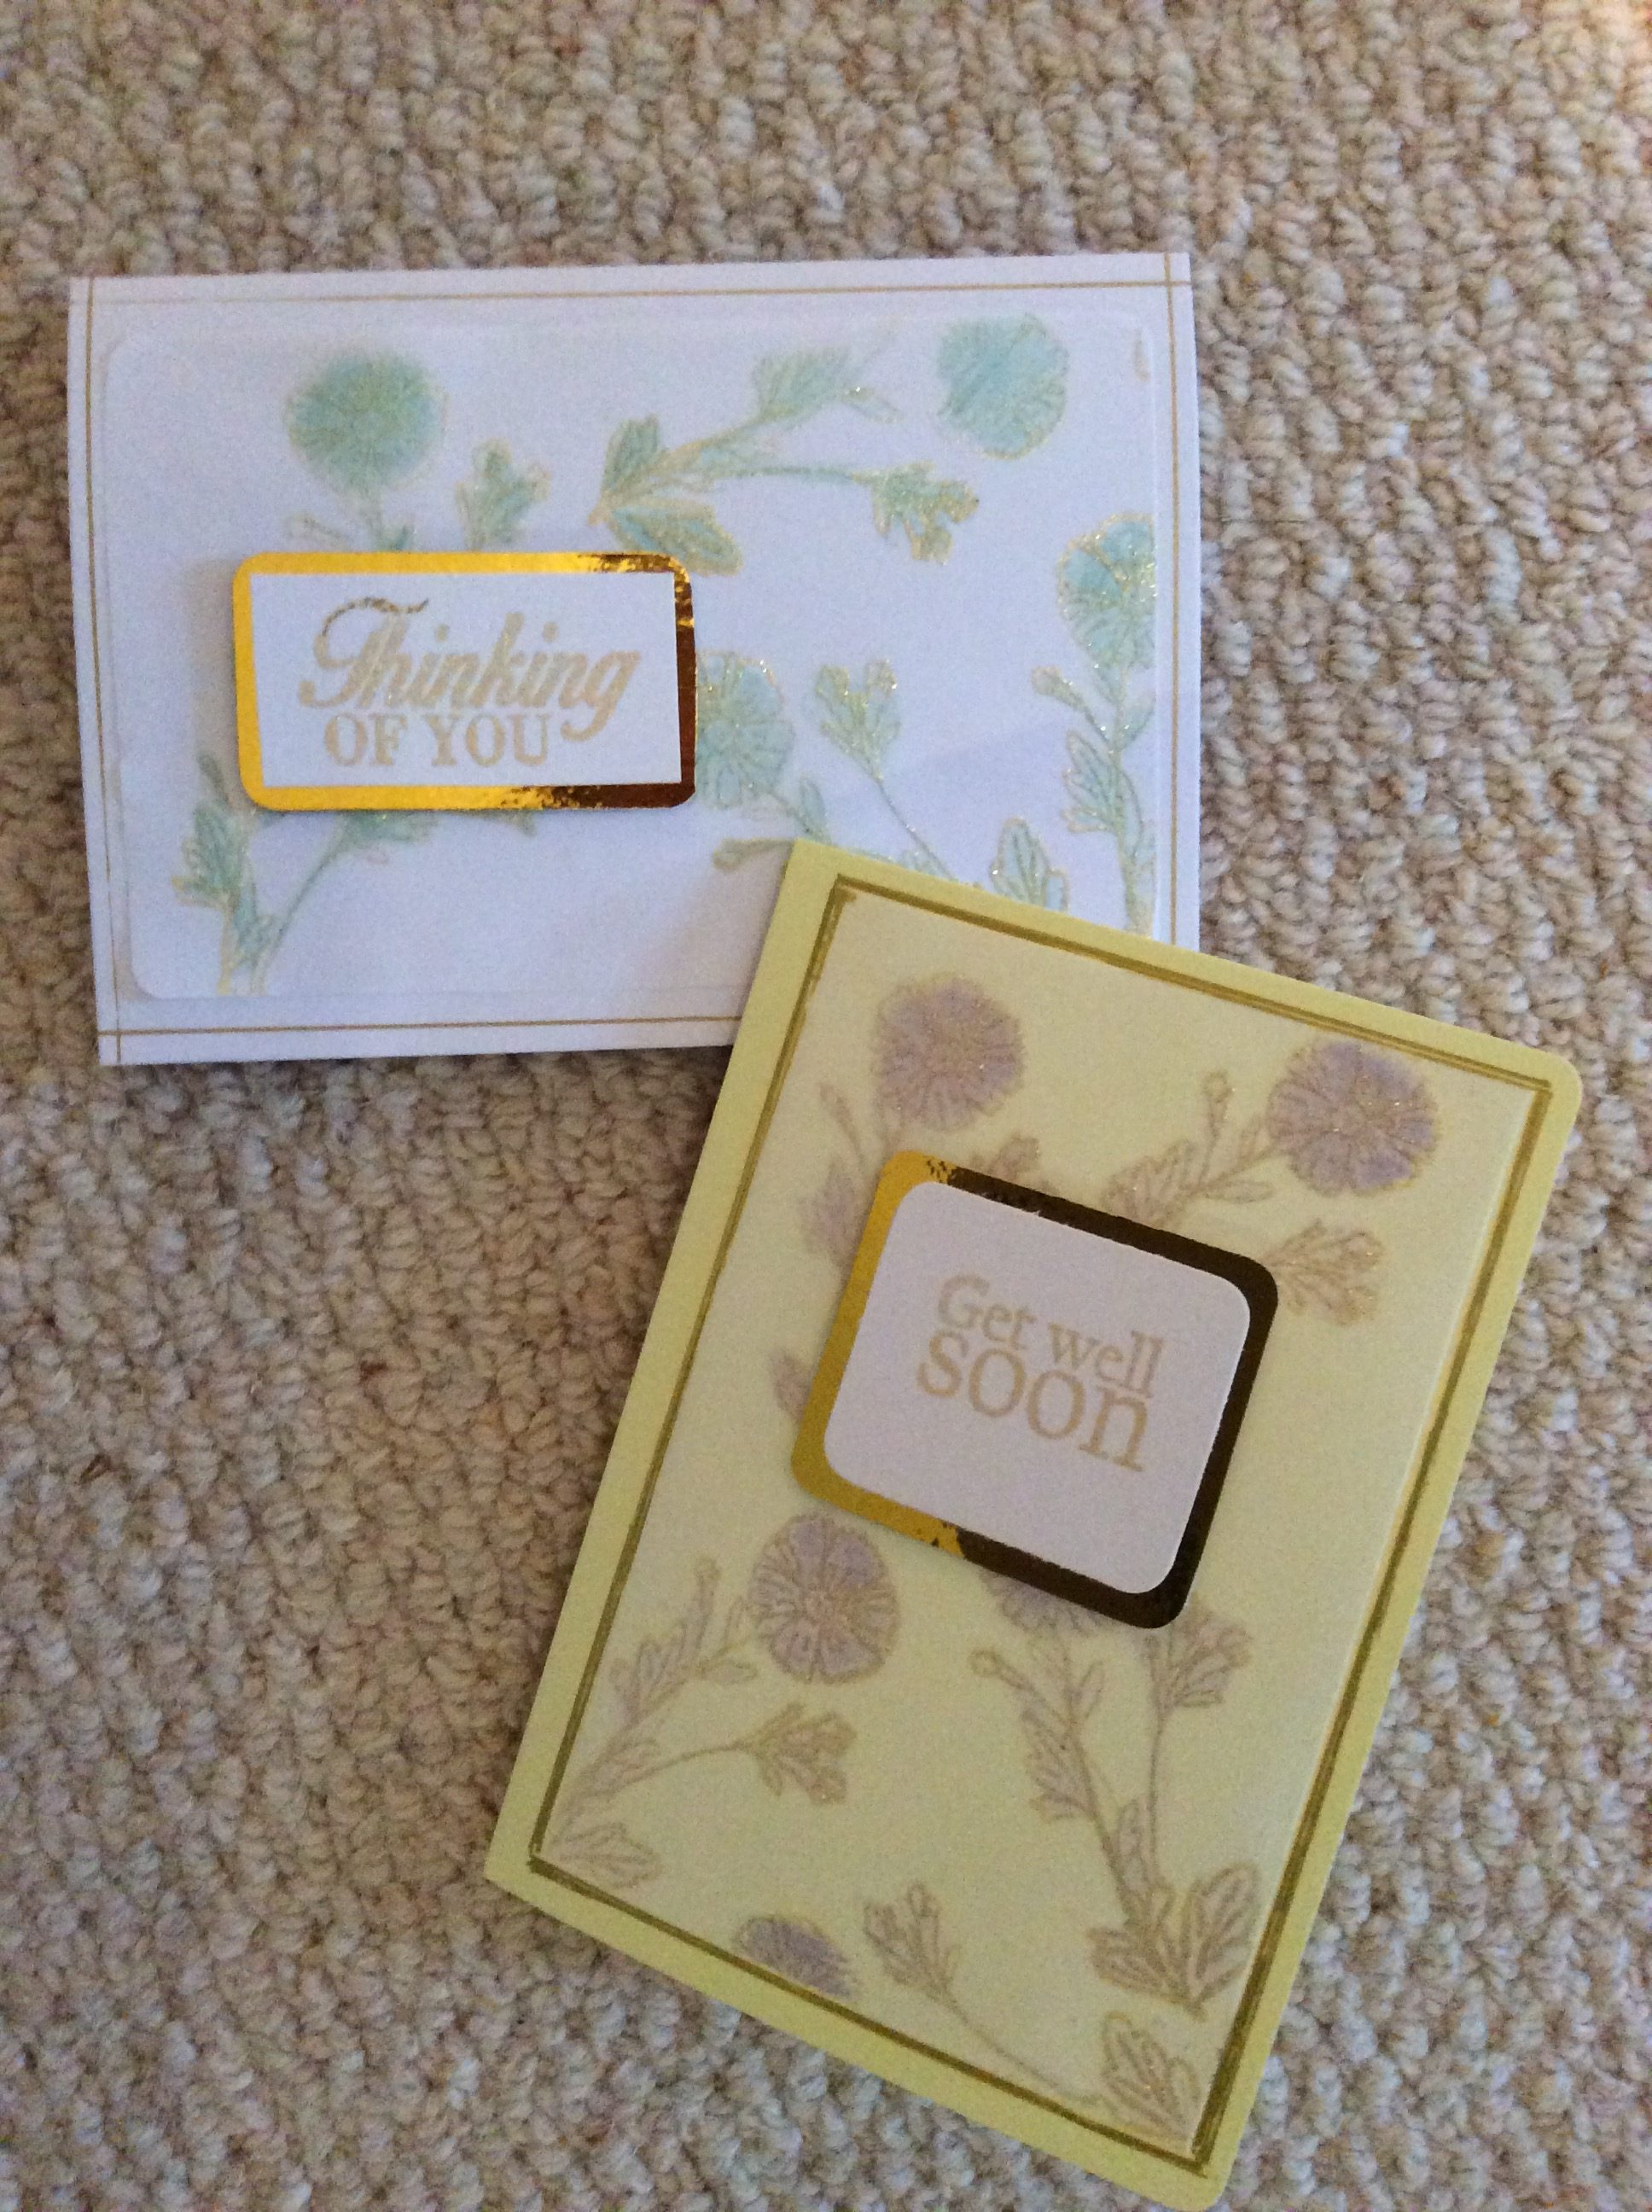
this book has a pocket for each month of the year to hold  cards for specific people so you can be really organised

the original tutorial has scrapbook style photo mats but I replaced these with note paper sheets which can be replaced as they are only fixed on with washi tape

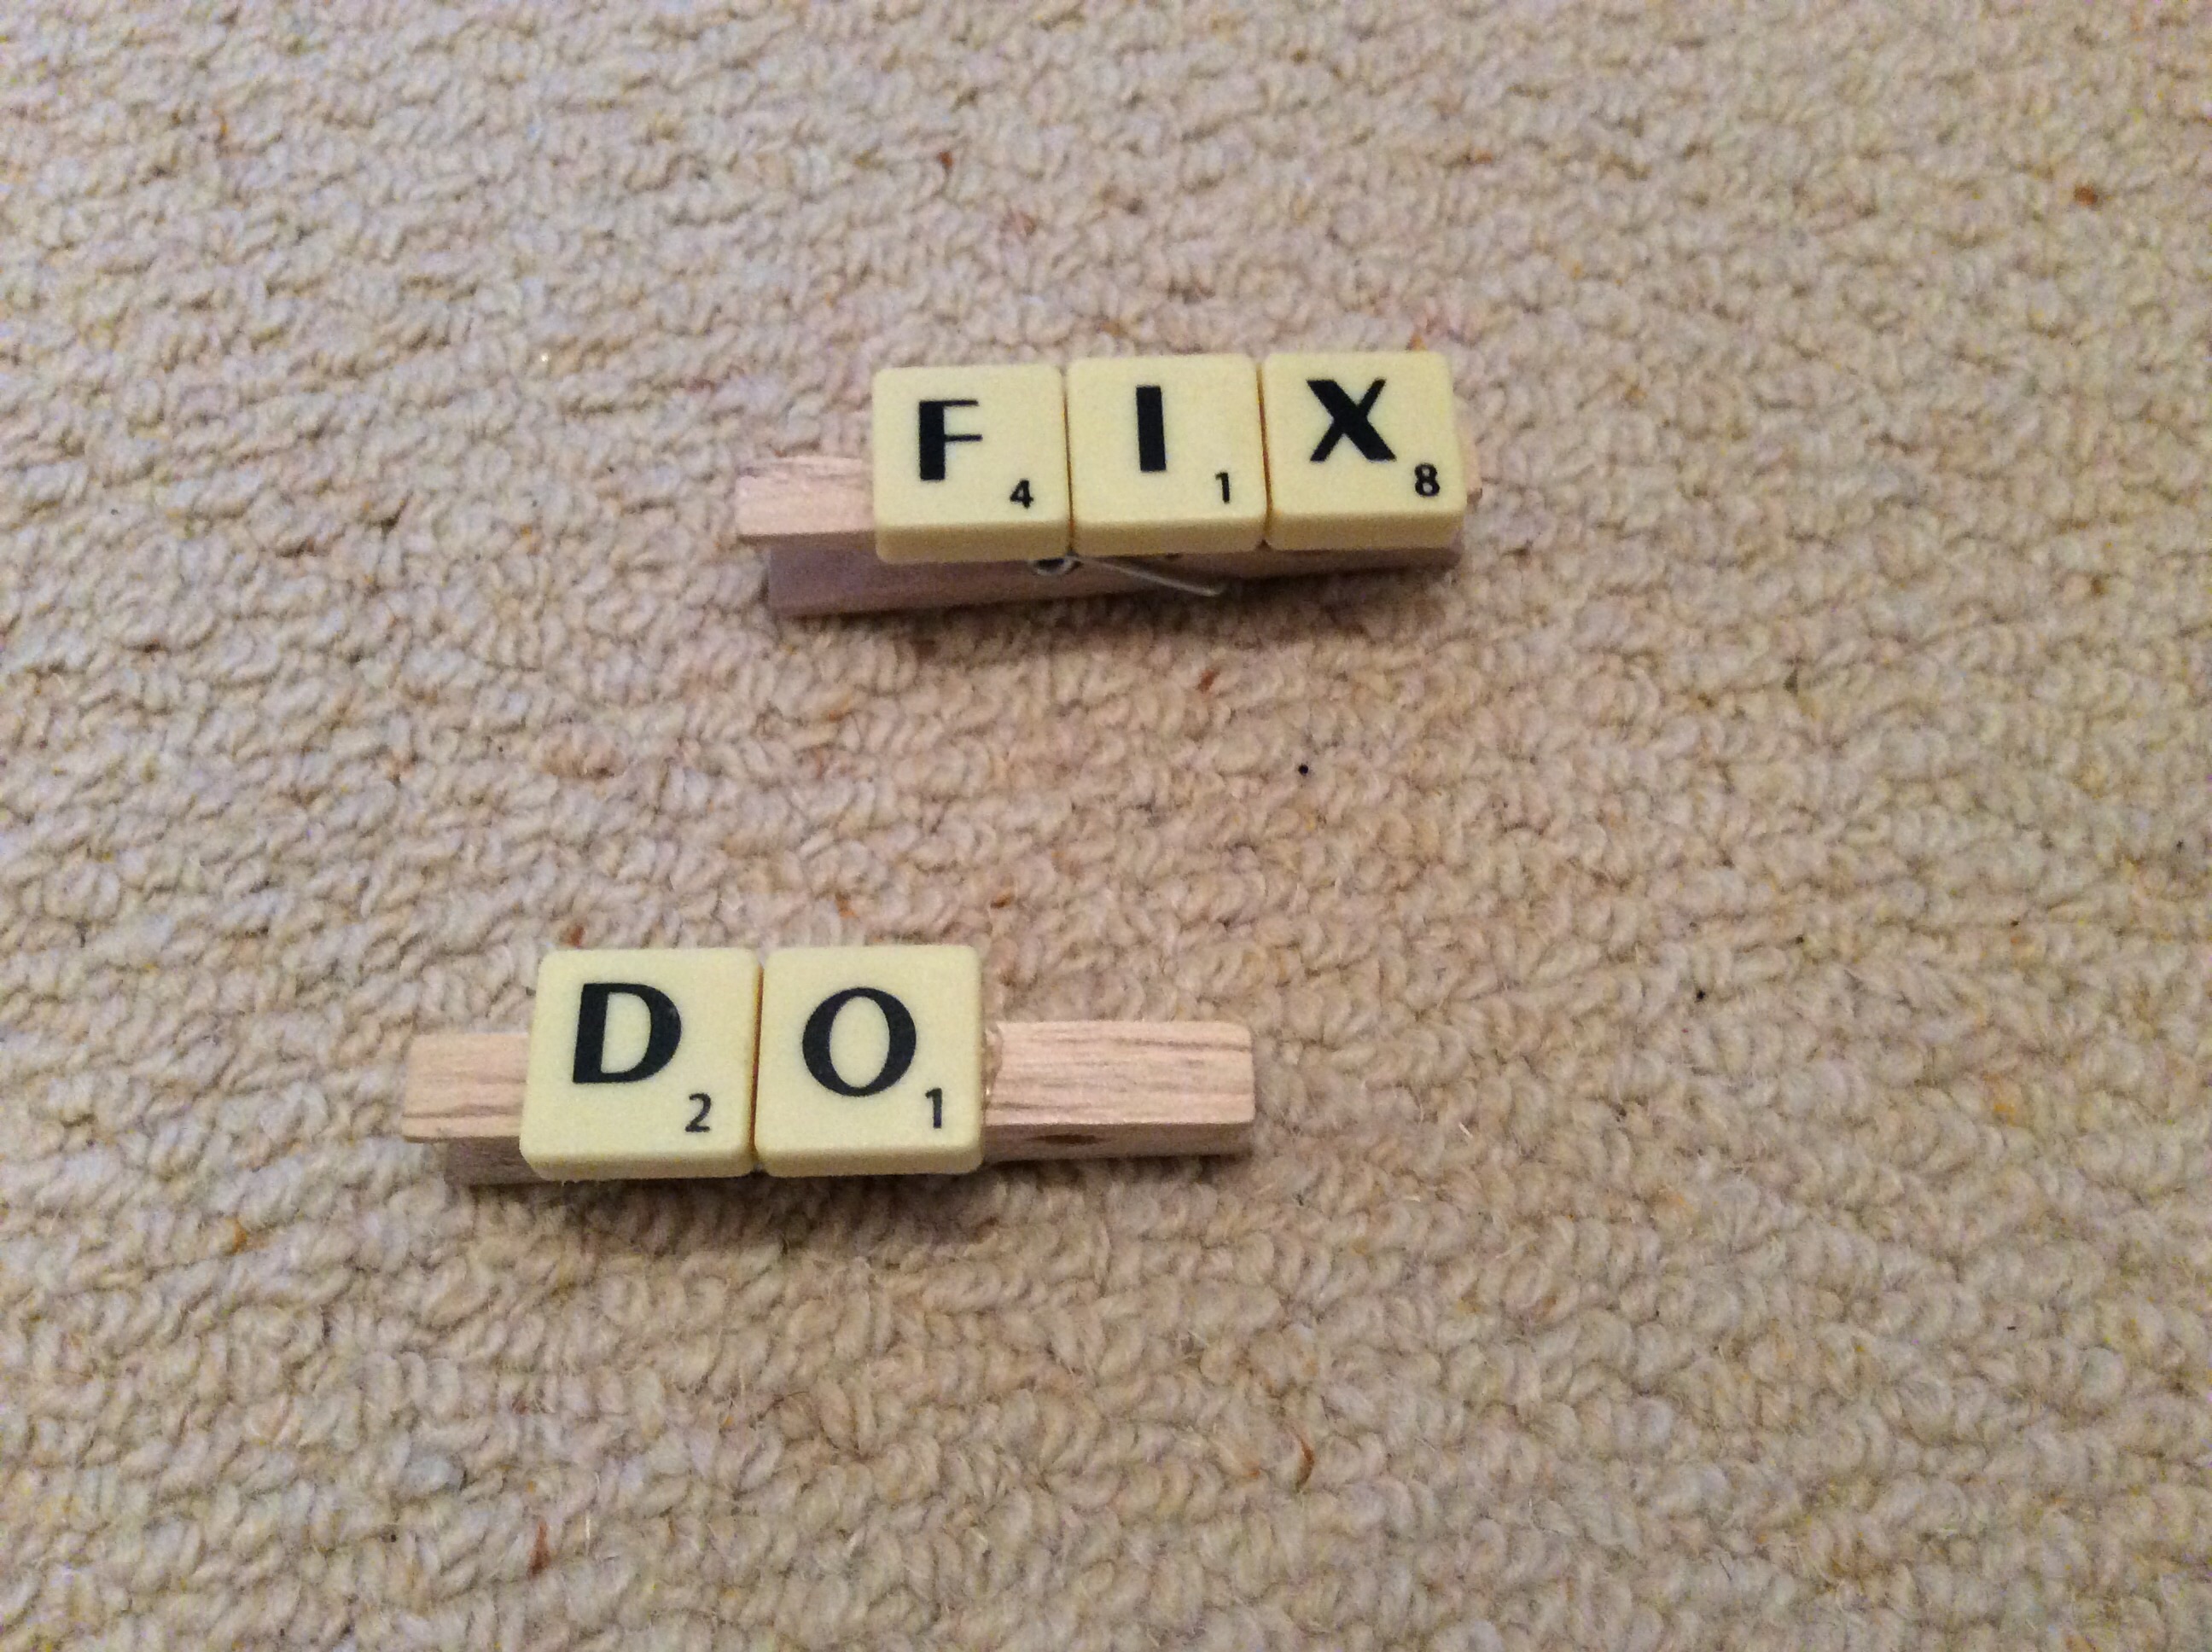
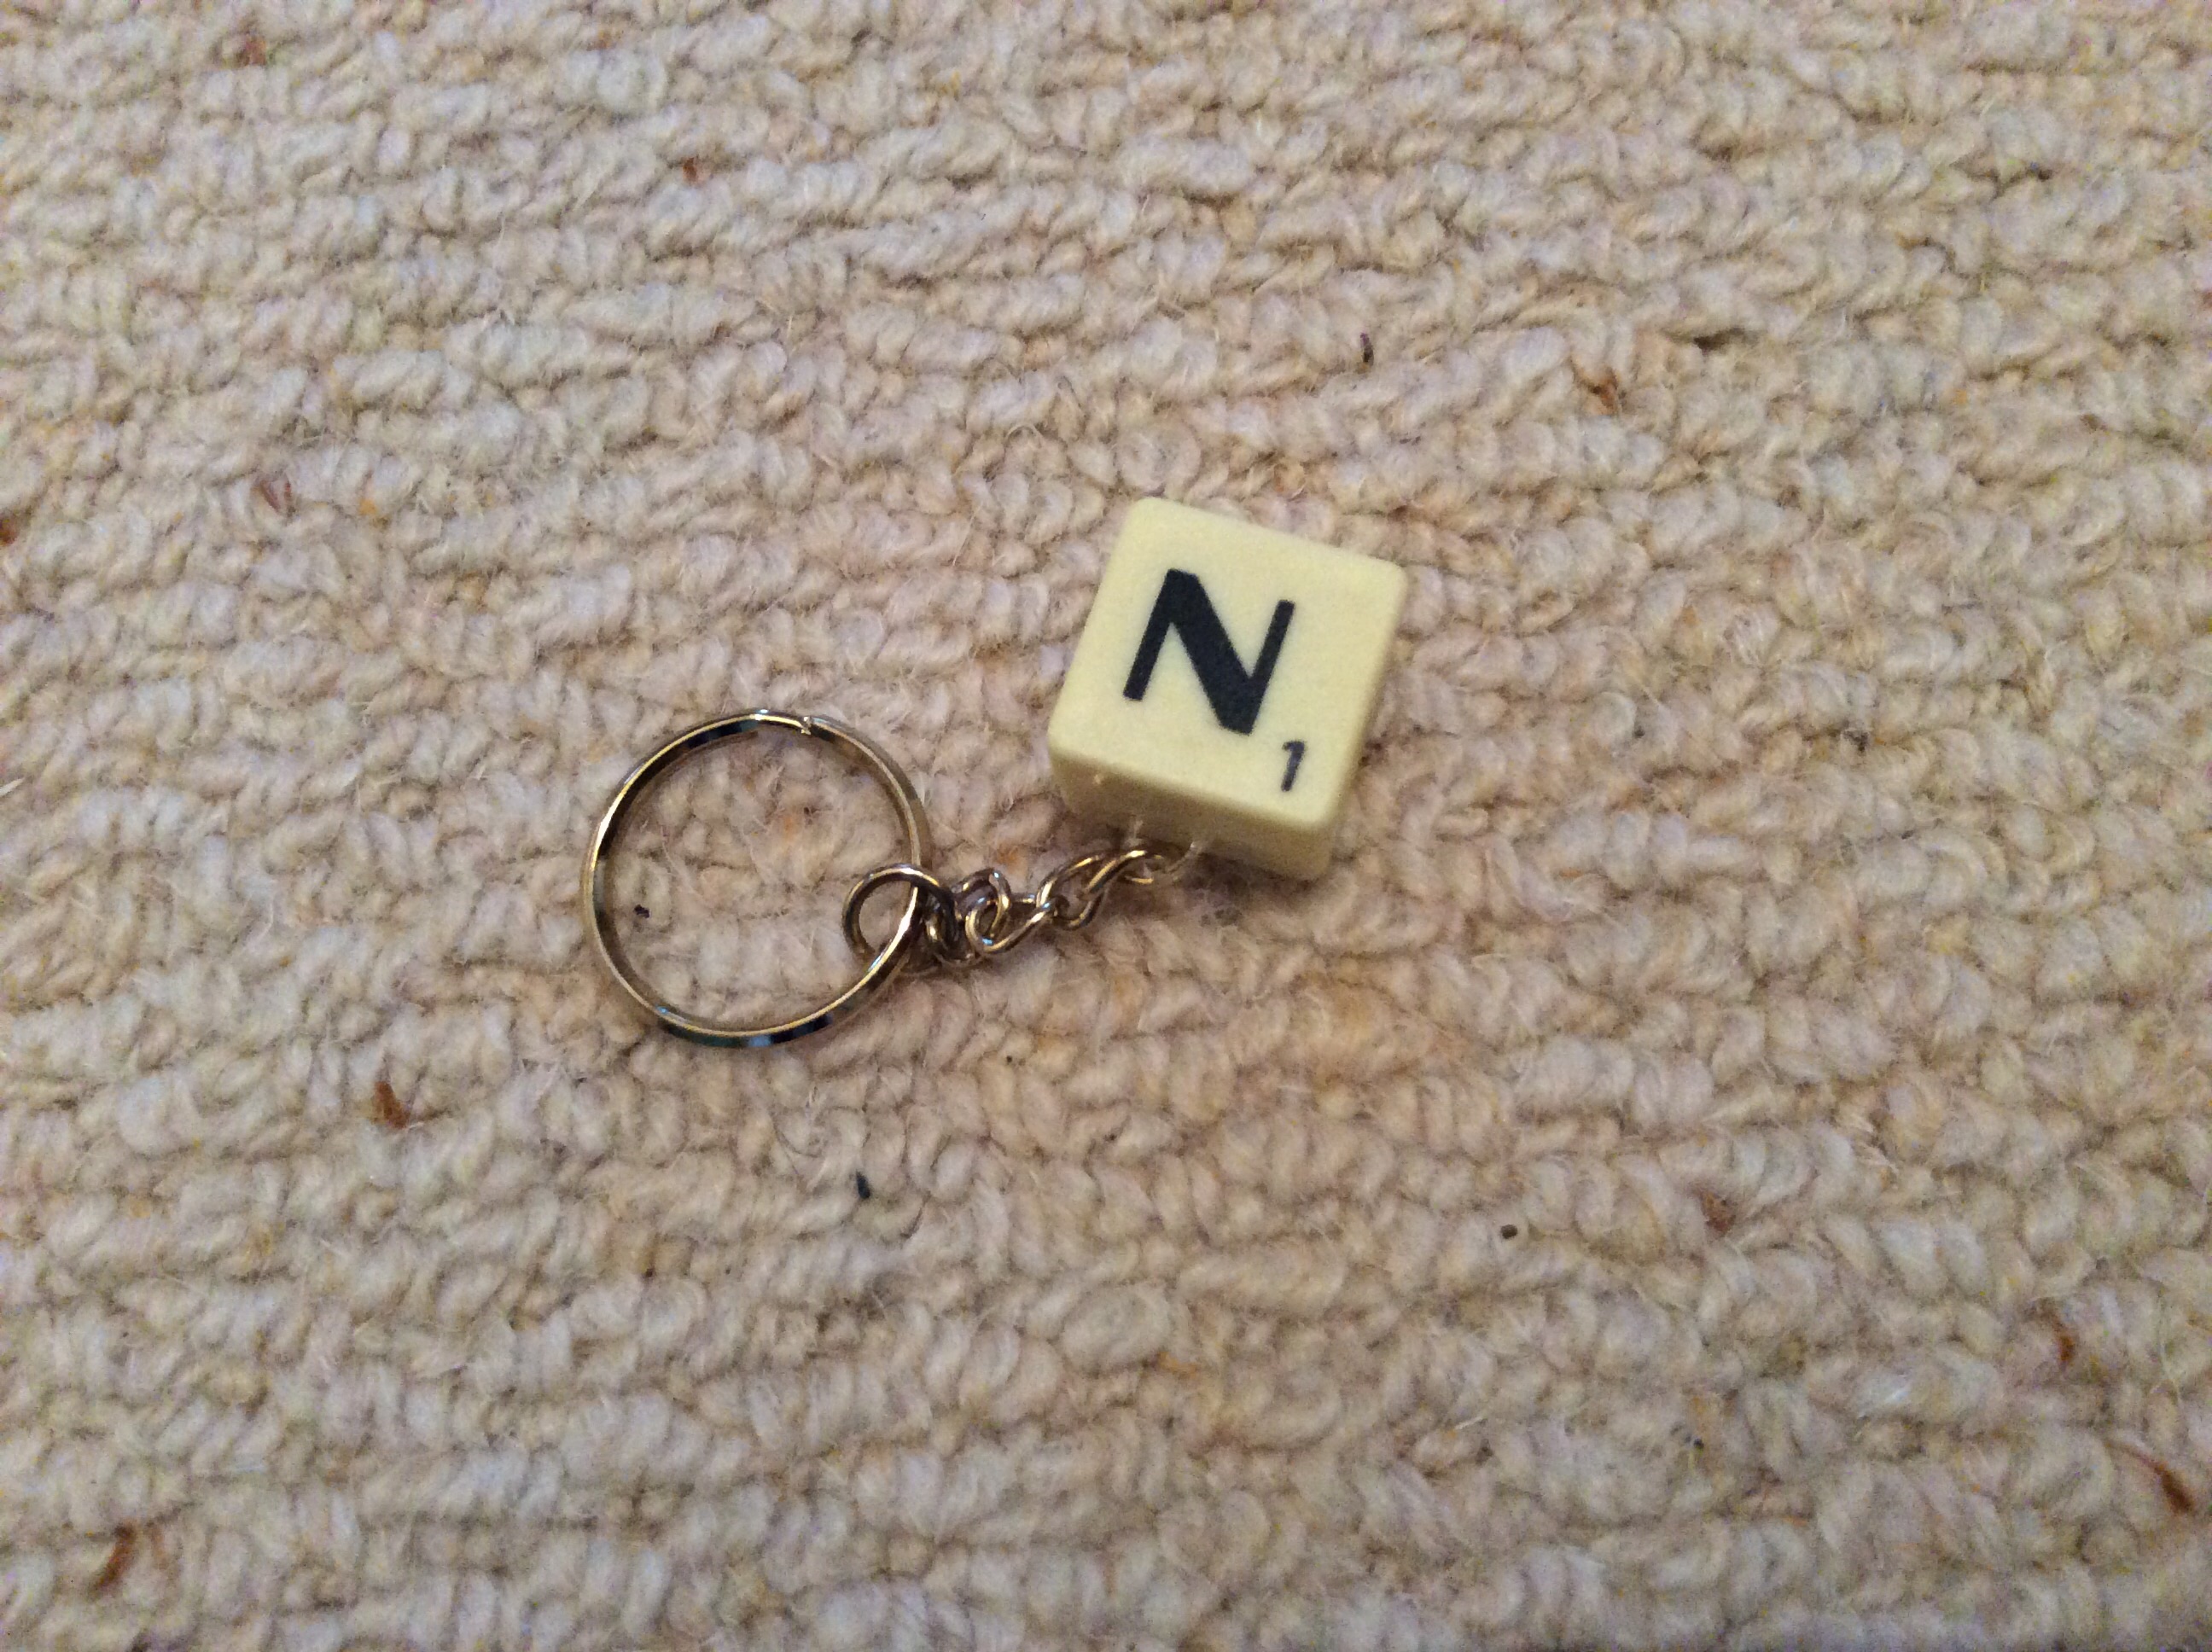
every page has another mini pocket or gusset for other stationery bits and I have already tucked little pegs and cards in place

problem, can I bear to give it away?

Construction (see Crafter’s Companion year book tutorial for method);

cover made of card cut to 10″ tall, 14″ wide with a 2″ spine scored in the middle

cover was covered with paper cut to size from the 12″ paper pack (Folk craft? from Do Crafts?) and ribbon sandwiched under the cover paper with lots of glue to keep it fixed down

each of 12 pages was made by scoring a 12″ sheet at 6″ down the middle then flipping it over , turning it 180 degrees and scoring at 1″ top and bottom, the page was then folded on all the scores and the pages stuck with tape runner only on the top bottom and front so that the pages close to the spine could flex when assembled

when all 12 pages were assembled the stack was stuck inside the cover (adhering only top and bottom to keep the flex and make an extra pocket

embellish to taste!


Up cycle shirt into travel bag

img_0192

I took the back of a shirt retired from use and a matching piece of old sheeting to create a simple lined bag.

I trimmed each material into a rectangle and folded it in half to get the profile of the bag.

Before assembly I cut the pocket from the shirt and sewed it centrally on the front half of the outer and tacked ribbon at the top outer back and front.

I cut squares from the bottom corners on both outer and lining for boxing, and then sewed round the sides and bottom of both outer and lining (leaving a turning gap of four inches at the bottom of the lining).

I boxed the corners then put the outer inside the lining, pinned the tops and sewed the tops before turning and top stitching to tidy the top line.

this makes a great travel bag for free!

Paper napkin, cling film card make

img_0190 img_0191Seal part of a decorative napkin on card to use as a card topper? I can’t  recommend this but it maybe worth a try if you are out of other resources… I had a go while tidying away my Christmas stuff

method

place a sheet of light card (I used a whole A4 sheet ) on your ironing board then lay a piece of cling film smaller than that on top. Peel the top ply of your napkin away from the plain underside ( or sides if you have a 3 ply napkin) and discard the plain bits, cut down the image  to the size you want for your final card topper ( I used a quarter of a napkin for an 8 inch card base), lay it face up on top of the cling film and cover with a sheet  of cheap copy paper. Iron with a hot, steam free, iron for several seconds until the cling film seals the napkin to the card.

Remove the top paper to check everything has stuck, you can have another go if it hasn’t, then use scissors to cut the card flush with the napkin- take care, a trimmer will probably tear the napkin.

I had to fix brads in the corners as I couldn’t get a proper seal and when I used wink of Stella to embellish the reindeer, the napkin puffed off the cling film. Liquid pearls and stickles worked well though and my sentiment was peel offs stuck on card and foam tape mounted on the plainest bits of the napkin.

So at least one card in the stash for Christmas!


Scrabble tiles

image
image

image

The tidy up continues… this time the remains of a bag of scrabble tiles has been gone through and a few used.

First I hot glued tiles on to clothes pegs. Easy. Then I stuck strips of magnetic sheet on the back of the pegs so they could be fridge magnets. Even better.

Key rings were salvaged from Christmas crackers pile. I removed the butterfly, plastic ornament with jewellry pliers keeping the chain in tact and threaded stretch elastic from the jewellry making box through the last link in the chain then sandwiched the elastic between pairs of scrabble tiles which were stuck together with jewellry cement to make initial key rings.

While looking for the jewellry cement I found some cuff link bases in the jewellry making box. As the mount of the cuff link  fitted perfectly inside the scrabble tile it stuck well with jewellry cement and looks really good.

now for ideas to use the remaining tiles… I have the tiles -t-o-p-d-o-g- to hand so suggestions welcome.

Scrap buster card makes

img_0188I have a new year resolution not to buy until the stash is reduced… plus a friend donates a pile of orphan envelopes and ribbon so I start making one off cards.  I have tried to use new techniques, such as heat embossing on vellum – which is beautiful – and take the embellishments a step further as with the sequins stuck on glitter card

img_0189img_0187


Sour cream pouch, quick wrap idea

image image

I love this papermania owl folk paper kit and used a sheet to wrap some beauty treats using the pouch method.

place double sided tape along the west  side of a rectangle of paper.  (Plain side facing up . Roll the east side over so that you form a tube with the pattern side sticking to the tape. Burnish the taped seam so it sticks well

flatten the tube lightly  with the seam roughly mid way along the back and tape inside the southern (bottom) edge to make an open top packet. Pop in your goodies leaving plenty of space at the open top.

Now push the east and west sides together and staple or hole punch them together to form a wedge shaped pouch.

I added a flap of contrast paper which I trimmed with decorative edged scissors and hole punched then laced some ribbon through. A tag from the kit was added and then a brush of ‘wink of Stella ‘ for sparkle and some liquid pearls finished it off.