‘It looks shop bought’ beanie hat

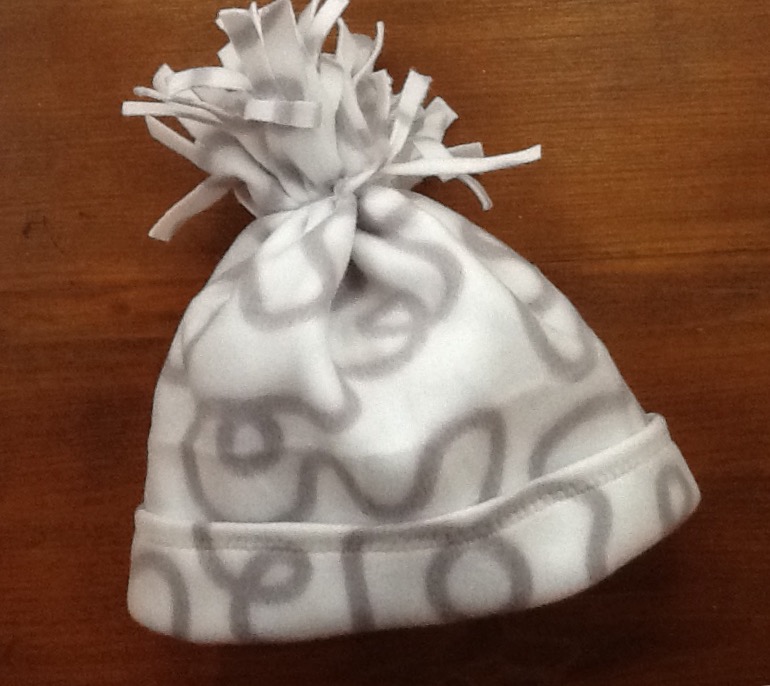
Maybe not the most flattering hat but certainly one of the warmest.

made from fleece – that ikea throw seems never ending

loads of tutorials you can follow but it is a simple sew:

essentially draw your pattern as a rectangle with the long side measuring the circumference of the wearers head and the short side being half of the distance measured ear to ear ( plus brim and whatever length of fringe you want)

add seam allowances to long and short sides before cutting a double layer of fleece. I chose to have inner and outer the same fleece but contrast works well

cut the fringe to your chosen length along one long side then sew the other long side together

sew all the short sides together, stop just short of the fringe, to form a tube then turn inside out so the seams are hidden

do a decorative top stitch around the non fringed long side, bear in mind that this is on the brim so the bobbin side of your top stitch will be on display

turn the brim up and stand the hat on a table

gather the fringe in a bunch in your hand as though about to form it in a pony tail and tie a thin off cut of fleece around the bunch. Trim the off cut so it blends into the bunch

wear with panache!


Home milled soap

A simple recipe for gifts with a hand made touch

Grate quality soap into a microwaveable jug. I combined some French milk soap and mini tablets collected from posh hotel stays.

Add a little water (start with a tablespoonful, you can always add more if the mixture is too dry) to soften the mix when you heat it, plus a few drops of almond oil and any dried petals or herbs. 30 seconds max in the microwave and it should almost rise or fluff up so give it a quick stir, then add a couple of drops of essential oil. Stir again before pressing into a silicone tartlet mould.

Leave to cool in the fridge for 30 minutes before unmoulding and wrapping in greaseproof paper.

I added dried lavender harvested in the summer to some of mine, they look very rustic so I made some smart birdhouse boxes on the scan n cut to present them in.

Quick doggy bandana

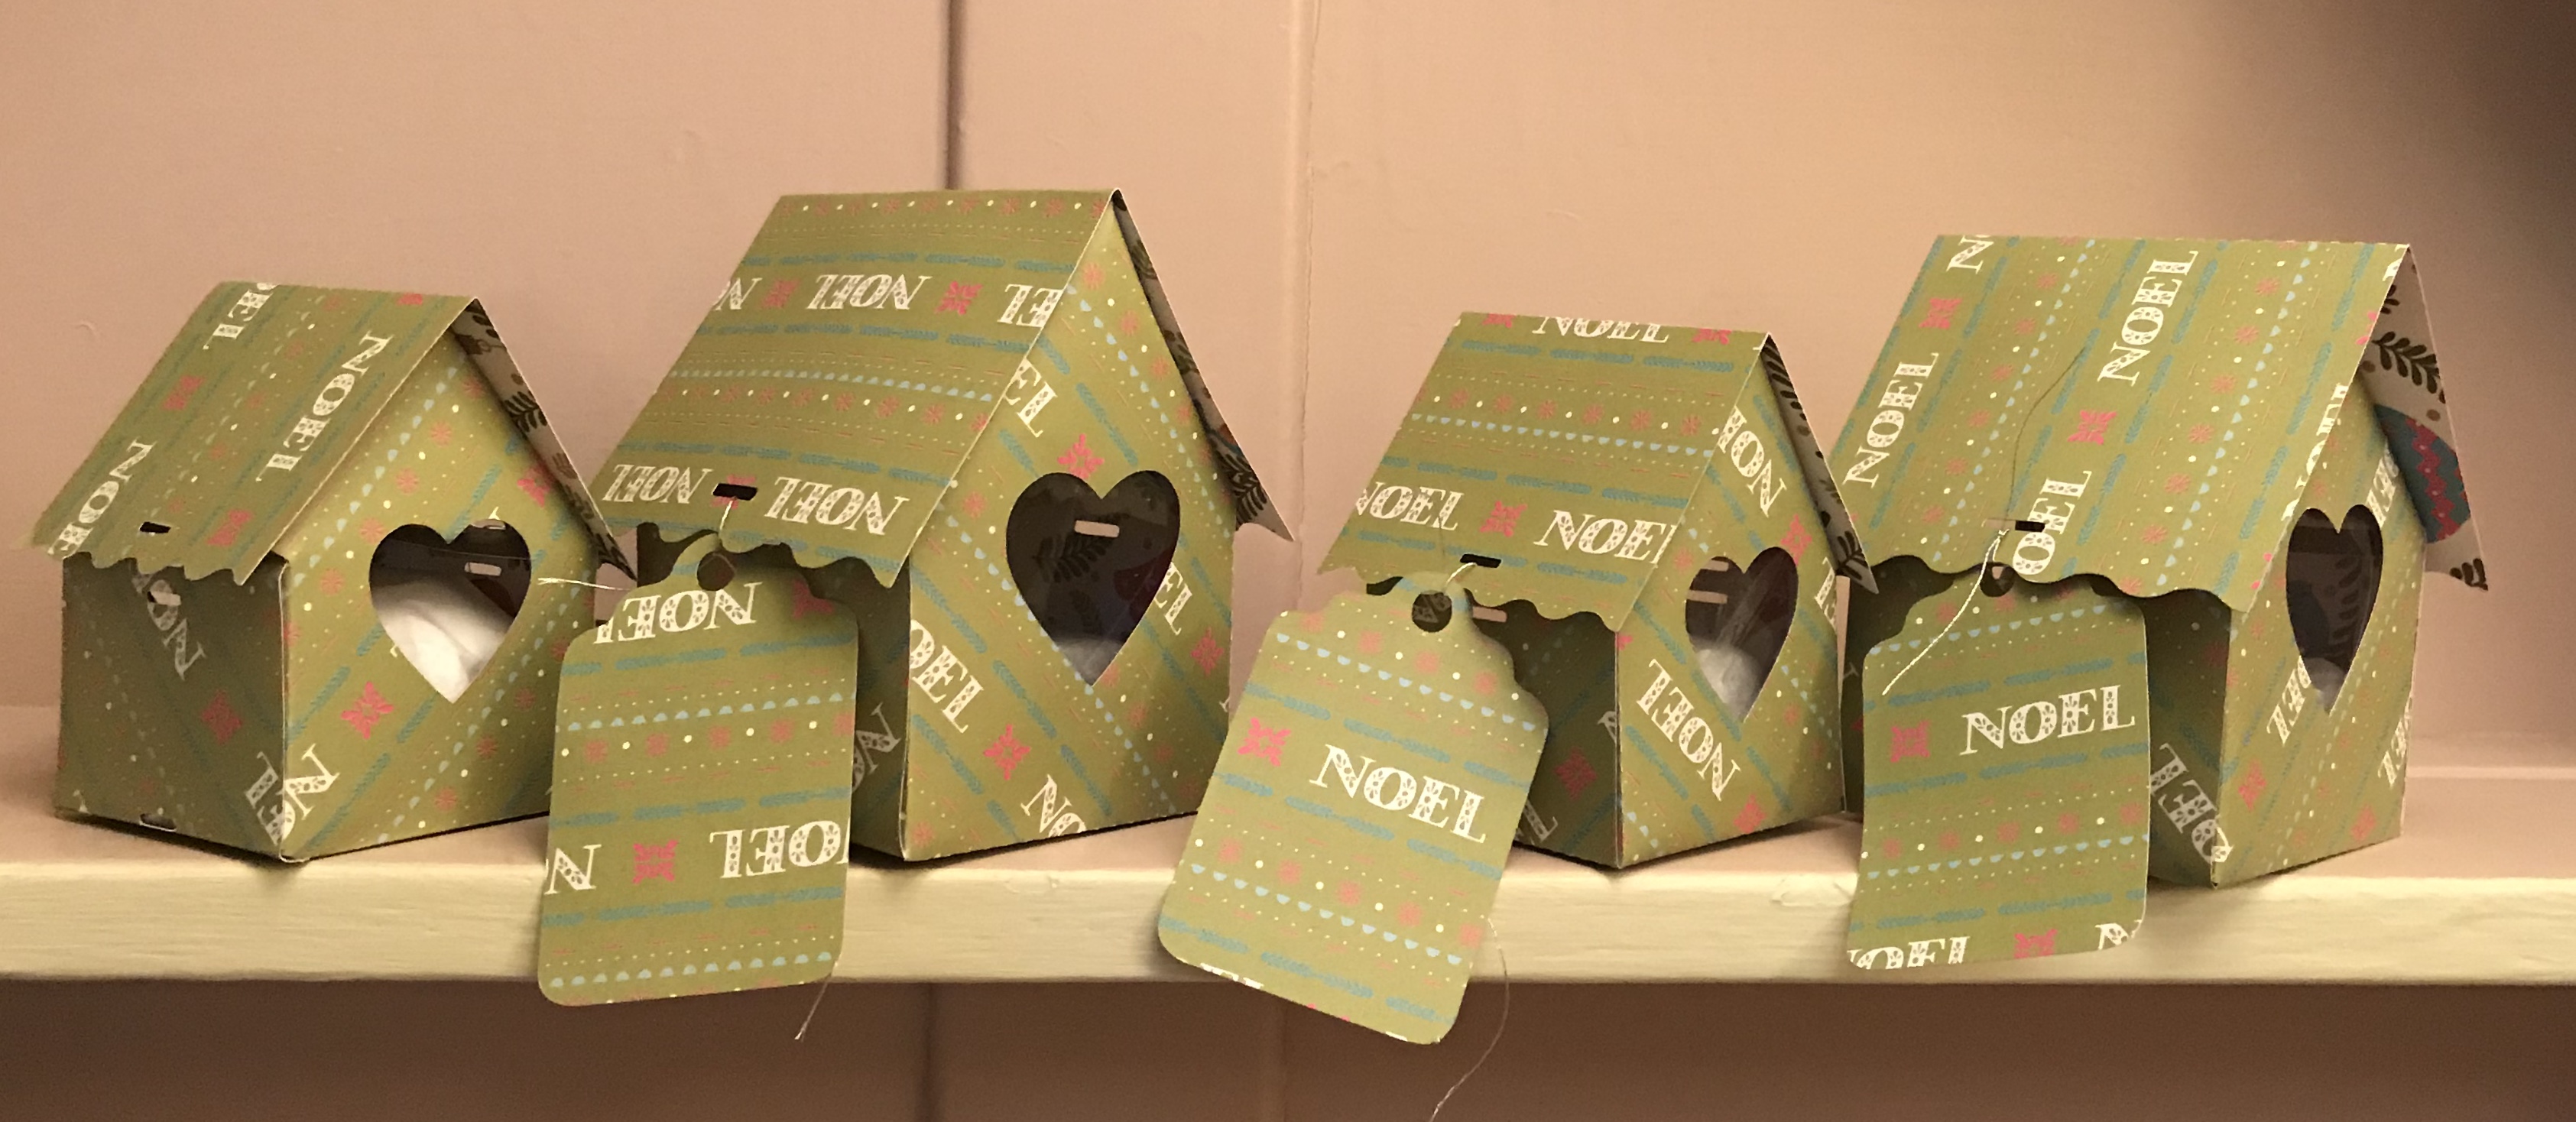
Just two minutes to make and sooo cute.

Cut a square of fabric so that the diagonal is the same length as your  dog’s collar. Fold the fabric, right sides together, on the diagonal and press. Unfold the fabric and leave right side down.

At either end of the diagonal and fold a triangle about 5cm back to the middle so when you refold on the diagonal you get this shape, albeit inside out

sew the raw edges from just below one side fold round to just below the other and then turn right sides out through one of the gaps

done , just thread the collar from gap to gap and it is ready for wearing

if you want a more tailored finish you can run a line of stitching parallel to the top fold to create a channel for the collar

if you have a friend with a posh sewing machine why not add a little monogram or name as here …

Heat transfer vinyl

Much easier than I expected

I bought the vinyl from Tunnel  Vision and downloaded the visual from lovesvg.com before adding the personalised text on the ScanNCut. I then flipped the virtual visual to give a mirror image and put the vinyl shiny side (ie carrier side) down on the cutting mat before cutting with blade 4 and pressure 1.

the excess vinyl was peeled off the carrier and the remainder (the vinyl I wanted) placed dull side down on the T-shirt (peacocks) and ironed to fix it.  Once cooled the carrier sheet peels off leaving just the image in place.

now, what else can I cover in vinyl?