I resolve to try this

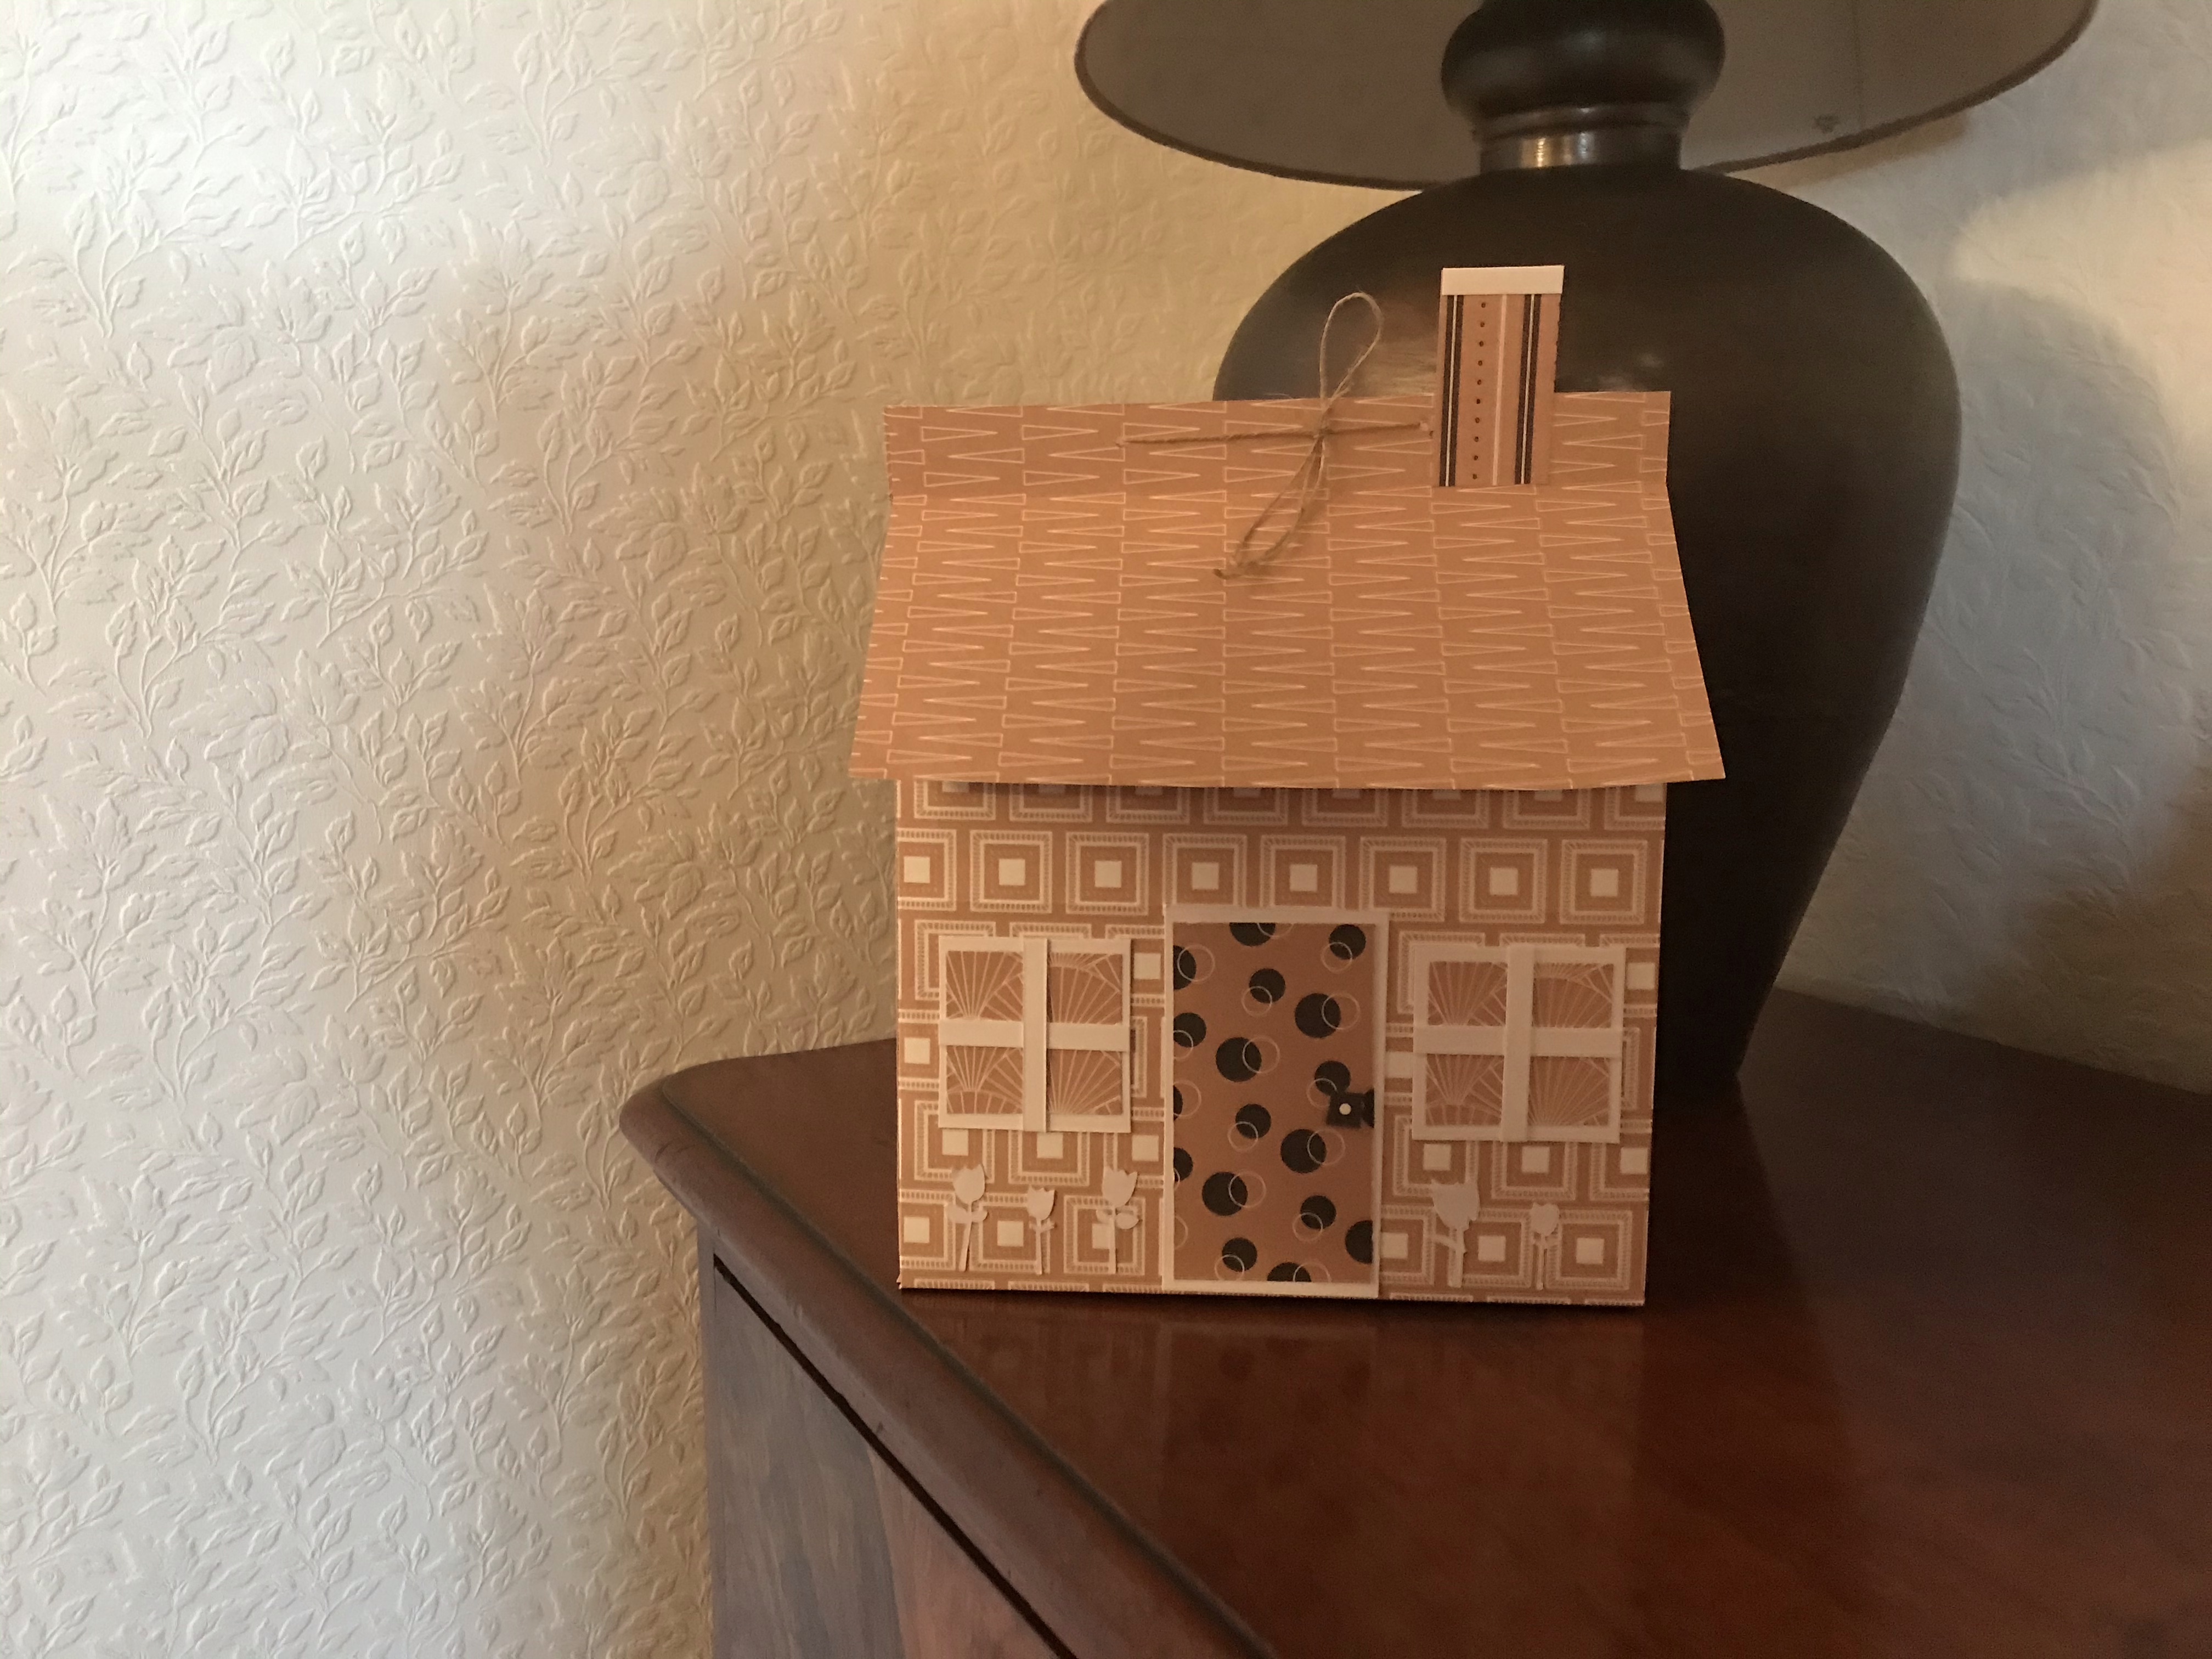
Inspired by the consistently innovative ‘mixed up crafts’ site, this house-shaped gift box is a great way to present a selection of home made cards I am giving. Any combination of cardstock could be used for flowery, plain or sparkly houses but I really love this geometric paper ‘mandala dreams’ from paper addicts.
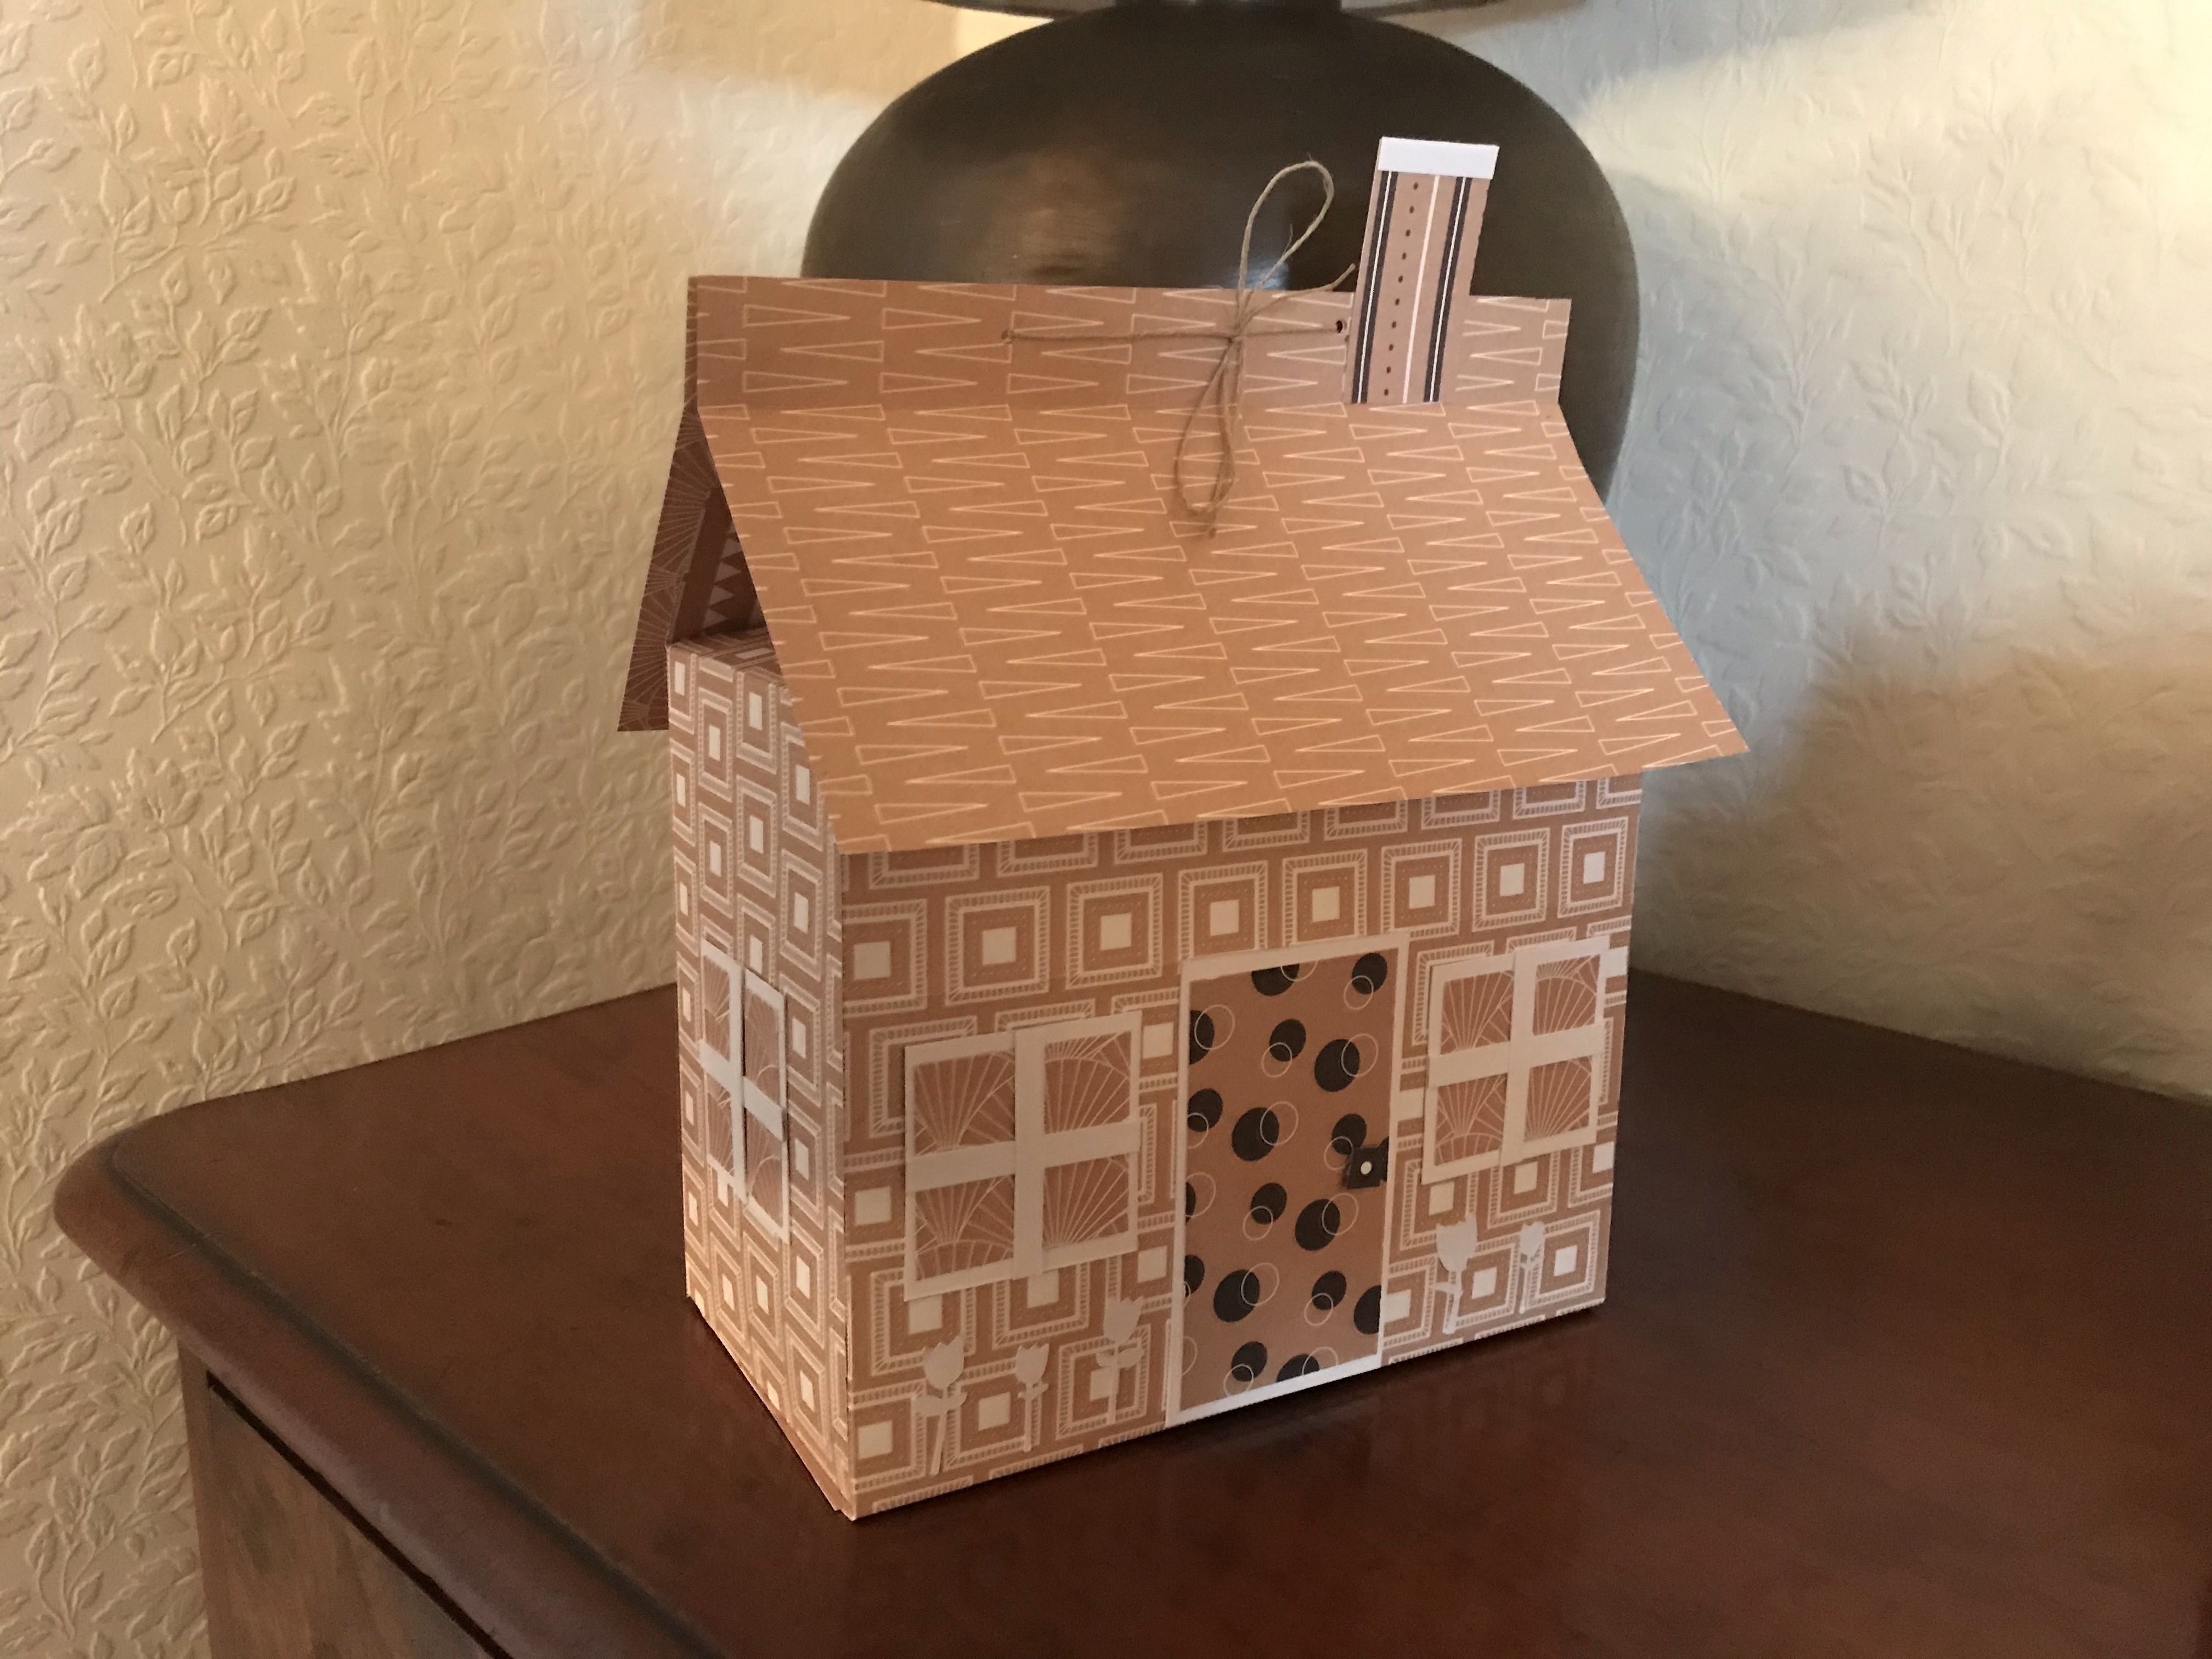
This is a basic box made from two sheets of cardstock scored and cut to make the walls of the house 8 x 3.75 inches by with two additional pieces offset and stuck over the top flaps of the basic box to form the roof. To decorate with windows, door and chimney – and a few little tulips – I used white card and scraps from the same paper pack.

 The first subscription kit from Craft Stash inspired me to make things outside my comfort zone…
More of my makes with the October kit on this short video
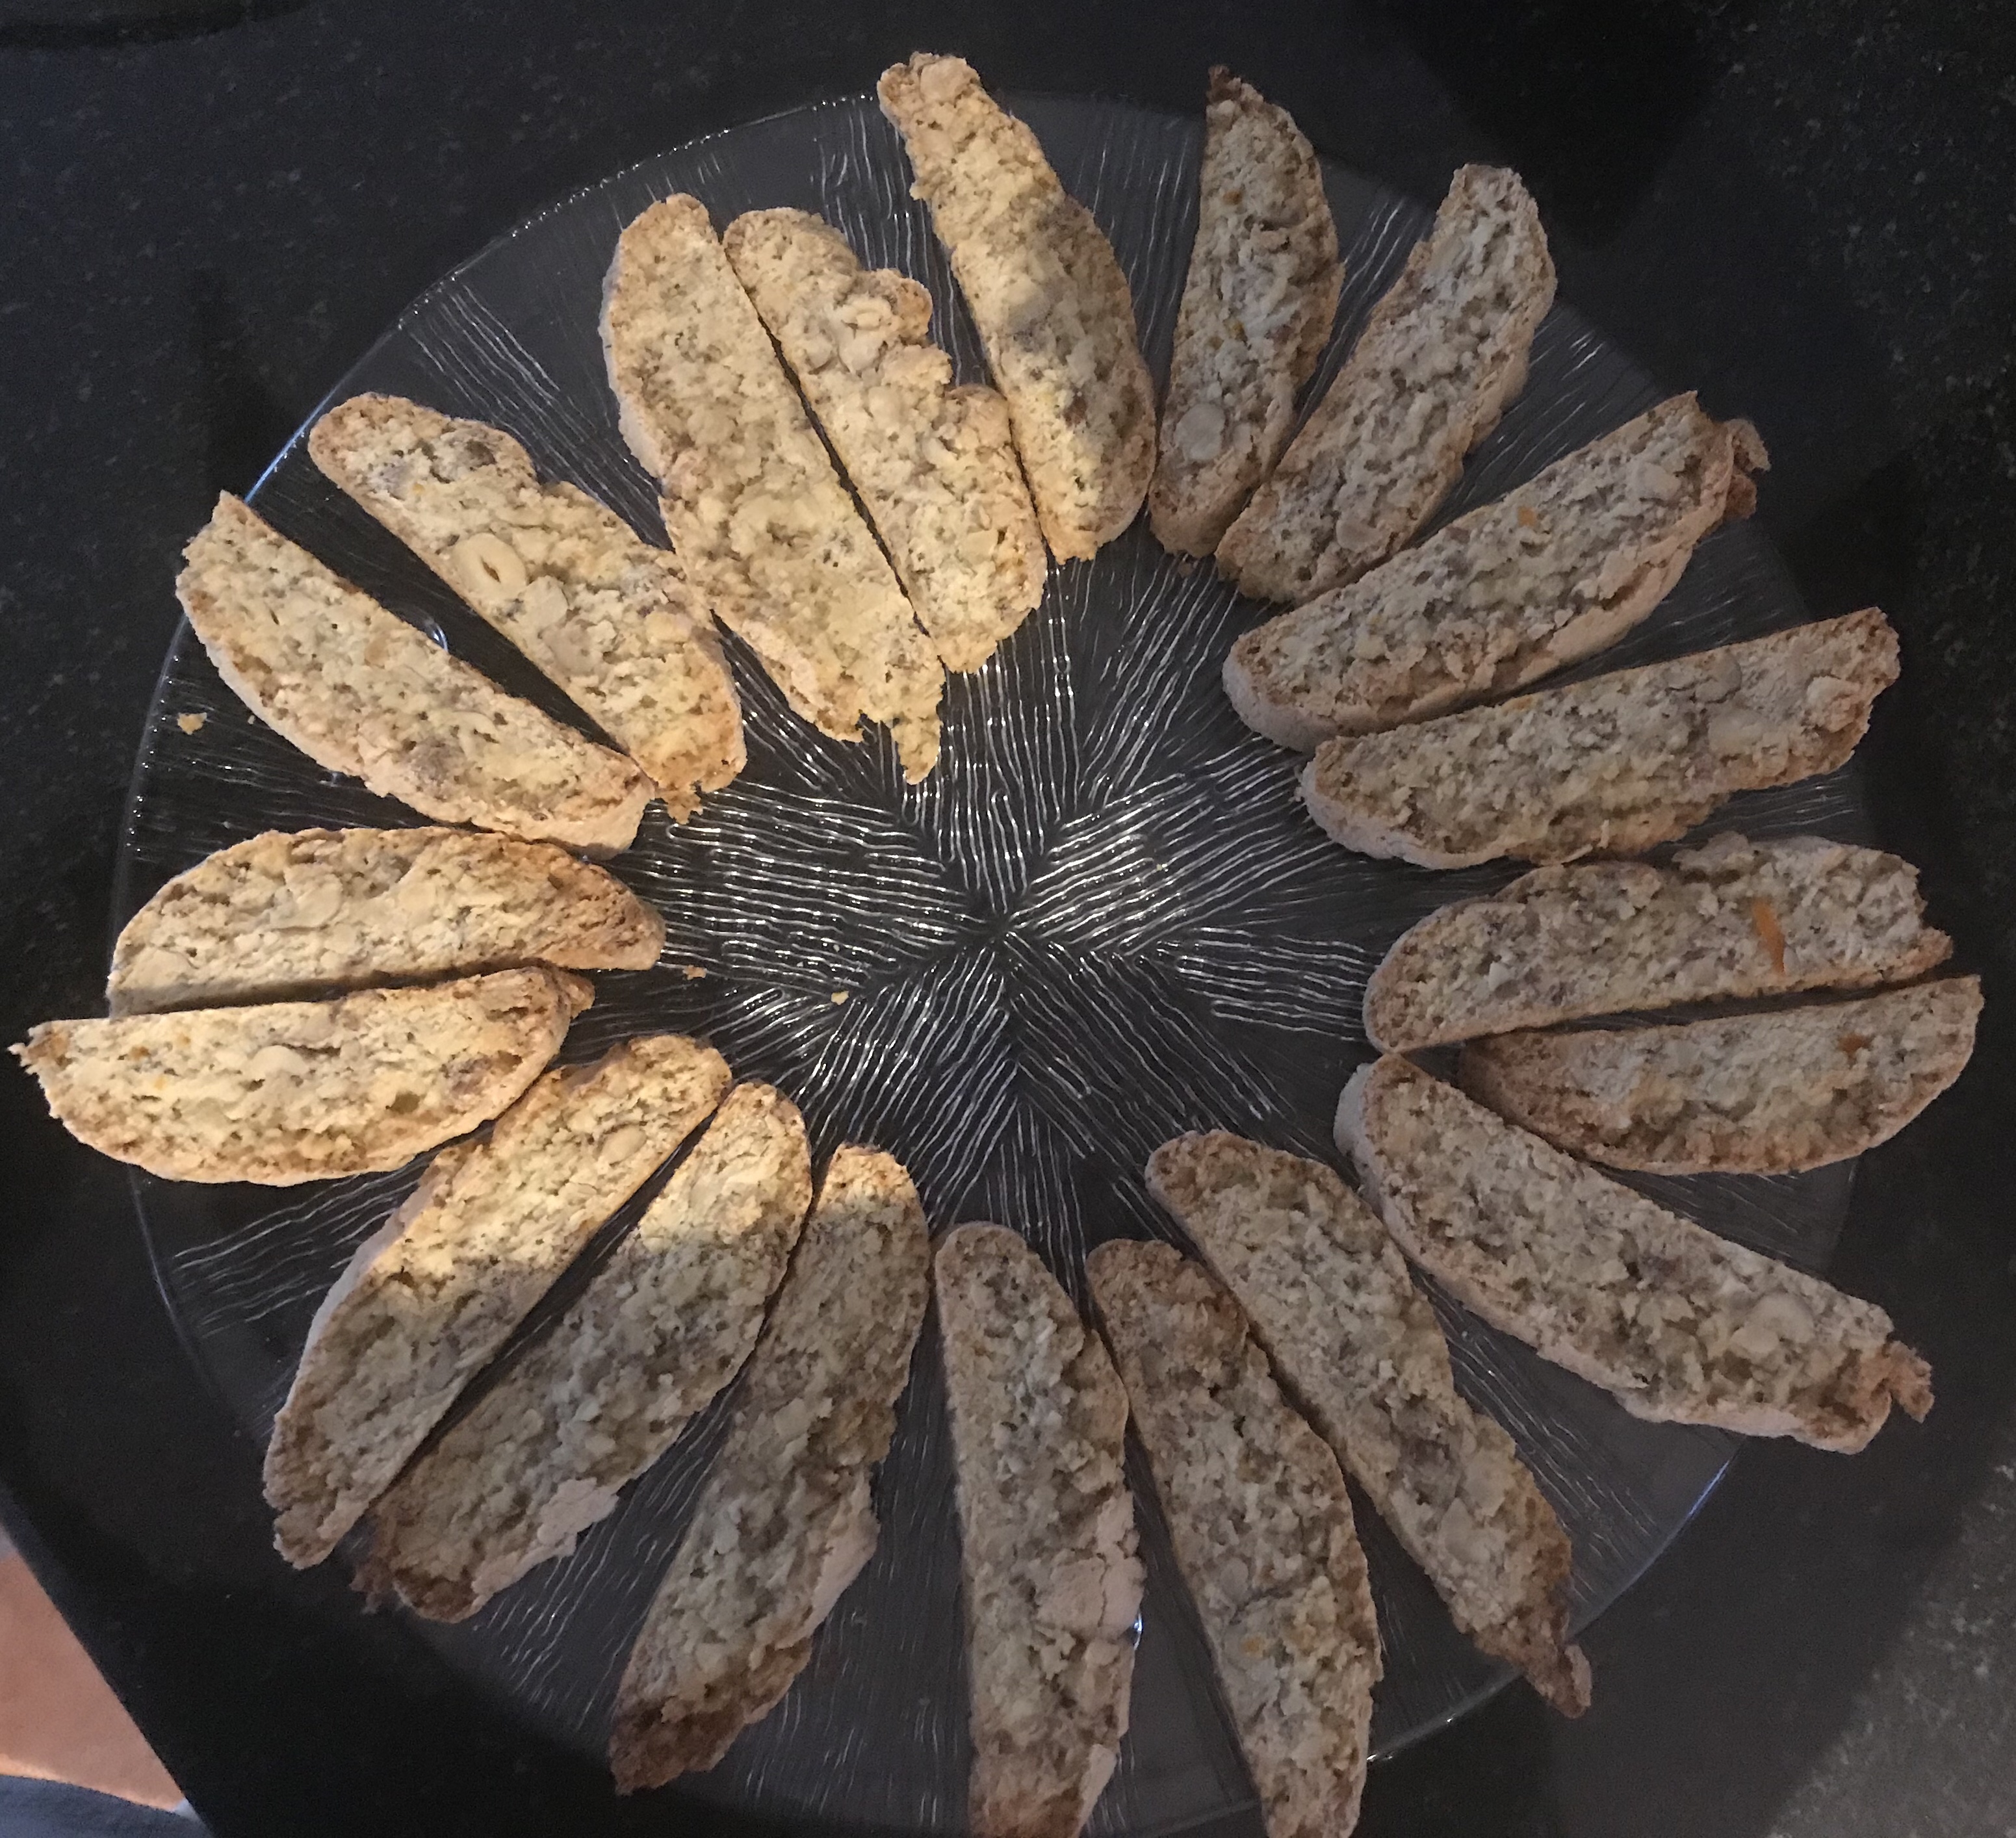
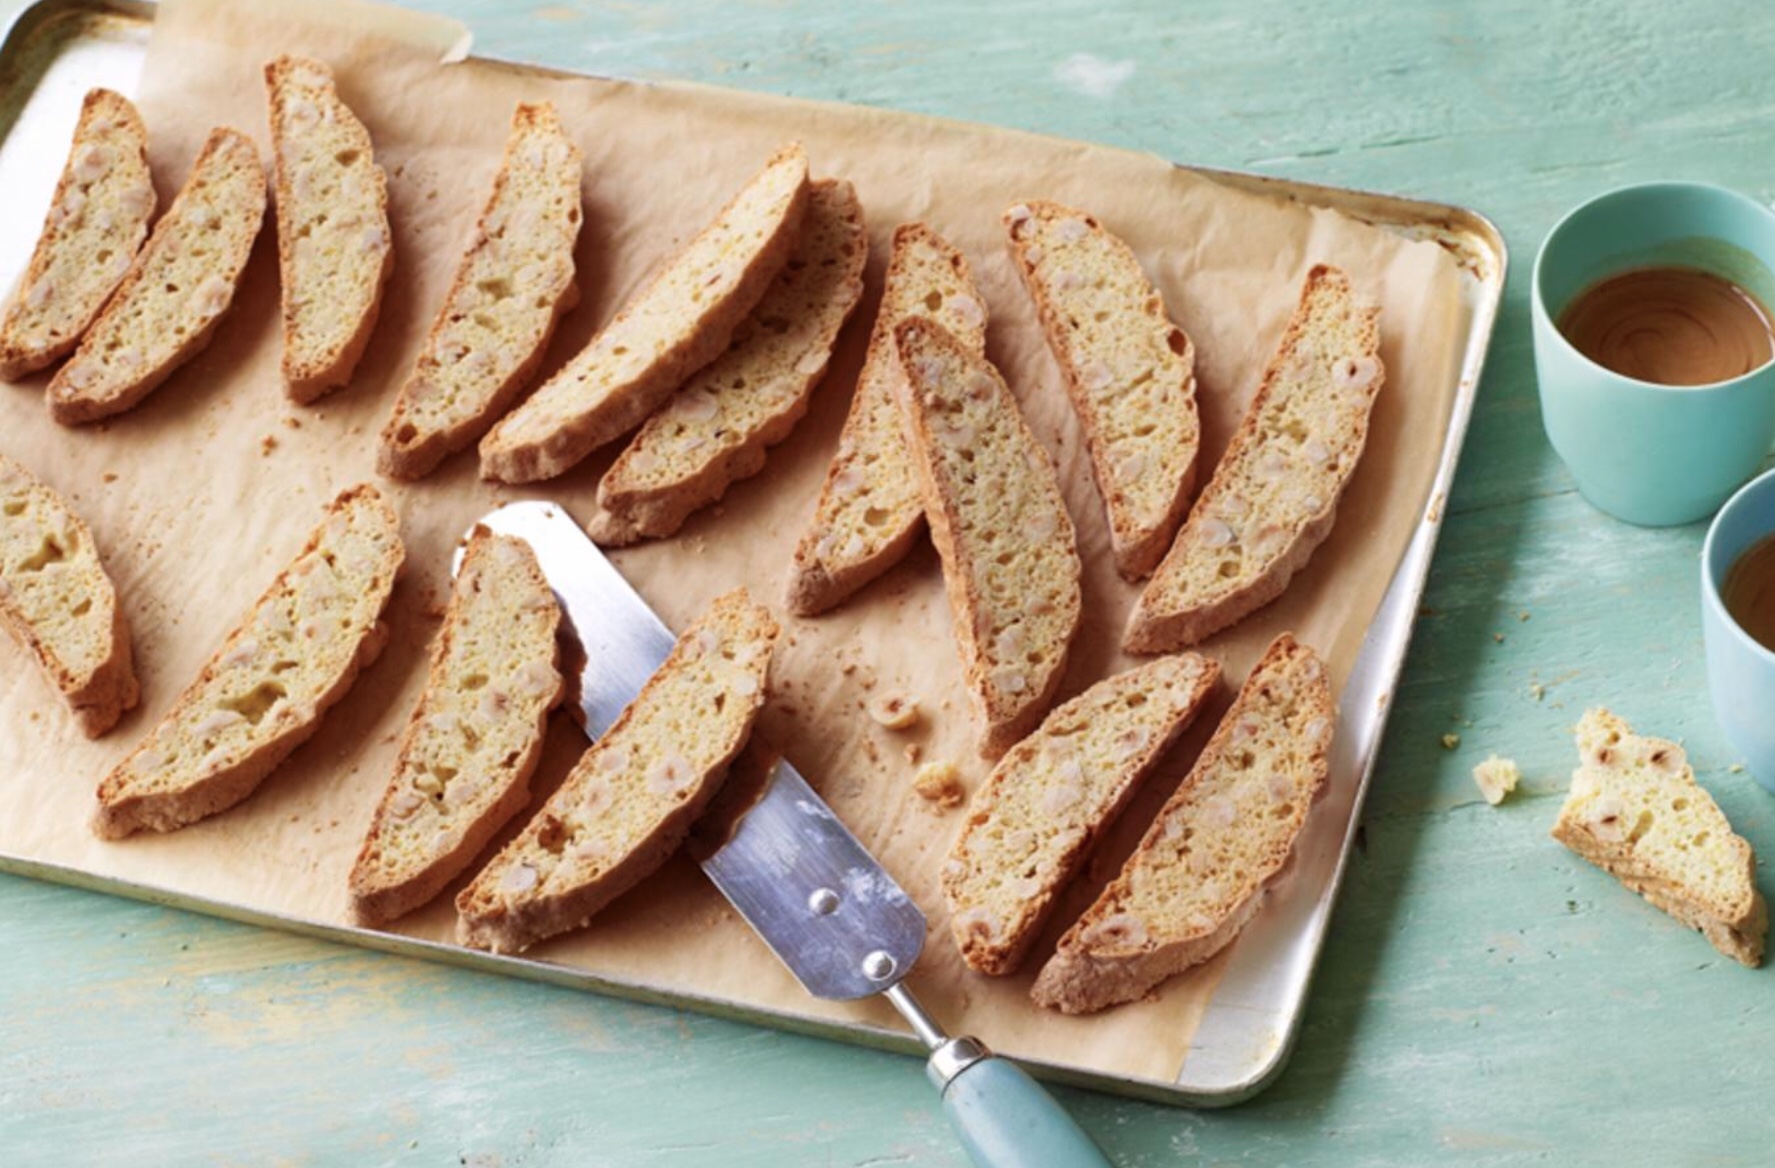
How to use the hazelnuts that the French squirrels didn’t beat us to… a small harvest so I want to use them carefully. These biscotti will stretch and keep well so seem to fit the bill.
It is a recipe from the great British bake-off apparently but so easy that I would recommend it to anyone with a reliable kitchen timer. Half one batch shown here. Not as dry as the ones I have bought.
A huge donation of crafty stuff set me up for months of playtime so I decided to use some of the flowers in a decor wreath
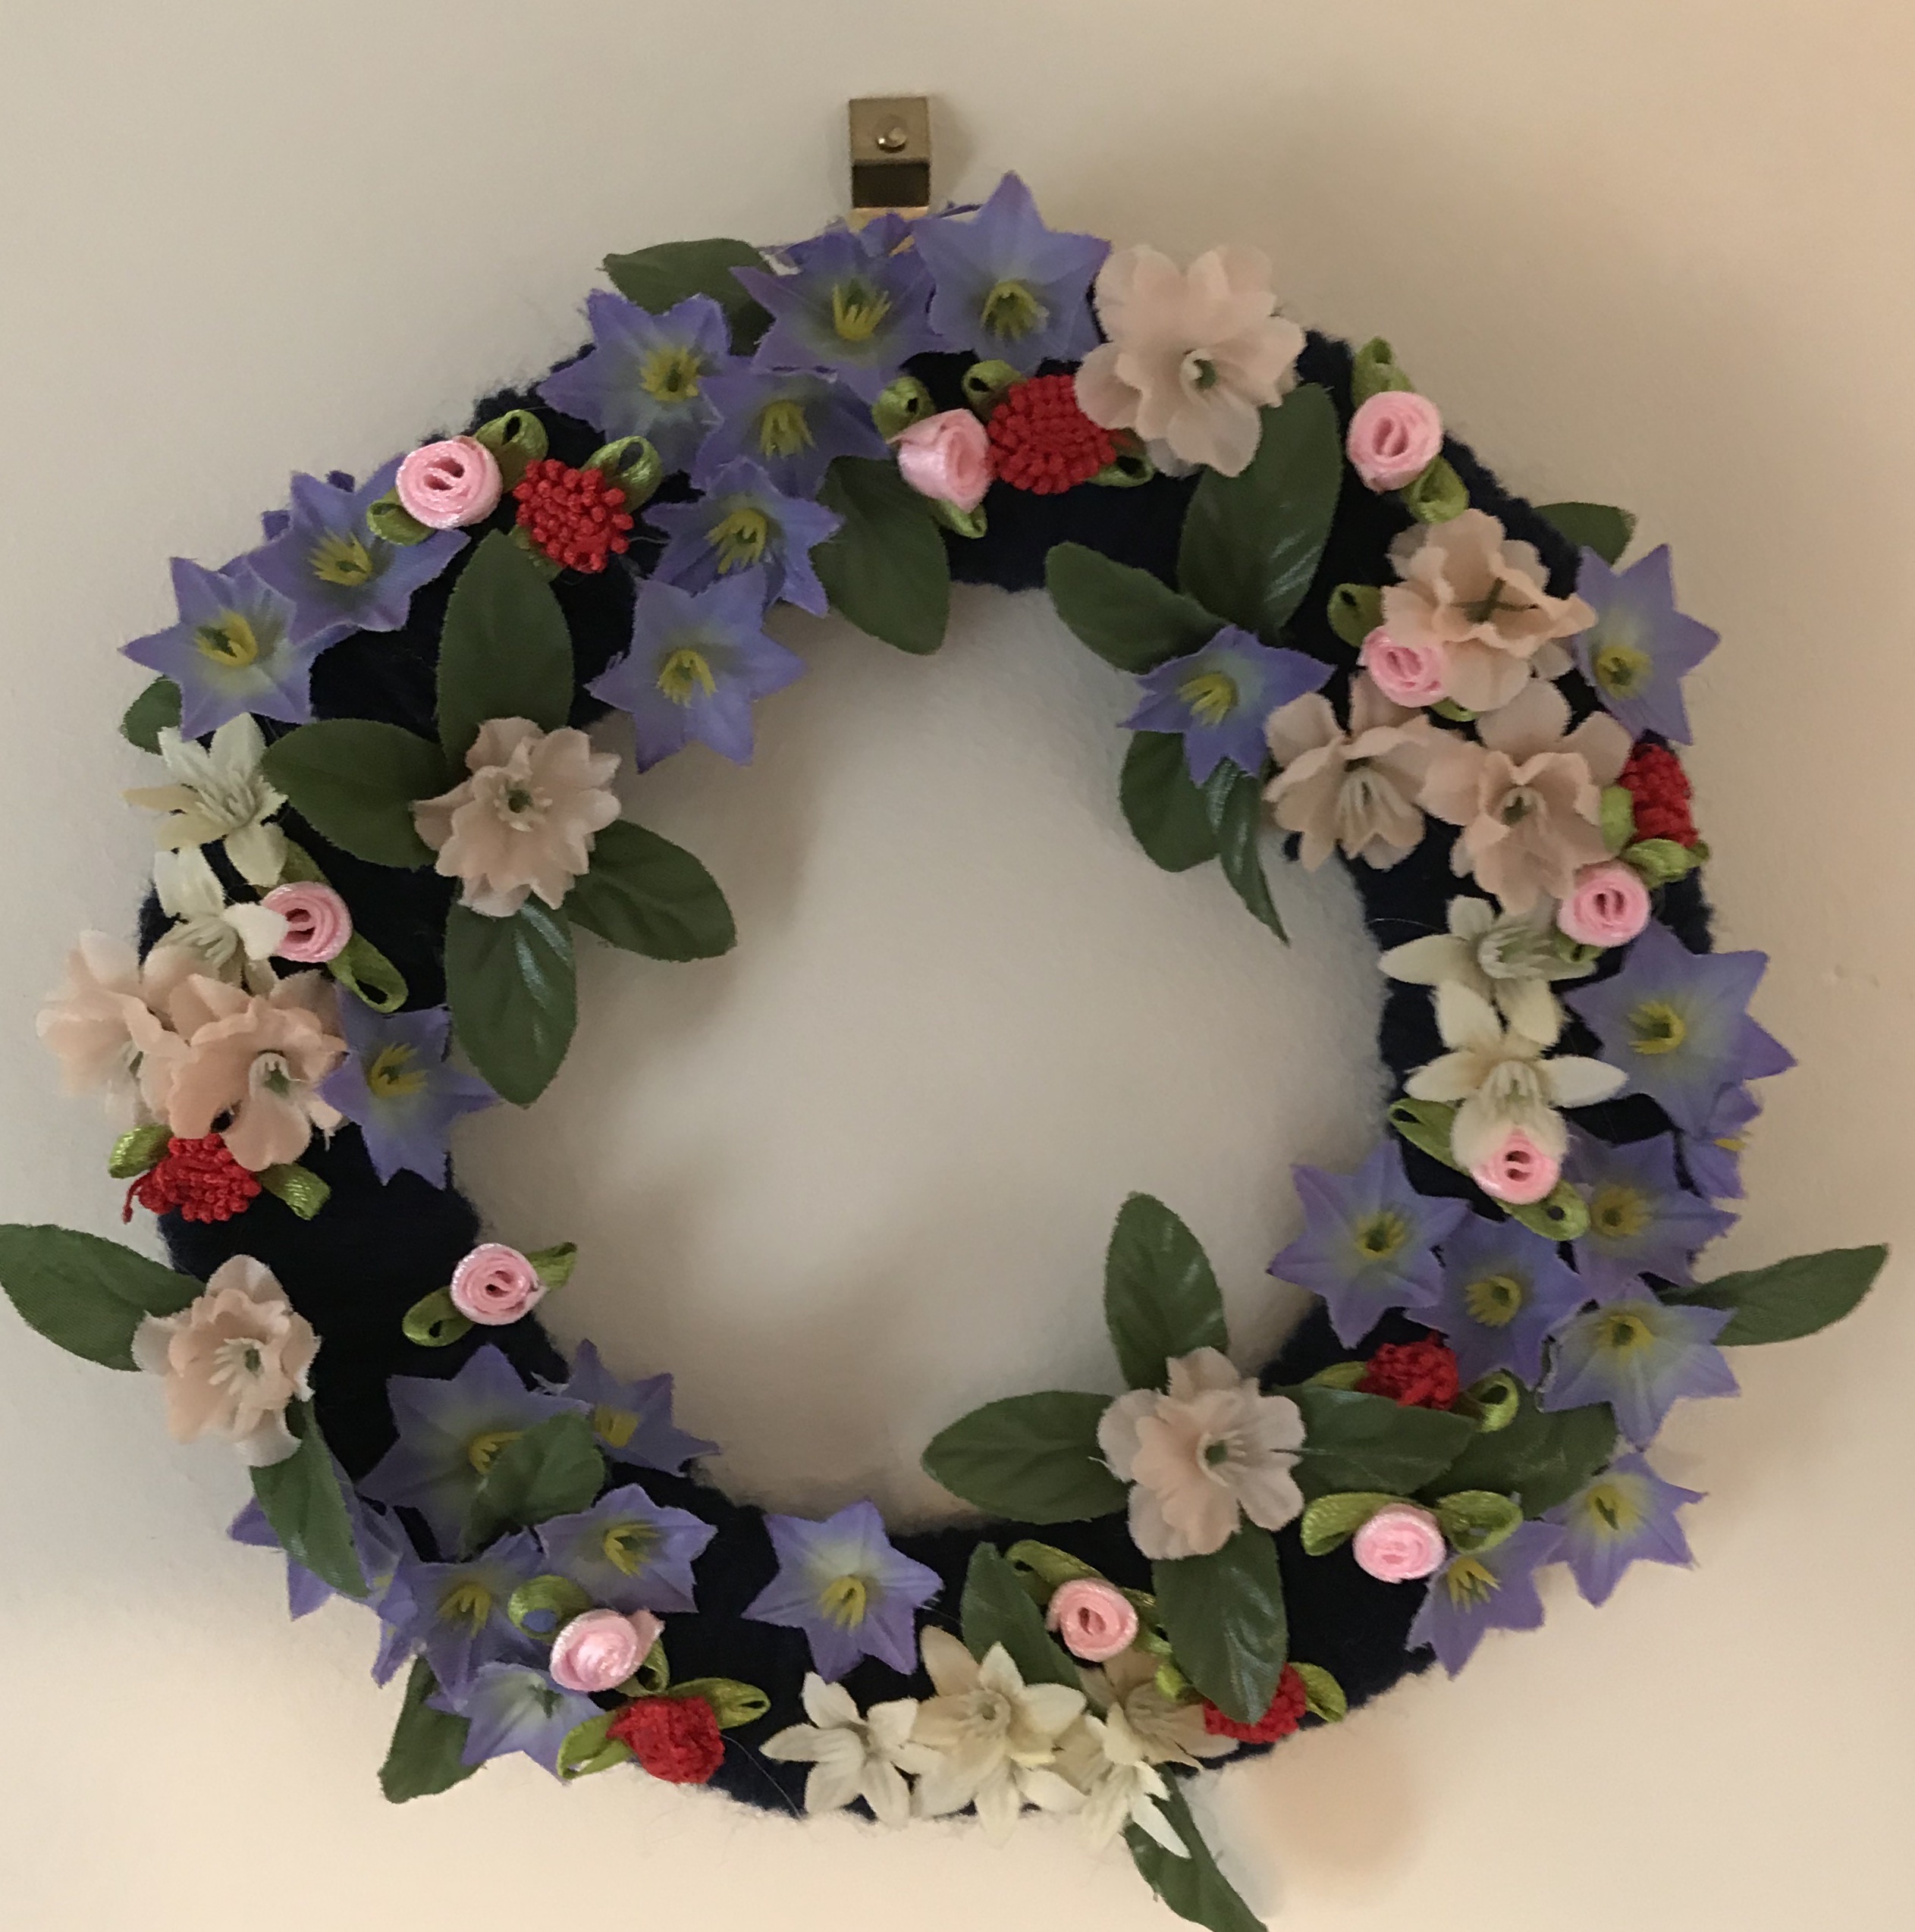
I cut a disc of cardboard from the recycling bin and wrapped it with wool before hot gluing flowers around. To keep balance I visualised the wreath as a clock face positioning flowers roughly at the hours but clustering them in odd numbers.
I kept going until the wreath felt full then gifted it to the lady who gave me the wool stash in the first place. Happy 90th!
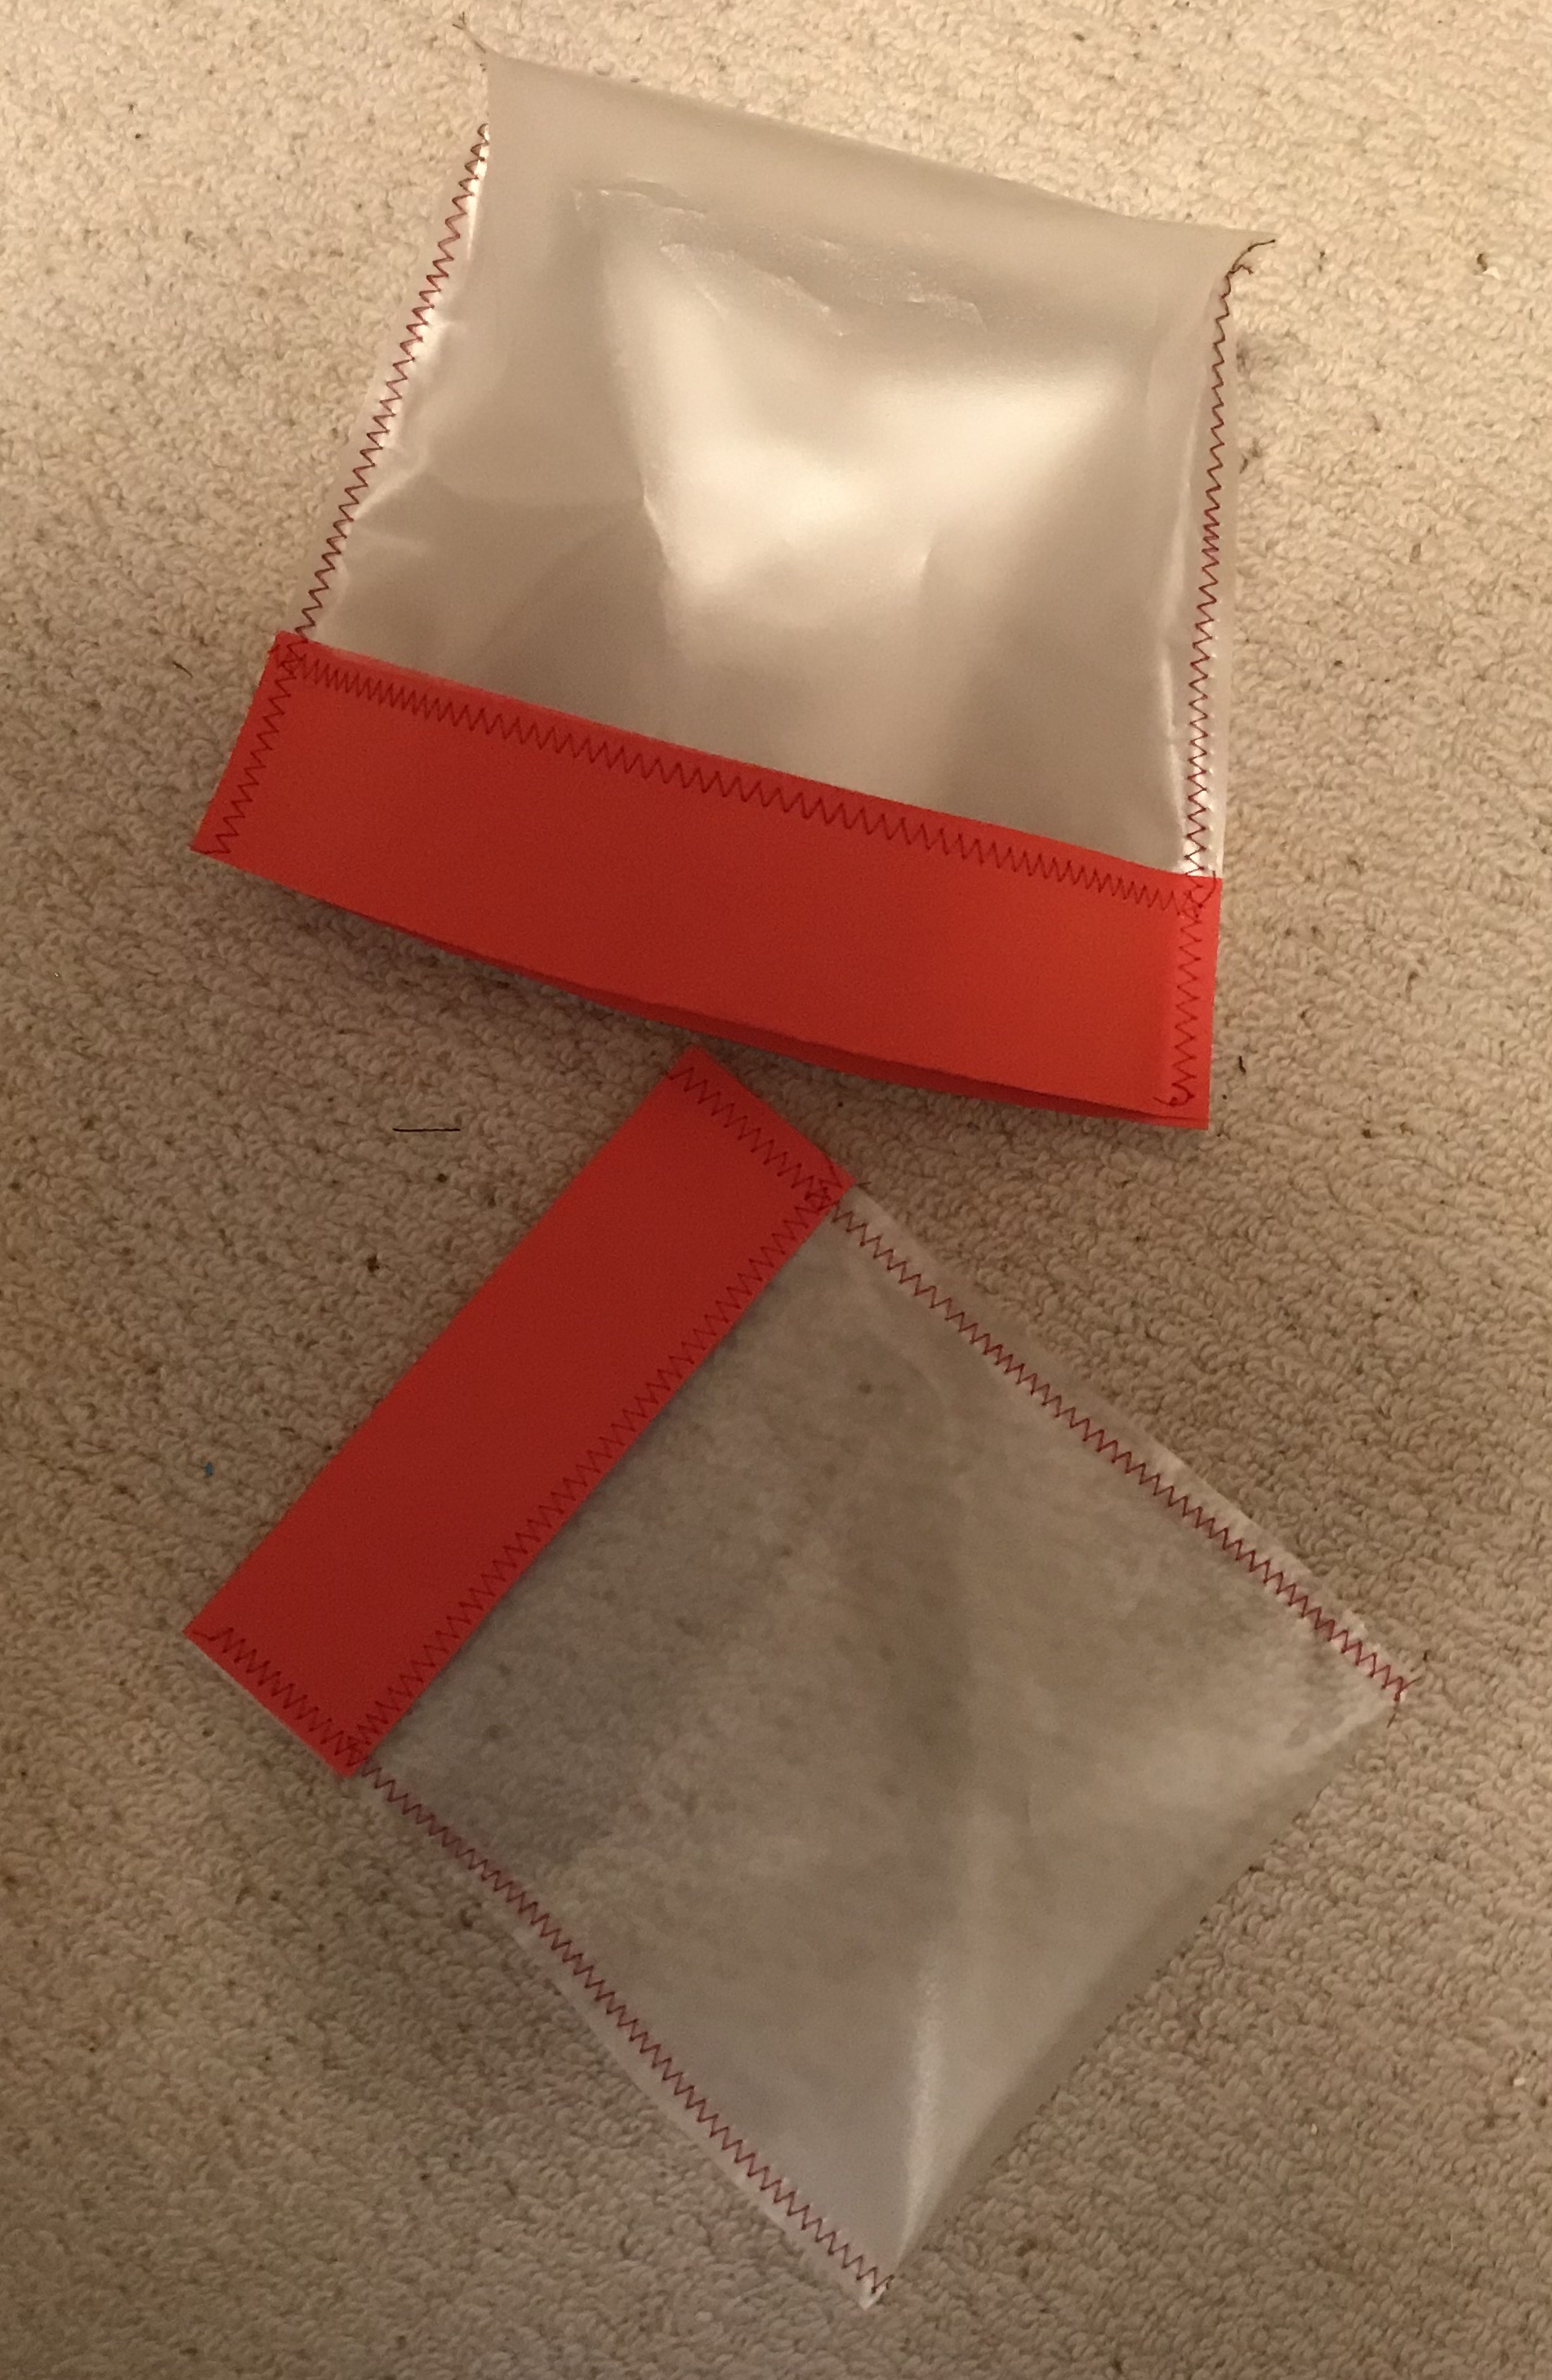
Use what you have for quick make bags…
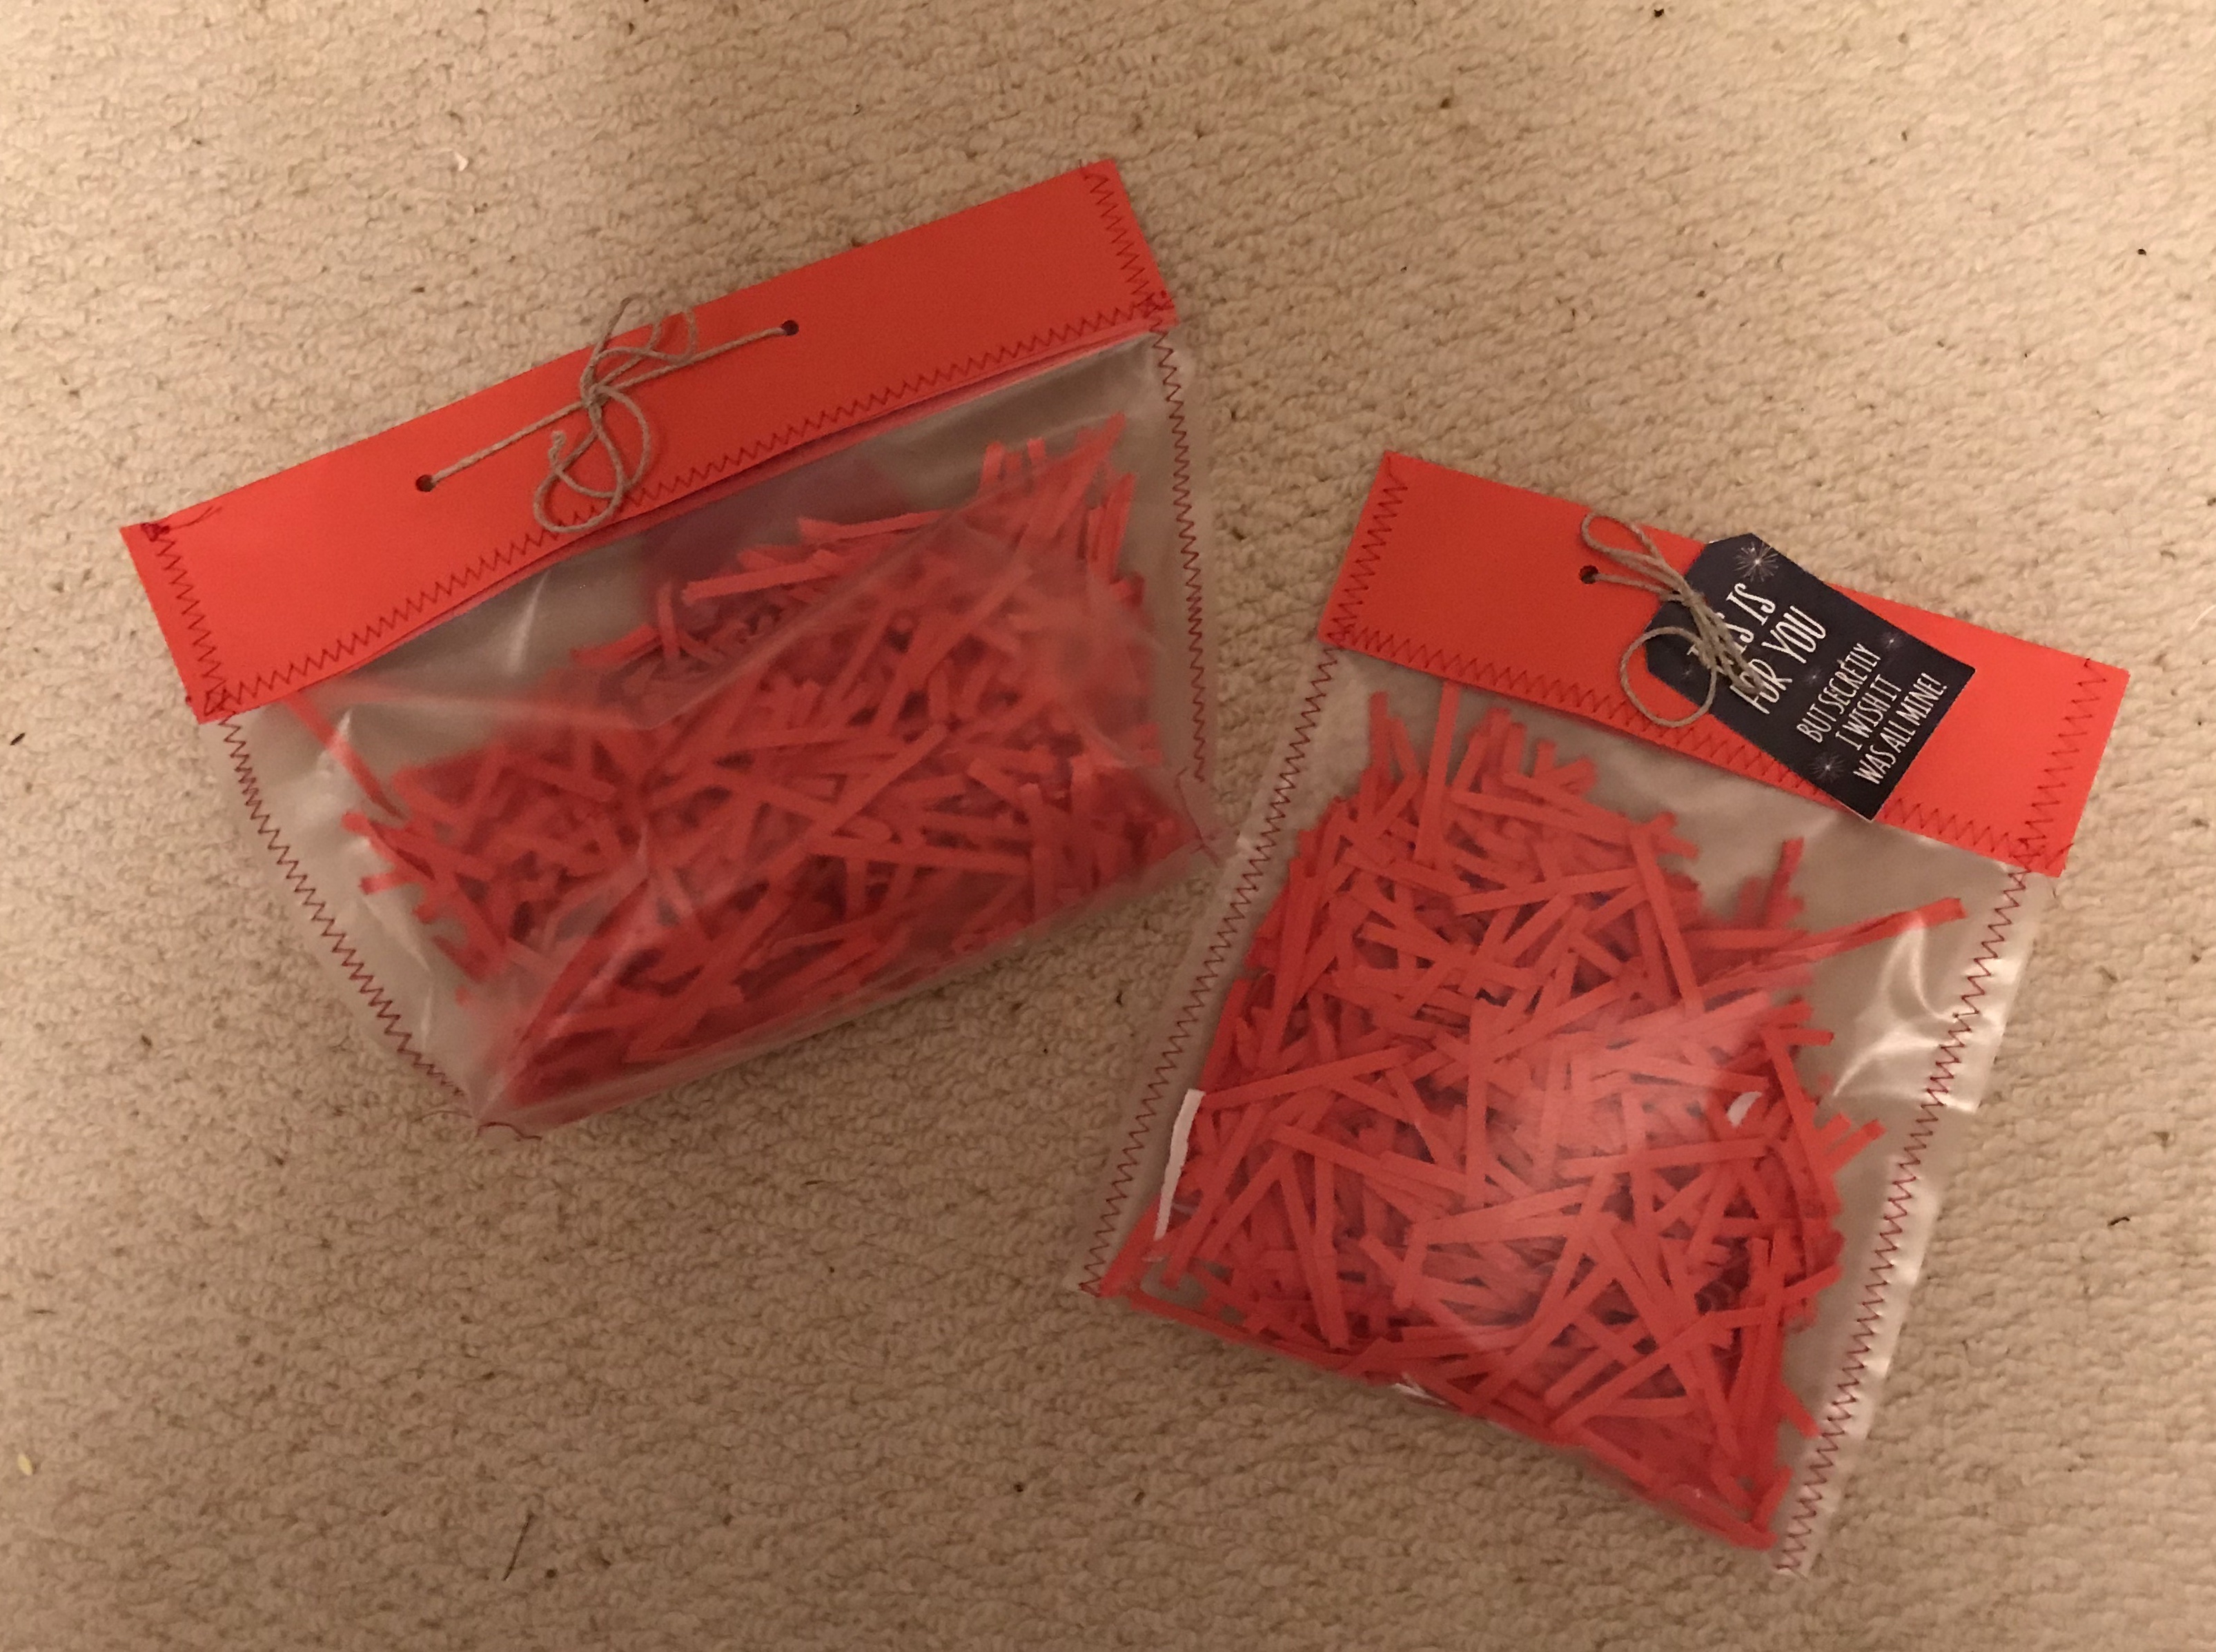
I have a roll of book covering plastic doing nothing in my stash, so cut rectangles from it and headed to the sewing machine
I folded copy paper (yes I also have a lot of coloured copy paper to use up) over the short ends and stitched it in place with a long zig zag.
The covered ends were folded together and the open sides zig zagged together to make a bag. I even boxed the bottom of the bigger one shown but am not sure it was worth the effort.
Two tips: use an old blunt needle as the plastic will ruin a new needle and long stitch lengths will minimise problems with the plastic slipping.
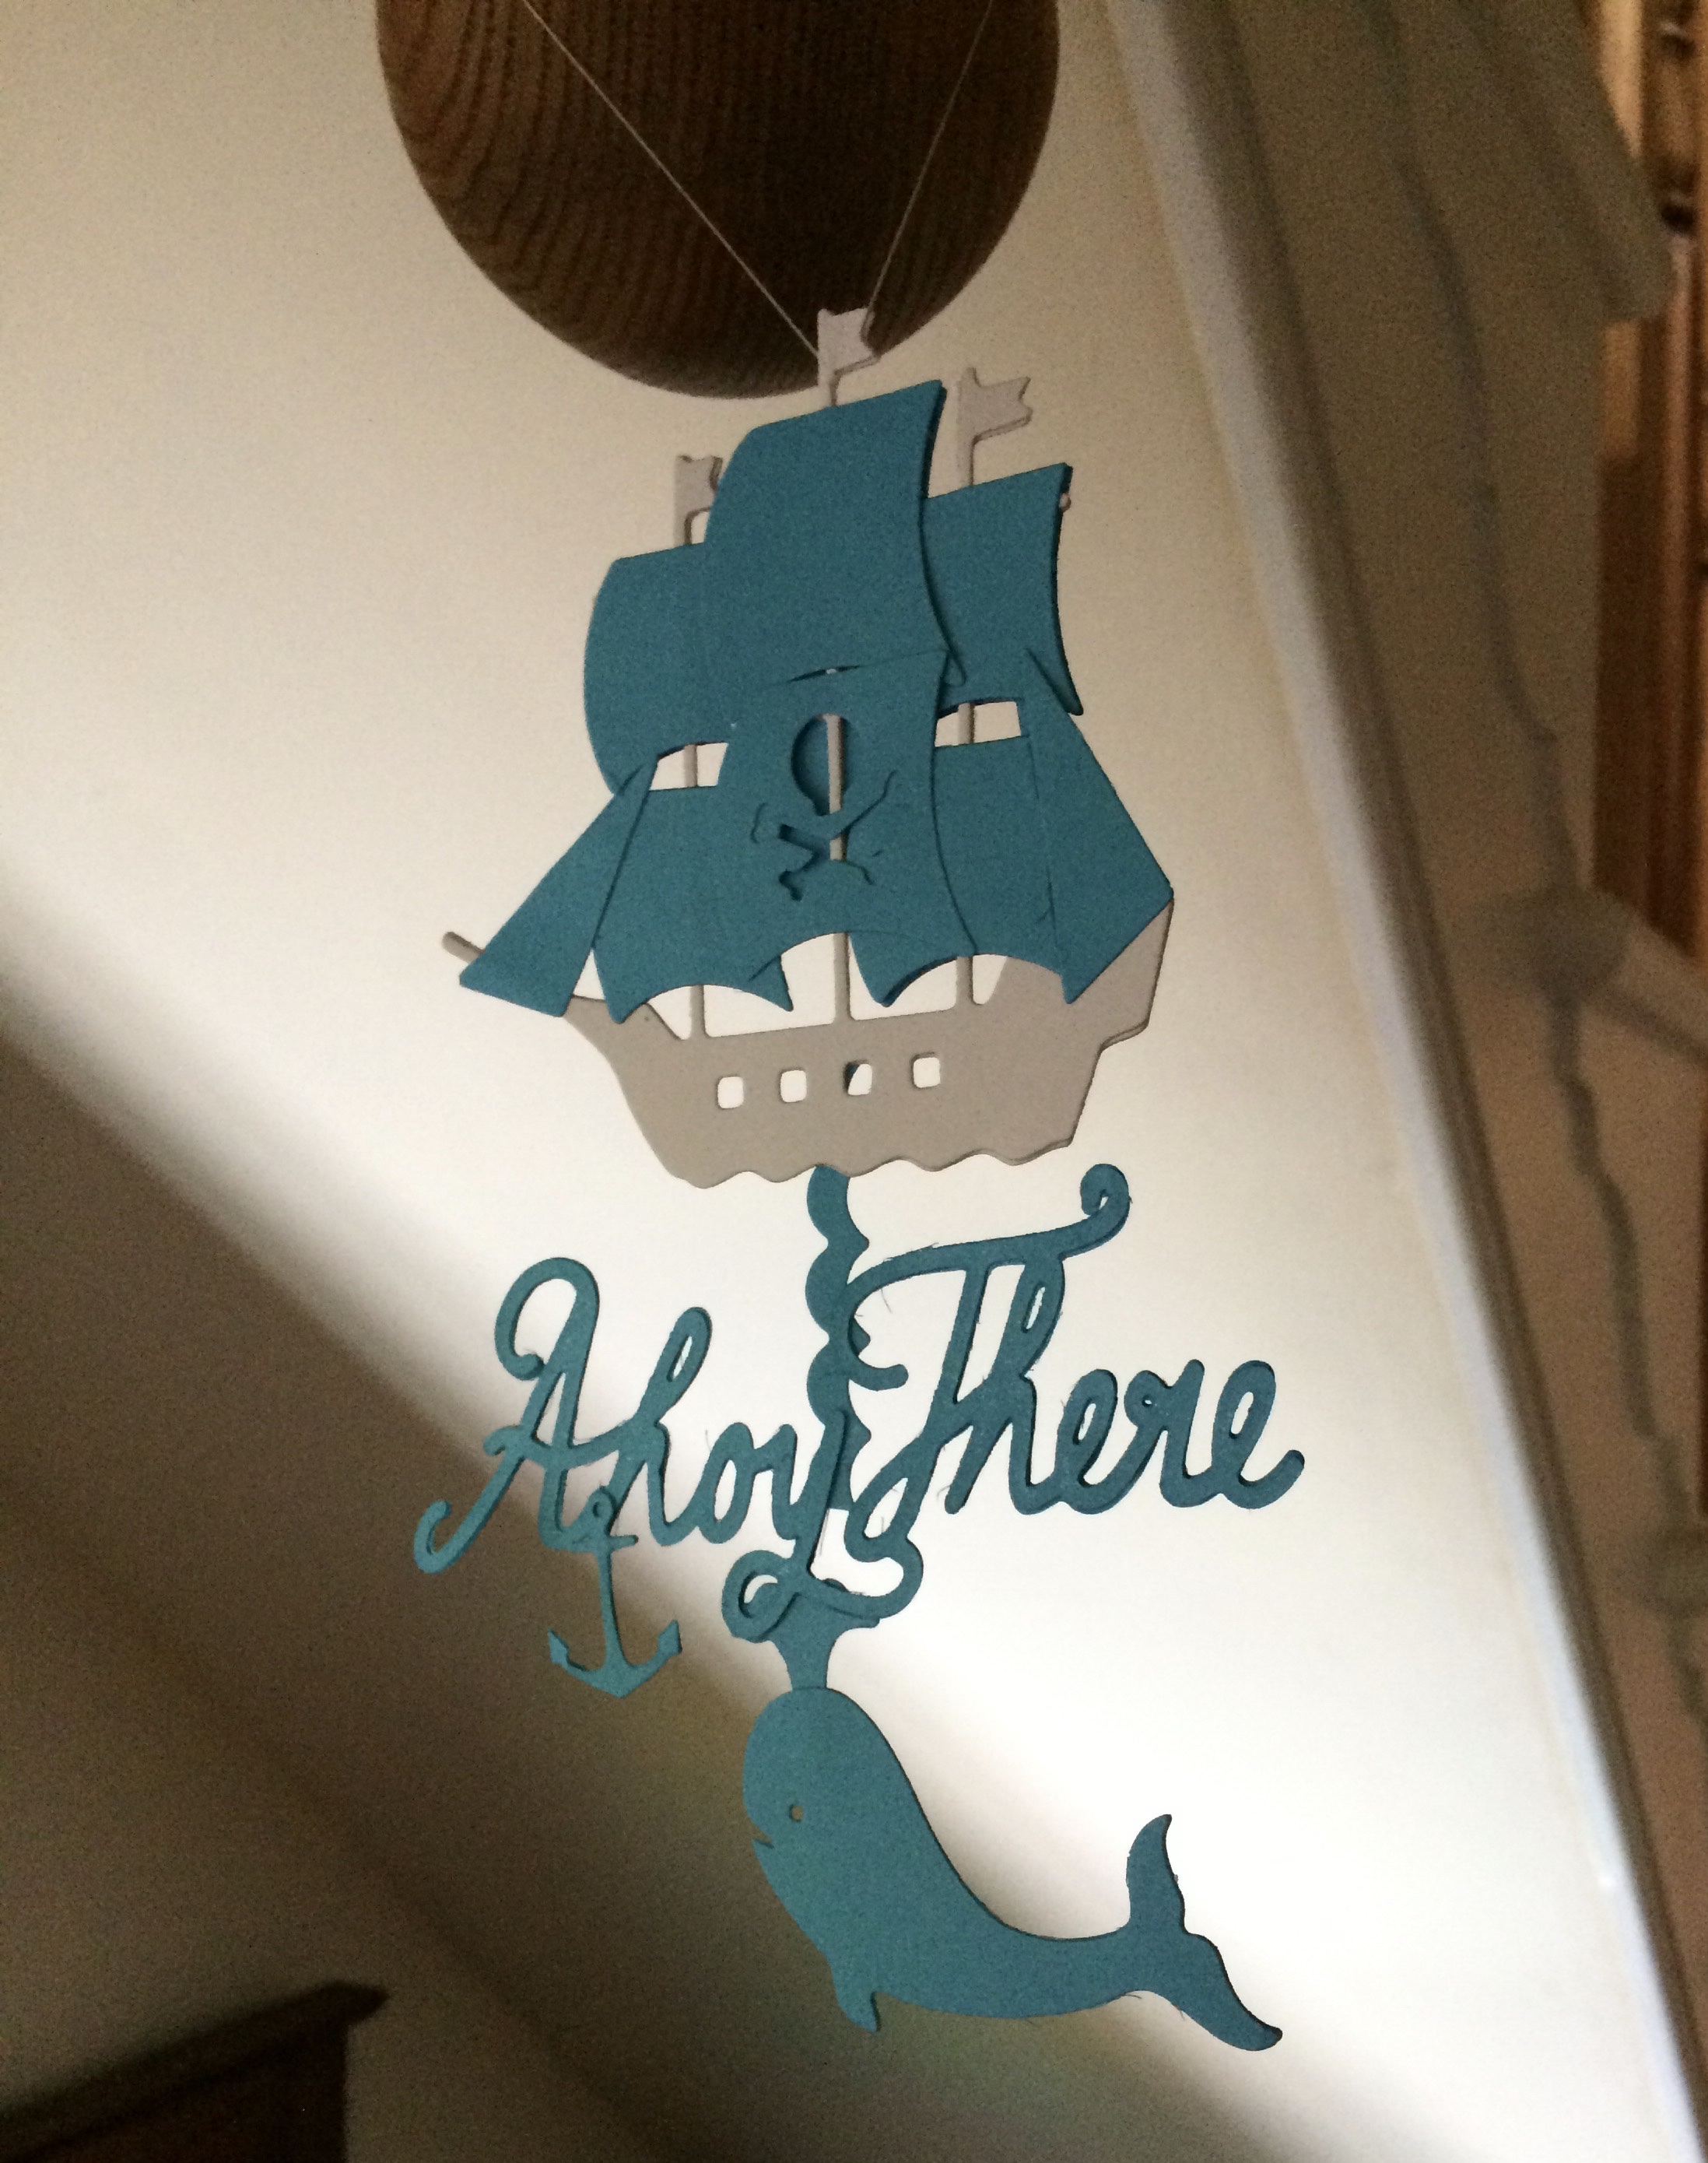
A low newel post is a peril for taller visitors to our home so I tend to dangle seasonal ‘creations from it to avoid bumps. This month’s version uses one of my less used die sets.
The pirate ship die alone is 4 inches square (about 10.5 cm) so works well as part of a dangler.
Each element from the set was cut from card two or three times and stuck together to give it some stability and to sandwich in the thread hanger. I tried to use most of this fun Docrafts die set but couldn’t quite work the palm tree, desert island or octopus into this version. Next time maybe.
Mini Daim bars simply wrapped in black card with bat wings from my scan n cut and googly eyes glued on.

Thanks to ‘Mixed Up Craft’ for the inspiration. Beyond her idea, I only created bat ‘ears’ by scoring a pillow box flap at the head end.
Copied from a much loved and used gift. This is simply three heart shaped pockets nested and finished with a tail which serves as a holder. No sizes, create your own.

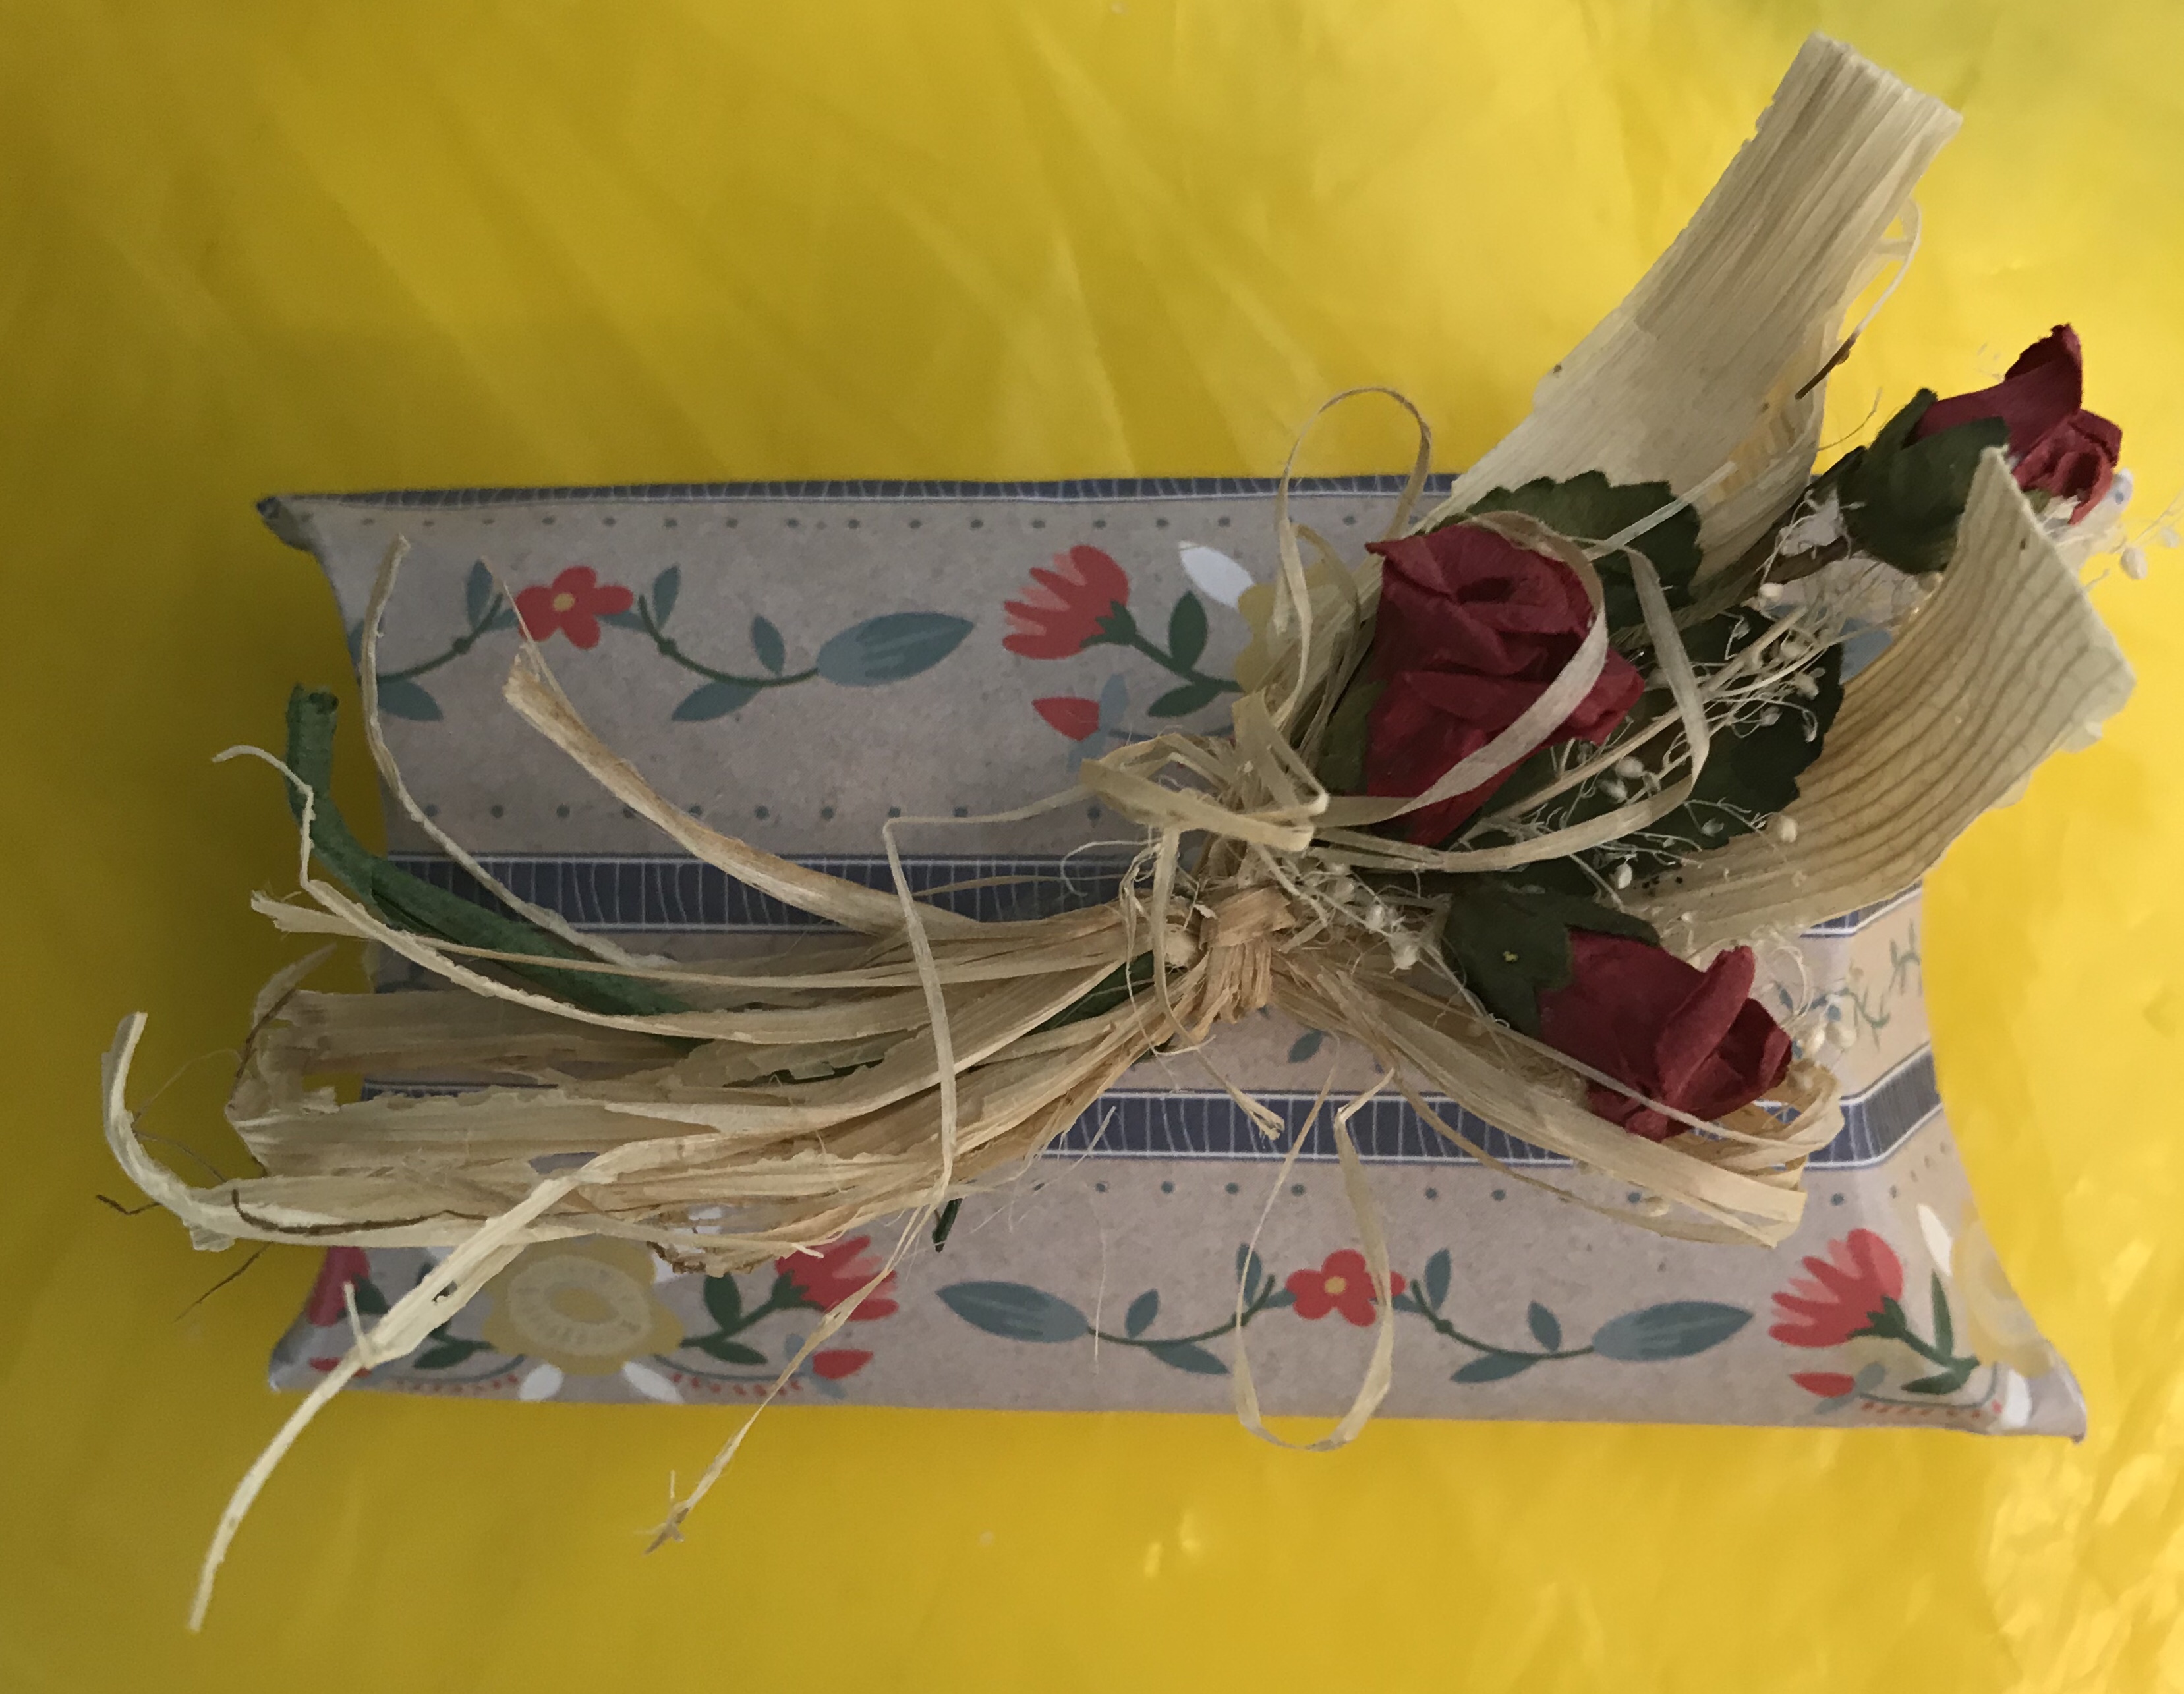
With all these wonderful papercraft tools it can be easy to overlook the basic pillow box for those little (in size, not necessarily value) gifts.
Rescue a humble empty loo roll or paper towel tube from recycling, flatten it lightly and cover it with your choice of lightweight paper- wet glue is fine if it doesn’t soak your chosen paper. (Some people sterilise their tubes in the microwave before crafting with them)
Take a round object, such as the tape roll shown here. Lay it so you can score an arc from side to side of the tube on each ‘side’ of the flattened tube and at each end, four scores in all.
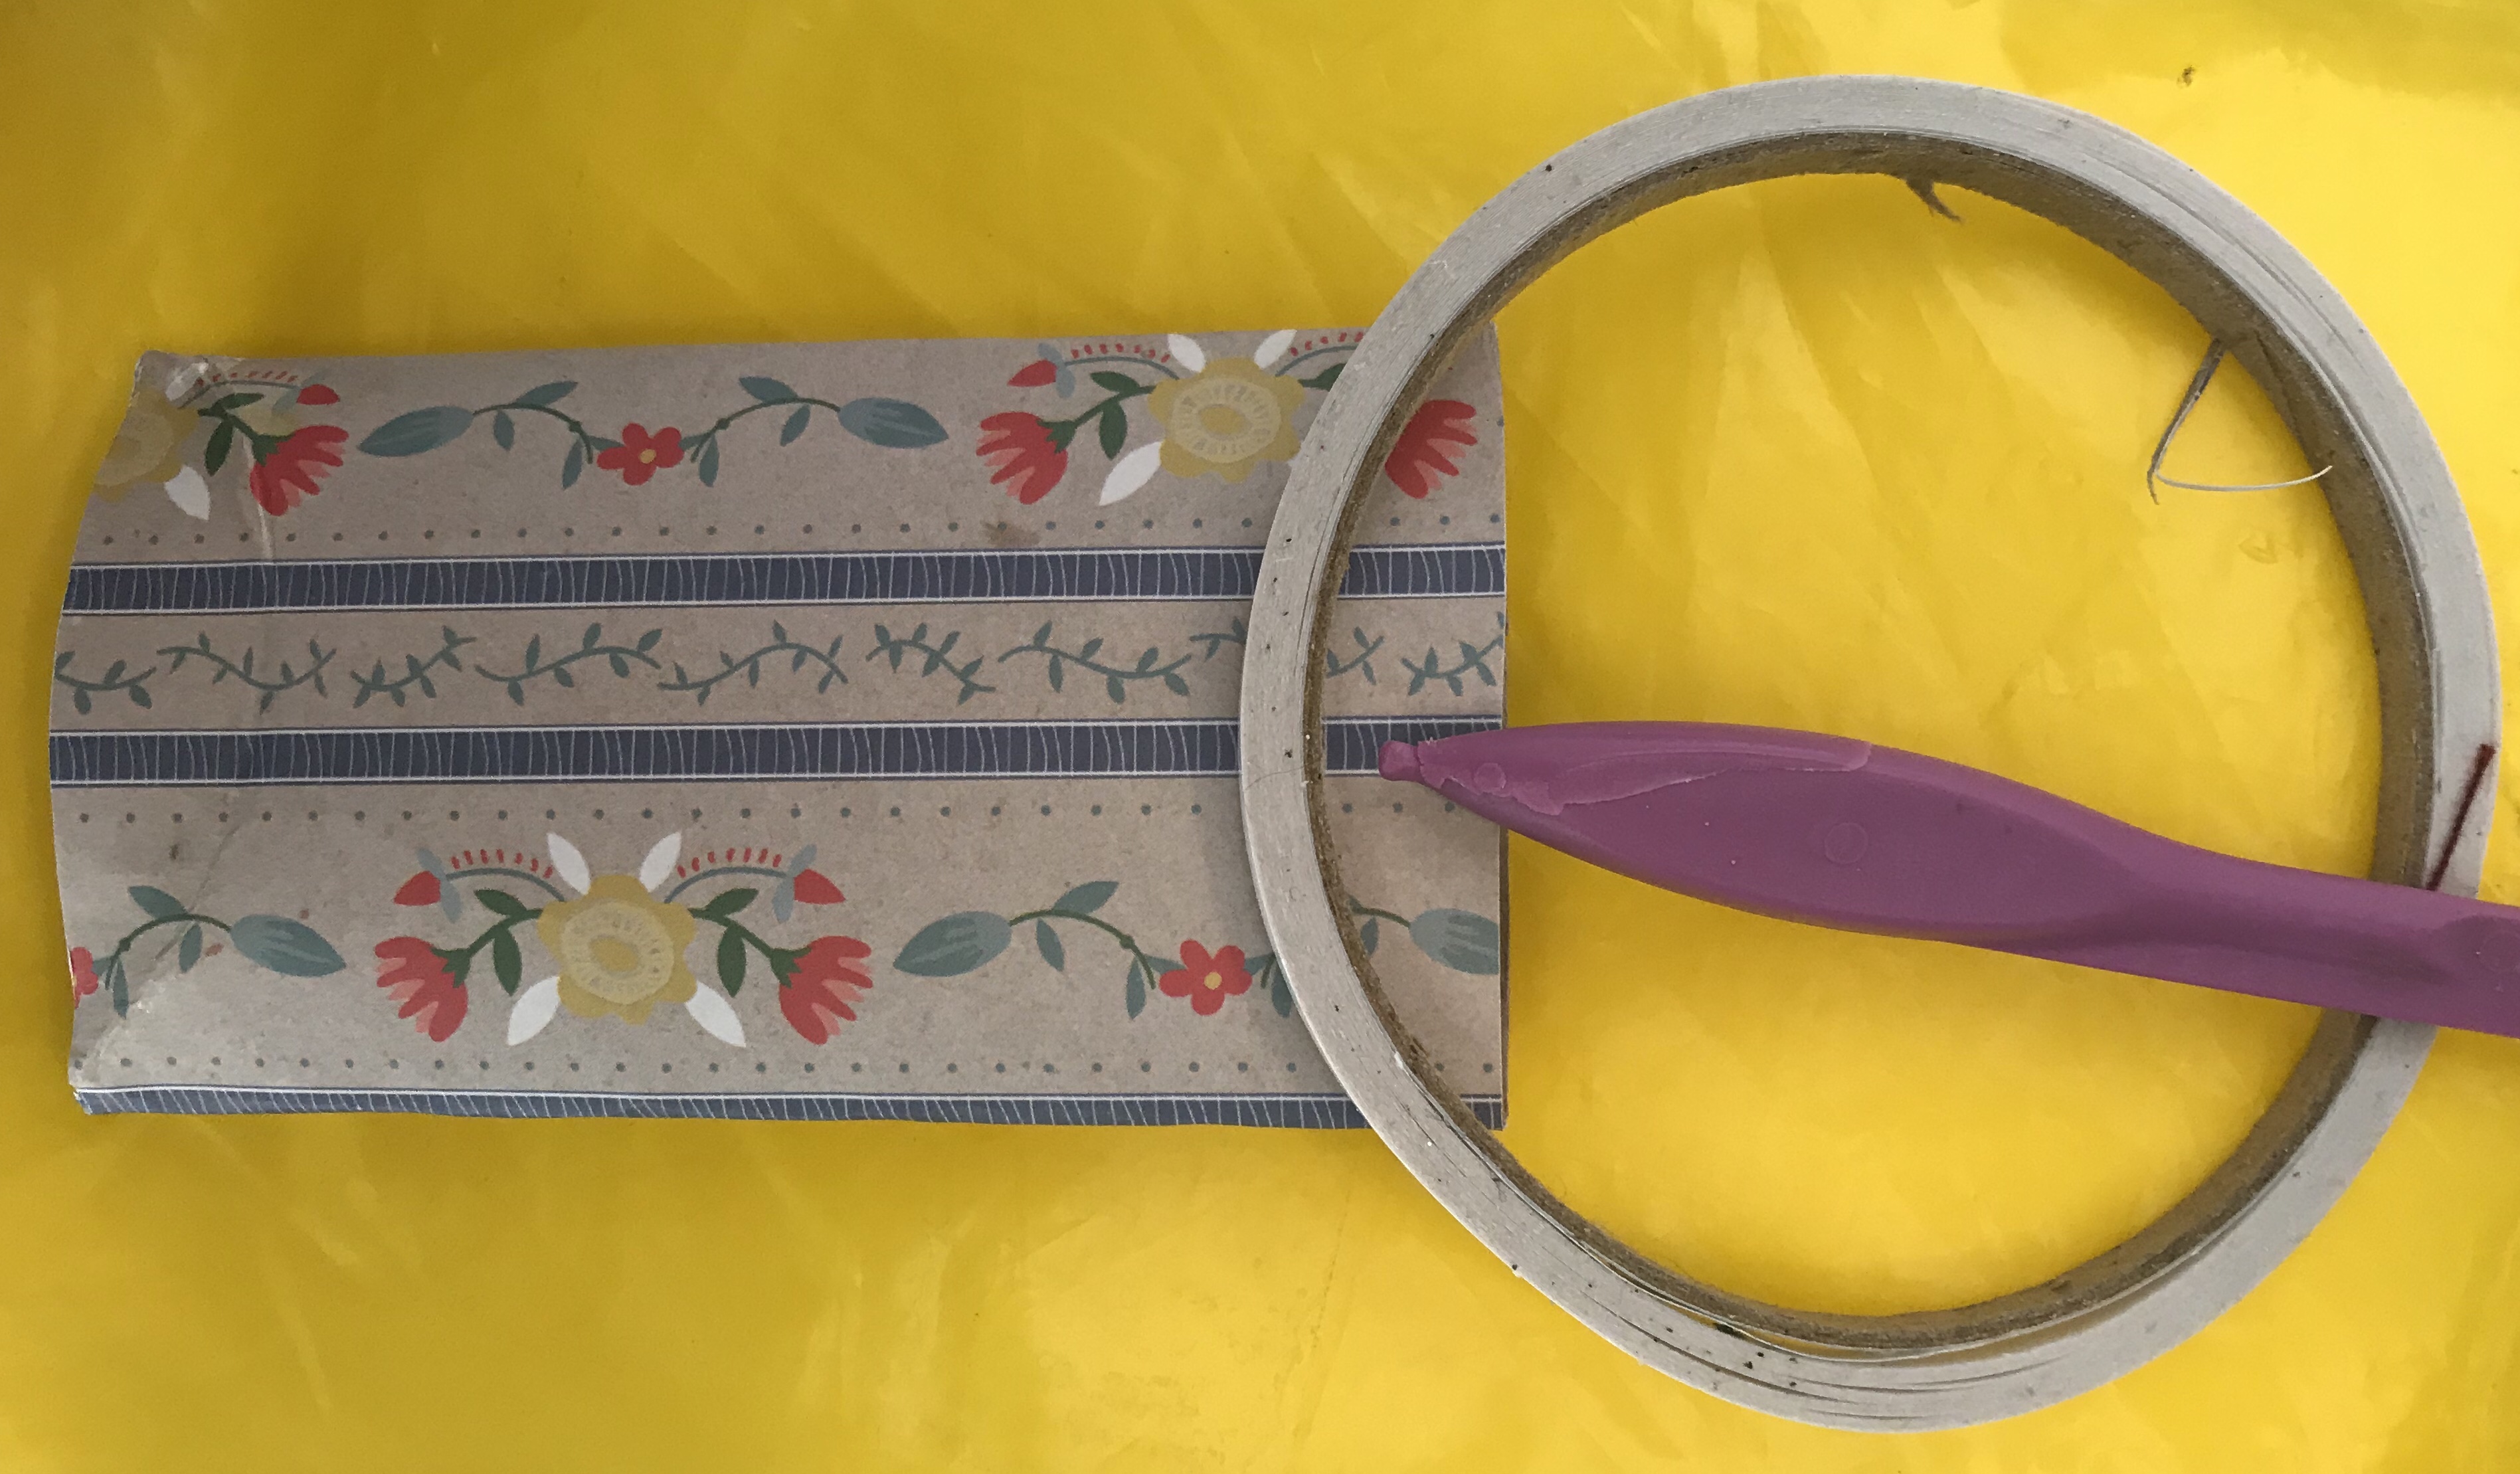
Gently push each scored arc towards the middle to create the pillow effect.
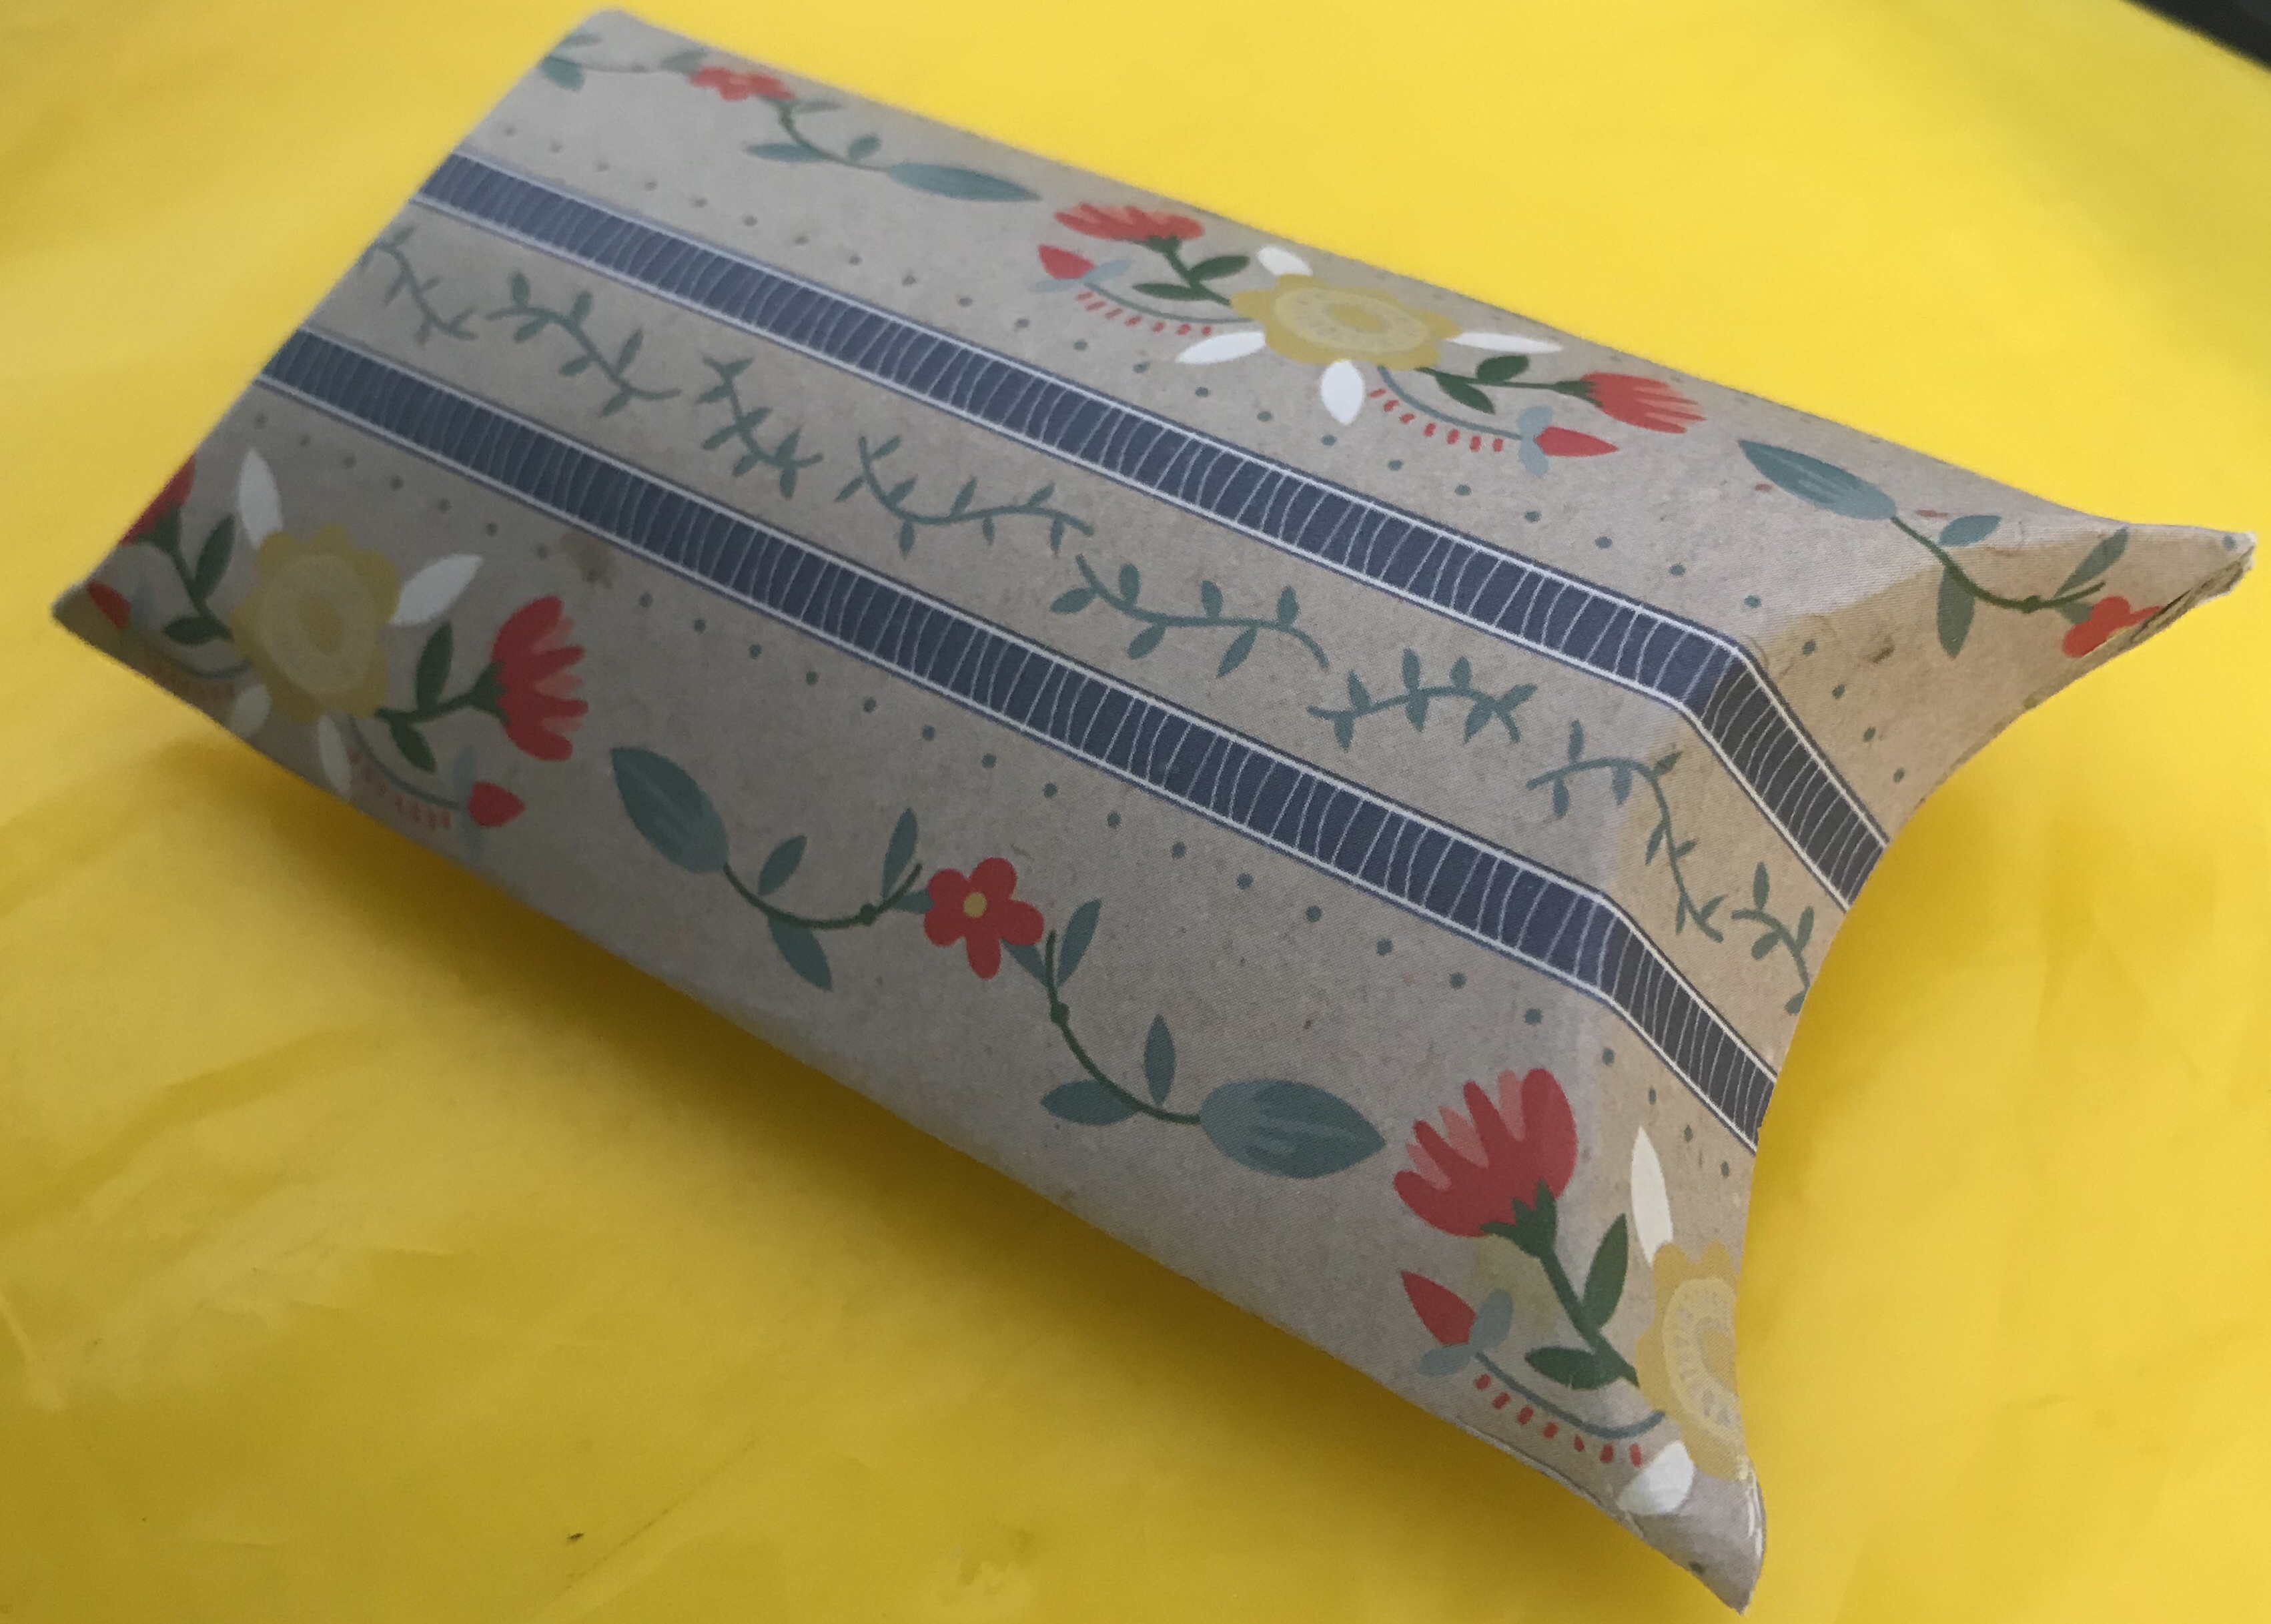
Decorate and maybe add a tag to finish.
