
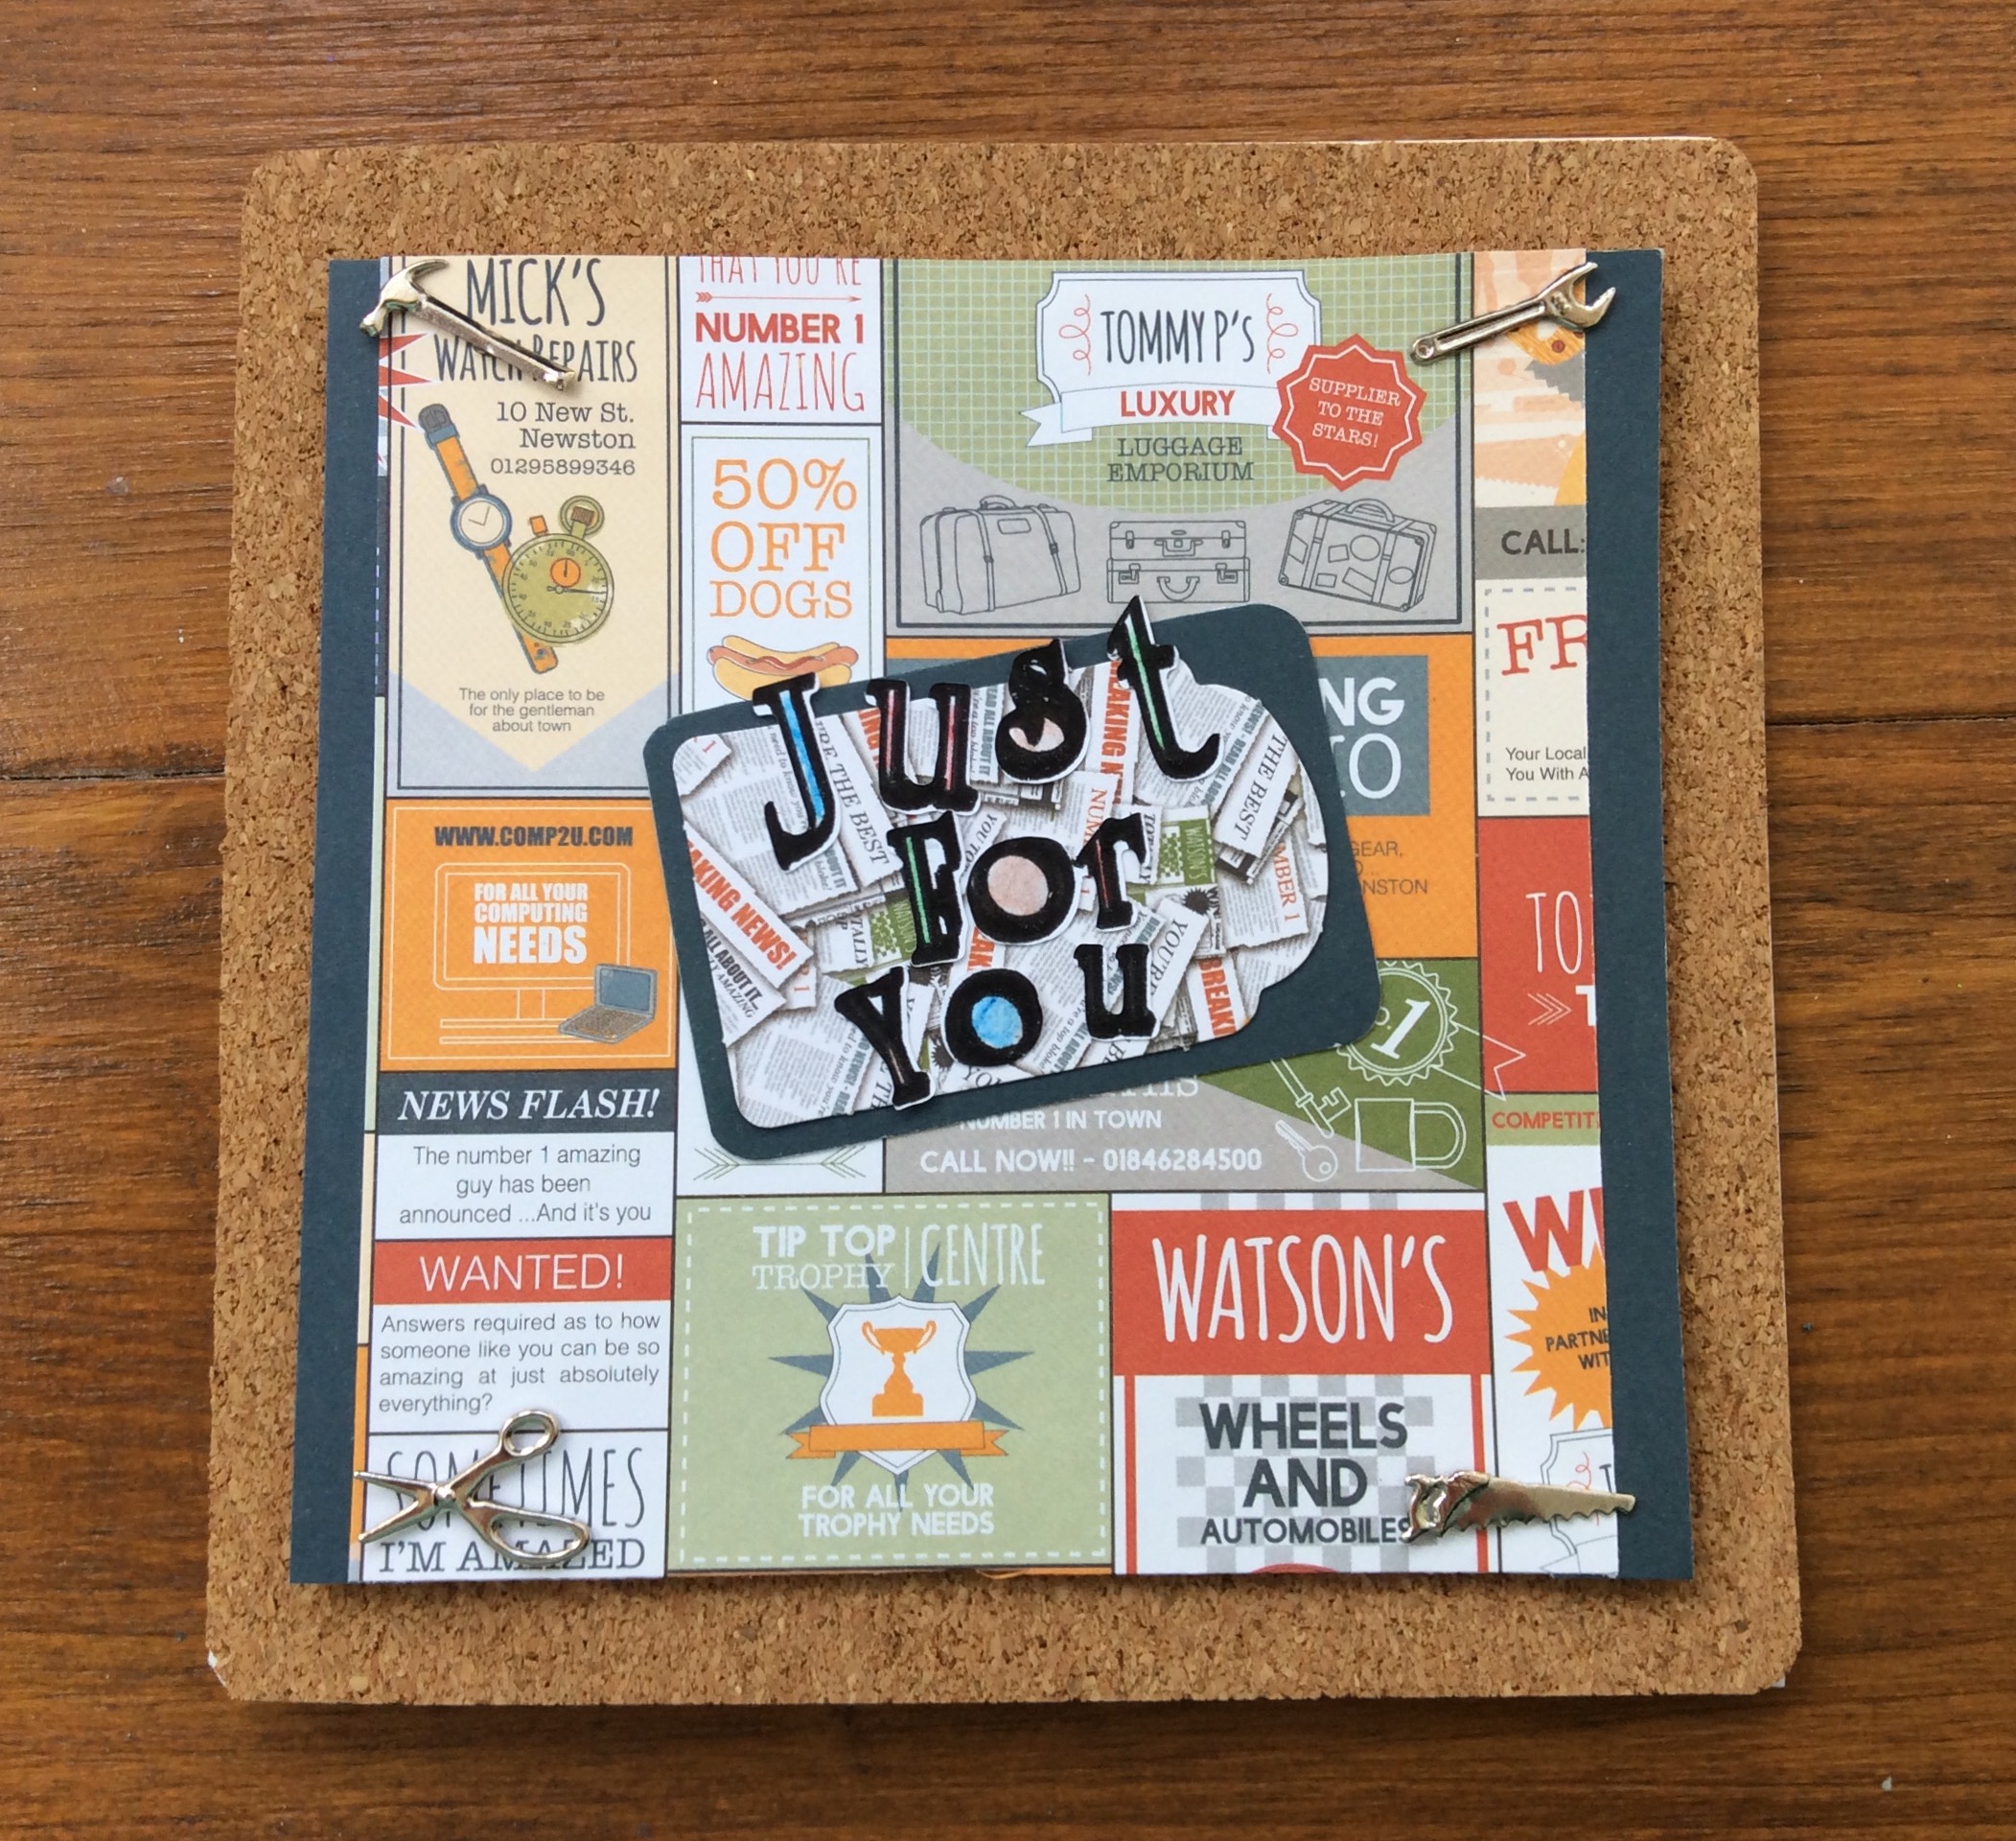
 A first and probably last as it turned out too girly
but then I am using up stash and have a little girl in mind as recipient …
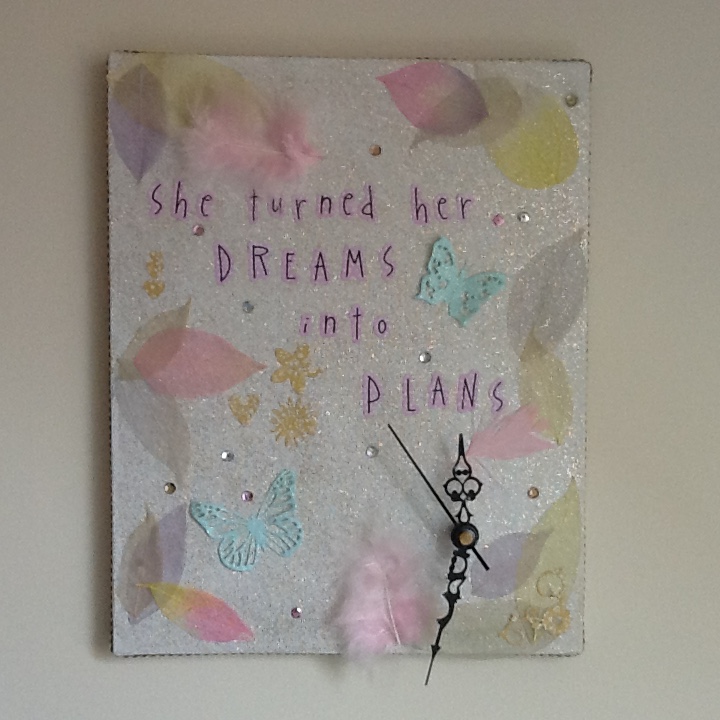
found a stretched canvas in the project drawer and sealed it with mod podge glitter before mounting the clock mechanism on the frame so the hands project beyond the edges – the effect I wanted and the frame bears the weight of the mechanism, but means it has to be wall mounted
I covered the edges of the canvas with ribbon for a frame effect, then went to town with donated feathers, leaves, sequins and die cuts around a quote I have had in mind for ages – which further reduces the peel off letters pile.
although I bought the mechanism – intended for a repair of another clock, but didn’t fit – and must have bought the canvas, this is a use it up or throw it out project
#crafter’s satisfaction
 I have struggled to get the settings right, but may finally have sorted fabric cutting on the scan n cut
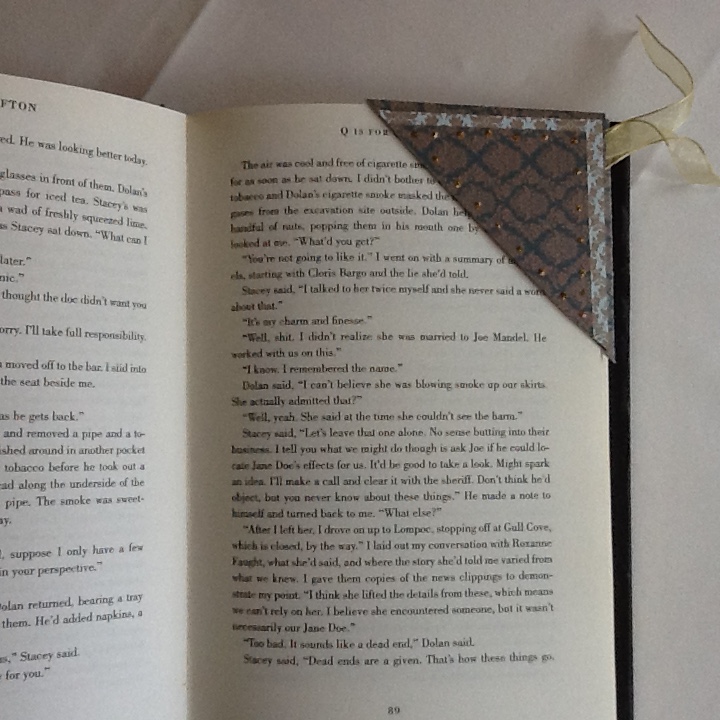 Bookmarks galore…
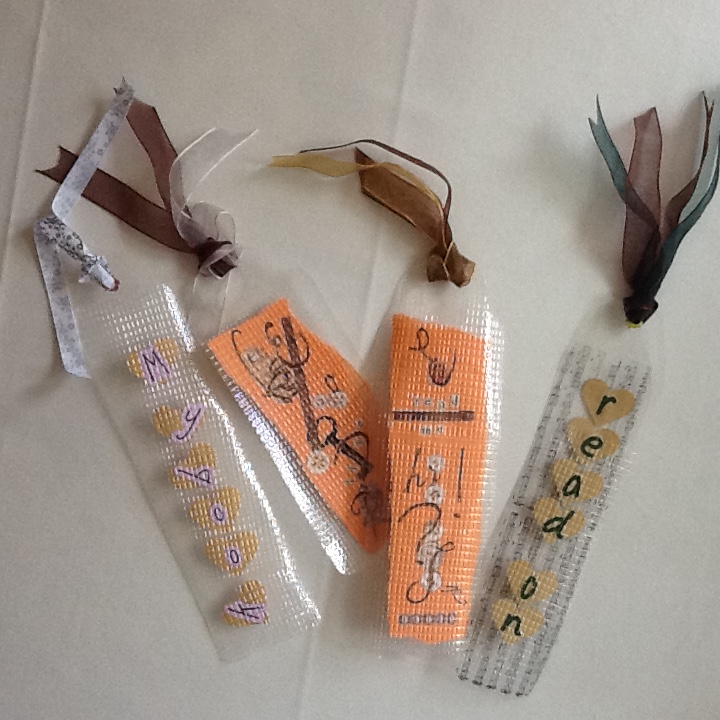
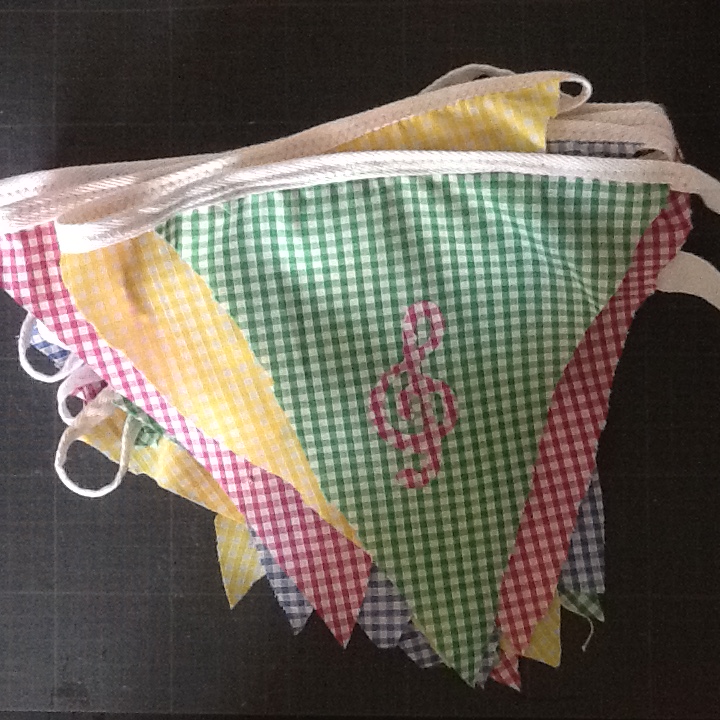 Birthday present Of music themed bunting


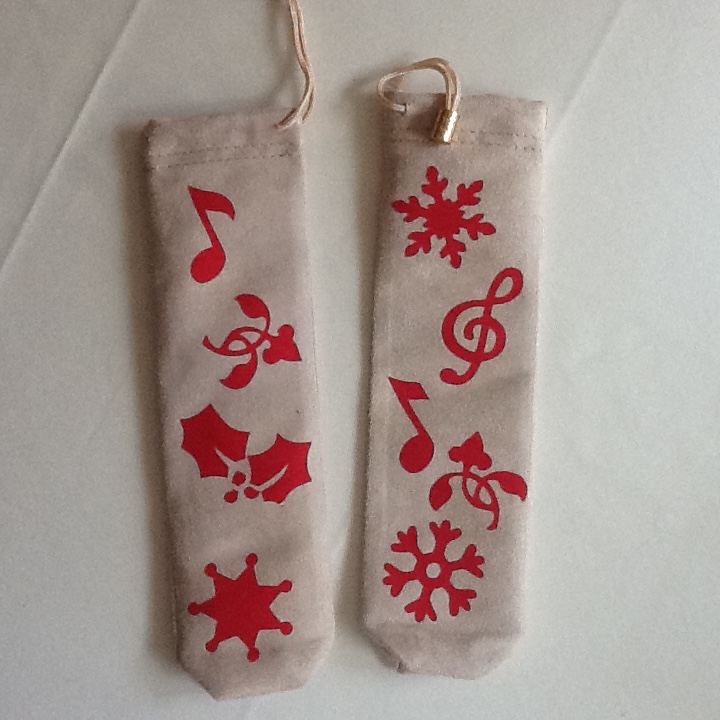
 I won a docrafts competition last year and the rotary cutter with a wavy blade was included, but not used to date
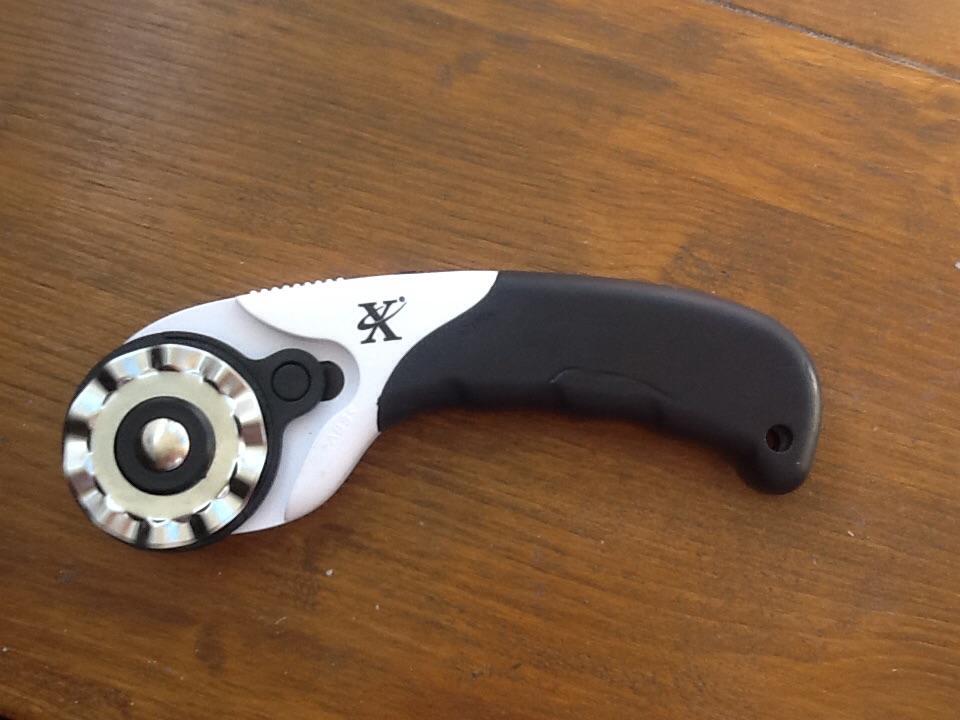
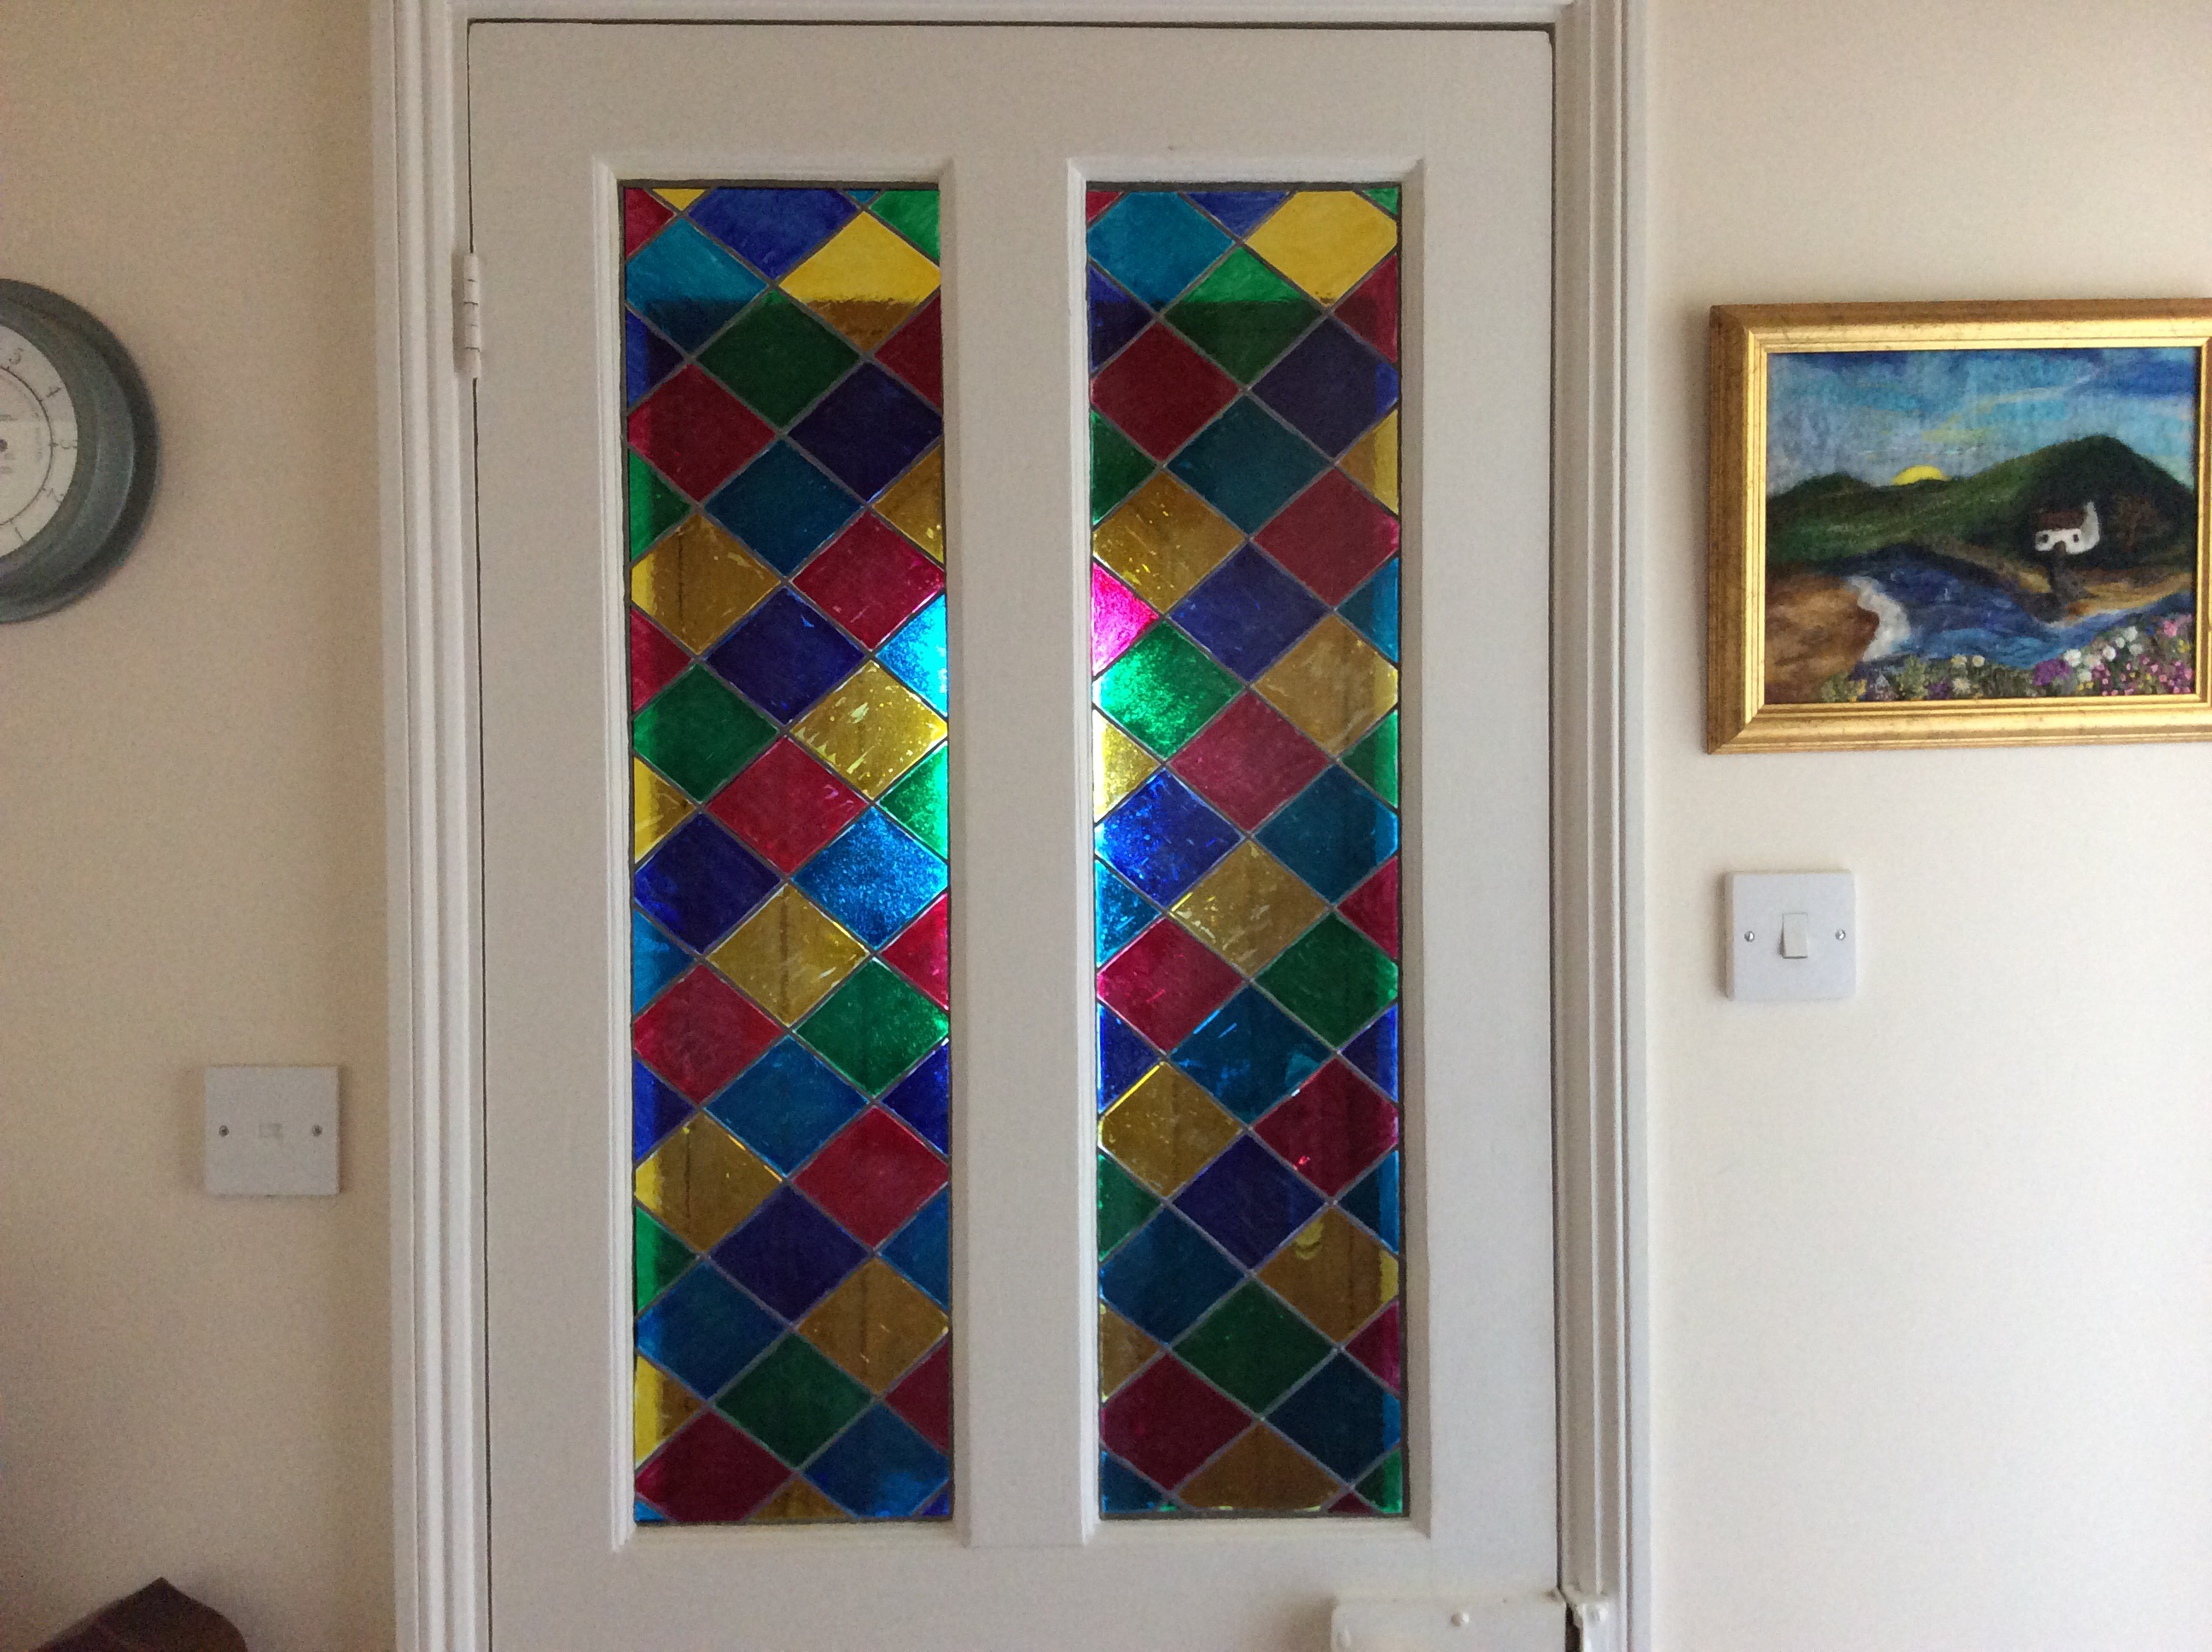 Decra led self adhesive strips were great for this faux stained glass door panel
 I jave been upcycling glass

