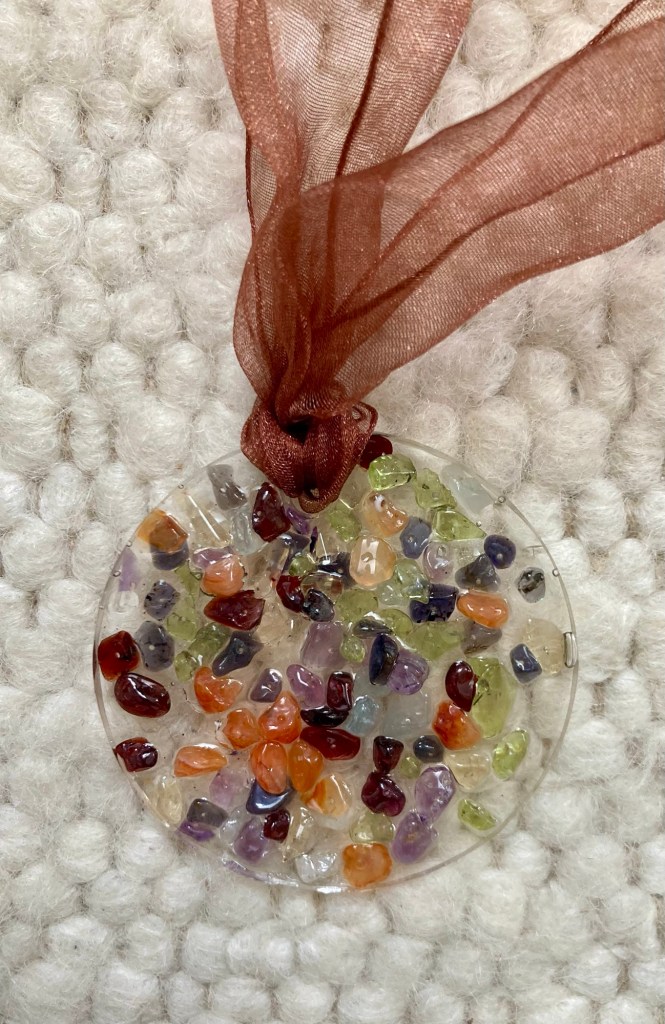
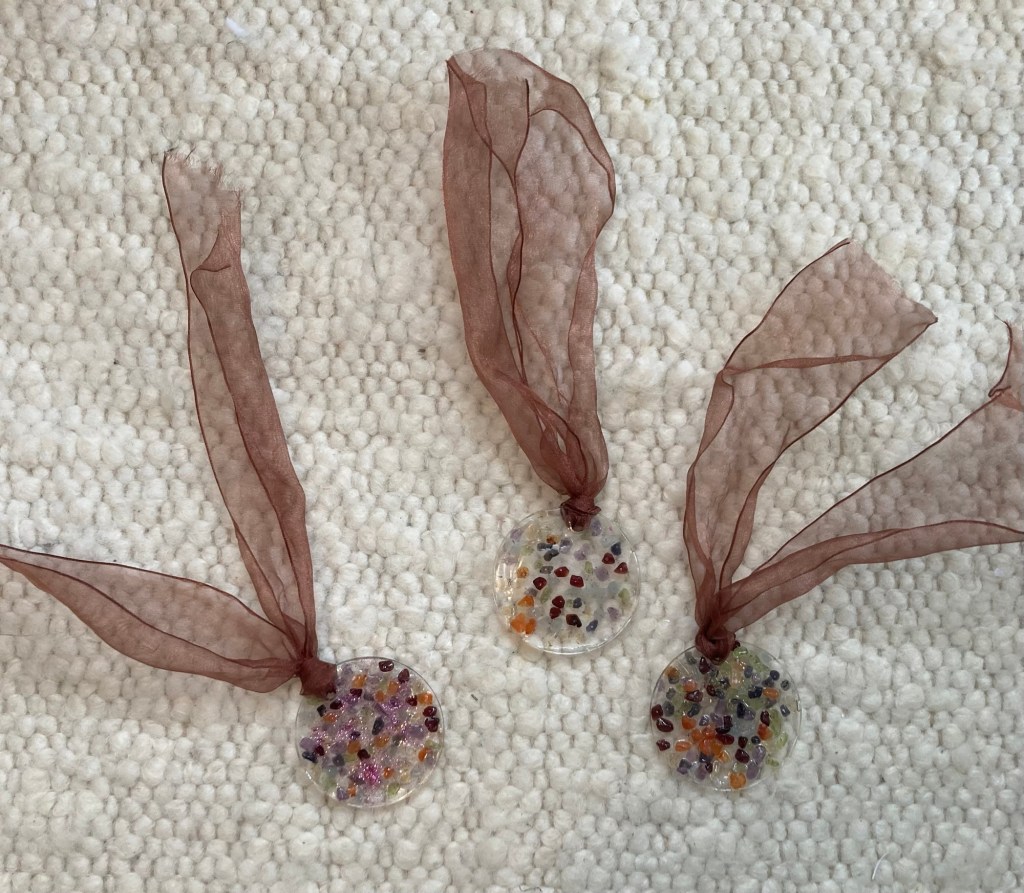
When sorting through my late Aunt’s jewellry I broke a necklace. Although it was probably on its way to the charity shop, I felt guilty so decided to craft it into a new life.
I set the beads in uv resin to make three pendant baubles. These can be hung on a window latch, car rear view mirror or Christmas tree (with the right string) but here I have used some toning ribbon from my stash so I can finish the project off without buying.
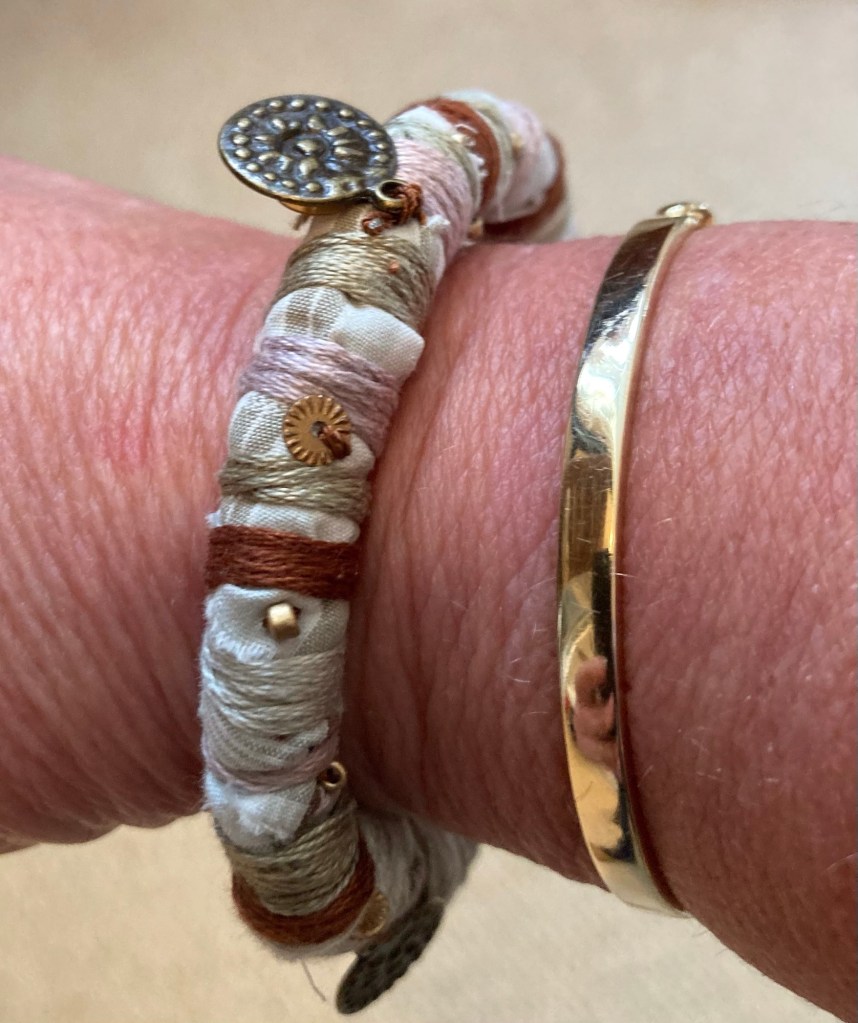
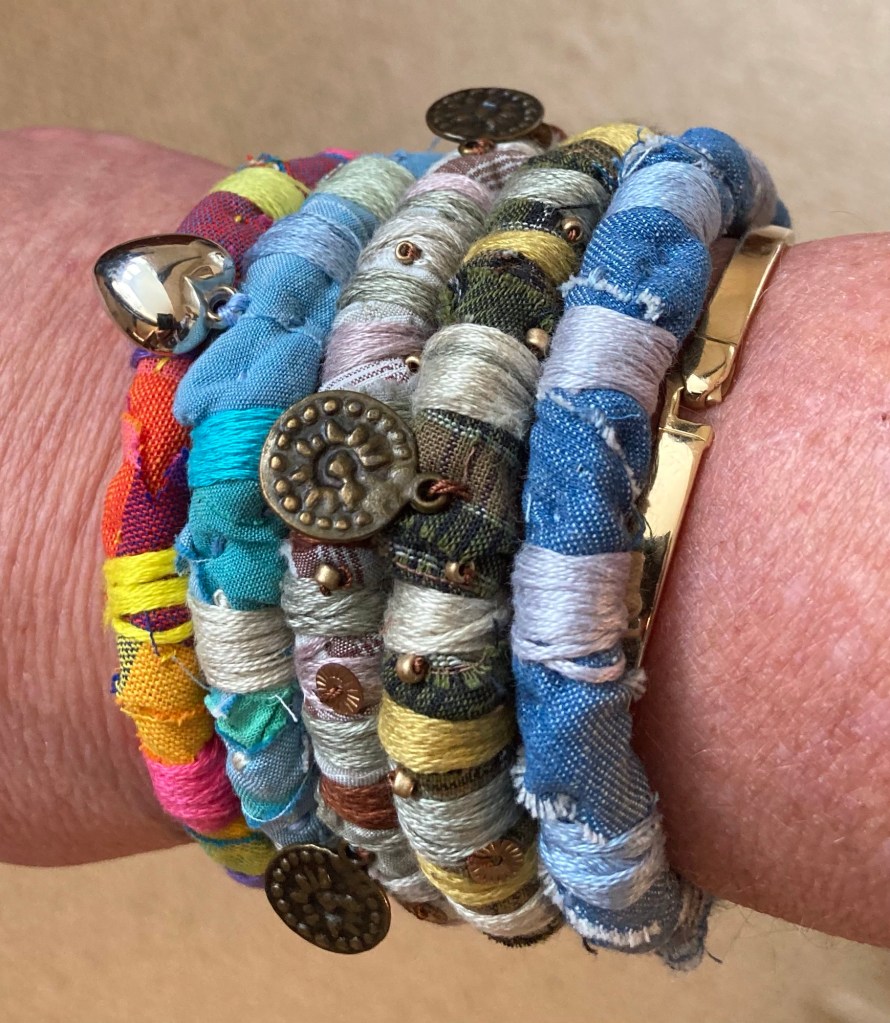
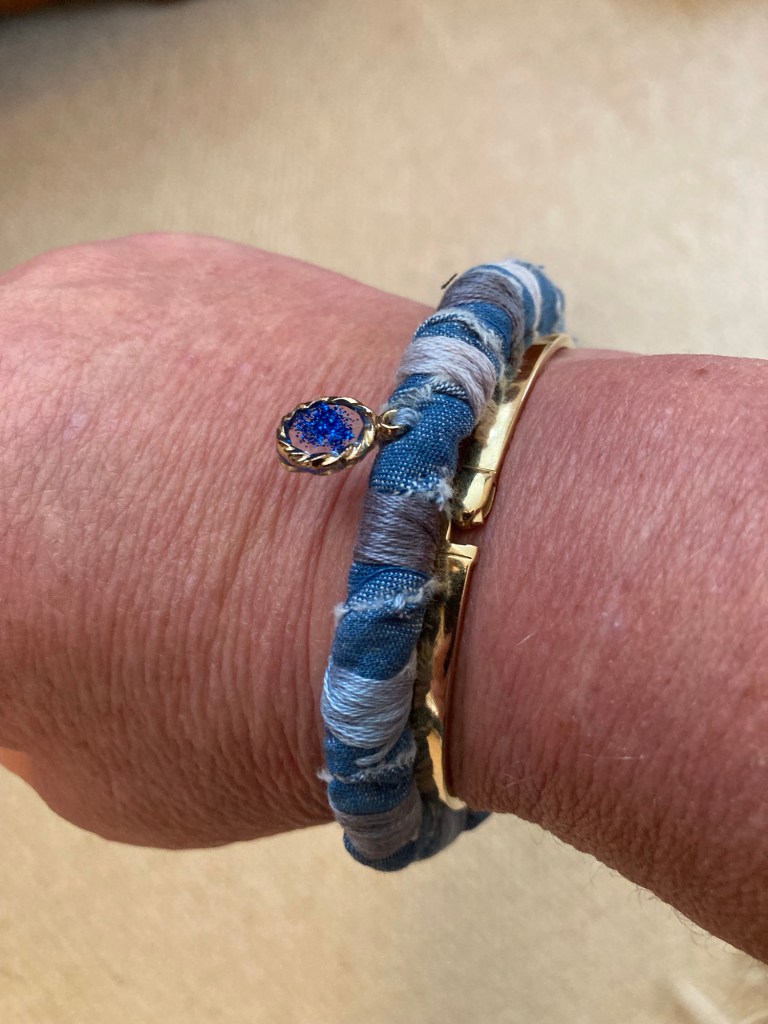
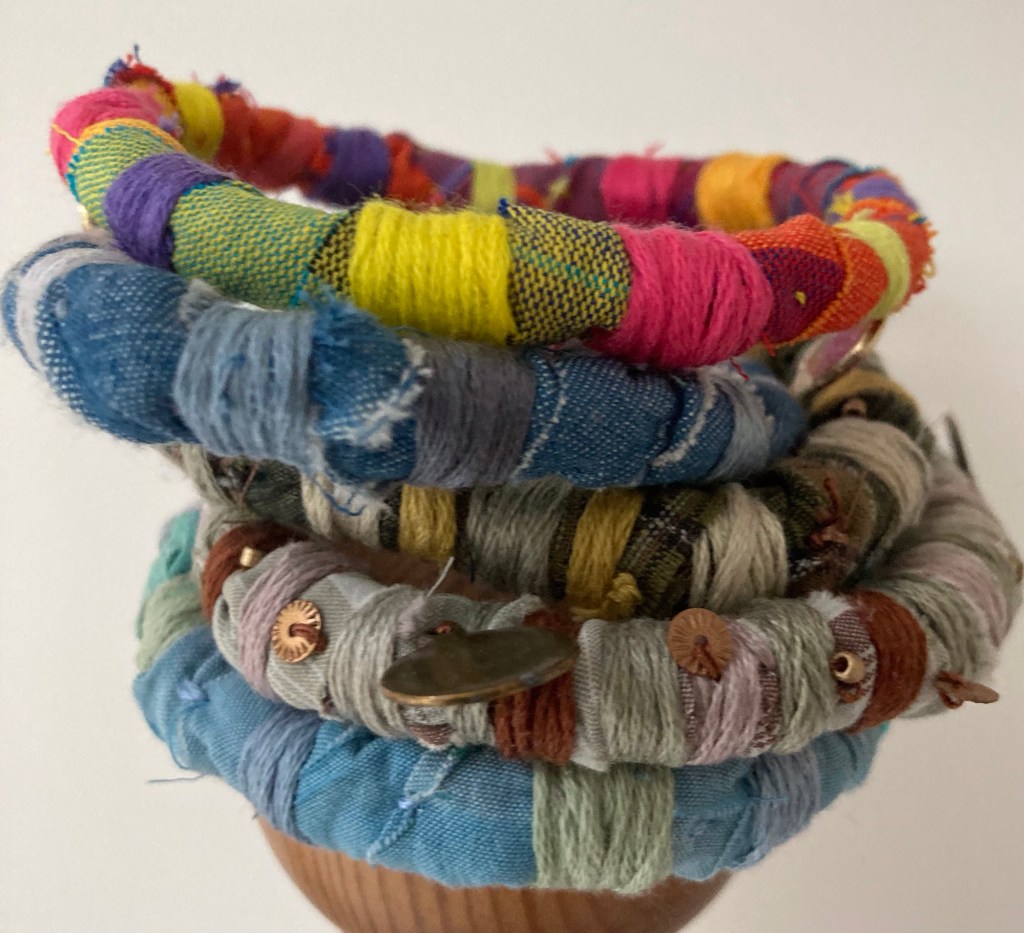
I use 9 1/2 inches of cotton clothes line/ macrame cord and tack it into a bracelet shape. Slimmer hands might only need 9 inches.
I then wind 1/2 inch wide strips tightly around and slow stitch them in place using 6 threads of embroidery thread which also strengthens the join of the base cord.
Sometimes the thread is contrasting the fabric, other time I keep it plain. I have also used invisible thread.
I then wind more embroidery thread over the strips as a decoration and further strengthener.
For a final touch some bracelets have beads or charms added. I have used up lots of stray items this way. Just needed to. Remember to keep the embellishments outside the bracelets so they don’t rub your wrist.
Each takes about 30 minutes to make. I now have a stack to coordinate with different outfits.
Resin that cures in uv light is super easy to play with and the ‘Let’s resin’ kit got me hooked.
Key rings, pendants, earrings and embellishments galore.
Boring safety stuff aside (gloves and mask essential) I love this. And walking round craft and jewellry stalls at local markets I realise how many other people do too.
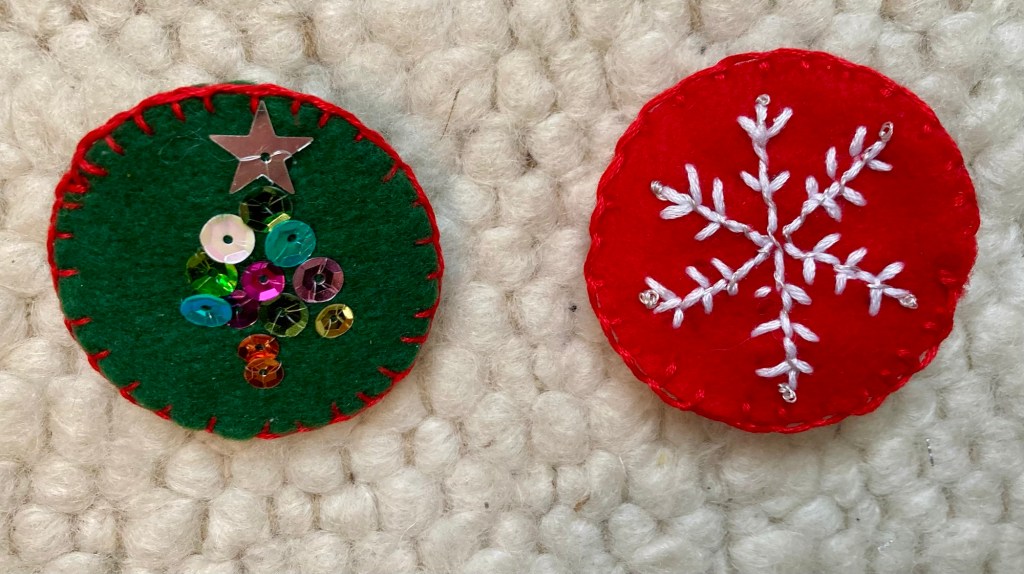
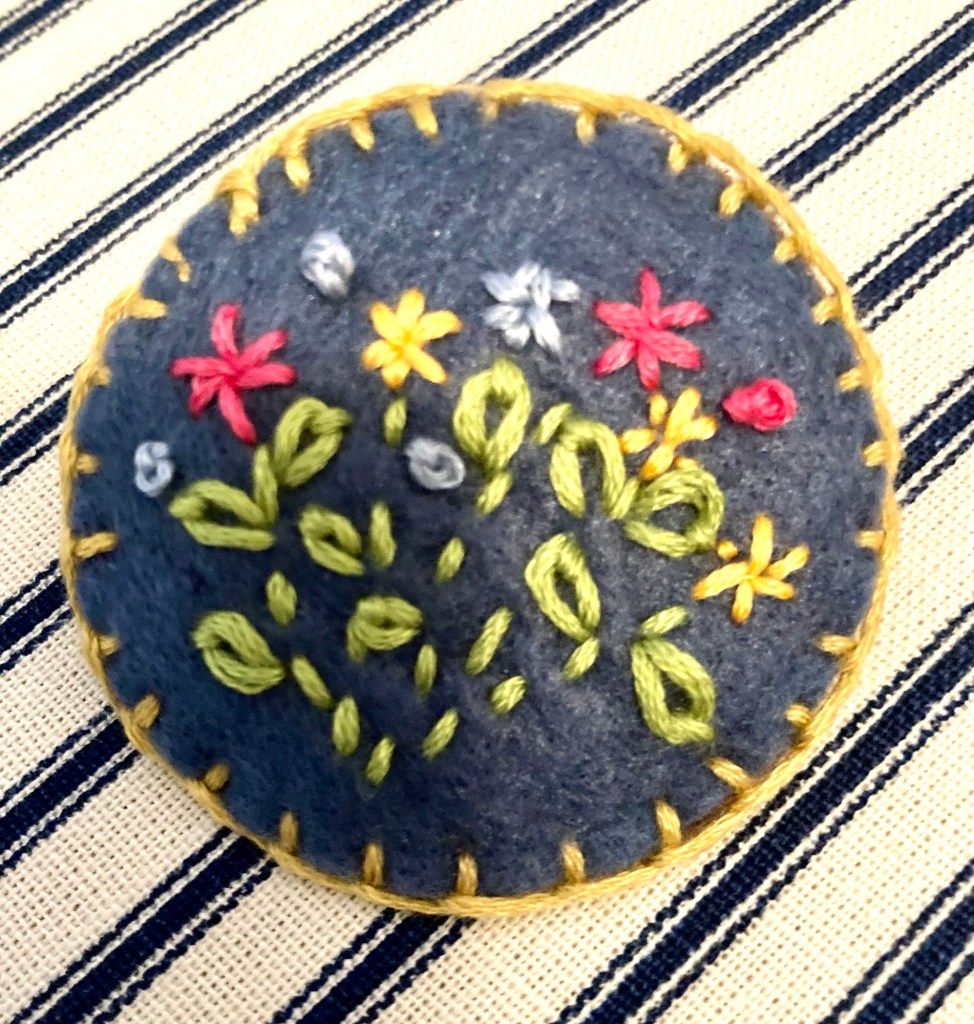
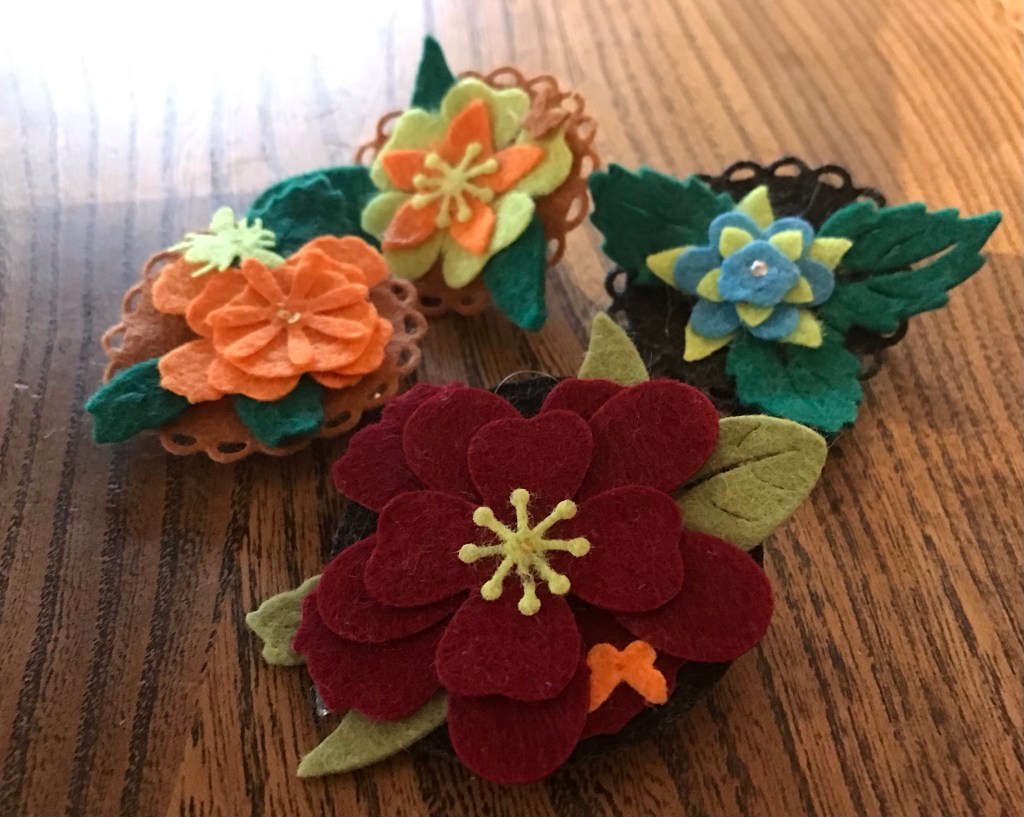
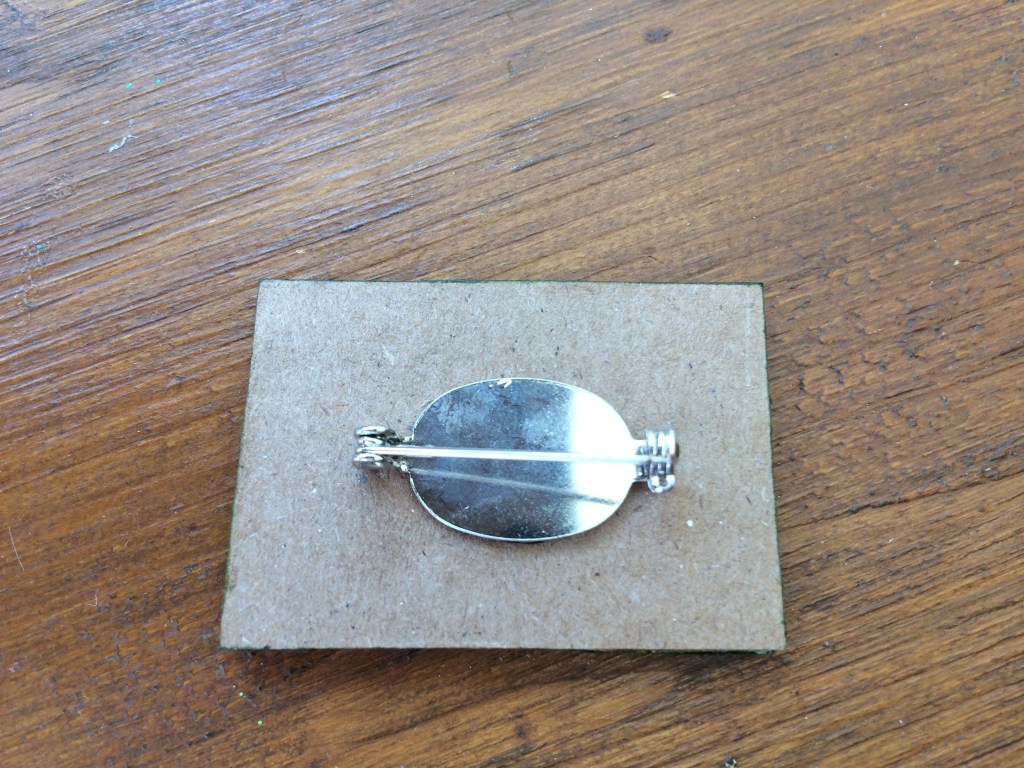
Time to use some felt scraps. decided to make some badges to brighten winter coats to stuck the layered flowers on felt circles and then stuck on badge pins sandwiched with felt rectangles for stability.
This is a very frugal activity using up old badges and taking miniscule scraps of felt. So while I have supplies out I am going to make embellishments for lavender bags etc. And happily nearly all dies designed for paper seem to work on felt – including the bee and butterfly – although the stamens die does create very flimsy results.
While I used hot glue for these, a more refined approach would be embroidery to fix flowers to the backing. I have used a few French knots here but really enjoy how quickly these come together.
Now to go through my dies to see what other little felt shapes I can cut…
I wear a different brooch each day – I have a collection – but wanted some extras right for the times, so made some quick pin ons for all those upcoming virtual get-togethers.
These involve clippings from salvaged thesauruses (thesauri?), quotations and discarded dictionaries that have been glued (mod podge) onto card and then stuck (glue dots) on to pins.
Sellotape and safety pins will also work as these badges will have a short, indoor life. I might also embellish with buttons or sequins at some point. Depends how much time I can find in my busy schedule!
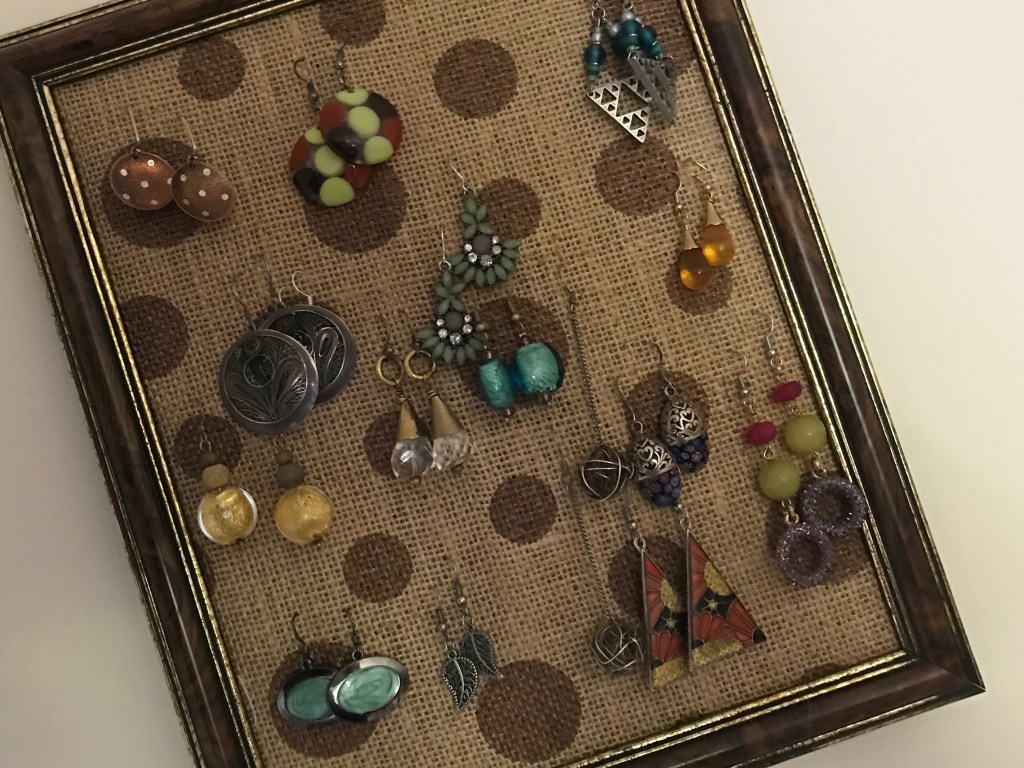
Update to an frame with new ‘dotty’ hessian. This is a craft that is practical, cost effective and displays my earrings (some of them) so I can appreciate them out of the jewellery box.
Simple to do; just dismantle a cheap photo frame, remove the ‘glass’ and glue hessian around the card backer before reassembling the frame.
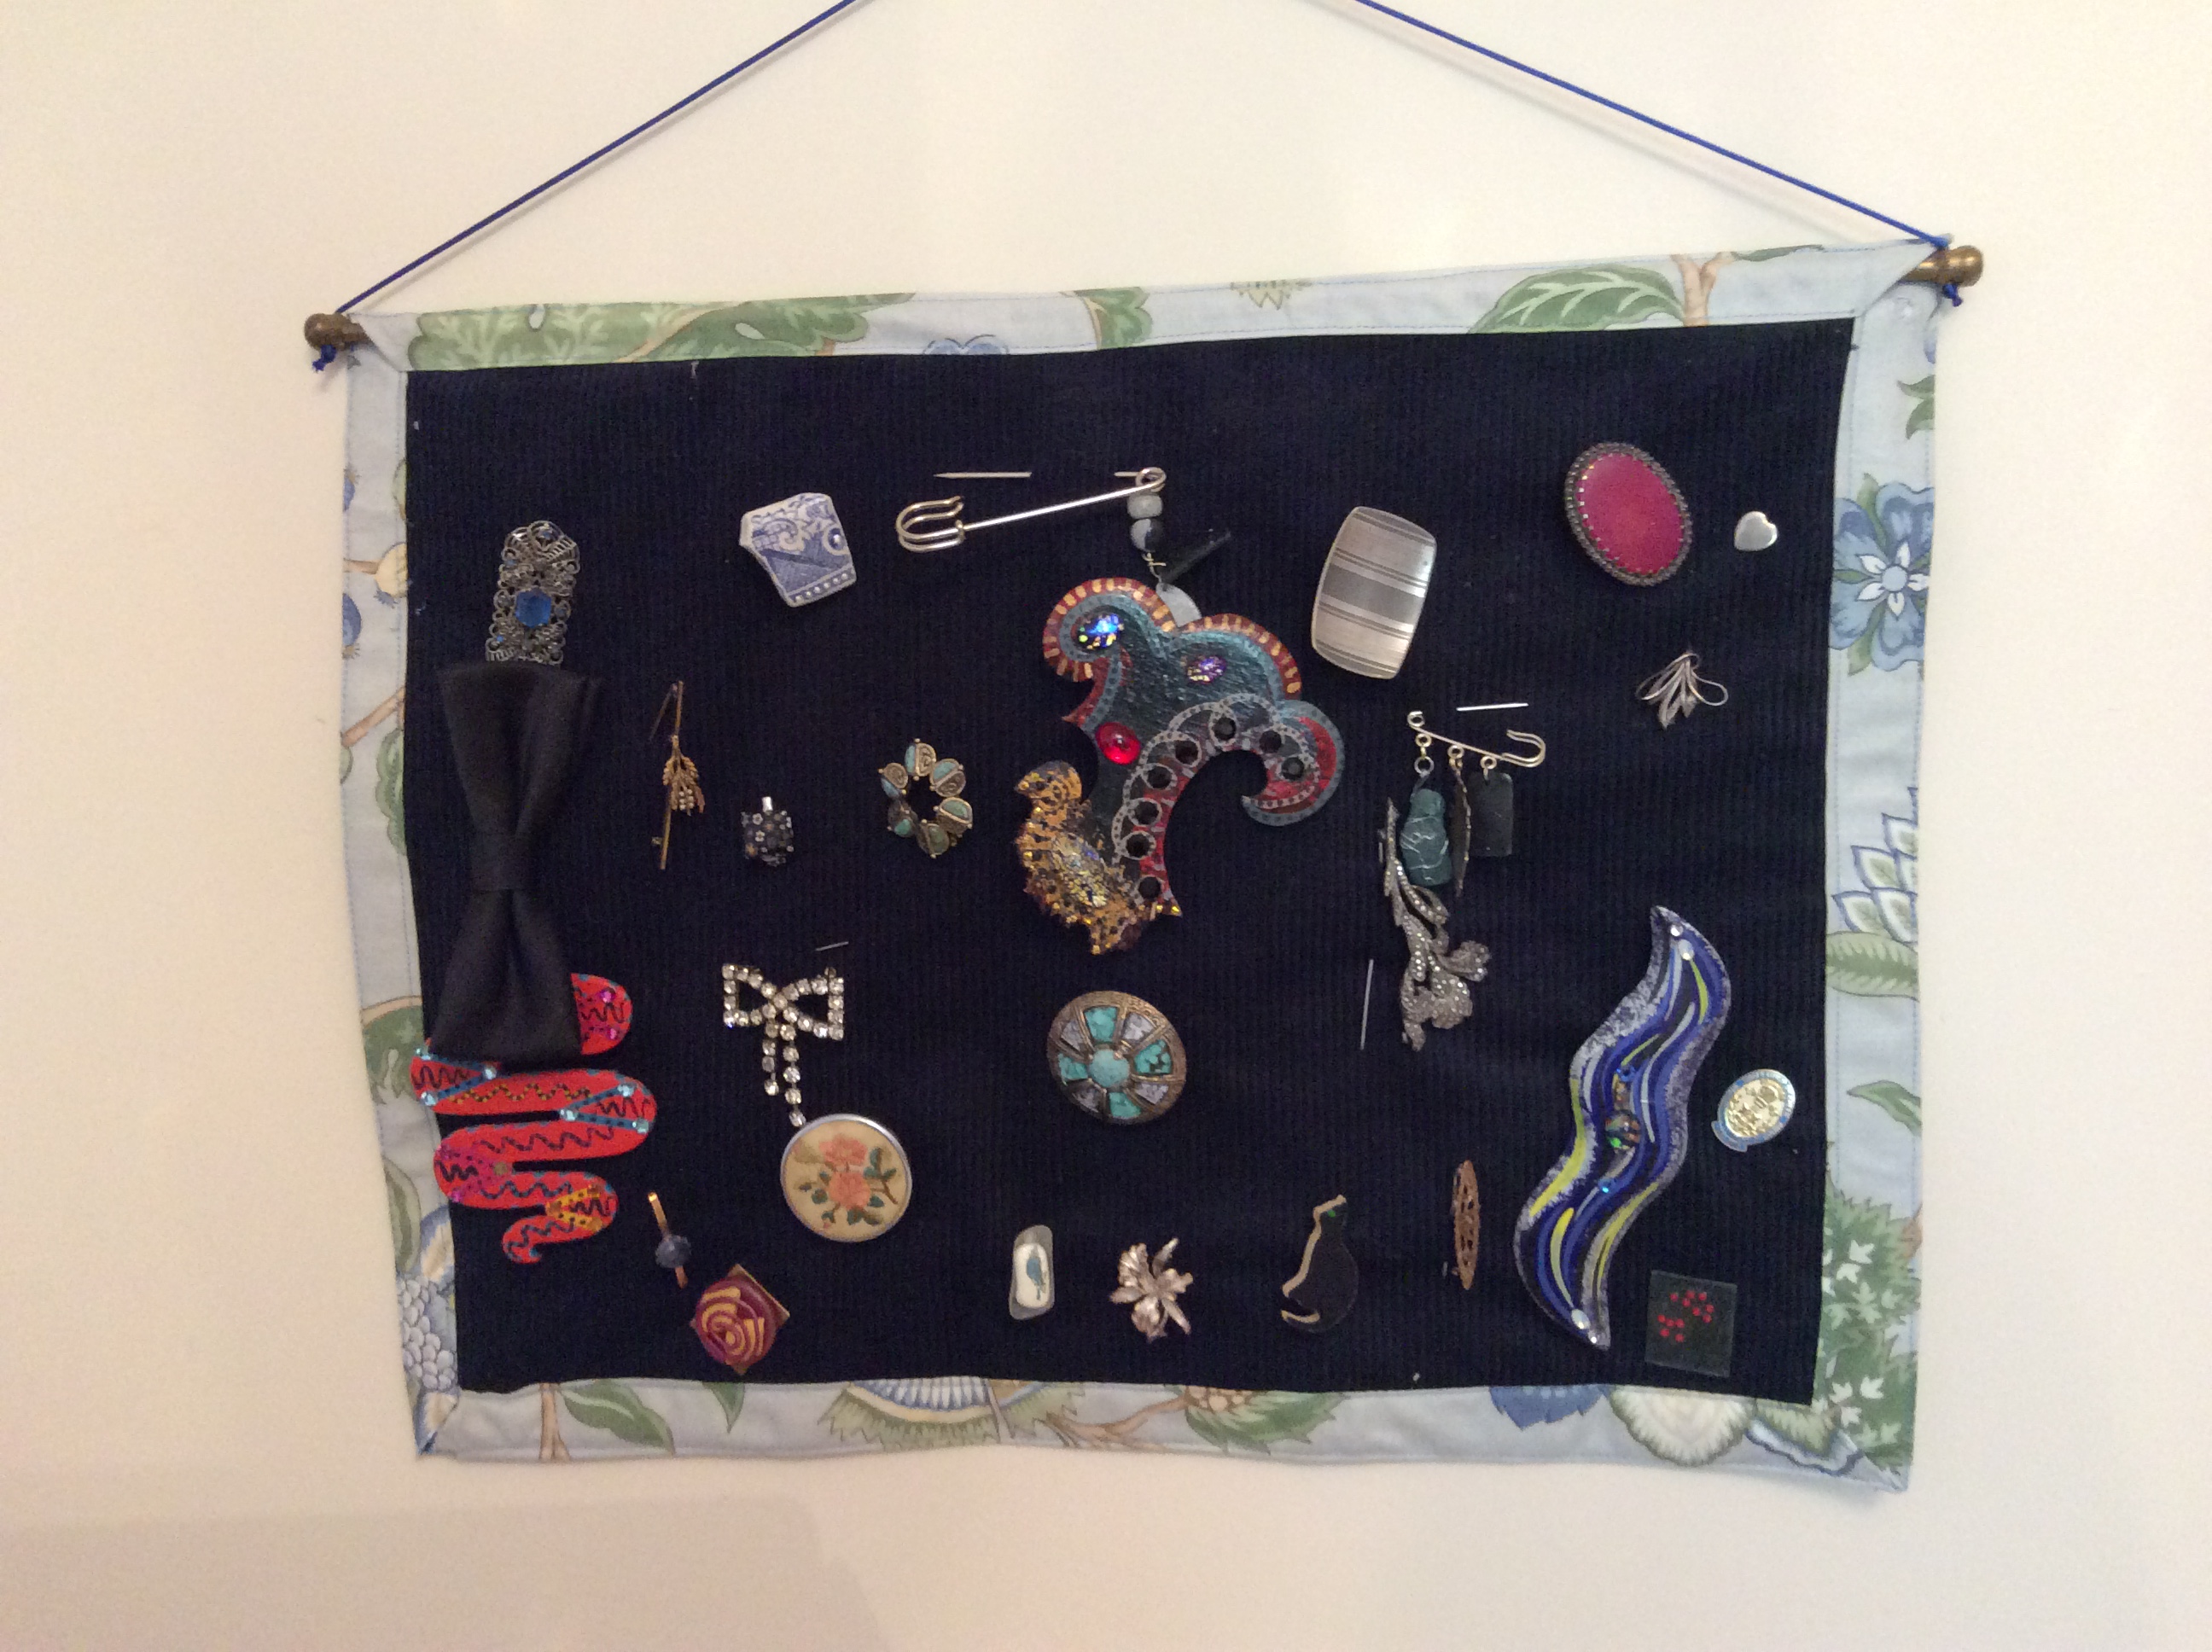
I love vintage brooches and try to wear them on jackets often
i have turned their storage into a display with this project
a piece of corduroy and contrast linen which was three inches longer and wider were sandwiched (right sides OUT) around some batting so that the corduroy was centered on the bigger fabric giving an equal border.
the border was pressed in half and then folded over the edge of the cord and pressed agin then pinned in place, creating the look of bias binding
I top stitched around the frame that was created (twice, once at the crease and once on the outer edge to sharpen it up).
the corners were folded as hospital corners on a bed with the long edges on top, to create a mitre effect but these were left unsewn so I could poke a curtain rod through the channel created when I sewed the frame
I threaded cord through the convenient hole in each end of the slim metal curtain rod (an adjustable one designed for net curtains) -and knotted it to secure it
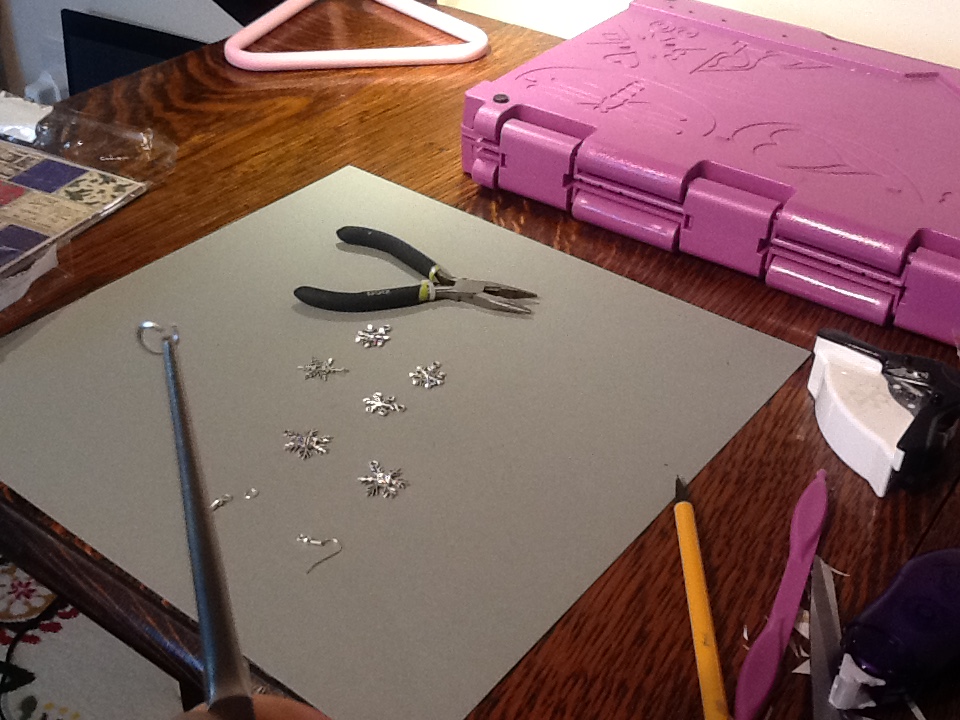
A project to present simple earrings made from snowflake charms in a cute little envelobox.
materials- bag of snowflake charms (Amazon 50 mixed charms), jump rings, earring wires, square of patterned paper, glue , tissue paper and raffia
equipment – jewellry pliers, crafters companion ultimate pro or score board
method – make the earrings by opening the jump rings (twist don’t pull) and thread on the charm and ear wire before closing the ring again
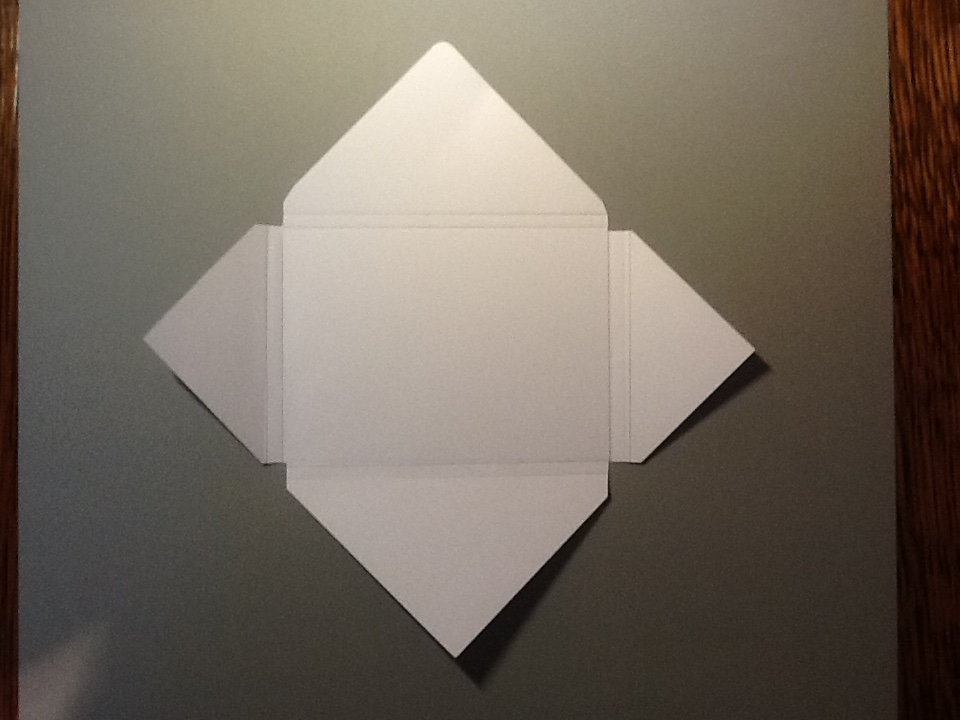
To make the envelobox take a square of patterned paper and score it across each corner in parallel lines as shown, cut out the intersection. To save the calculations follow the Crafters’ Companion template. Optional round corner and stick the envelope closed.
I wrapped the earrings in tissue to given the envelobox some bulk and then tied it with raffia.