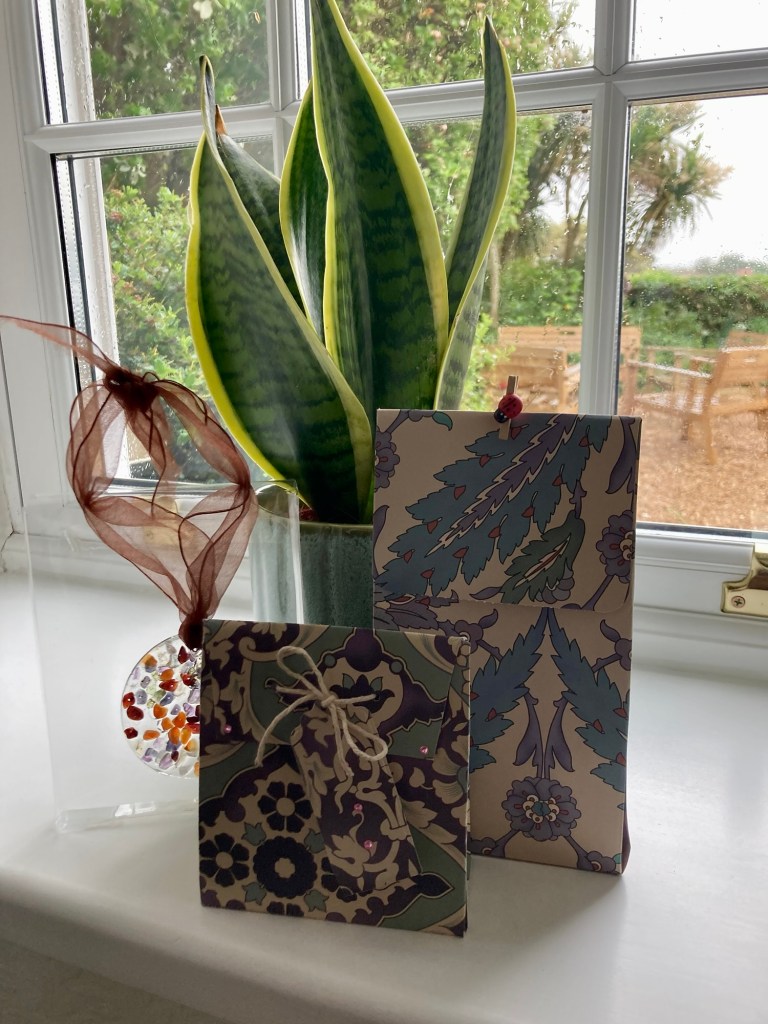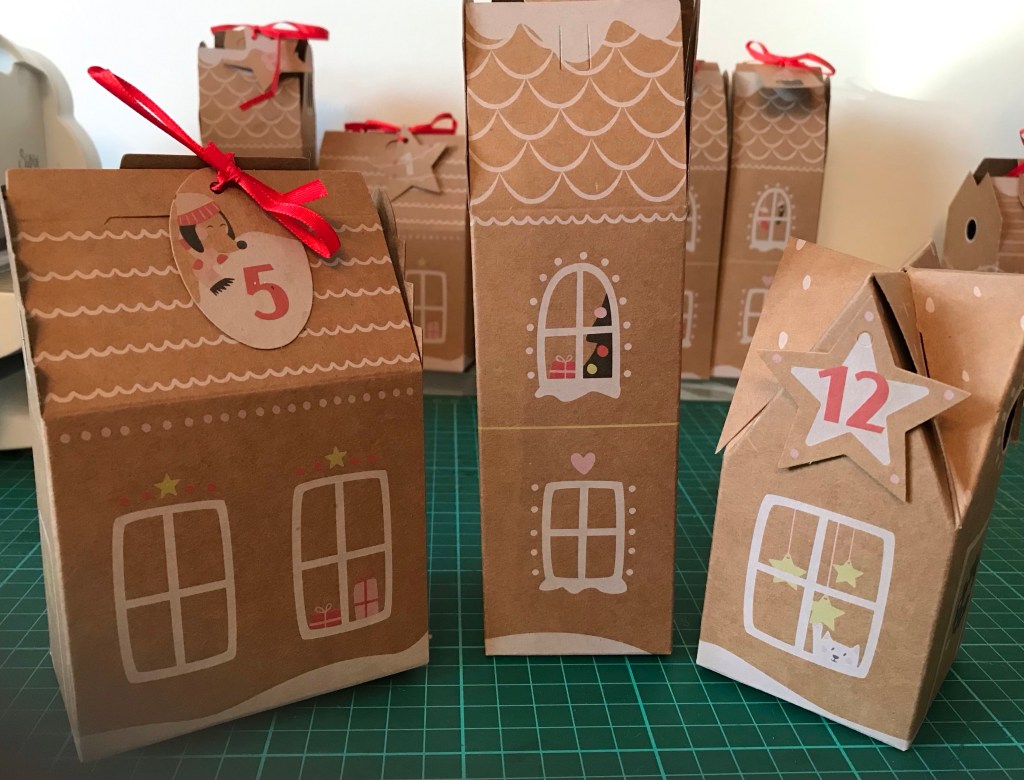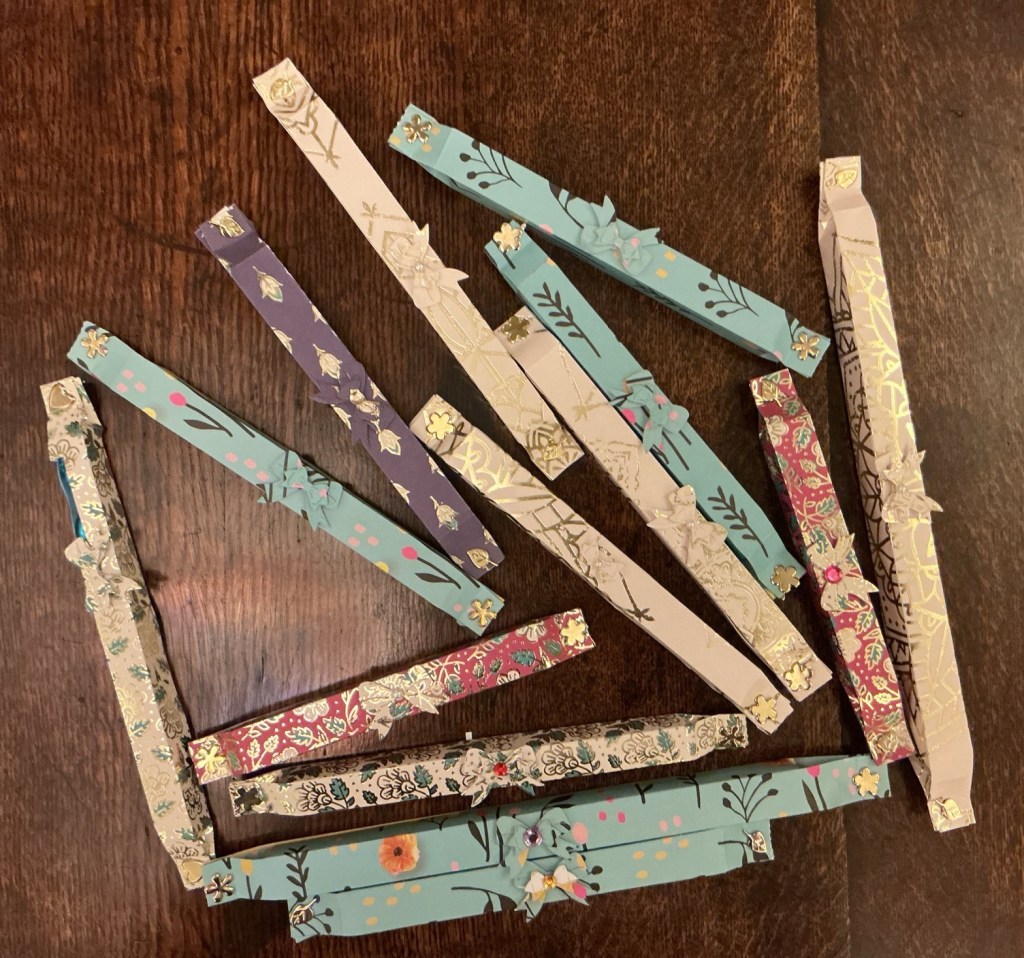
I made lots of slim boxes to hold up to a dozen little chocolate eggs.
I decided to use up some of the foiled and glitzy papers I have but these tubes only take 3 1/2 x 11 or 8 inches so the stash is still large!
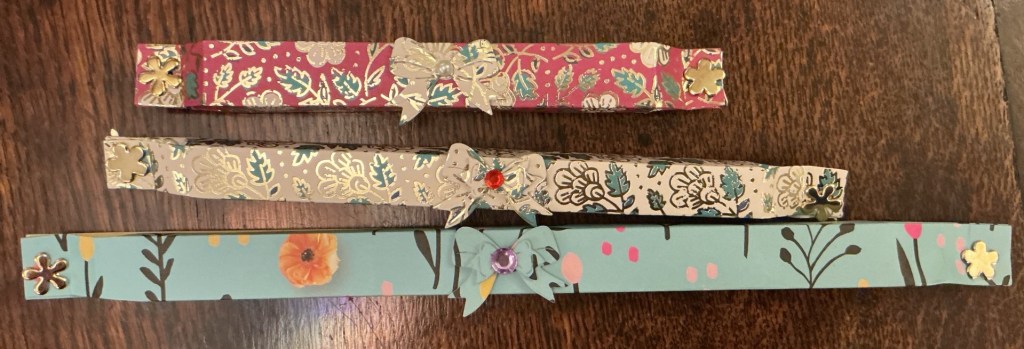
Just score the paper at 3/4” down the long side so you have four equal panels and one extra for sticking. Then score in half an inch and one inch from either end of the narrow sides which will create a pinched closure.
I closed mine with some of the dozens of brads. Again not much of a dent in the pile but at least I won’t be buying Easter eggs this year.
Then to finish then I die cut out ribbons from matching paper scraps and used up the last of my adhesive jewels for a bling finish.
Buying a bag of 100 eggs meant these little gifts costed out at less than a pound and look delightful.