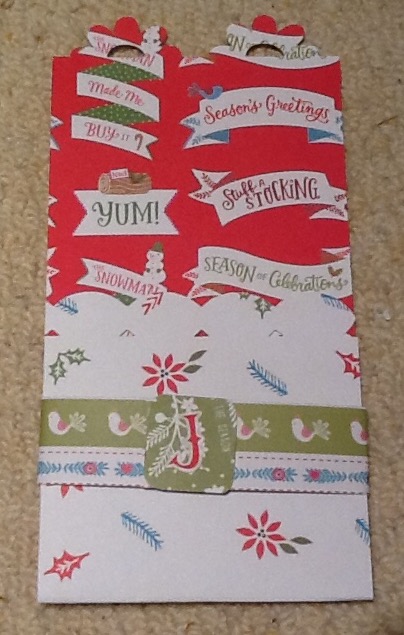
a little something for the Christmas table
I need to use some of my lovely Christmas papers so made up the set of cutlery pouches as a gift for someone I know likes the concept.
I used the docrafts folk Christmas kit. This included sheets of stick on initials.
Method: a 12 x 12 sheet is cut into three strips, each 4 inches wide. Each strip is folded at 8 inches to create a front flap half the height of the back. The sides of the pouch are stuck down with thin double sided tape
A belly band is created by cutting a 1 inch strip from some contrast paper, the strip wrapped round the pouch and fixed with double sided tape
A square (with corners rounded) of scrap paper is stuck over the join in the belly band and an initial stuck on the square
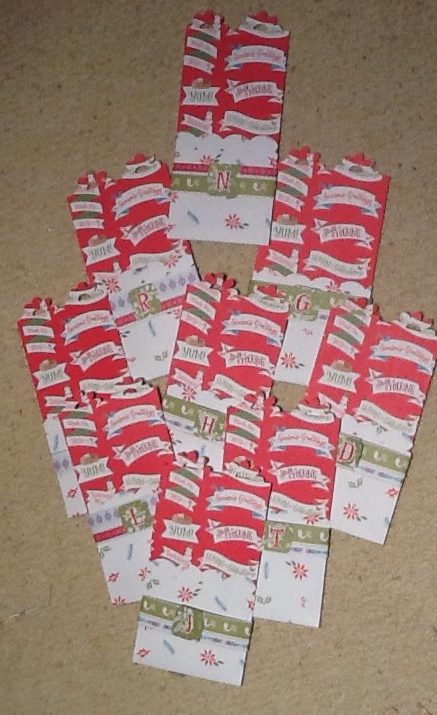
I used border patterns from my scan n cut to give top and bottom of each sheet a scallop edge but a border punch or pinking scissors would also work.
Four sheets of paper made nine pouches including belly bands and trim and a set of spare initials was included to cater for a range of guests.
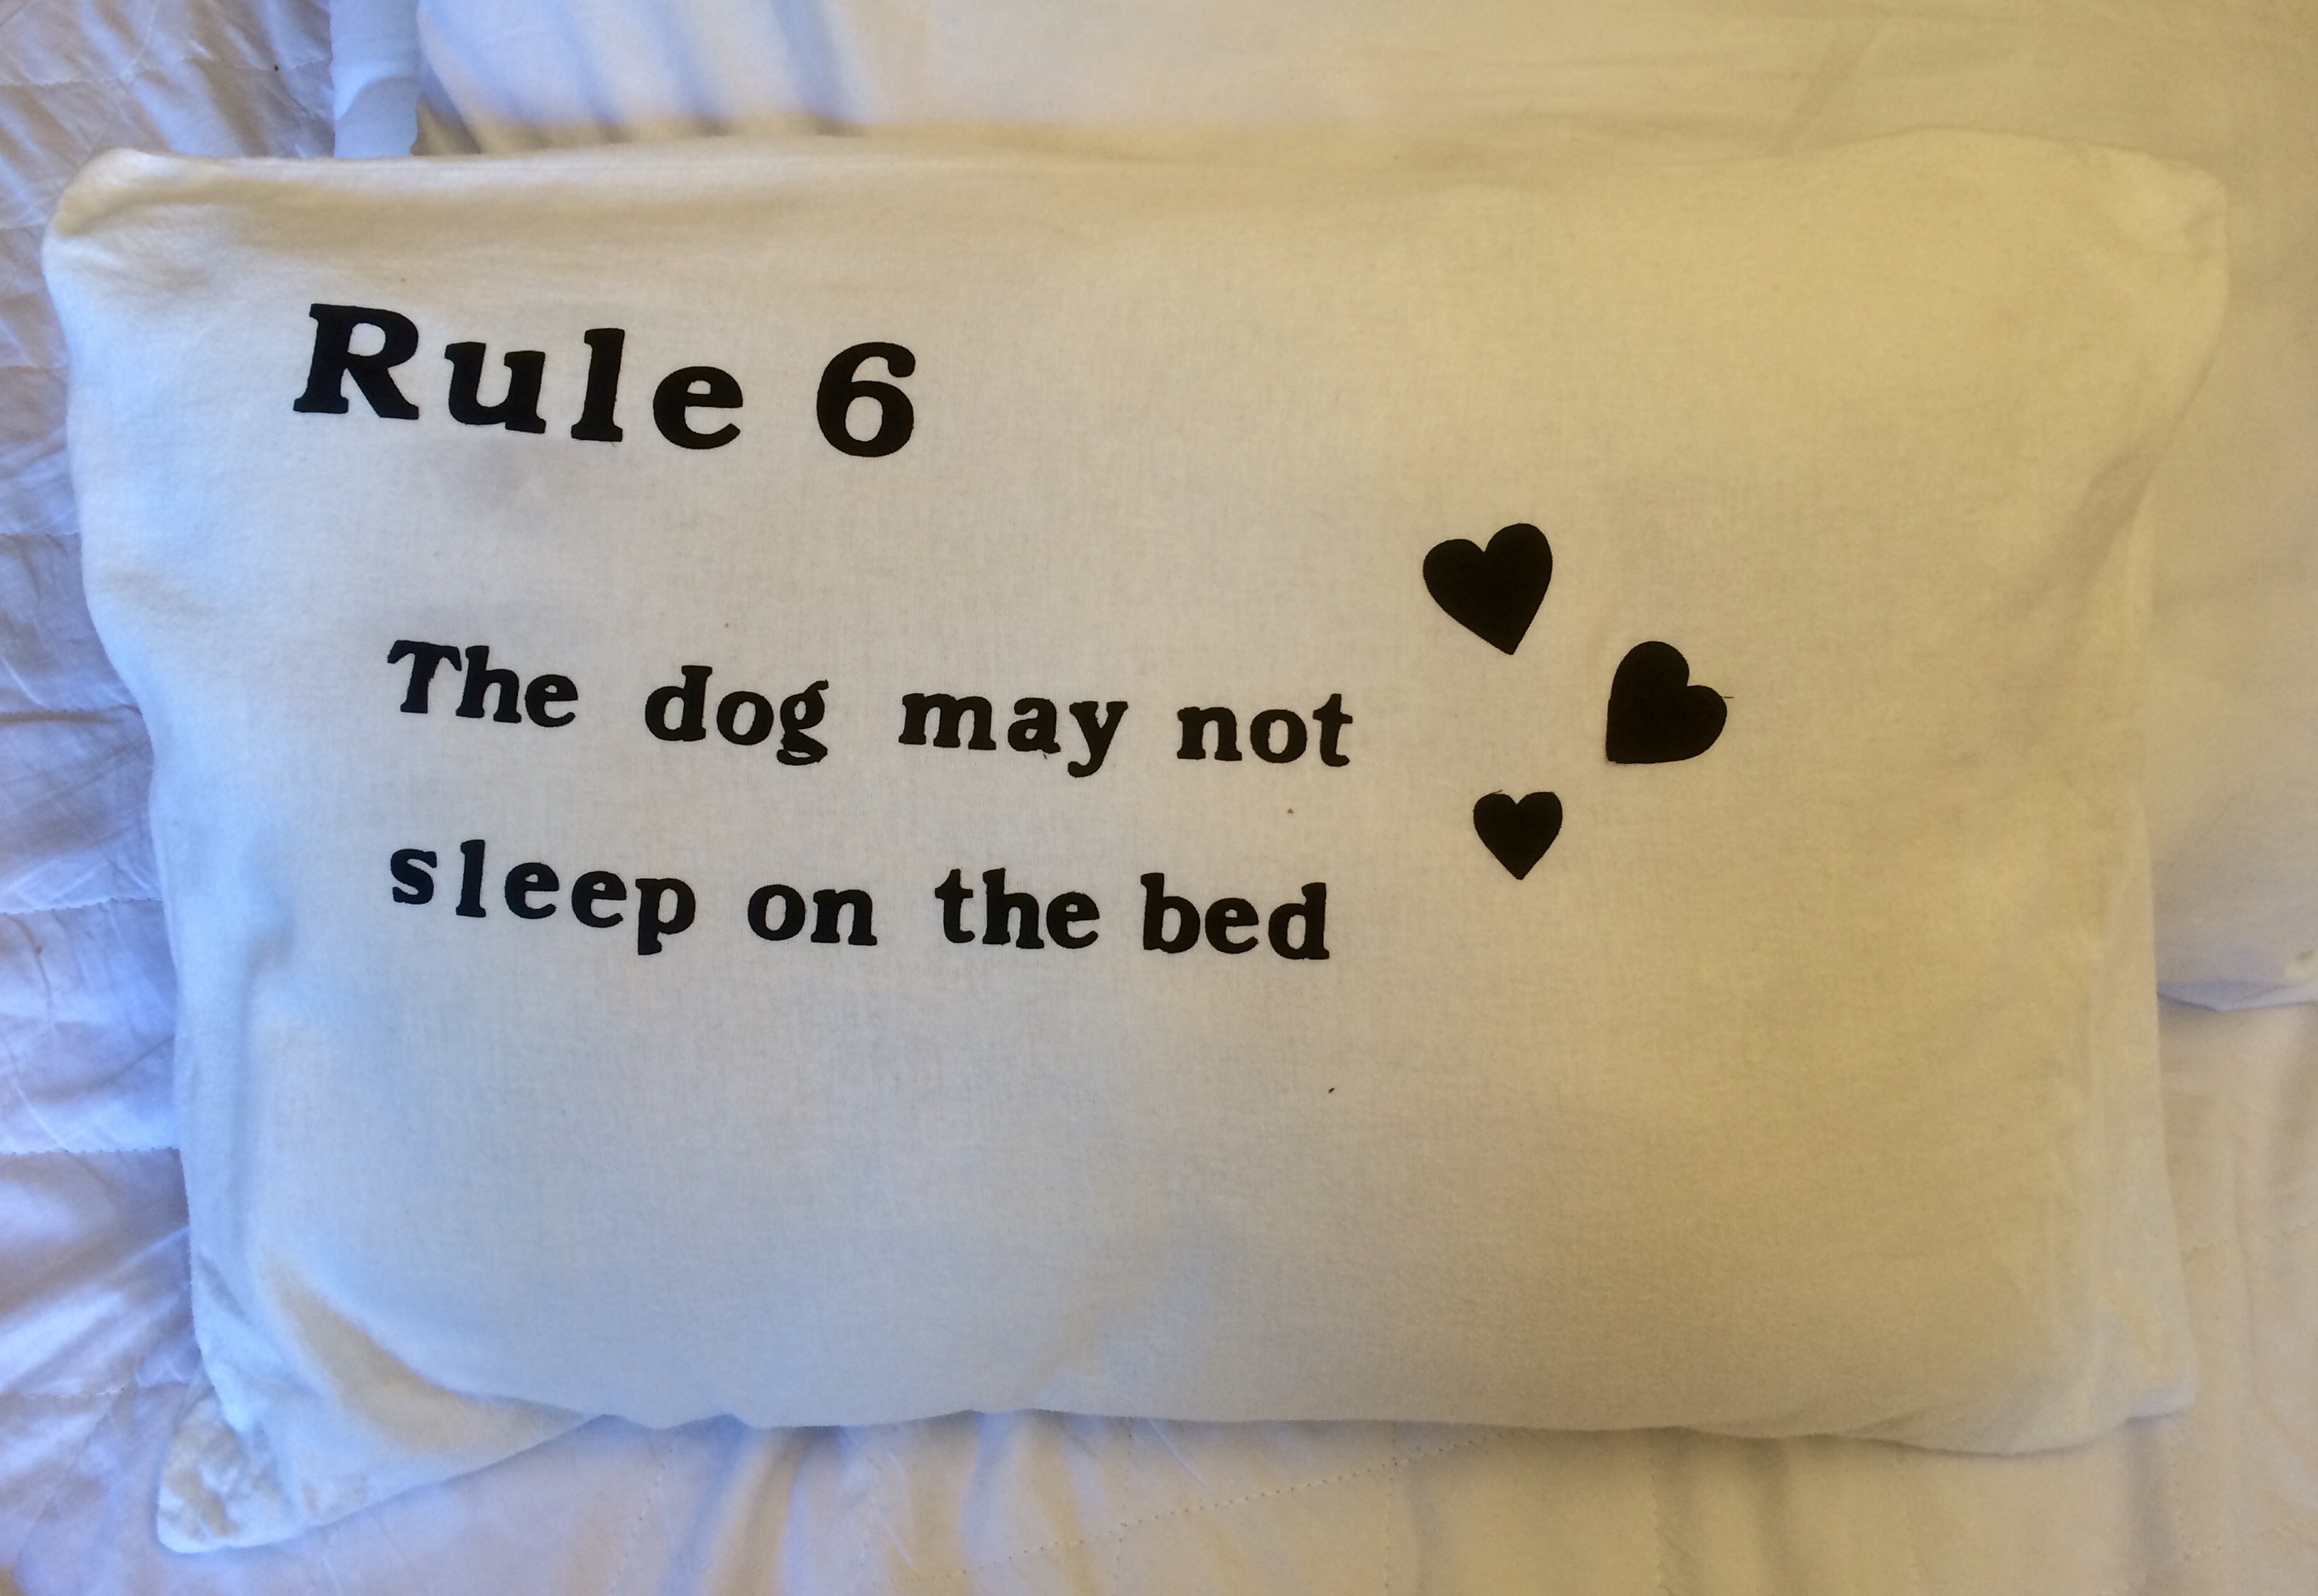 scan n cut with heat and bond made this a doddle
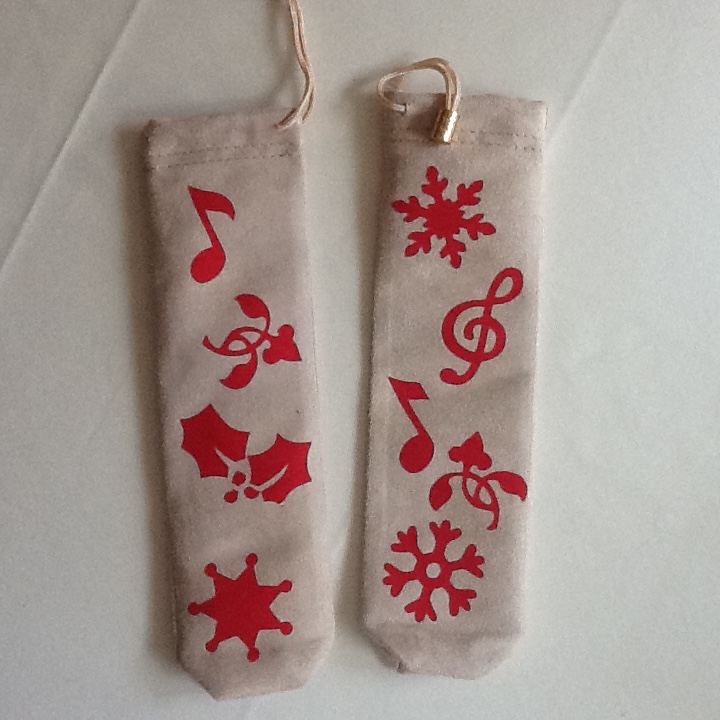 I have struggled to get the settings right, but may finally have sorted fabric cutting on the scan n cut
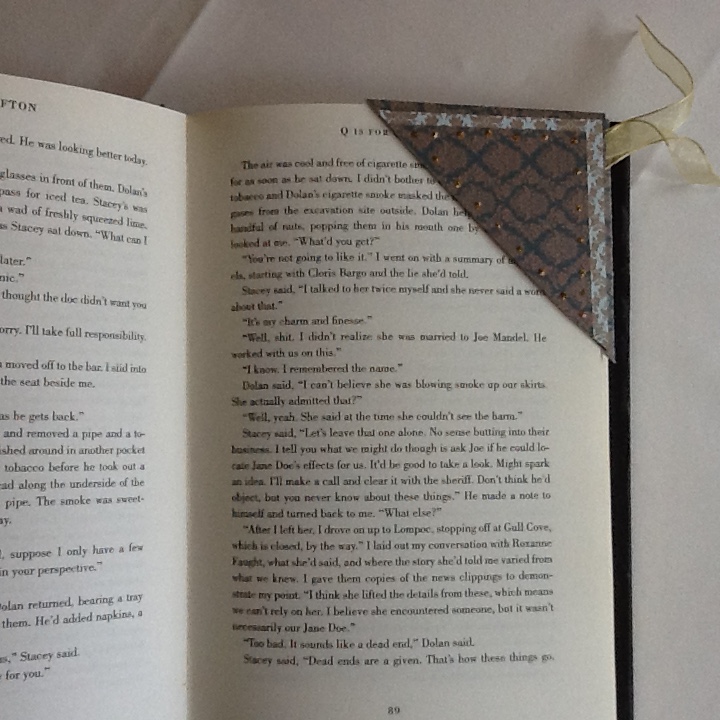 Bookmarks galore…
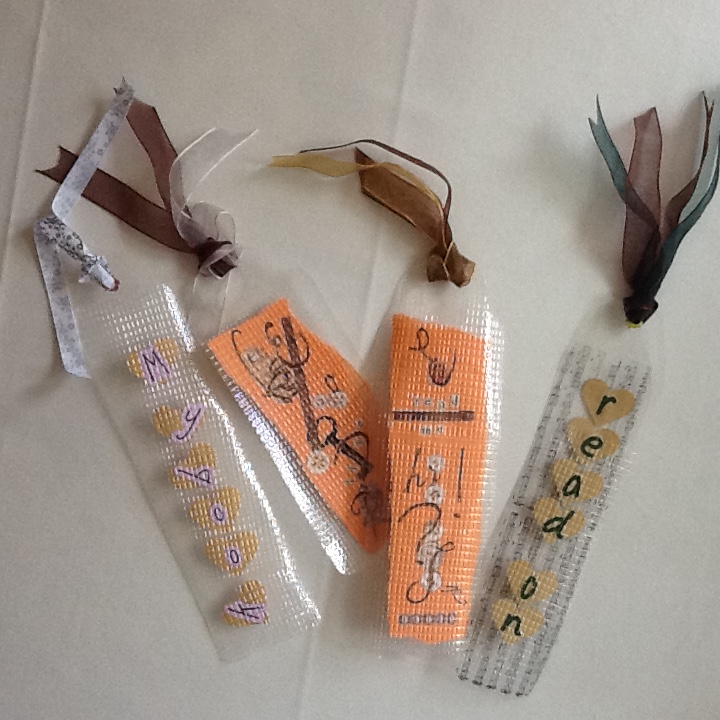
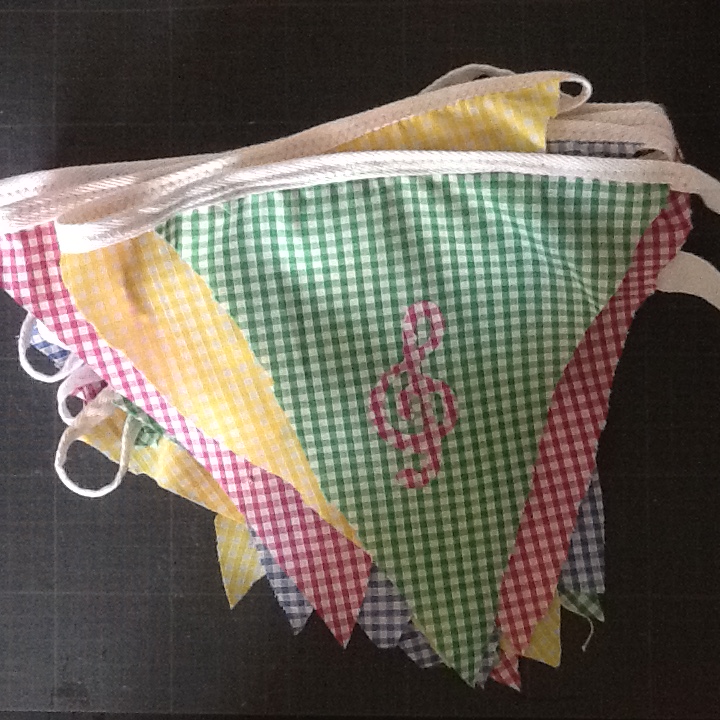 Birthday present Of music themed bunting