Handy lip balm key ring holders

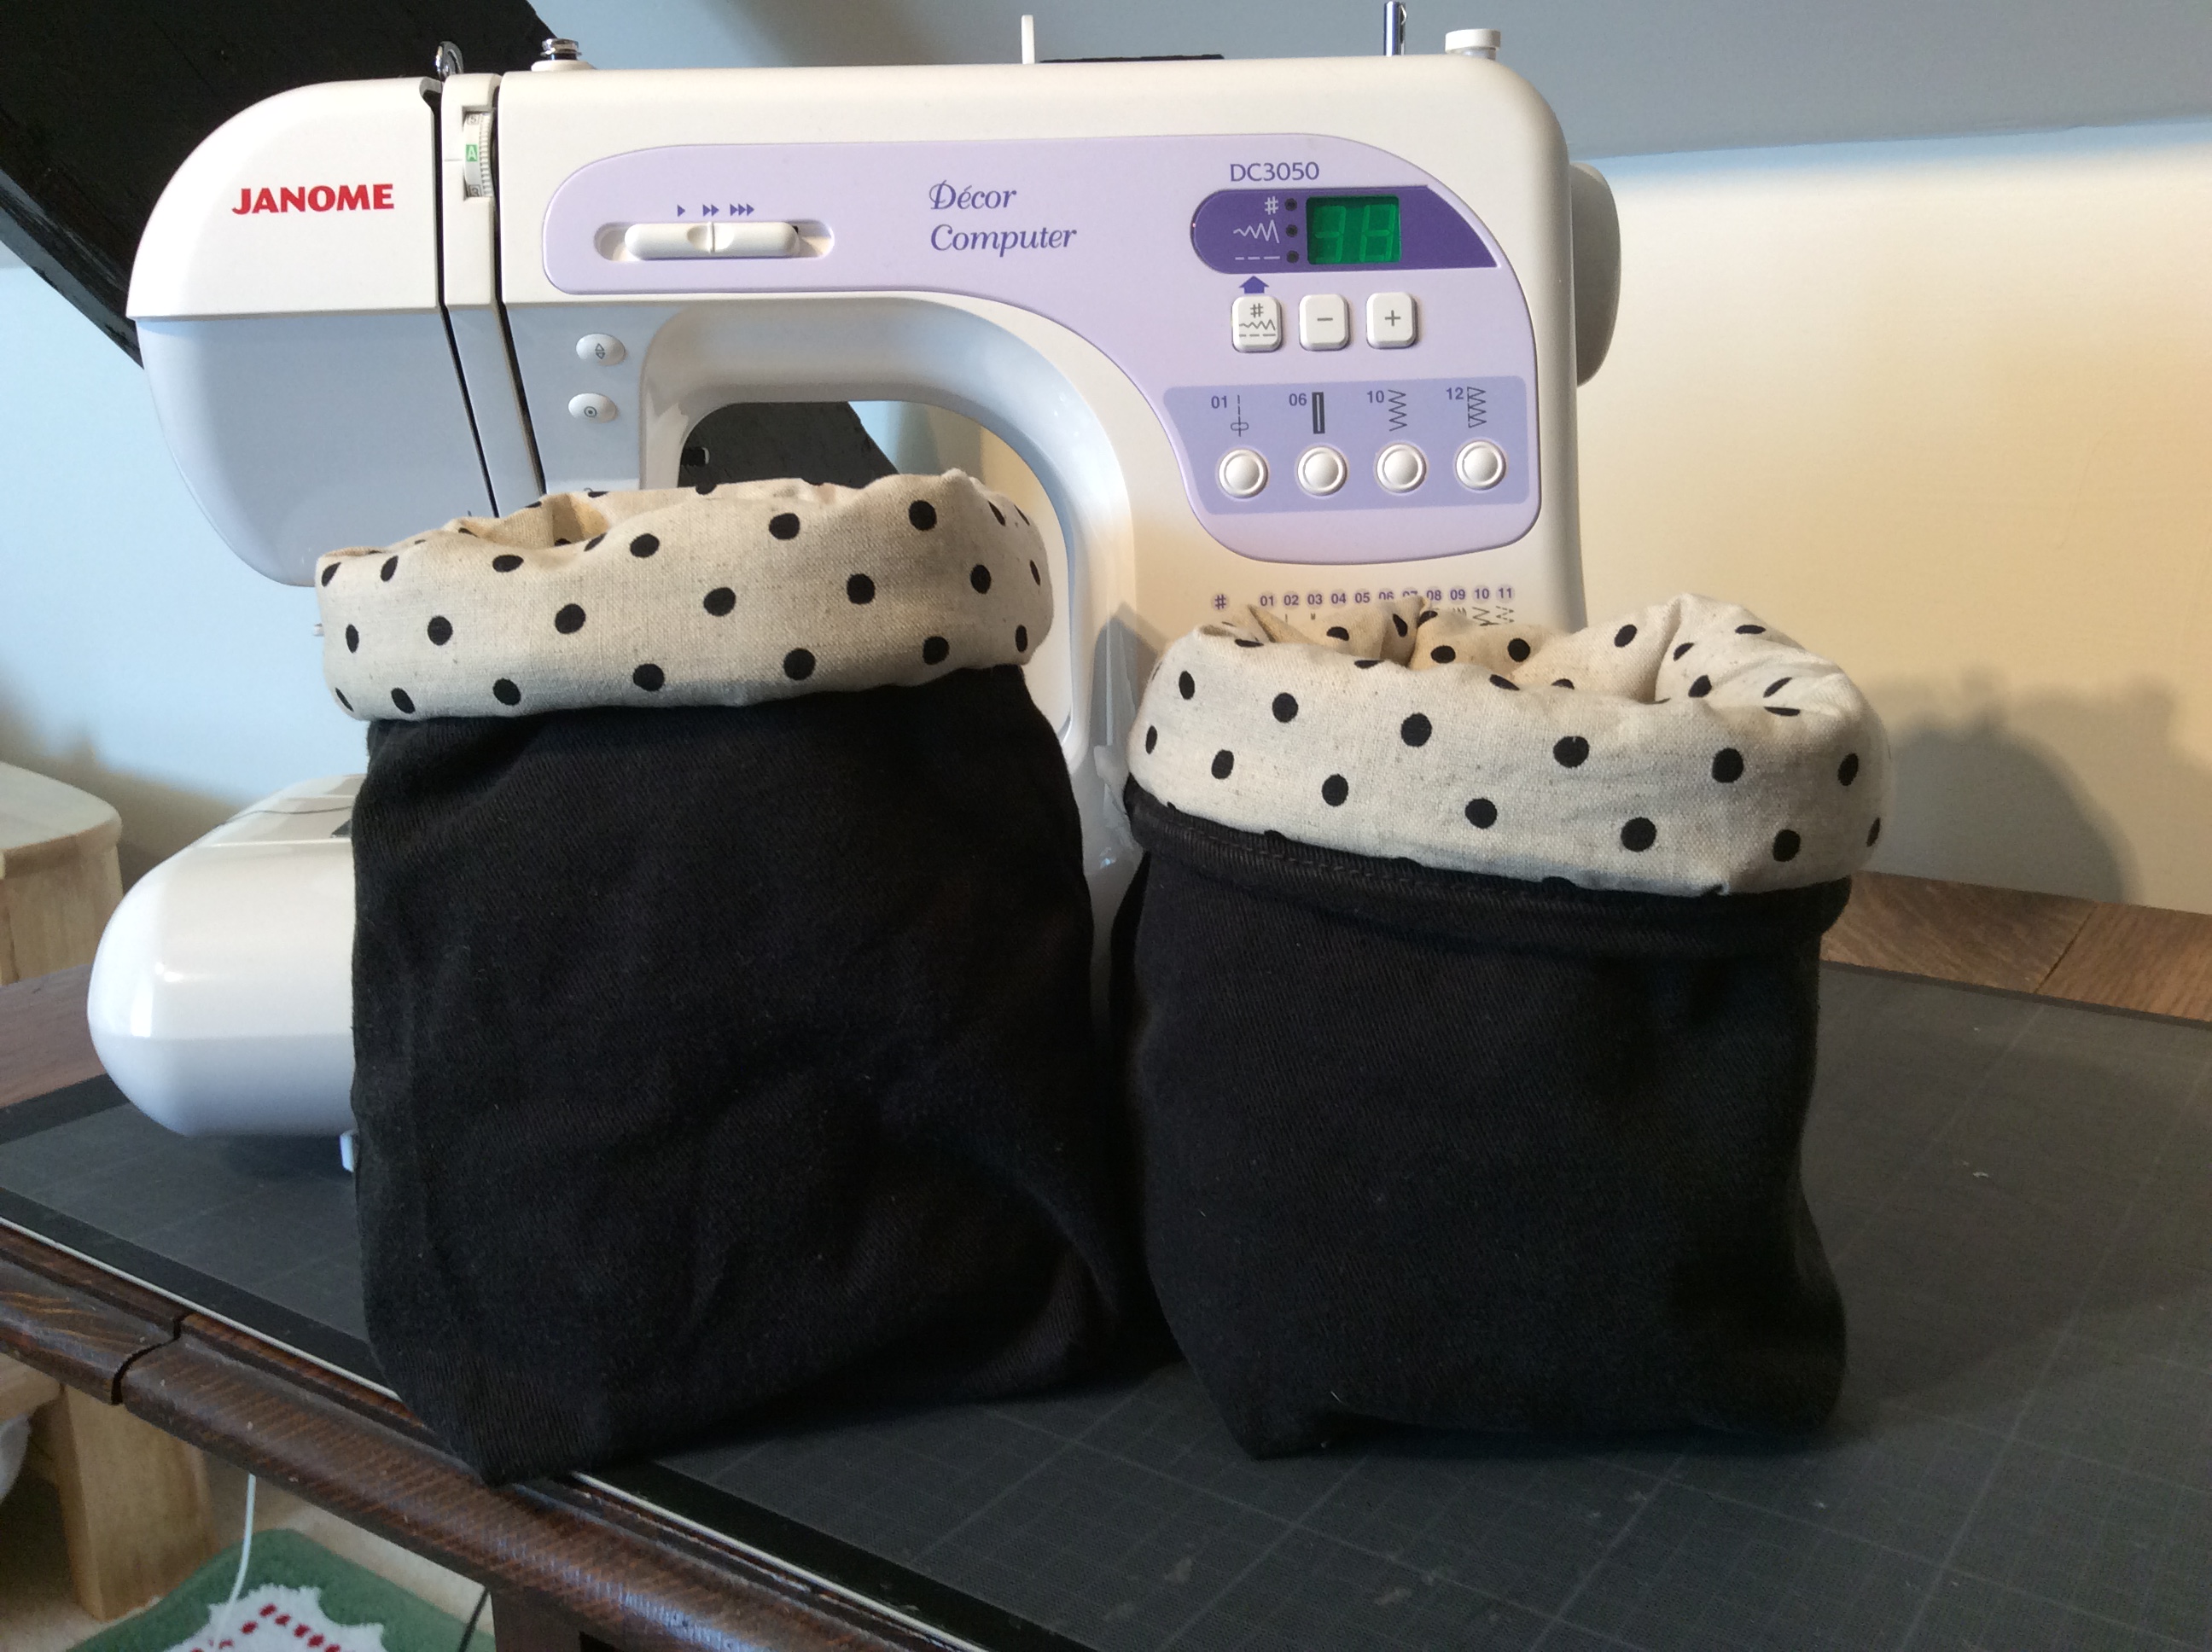
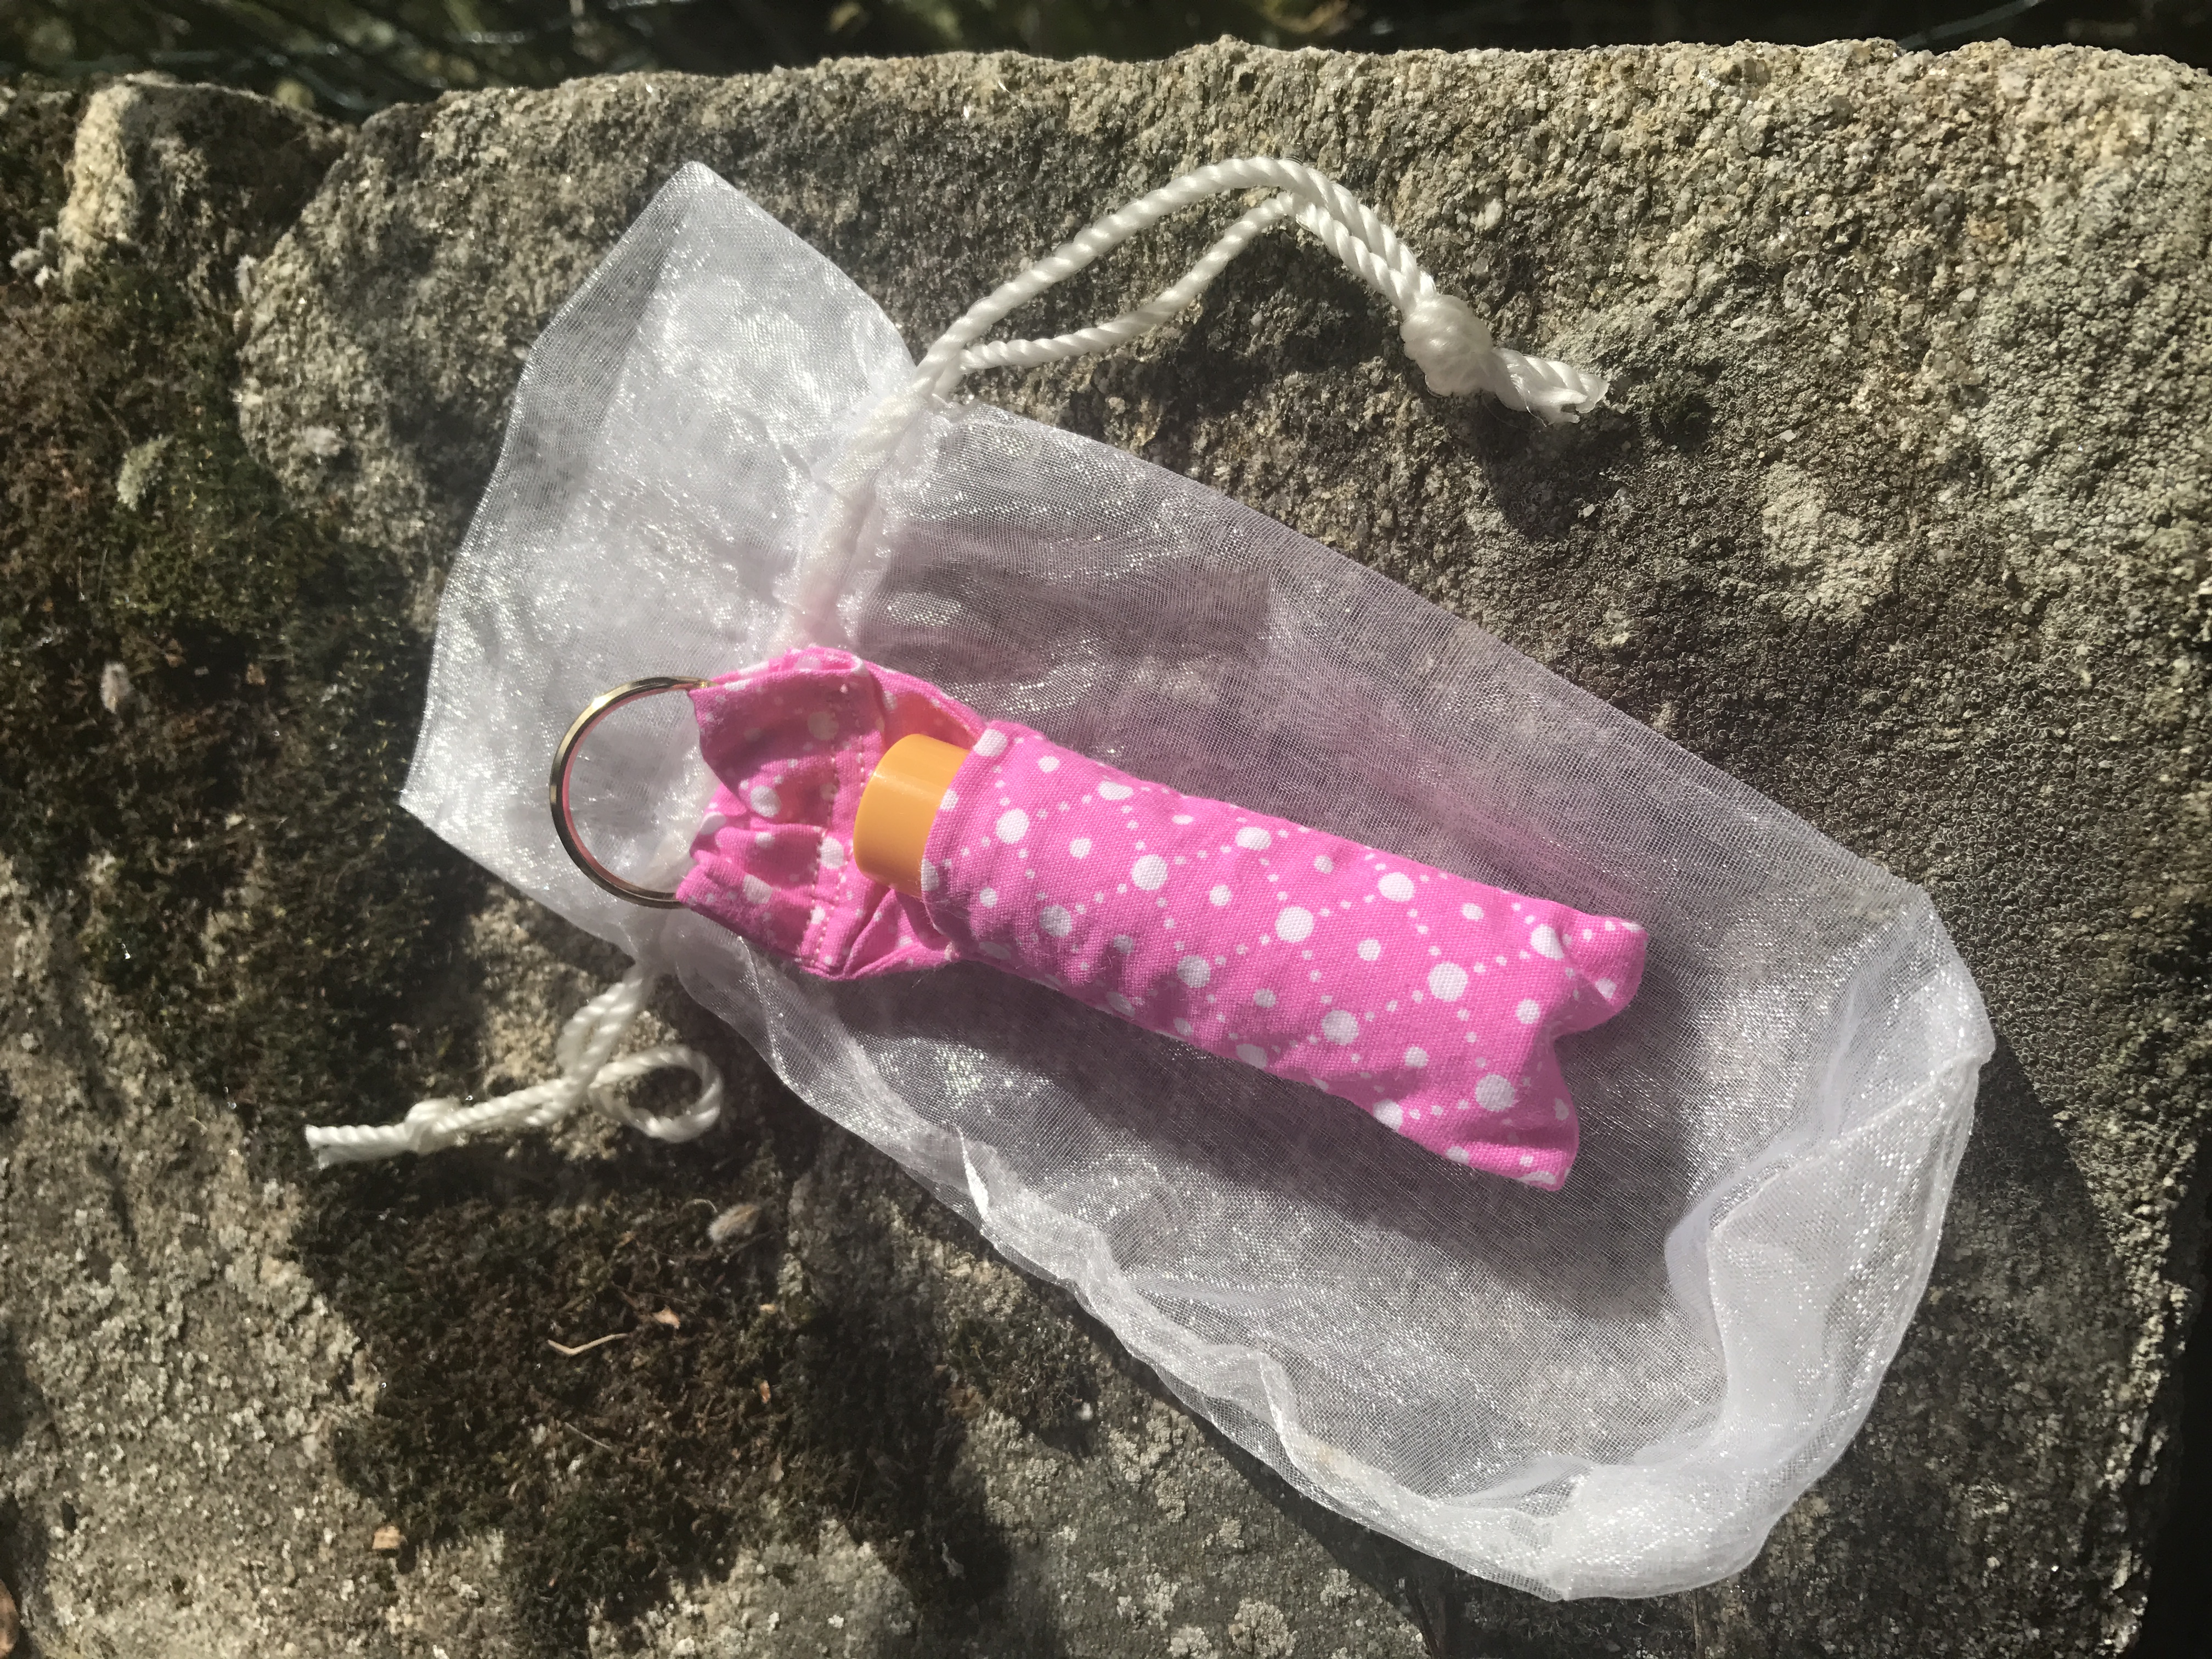
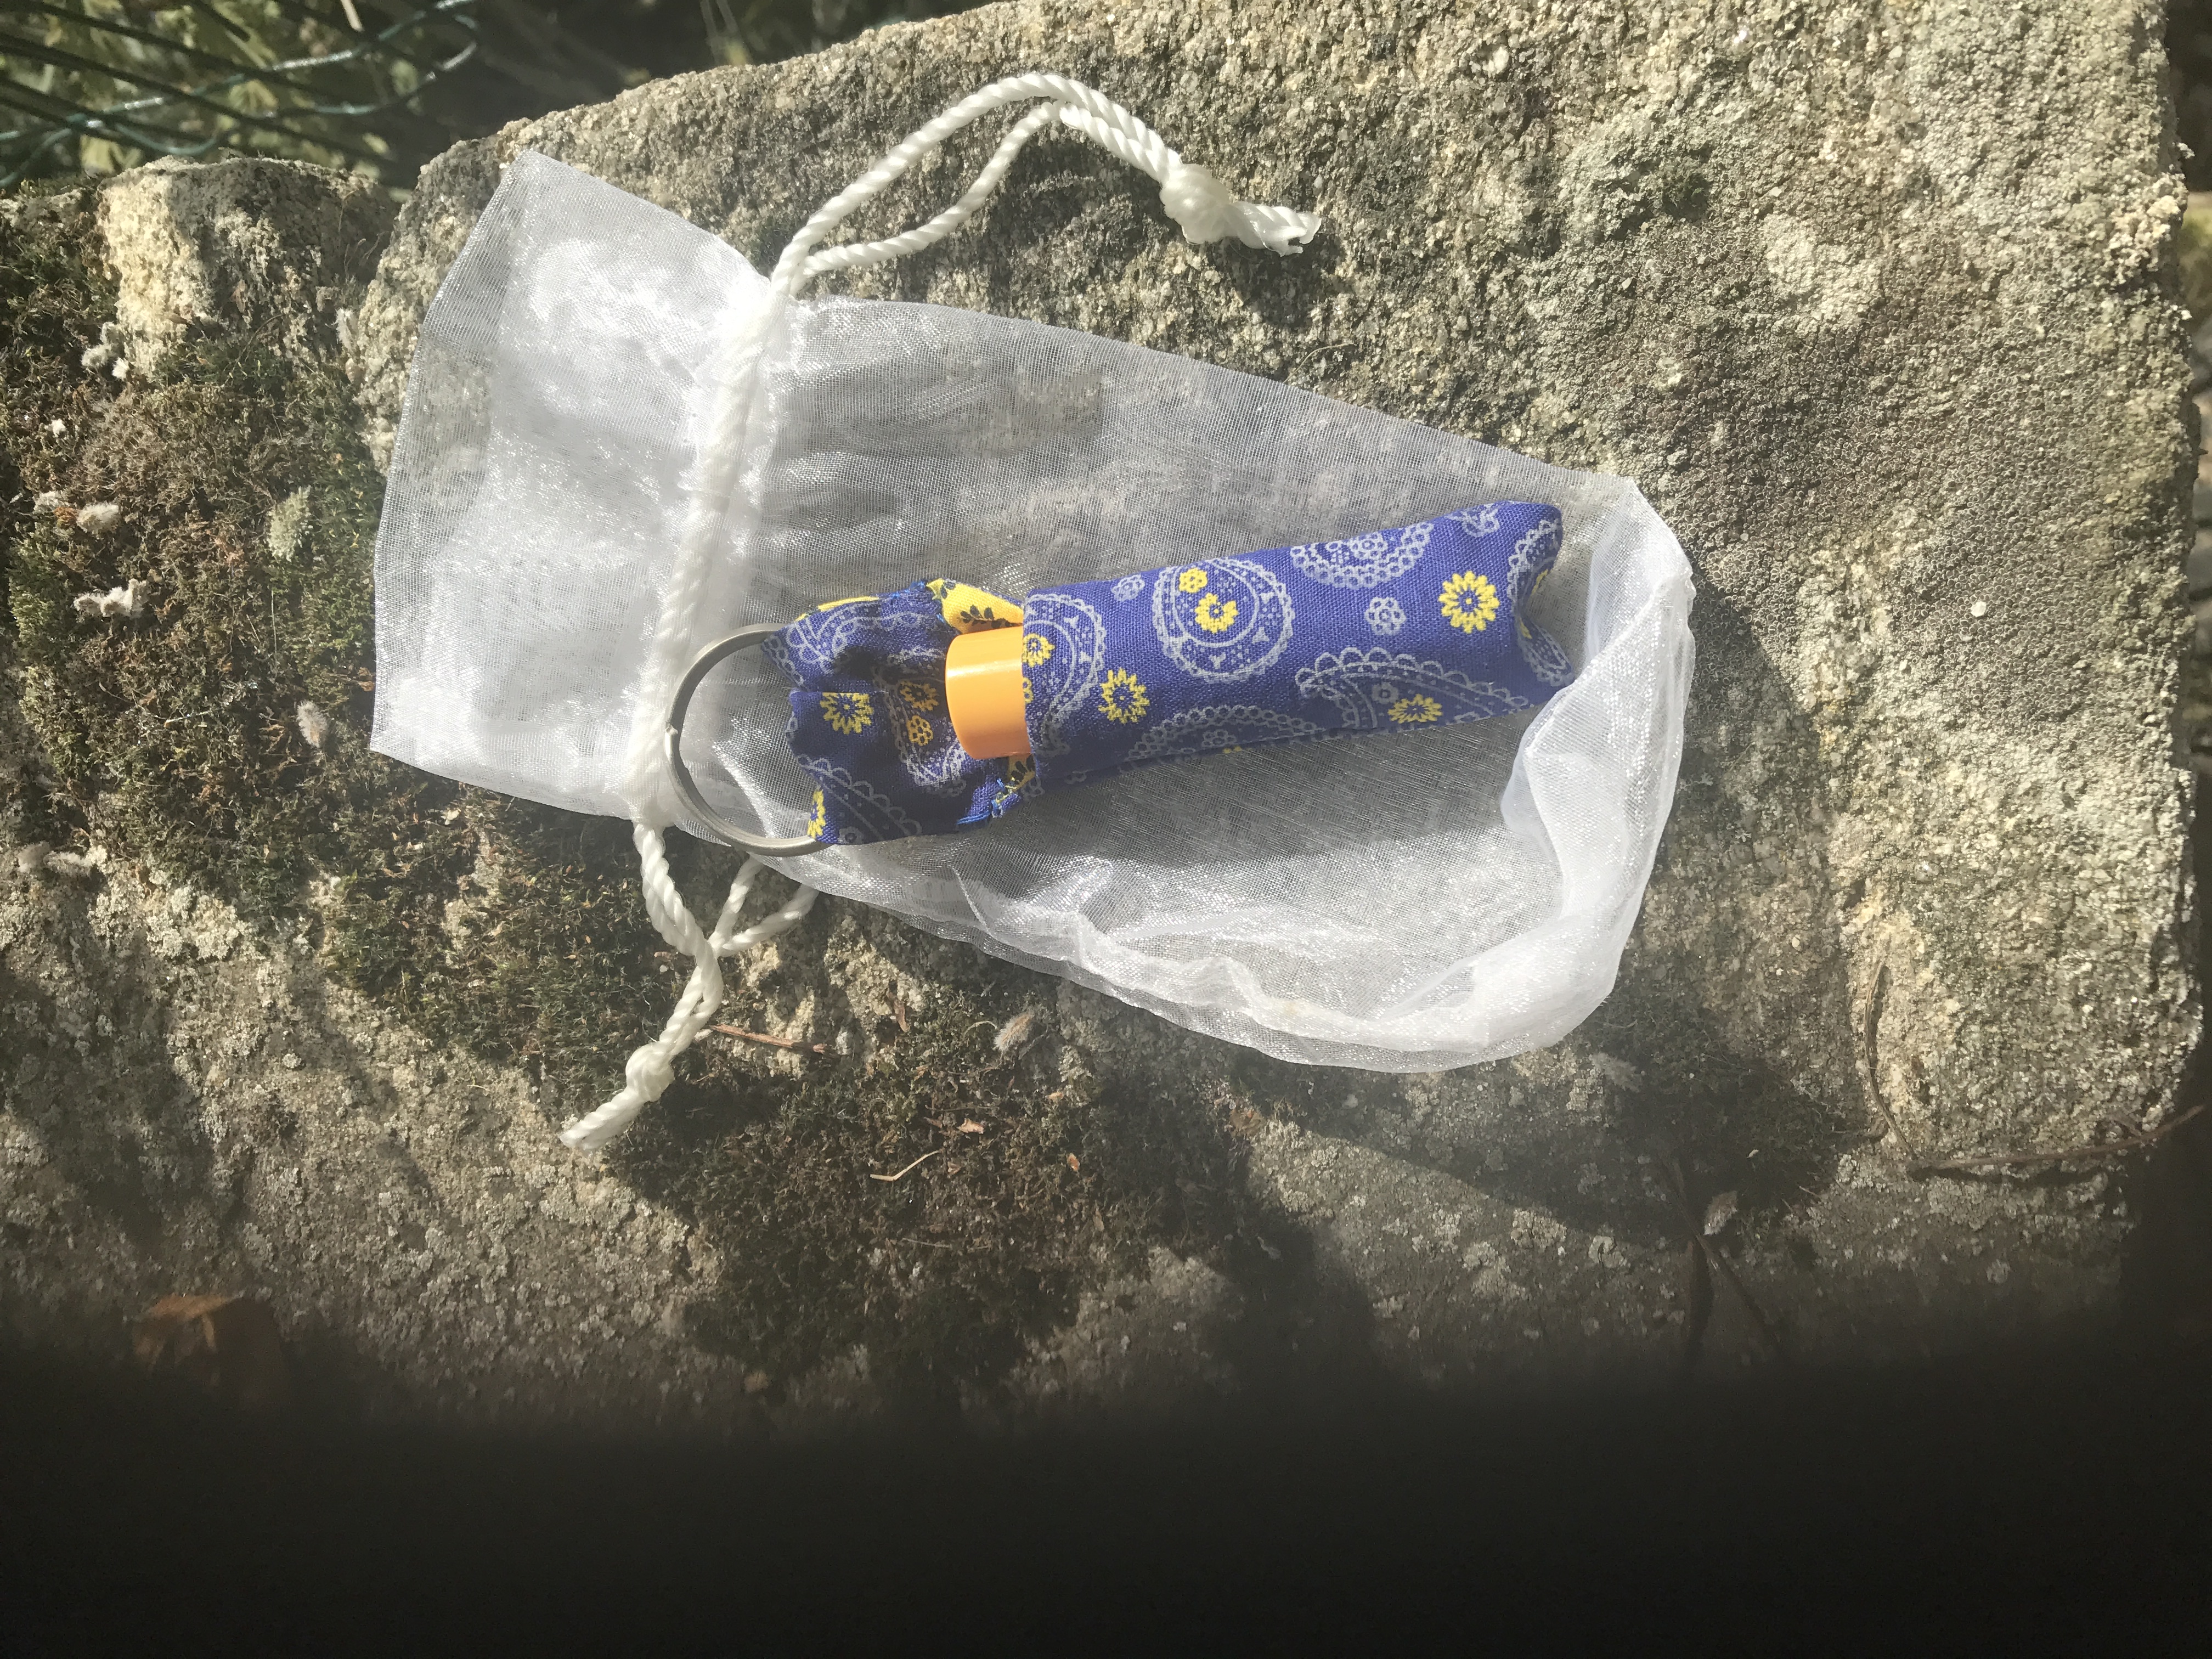
Scrap buster quick gifts to make a couple of key rings that hold convenient ‘Burt’s bees’ lip balms

Method: cut two rectangles of fabric, contrasting if you want a different lining or the same if you don’t. My rectangles were 1 3/4 inches wide by 8 inches tall. Sew face together around three edges (leave one of the widths open) with a tiny seam allowance then turn inside out. Poke out the corners. Press if you can.

With the open seam at the top, and whatever you want to be the lining face down, fold up about 2 1/2 inches from the bottom, just enough to form a pocket for the lip balm. Sew each edge of the pocket, again with the smallest seam allowance you can manage. Check the balm will fit snugly or seam with a bit bigger allowance before you flip inside out so the pocket seams are concealed.

Now take the open edge and fold 2 inches over a key ring, turn the raw edge under again and top stitch so that the raw edge is hidden. Make sure you keep the key ring well away from the machine needle or ladder stitch by hand if too fiddly for machine work.

job done!


Up cycle peg bag

scan n cut to decorate my tablecloth to peg bag project

the old oilcloth tablecloth has been taking up space in my fabric pile and all I can think of using it for is peg bags, any ideas?

I used a smallish plastic hanger ( note to self remember to keep hangers when next buying stuff in m&s as stash now depleted) and traced around the width of the hanger on the reverse of my oilcloth. I gave myself a half inch seam allowance and some wriggle room as the oilcloth doesn’t stretch.

The fabric length was cut at one and a half times the planned length of the bag (this gave me the back and folded up to make the bottom of the bag front.  When this piece was cut I folded it in half lengthwise to check it was symmetrical

To get the top front of the bag a separate piece of fabric was cur to match the width and shape of the back piece but length to just more than half of the planned bag size.

I planned the cutting  so the cut pieces finished on the bias bound edge of my tablecloth. This saved a hemming step. (That is why the right edge of my front does a little bend in the picture, I thought it would look stylish, actually it just looks wobbly).

The two pieces were stitched wrong sides together leaving a small gap to put the hanger through. I then Turned them  right sides out and creases were finger smoothed out (even a cool iron melted a prototype).

I cut shapes from external use vinyl on the scan n cut to decorate (and cover the iron damage on my prototype) and trust the project will enjoy a good second life somewhere


No sew appliqué

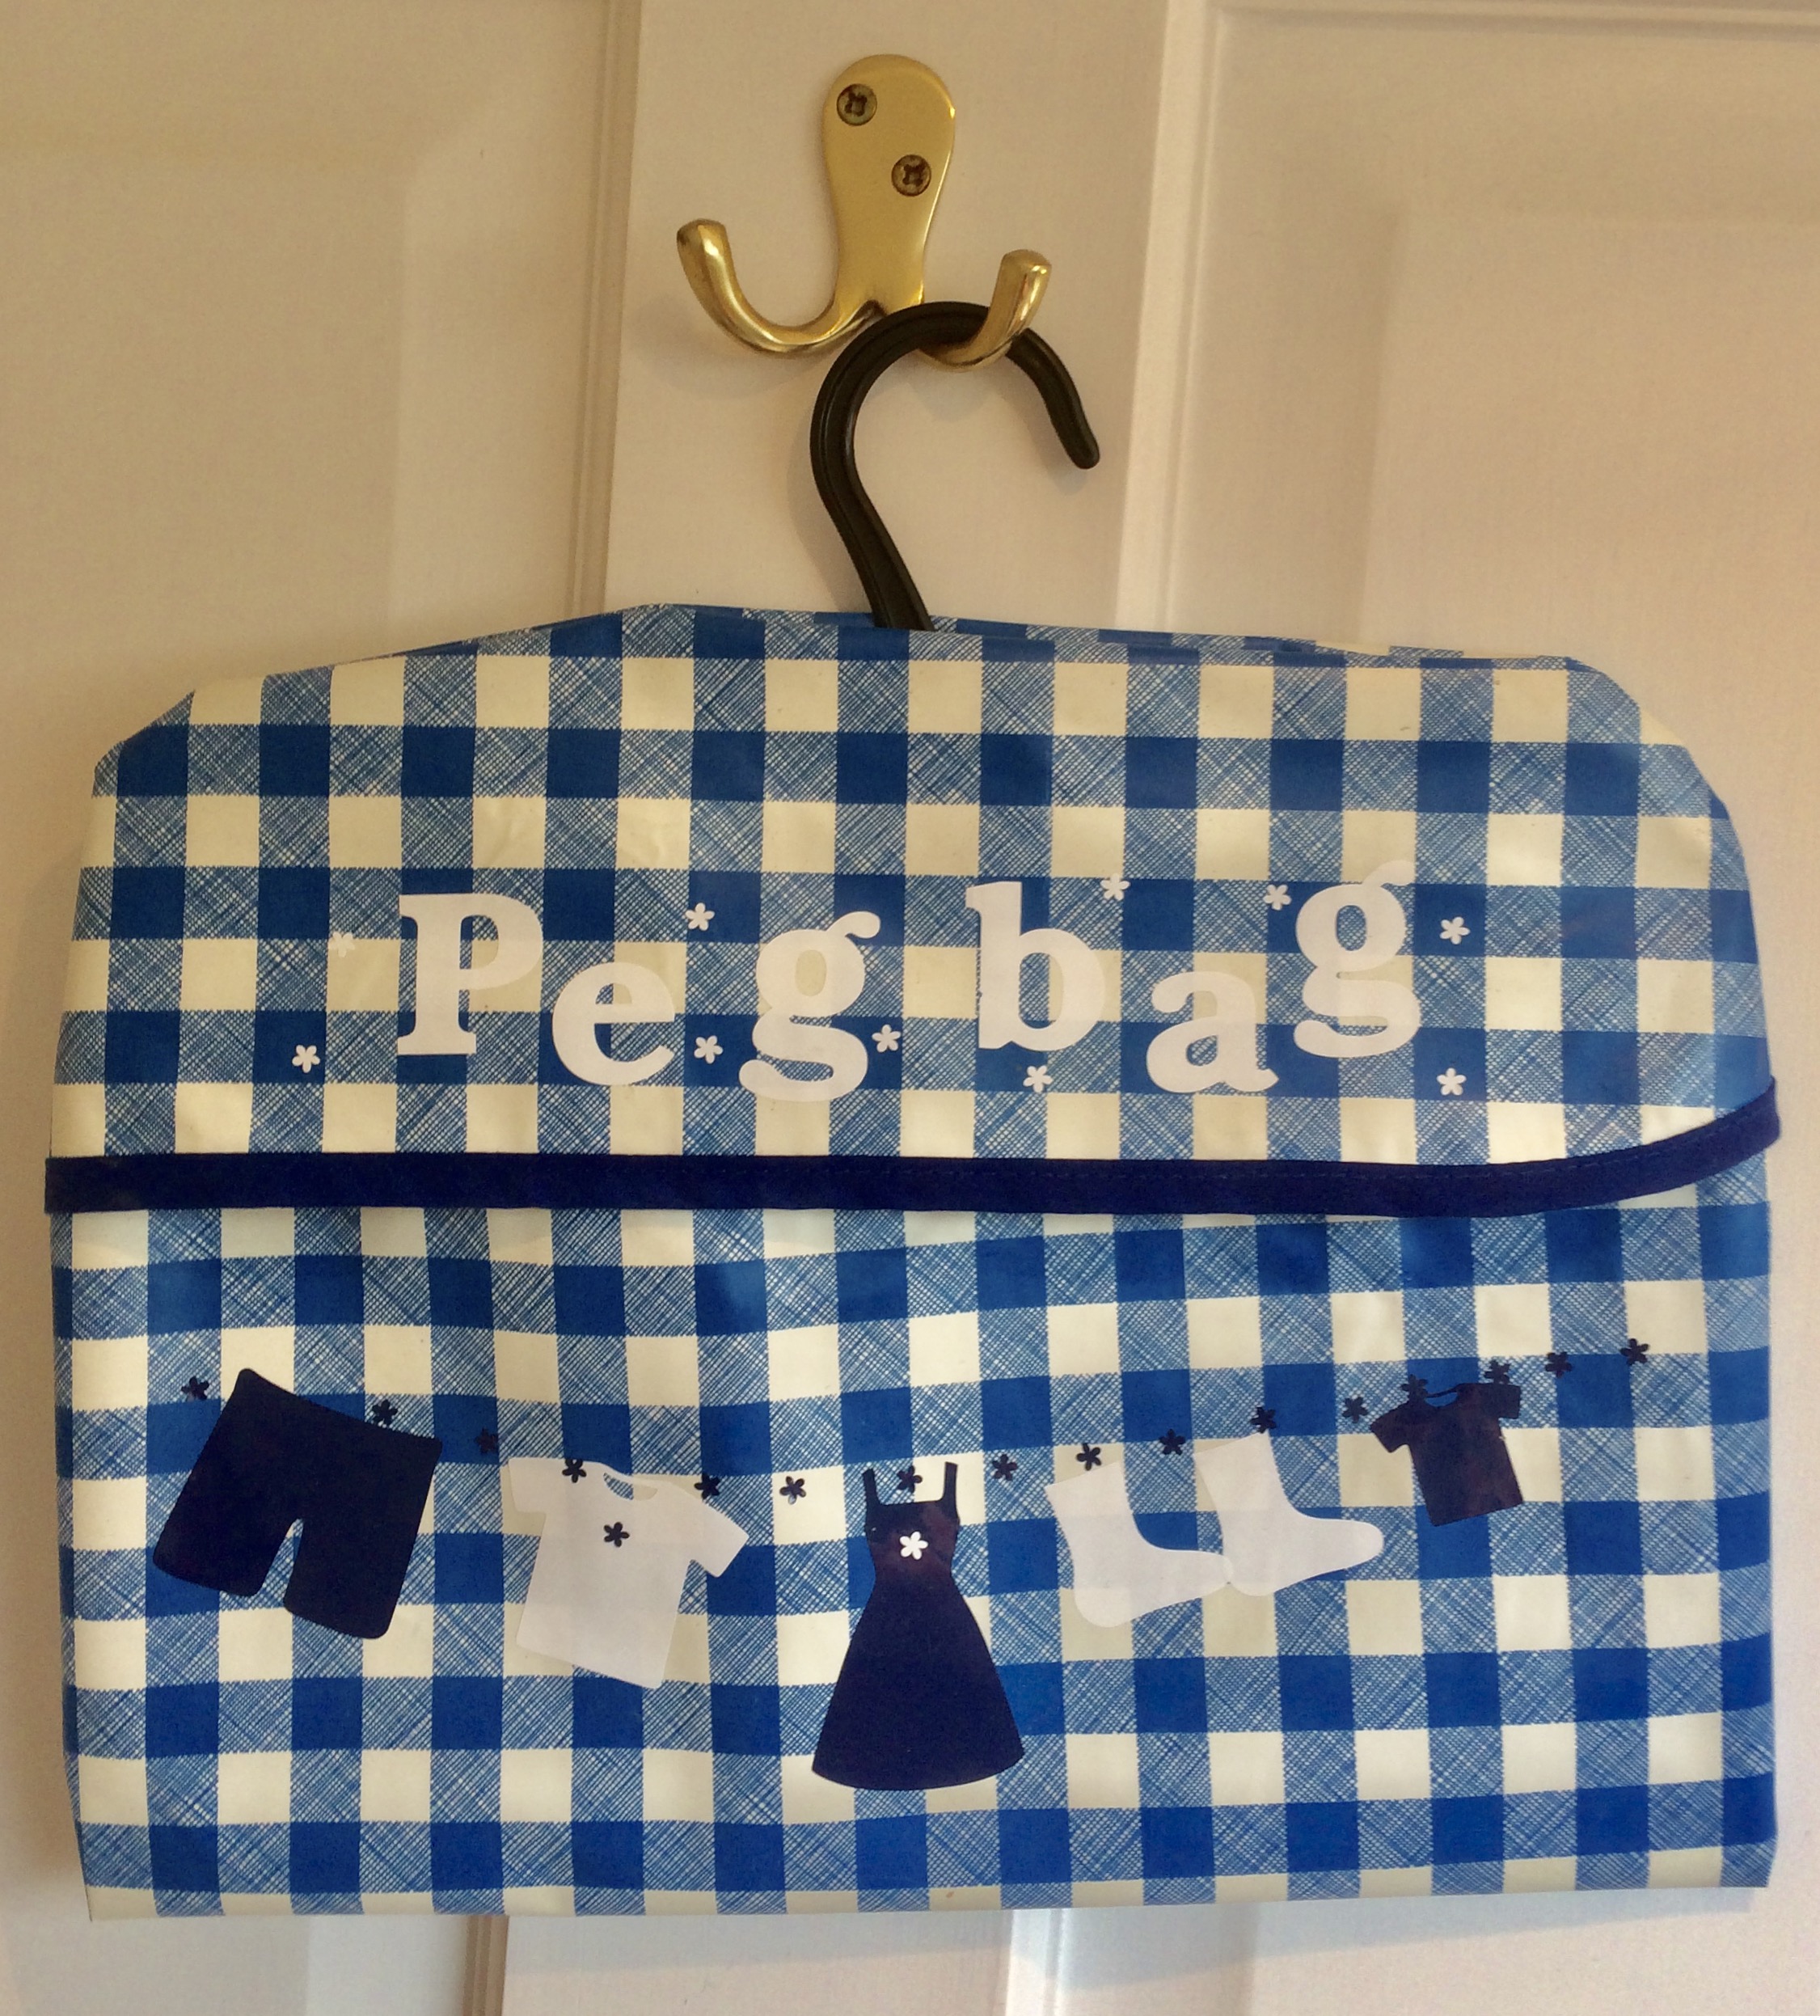
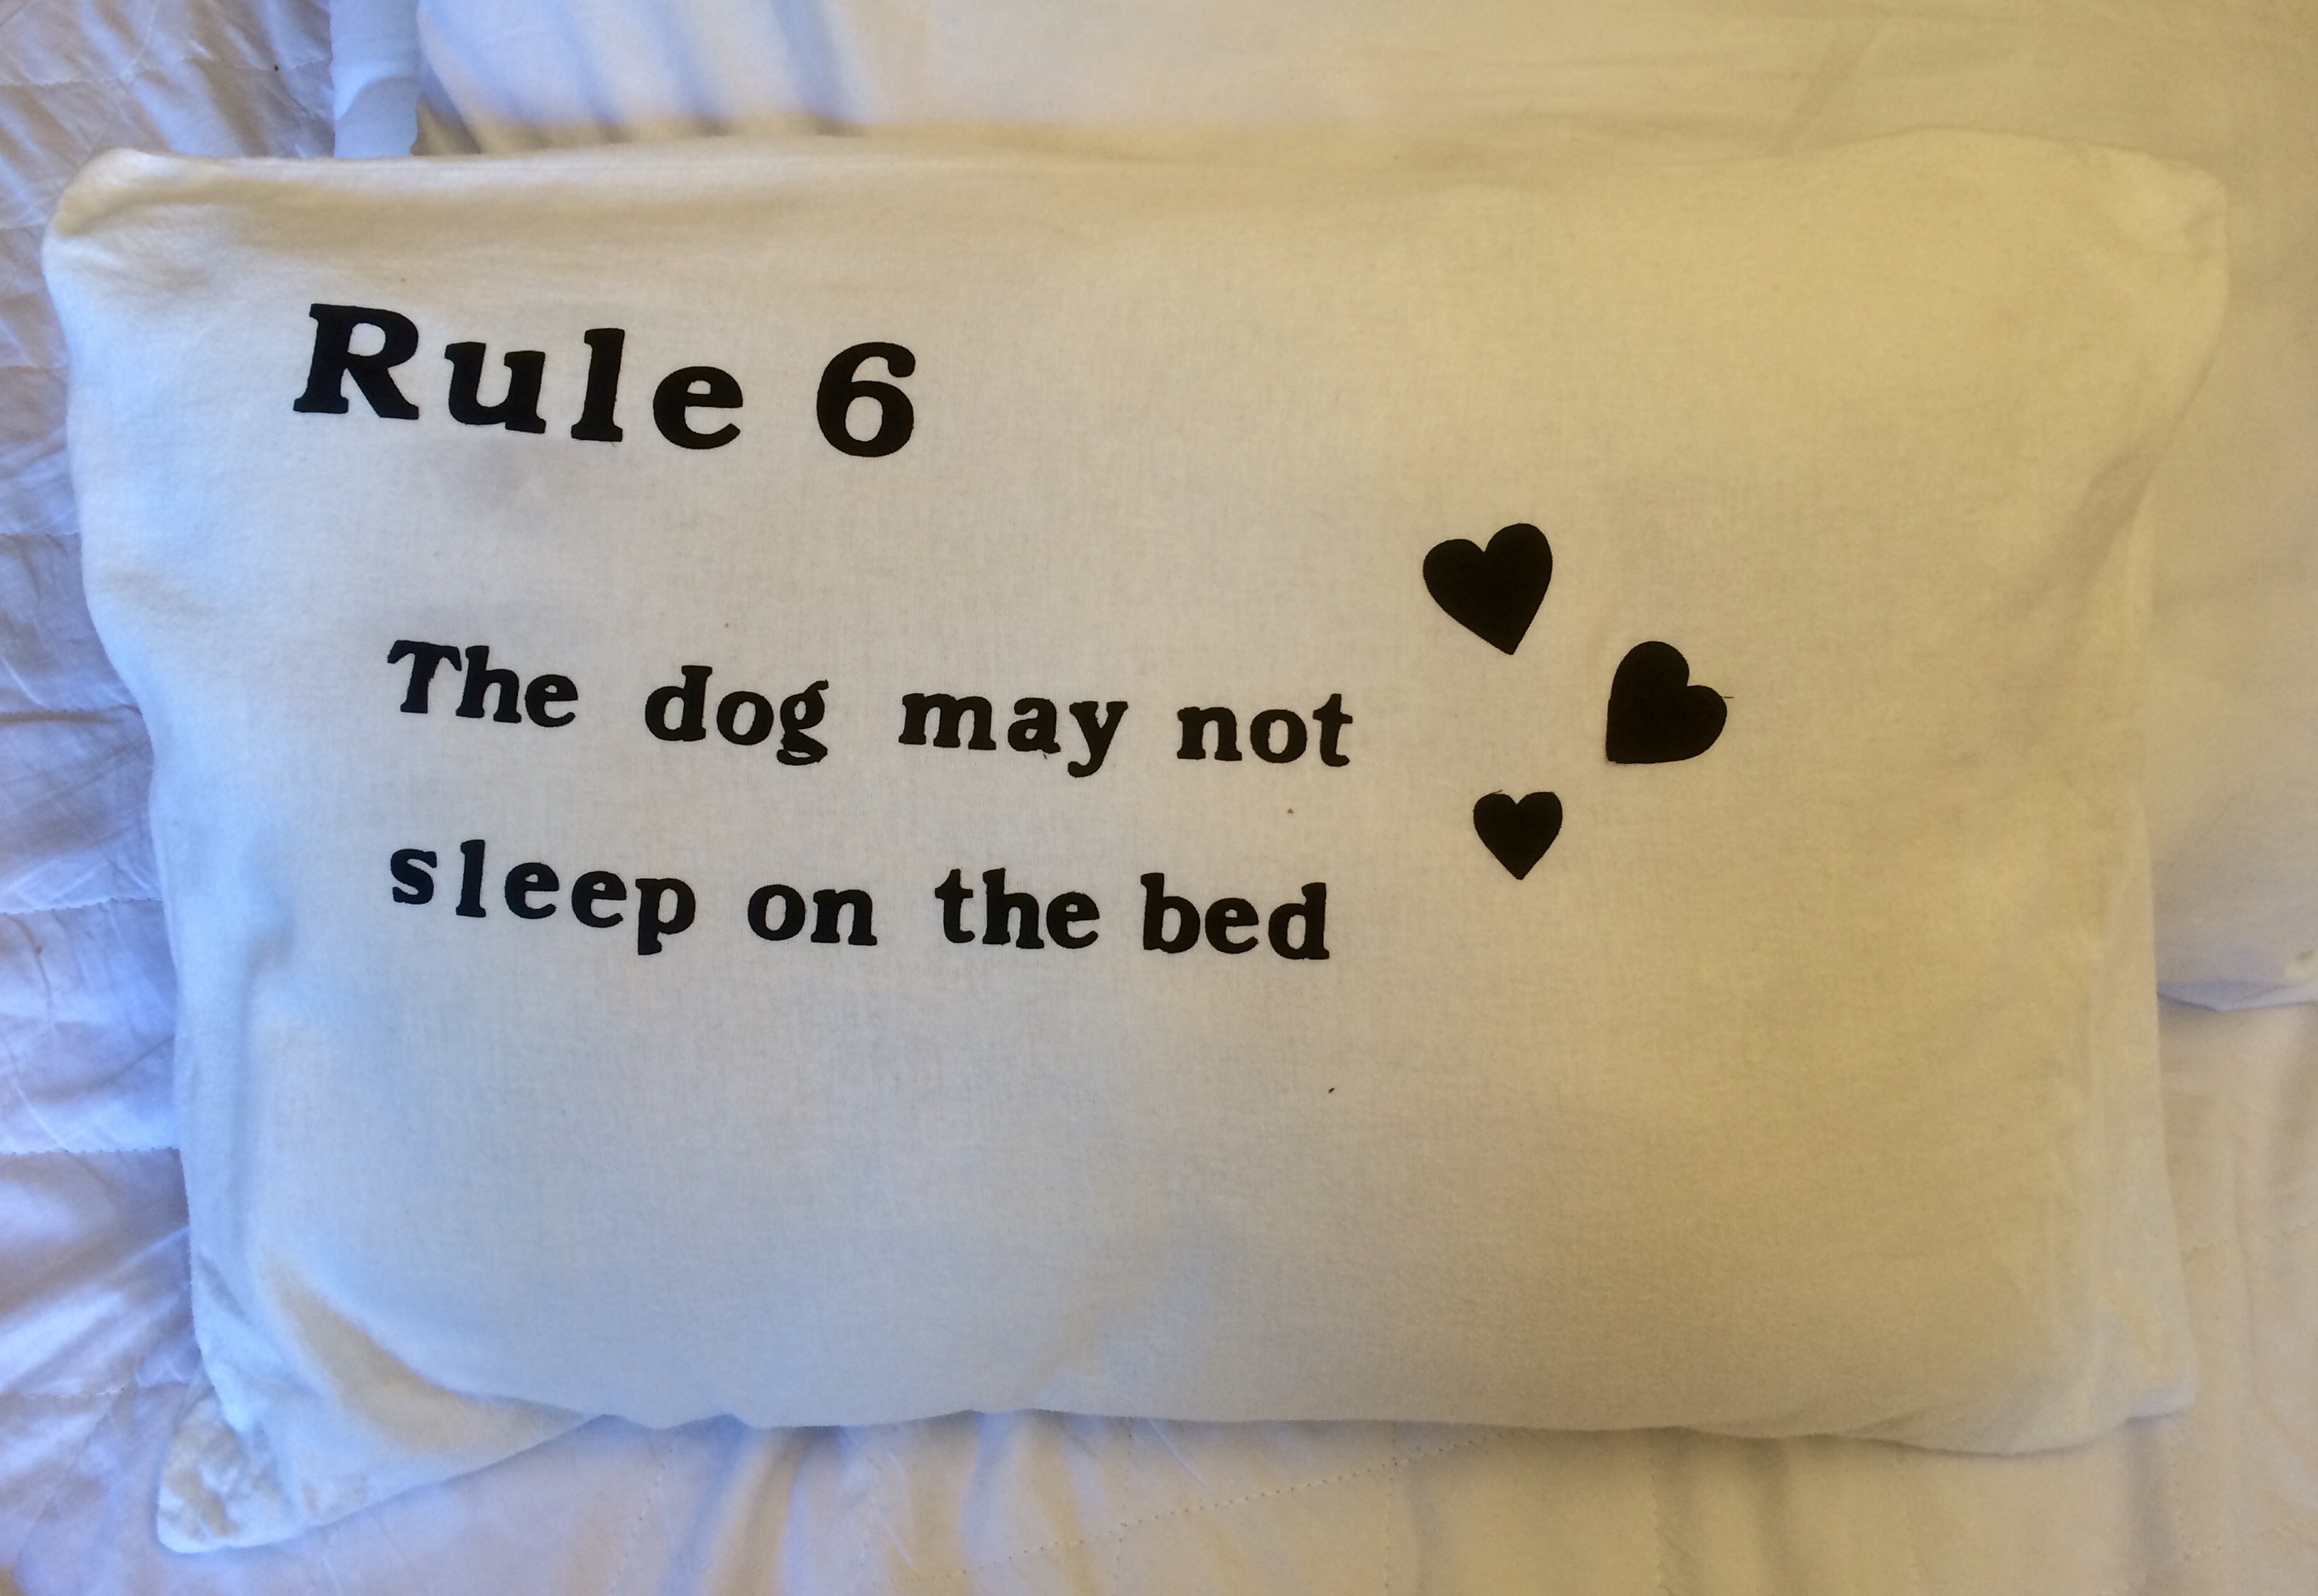
scan n cut with heat and bond made this a doddle
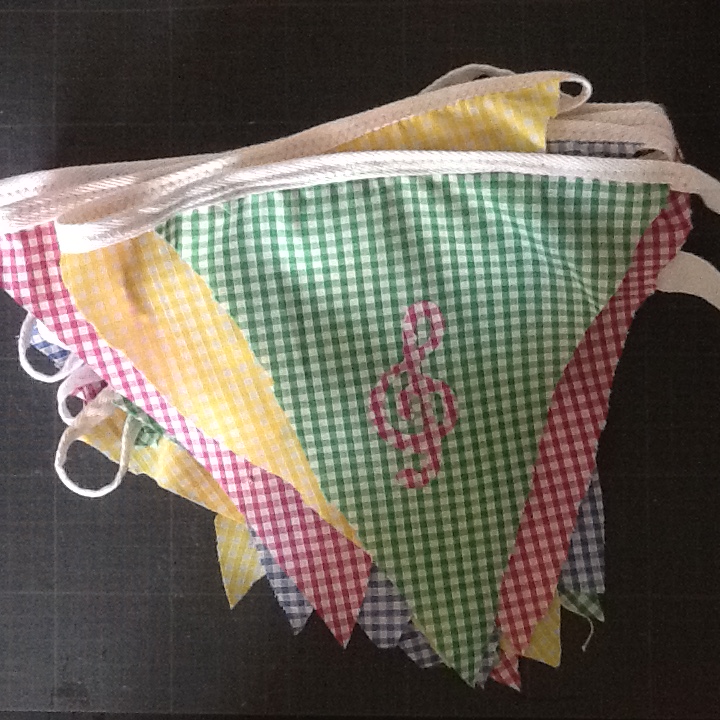
this old pillow sis in the dog basket I made some while back. It needs an upgrade and I wanted to practice my scan n cut fabric cutting technique in it. The pillow and case are standard ones recycled to the dog bed so a bit of no sew appliqué does the upgrade and helps me practise for other projects.

simple instructions

iron heat and bond onto a piece of lightweight cotton. Mine was about 10″ by 6″ , I chose plain black because of the type style bit white on a patterned pillowcase  would work as well

peel off the paper backing and press on the scan n cut mat, set blade to 4, pressure and speed to  4 , let the machine cut out the design then peel fabric from the sheet

position the design on the ironed pillowcase, I used a ruler to line the letters up – I forgot I have some transfer tape to try out

when in desired position, cover with a cloth and hot iron to seal in place

Crazy quilt

A stash buster built on the base of an IKEA throw, using crazy quilt 9 inch blocks

I cut wonky hexagons as the scentre of each block and added strips, working my way round the sides of the hexagon until it was about  9 inches square, then trimmed it against a 9 inch card template to be accurate

blocks were sewn into strips and then directly on to to the throw base until it was covered

where there were gaps or tears- I made a few mistakes!- I added ribbon or ric rac or just did a line of decorative stitching over it

ikea fleece is brilliant and a cream coloured bobbin thread is invisible on the finished item

this truly is crazy as it combines all sorts of materials,  doesn’t have a backing, frame or proper quilt finish I just seamed ribbon along two edges and hemmed with a zig zag elsewhere

never going to be a quilter but loved doing this …. if I forget how long it took I might even do another one!

Canvas embroidery sampler

I have resurrected an old project and tried out a few new stitches which have reignited my enthusiasm for cross stitch.

The green and white is alternating oblong and cross stitch ( just stitch over an oblong rather than a square to make the oblongs), the grey and pink is layering upright and traditional cross stitch over a double sized square and the maroon is gobelin.

if you are interested,  graphics below,

I am working on a giant roll of canvas so have set myself a target of 100  stitch or colour variations, about 90 to go!

Clutch bag

Discovered a dozen magnetic bag clasps in my sewing box, so decided to use one and follow a Debbie Shore tutorial. I made this bag with three squares of fabric, it is a quick and easy project.

I cut two 11″ squares of the floral fabric and one of a plain lining material. I cut a matching square of wadding which I free motion quilted to the back of one of my floral squares and a half square piece ( 11 x 5 1/2″) which I quilted to half of my other floral piece. I had a 15″ piece of cord for the wrislet and a spare button for embellishment. Vintage brooches would be perfect for this sort of bag embellishment.

Debbie’s tutorial is, as always, easy to follow. I top stitched at the end to give it a bit more finish.

Next time I will put some stabiliser on the lining and maybe round or angle the corners on the top flap. I might even put a pocket in the lining as this is such a quick and easy project.

Jeans to … Puppy present

Next step on the jeans up cycling project …. A tug toy for a friend’s new puppy.

Inspired  by pinterest, I drew a bone shaped paper template and then cut matching pieces of old jeans leg with the seams at artistic(!) angles on each side then free motion embroidered the name before seaming, turning and stuffing. (Stuffed with trimmings from an ongoing sewing project)

The weak point might be my hand sewn closing of the seam but let’s see.

A quick, easy project that my dog approved before posting. So I did him his own version.

Brooch holder

I love vintage brooches and try to wear them on jackets often

i have turned their storage into a display with this project

a piece of corduroy and contrast linen which was three inches longer and wider were sandwiched (right sides OUT) around some batting so that the corduroy was centered on the bigger fabric giving an equal border.

the border was pressed in half and then folded over the edge of the cord and pressed agin then pinned in place, creating the look of bias binding

I top stitched around the frame that was created (twice, once at the crease and once on the outer edge to sharpen it up).

the corners were folded as hospital corners on a bed with the long edges on top, to create a mitre effect but these were left unsewn so I could poke a curtain rod through the channel created when I sewed the frame

I threaded cord through the convenient hole in each end of the slim metal curtain rod (an adjustable one designed for net curtains) -and knotted it to secure it

Jeans to … sewing challenge

Take one pair of jeans and too many hours on Pinterest and let us see what we can make….

so far the bottom of the legs have been chopped off and made into two simple storage pots.

I boxed the bottoms (the tops really to preserve the hems) and lined with some dotty fabric and some wadding. One leg had a longer lining piece to create a bigger contrast cuff

These will be used to store ready readers and sunglasses.

If I made them again and had enough firm form interface I would use that to make the sides more rigid but these will do the soft storage job

Now back to Pinterest to see what else to try … I have ppreviously made a garden apron/belt, some  oven gloves and mitts -see earlier posts-  so want to expand my jeans recycling repertoire