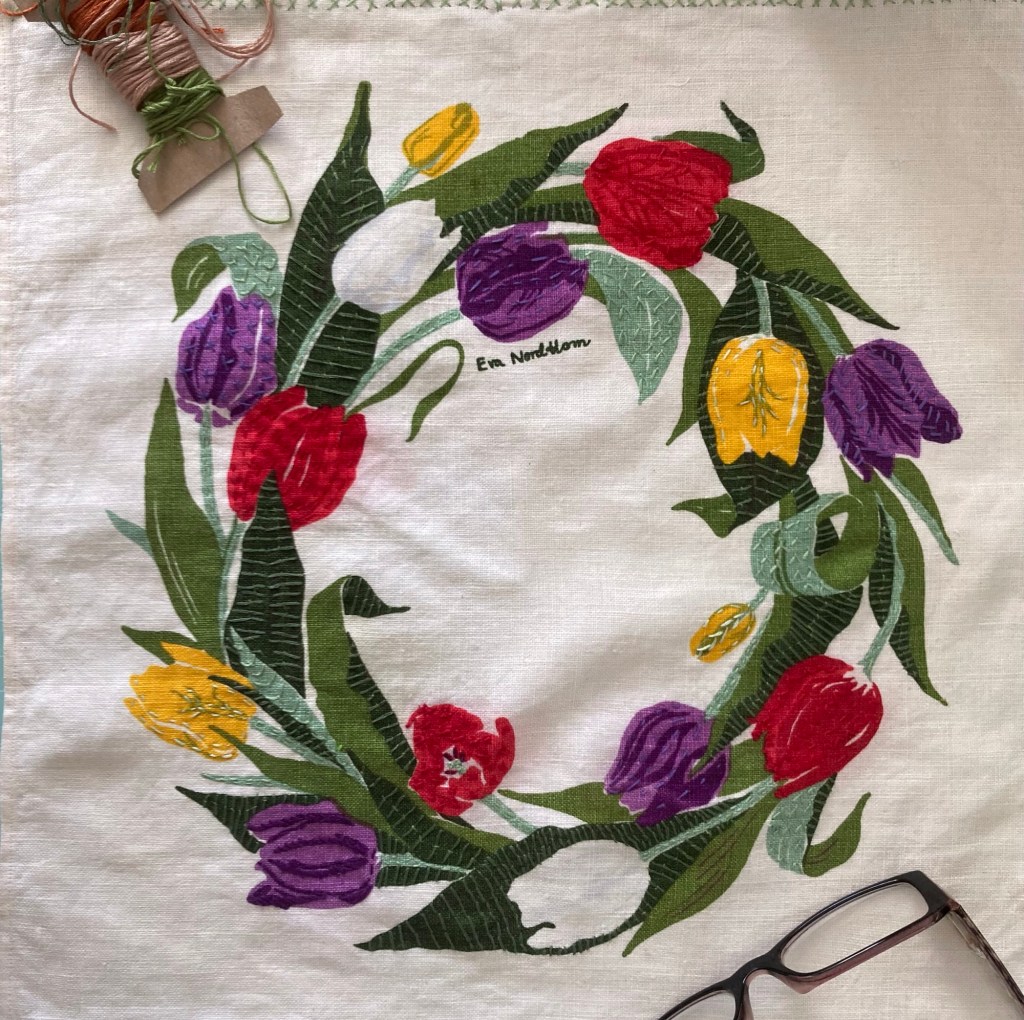
This beautiful Swedish mat had a small stain on it so I stitched (simple straight and cross stitch with embroidery floss) over the printing until the stain ‘disappeared’ and now it is back in use as beautiful as ever.

This beautiful Swedish mat had a small stain on it so I stitched (simple straight and cross stitch with embroidery floss) over the printing until the stain ‘disappeared’ and now it is back in use as beautiful as ever.
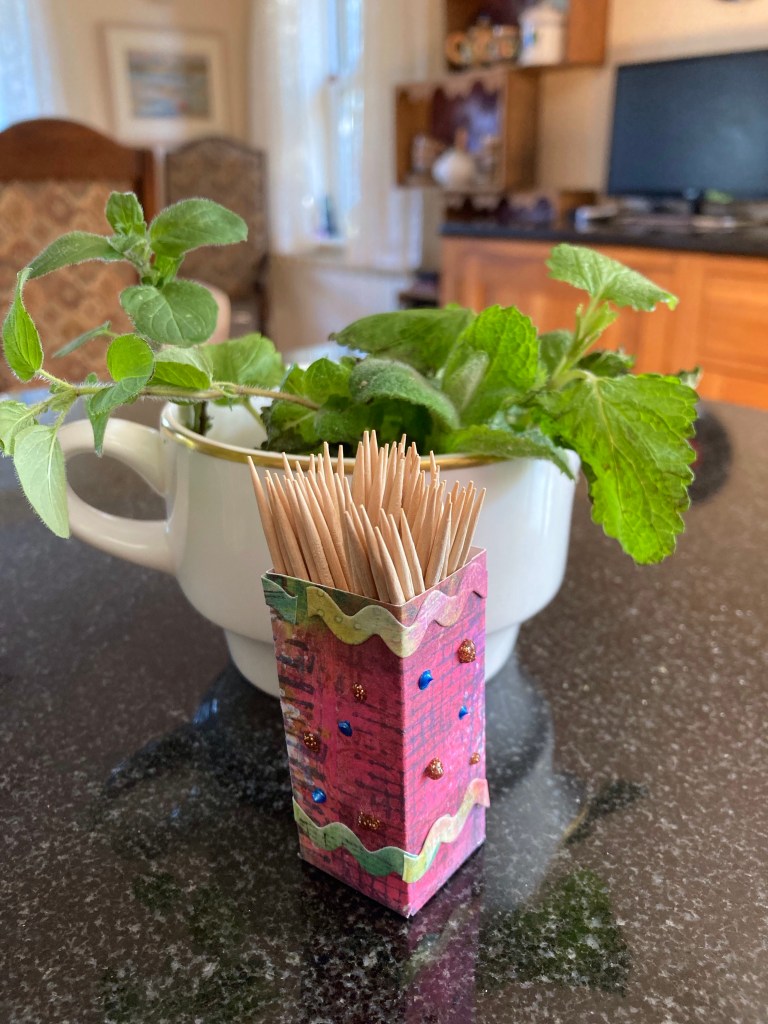
Couldn’t find a holder for tooth picks, which arrived in a big bag, so I made one with card that was out on my desk.
A simple box of four equal scored sides plus a small scored flap for adhesive and bottom flaps also stuck with adhesive tape. Decorated with die cut ric rac strips and some stickles, this was a 5 minute project done and in use.

Inspired by a sizzix promotion, I upcycled a plain jar into a rustic summer vase.
Assorted die cuts were glued on the clean jar with mod podge. I then used an old tester pot of emulsion paint to cover the jar. A light touch of metallic finish – gold finger by daler rowney – and a sealing coat of mod podge made it a useable vase.
What I learnt: (1) Three coats of paint were needed for an opaque finish. (2) Impatient as ever, I used a heat gun to dry the paint which lifted a couple of the die cuts a little. Actually a happy accident as it added to the rustic effect. (3) less is more with the metallic finish and you can’t take it away if you put too much on.
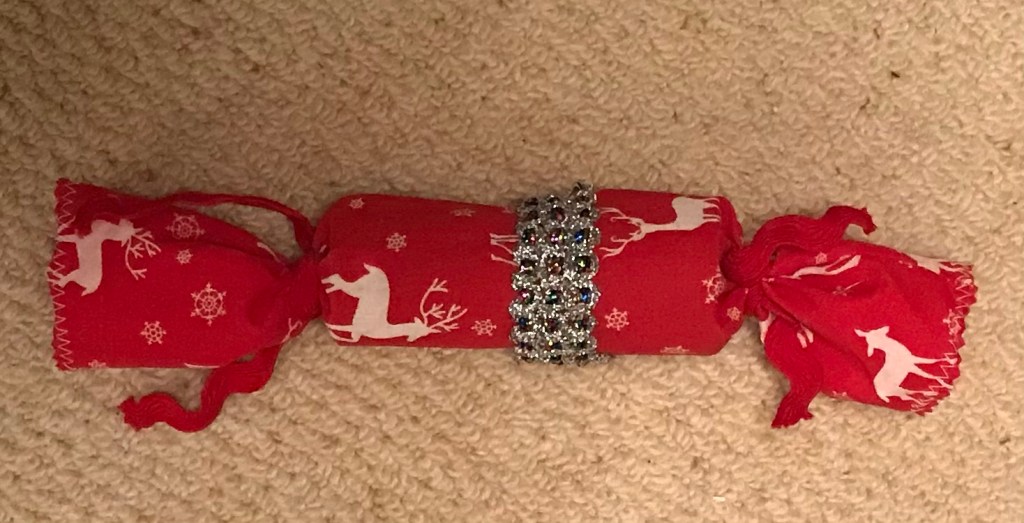
Cover cardboard tubes with fabric instead of paper to make reusable crackers.
I used up some Christmas fabric found while tidying but this would work for any seasonal table gift.
Use cardboard tubes of different diameters so that one slides tightly inside the other. I used loo roll and kitchen towel inner. Cut the larger tube to half the length of the other. My loo roll inner was 10 cm tall so I cut 5 cm from the larger kitchen roll.
Make snug fitting fabric coverings by sewing long rectangles (width being circumference of cardboard plus 1cm, length being height of tube plus 10cm) of fabric into tubes then folding in half and sliding the fabric inside.
I finished my raw edges with pinking shears and zig zag stitch. I then stuck bling tape around the edge of the larger roll so when assembled the bling tape masked the join.
No bang when pulled -although you could put snaps inside – but a bit of fun to make.

A mini apron with bib and tie to decorate a bottle! A project from the rebecca page sewing summit this week.
One for the present drawer… it did teach me how to make a faced round neck hole though so lesson learnt.
I opened up some iron on vinyl to decorate and make it super kitsch.
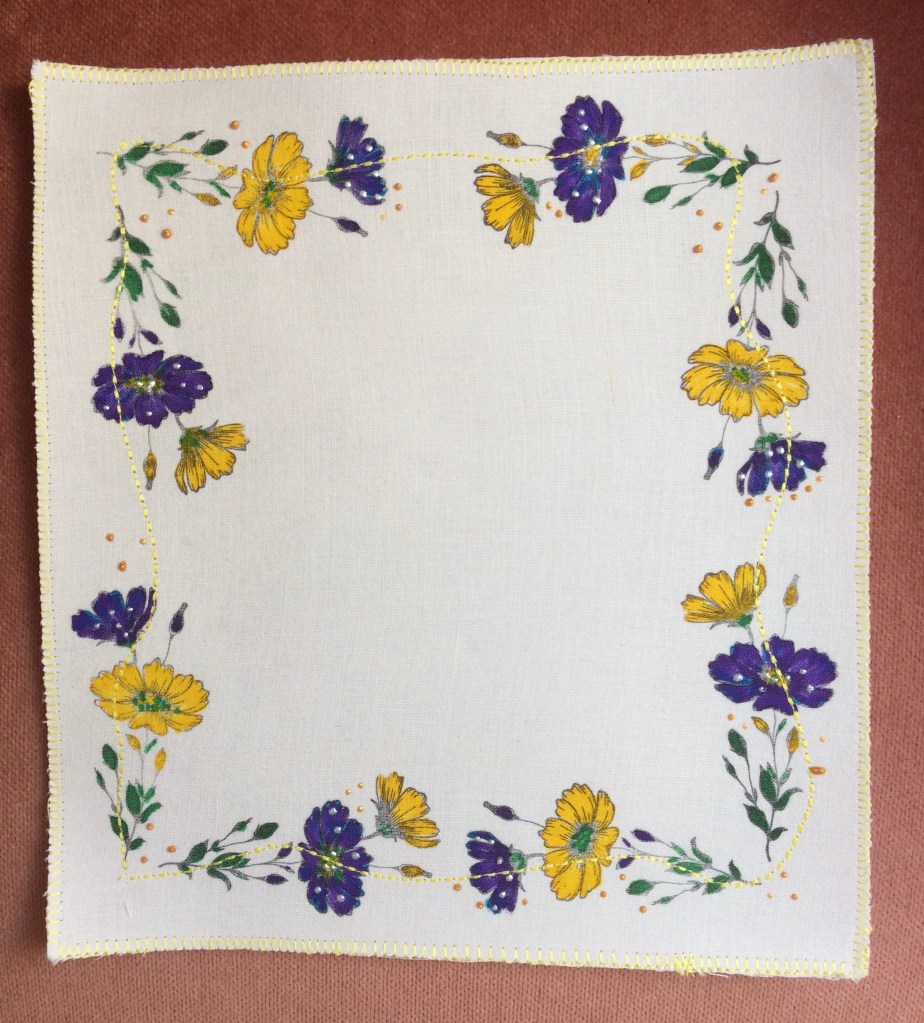
I up-cycled a beloved old shirt into mats this week. The fabric was ironed on to a firm interfacing, then a rummage through old stamps unearthed florals suitable for creating this border image.
Stazon ink and Ikea fabric pens were used before the mat was trimmed to a neater rectangle. A backing fabric adhered with spray fabric glue was then sewn permanently with my machine’s decorative blanket stitch.
To finish I sewed another decorative stitch through the stamping then decorated with some Pebeo Perlen fabric ‘pearl drops’.
Once heat set with an iron this is theoretically washable.

So I made more!


Surprisingly easy to learn this technique, but it does take quite a while at the sewing machine
Cotton washing line rope is coiled, pinned and then secured with a zig zag stitch. The coil grows as big as you choose then to create bowl sides you lift the coil as you zig zag.
For this set I wrapped scraps of fabric around the rope at random intervals.
Ideal for kitchen keys, bread or fruit bowls…might try some place mats and coasters next time
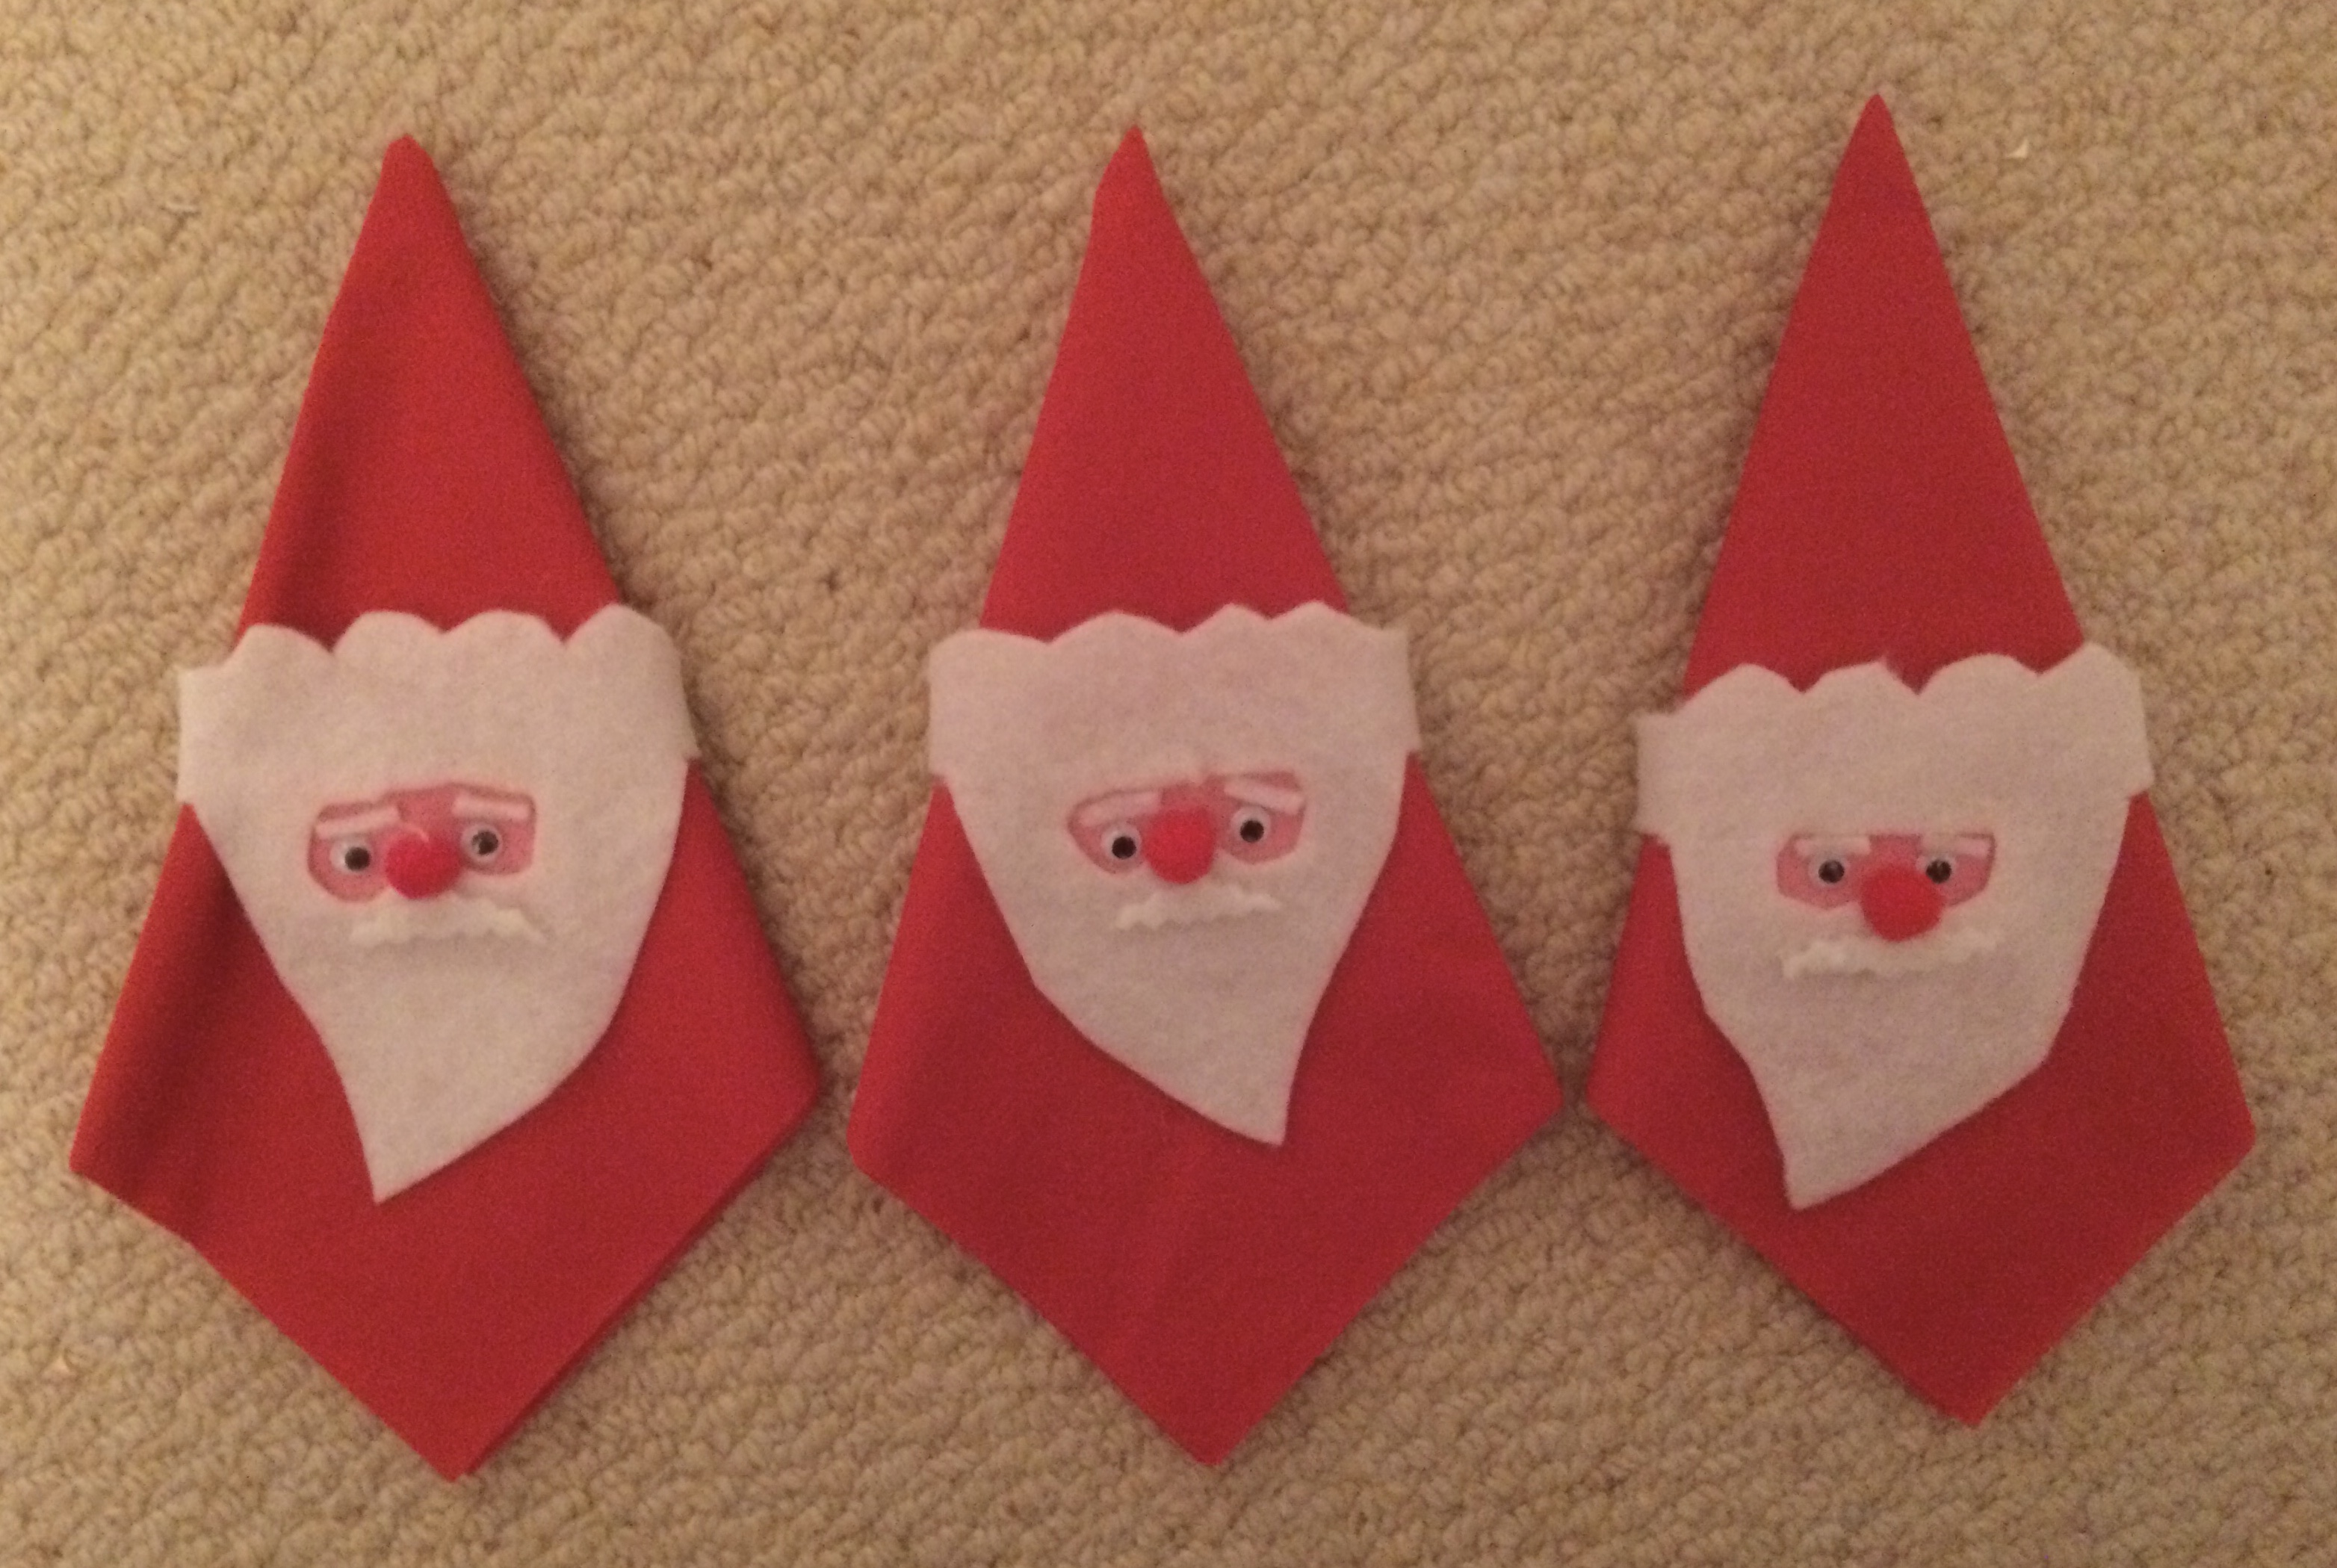
A fun felt and glue project …
Many years ago my mother in law made us some Santa napkins. Hers were rolled hem red sheeting and Santa was sewn from fun fur with felt and google eyes. We use them every year and I wanted to spread with joy without making napkins, so a version using paper serviettes and felt was born.
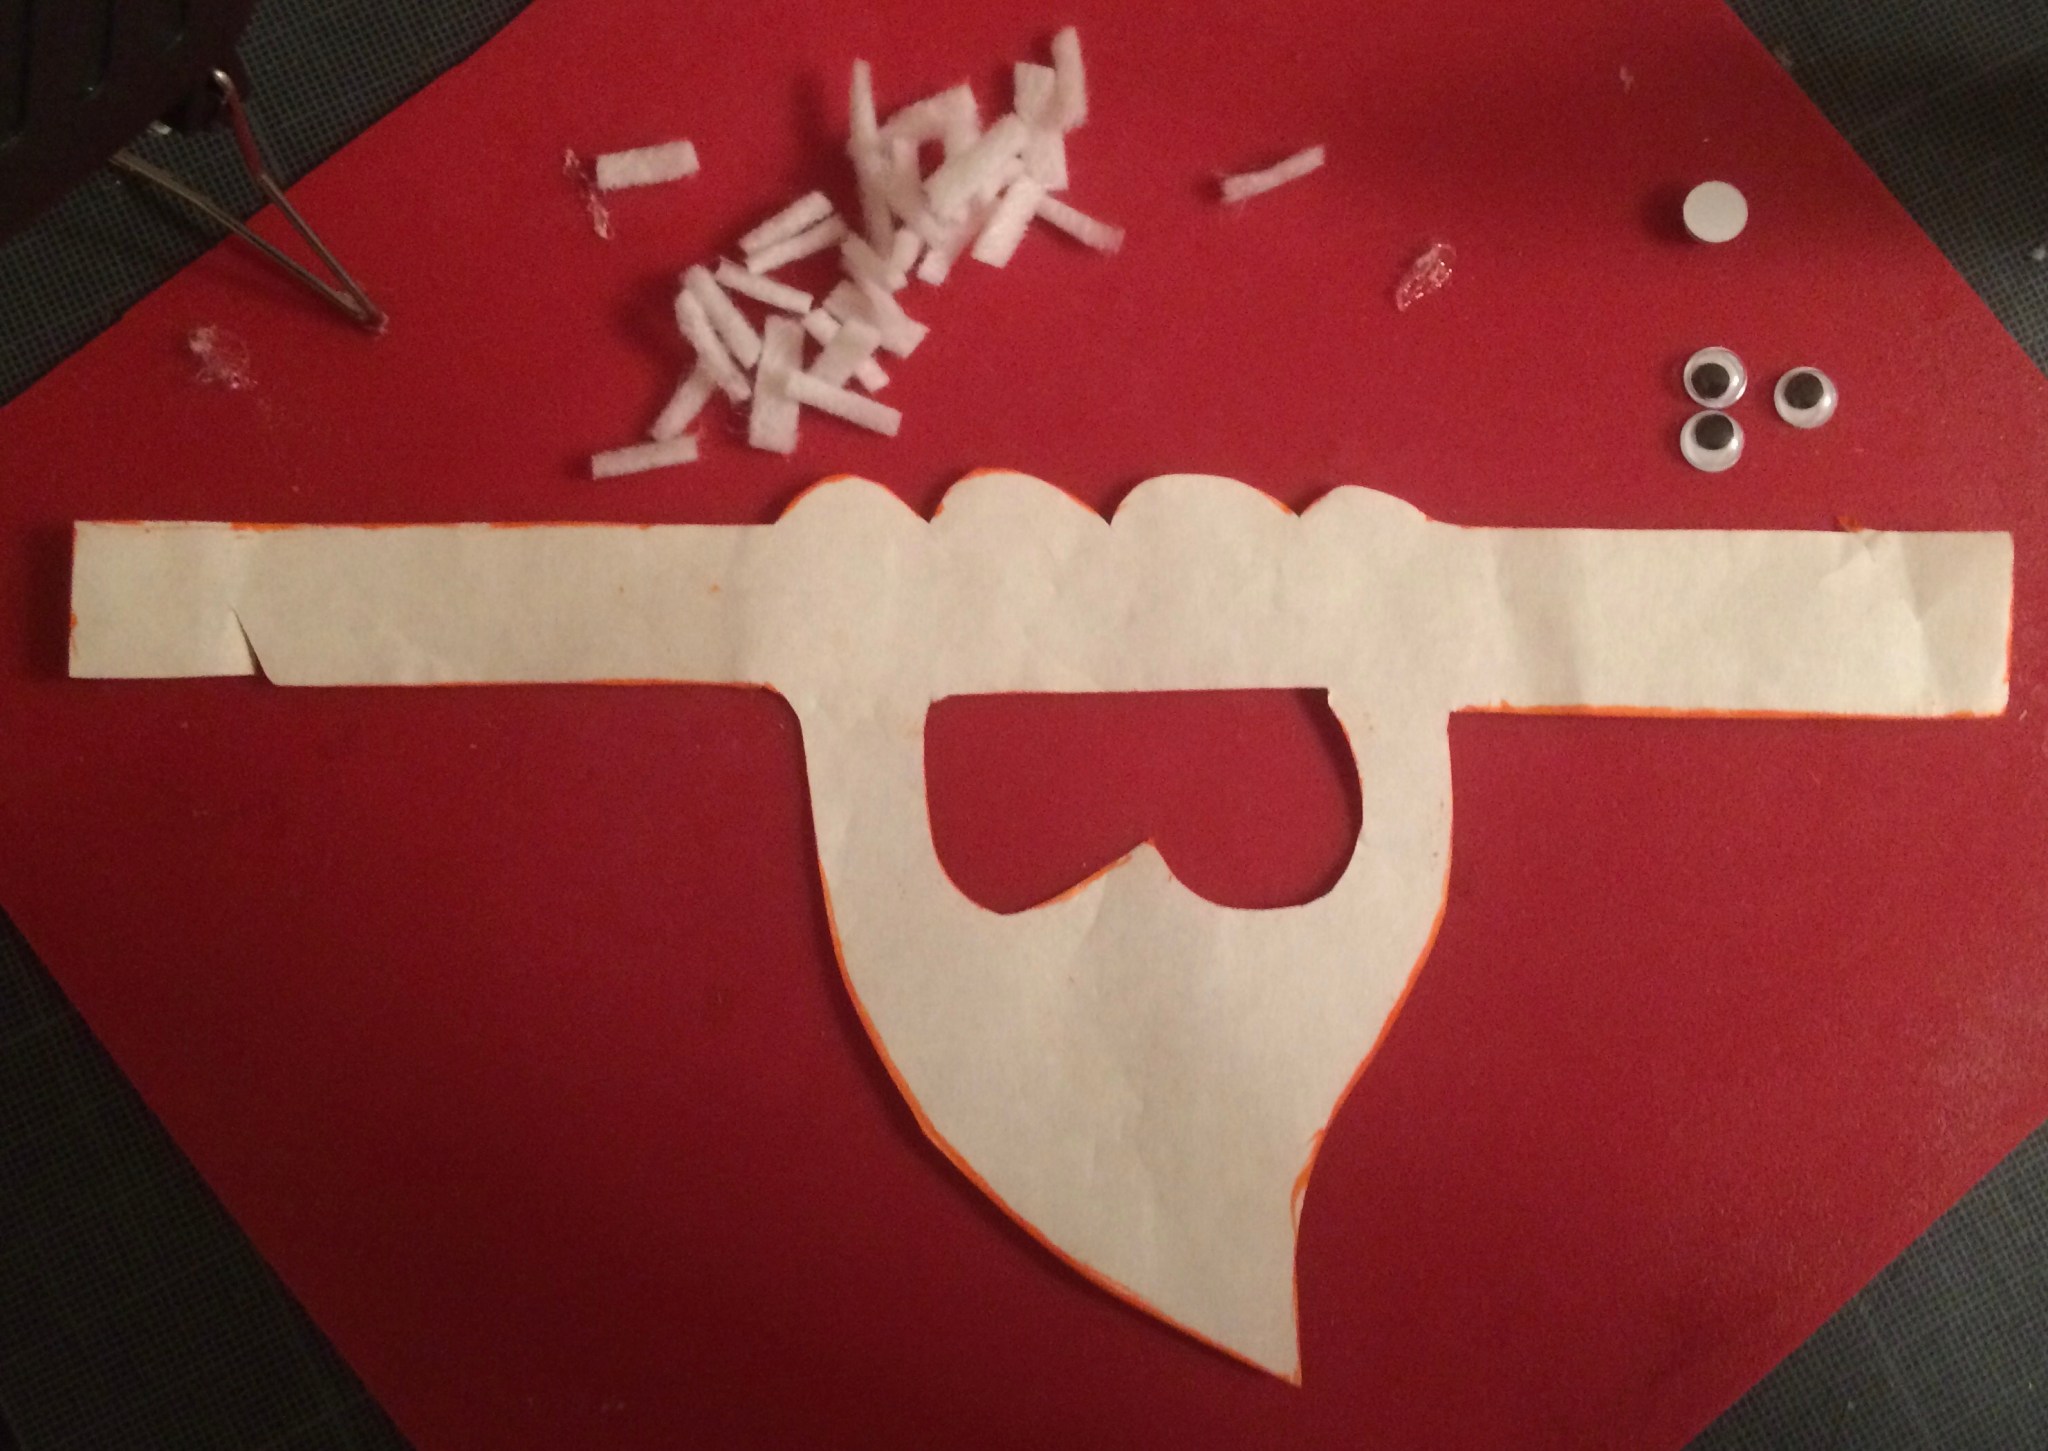
her version has a triangular beard and straight top head but I preferred a combination of outlines I found on pinterest so drew this stencil with a 7 inch band. Felt is forgiving so have a go and scribble out your own version, but keep it simple enough to cut out cleanly.
To make…
trace your stencil onto white felt (thicker is better if you can find a roll of quality felt), I reversed my stencil to get some variation in beard direction
cut it out inside your trace lines so they don’t show on the finished version
cut a piece of flesh tone felt and hot glue it behind the face gap – I suggest you hold the felt with tweezers to avoid glue burns and help be precise-ish, tweezers also pull off any glue strands
hot glue on a red mini Pom Pom for the nose and googly eyes in a characterful position, tweezers again most useful
I added pinking shear cut felt strips as a moustache and tiny pieces for eyebrows then glued the band into a loop with about a one inch overlap
some people embroider on names or add other embellishments… I like this clean and simple version
If gifting a set of these include spare red serviettes to encourage reuse.


A 22cm x 16cm piece of heavy paper or light card is simply scored to become a classy table gift or place setting … I found this in papercrafter magazine and used it to try and stashbust a bit. Using assorted papers is fine as the washi edging unifies the group.
1. Score the paper along the 16cm length every 2.5cm leaving a 1cm tab at the end
2. Turn the paper and score at 4cm, 5.5cm and 7cm from either end of the 16cm sides
3. Flip the paper on to the reverse (unpretty side) and fold under each 5.5 cm score line

4. Trim out triangles within each section as shown – the triangles don’t have to be equal, just within the scored boxes so they help the cracker fold at the end of the make. I drew over the score lines to show them more clearly
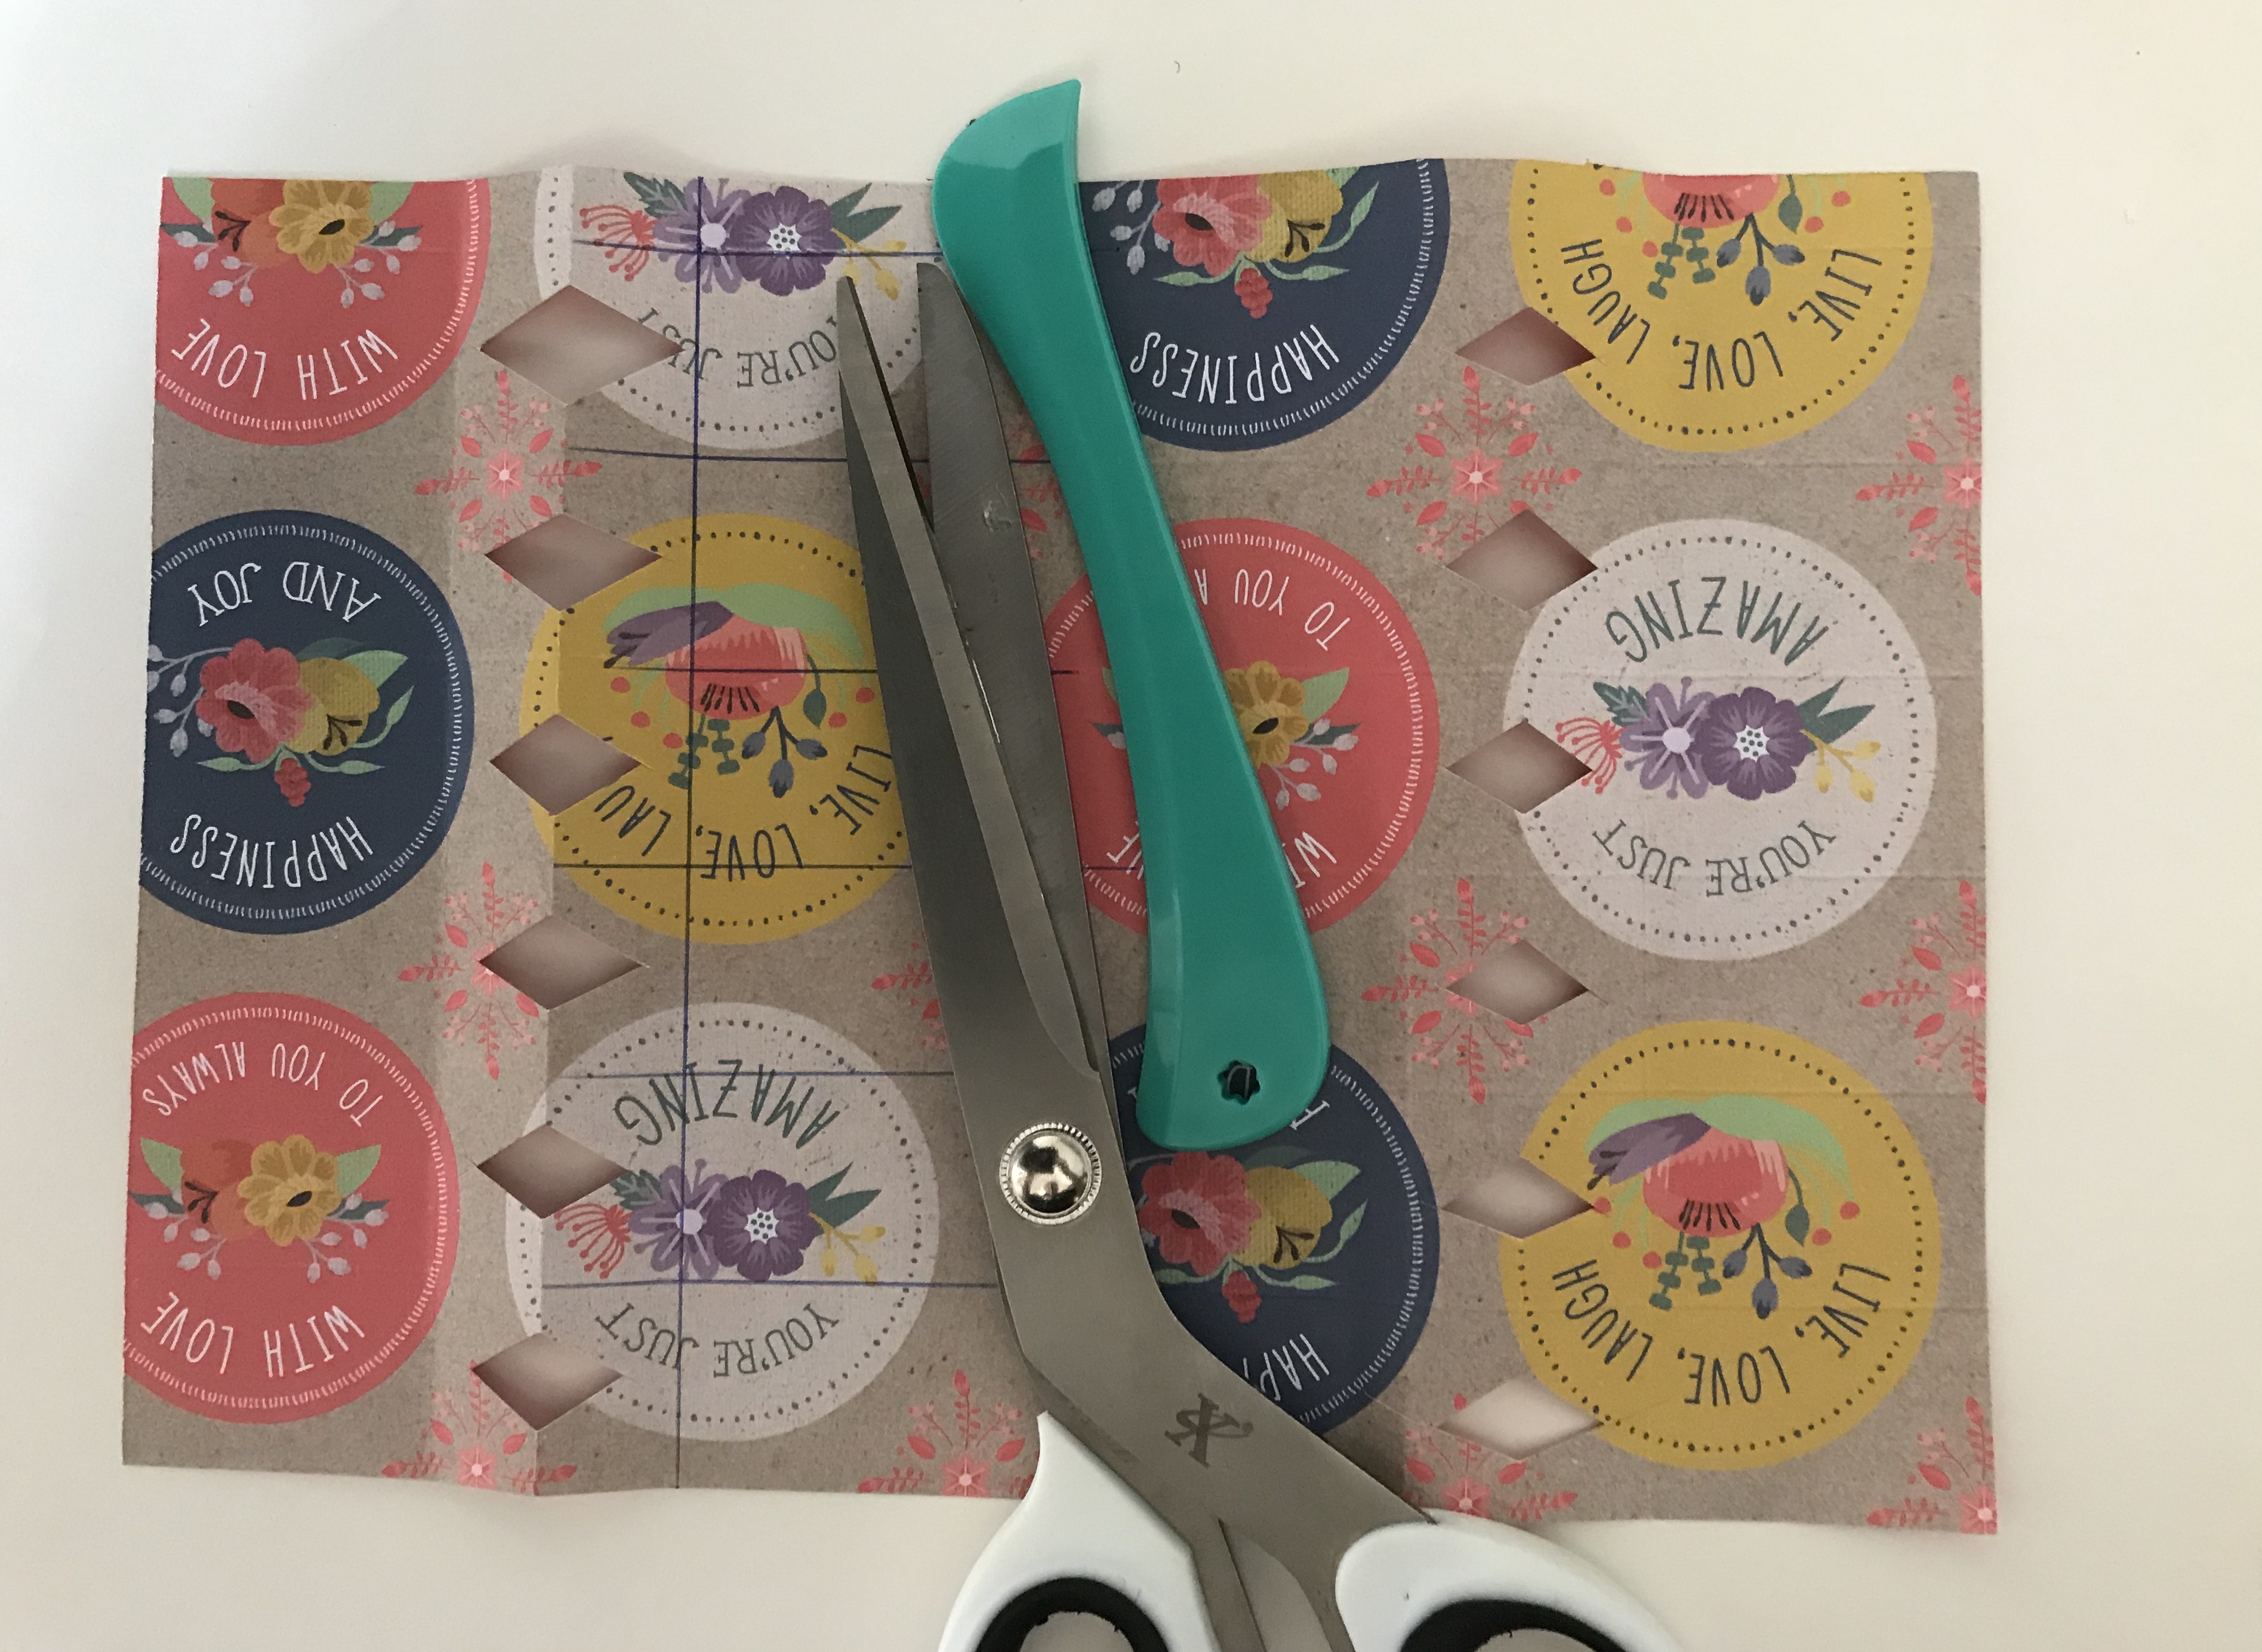
5. unfold so you have diamond shape cut outs and then flip the paper back to the pretty side then crease all the other score lines
6. fix double sided tape to the tab and form the paper into a tube
7. tie string or strong cotton at each 5.5cm line and pull the cord tight so it draws the cracker closed (pop in your gift before you tie the second time)
8. decorate with washi tape at the ends as shown. You can add embellishments or names or flowers or …
When using paper other than A4 try cutting 16cm by 23 cm for a bigger cracker body… You can scale this up to make full sized crackers from wrapping paper and/or pop in a snap and joke for a traditional Christmas ‘make’
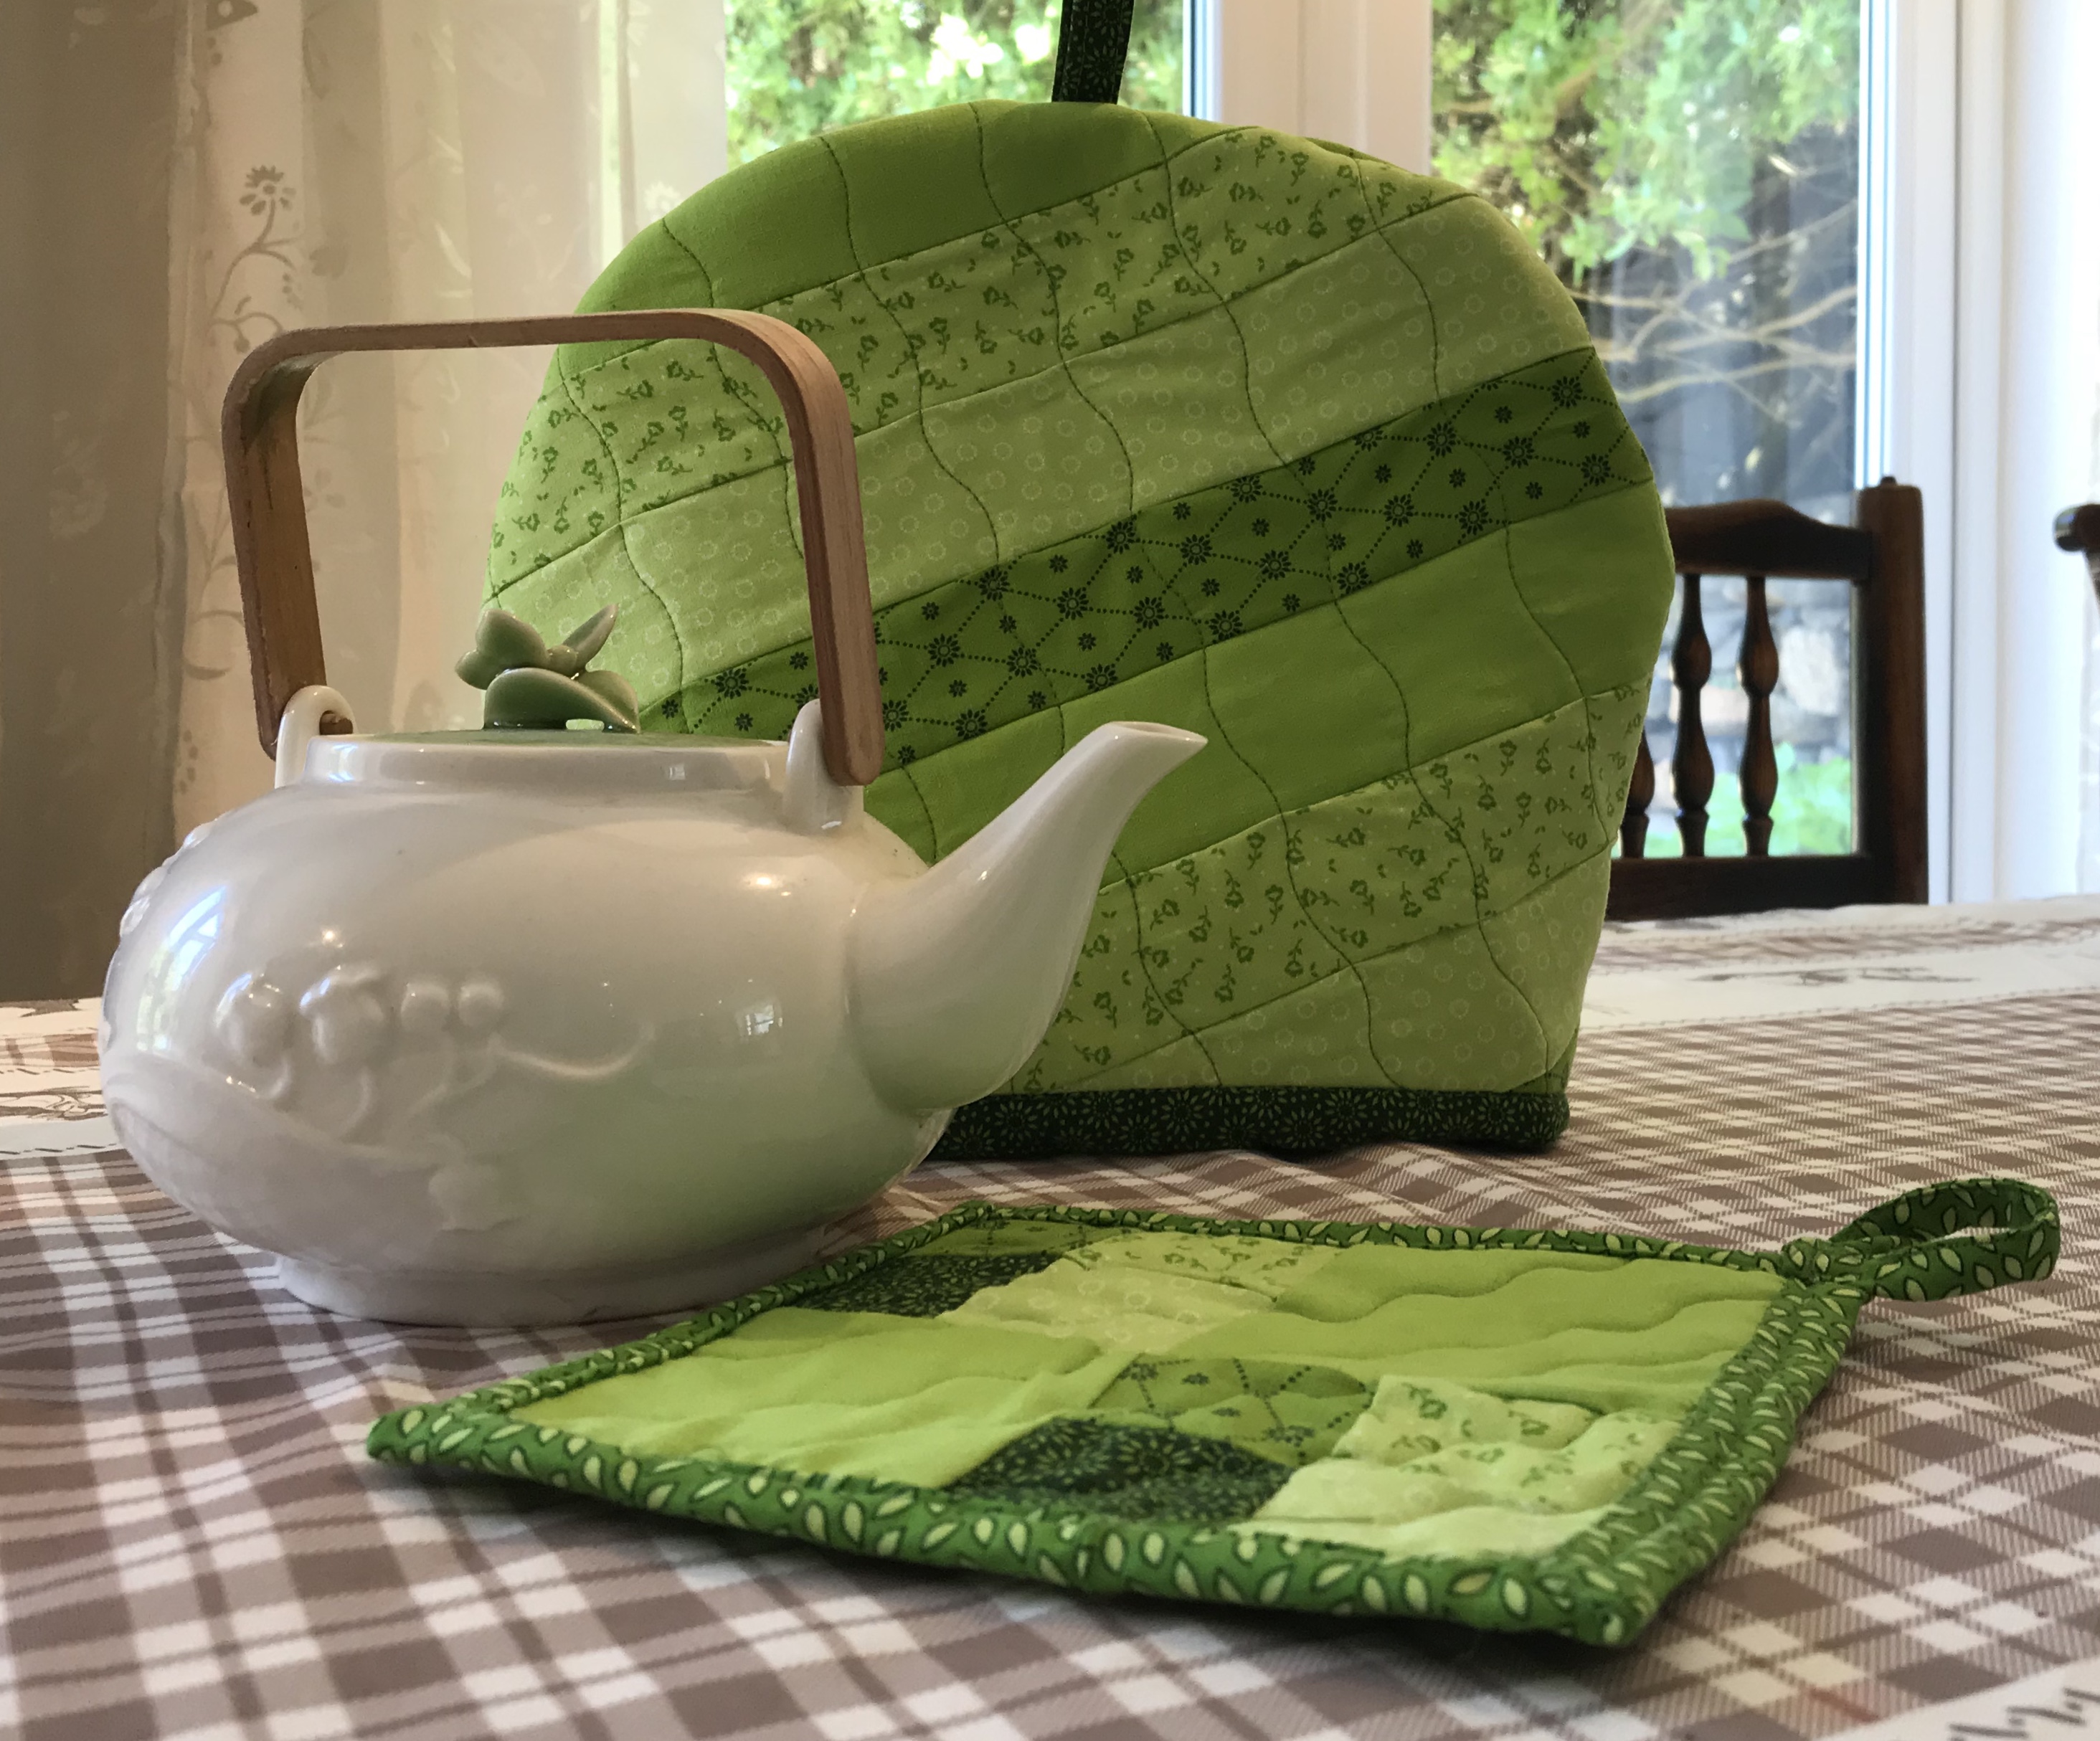 For Christine’s lime green accented kitchen… lets hope the tea cosy is big enough for her kettle after my quilting and edging
with plenty of fabric left over a first attempt at a mitred, bound pot holder to go with it
