Home milled soap

A simple recipe for gifts with a hand made touch

Grate quality soap into a microwaveable jug. I combined some French milk soap and mini tablets collected from posh hotel stays.

Add a little water (start with a tablespoonful, you can always add more if the mixture is too dry) to soften the mix when you heat it, plus a few drops of almond oil and any dried petals or herbs. 30 seconds max in the microwave and it should almost rise or fluff up so give it a quick stir, then add a couple of drops of essential oil. Stir again before pressing into a silicone tartlet mould.

Leave to cool in the fridge for 30 minutes before unmoulding and wrapping in greaseproof paper.

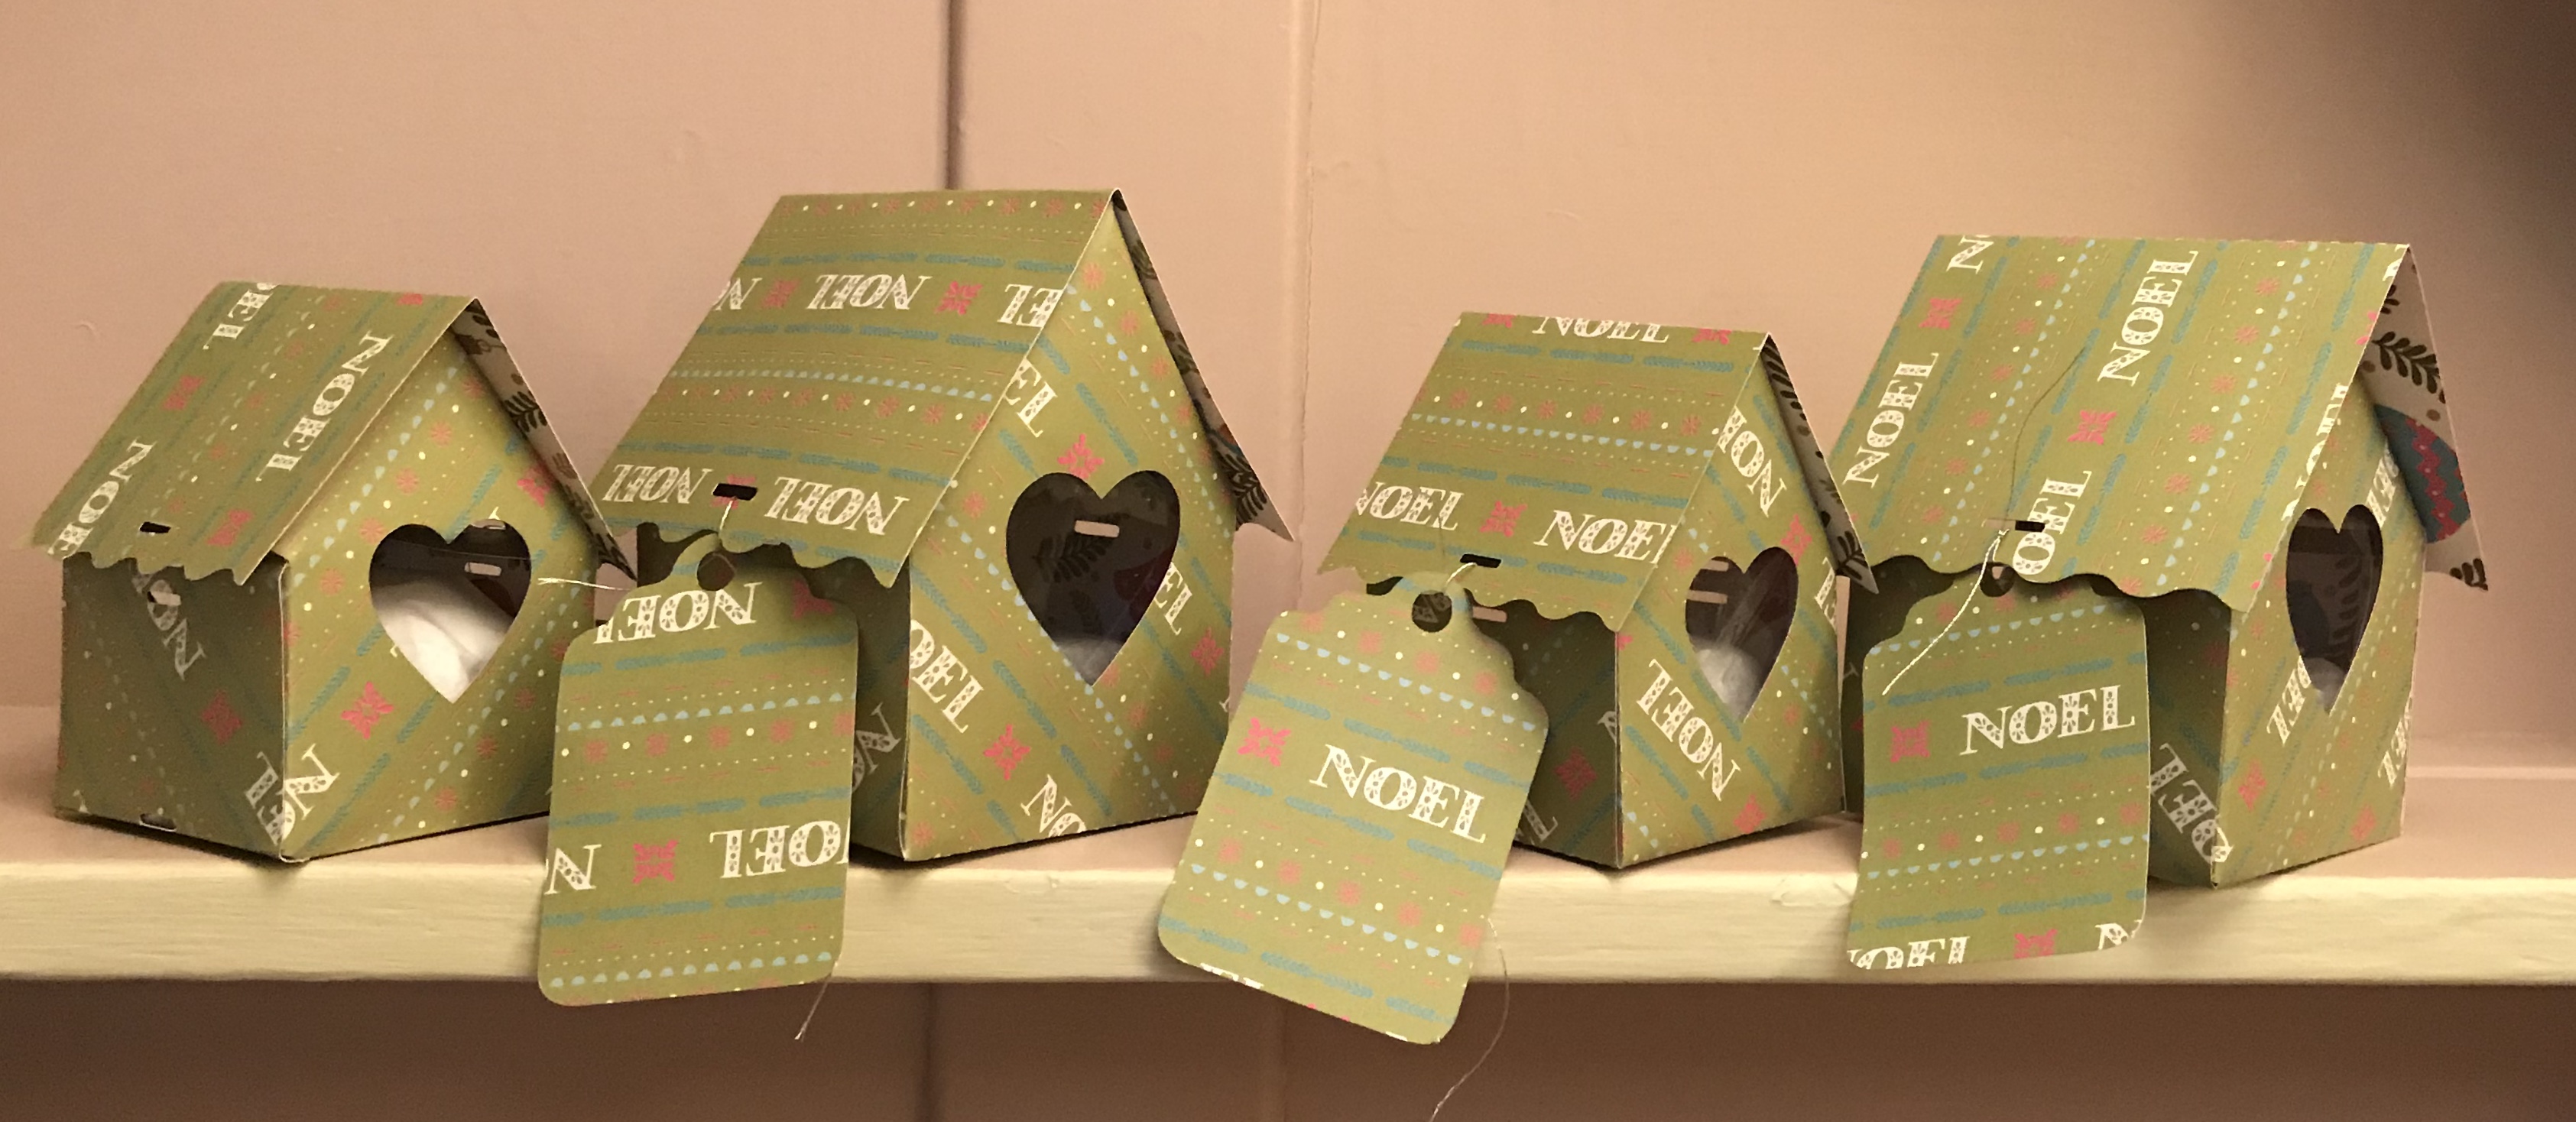
I added dried lavender harvested in the summer to some of mine, they look very rustic so I made some smart birdhouse boxes on the scan n cut to present them in.

Heat transfer vinyl

Much easier than I expected

I bought the vinyl from Tunnel  Vision and downloaded the visual from lovesvg.com before adding the personalised text on the ScanNCut. I then flipped the virtual visual to give a mirror image and put the vinyl shiny side (ie carrier side) down on the cutting mat before cutting with blade 4 and pressure 1.

the excess vinyl was peeled off the carrier and the remainder (the vinyl I wanted) placed dull side down on the T-shirt (peacocks) and ironed to fix it.  Once cooled the carrier sheet peels off leaving just the image in place.

now, what else can I cover in vinyl?


Faux Appliqué book jacket

A corporate note book of quality paper now wrapped in a jacket to keep it safe.

I backed some floral fabric with heat and bond, cut out the flowers then ironed them on a rectangle of denim. I then stitched over the flowers to give a loose quilting effect.

I hemmed the denim so that the height of the fabric matched the book but the width was about six inches wider than the book when opened flat. I then folded matching ends around the cover to make tight fitting flaps. These were slowly top stitched, top and bottom, quite a few layers of denim now, then the book was bent back on itself to slide into place.

Tip: make snug as the material will stretch for a tight fit which is better than bagging.i

Secret book ‘safe’

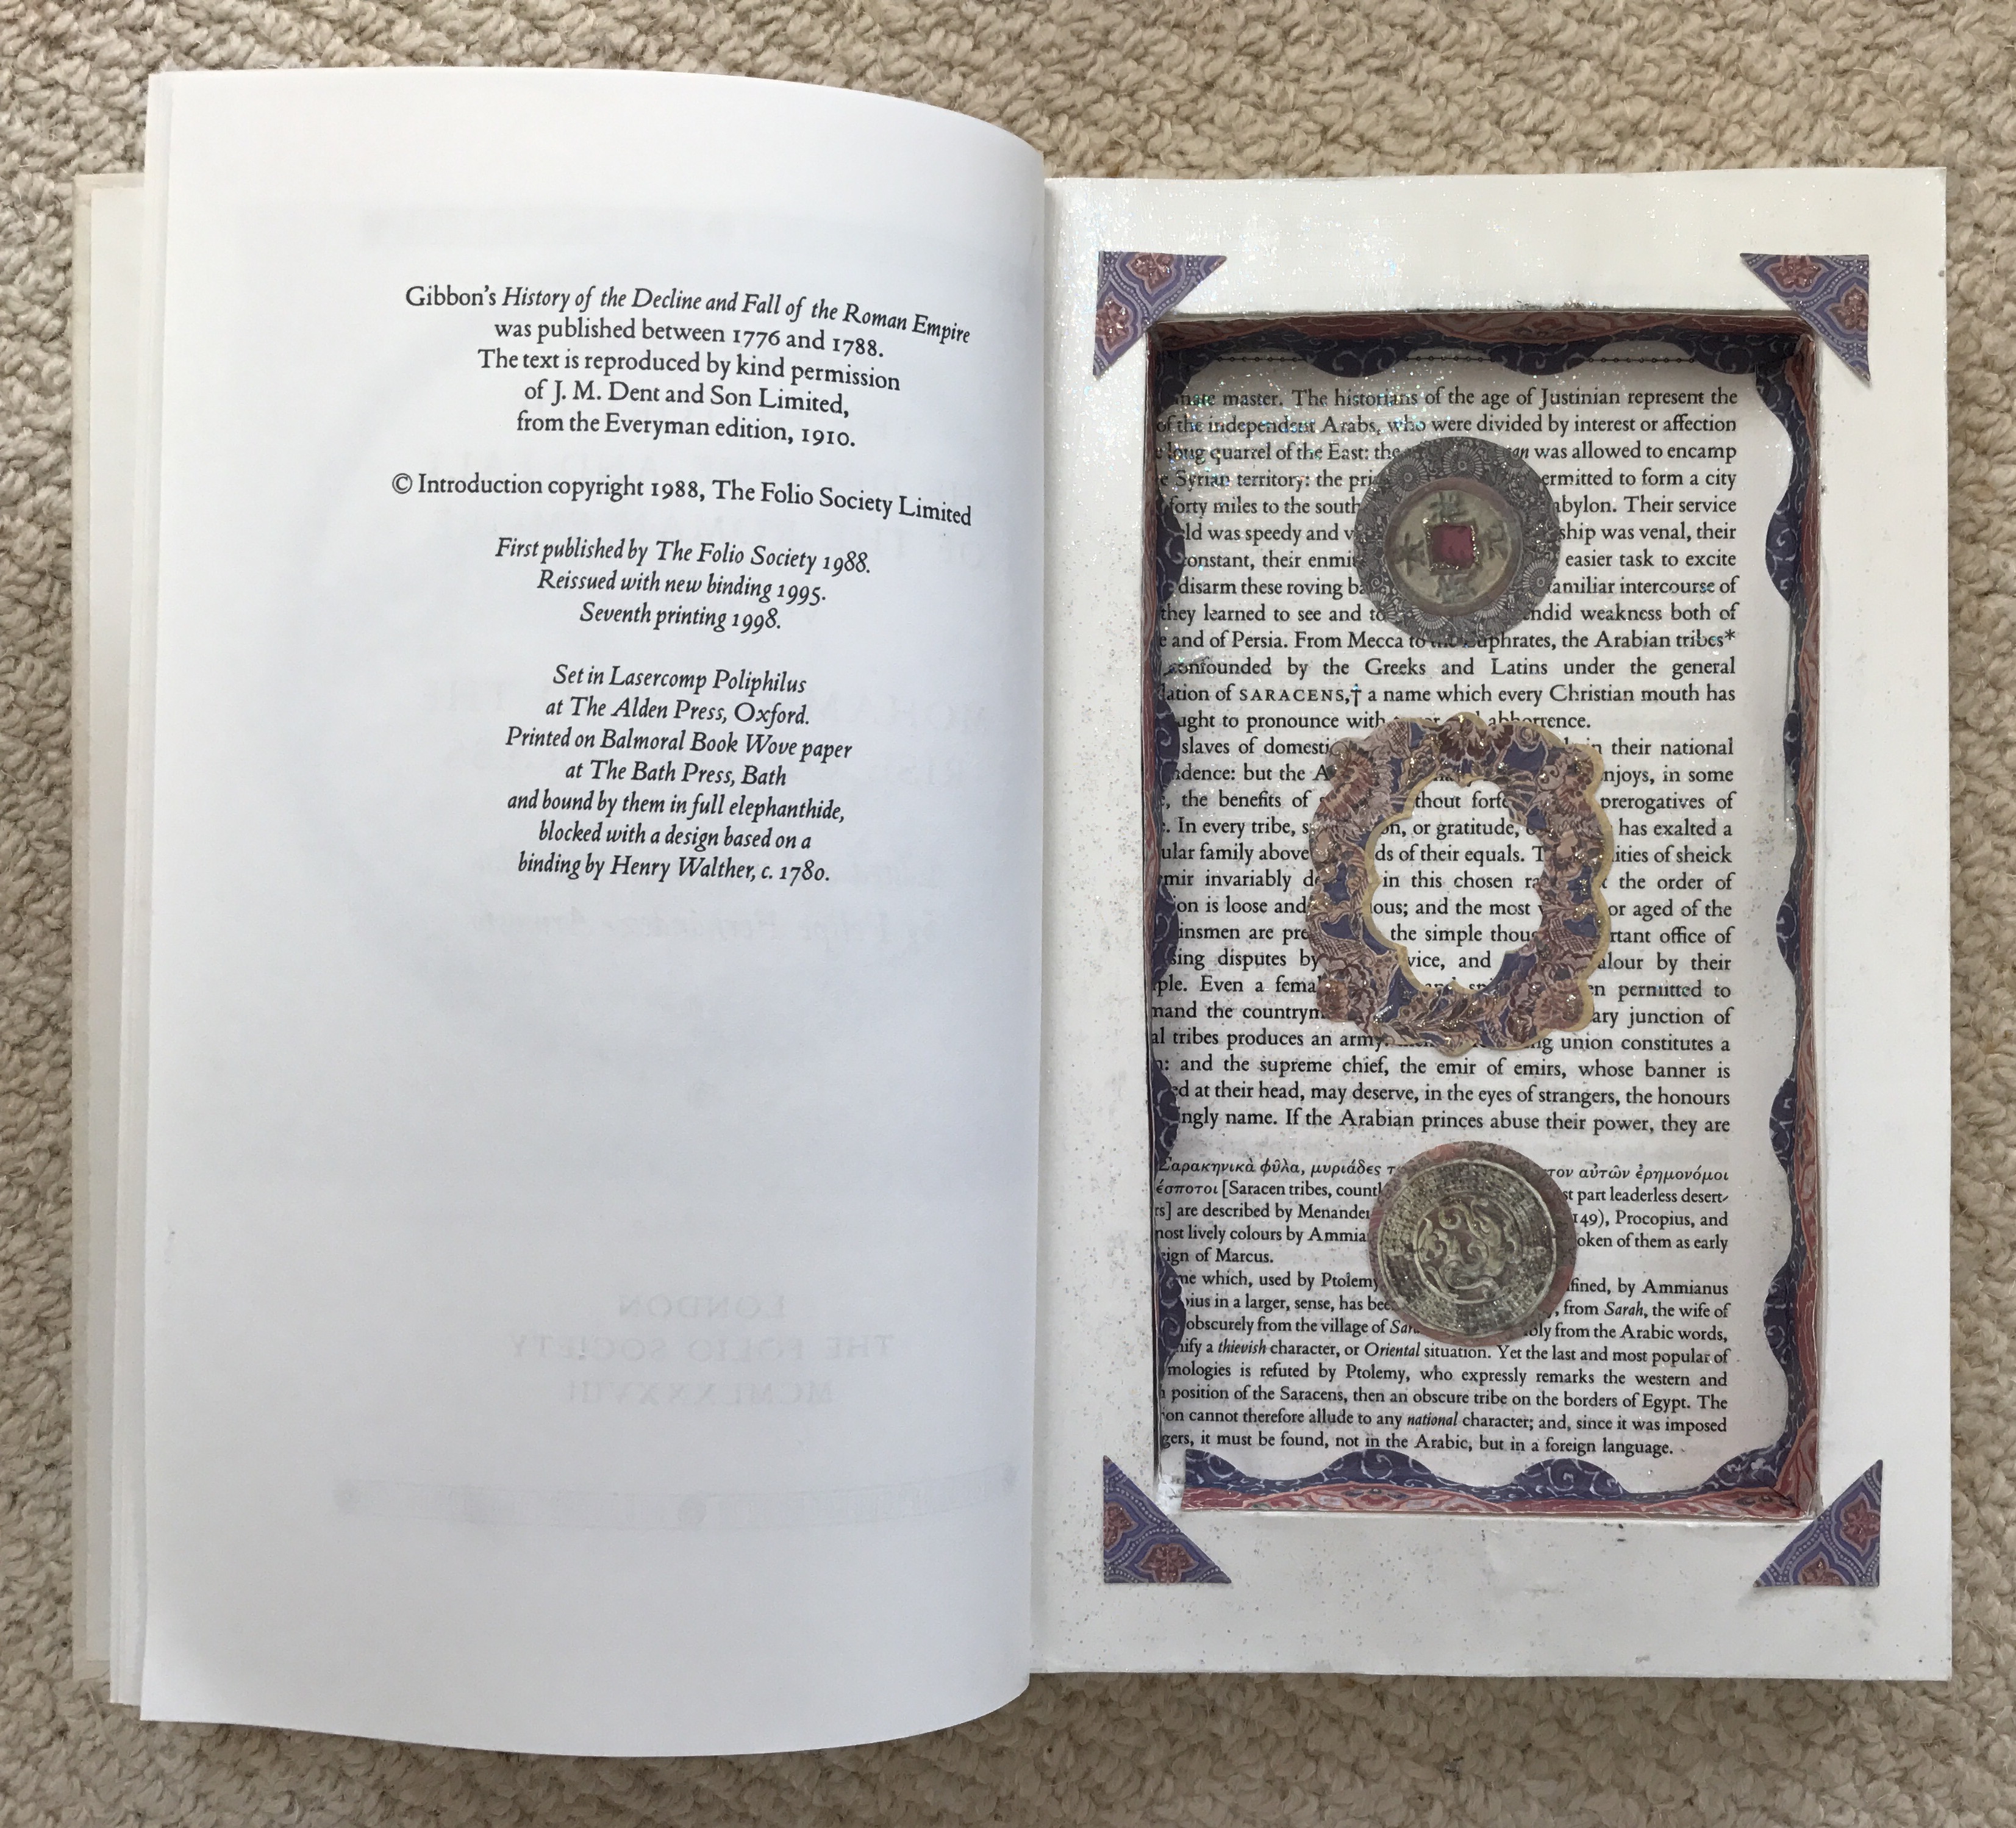
From the outside a boring old book but open it up …

we cut out the centre of pages of volumes of the “history of the decline and fall of the Roman Empire” (2 volumes so far, 6 left in the set) to create a hidden recess to store goodies away from prying eyes

We started by sealing the outside edges with Mod Podge, when it dried a Stanley knife was used to cut out a rectangle starting a few pages in and cutting down through to about three quarters of the way through the book. We then sealed the exposed cut edges with more mod podge

Tips from my crafty assistant: seal the outside of the pages for stability first; cut from the corners out for neatness; don’t make the rectangle too big to weaken the frame left behind.

To finish, the recess was decorated with stickers

I plan to put some chocolate money inside and label the wrapped gift ‘some valuable reading inside’

Up cycle peg bag

scan n cut to decorate my tablecloth to peg bag project

the old oilcloth tablecloth has been taking up space in my fabric pile and all I can think of using it for is peg bags, any ideas?

I used a smallish plastic hanger ( note to self remember to keep hangers when next buying stuff in m&s as stash now depleted) and traced around the width of the hanger on the reverse of my oilcloth. I gave myself a half inch seam allowance and some wriggle room as the oilcloth doesn’t stretch.

The fabric length was cut at one and a half times the planned length of the bag (this gave me the back and folded up to make the bottom of the bag front.  When this piece was cut I folded it in half lengthwise to check it was symmetrical

To get the top front of the bag a separate piece of fabric was cur to match the width and shape of the back piece but length to just more than half of the planned bag size.

I planned the cutting  so the cut pieces finished on the bias bound edge of my tablecloth. This saved a hemming step. (That is why the right edge of my front does a little bend in the picture, I thought it would look stylish, actually it just looks wobbly).

The two pieces were stitched wrong sides together leaving a small gap to put the hanger through. I then Turned them  right sides out and creases were finger smoothed out (even a cool iron melted a prototype).

I cut shapes from external use vinyl on the scan n cut to decorate (and cover the iron damage on my prototype) and trust the project will enjoy a good second life somewhere


No sew appliqué

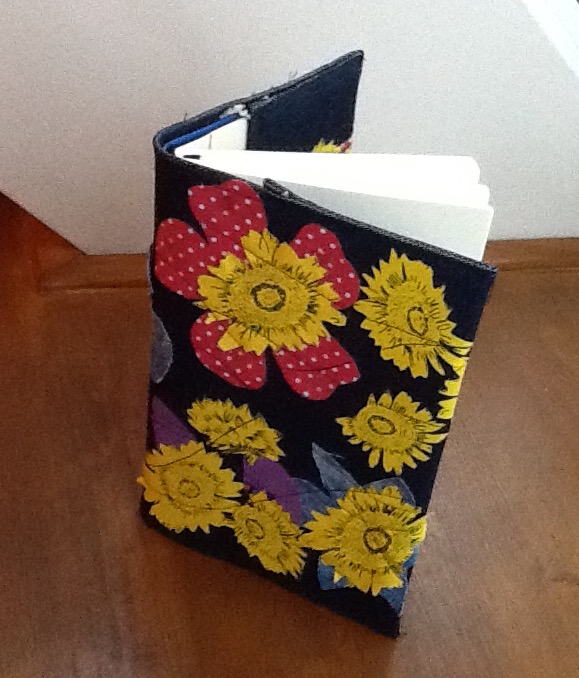
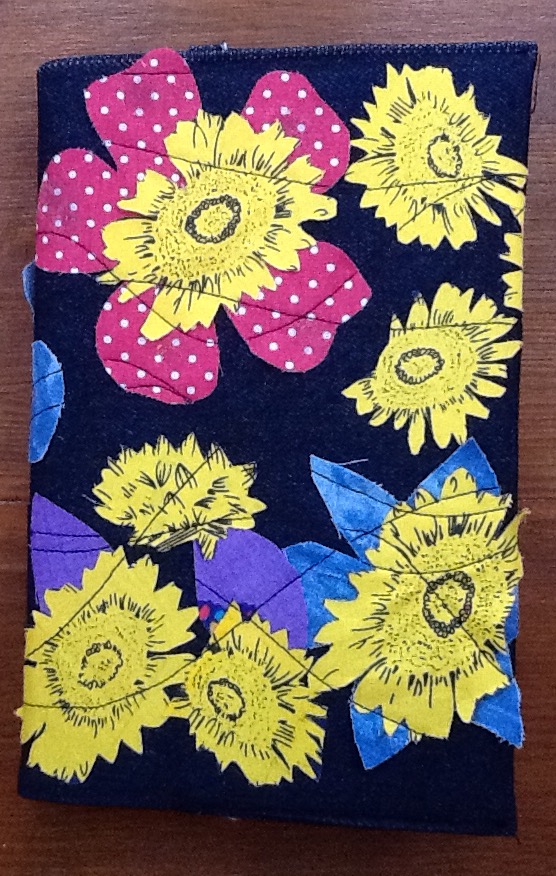
scan n cut with heat and bond made this a doddle

this old pillow sis in the dog basket I made some while back. It needs an upgrade and I wanted to practice my scan n cut fabric cutting technique in it. The pillow and case are standard ones recycled to the dog bed so a bit of no sew appliqué does the upgrade and helps me practise for other projects.

simple instructions

iron heat and bond onto a piece of lightweight cotton. Mine was about 10″ by 6″ , I chose plain black because of the type style bit white on a patterned pillowcase  would work as well

peel off the paper backing and press on the scan n cut mat, set blade to 4, pressure and speed to  4 , let the machine cut out the design then peel fabric from the sheet

position the design on the ironed pillowcase, I used a ruler to line the letters up – I forgot I have some transfer tape to try out

when in desired position, cover with a cloth and hot iron to seal in place

Paper flowers in a woolly vase

Wet day and the window ledge needed cheering up, so a vase of flowers was created without stepping outside

Six pinwheel flowers were cut on the scan n cut with BBQ matches for stalks and buttons for centres. I used blue themed floral  papers to match the ‘vase’ (and my mood as the rain seemed endless)

The vase was a can found from recycling with a ball of wool wrapped round it. Most wraps were made round the middle to give a rounded shape and a few strands of contrast wool wrapped around the top and tied in a bow for decoration

The can was filled with out of date dried pasta shapes (mini alphabets) so I could spread the stalks outside

Maybe a few leaves would finish this off?

Crazy quilt

A stash buster built on the base of an IKEA throw, using crazy quilt 9 inch blocks

I cut wonky hexagons as the scentre of each block and added strips, working my way round the sides of the hexagon until it was about  9 inches square, then trimmed it against a 9 inch card template to be accurate

blocks were sewn into strips and then directly on to to the throw base until it was covered

where there were gaps or tears- I made a few mistakes!- I added ribbon or ric rac or just did a line of decorative stitching over it

ikea fleece is brilliant and a cream coloured bobbin thread is invisible on the finished item

this truly is crazy as it combines all sorts of materials,  doesn’t have a backing, frame or proper quilt finish I just seamed ribbon along two edges and hemmed with a zig zag elsewhere

never going to be a quilter but loved doing this …. if I forget how long it took I might even do another one!

Mixed media clock

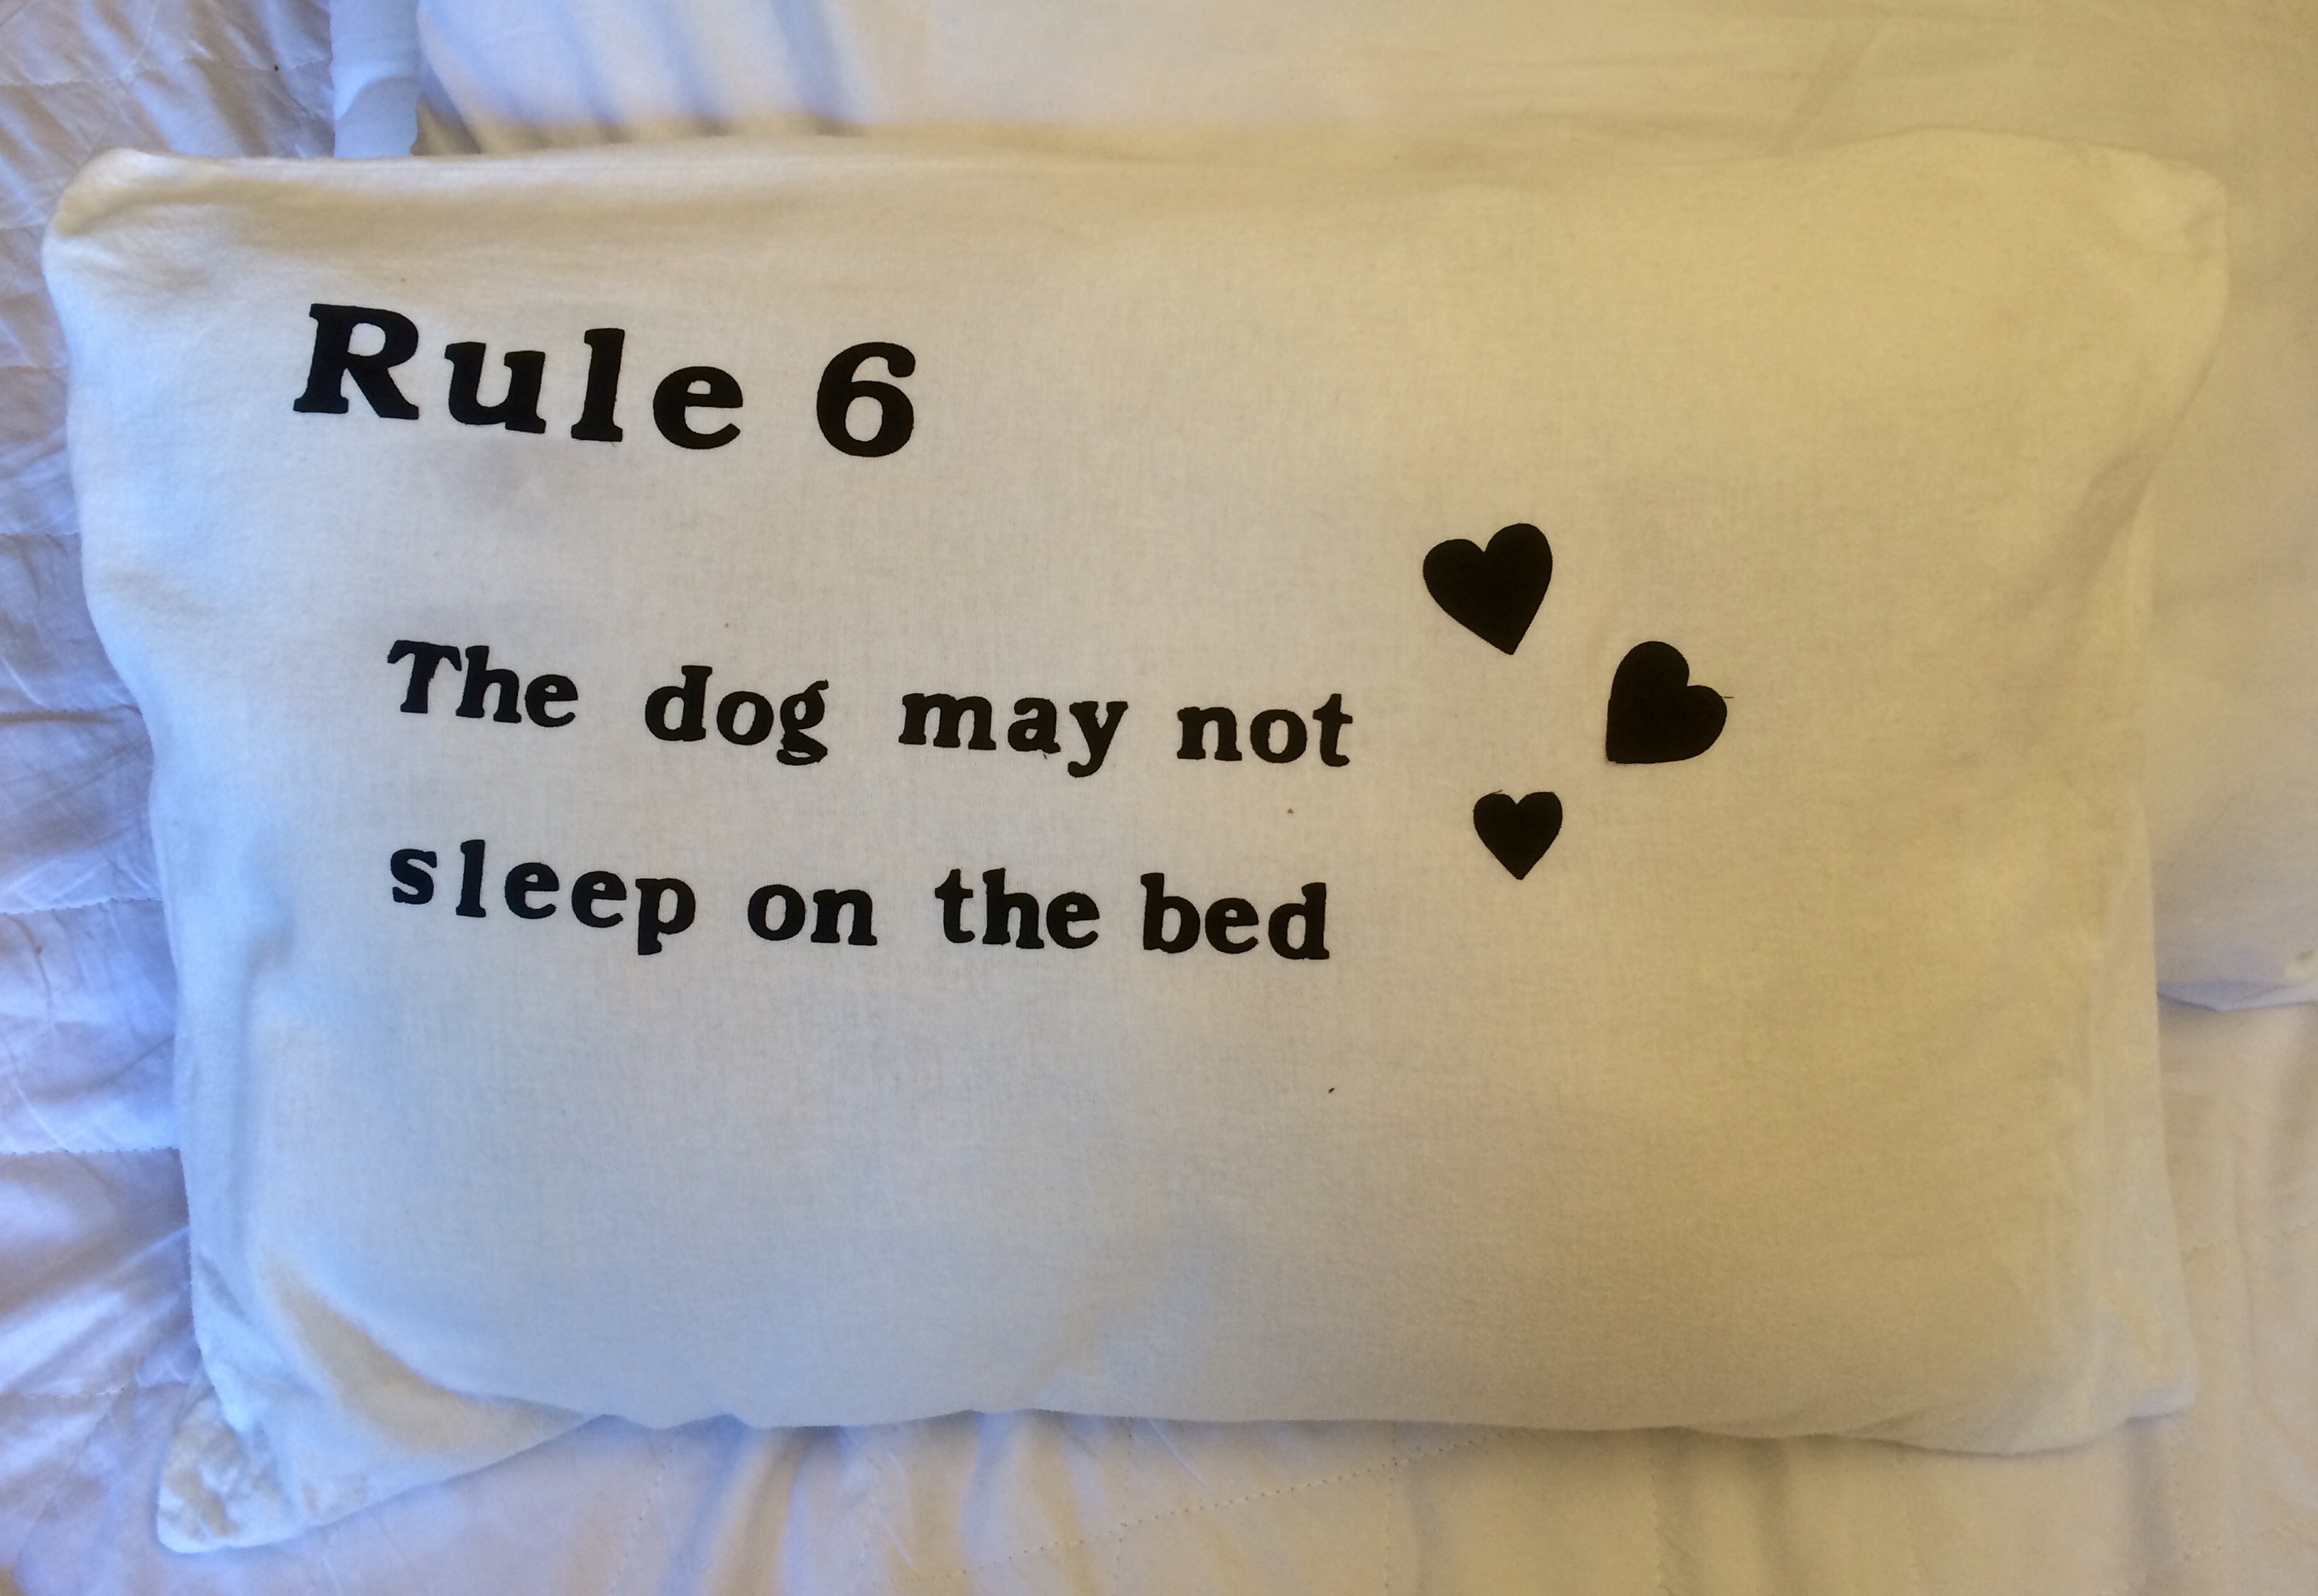
A first and probably last as it turned out too girly

but then I am using up stash and have a little girl in mind as recipient …

found a stretched canvas in the project drawer and sealed it with mod podge glitter before mounting the clock mechanism on the frame so the hands project beyond the edges – the effect I wanted and the frame bears the weight of the mechanism, but means it has to be wall mounted

I covered the edges of the canvas with ribbon for a frame effect, then went to town with donated feathers, leaves, sequins and die cuts around a quote I have had in mind for ages – which further reduces the peel off letters pile.

although I bought the mechanism – intended for a repair of another clock, but didn’t fit – and must have bought the canvas, this is a use it up or throw it out project

#crafter’s satisfaction


Cutting fabric on the scan n cut

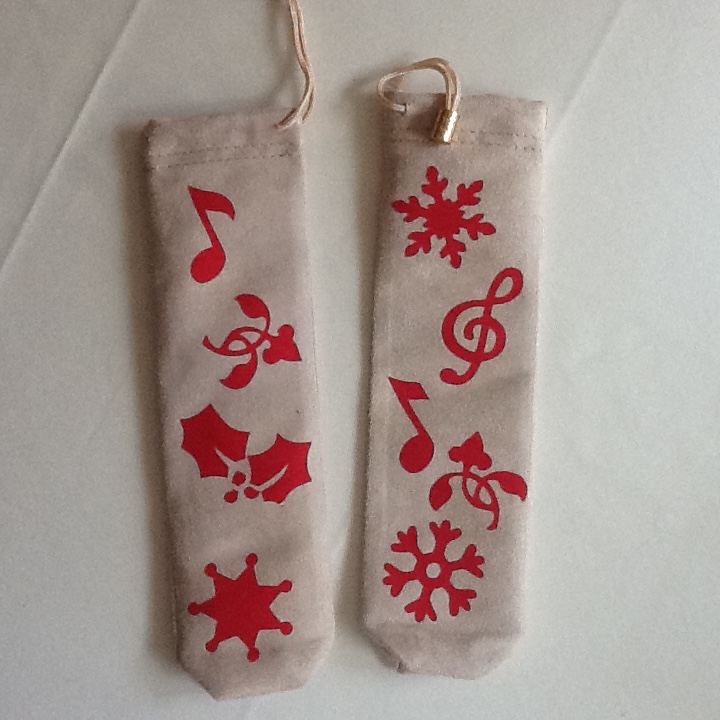
I have struggled to get the settings right, but may finally have sorted fabric cutting on  the scan n cut

cut speed four, blade four, pressure four on light cotton that has had heat n bond or bondaweb fused on the back and the paper peeled off i.e. stuck wrong side down directly on the mat

the fabric peeled easily off from the mat and was just ironed on to the suedette drawstring bag: hot iron- no steam and with an ironing cloth for protection

so here I have decorated some glasses bags in a festive style so they can be given another life as gift bags later this year