bathroom bandana

image

I briught back two pretty ikea fleeces from Anna and VIlle’s wedding with the promise of transforming them

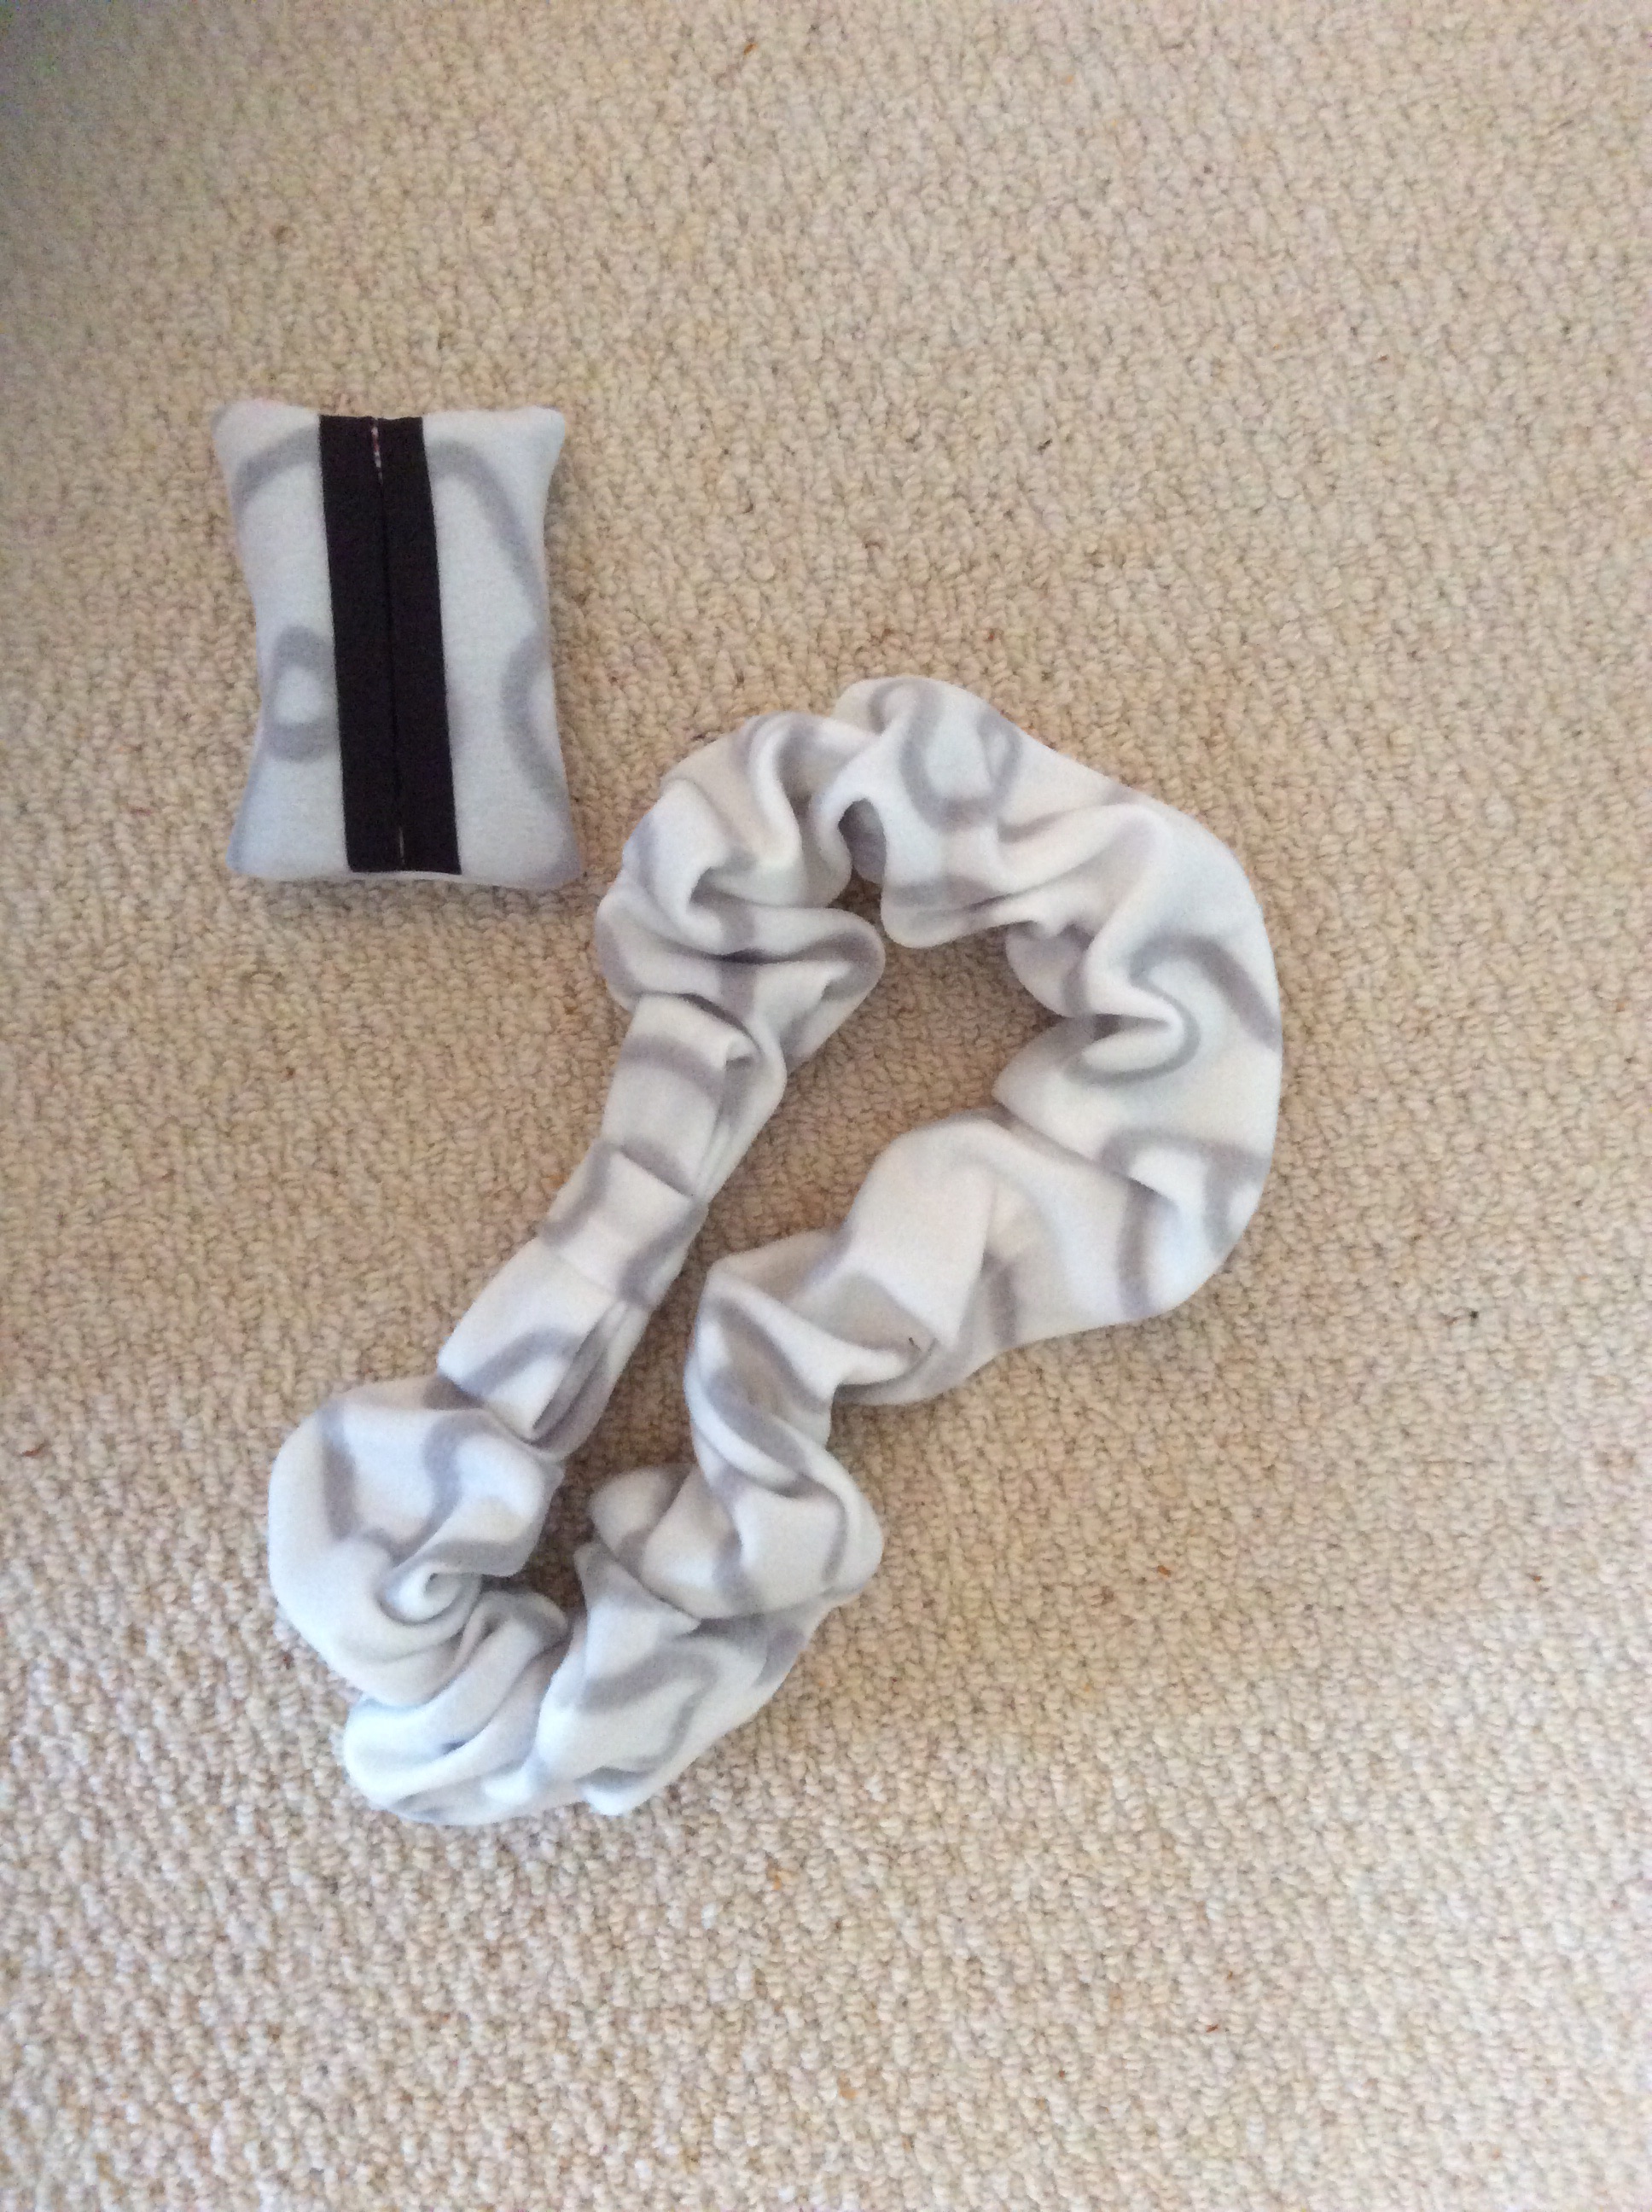
so far, tissue holder from previous pattern

and new

bathroom bandana- keeps your fringe off your face for a face pack

Elastic that is one or two inches wide cut  one inch longer than the snug circumference of your head

strip of fleece six inches wide and double the length of the elsstic

For the bow, strip of fleece four inches wide eight inches long And a strip of fleece two inches wide four inches long

sew each fleece strip into long tube using straight stitch and narrow seam, turn each tube to hide the seam

thread elastic through the long tube and , keeping the fleece edges away from the needle, zig zag the one inch overlap to form a circlet, slide one end of the fleece tube inside the other then zig zag the overlap closed, try to centre the elastic in the tube and go slowly as it is bulky

fold the edges of the next size tube in half to create a bow shape with the raw edges facing the overlap raw edge of the circlet, tack in place, wrap the little tube tightly over this and straight stitch the back to fasten it all and finish the bow

Up cycled phone cover

image imageI loved my fabric phone cover but it did look tatty so I gave in and bought another (only a cheapo one though as I am going to craft that too) while I played with my old favourite.

so simple:

fabric larger than the cover when unfolded

mod podge , classic not even fabric one

sharp scissors and a biro

Unfold the cover and lay it as flat as possible over the wrong side of he fabric then trace around the edge and mark through the holes (3 on the iphone)

remove the leather trim or embellishment from the old cover so there is a flat surface

cut out the fabric leaving a generous border for now and trim out the lens hole etc fairly neatly but under rather than over cut

coat the old cover with a layer of mod podge then smooth the new fabric in place. Start by positioning the lens holes and the rest can be stroked in place. Add a couple more coats of mod podge -letting it dry between coats. When the fabric feels papery trim the edges more precisely and neaten up the lens holes by rubbing the point of a crochet hook or similar inside them

fold and unfold the cover a couple of times to check the fabric gives and maybe let the glue cure a day or so before you use it

i will let you know how durable this is, but have plenty of scraps to do a refit next time

Decoupage canister

image

A canister too nice to throw away but bearing branded copy needed playtime.

Ordinary craft paper (Docrafts floral collection) was stuck with mod podge gloss decoupage stuff and then sealed with it too. To cover some untidy cutting on the lid, I stuck on the ott fringe.

Now just need to decide what to store in it.

Upcycled coasters

The drinks coasters were looking a bit sad, after years of (over) use they needed replacing or refreshing…

I was feeling guilty after a craft supplies binge so this is a no spend craft session

Supplies: modpodge decoupage glue and a strip of wallpaper from the wrapping box (I buy the remnant rolls from time to time) plus some gold pigment ink from my stamping box

method: cut wallpaper to just a bit bigger than needed. Matt modpodge on paper and coaster then rub carefully on, when nearly dry turn coaster over and trim excess paper with a scalpel, care round the corners. Rub the ink pad around the edge of the coaster top to blend it in with the gilt sides. Let ink dry then seal with gloss modpodge.

cheers!


Stud earring display frame

imageA companion for the framed burlap holder I use for hoop earrings. This works for studs or earrings with butterfly backs. If only rarely to be used (how many earrings do I own?!)  could be wall hung but for ease of access to the back this sits on an easel. I used strips of docrafts craft paper sealed with modpodge to pretty up my old frame.

image

method: remove glass and backing from frame. If necessary decorate the front of the frame with papers or ribbons or paint or … Cut a piece of aida cross stitch canvas a bit bigger than the aperture of your frame .  Stick to the back of the frame pulling the fabric taut as you go.  If gifting cover the back of the frame to cover your work. Job done,

Double oven mitts, again from jeans

image imagea freestyle project using ‘jolly molly’ double oven mitts as a template.

layer outer canvas, insulbright, batting, outer canvas and jeans back pockets over the template made from old mitts. Baste around the edge then fix bias binding to seal the edges.

Don’t look too closely at the binding, next time I will hand stitch the second side as I found it tough to stitch in the ditch.