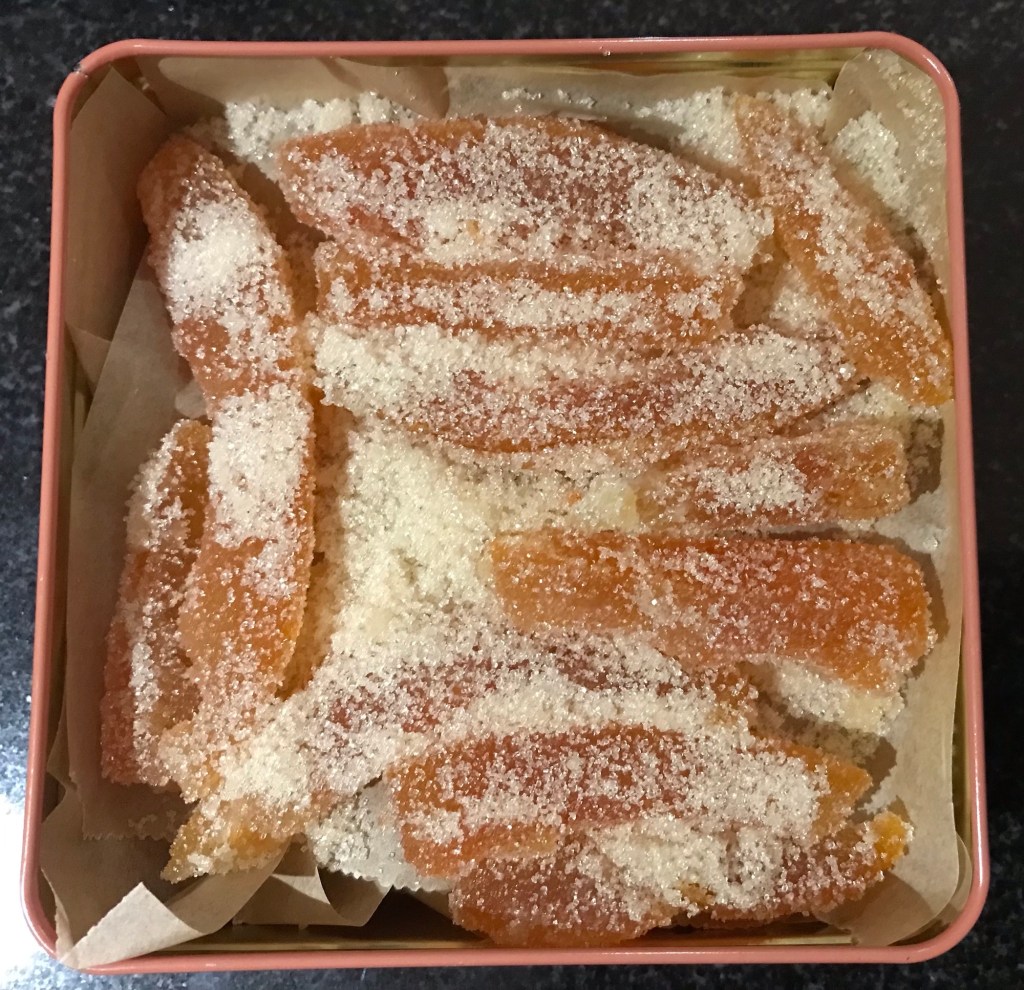
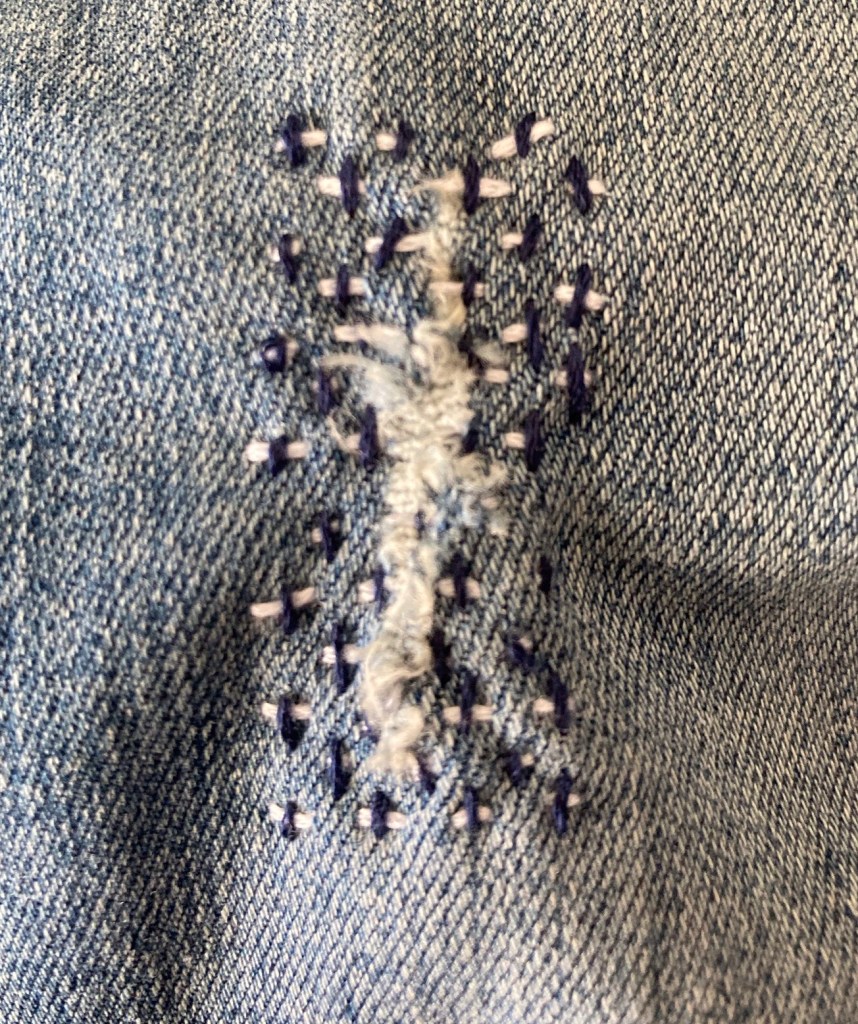
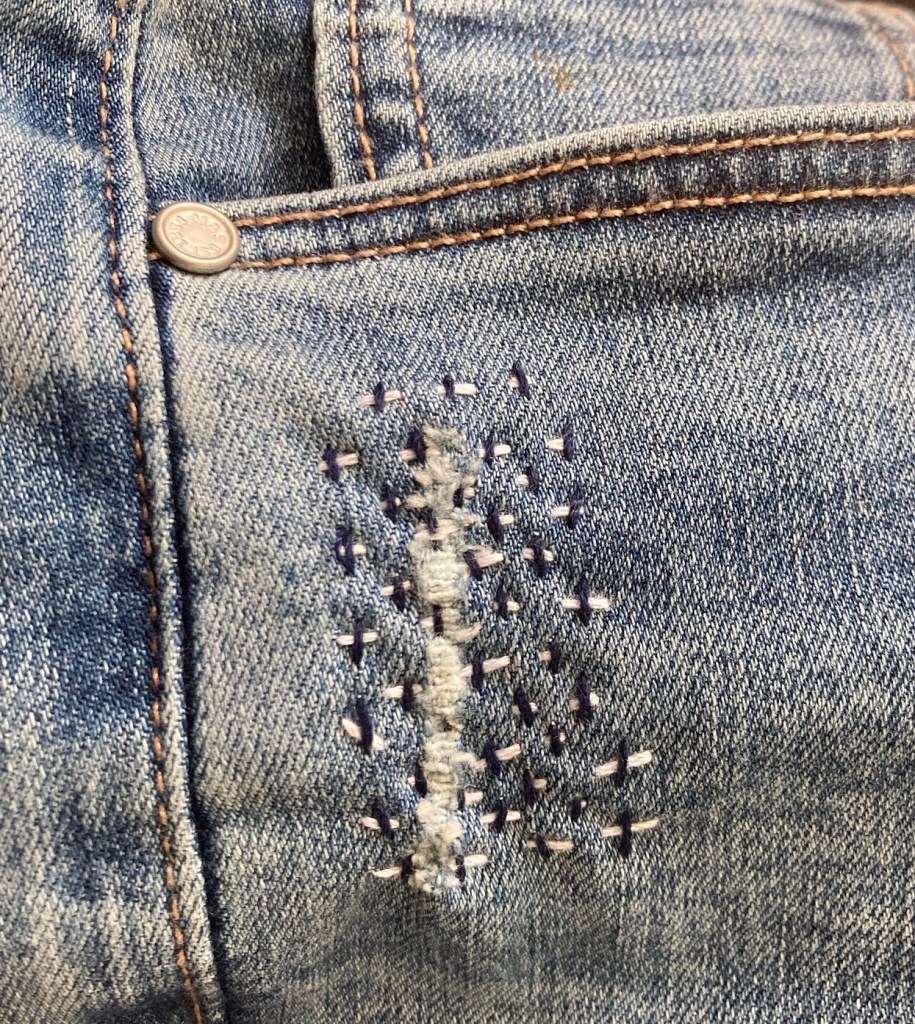
After using the fruit as you wish (in my case grapefruit vodka), the peel of a grapefruit is sliced and boiled in water for 3 minutes.
The water is dumped and replaced with clean cold water, the peels are boiled for another 3 minutes, water replaced and boiled for another 3 minutes before once again dumping the water.
The peels are then covered with just enough fresh water and a similar volume of sugar is added. This mixture is simmered until the water evaporates, about 40 minutes for me.
The sticky peels are then tossed in sugar and left to dry before storing in a tin.
Tart and sweet, surprisingly tender. Will be interesting to see if they harden further in the days to come, if they last that long!
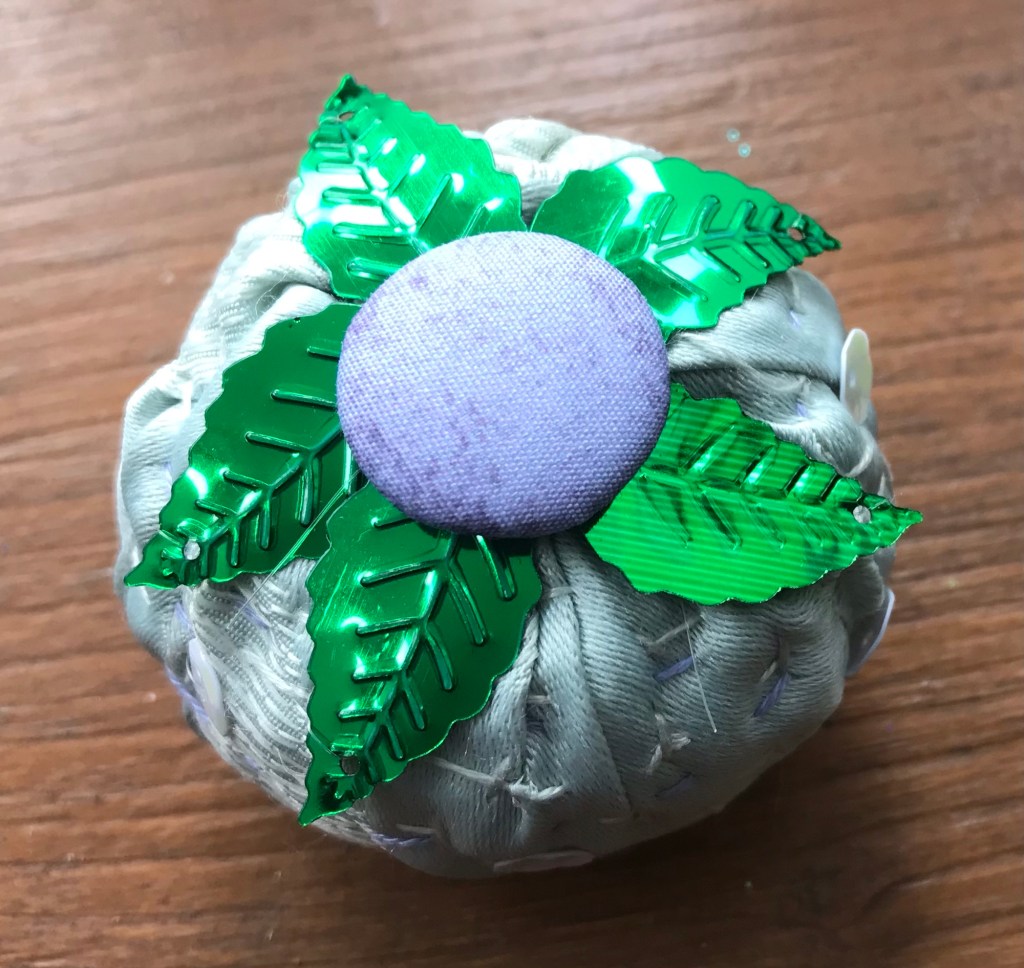
Apparently a traditional definition of prosperity in northern India was the ownership of a flock of hens. So hanging this type of decorative garland suggests prosperity to the homeowner.
Each chicken is a square of cotton folded to a triangle with beak and tail feathers sewn in. I followed a YouTube tutorial from Pincutsew which was very clear.
My triangles were 4 inches square and I stuffed mine with lavender as well as fibre, so they can roost in a wardrobe if not on display.
My beaks were felt and I added sequins for eyes to pretty things up.
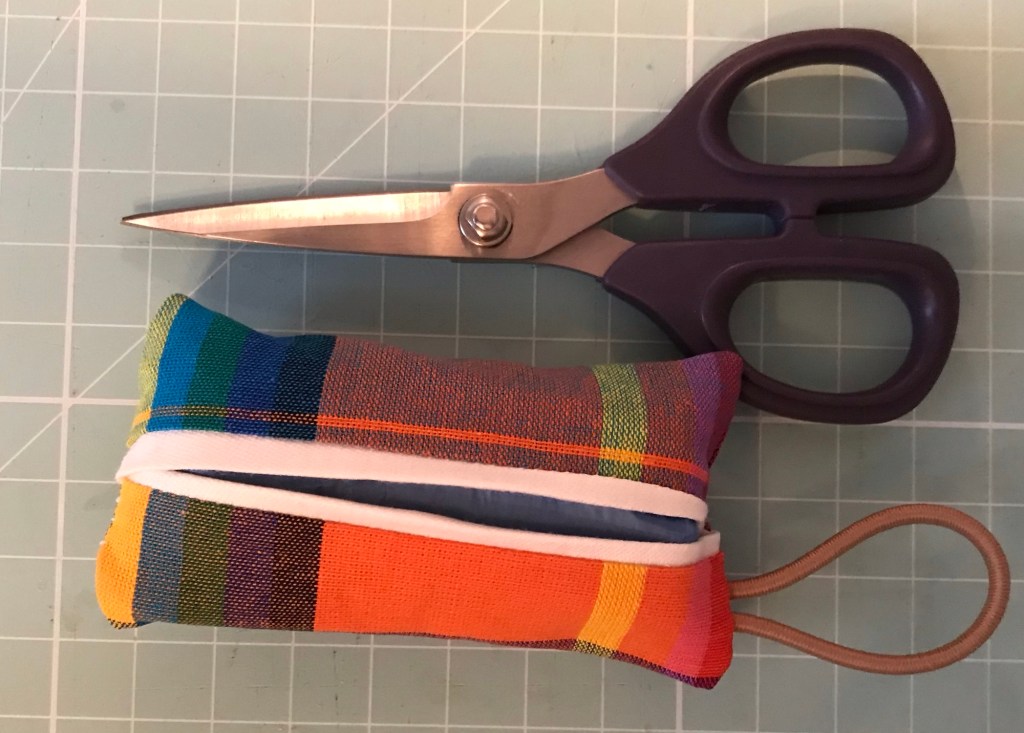
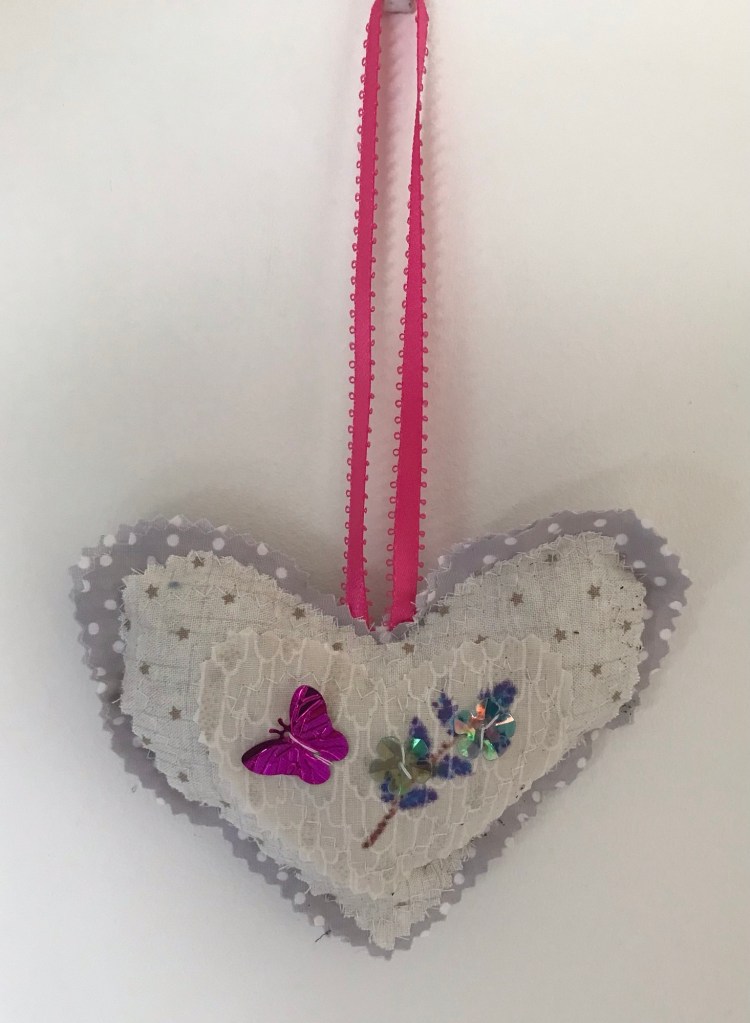
The quick way to make lavender bags is to cut the bag shape with pinking shears and with right sides out, stitch round the outline leaving only a stuffing gap.
Here I layer some decoration on the front (two layers of hearts sewn on, a fabric pen floral and some decorative sequins) and sandwich in a ribbon loop before stitching and stuffing. I use a zig zag on 2.5 width to echo the pinked edging and keep the rustic look.
I use a combination of fibre and lavender to get a plumpness but it means I still have plenty of lavender left.
As everything is donated or thrifted and we grew the lavender this is a truly frugal craft.
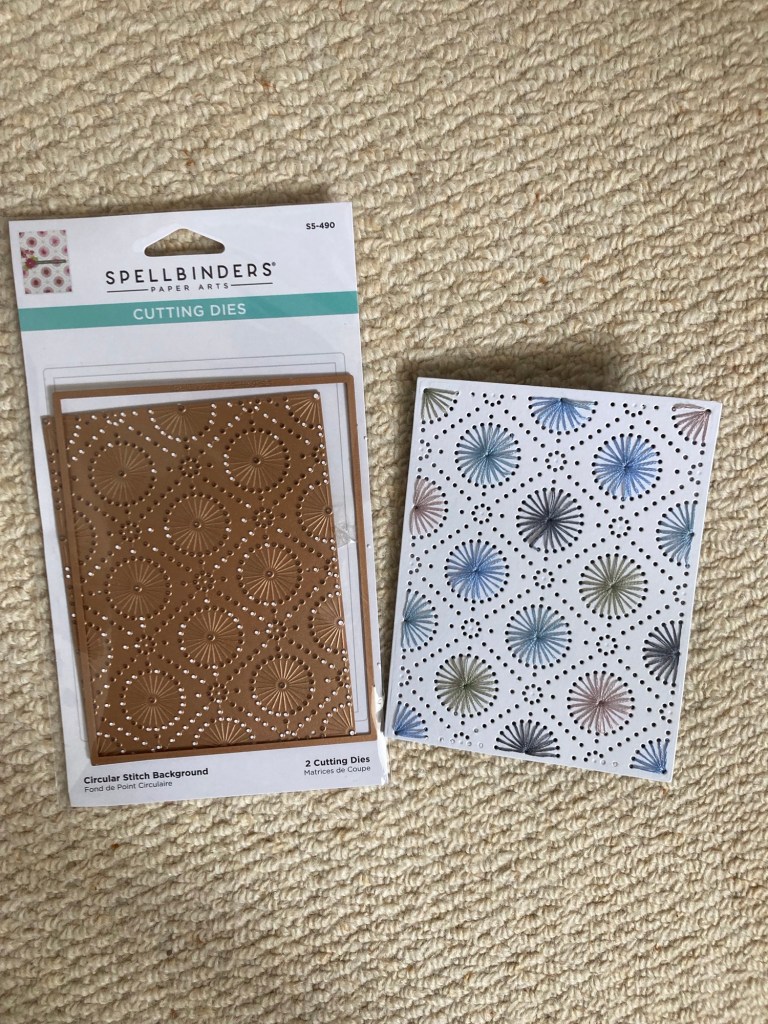
I have had a background die on my wish list for a while so combined two ‘wants’ with this stitching die that doesn’t have to be stitched.
You have to believe the recipient will appreciate the effort that went into stitching this front but it is simple provided the card quality stands up to the stitching ie the holes don’t tear.
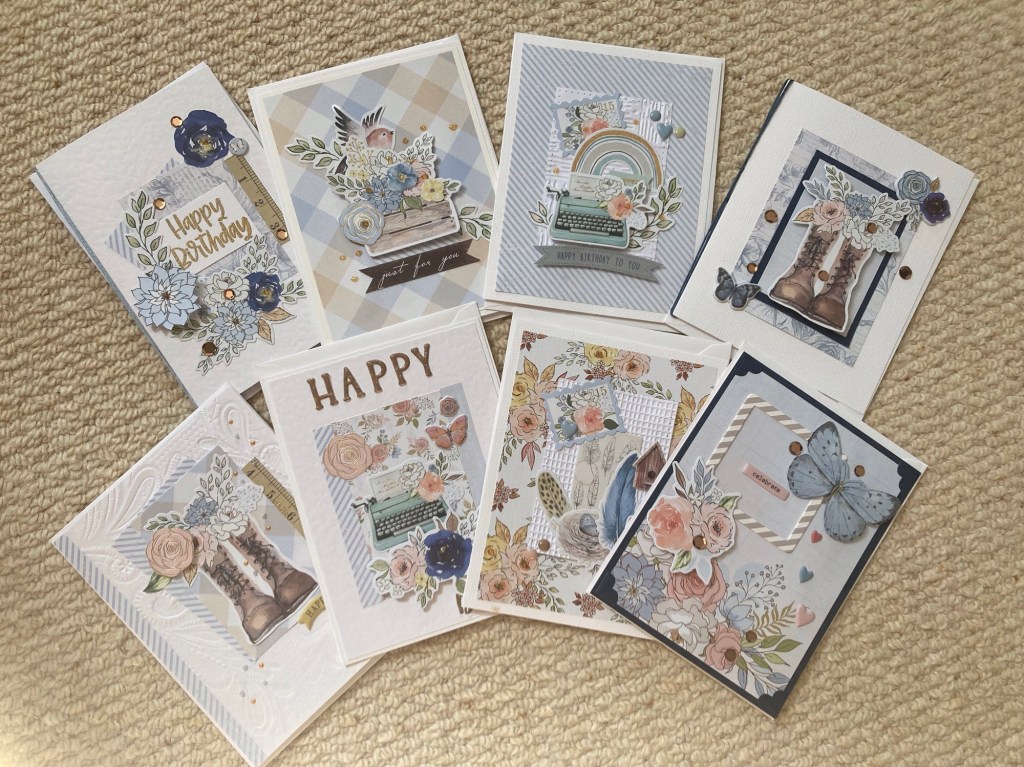
My no buy papercraft resolution dissolved in the face of a spellbinders sale so I had to try and use some of the supplies crowding in to my craft room.
I decided to stick with one of the past monthly kits that I ordered to work outside my comfort zone and create some multi purpose cards.
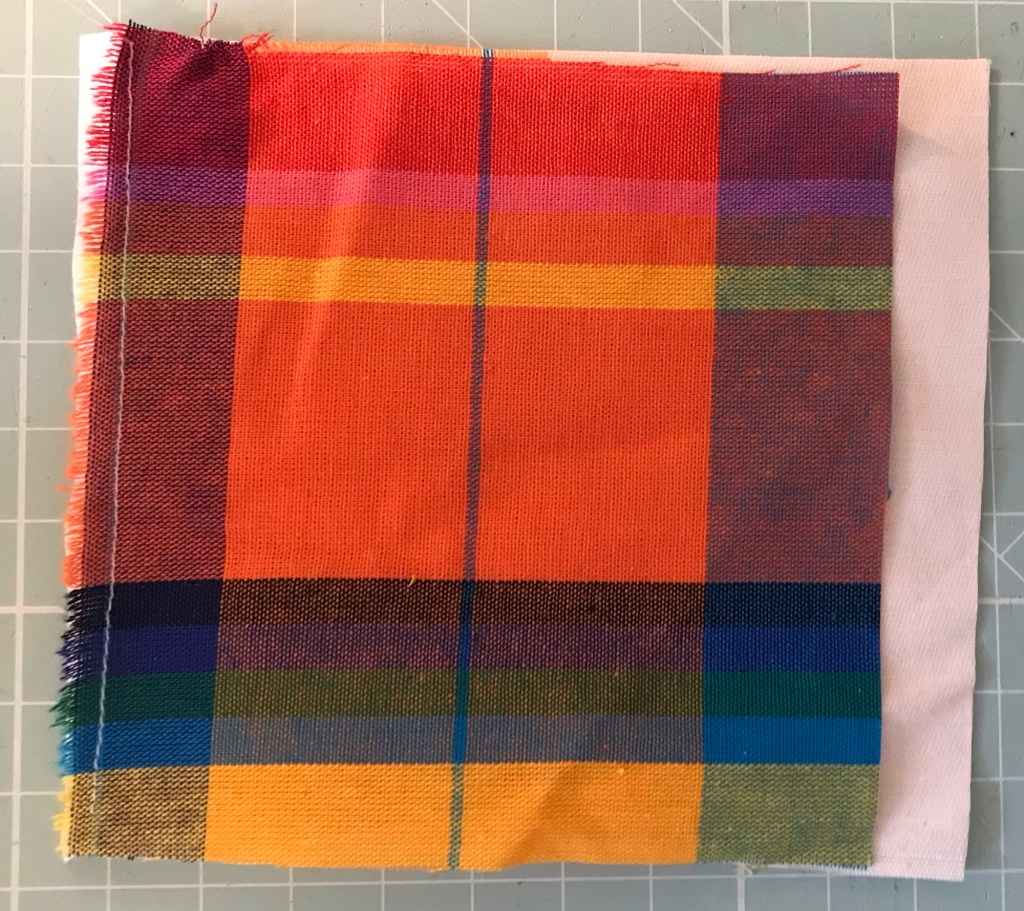
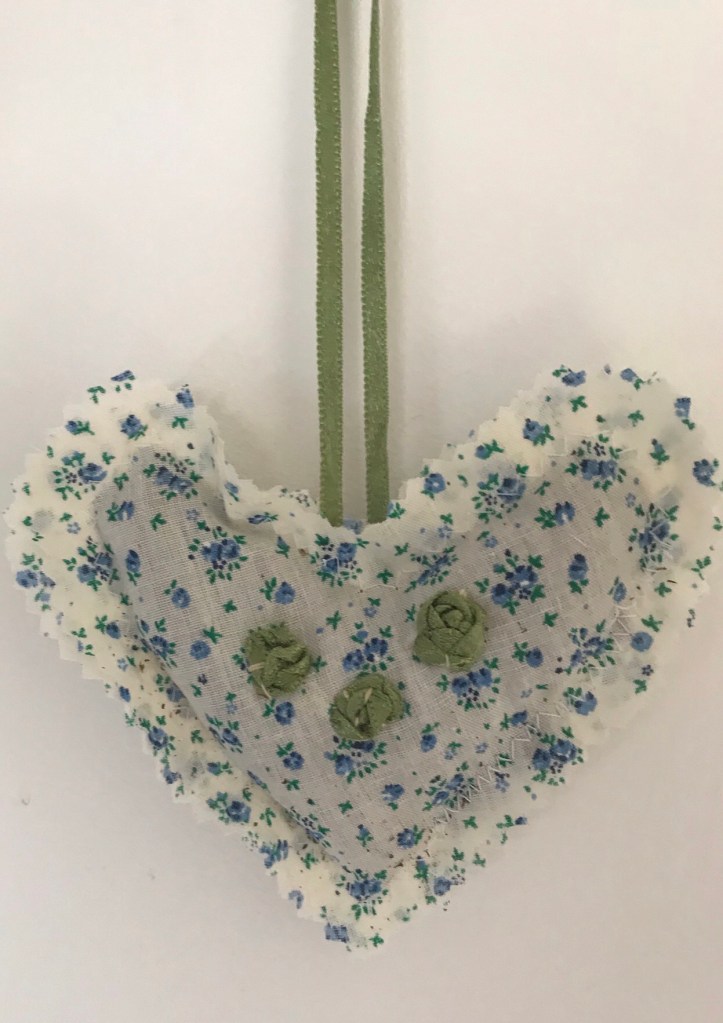
I am making lots of lavender bags this week… they are all heart shaped using layers of scrap fabric but this one has little ribbon roses on it in place of the ‘usual’ sequins or drawn florals.
Rather than the proper silk I am using the satin ribbons that come with new blouses which makes for a tougher sew but is a good experiment for me.
Following a Sarah Homfrey embroidery tutorial I sewed five spokes of an imaginary wheel for each flower then just wove the ribbon over and under the spokes until the flower looked full enough.
Here I used contrasting cream thread for the spokes which are still just visible.
Must try some of her other ideas for ribbon flowers, these are great!