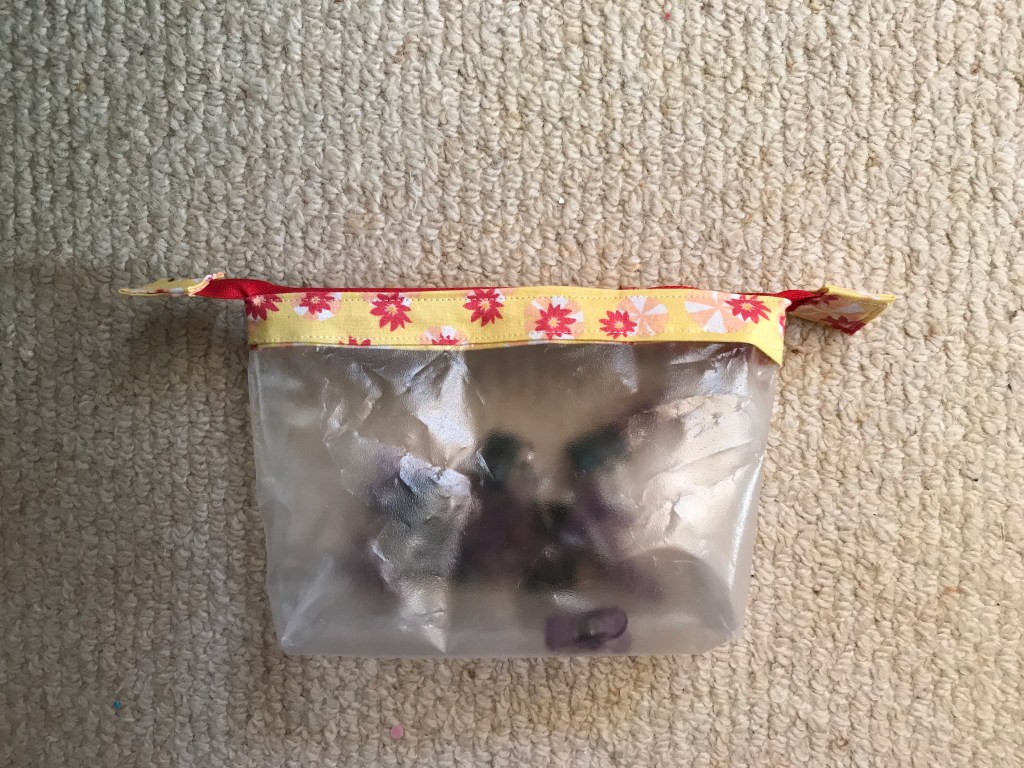
Well, my vinyl isn’t quite up to regular bag usage being a bit flimsy, but I am glad I tried this tutorial, if only to finally master the zip tabs.

Well, my vinyl isn’t quite up to regular bag usage being a bit flimsy, but I am glad I tried this tutorial, if only to finally master the zip tabs.
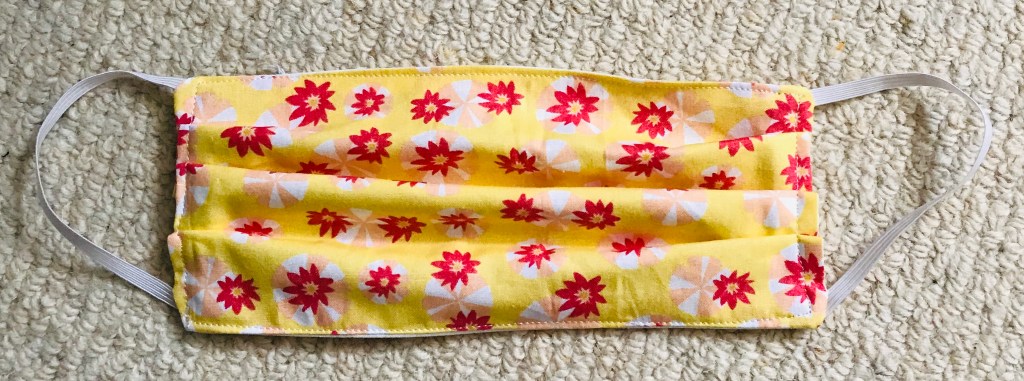
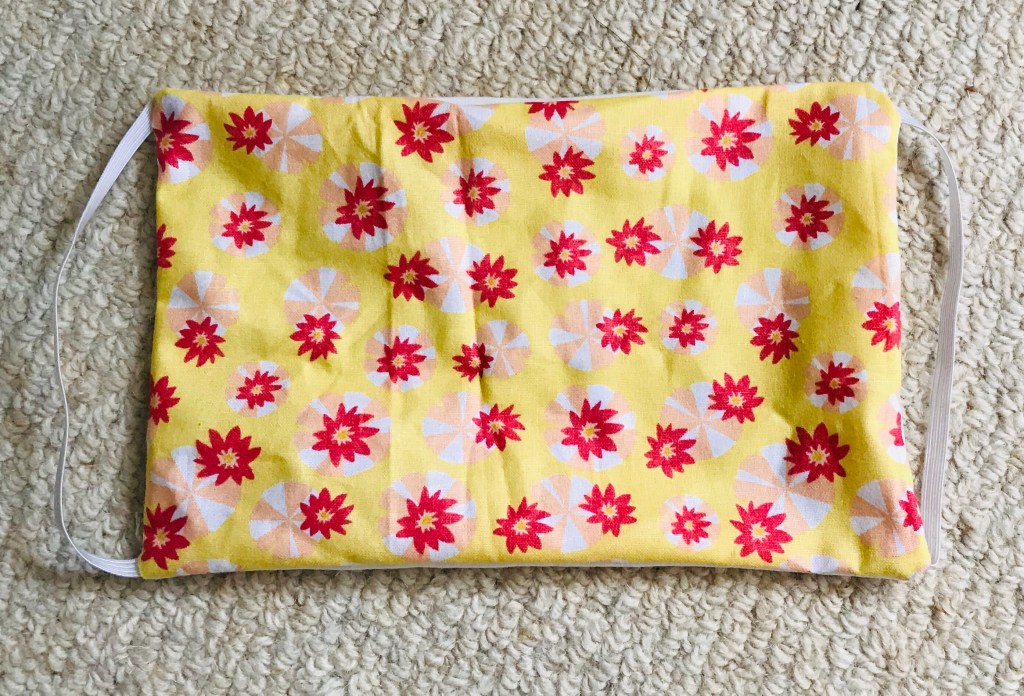
Just in case you want to break a face touching habit or deal with a short trip out… adult size requires two pieces 9” x 6” fabric and two 7” pieces of skinny elastic
Update June 2020: I now interface one of the pieces of fabric to provide three layers and give a bit more structure …
To make: put the fabric pretty sides facing and sandwich the elastics inside with the ends poking out from the corners . Leave a 3” gap and stitch around the rest of the edge with a straight stitch. You don’t have to be too precise about seams as long as you sew over the ends of the elastic and keep the rest of the elastic well tucked inside.
Turn right sides out and then pin tucks roughly equal on each side. Three each side should do it.
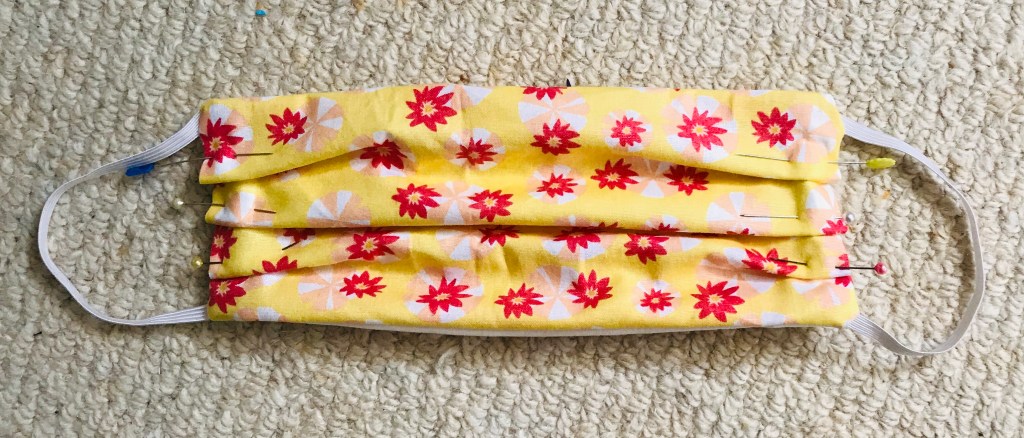
Finally top stitch all the the way around to close the turn8ng gap and fix the tucks. You are done!
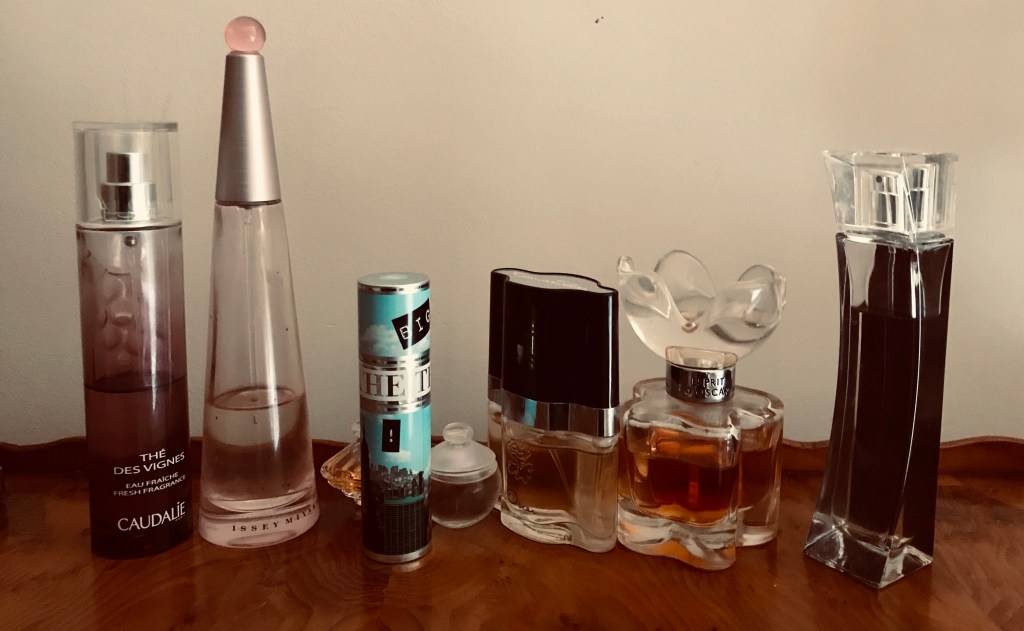
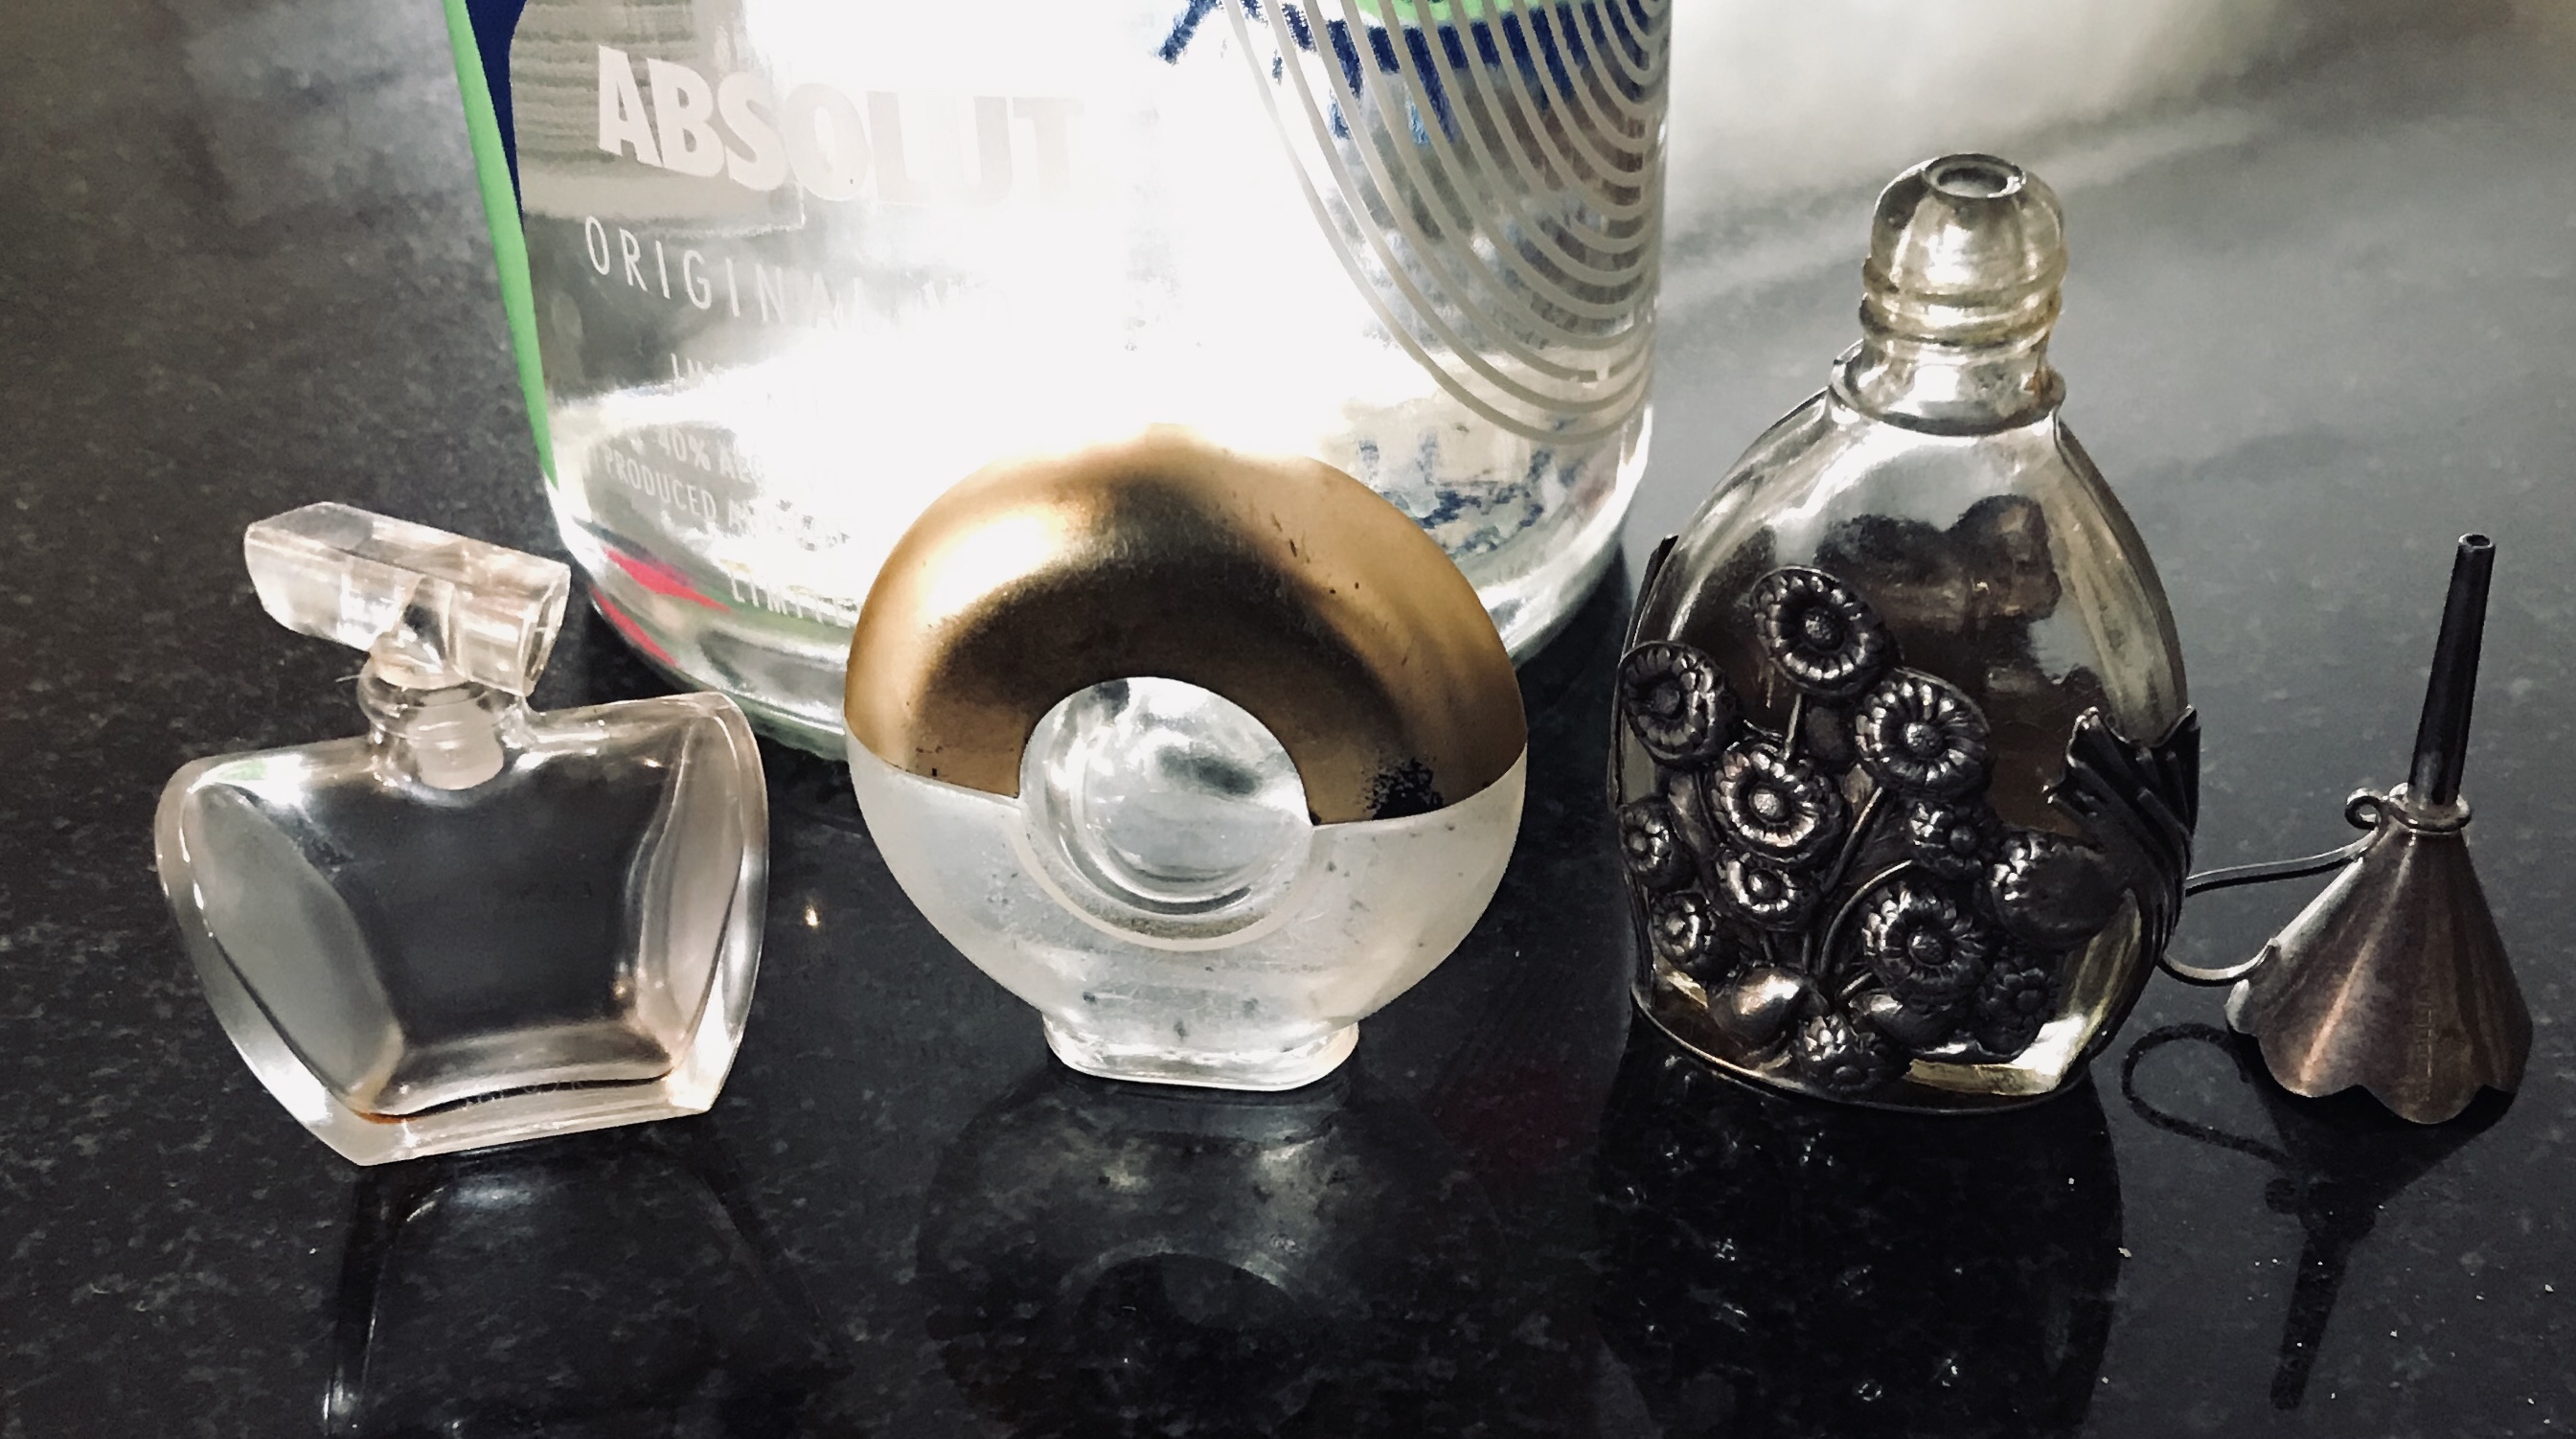
My current use it or lose it challenge is to wear perfume every day and finish some of the less loved scents . But now I reckon I only have enough to last me until October!!! So a little scented craftiness is today’s project.
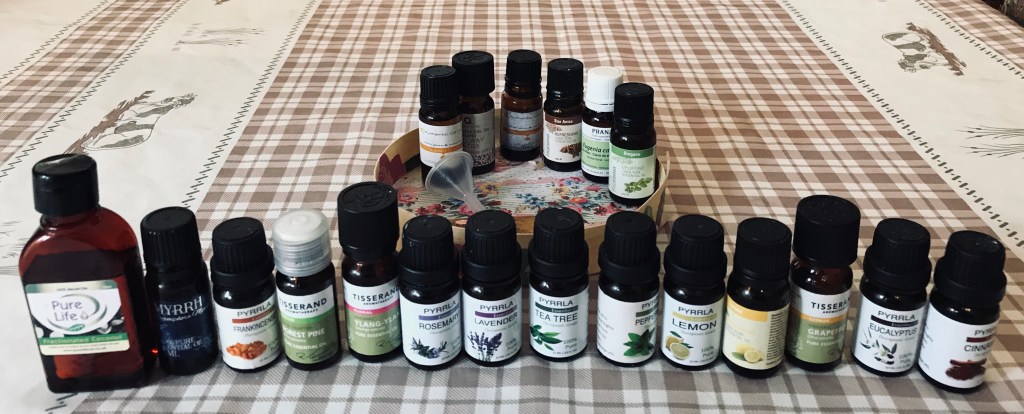
I will be refilling some of the tiny bottles I have recently emptied with essential oil blends using a recipe ‘collaged’ from various sites
Apparently it takes a few weeks for the blend to meld so I will report back later.
A properly edited version this time… click to watch in You Tube


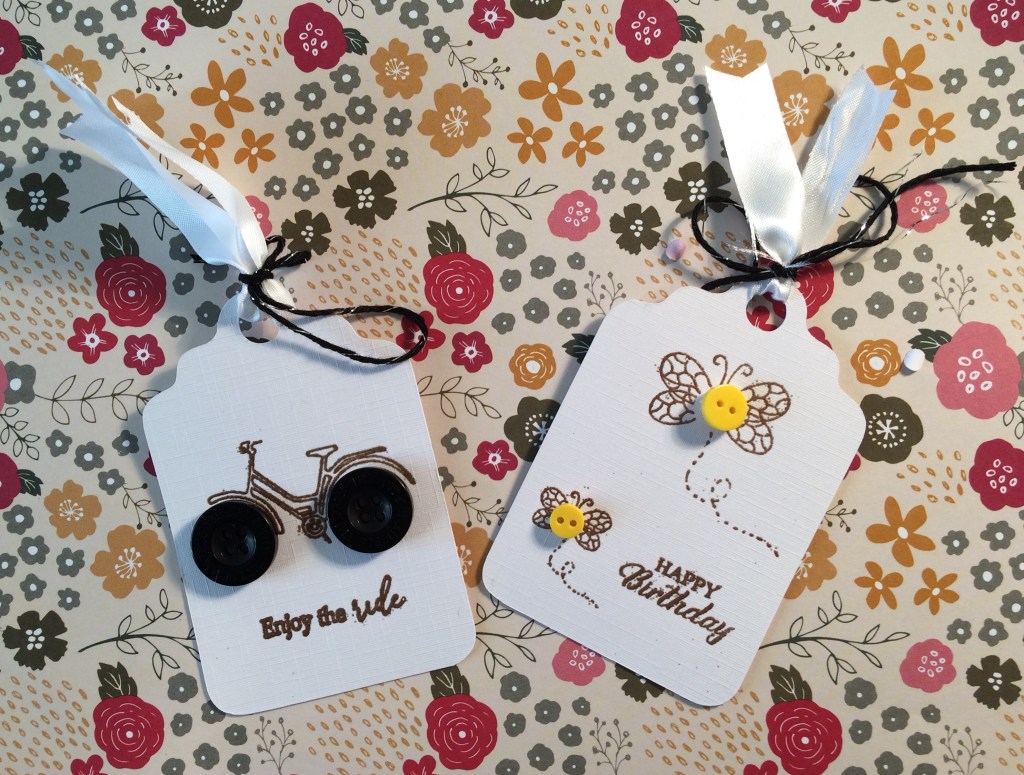
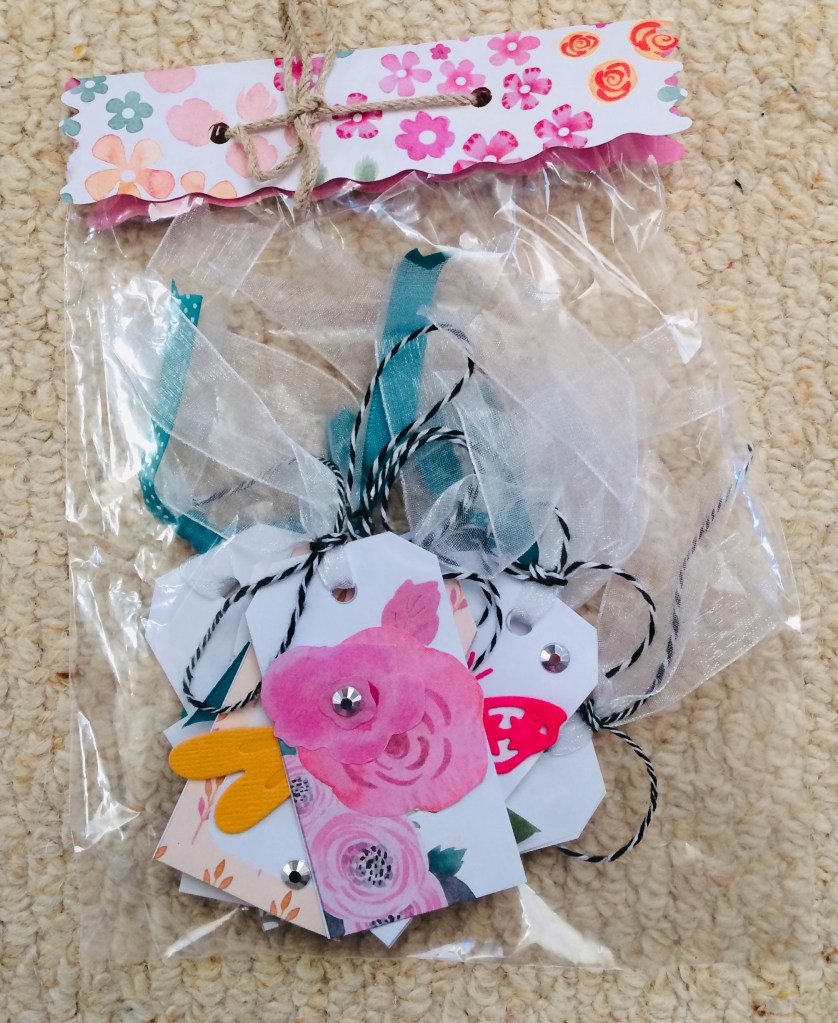
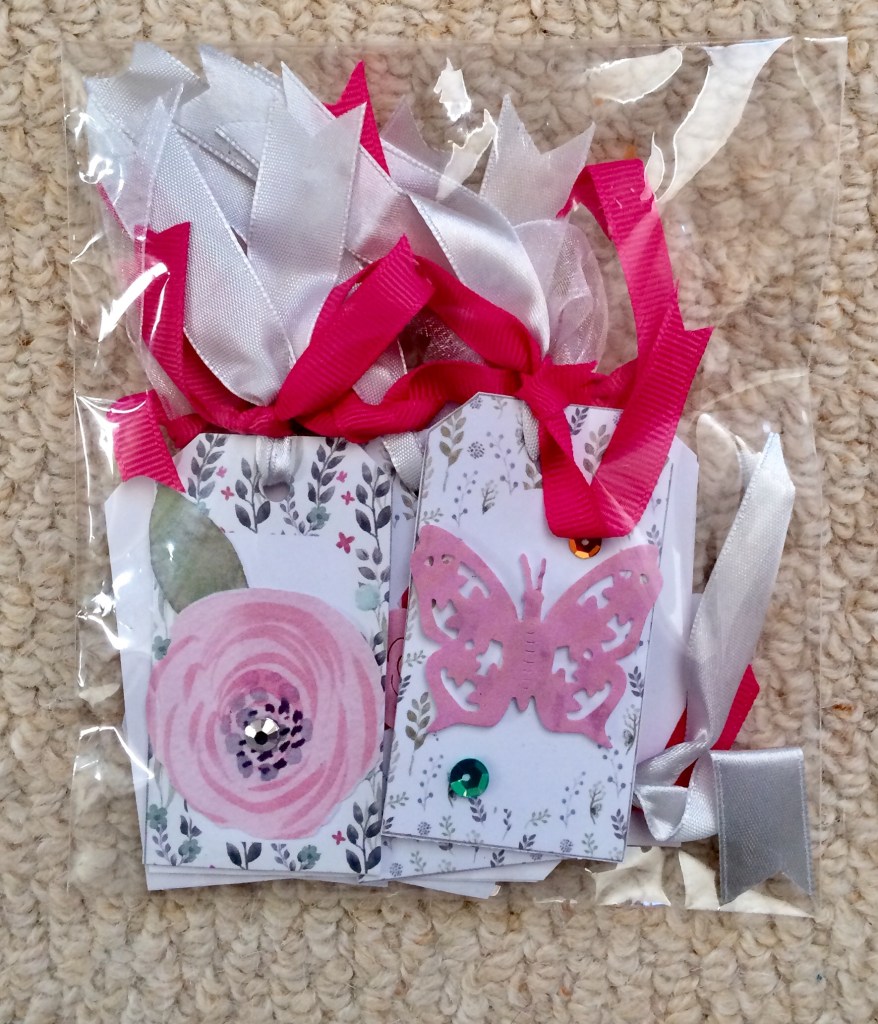
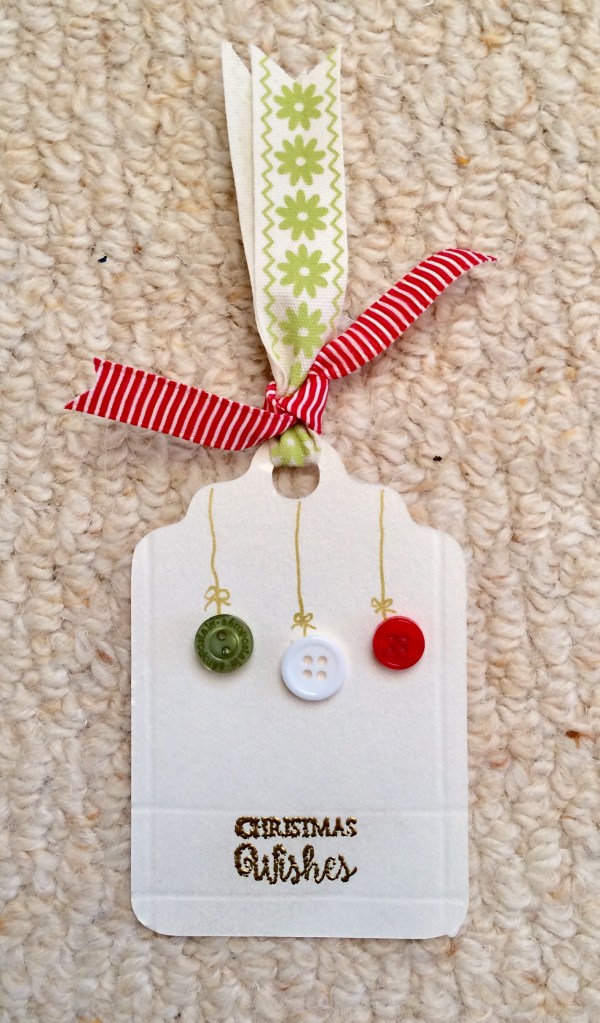
I cut tag shapes (with the scan n cut) from scraps of card and tried to use up embellishments as part of a ‘Use What You Have’ drive. This was so successful that I have batched and bagged sets to give away.
A cute little bag to carry a roll of poo bags on a key ring. This is a simple variation on the tissue holders I have made by the dozen over the years. Thanks Lorrie Nunemaker for the idea.
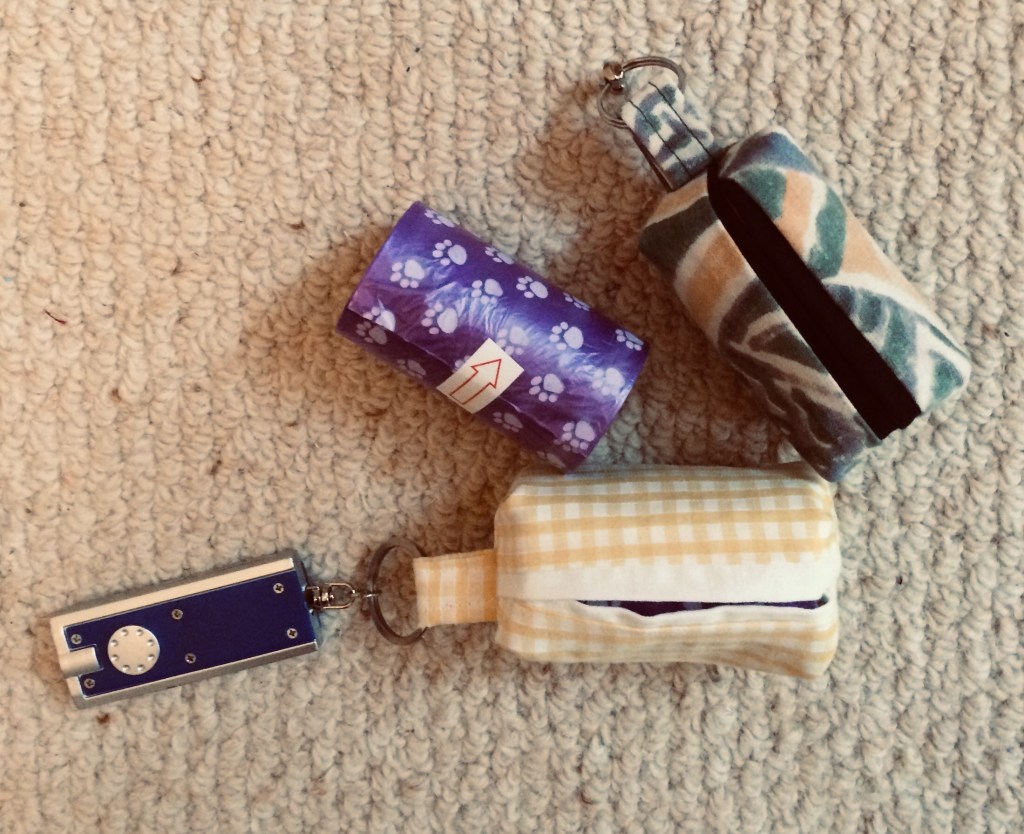
Cut outer fabric at 6” by 4 1/2” and lining at 5” by 4 1/2” then cut a 2” square of either fabric. Turn the little square into a loop for the key ring by creasing it in half then folding two sides in to the crease and then folding it again so you have a strip that is 1/2” wide with the raw side edges encased. Sew down the strip (I usually sew two lines to make it look tidier)
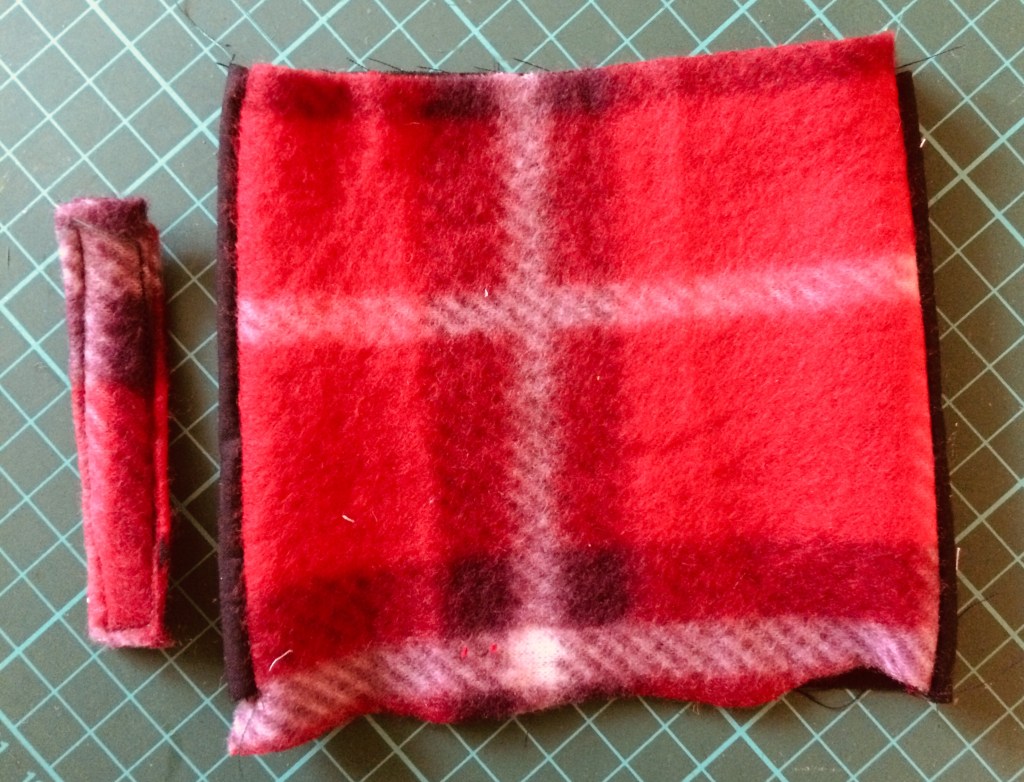
Follow the tissue holder instructions: sew the short sides of the two fabric pieces – right sides facing- together then flip right sides out and press so that there is an equal amount of lining at either side. See picture below.
With outer facing up, fold the sides to the middle so they just touch or overlap, and pin. Tuck the loop piece inside where the sides are touching. Sew the top and bottom raw edge and then zig zag those raw edges to tidy them up.
What changes this is to Box the corners with a 3/8” seam before turning right sides out.
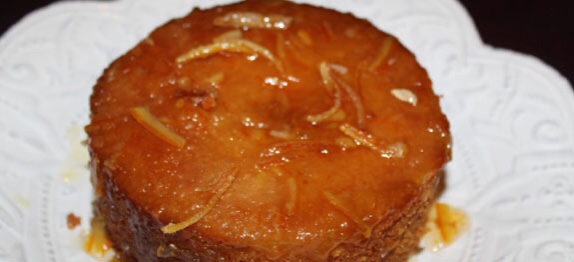
In the face of February storms and thwarted plans a cake bake brings a little cheer. Found this recipe in the manual for my elderly bread maker. I couldn’t take the paddle out of the bread maker so baked this in the air fryer instead. Delicious.
Ingredients: 200g plain flour, 1 tsp ground ginger, 1 tsp baking powder, 50g softened butter, 50g brown sugar, 4 tablespoons marmalade, 1 egg, 3 tablespoons milk.
Mix dry ingredients then rub in butter and add wet ingredients, mix well and spoon into small pan lined with greaseproof paper. Bake for 30 mins at 170 degrees. If a knife blade comes out clean it might be ready, if not keep going for up to 50 mins (the bread maker timescale).

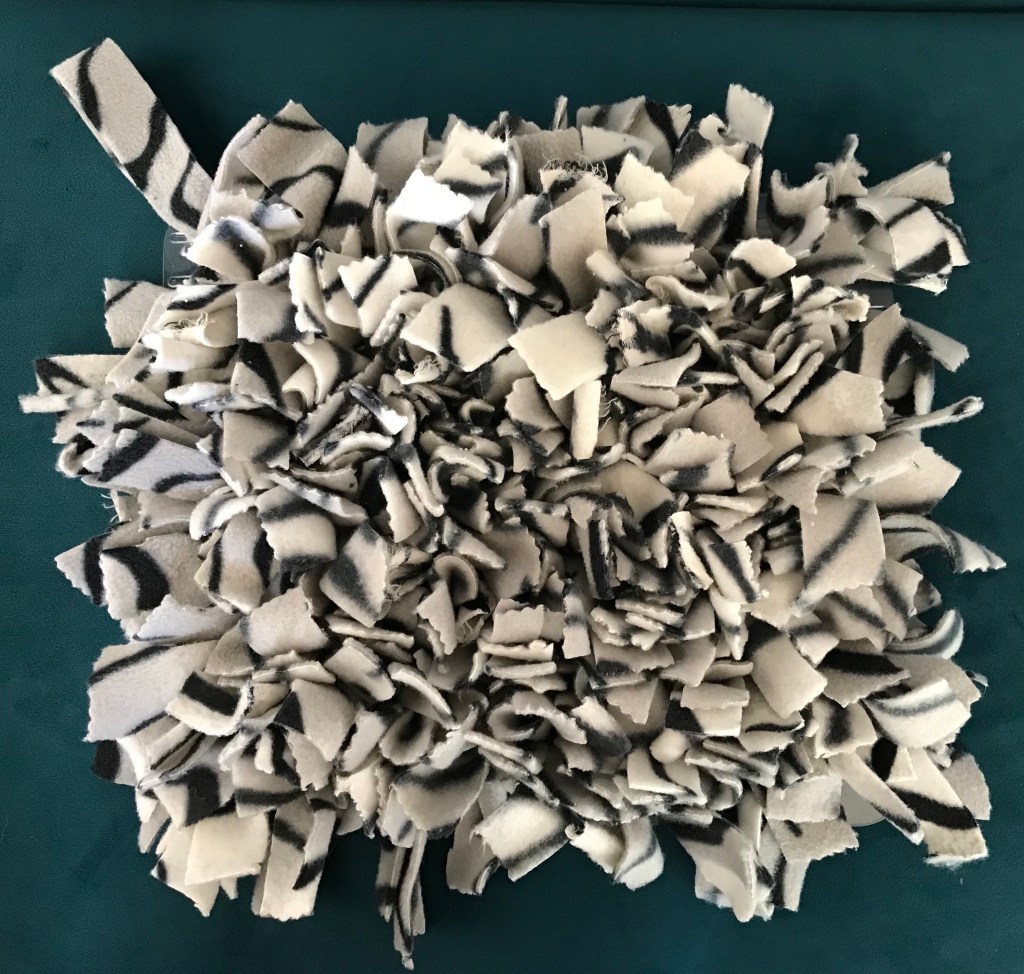
Love this simple home made craft. It is designed so that the feeder of a greedy dog sprinkles biscuits/kibble/dry food on the mat giving the dog a challenge to find and retrieve the food.
Simply made with an inexpensive sink mat (mine Addis 30 cm approx square) with lots of drainage holes in it. Spend 20 minutes cutting a metre of fleece into 2.5 x 10 cm ish strips. Then sit in front of the tv knotting the fleece through the holes. Thread a strip up and down through adjacent holes and tie a single, simple knot to secure each strip until every hole is filled.
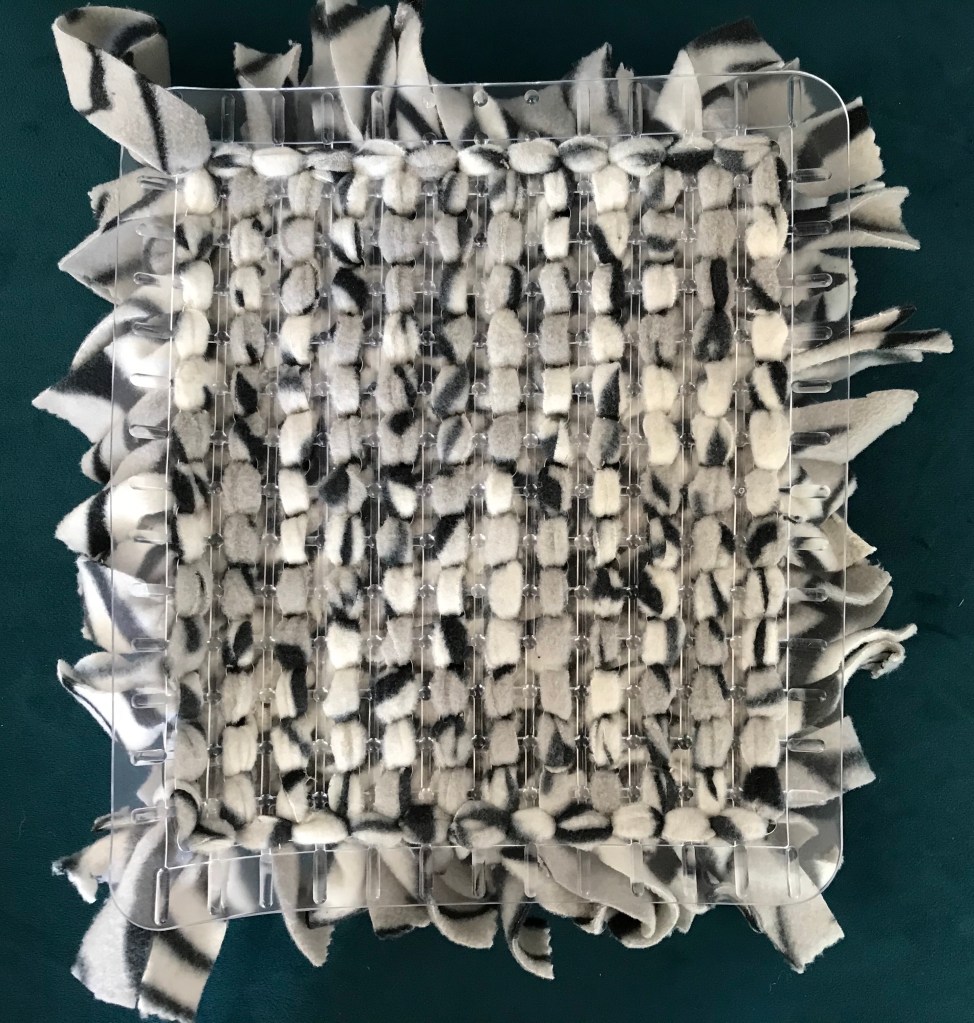
I used a thick fleece so stopped when the back looked like this. I finished by threading and stitching a 20 cm strip of fleece through a corner hole to make a hanger. This mat is washable and easy to make.

