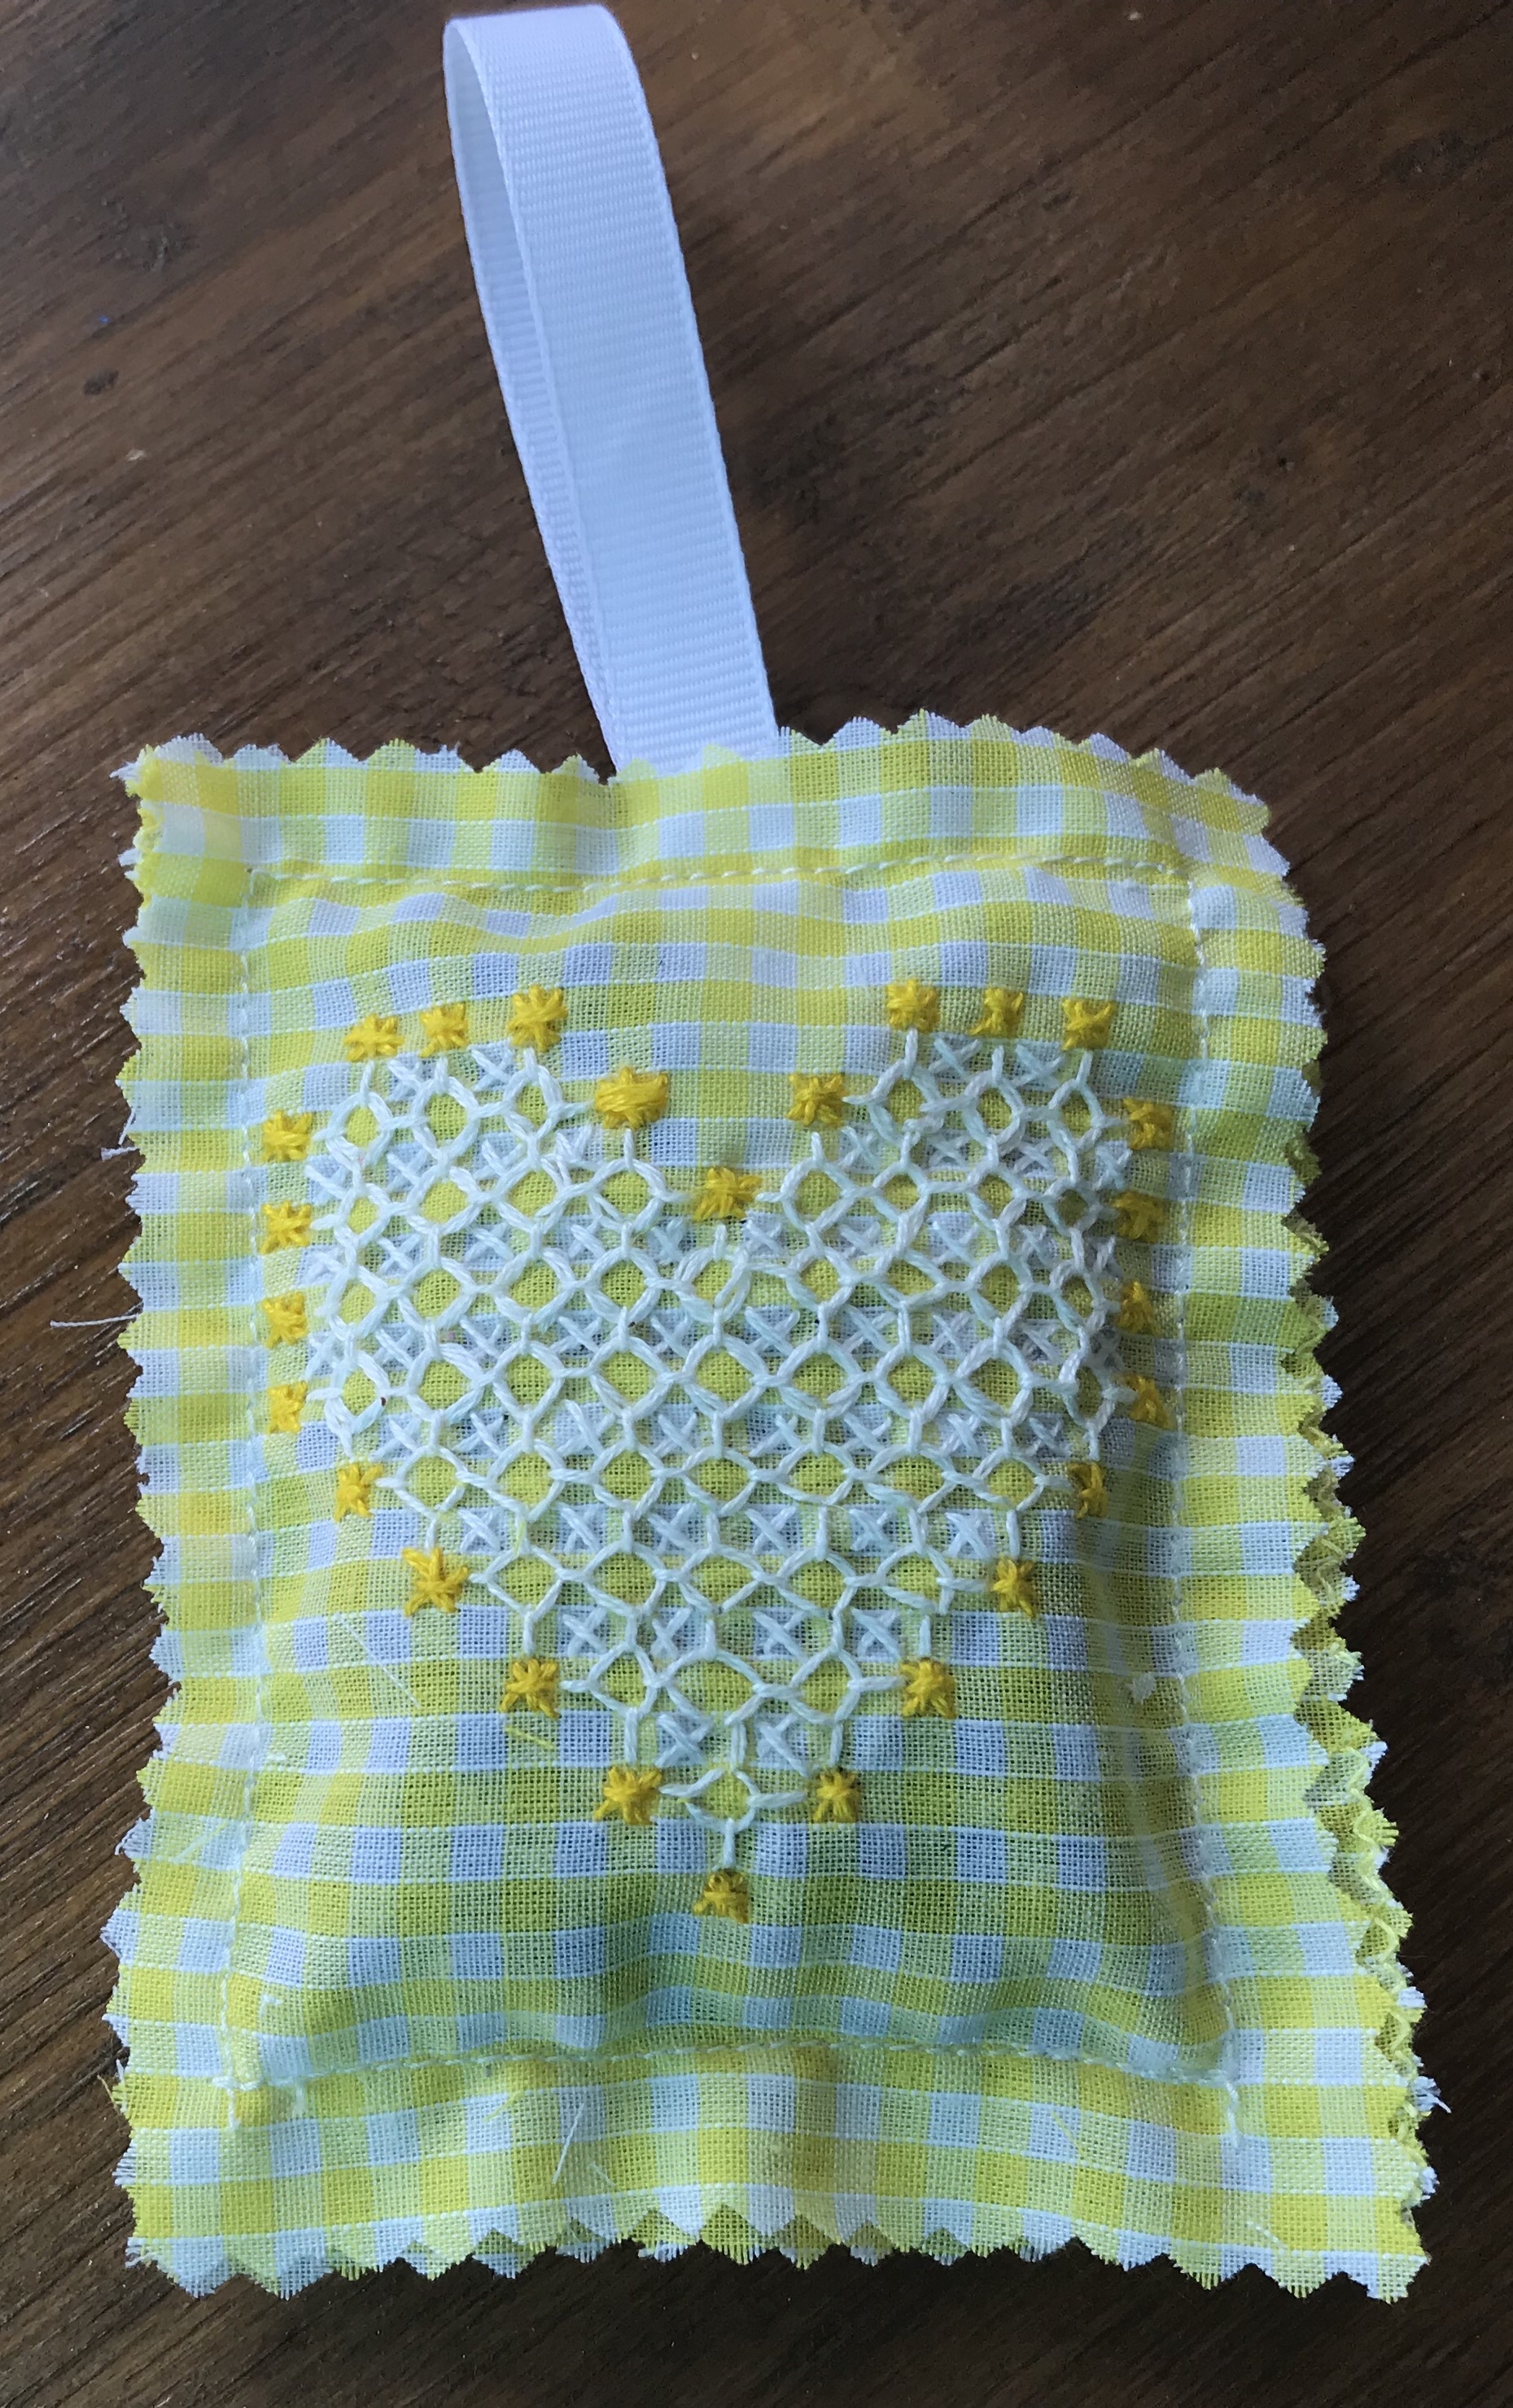
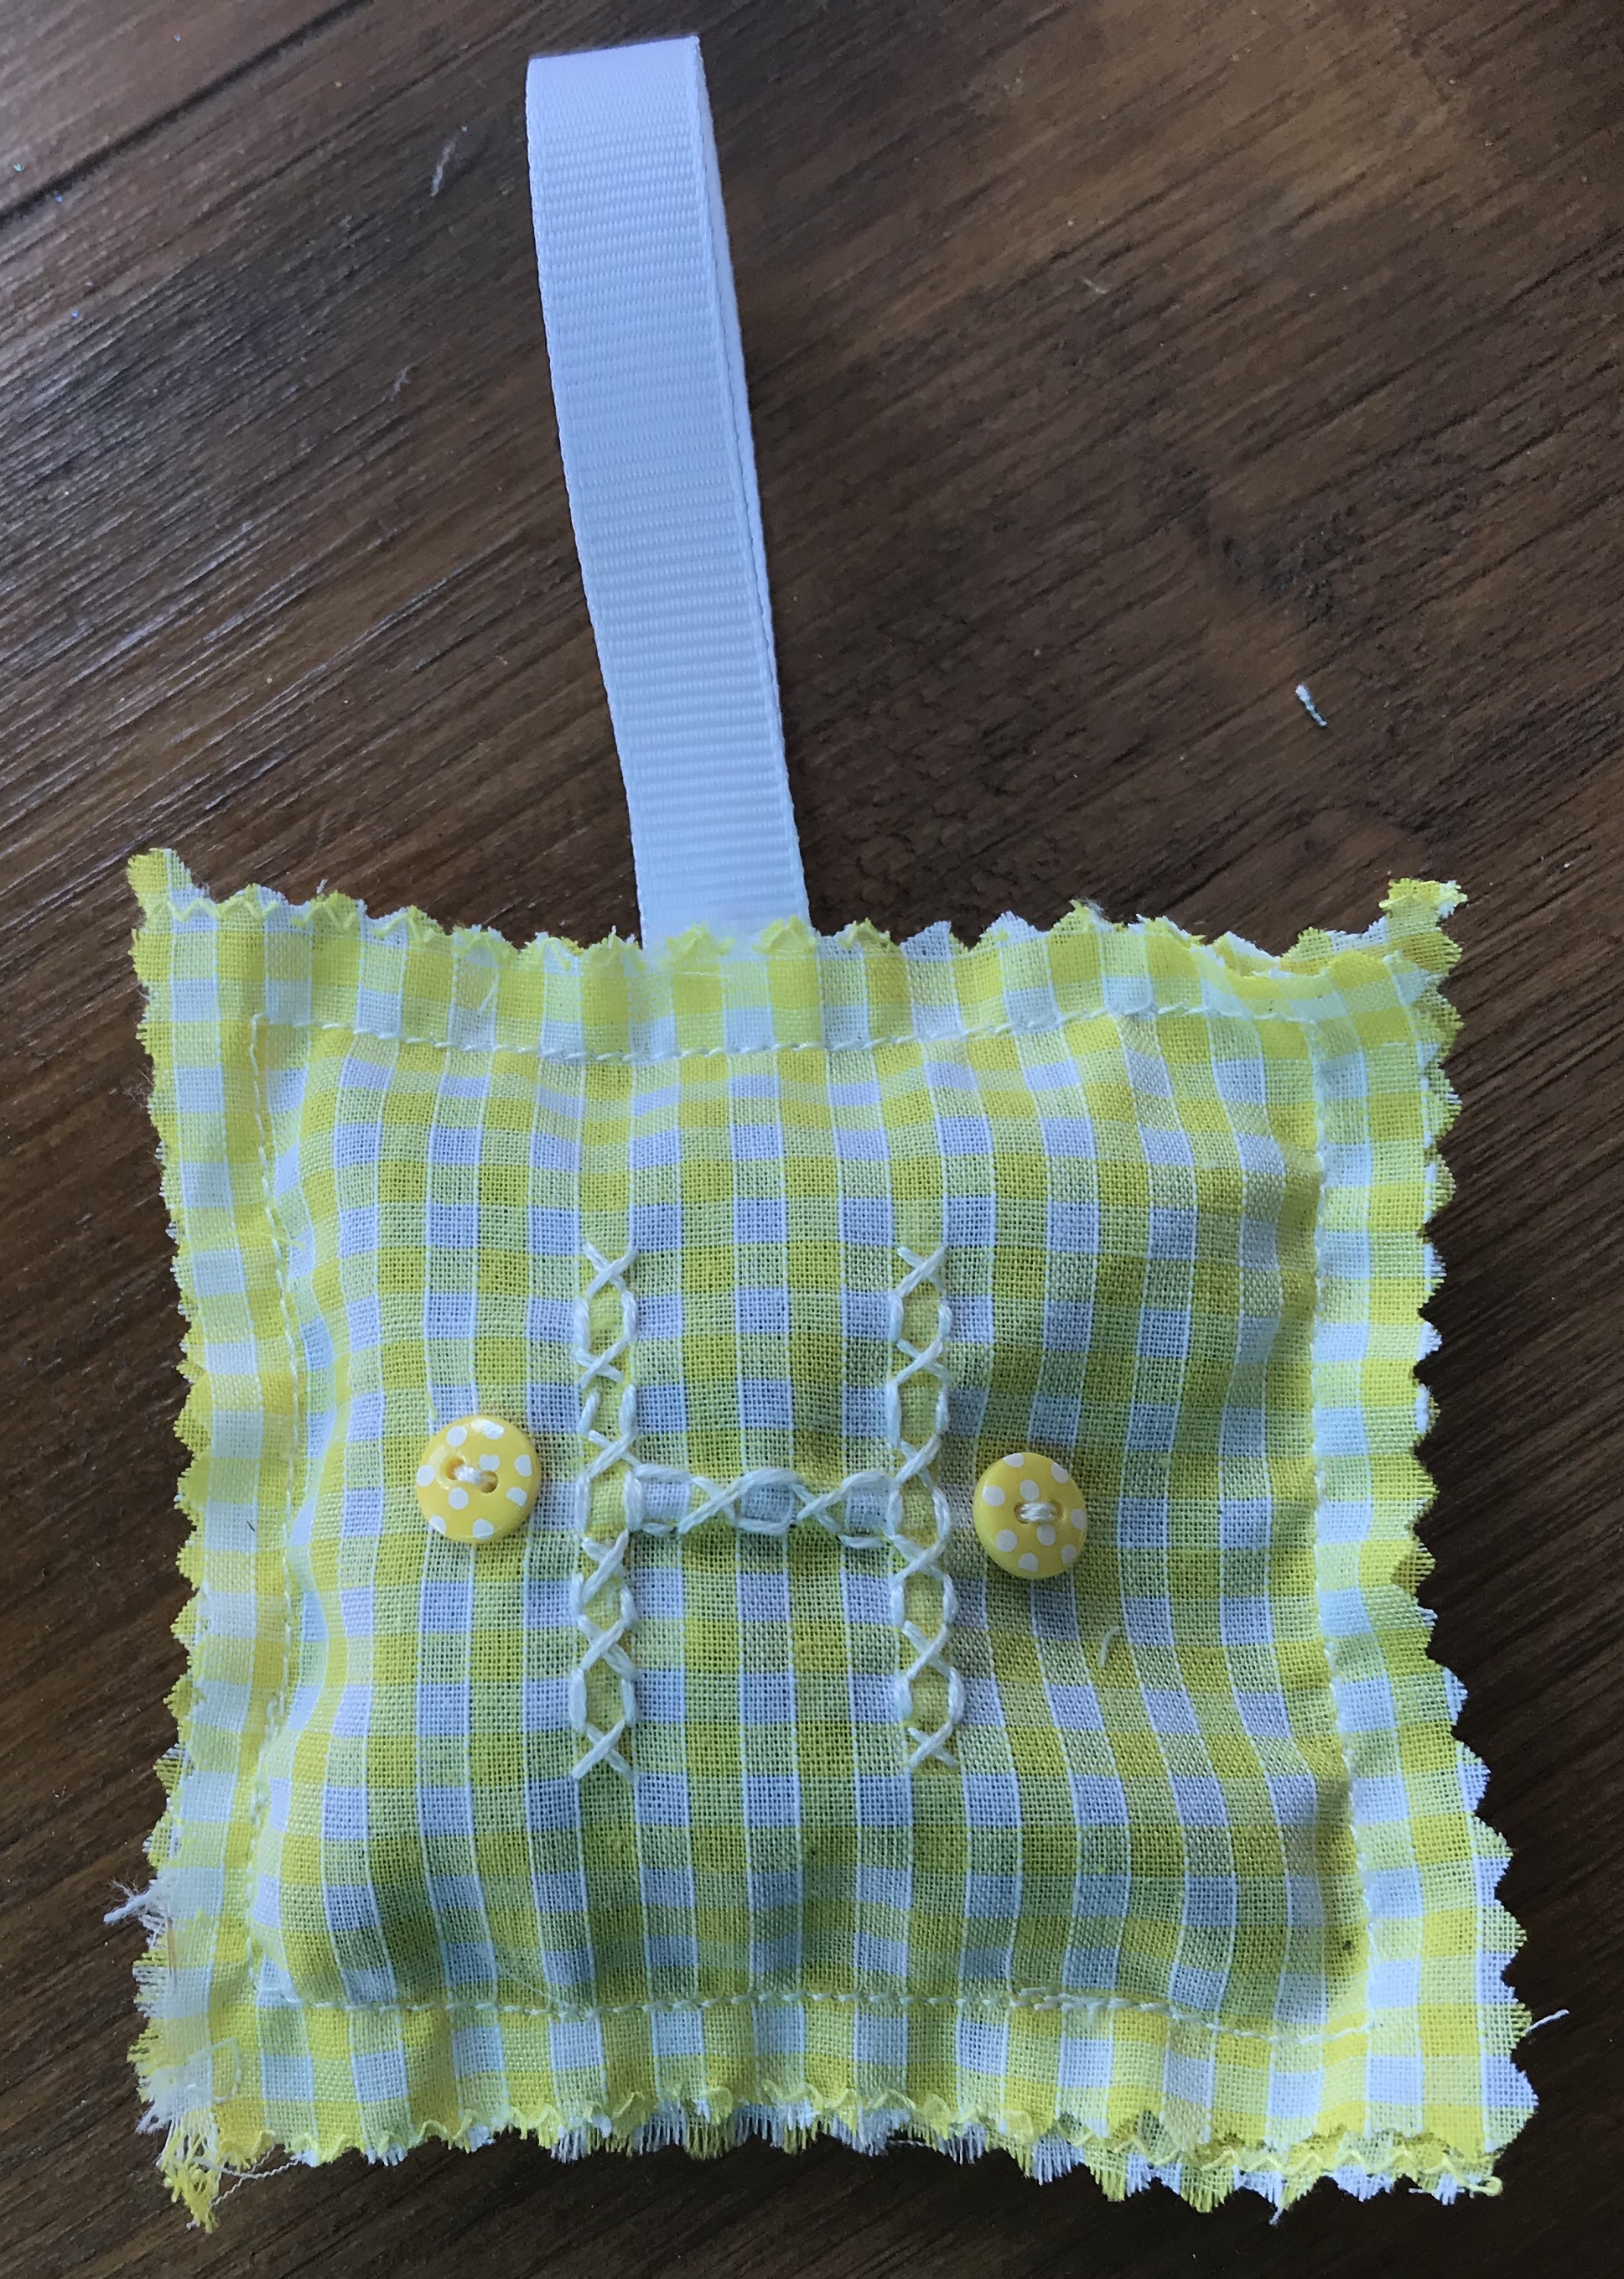
This is a simple cross stitch based embroidery that lifts gingham scraps quickly into lavender bags and more …


This is a simple cross stitch based embroidery that lifts gingham scraps quickly into lavender bags and more …
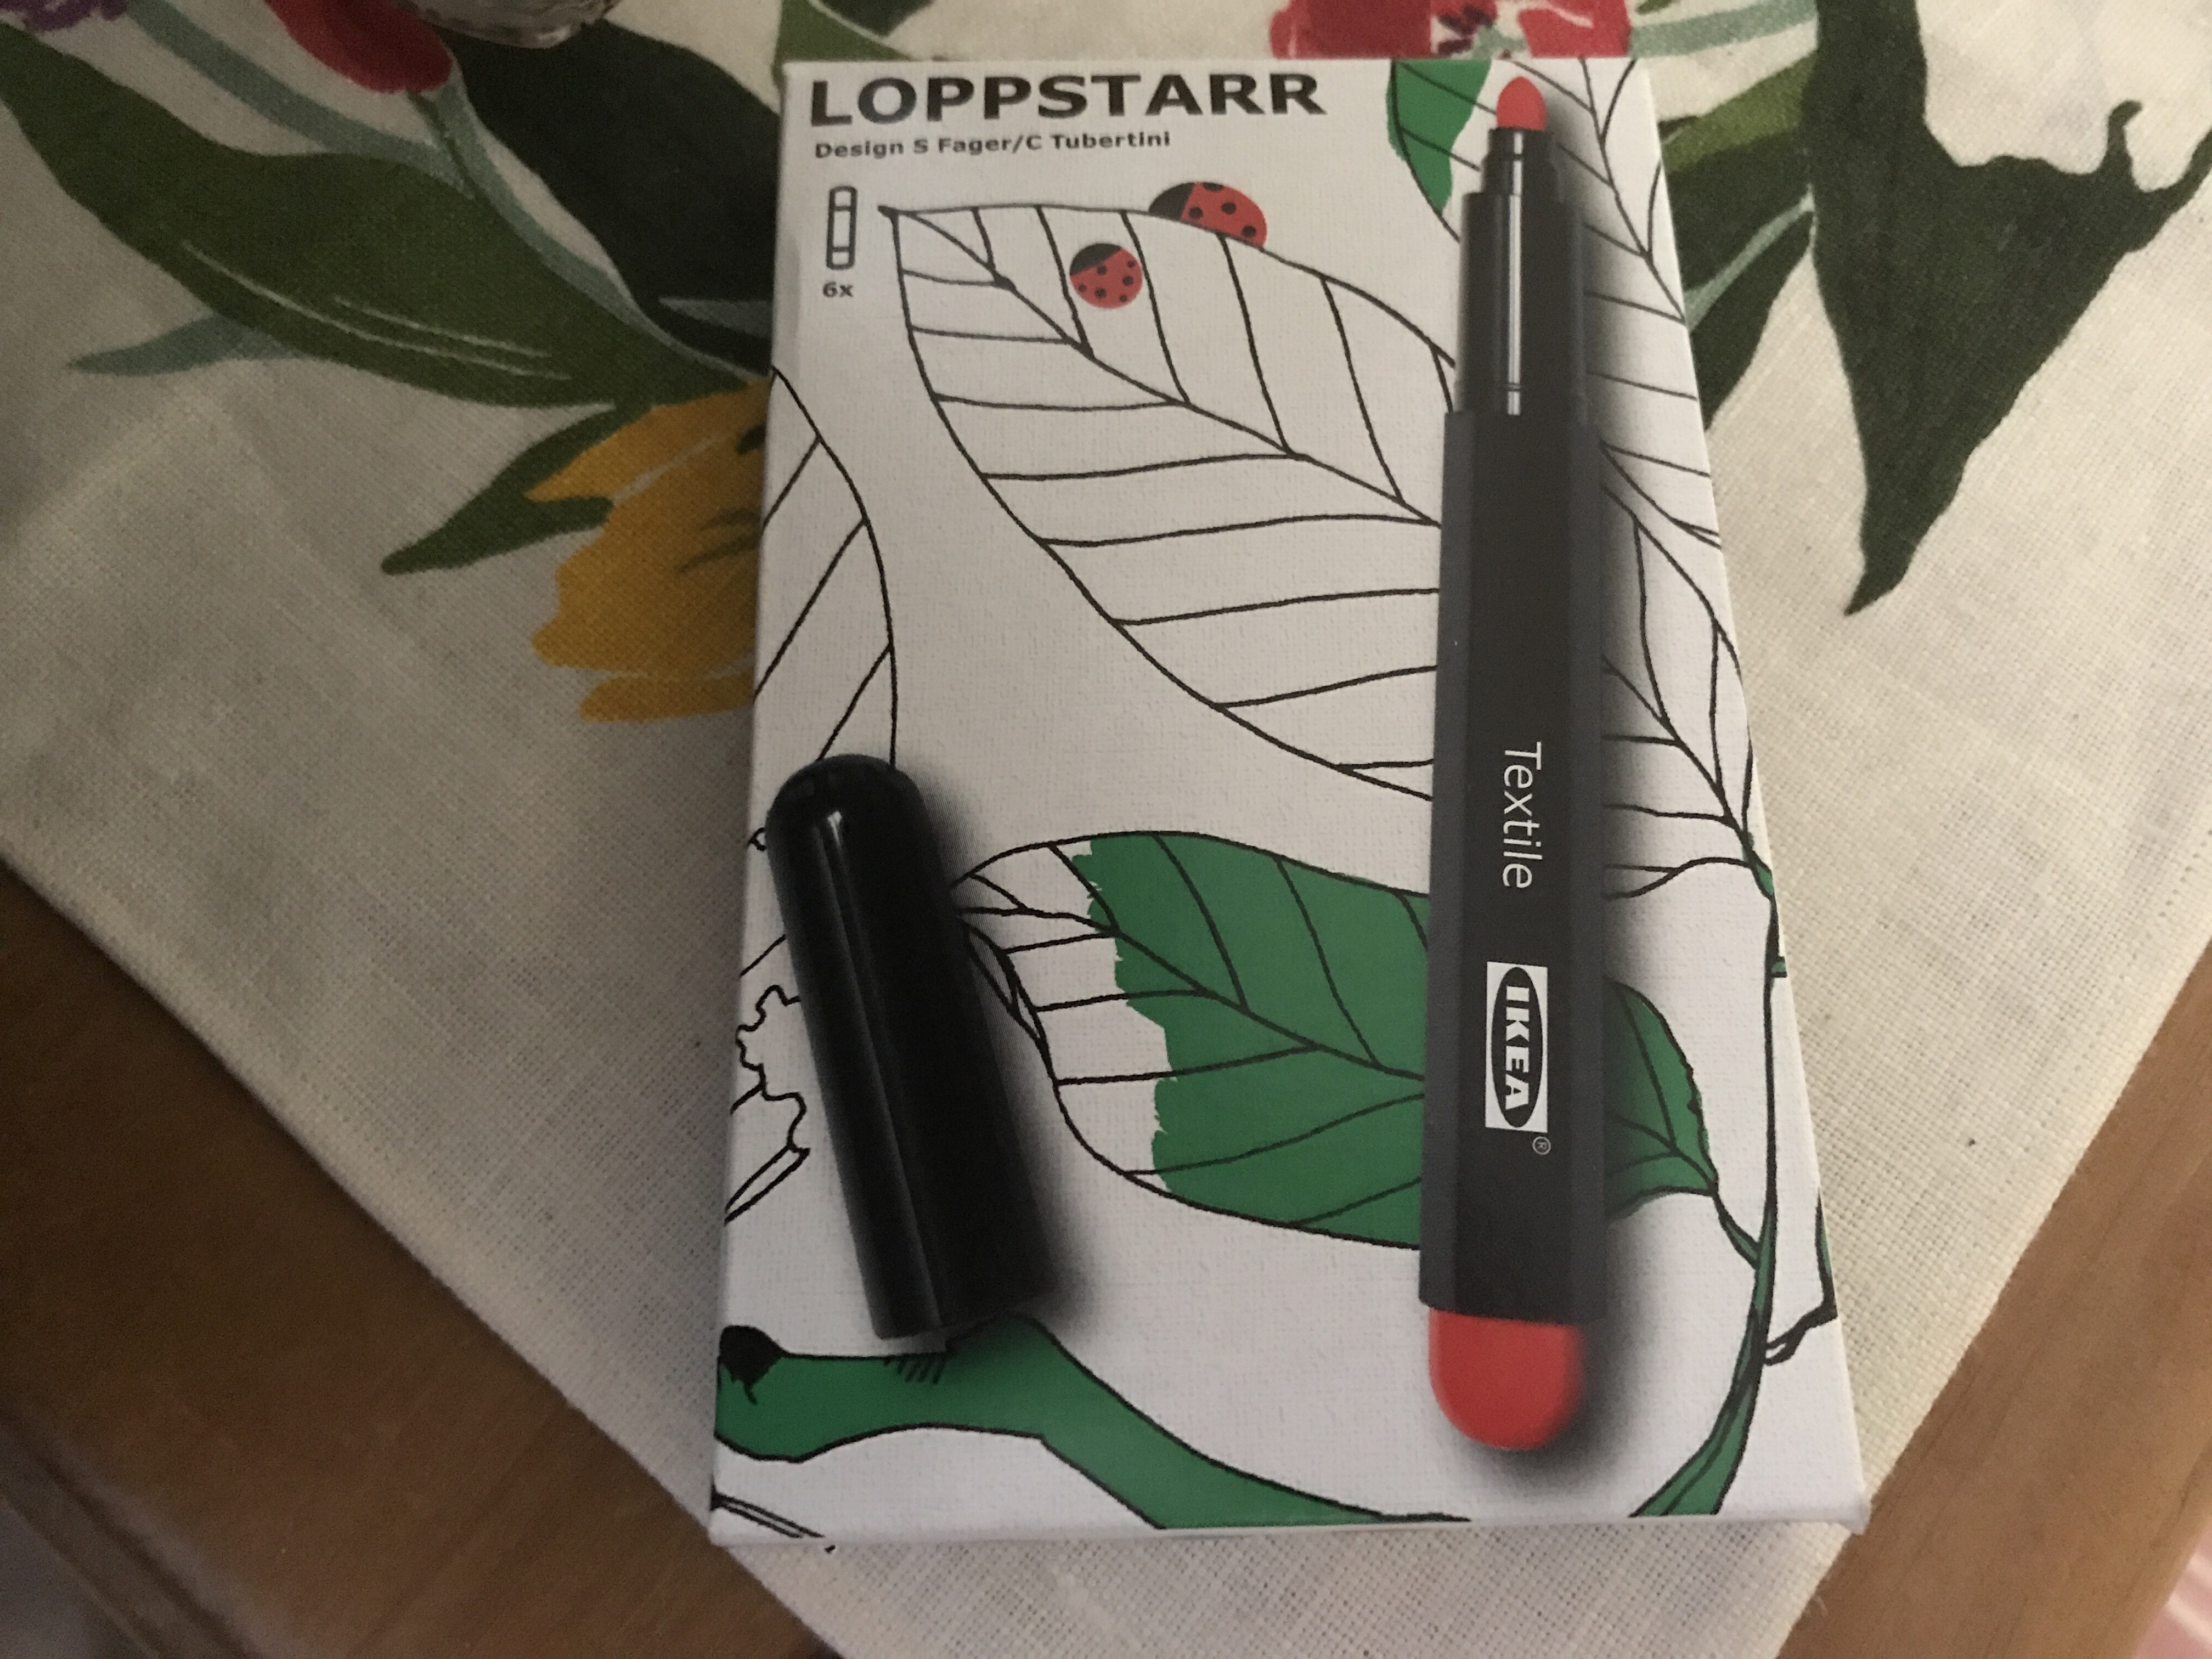
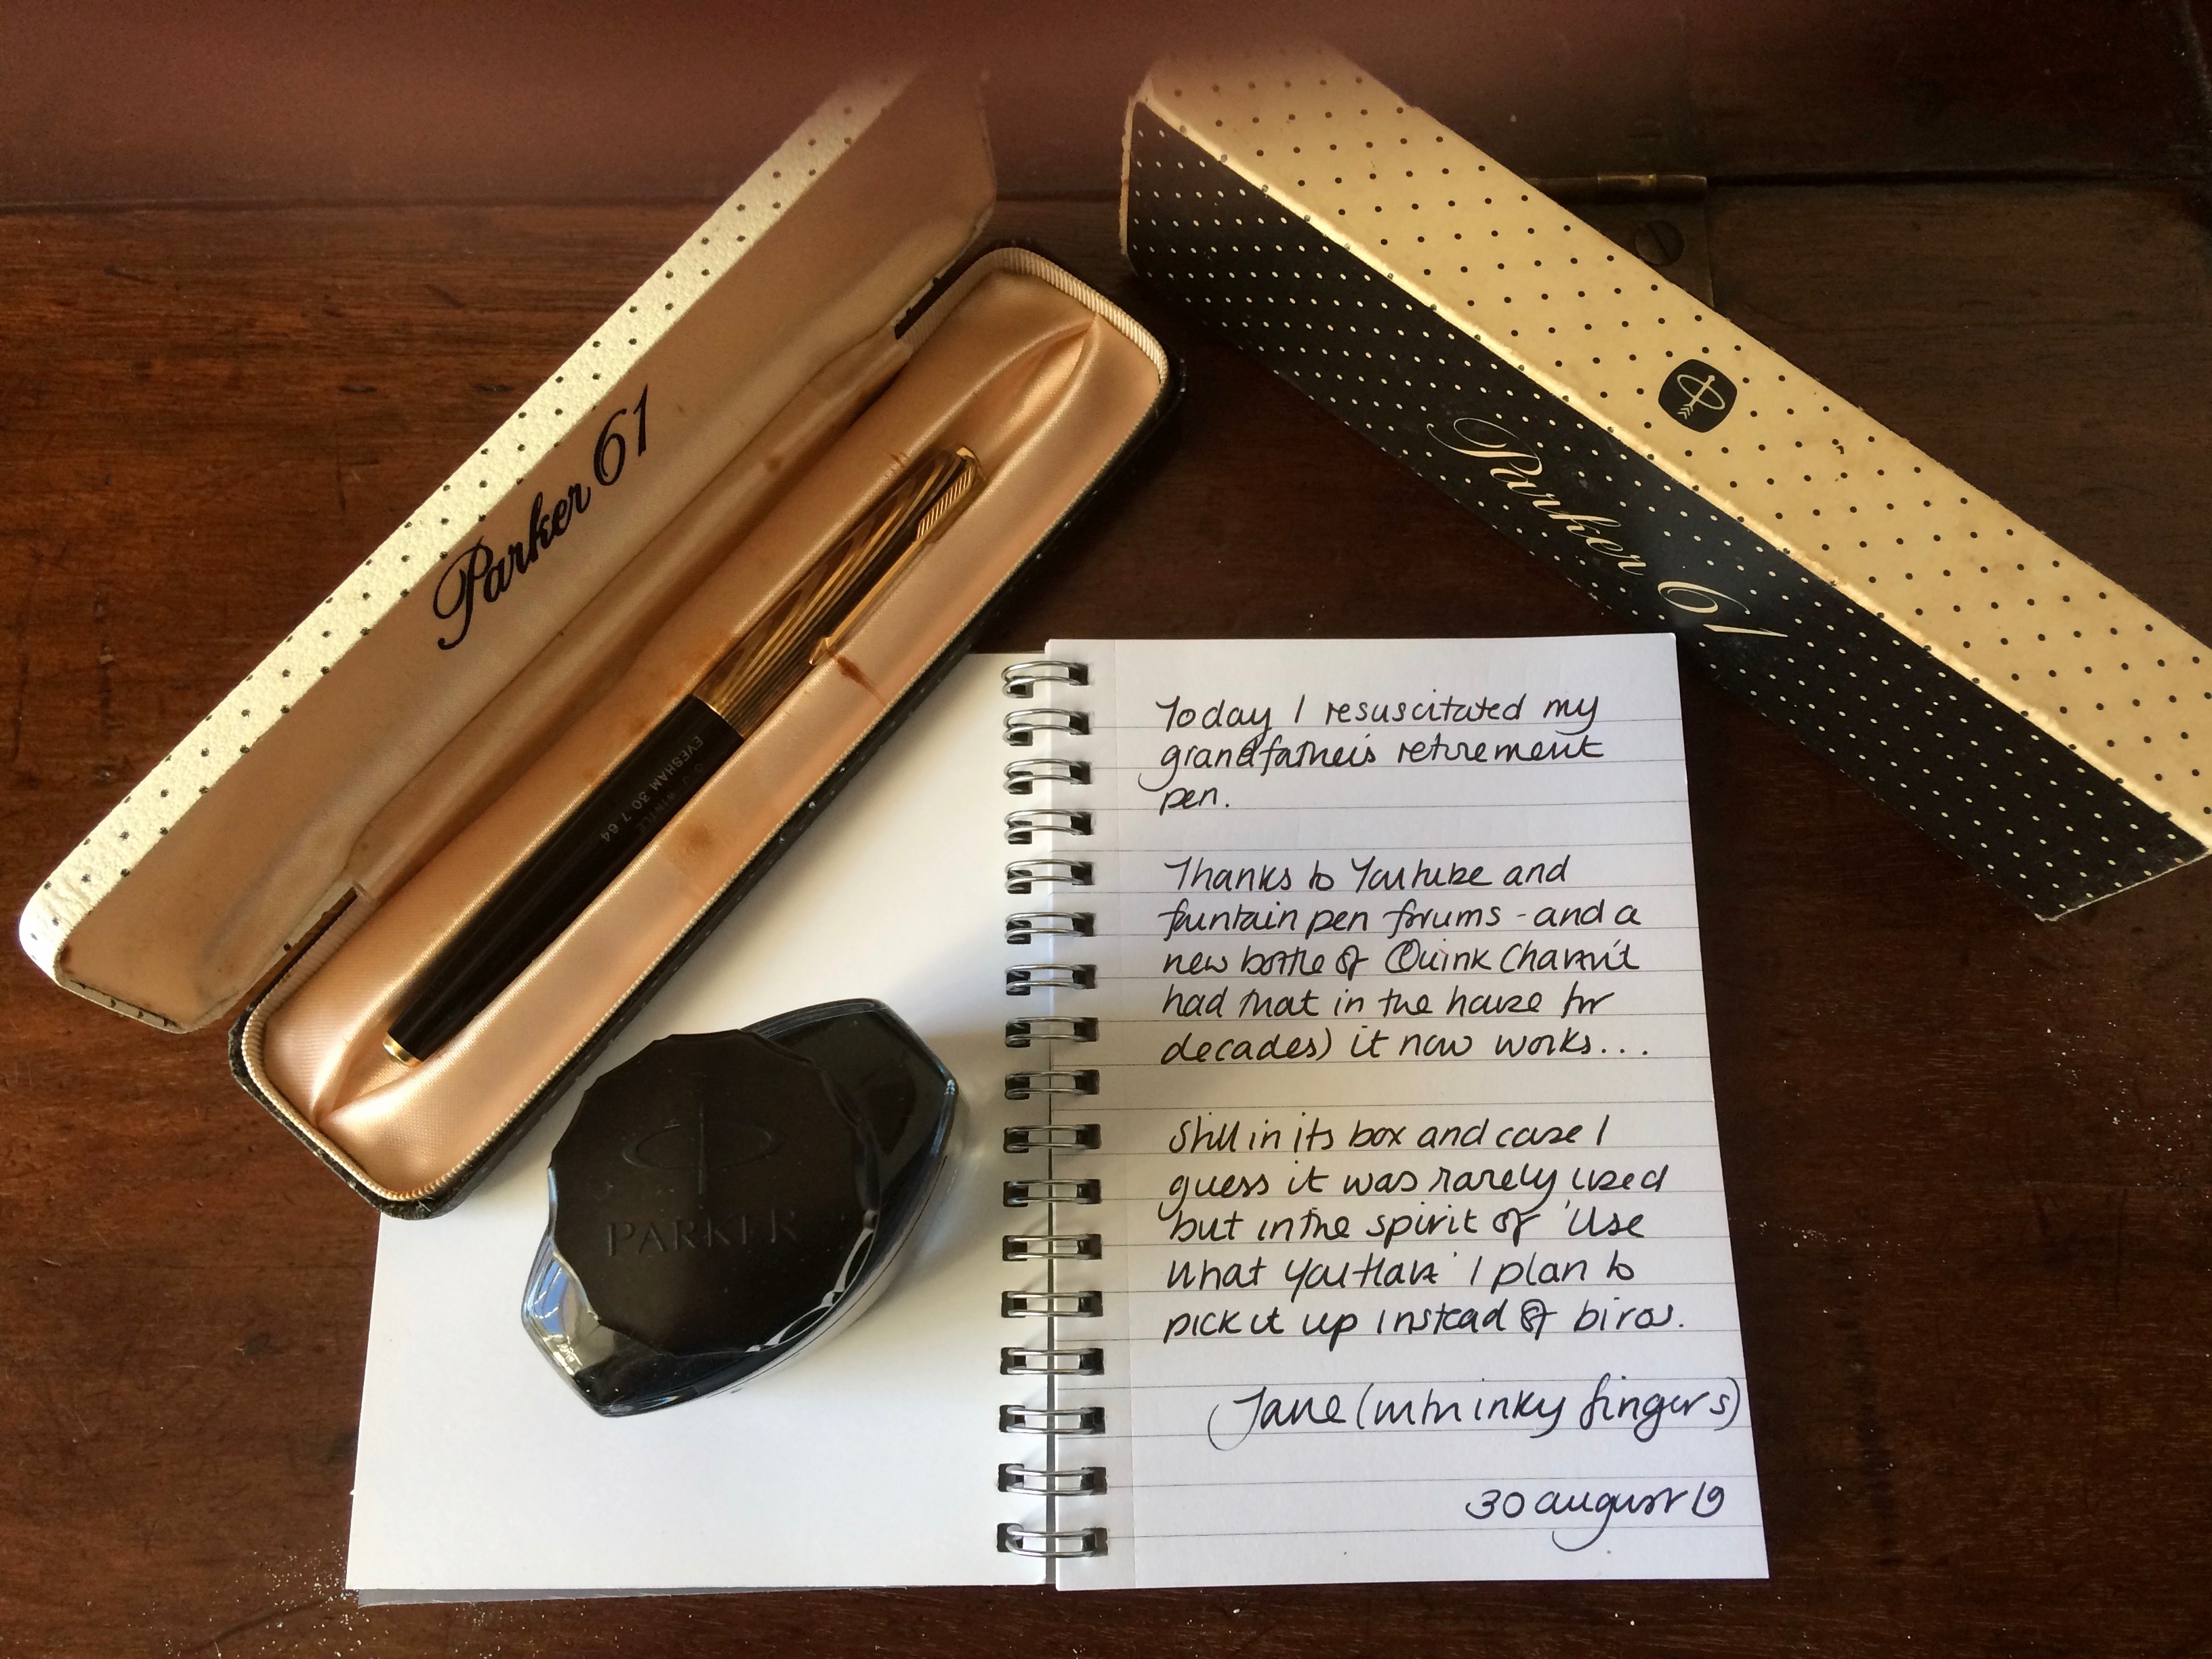
I love a trip to IKEA when there is time to browse. This time I found the Loppstarr pen set which helped boost the set of lavender bags I am making.
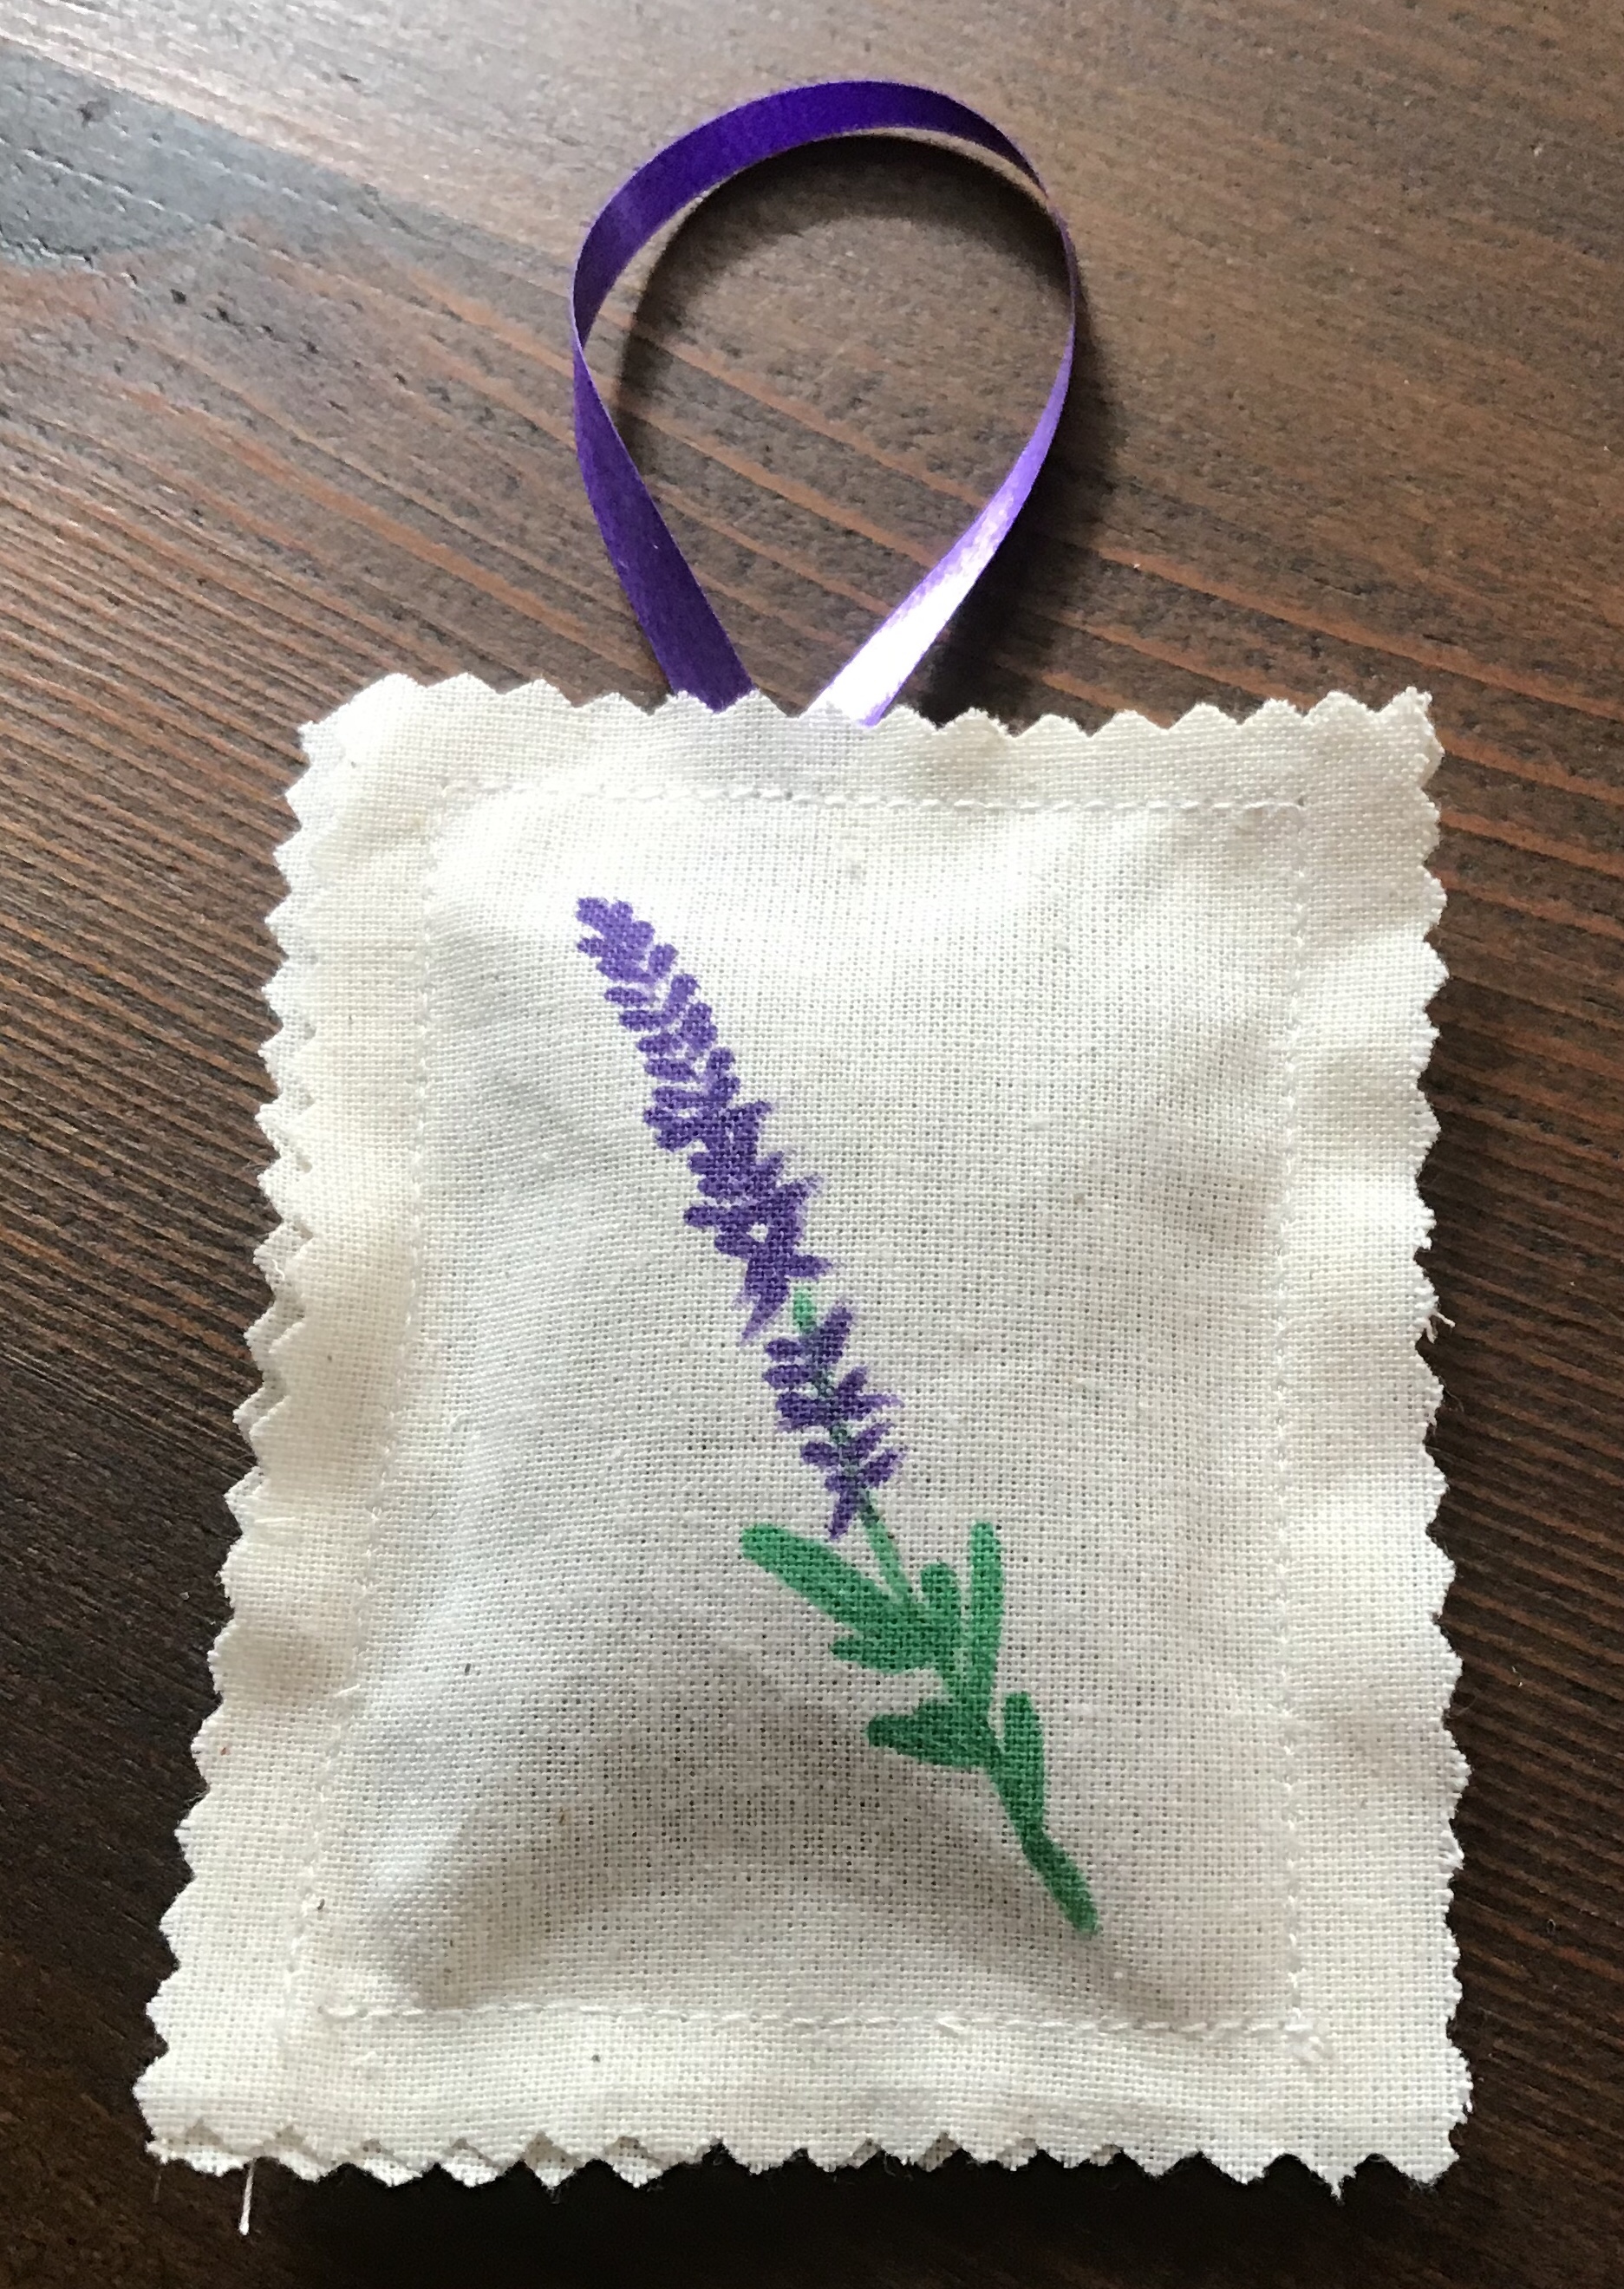
The tips are designed for colouring rather than outlining but for simple sketches work fine.
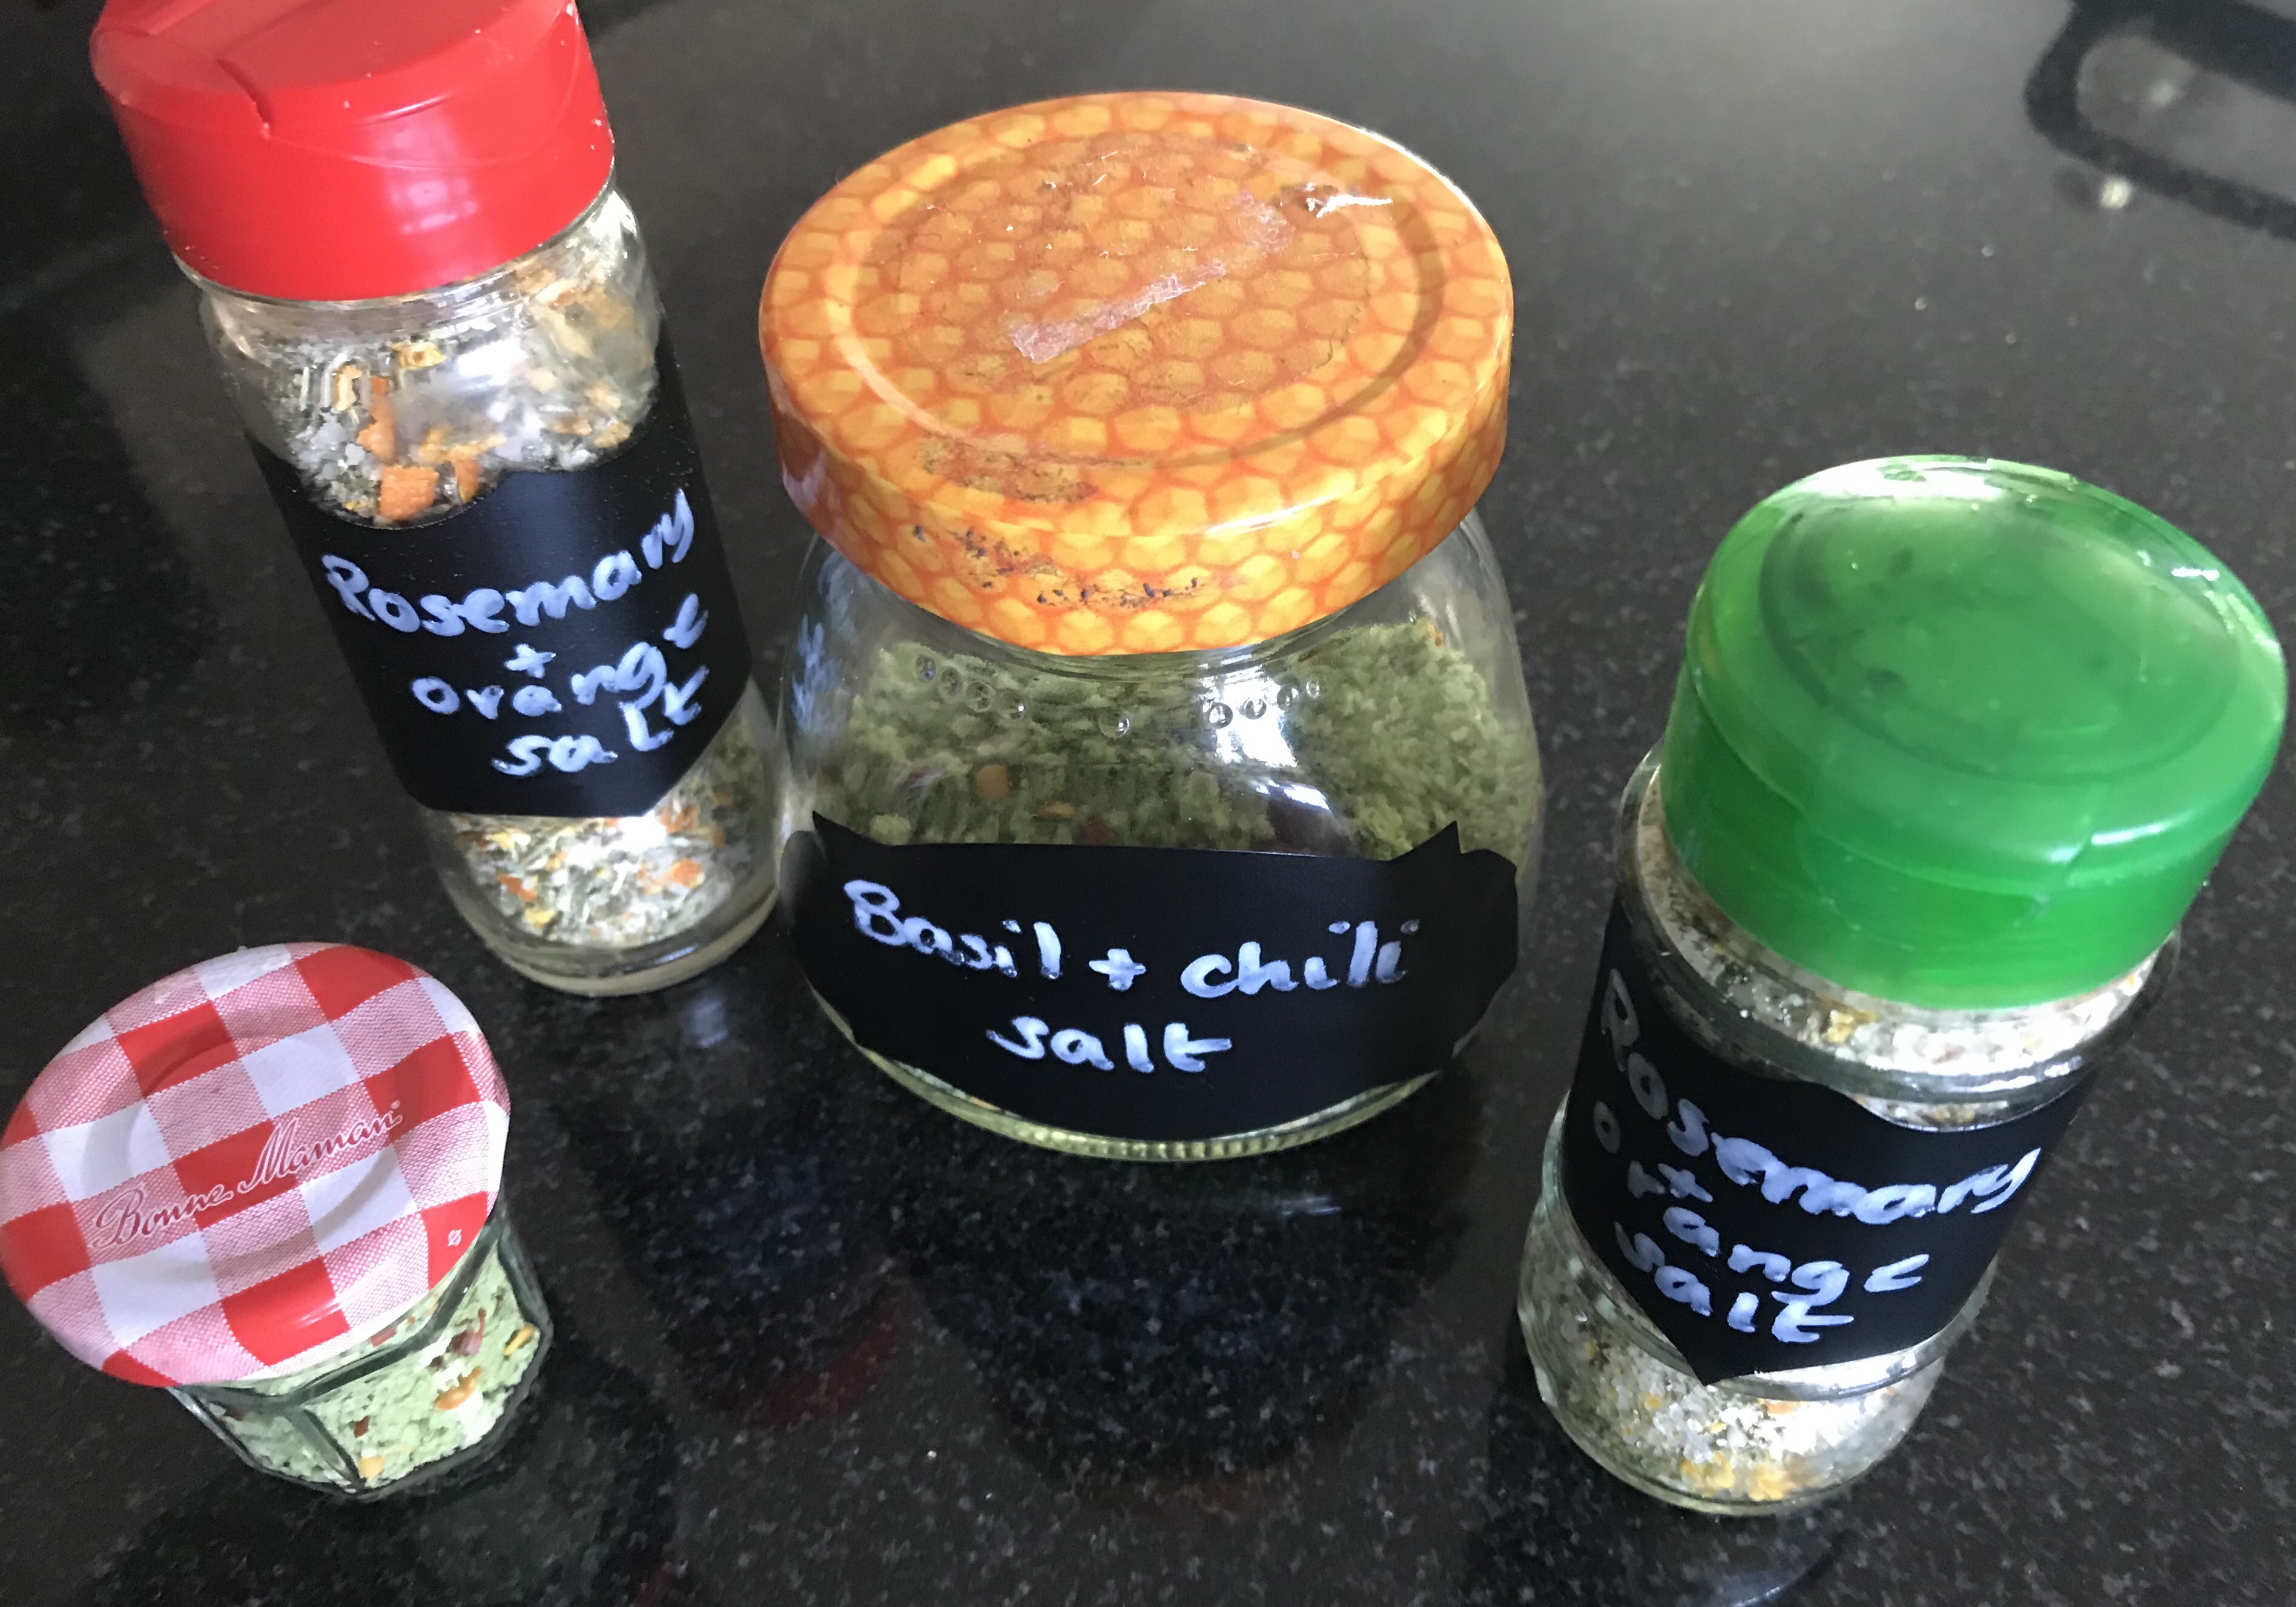
Flavoured salts lift simple recipes, they avoid waste by preserving herbs and fruit, they look great and are easy to make. Why not? Here are two ‘no weigh, use what you have’ versions.
For the rosemary and orange version the rosemary leaves were stripped from 5 long stalks ( I am keeping the stalks as kebab sticks). I peeled an ancient mandarin/satsuma that was lurking in the bottom of the fruit bowl, squeezed the juice over the rosemary, scraped the pith from the peel then chopped the peel into slices. The rosemary and orange peel was blitzed with about three tablespoons of coarse salt using the chopping attachment on my stick blender (I usually use it for making breadcrumbs).
Just a few seconds of blitzing produced a kaleidoscope of coloured salt. The mix was spread on a silicone baking sheet and dried in a low oven for about 30 minutes before storing in recycled herb jars.
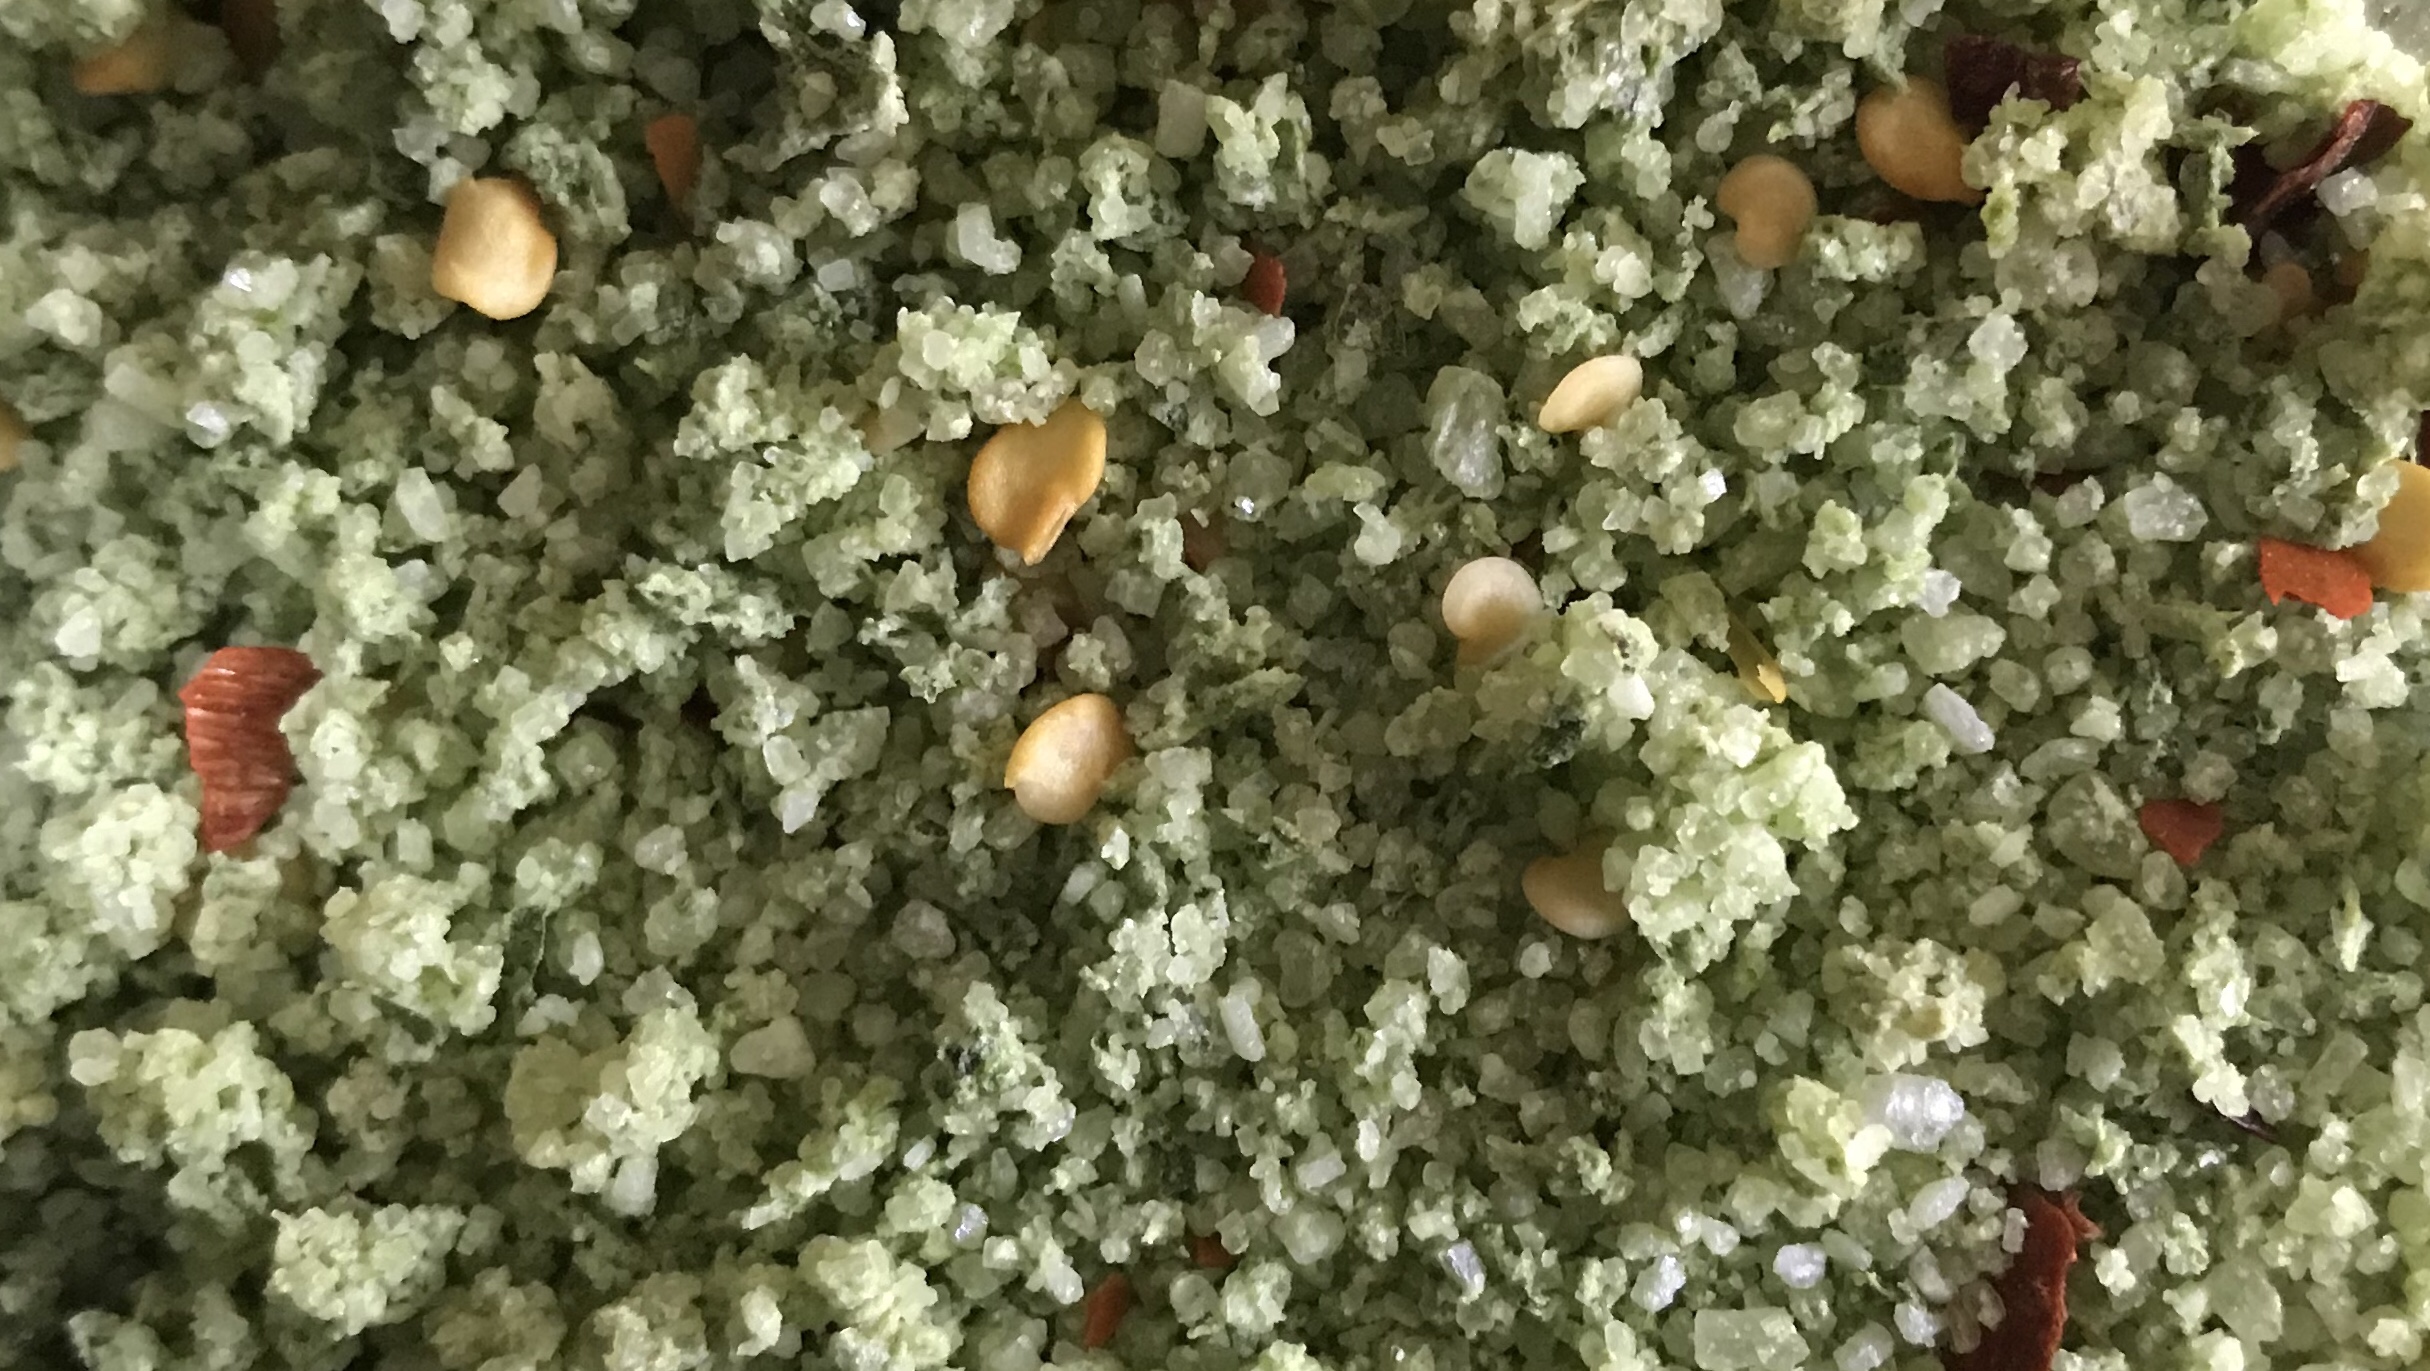
The basil version was even easier. Once the basil leaves were blitzed into 3 tablespoons of salt I spread the lovely green mix on a silicone sheet and dried it in a low temp oven for about 30 minutes. I sprinkled dried chili flakes in before storing in glass jars. So pretty.
Try rubbing into chicken before you roast it, over boiled new potatoes or other plain veg, over sliced tomatoes …
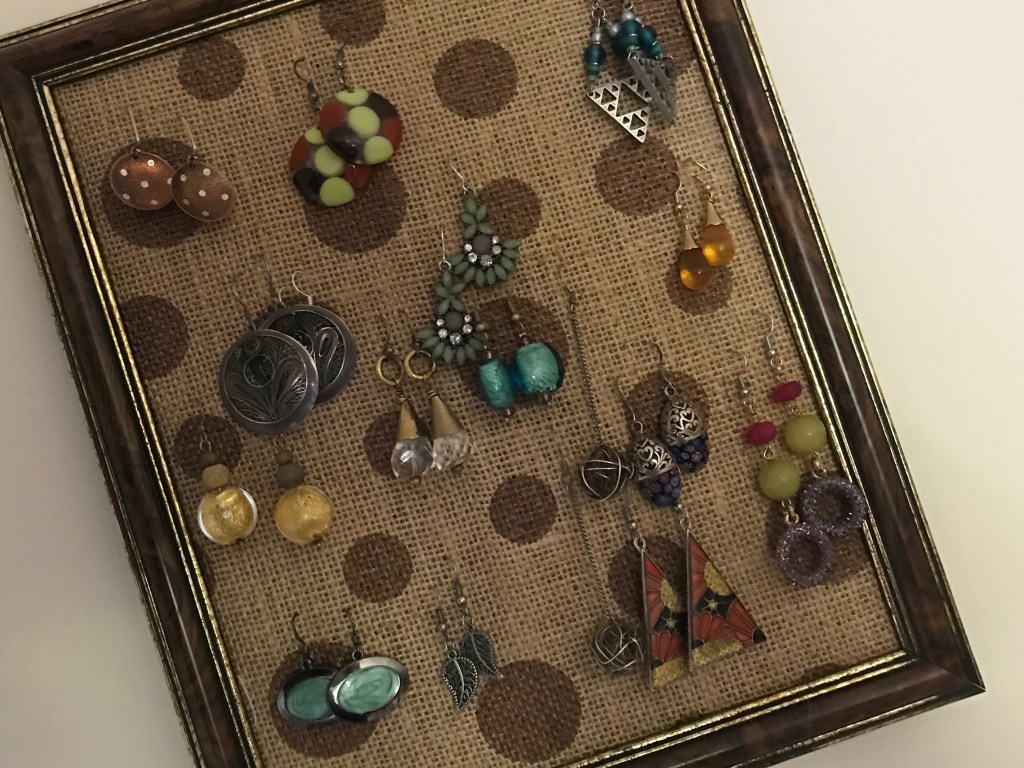
Update to an frame with new ‘dotty’ hessian. This is a craft that is practical, cost effective and displays my earrings (some of them) so I can appreciate them out of the jewellery box.
Simple to do; just dismantle a cheap photo frame, remove the ‘glass’ and glue hessian around the card backer before reassembling the frame.
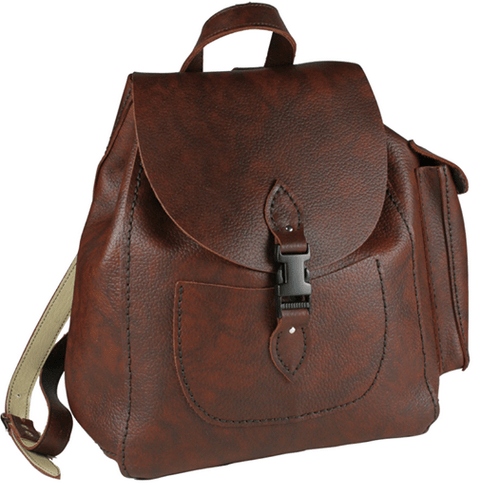
Lovely, quality leather bag sewn by me! OK, the pieces were all cut out with stitch holes and foolproof instructions. Nevertheless I feel creative pride in making this birthday gift into something I will use and enjoy for years and years.
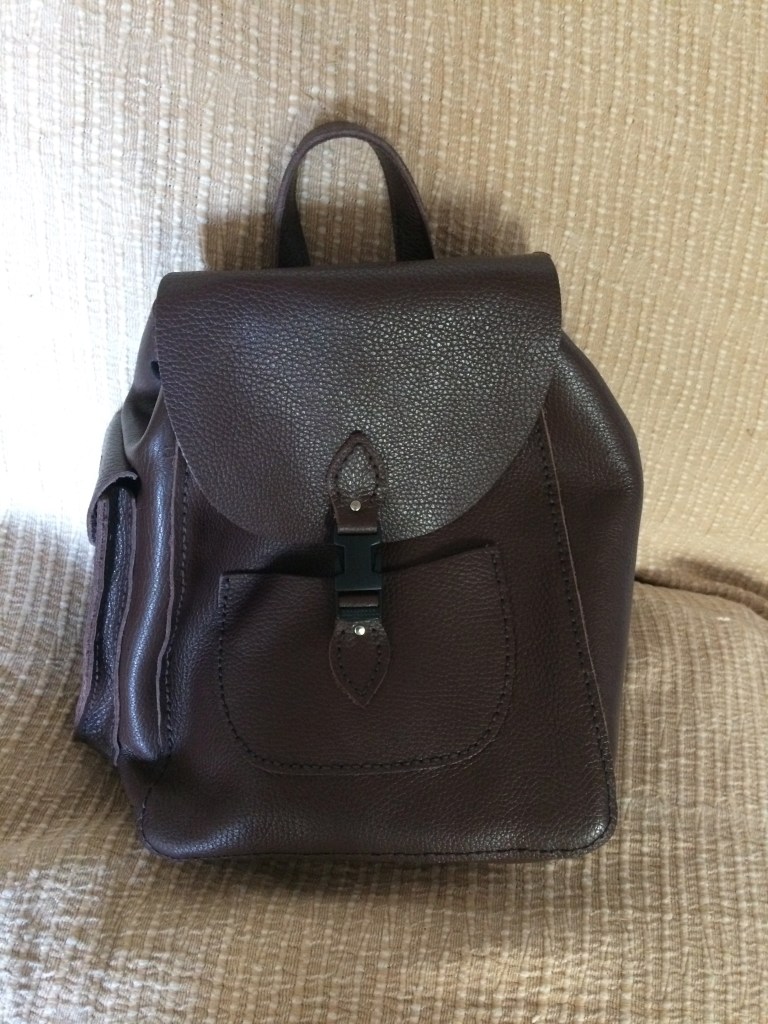
I would definitely make another bag from Simple Way; just musing over the catalogue…
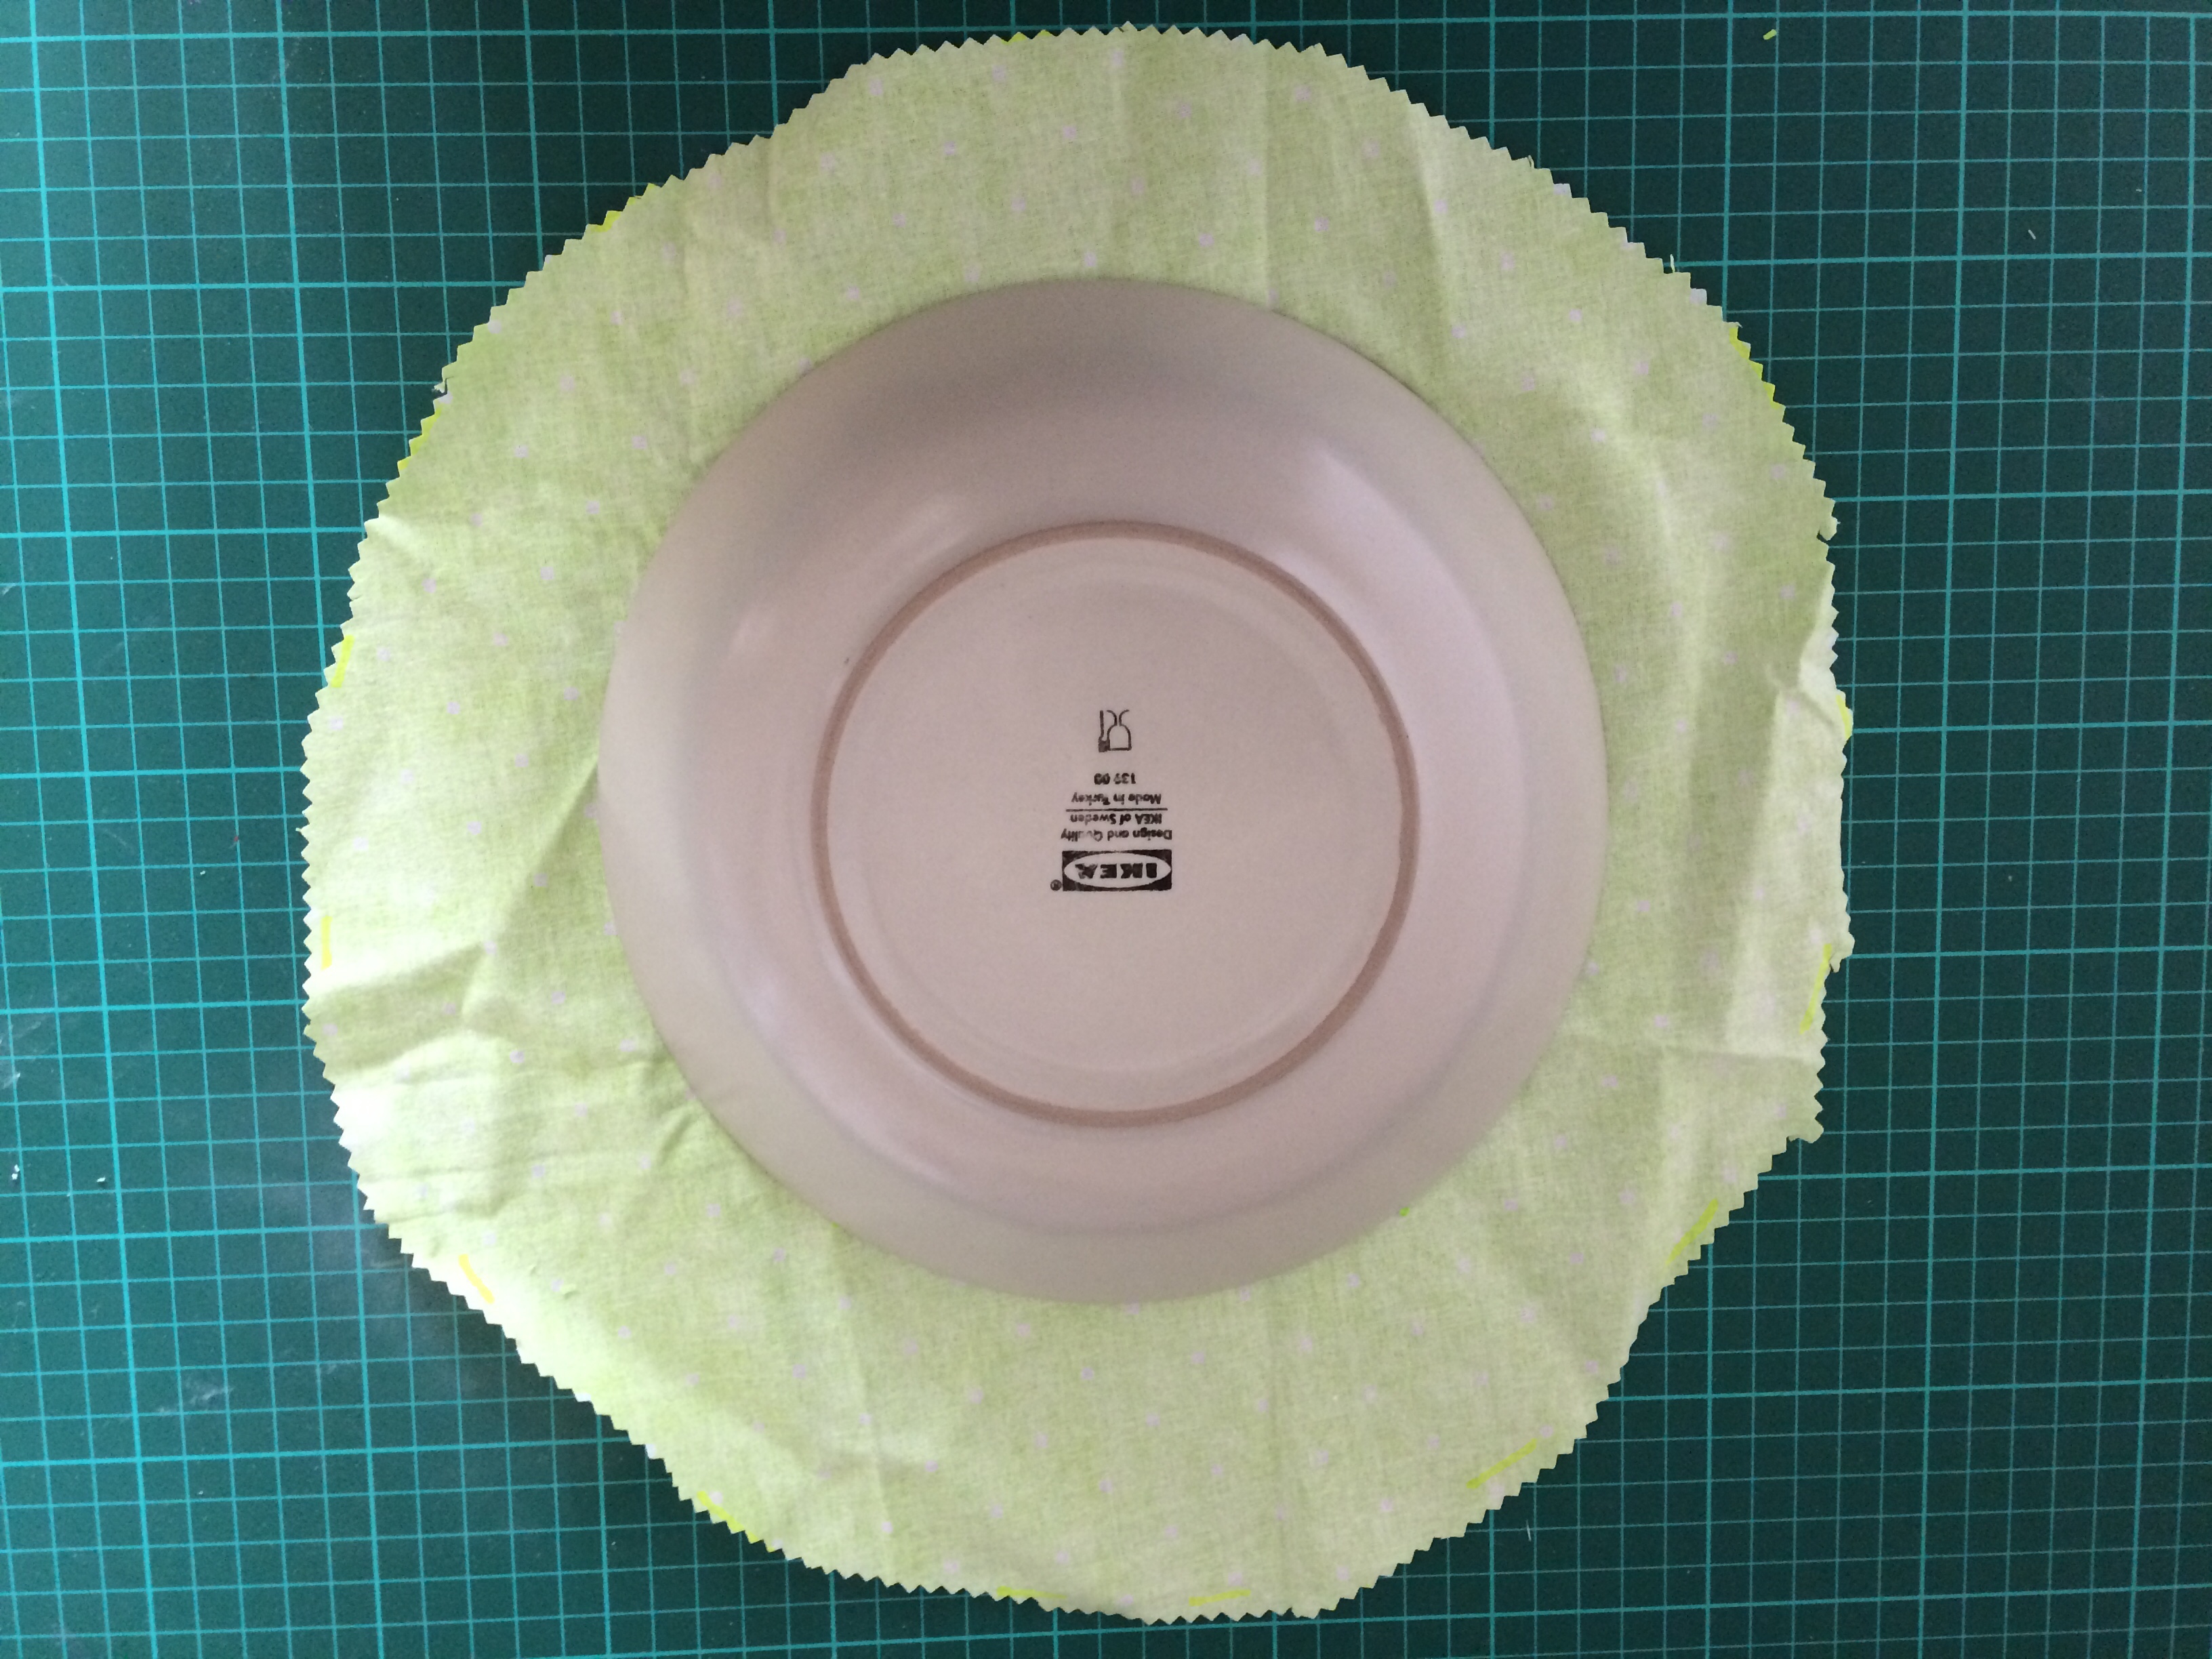

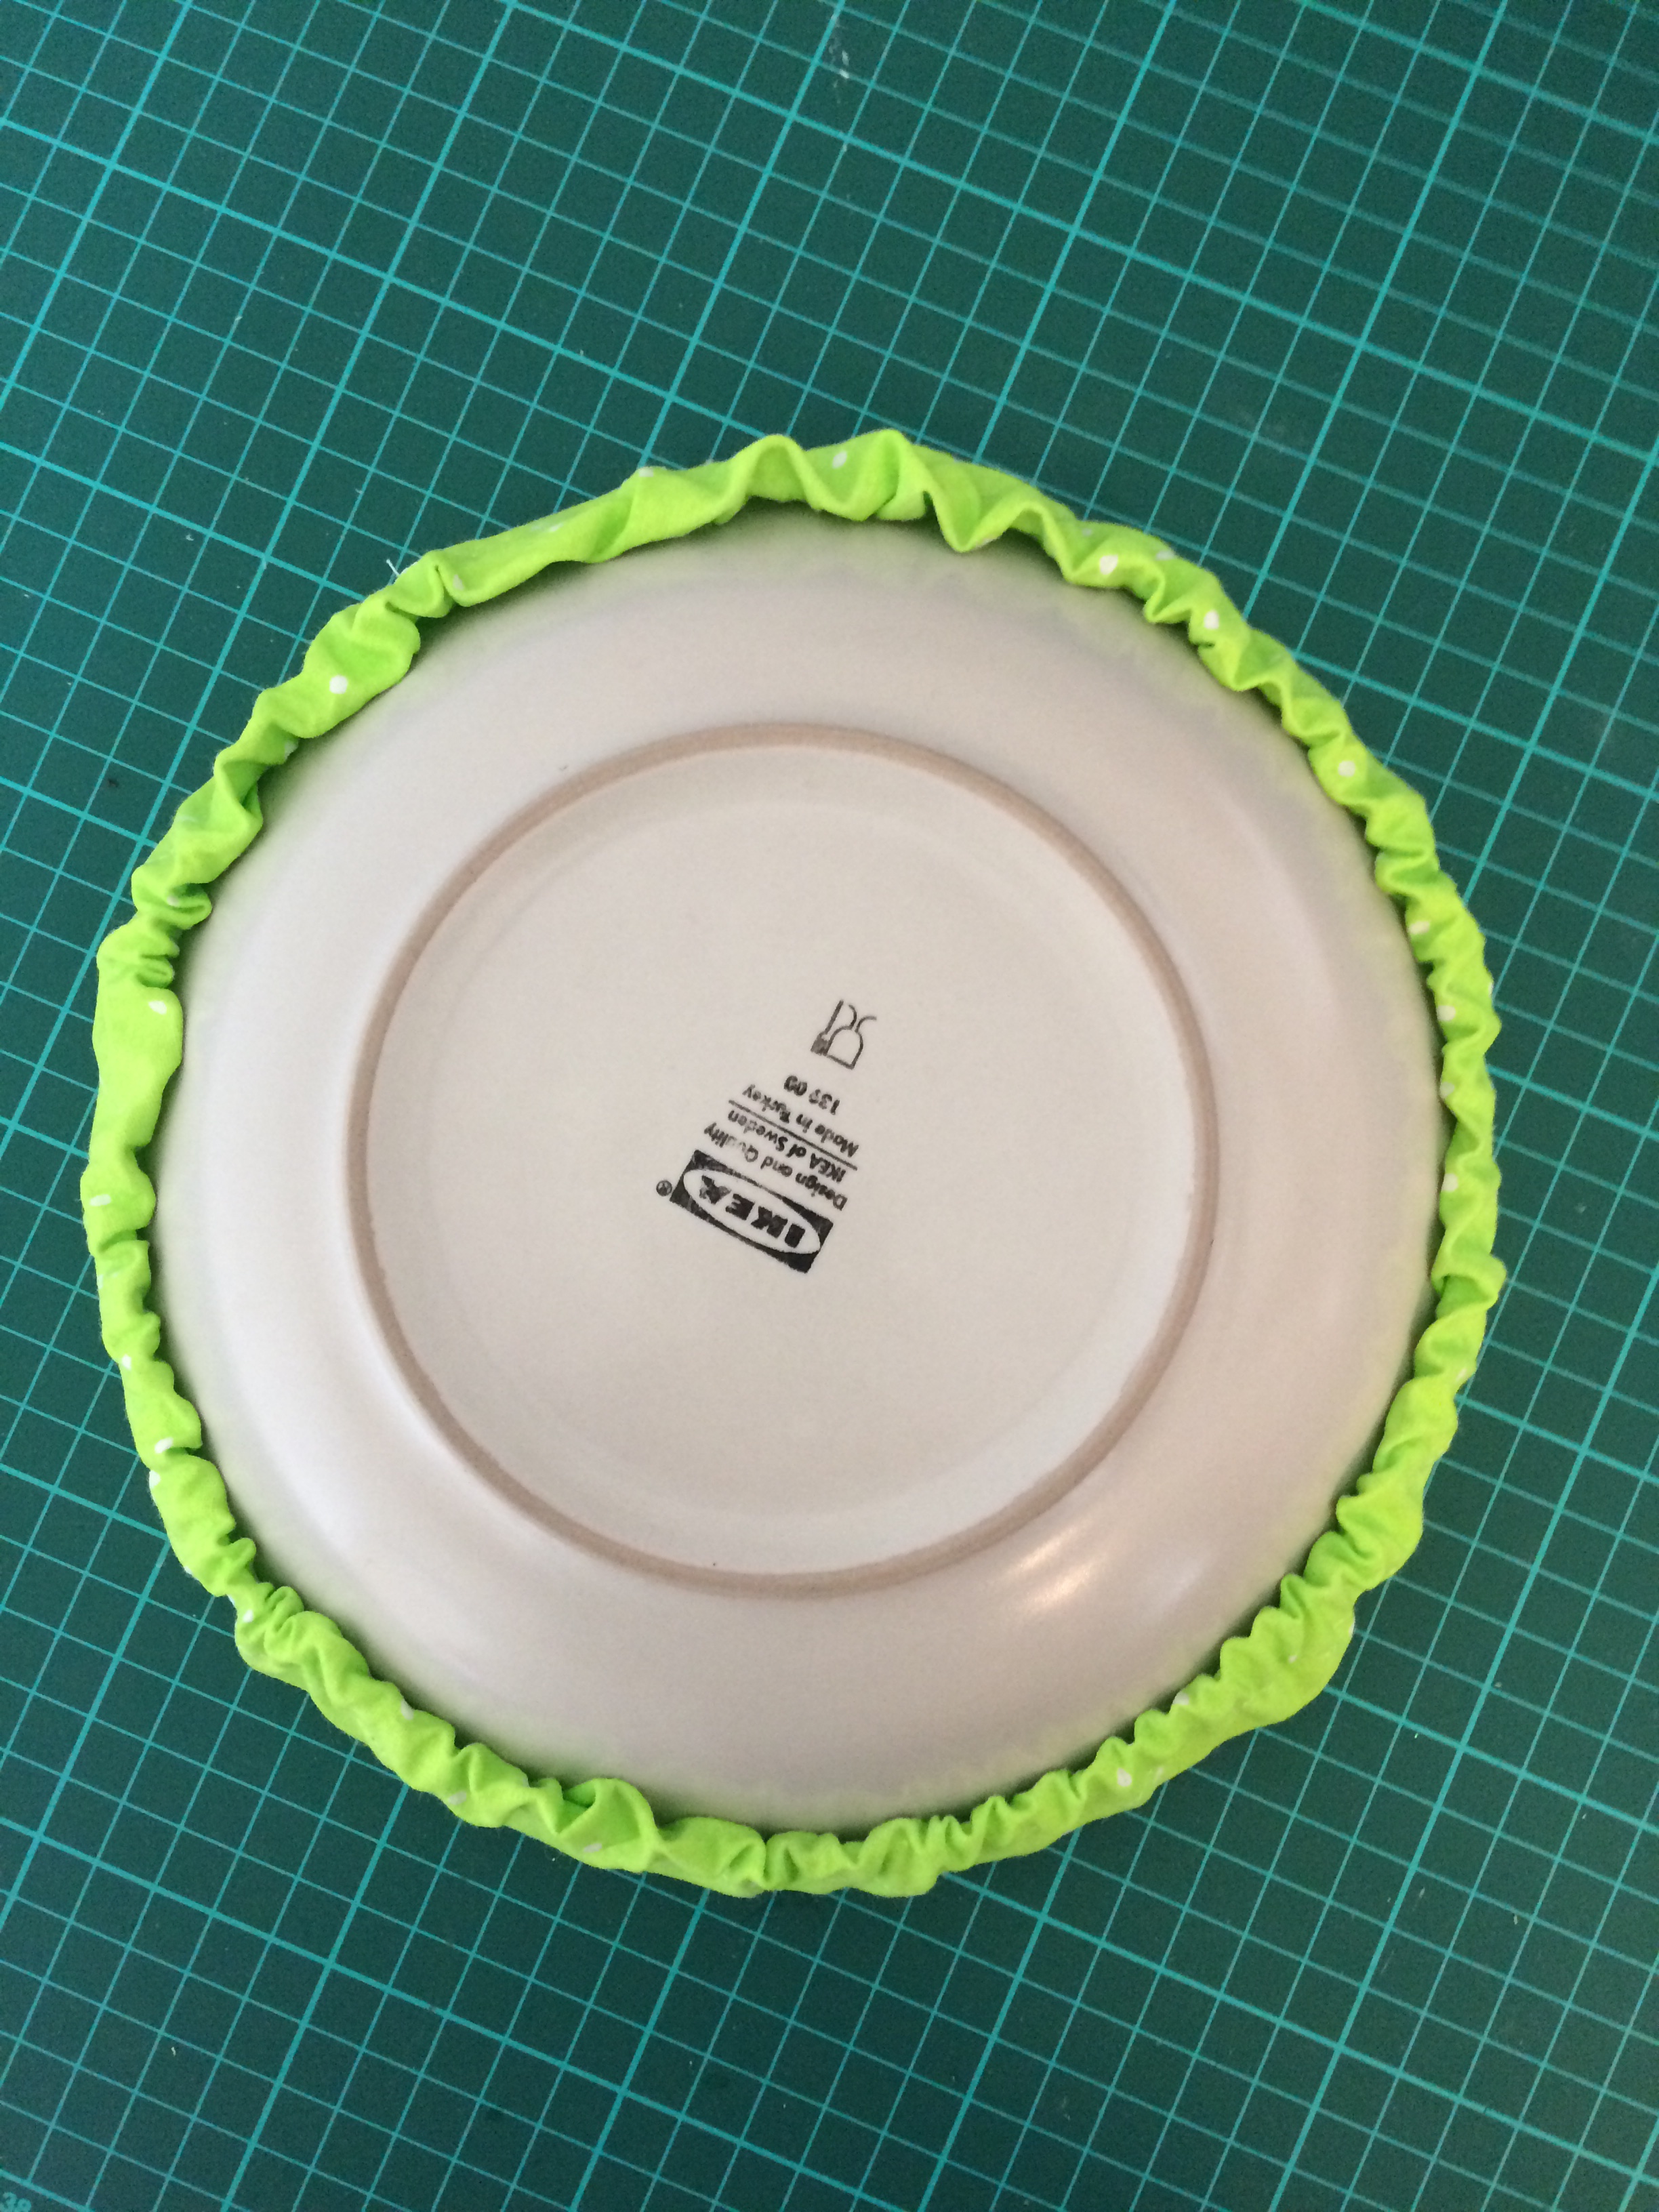
Easy project, use lightweight cotton.
Cut a circle around the intended bowl two inches away from the rim. I use pinking shears to avoid fraying
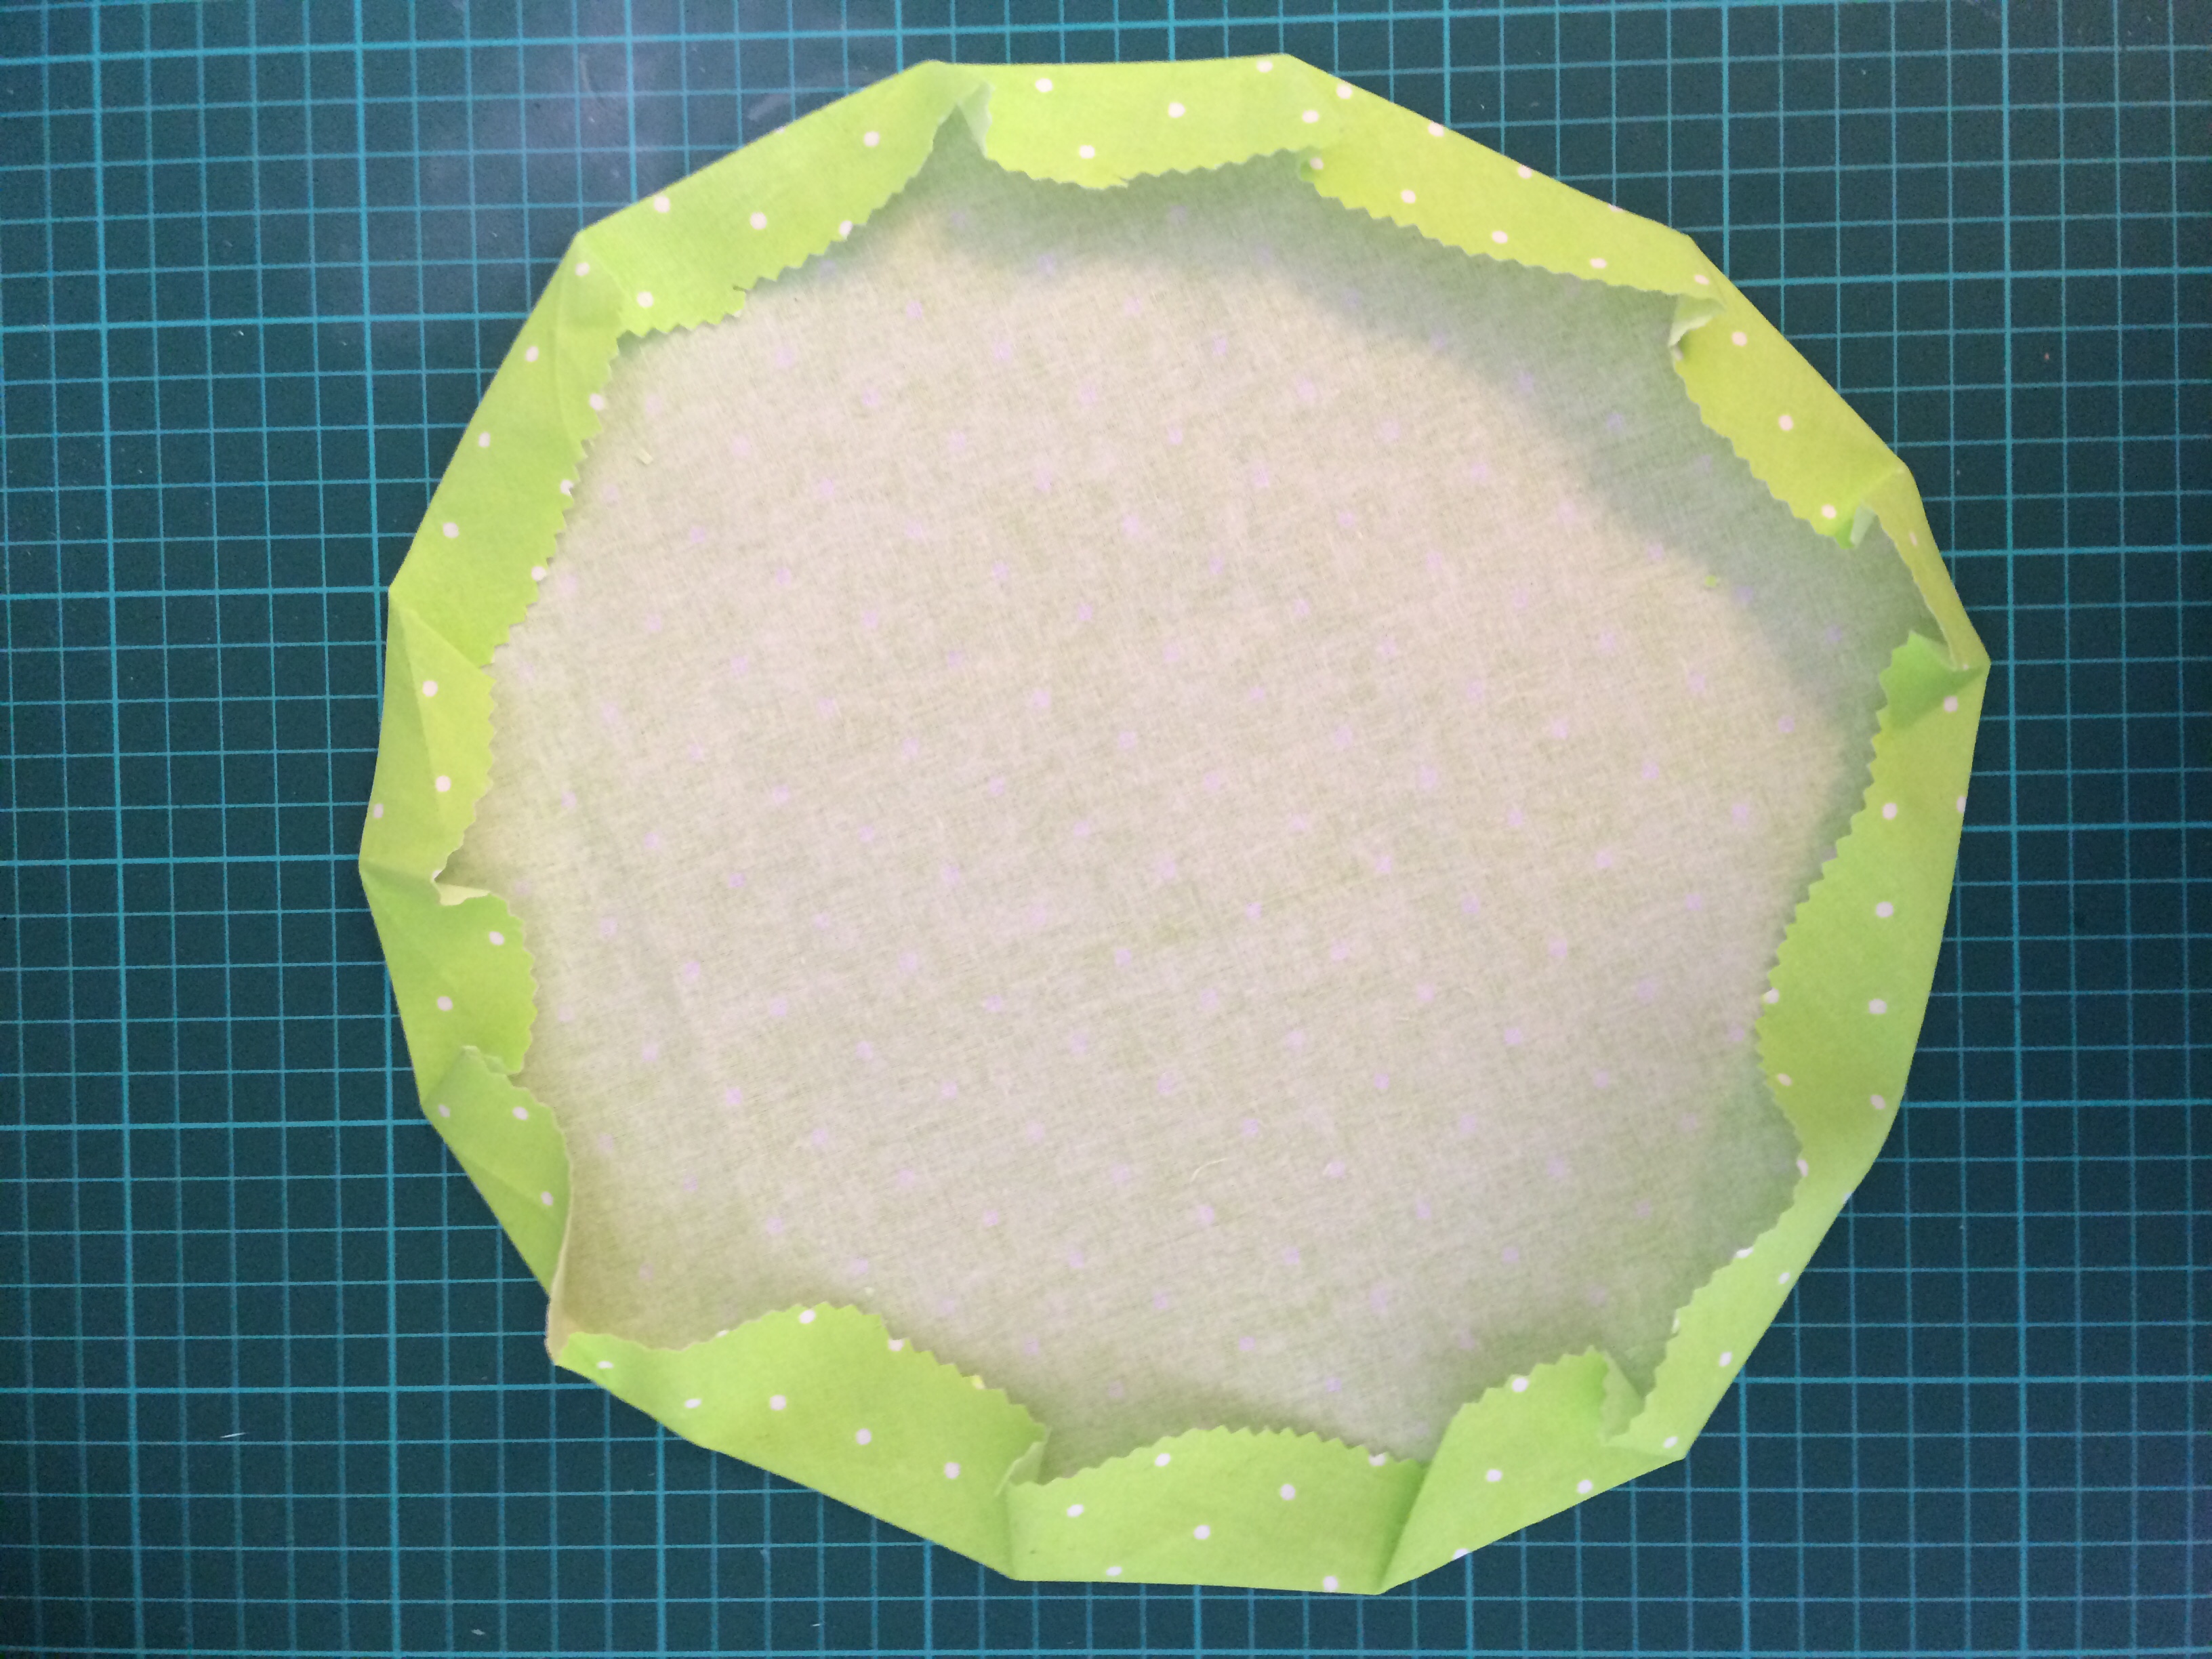
Press over a hem of about an inch (lots of tucks and folds).
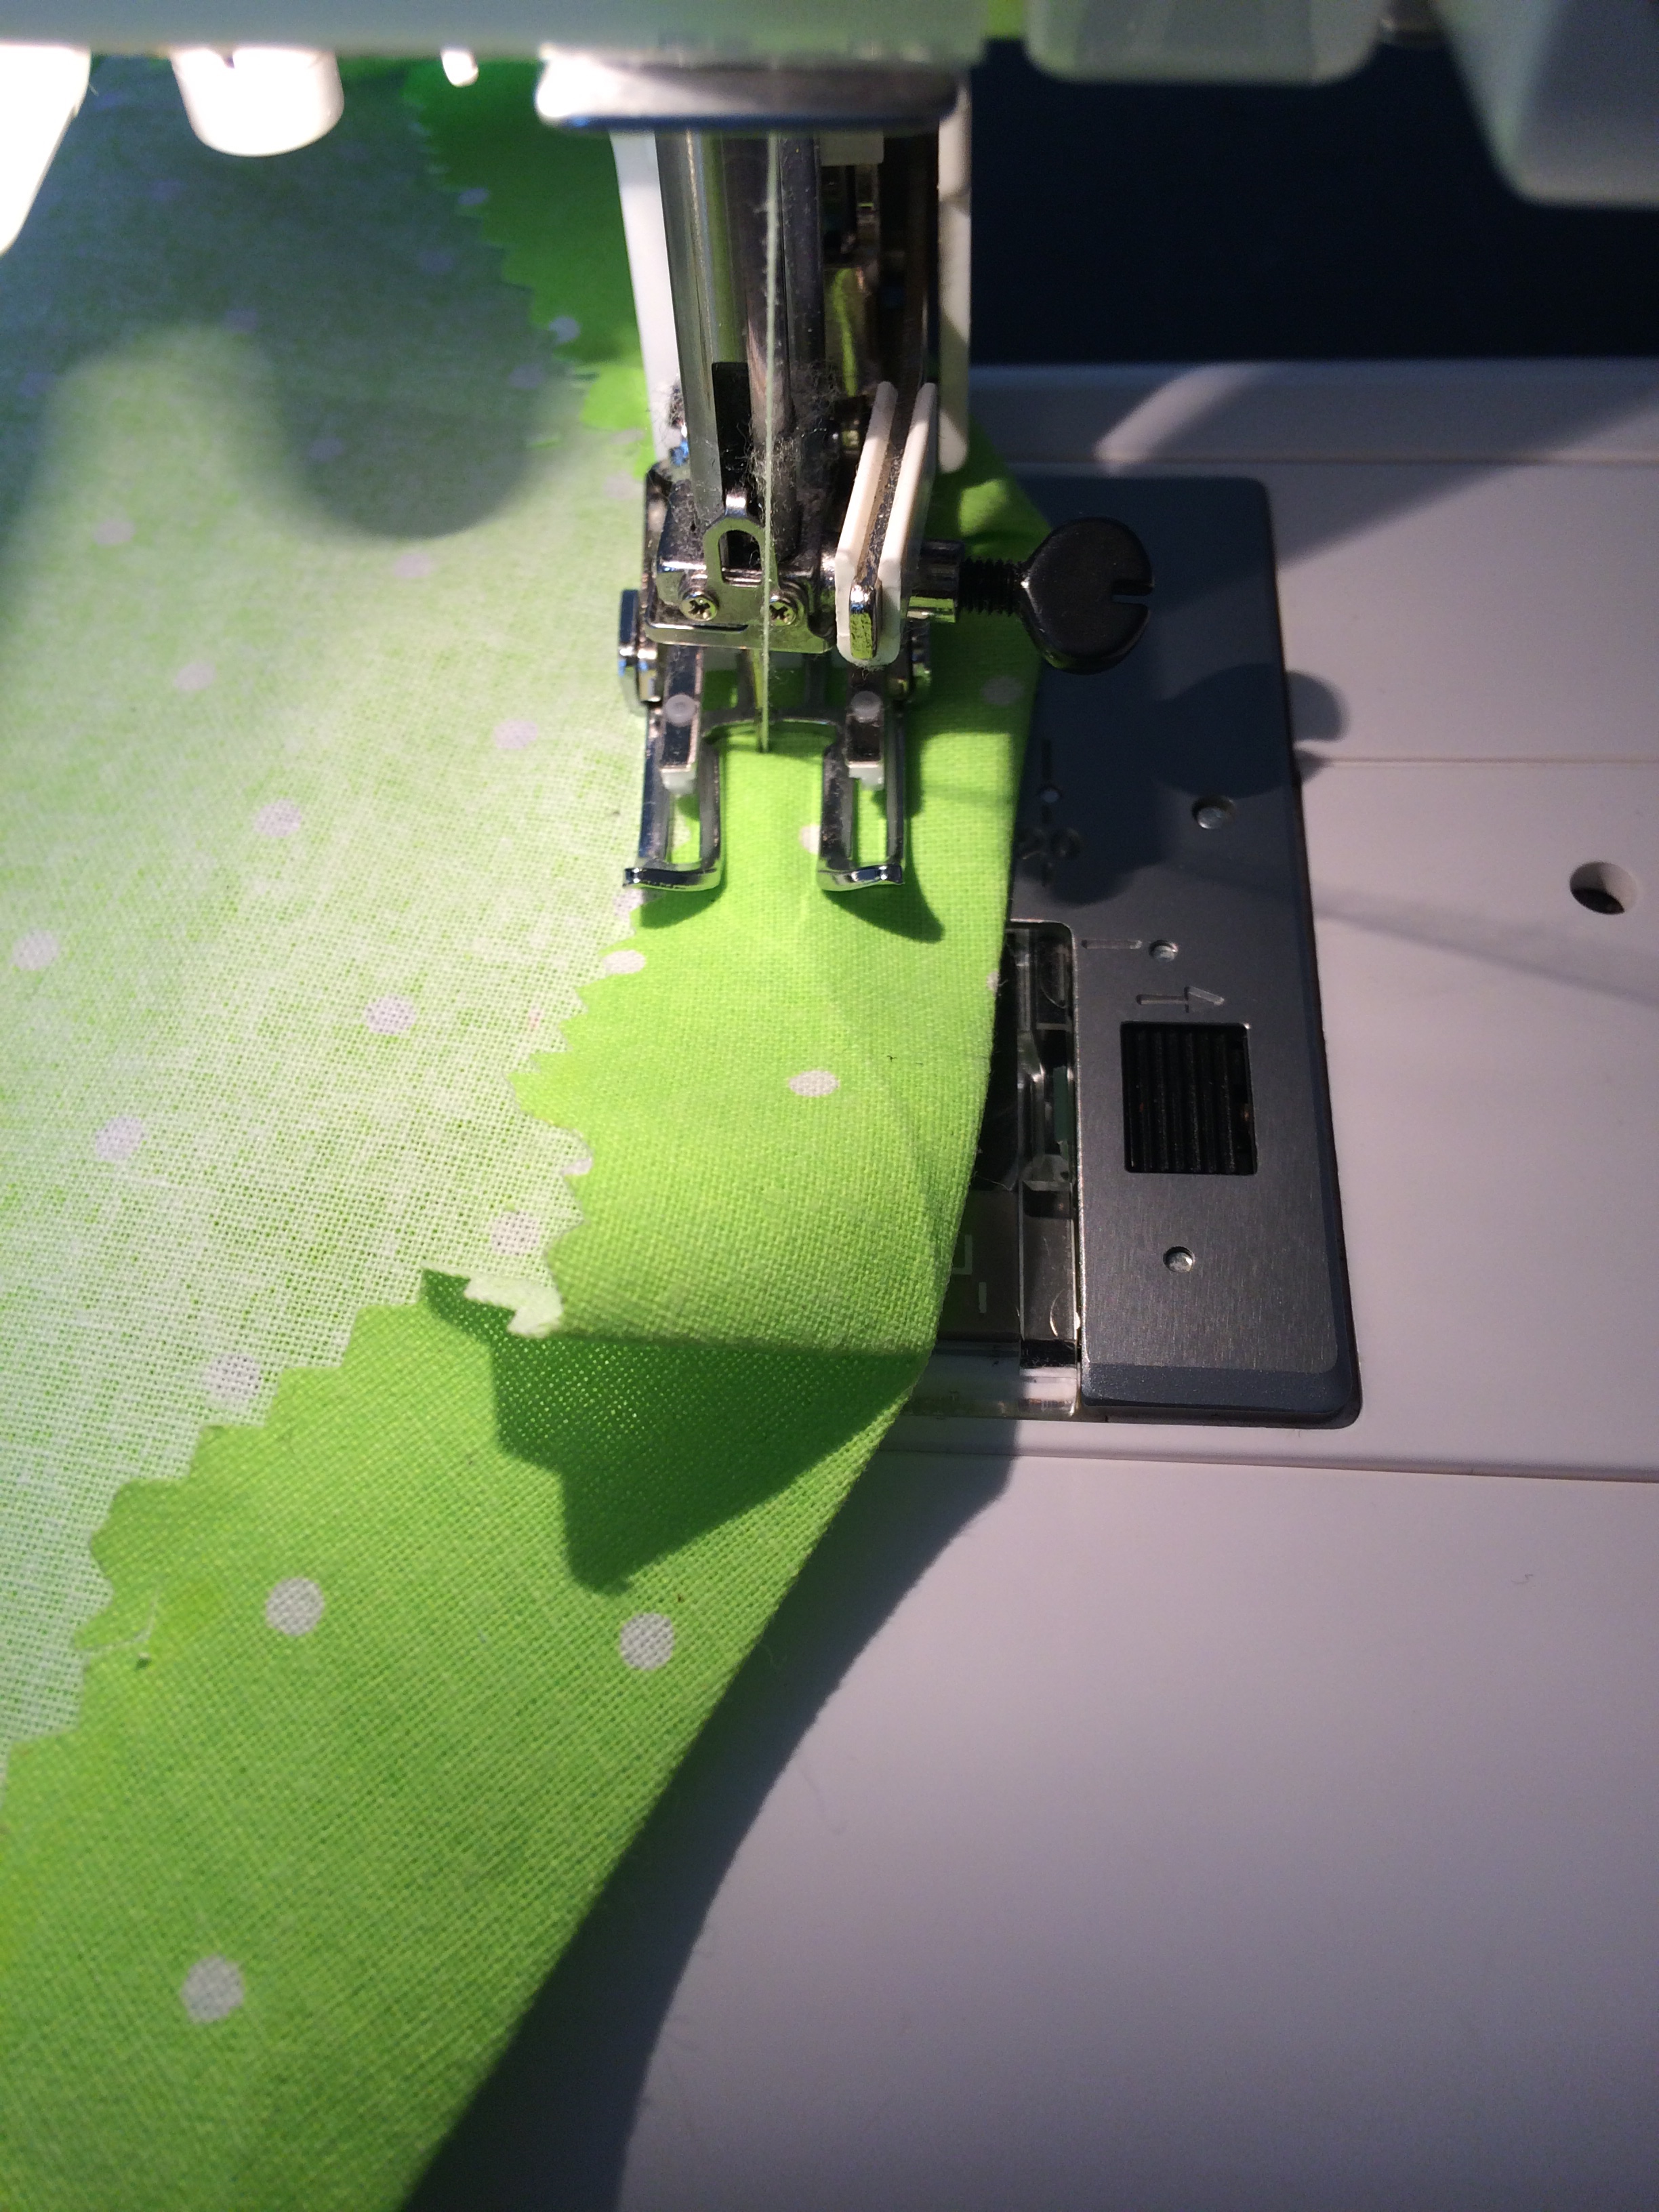
Sew around the hem. This creates a channel for the elastic. Leave a gap of a couple of inches.
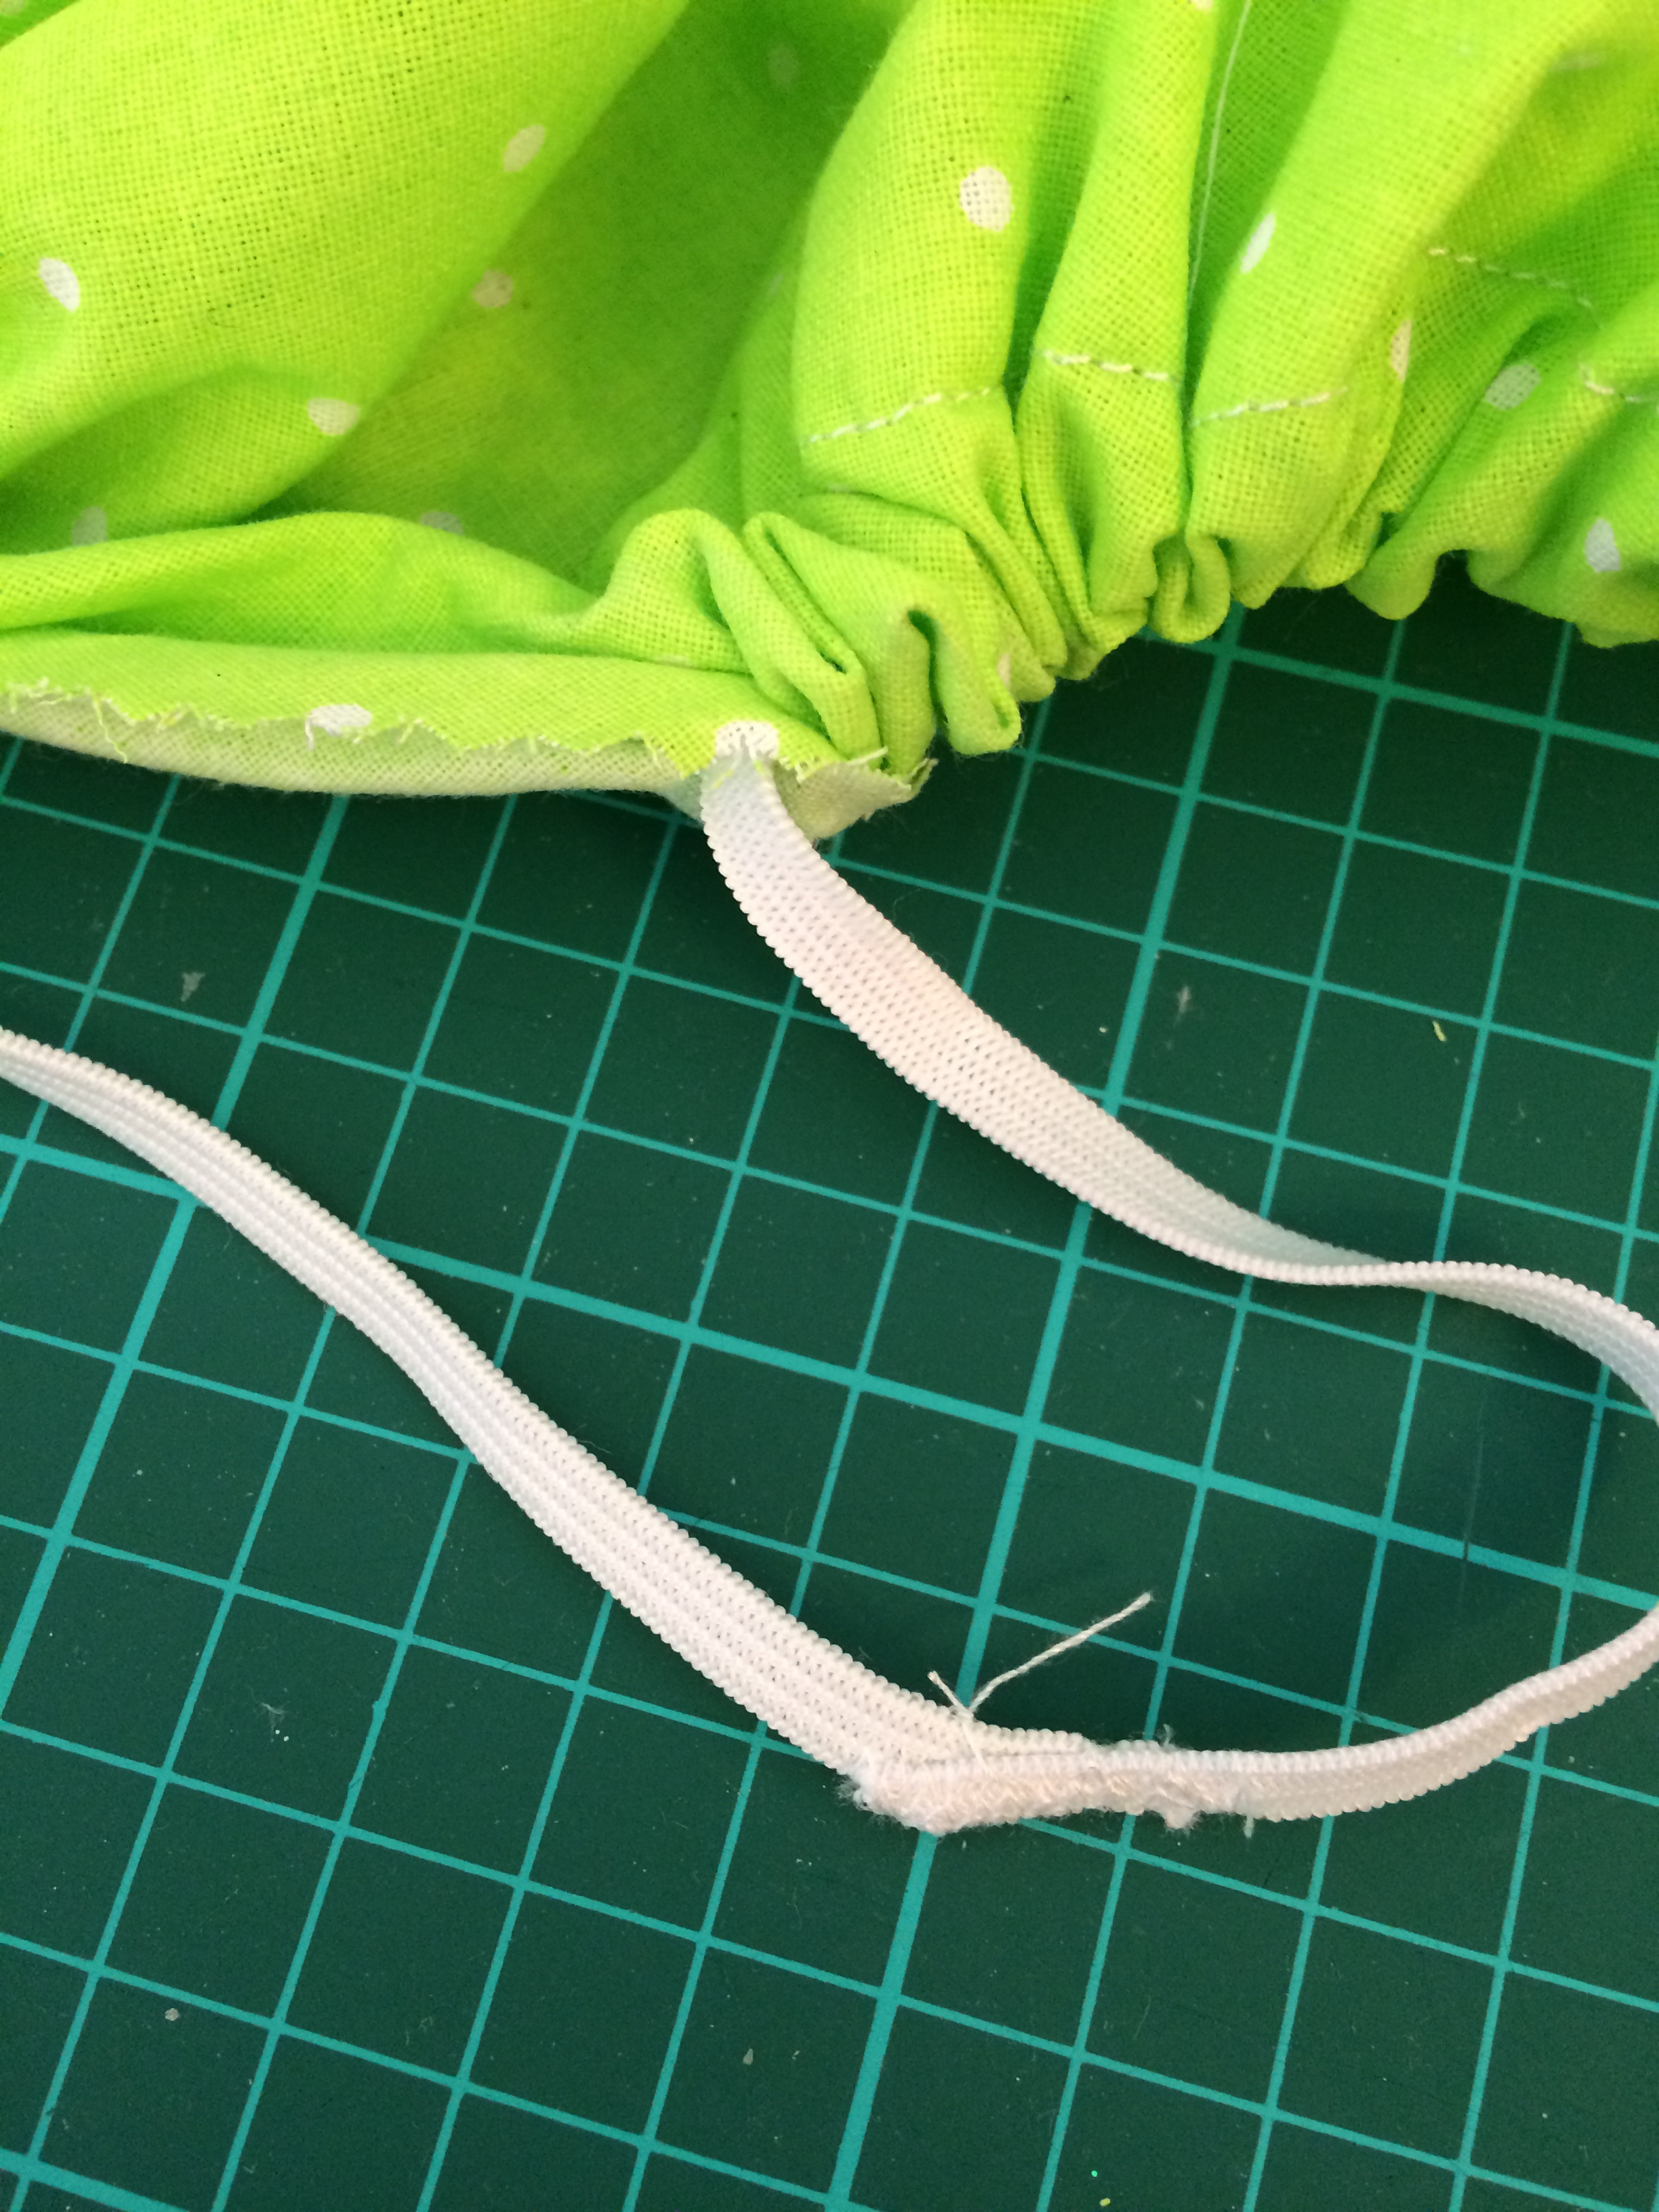
Cut elastic an inch longer than a snug fit length around the bowl. Stick a safety pin through the elastic and thread it around the channel. Fix the safety pin through the other end of the elastic to check the fit. If ok, Zig zag over the overlapped elastic and finally stitch up the gap in the channel.

Stashbusting Christmas paper means gathering all potential festive supplies together. This encourages me to use new combinations. Here I have used residual A5 card bases with dies that from past magazine purchases and I even recycled elements from cards we received over previous years. Embellishments of adhesive gems that seem to accumulate complete a batch of cards. Inside I have heat embossed a simple greeting so they are ready for boxing and gifting.


Surprisingly easy to learn this technique, but it does take quite a while at the sewing machine
Cotton washing line rope is coiled, pinned and then secured with a zig zag stitch. The coil grows as big as you choose then to create bowl sides you lift the coil as you zig zag.
For this set I wrapped scraps of fabric around the rope at random intervals.
Ideal for kitchen keys, bread or fruit bowls…might try some place mats and coasters next time
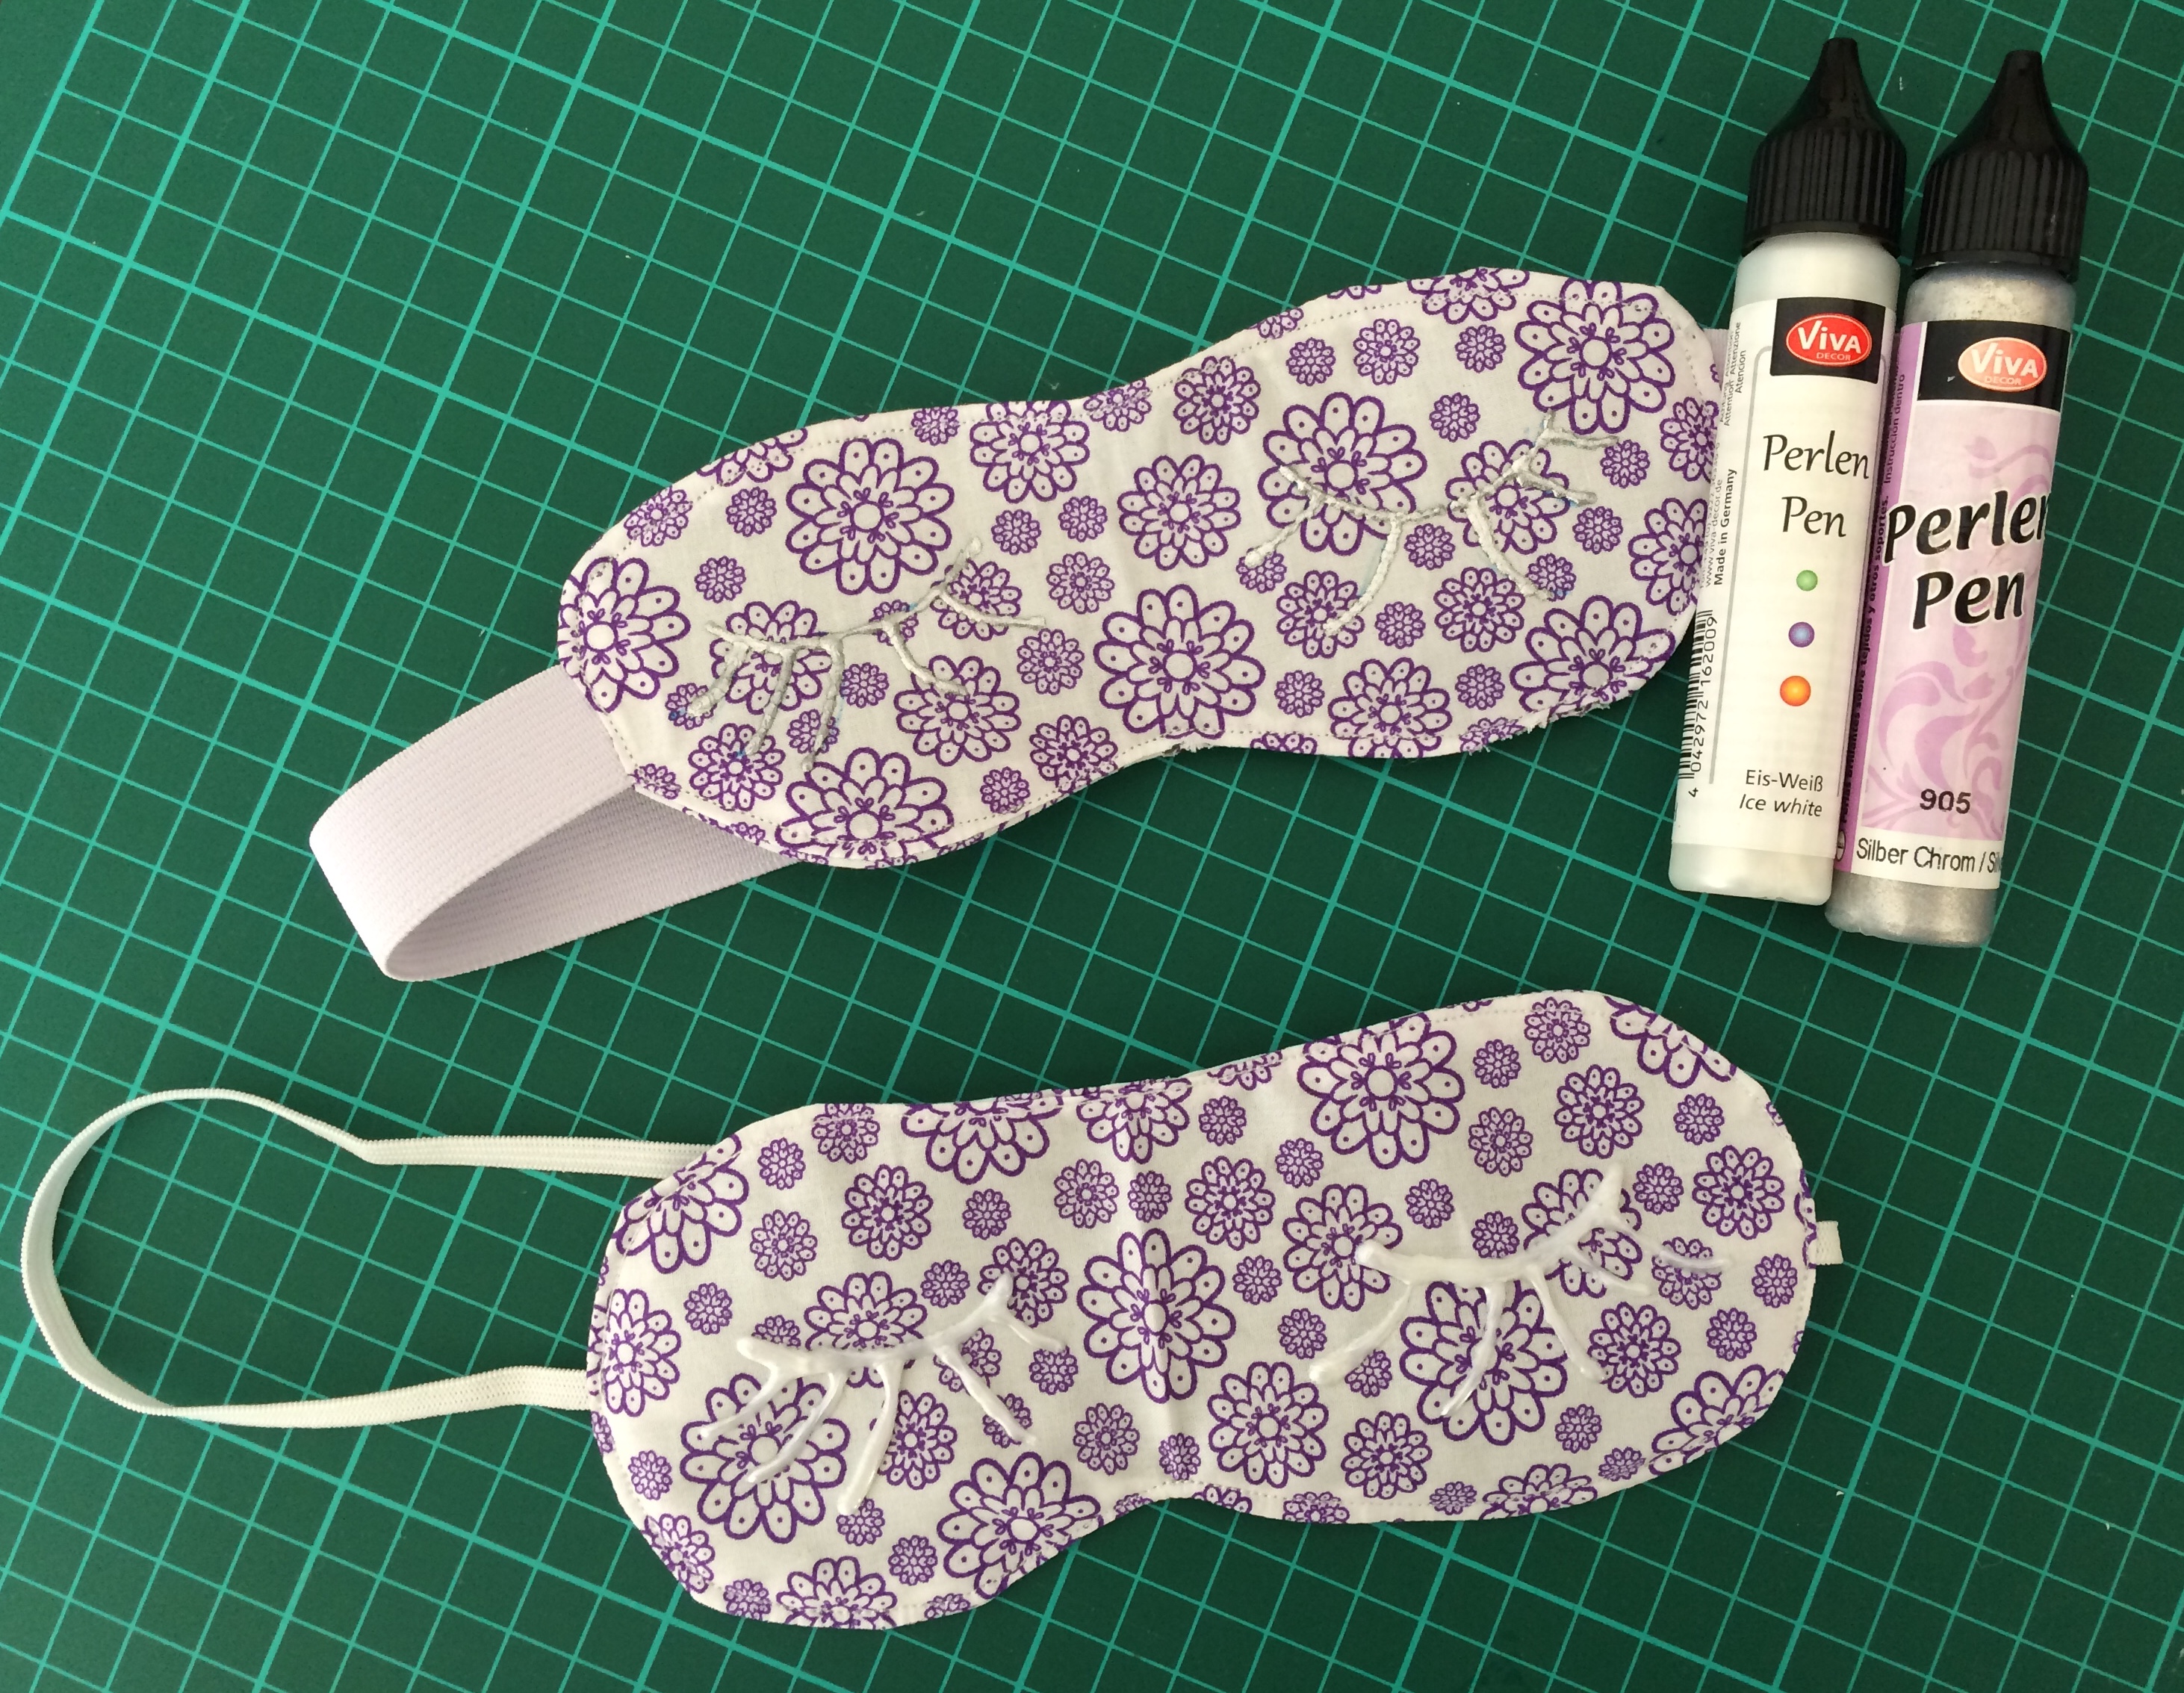
This is a simple pattern to make for yourself and a quick, simple sew too.
Sketch a mask shape on paper, cut it out and hold it over your eyes to check the overall size. Best to make it slightly too big than too small and to have a flattish top and a more marked indent at the bottom where it sits on the bridge of your nose.
Fold the shape in half and trim to make it symmetrical.
Pin your paper on to two pieces of cotton (or fabric suitable to rest on your eyelids) and cut around leaving a 1/2” seam allowance, then pin the paper on some felt (or batting) and cut around that more tightly so your fabric outers are bigger than the felt
Stack the fabric with the two outsides facing and then put the felt on top, I stuck my felt in place lightly with a few dabs of fabric glue
Cut a piece of elastic that is long enough to go round the back of your head from outside eye socket to other outside eye socket. Place the elastic with about an inch sticking out over each side of the fabric stack and pin each end (this is enough to make the elastic stretch without being too tight).
Sew around the mask leaving a gap for turning (I left mine at the flat top), if your elastic is thin it might be worth sewing and reversing at each edge as you go over it.
Turn fabric out and poke out any caught seams before top stitching all the way round- this closes your turning gap and further strengthens the elastic fastening
I decorated mine with exaggerated eyelashes using a pearl pen (don’t think it is waterproof but twas a quick finish)
