Paper tassels

D5364F9E-CD9D-4F35-BC9B-F1A8DCF071F4


A quick, fun embellishment for wrapping and home decor wreaths …

Cut an A4 sheet into three long strips. Stack the strips and cut a deep fringe all along one long edge (much quicker than cutting each fringe separately.

Stick a strip of red liner or strong double sided tape along the unfringed long end

Cut twine or thread to chosen length, loop it and stick the raw ends across the tape at one end of the strip

Roll the strip tightly starting from the end with the loop, so the loop is encased in the roll.

Fluff the tassel up when finished!


Lavender wreath

0EF2A55A-B9D9-4D4A-87F9-4A826C0C7F0D

This year’s lavender harvest has arrived and I have been challenged to do more than the usual lavender bags, so a wreath starts us off…

The base was cut from cardboard packaging and wrapped with donated wool before five handfuls of lavender were placed around the wreath, their stems cropped, lightly hot glued in place and then ‘bound’ with curling ribbon – which also makes a hanger for this lovely room scenter.

More card casing


this time from Joanna Sheen cardmaking collection…

The shadows are achieved by masking and effects by pulling up the ink with water – useful practice.

I thought I would be using the die and stamp set from this mag but got sidetracked by an article on blending distress oxides with the stencils that came in the kit. Here are my two ‘casing’ efforts.

Diy wreath builder

0886B0C4-15DC-402D-97D6-1E8D0E6D6471

I cut a stencil from acetate to make a wreath builder,  saving myself money and extending the use of my new Craftwork cards flower stamps.

The stencil is merely two 4 1/4” squares, one rotated 45 degrees to form a star shape. The scan n cut did it’s stuff and I popped out the star leaving a place holder to rotate stamping paper around so that repeated stamping in a stamp positioner is neatly aligned. (See Gina K wreath builder if you want the original at £10.99)

For this card I used my distress oxide inks and filled the centre with fussy cut flowers from the papercraft magazine kit.

Papercraft magazine challenge

3884CB10-3A26-45DB-A194-34E8014A8F4CIt may look like I have only made 5 cards, but I have worked my way through the magazine, tried out the stamps, dies and stencils and ‘cased’ these cards so far.

The challenge now is to use up the remaining tags, fussy cut flowers and papers that I have prepared. Meanwhile they sit with my other Craftwork cards kit remnants waiting for a second burst of enthusiasm.

This magazine was a bargain from Craftstash bought with birthday money (justifying paper addiction here). Will keep my eyes peeled for issue 2…

Snap bags

AE20AC26-E80B-4F7E-9692-1AEB80EEAF8D

‘Snap’ was a local word for packed lunch in Nottingham/ Derbyshire when I was living there many, many years ago. So these lunch bags fastened with Kam snaps had an obvious snappy name.

I used remnants of vinyl from an Amazon job lot which meant cutting front and back panels to use the fabric best. If you have a plasticised tablecloth or even a heavy duty shower curtain to upcycle that would work well.

Because the remnants weren’t squared, one of the sunflower bags has an angled flap which needs three snaps to keep it closed well. But because the colour of the snaps is a positive (there were about 20 sachets of different colour snaps in the beginner set I bought) it makes the end result better in a quirky way.

While the snaps were out I made a small lined bag (angled flap and 3 snaps again) and turned the cuff end of a shirt sleeve (left over from last week’s laundry bag make) into a phone holder to avoid scratches when it is in my bag.

to make: cut vinyl into required shape (back bigger so the flap folds over)

with right sides facing sew round the sides and bottom – use a long stitch length to make as few puncture holes in the vinyl as possible and don’t do too many back stitches at beginning and end or the vinyl will be too holey and might tear when in use.

trim seam allowance and clip the seam really close to the stitches at the corners before turning right sides out – the clipping helps neaten the corners as vinyl is quite bulky.

fold the edges of the flap over and seam these in place, on one of the bags I used zig zag for this to hide a blooper I had made.

position the snaps or you could use Velcro to finish the bag

Upcycle shirt into laundry bag


9FAC4AFF-6400-492C-8377-241B32477823.jpeg

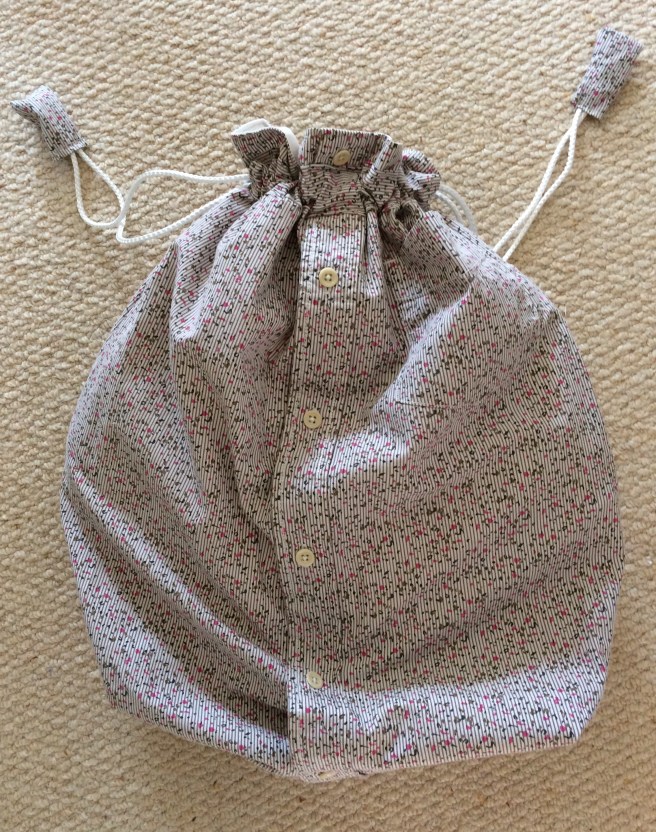
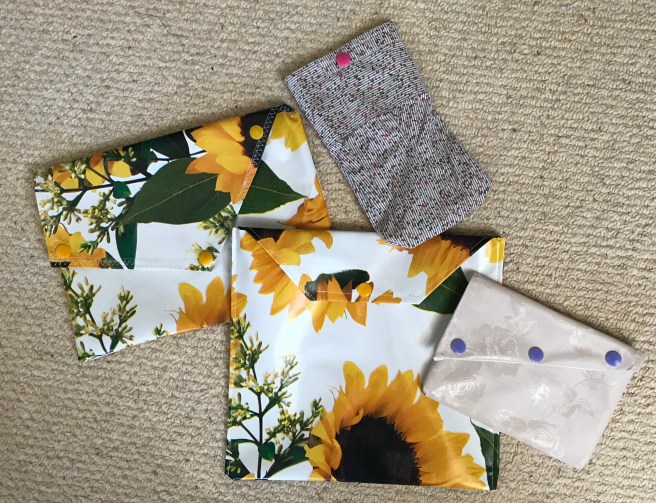
Thanks to Edward for finally clearing out his aging shirts. The less lovely patterns will be used to line projects but this shirt is worth using on the outside

I decided to keep the placket (learnt that word from Sewing Bee) so just chopped off the collar and sleeves leaving equal rectangles. (I unpicked a dart on the back but this really wasn’t necessary).

I then cut two matching rectangles from lining material (I am finally making headway into the old duvet cover that is flattering up my fabric stash/jumble).

To make a drawstring tube, I cut two strips of fabric from the remnant about 10 inches by 4, hemmed the short ends and ironed under about an inch on the long sides before stitching the long ends a couple of inches down from the top of the outside of front and then back of the shirt

With right sides facing I hemmed the sides and bottom of both shirt and lining (leaving a gap for turning in the bottom of the lining. I boxed the corners with a 2 inch box cut out but this isn’t necessary.

I then turned the lining right sides out and sat it inside the shirt bag. I pinned the tops of the bags together, matching the seams and smoothing out any wrinkly bits before hemming all the way round.

I pulled the shirt through the gap in the lining, stitched the gap shut and then pushed the lining back inside the bag.  I ironed and top stitched around the top hem before threading cord loops through the drawstring.

This is an easy project as the shirt front does all the style work needed. I didn’t even stitch the two sides of the front together, just left them buttoned up. This means the user could tuck things between front and lining if desired. And that’s in addition to the original shirt pocket on the front. I did put fabric tabs over the cord ends to use up some of the little remnants but it’s really not required.

Perhaps this is too good for a laundry bag!

On another version I tried using the sleeves to shape the bag by cutting just inside the shoulder seam. It made the bag slightly wider but a bit more fiddly and saggy when finished.
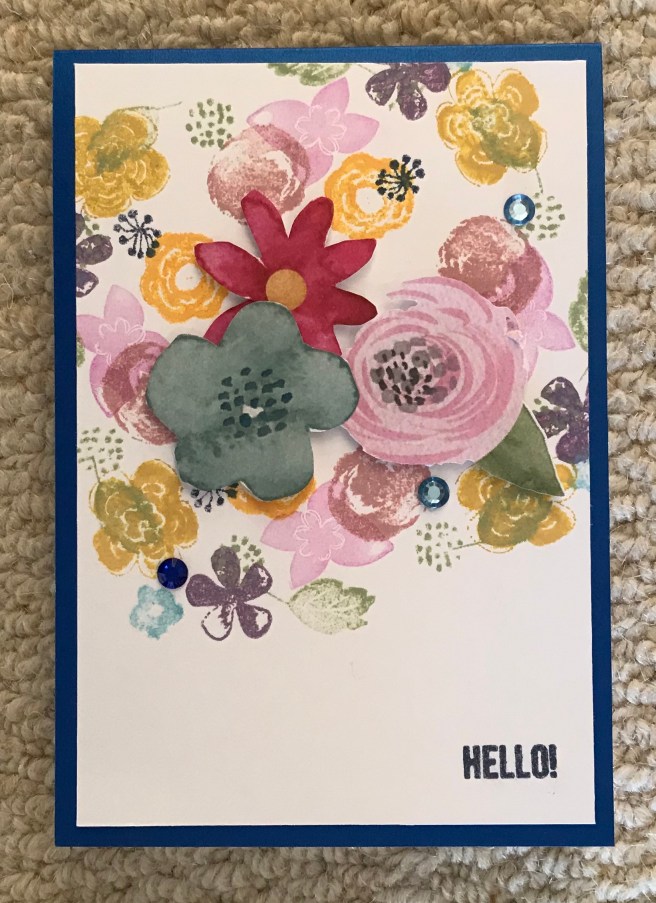


Felt piggy bank

A57E860C-C238-41E6-8612-288C37168DF0
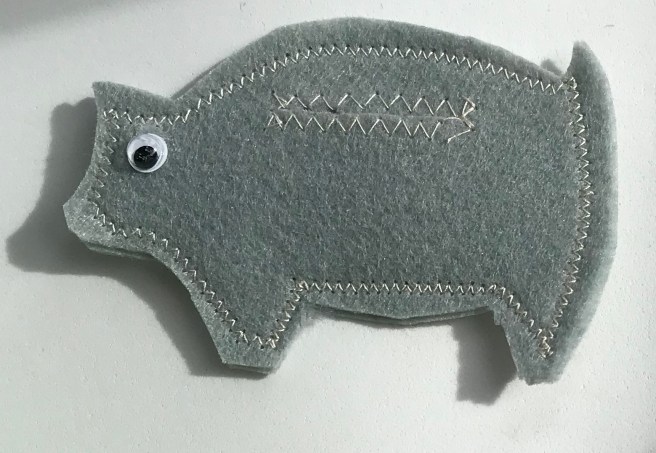
While  the felt and googly eyes were on the table, I remembered this Pinterest inspired ‘to do’.

In practical terms, bigger is better – this one wouldn’t hold many coins, but I was pleased at how easy it was to make from some of my Ali Express little felt squares.

I sketched the outline in pencil direct on the felt then cut it out on two matching pieces of cheap, stiff, nylon felt before zig zag stitching around the coin slot and edges. The googly eyes were stuck on with collage medium.

It might be fun to make a suitcase or flag shaped one for someone saving for a holiday; car shaped or Christmas tree shaped or …

Dog collar doodahs

AC986697-0493-4B34-8DB9-AF8CE78A9D33
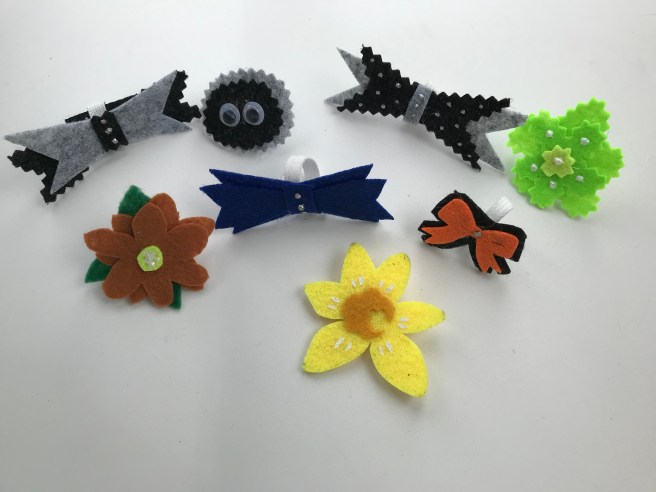
Inspired by a charity fund raiser daffodil shown centre above

These are simple felt shapes stitched on to a loop of elastic which will slip over the dog’s collar

cheap, stiff felt seems to be best for these, although I am not sure how long the googly eyes or any part will survive tear and wear

I plan Christmas cracker ones for this year’s doggy stockings!