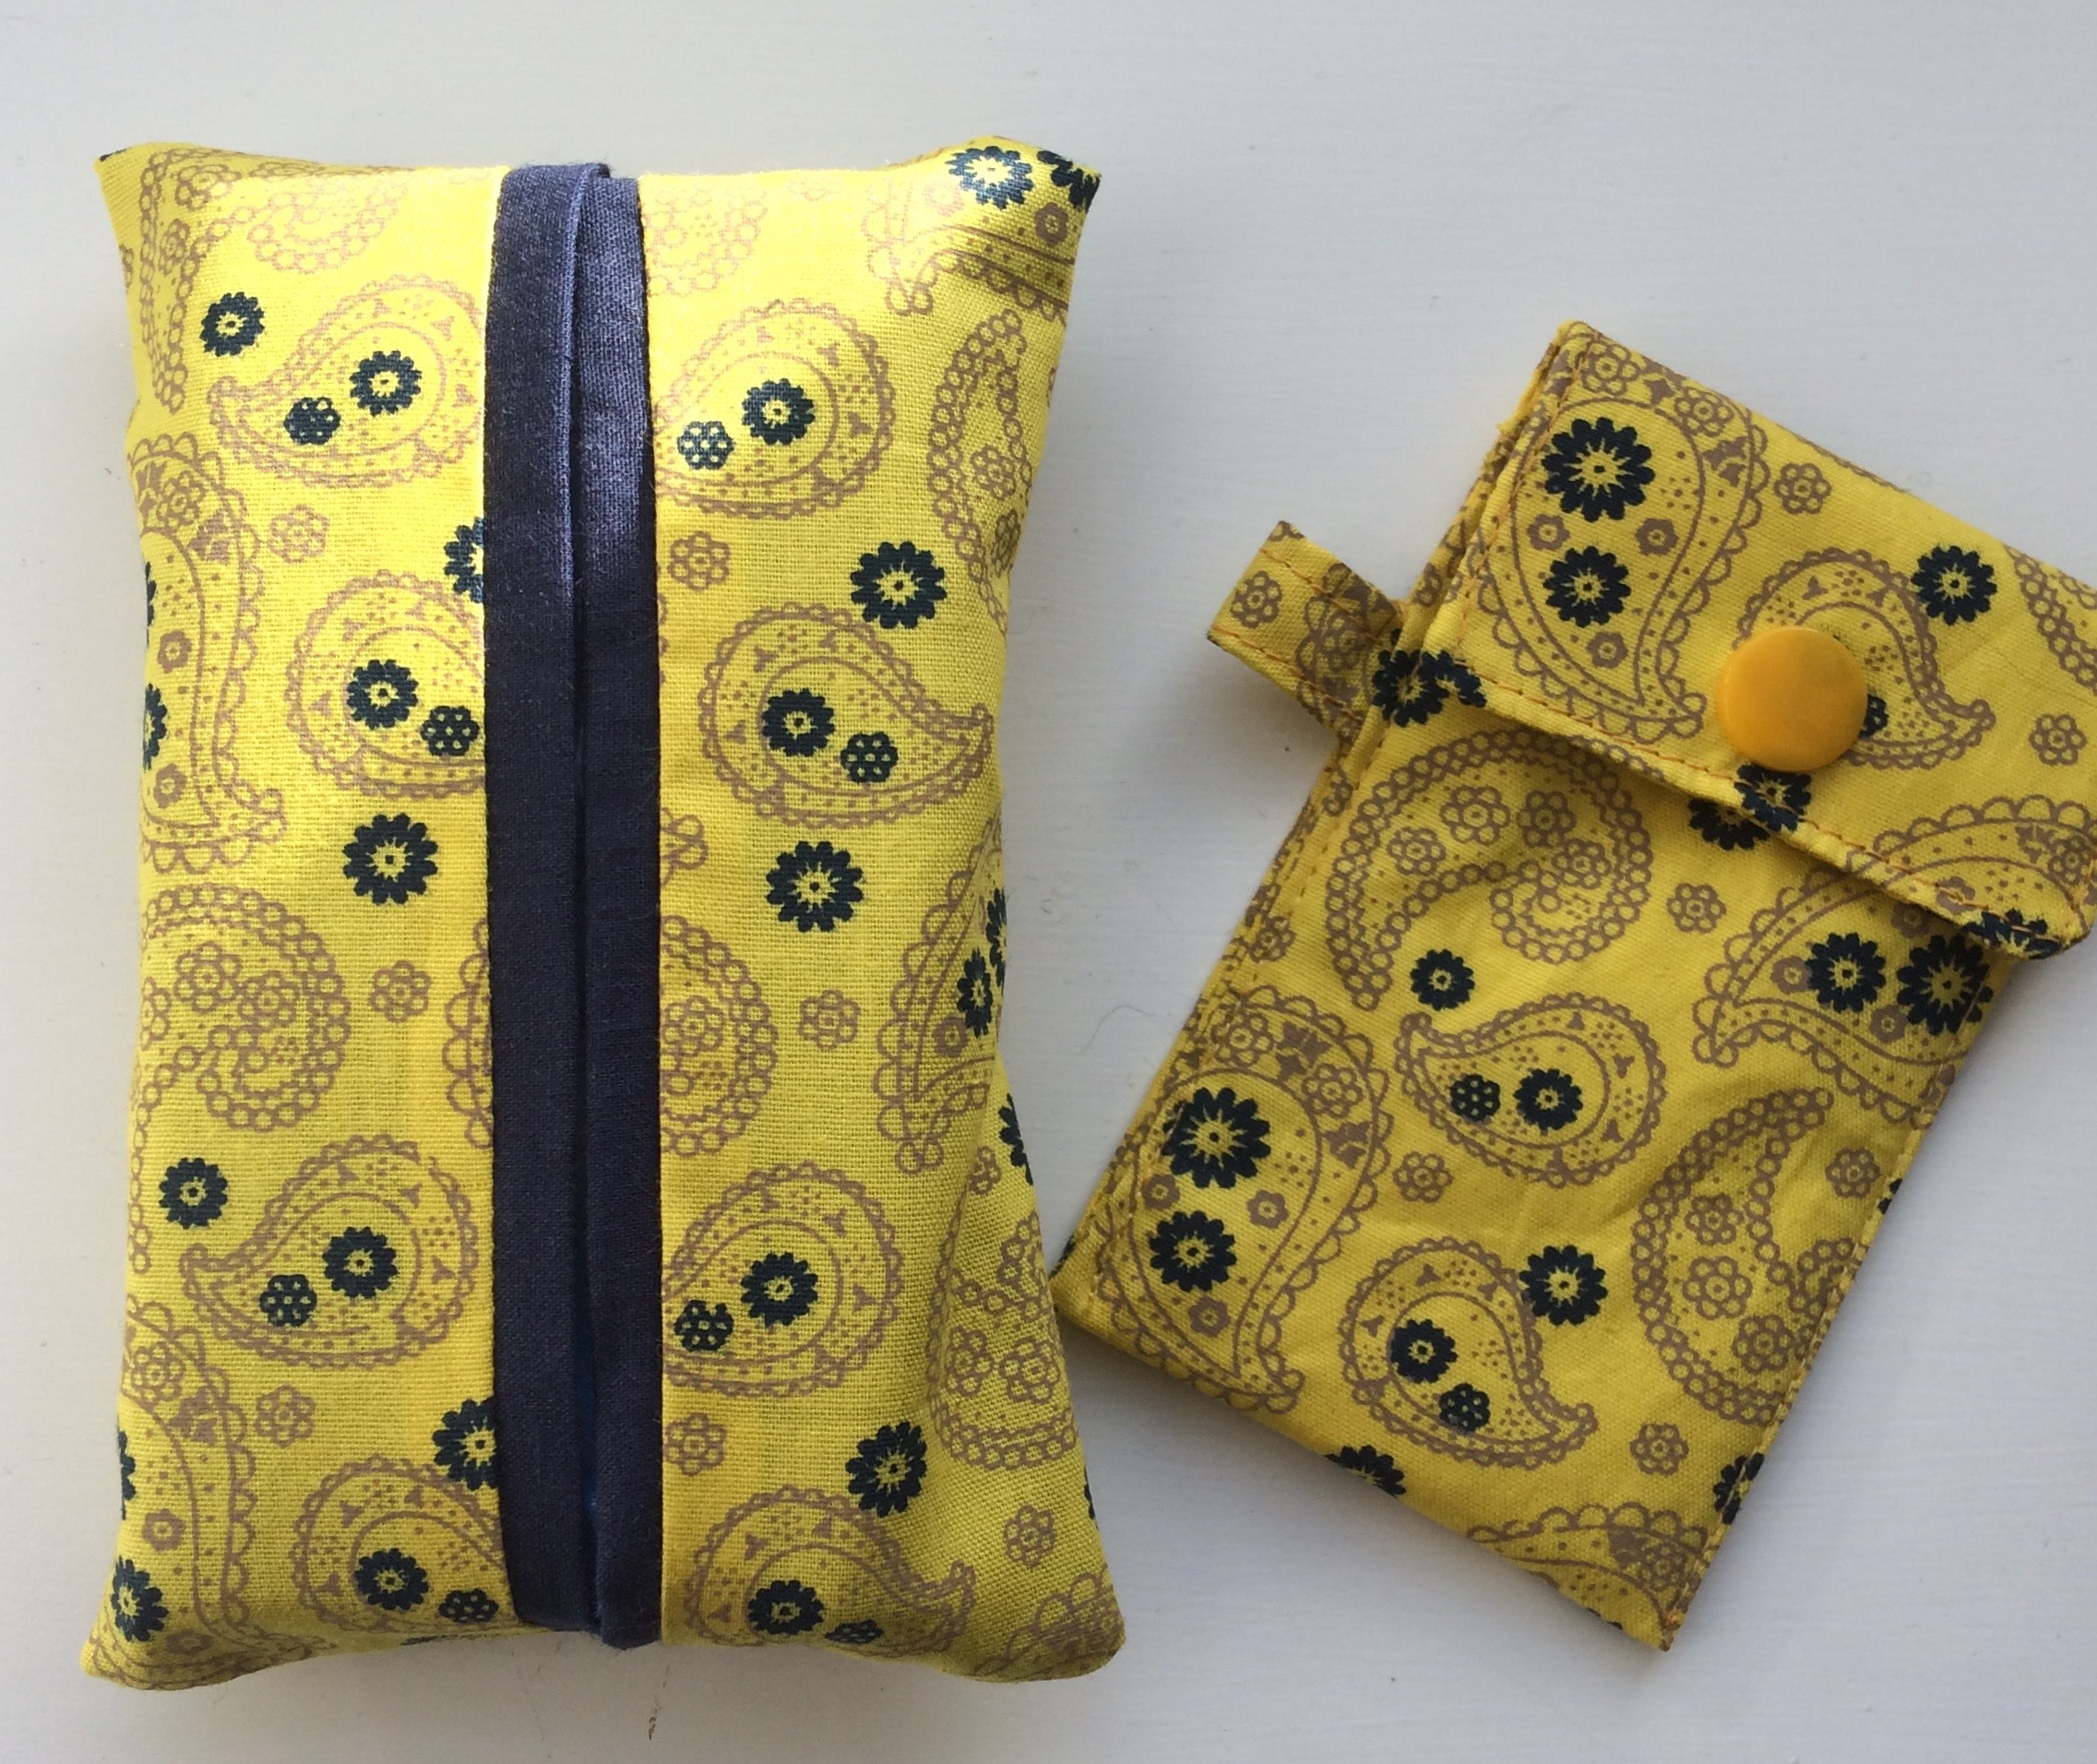
These little pockets fit on your key ring and usefully hold a lip balm or some pooh bags or emergency fiver. I made a bunch of them with co-ordinating tissue pockets (see post from 2015 A-tishoo! A tissue …) for a sweet little handbag accessory gift. The original idea came from Lorrie Nunemaker but I simplified her project a bit.
 All you need is a piece of fabric that is 5″ x 9″ plus a 2″ square for a tab that will slide on your key ring. If your fabric is lightweight cotton interface the main piece then fold it in half (right sides facing and iron it so you have a piece that is 2.5″ x 9″.
Sew around the open edges with a 1/4″ seam leaving a turning gap between 2″ and 3″ from the top. Clip the corners and turn right sides out then iron flat again.
Now make your tab by ironing the 2″ square in half opening it out and ironing two sides towards the centre fold and then folding in half again so you have a strip that is 1/2″ x 2″. Sew around the four sides of the strip with a narrow seam.
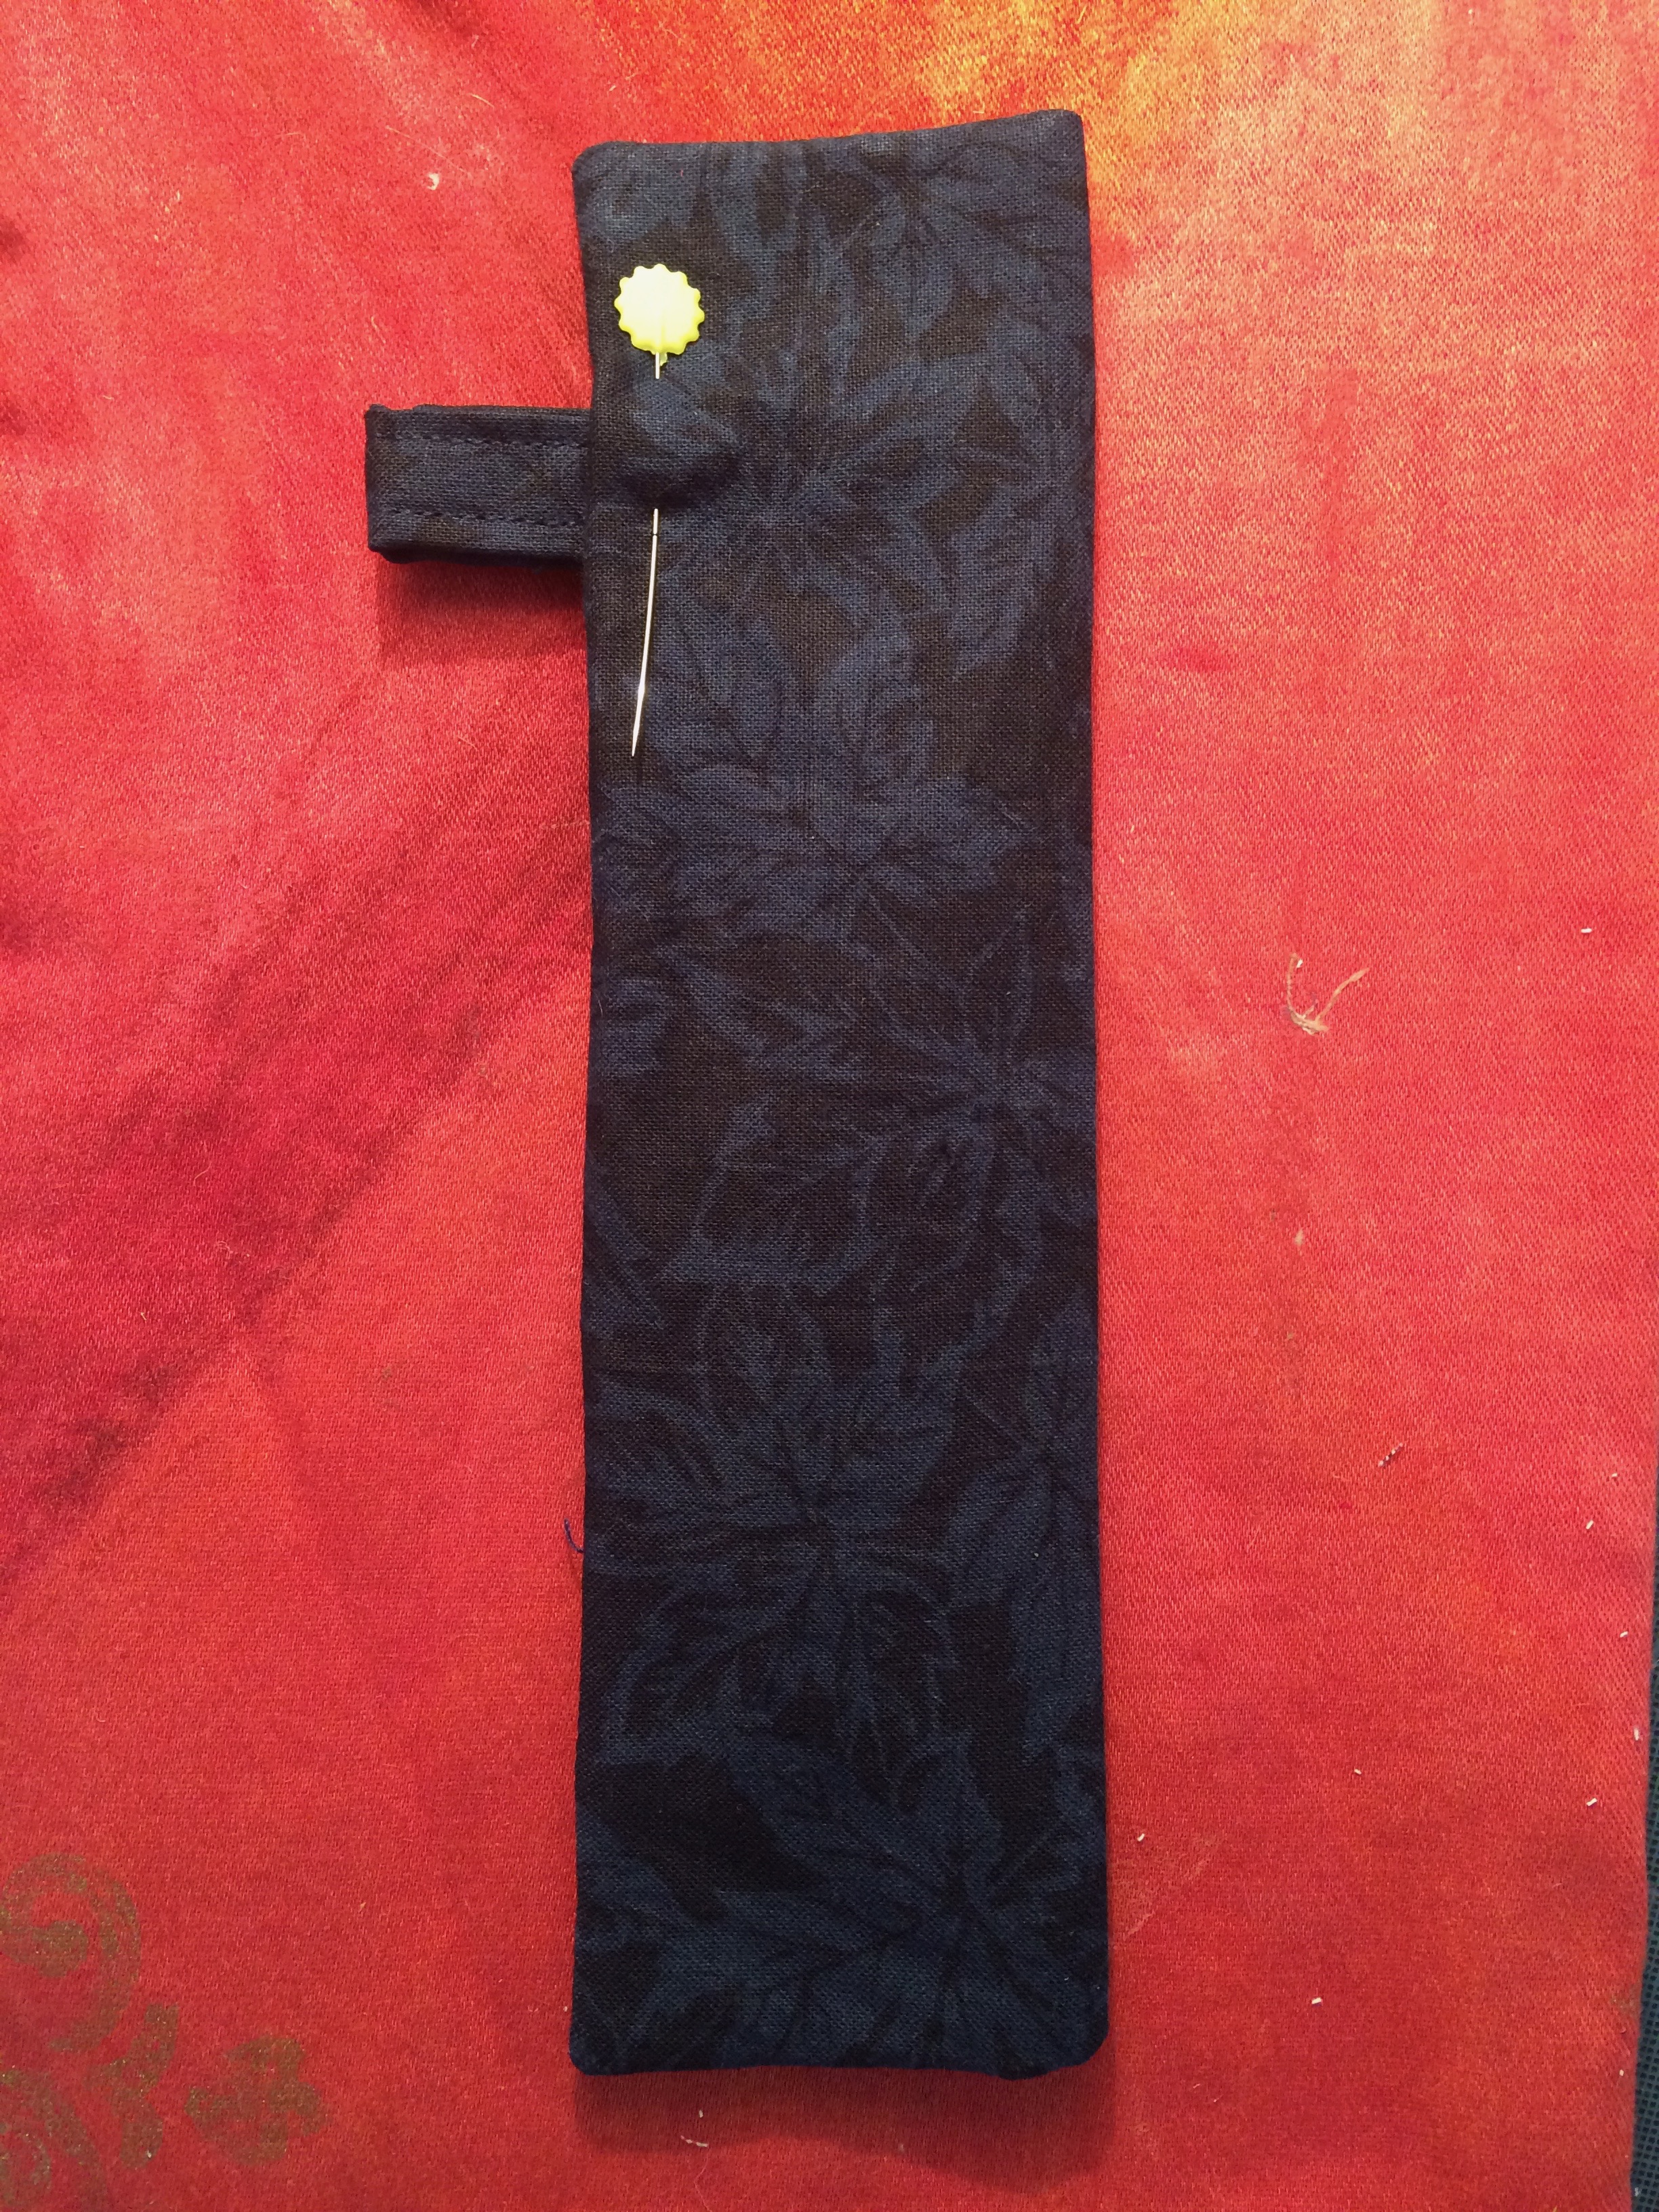
fold the tap in half and push it inside the turning gap left in your main piece as shown
 Now fold the top down to about 1 1/2″ from the bottom to form the pocket
 In this picture I have now rotated the fabric 180 degrees – I didn’t poke out that corner very well did I?
Now sew around the sides and top with a tiny seam allowance to finish the pocket and fix the tab in. Take it slow over the tab as it is quite bulky.
If you have KAM snaps this is the time to use them, if not some old fashioned poppers or velcro tabs would work as alternative fasteners.
Bonus for middle aged users: the brighter the fabric the easier it is to find your keys at the bottom of your handbag!


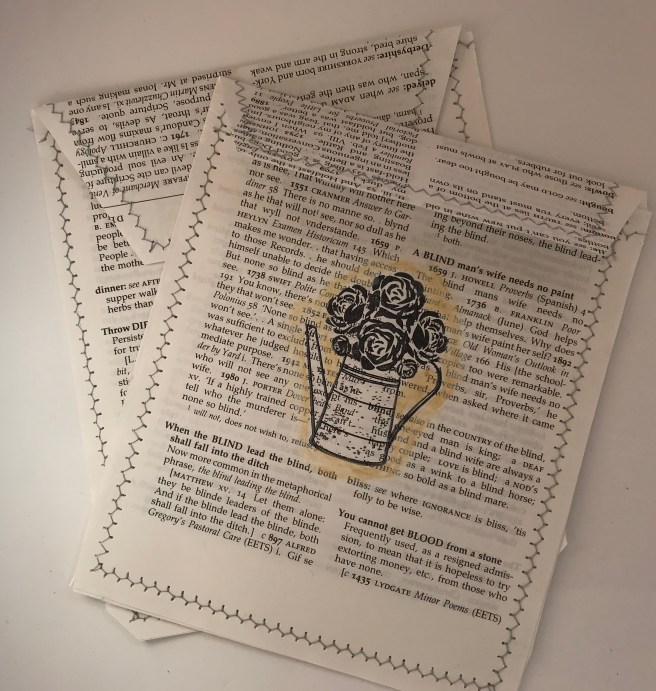 Four pages from a proverbs dictionary and a few moments at the sewing machine…


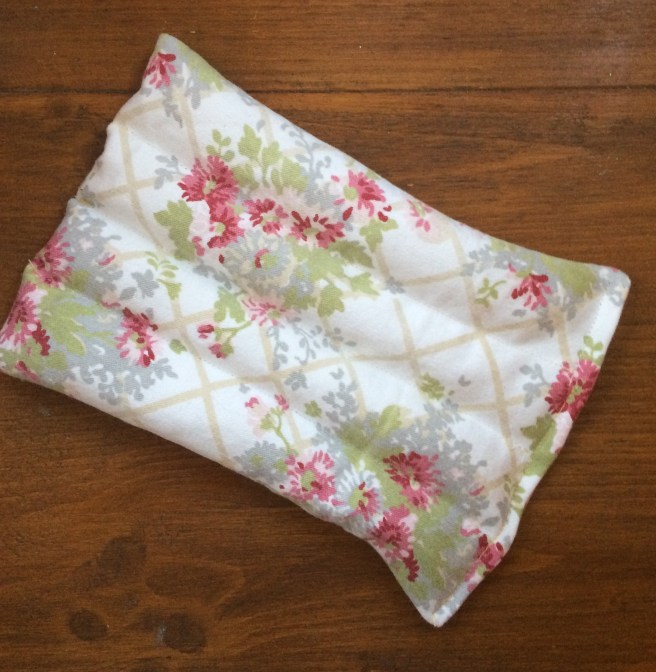 A quick and easy sew that is very practical…
 Rescue an old t shirt, make a fancy dress effort with minimal expenditure, make gifts a bit special or just personalise your stuff. I love htv ( makes me sound professional using the acronym doesn’t it?).