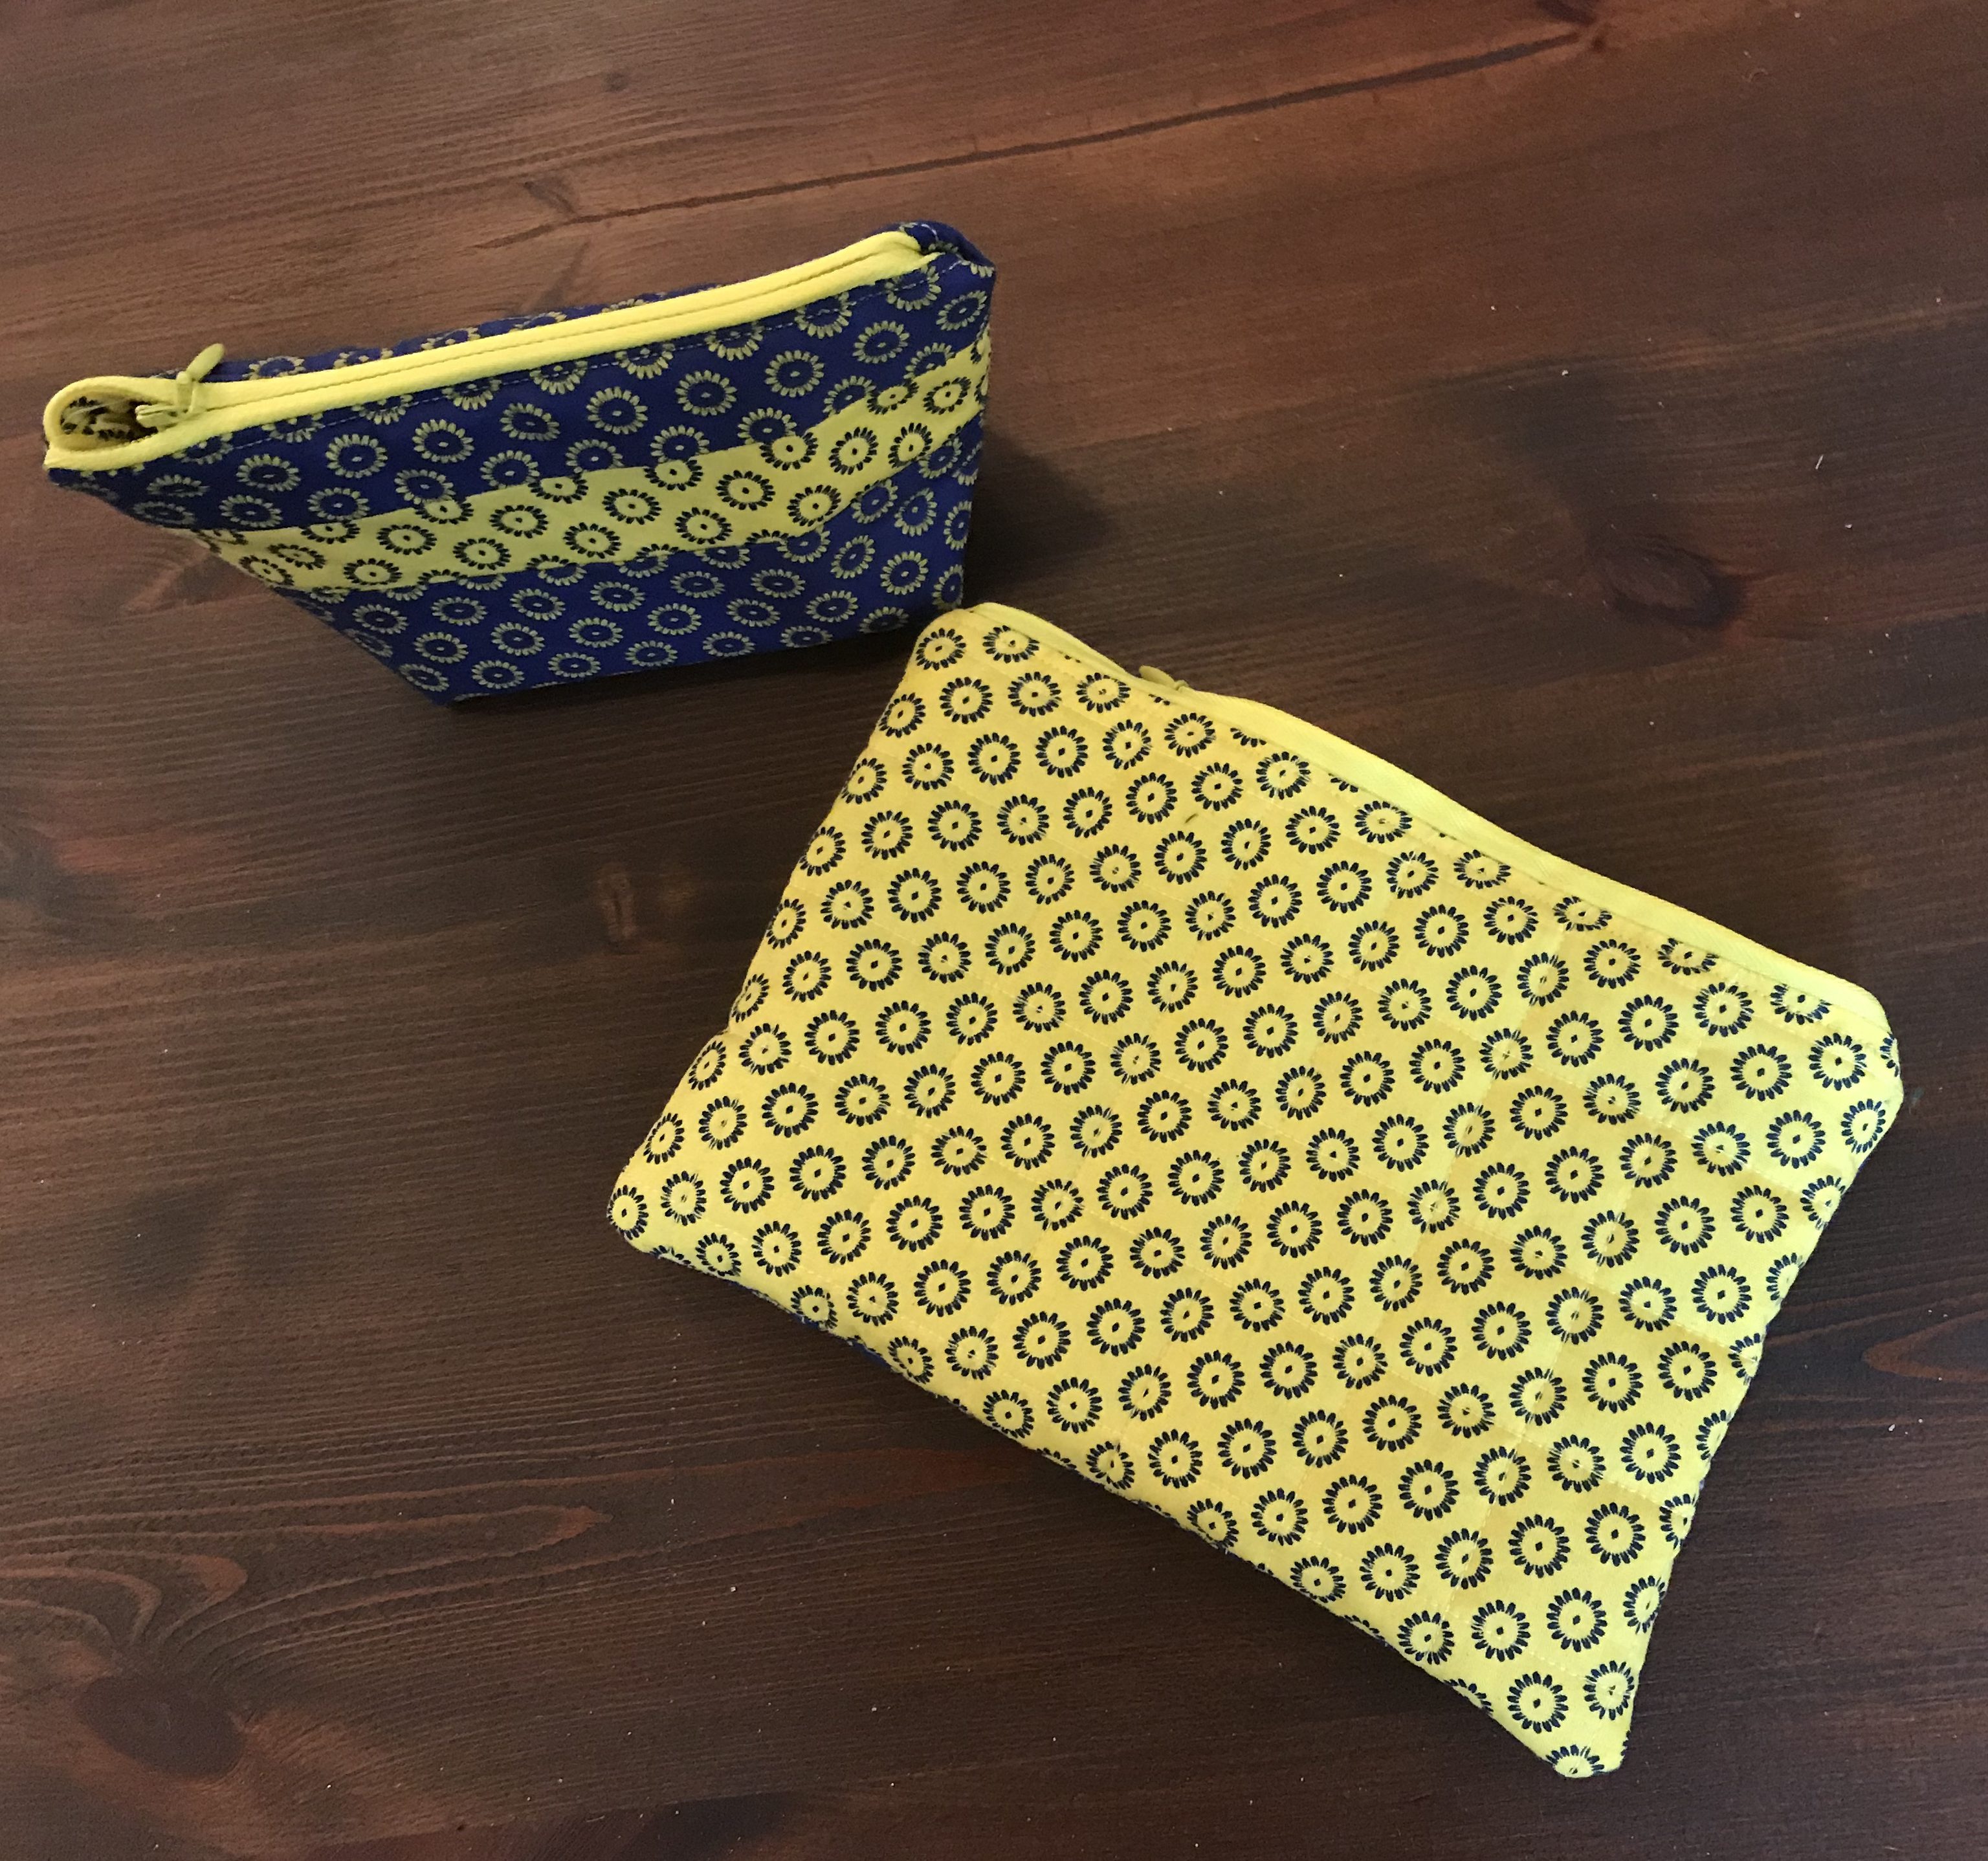
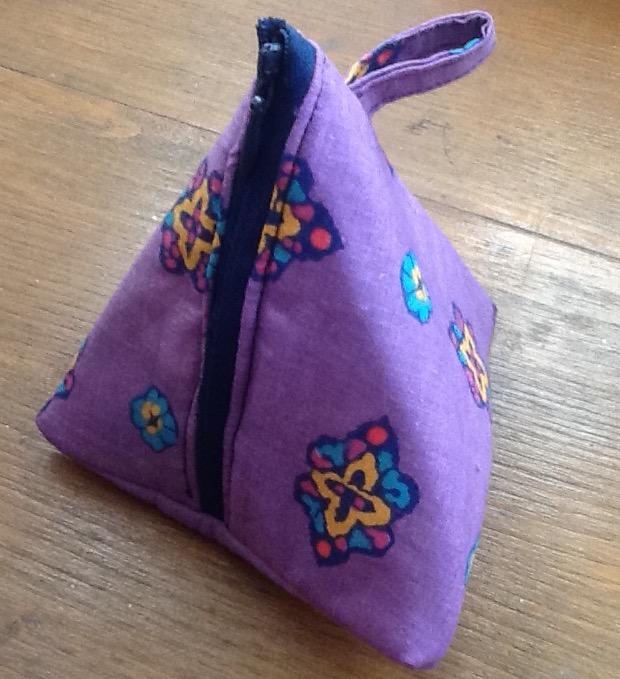
Easy zip sew.
fabric 10” x 5” with matching lining piece and batting or fleece, zip at least 5” long
optional 4×2” fabric folded lengthwise in quarters and top stitched to make loop
method;
1. fix fleece/batting to outer by fusing or quilting
2. Pin zip between one short end of outer ( pretty side of fabric facing top of zip) and lining fabric and then sew in place using zipper foot. Repeat other short end to form a tube.
3. turn fabric tube with outer side showing and top stitch either side of zip to keep fabric away from the teeth
4. switch to normal foot, turn tube inside out with zipper positioned half way, if using pin loop inside and sew bottom edge of tube closed then trim seam close – also trimming excess zip – then zig zag over seam edge to tidy
5. twist fabric so zip is the side of tube. Pin or clip remaining raw edge and open the zip (or you won’t be able to turn fabric) then straight stitch, trim seam close to stitch- cutting off zip excess again- then zig zag up to, but not across, zip teeth
6. turn right sides out.
Done!

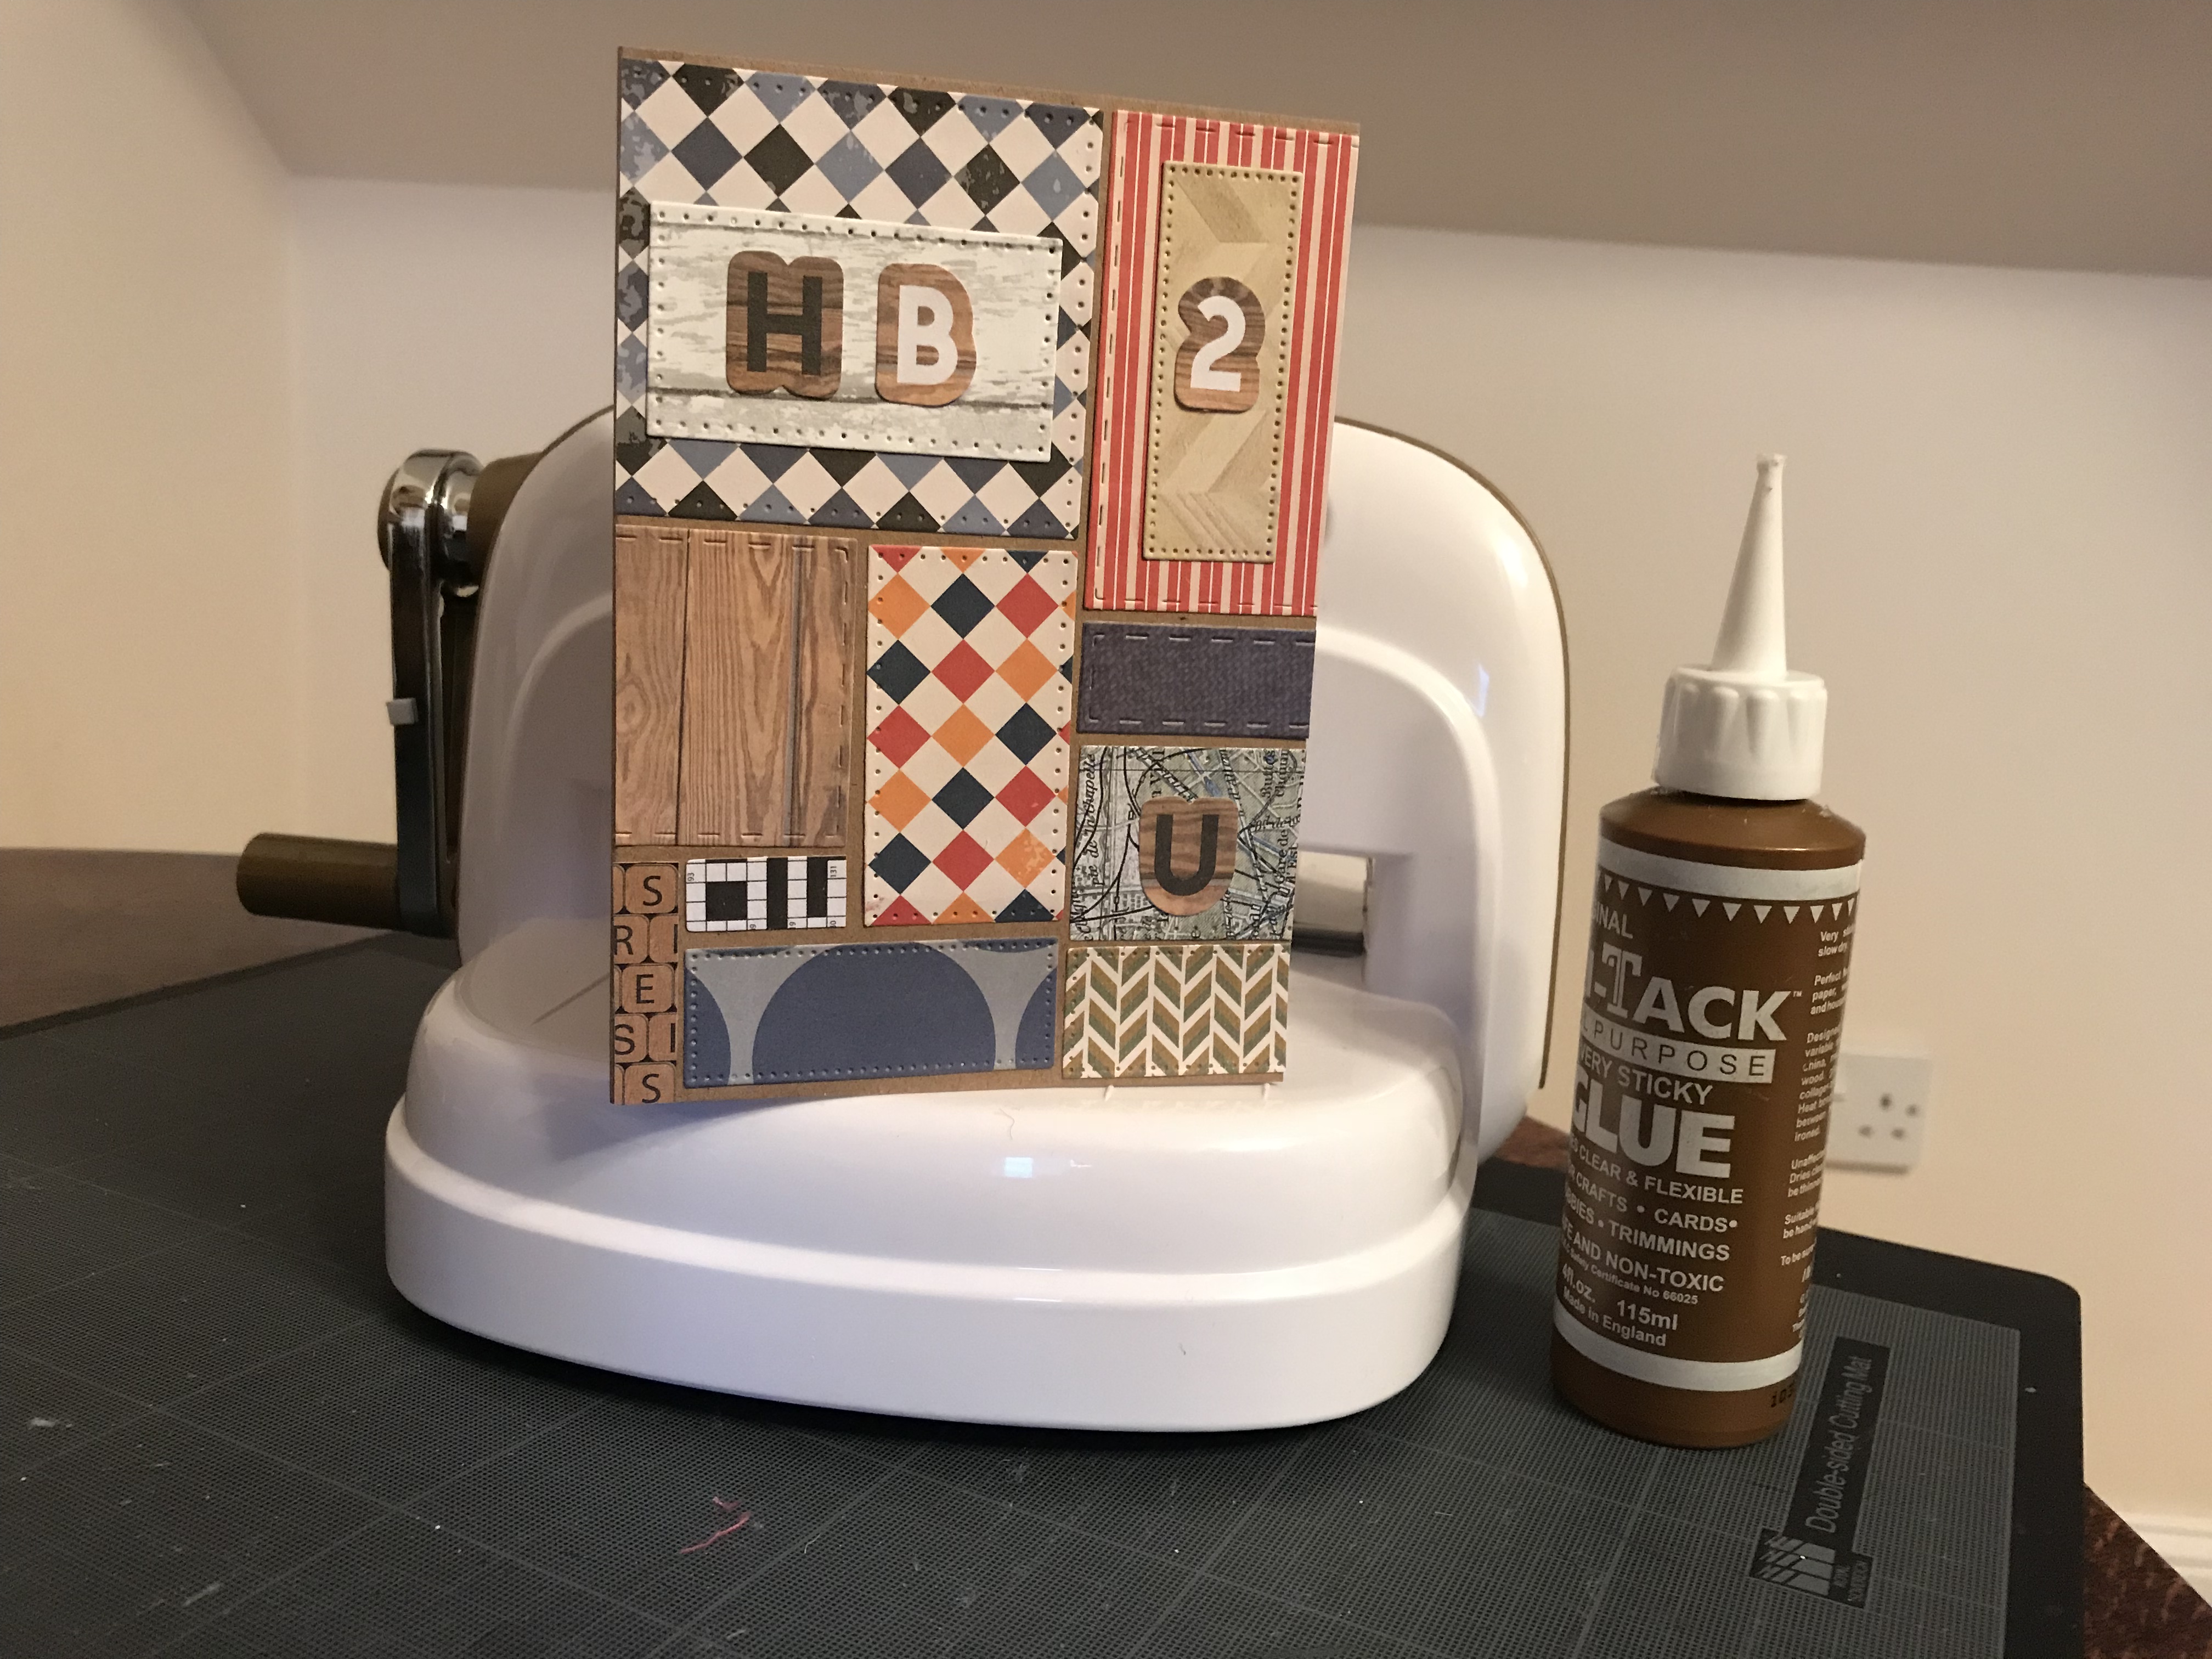 Inspired by yana smakula on spellbinders new release…
 I must i must decrease the stockpile and here are 10 cards to make a start
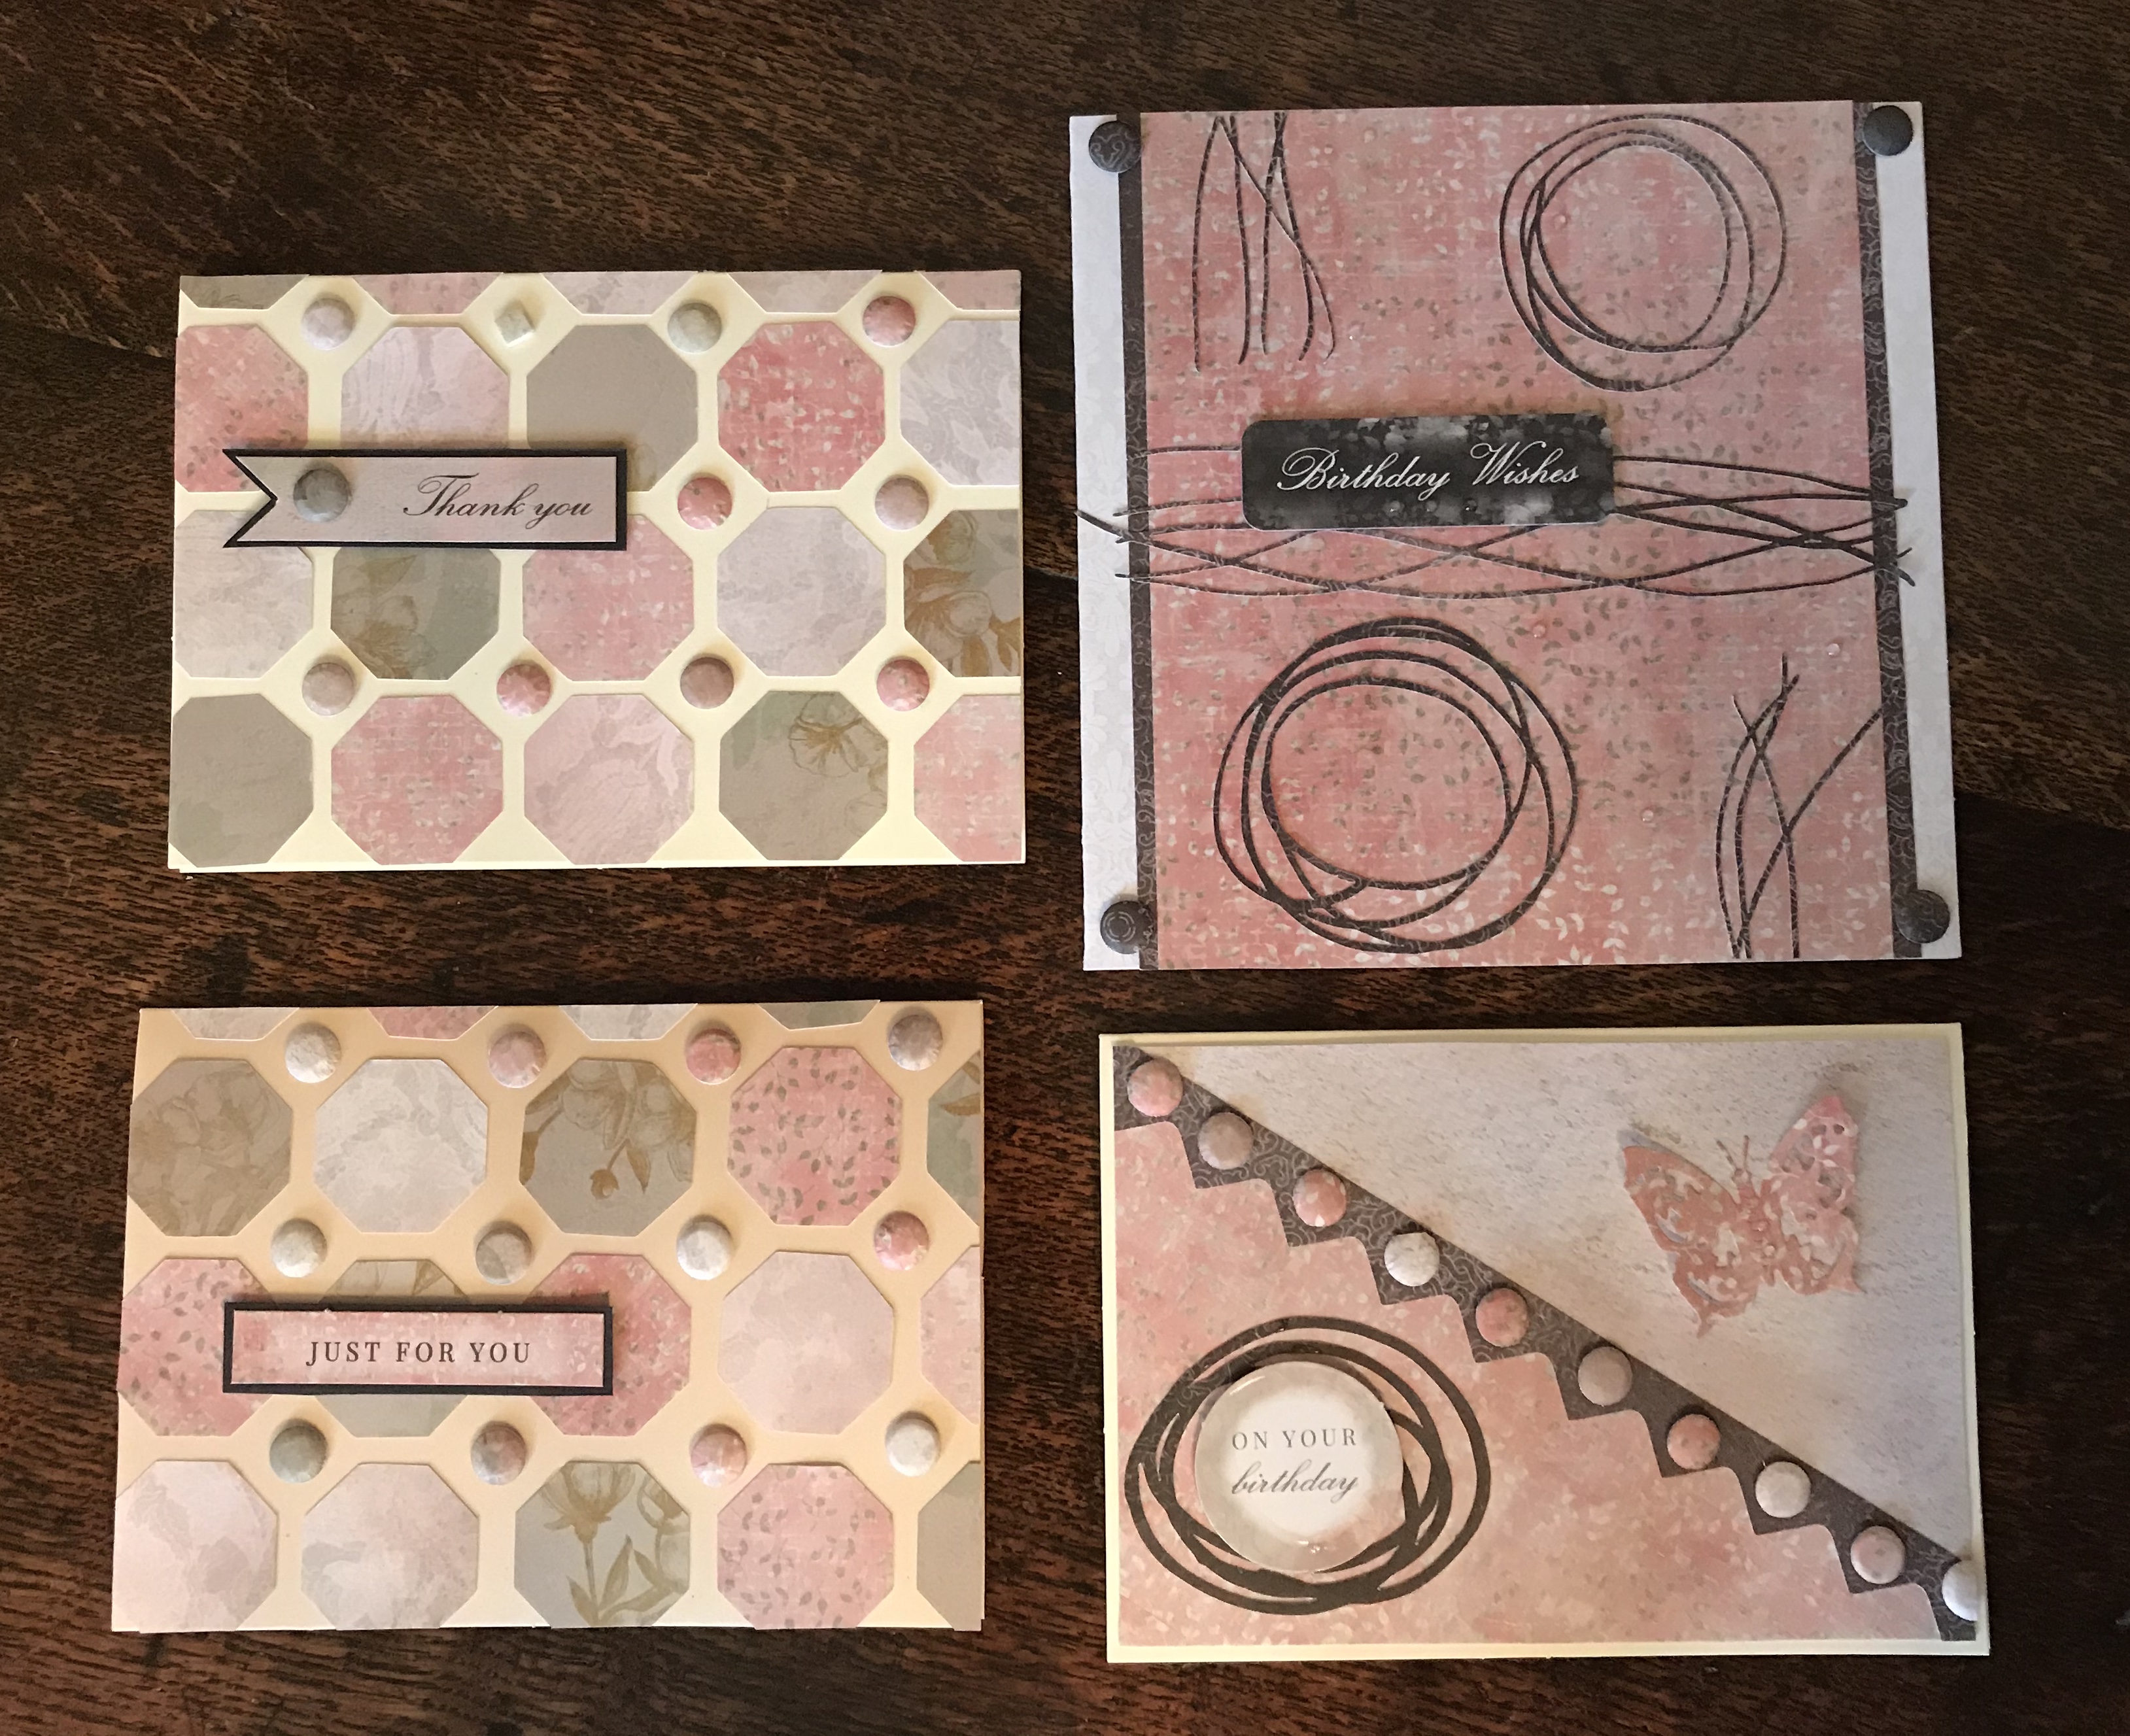 Scan n cut put to use here here with the octagon layout and a free svg of some doodles for contrast
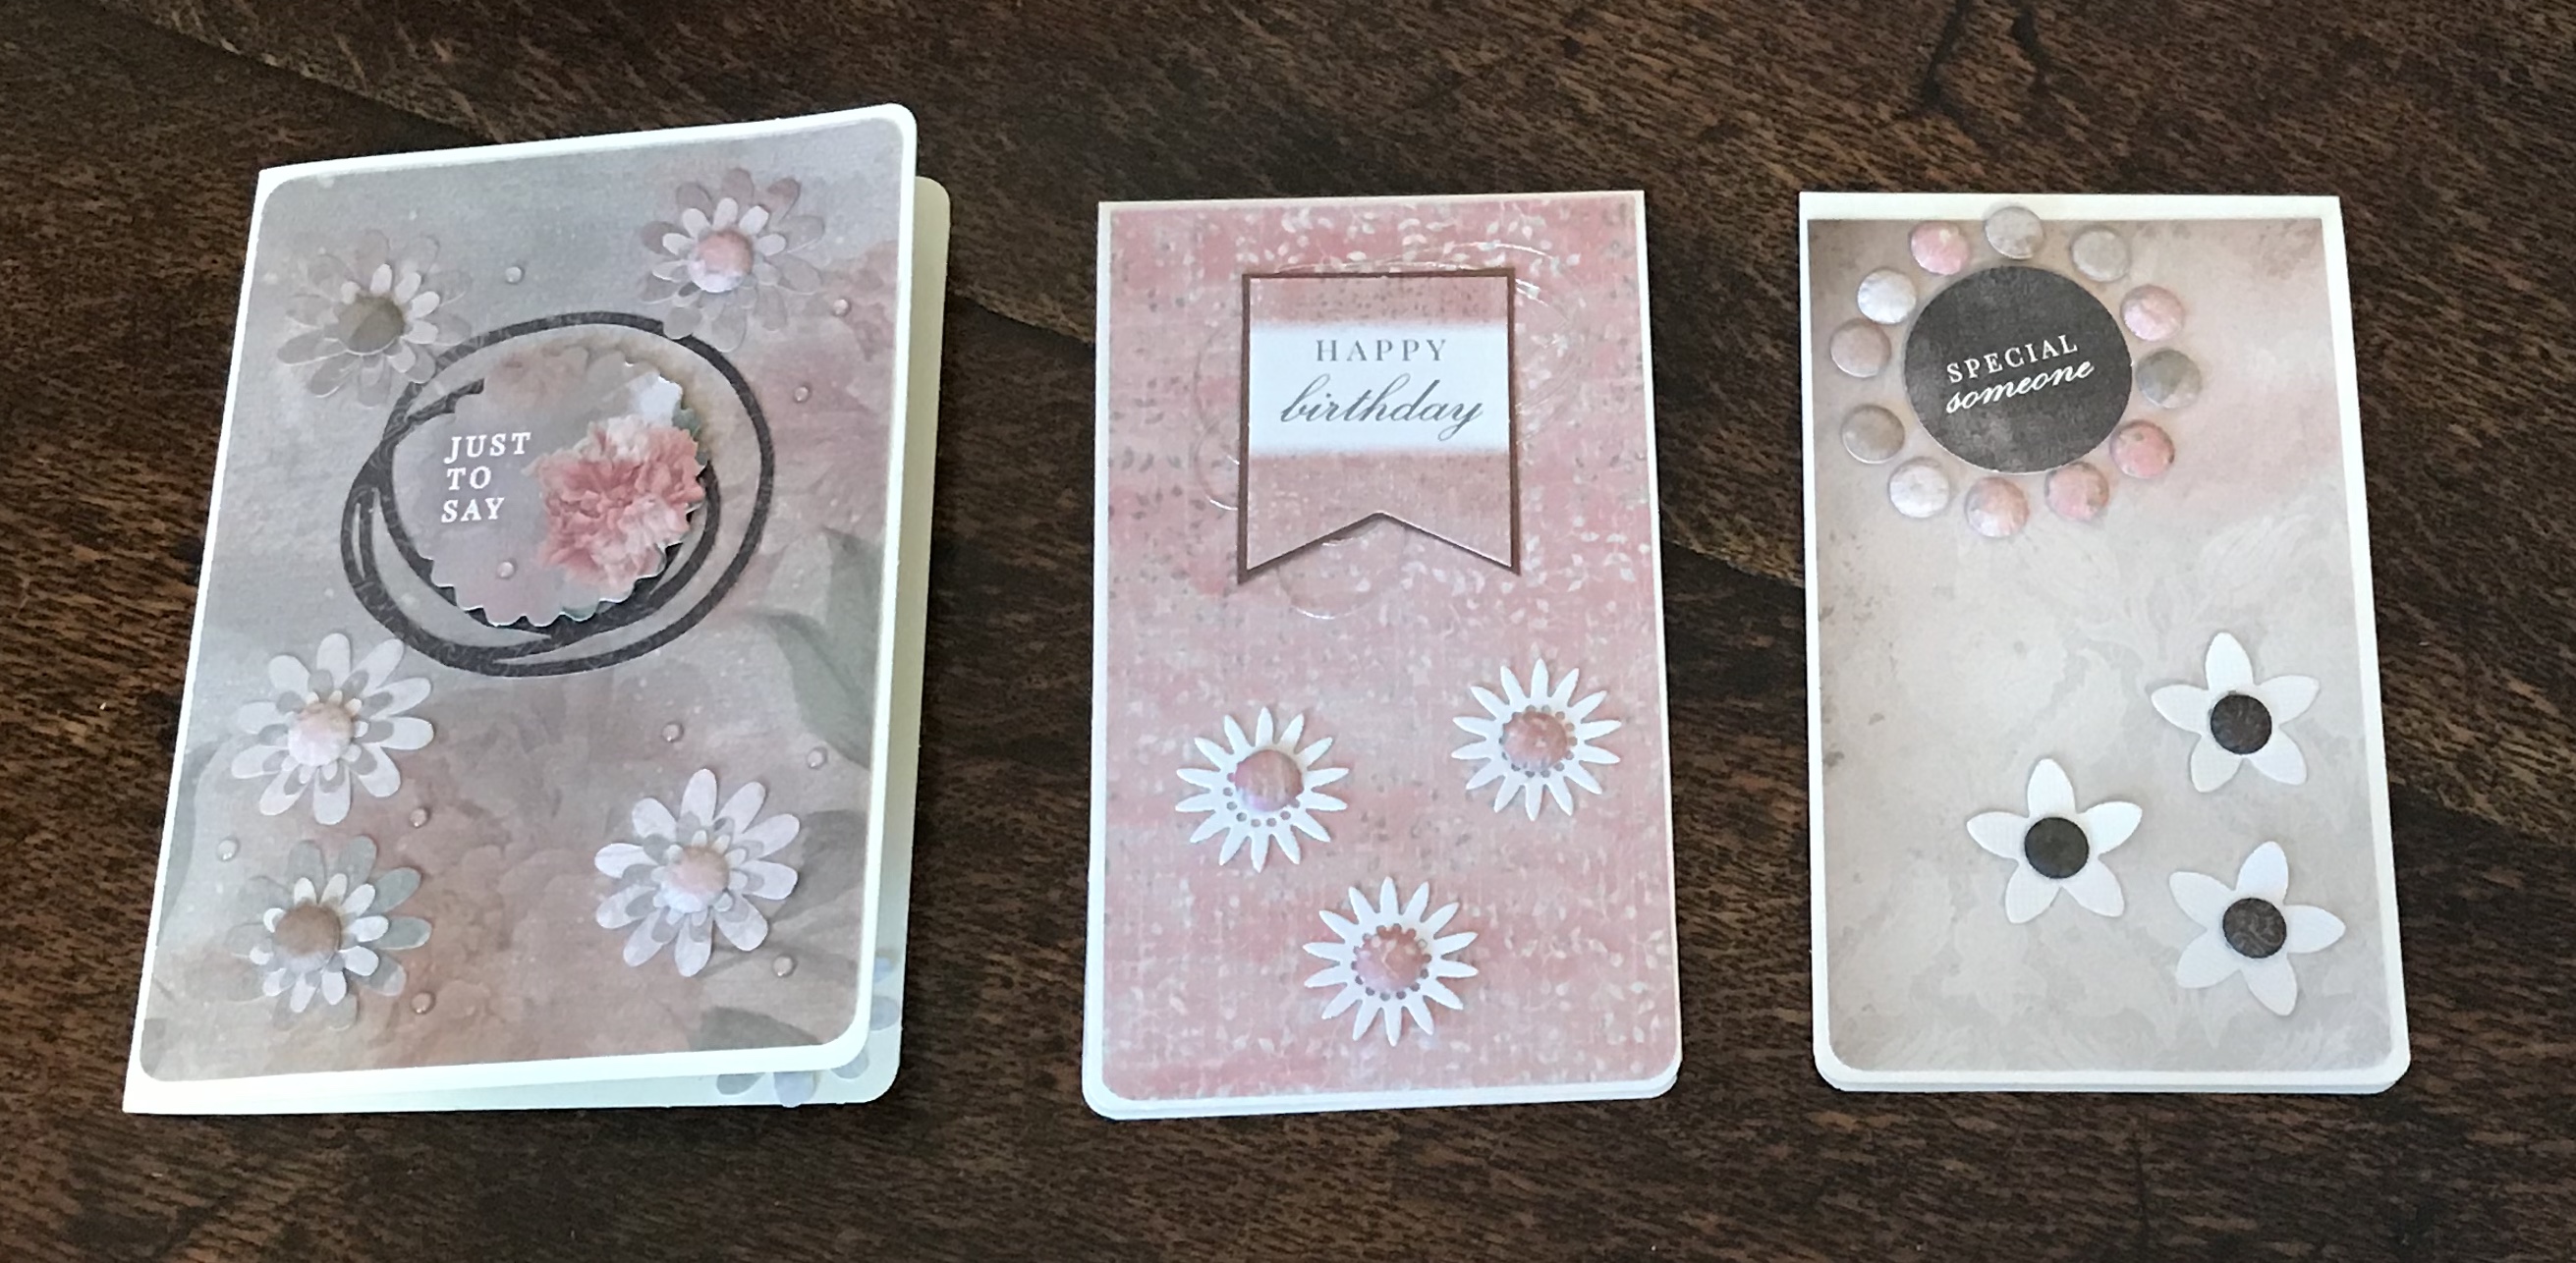 And using up my die cut flowers …
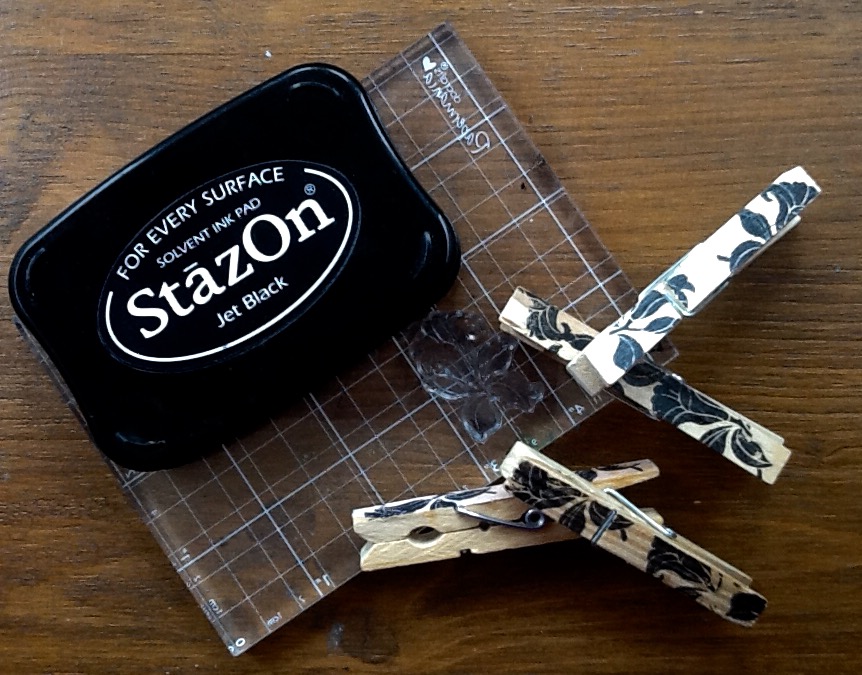 Makes a useful, basic and inexpensive tool just a little prettier…
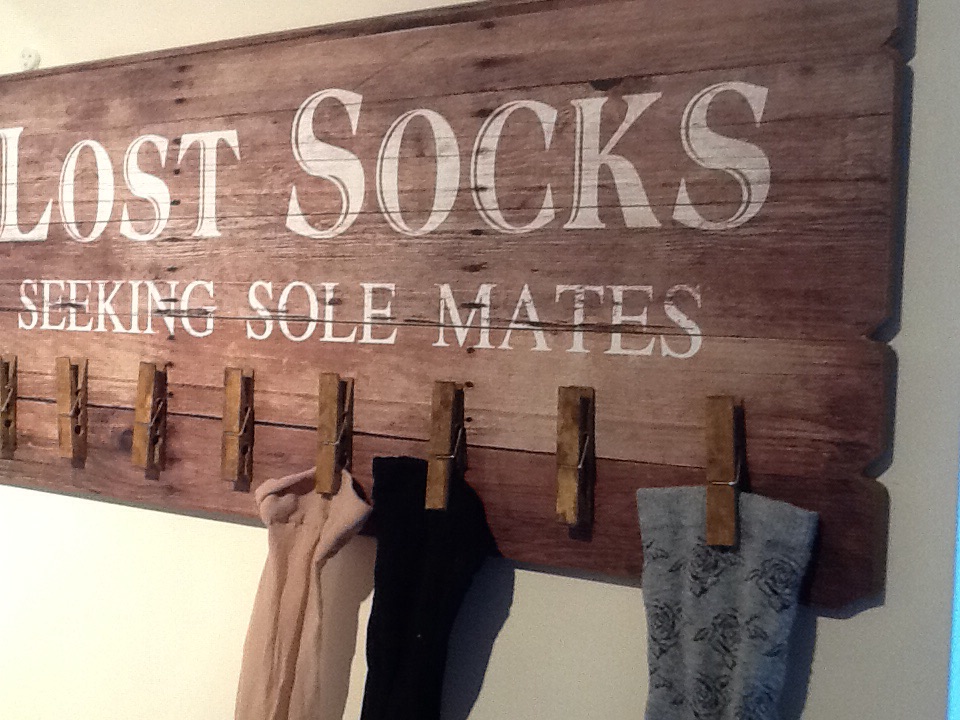
 The invitation was clean and simple in cream and gold , so is the reply.


 First steps in watercolour folloing a Crafts Beautiful outline
 determined to expand my techniques so used the freebies and copied a layout from the march issue …
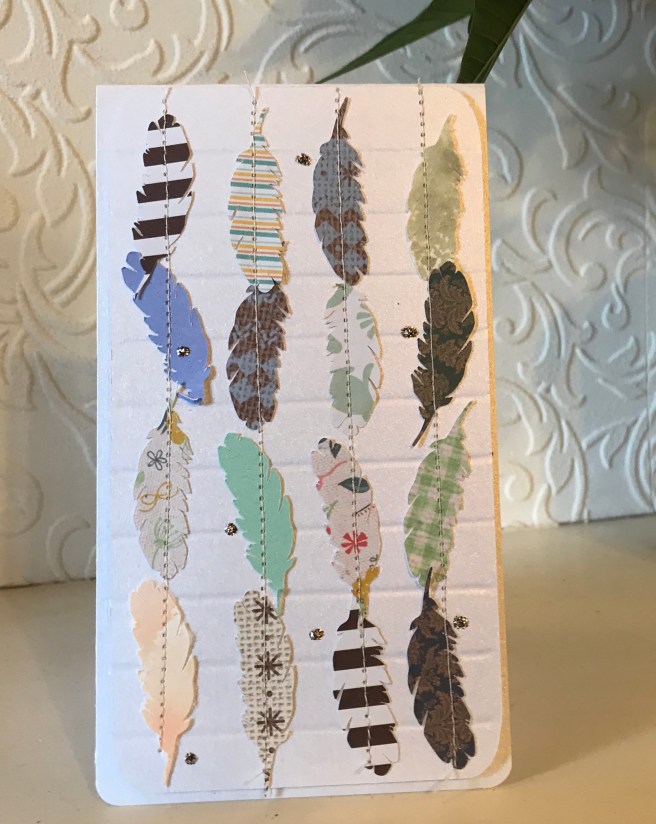

 A learning project.