Co ordinated gift bag and tag, so simple

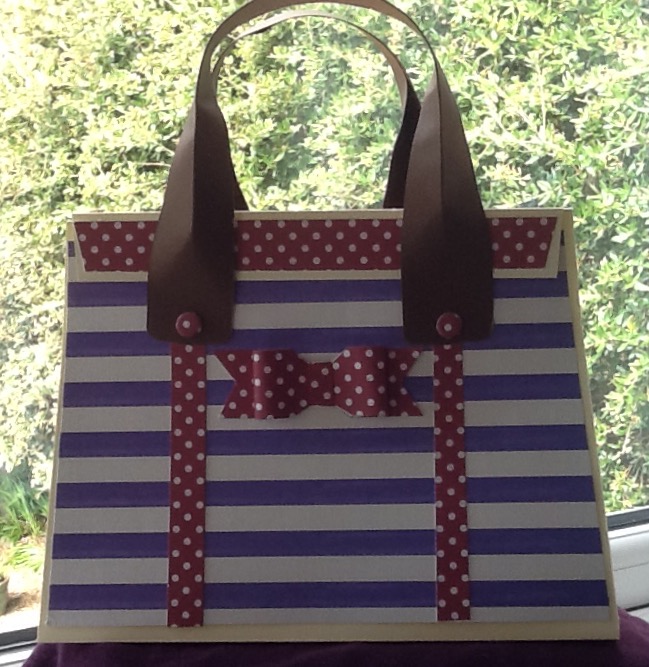
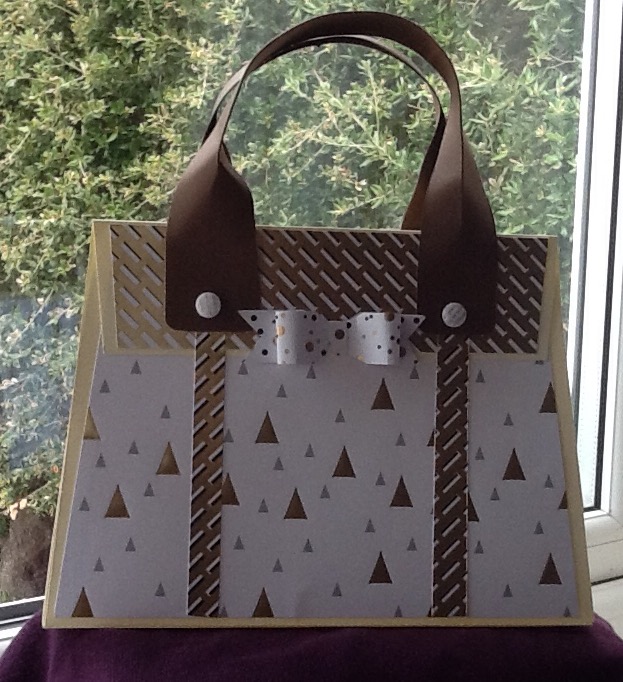
I bought a bundle of brown food bags from the catering supplies shop for Christmas and duly stuck on panels and greetings in red, green and gold. But eighteen months on I still have plenty left, so have decorated a few simply ready to pop gifts in.

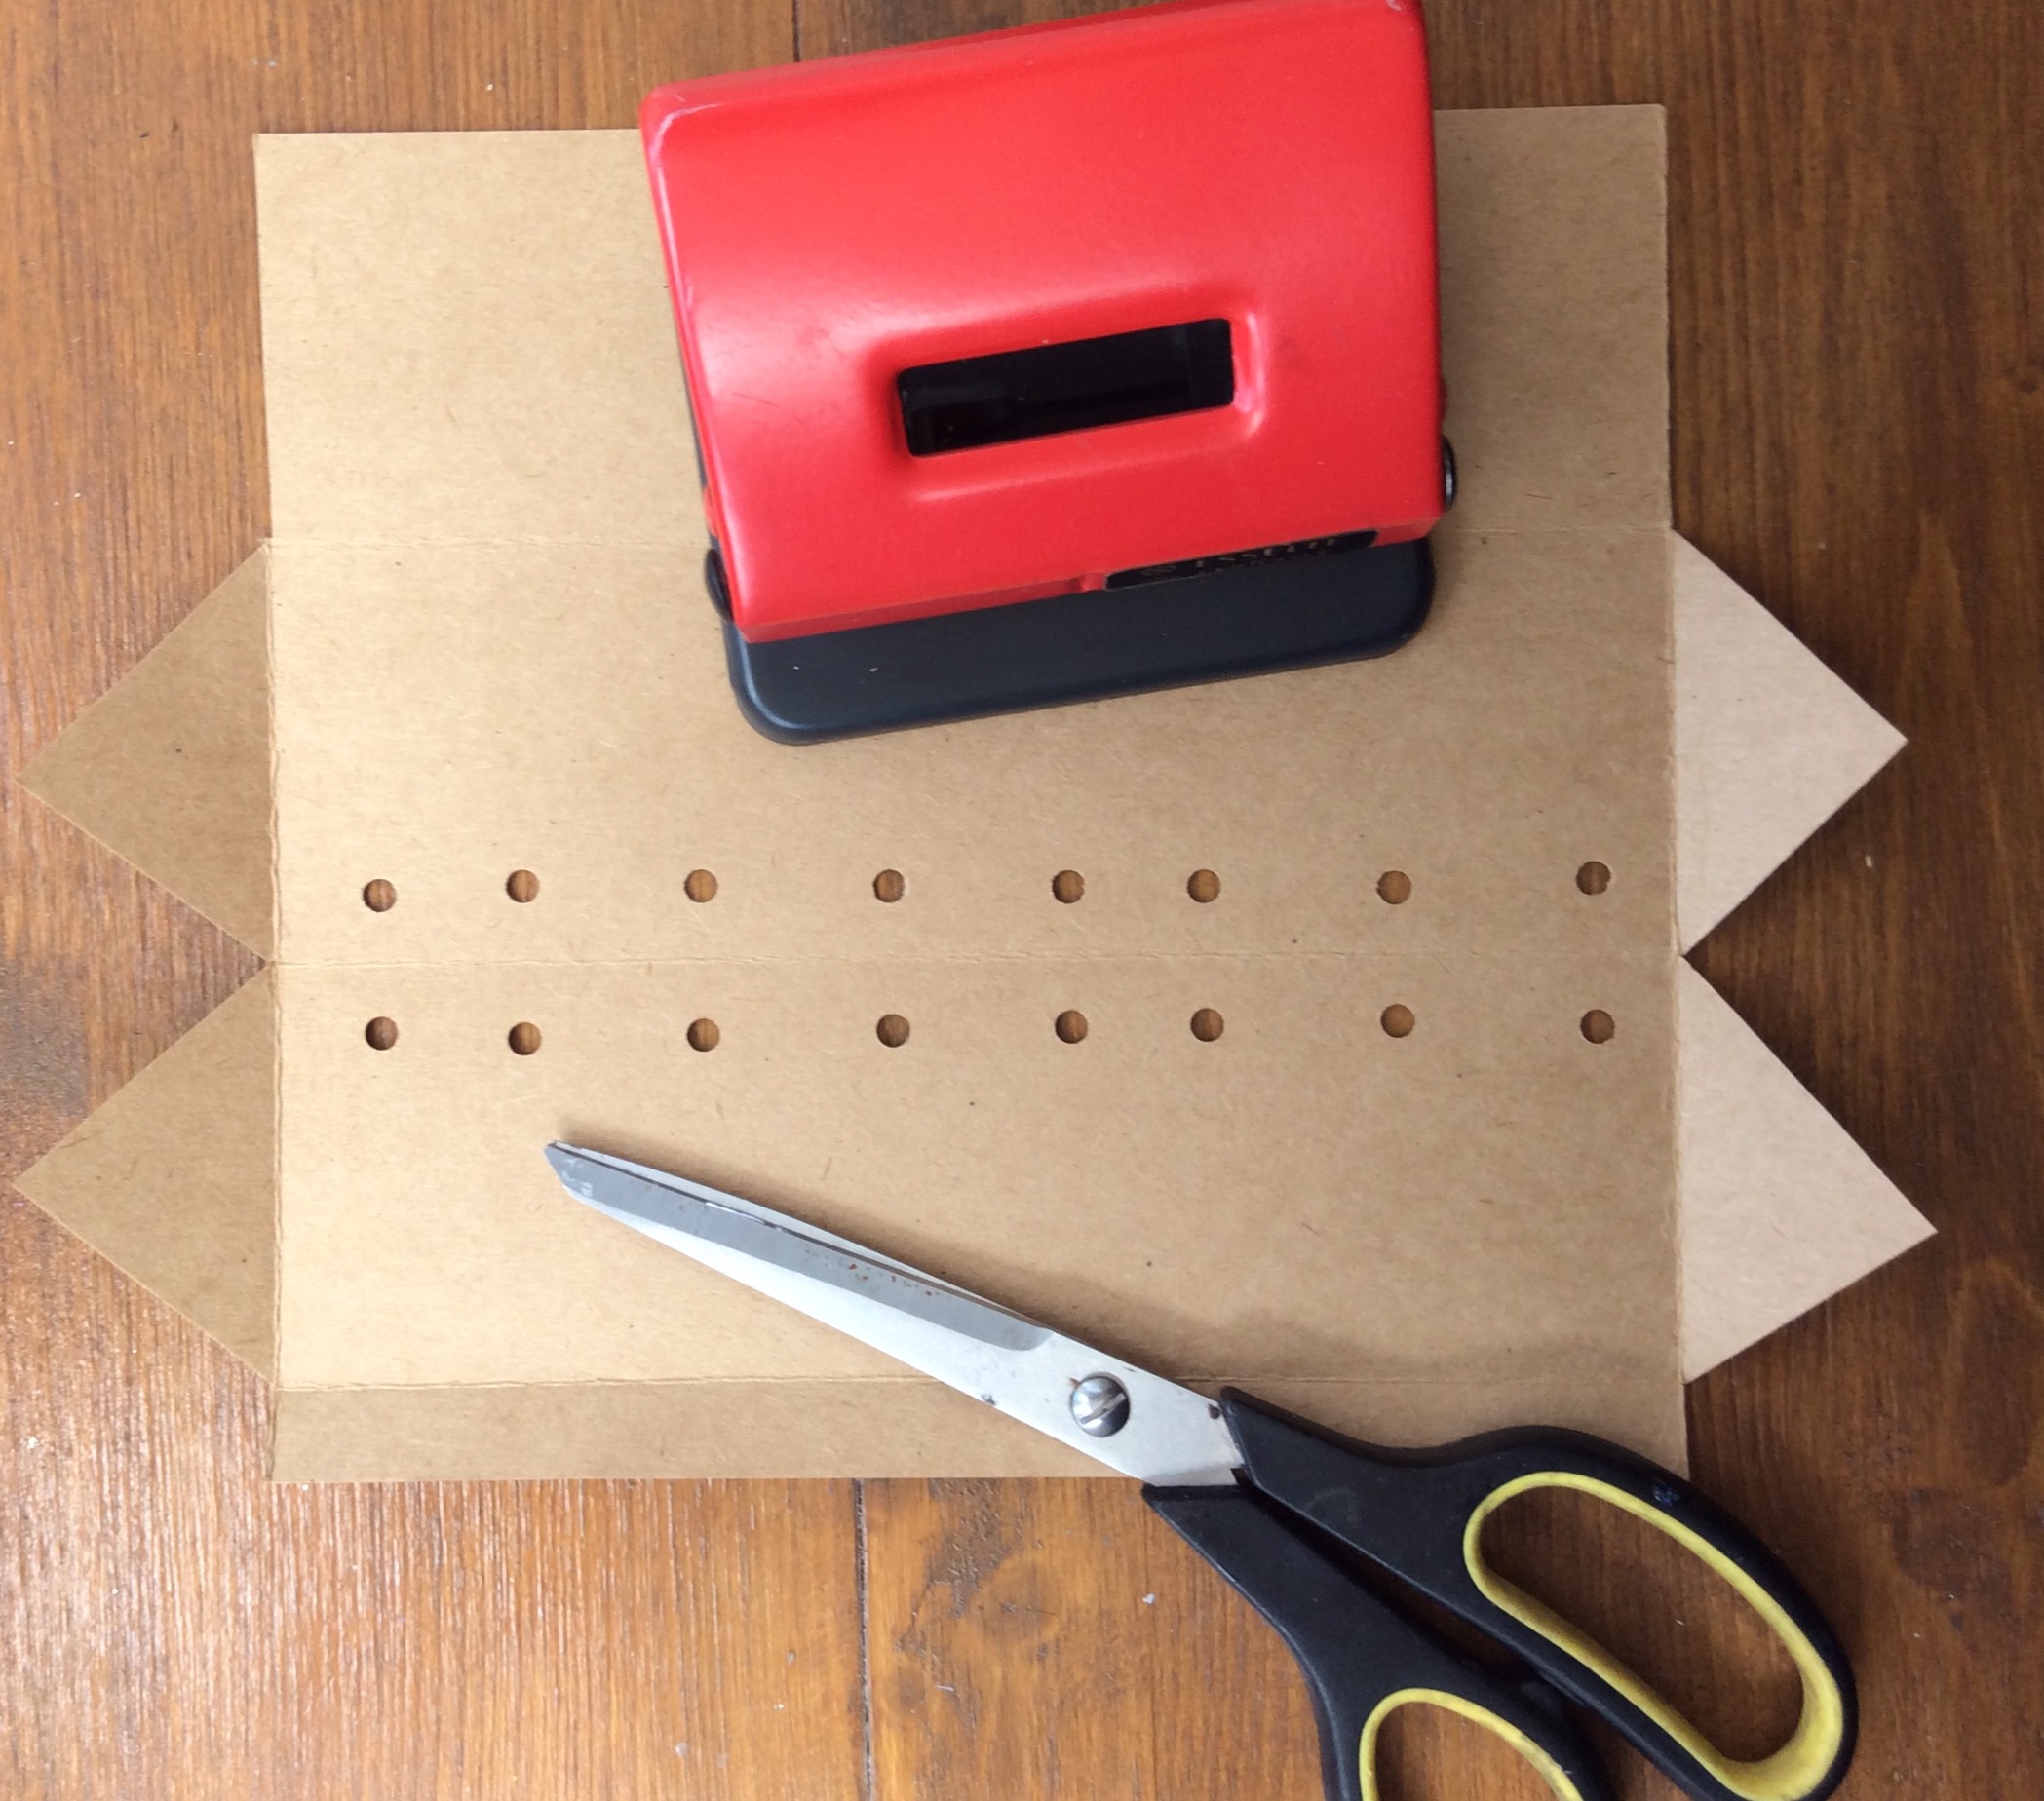
I used a stencil panel which fitted the bag front perfectly so used all the patterns rather than re aligning one of them.

I dabbed some distress ink- evergreen bough- on to a craft sheet and rubbed the ink through the stencil with a piece of cheap bathroom ‘sponge’. The back was also stencilled the same way.

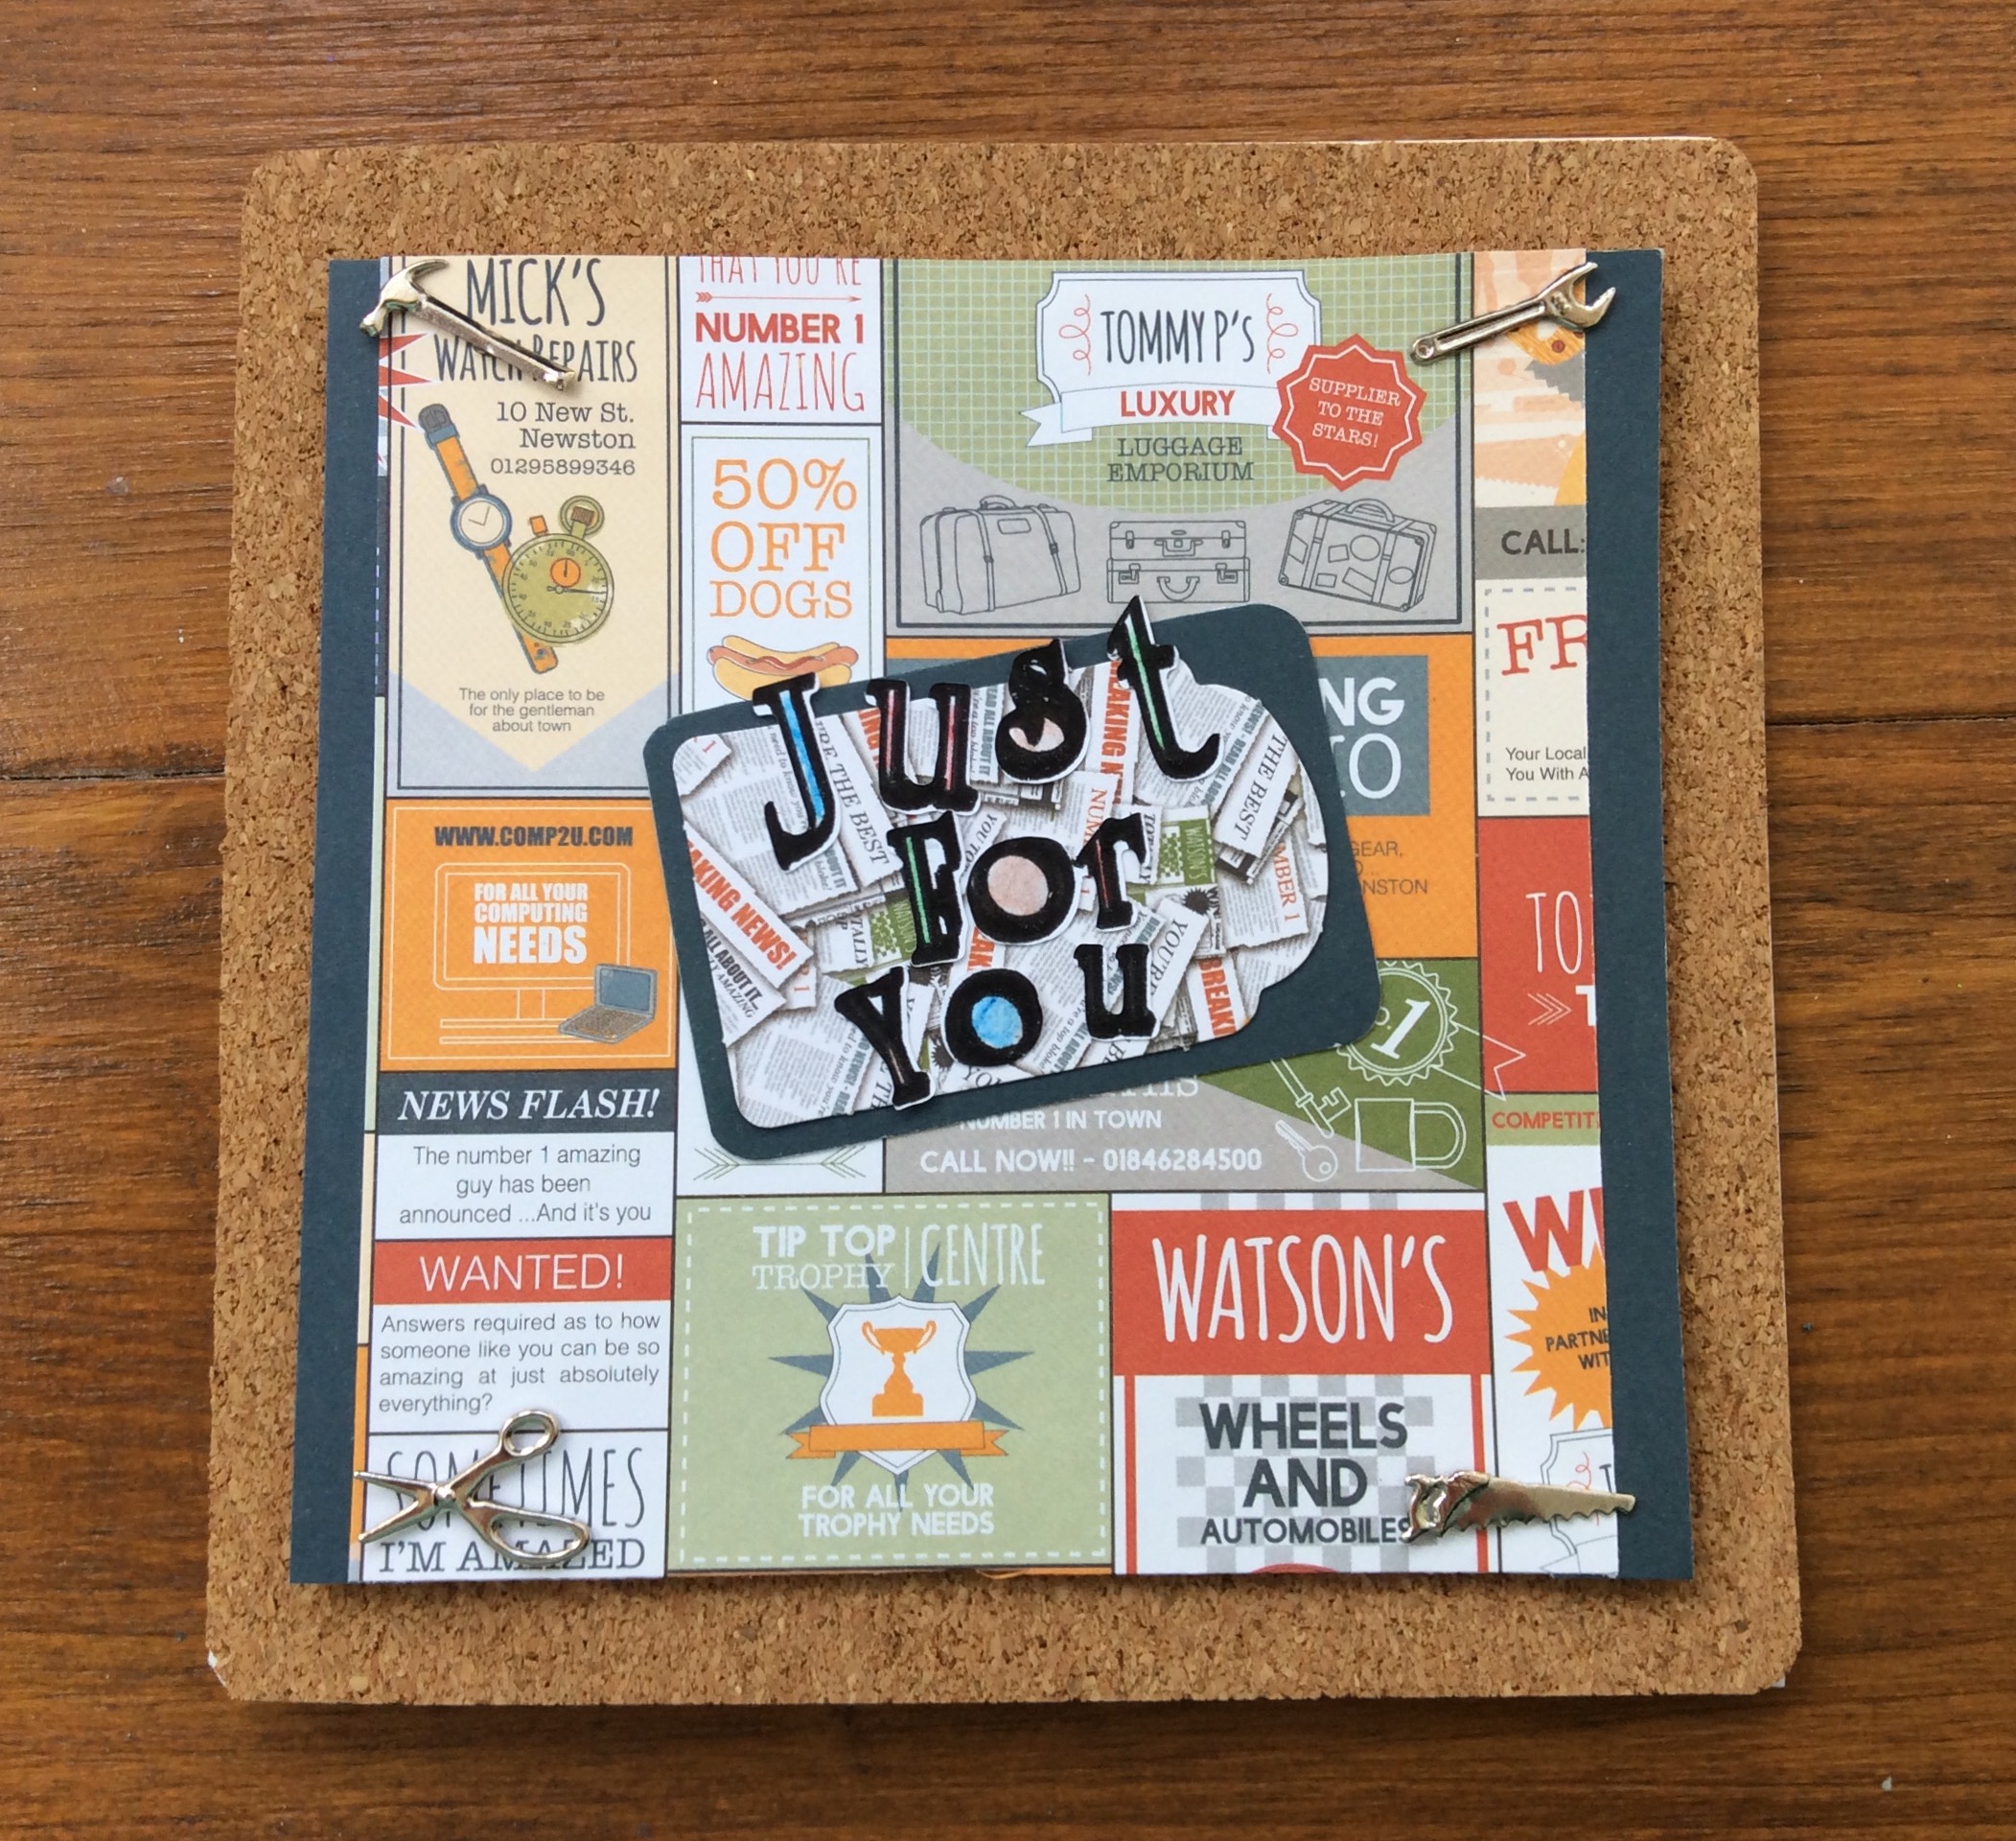
The gift card and flower were cut from craft card with the scan n cut, the same distress ink rubbed on the edges of the flower and stamped on the tag. The message is ‘a gift for you’ stamped repeatedly on the diagonal, so it can be used for many occasions.

Distress ink or sepia browns work brilliantly on craft and for more masculine versions I am using rosettes rather than flowers.

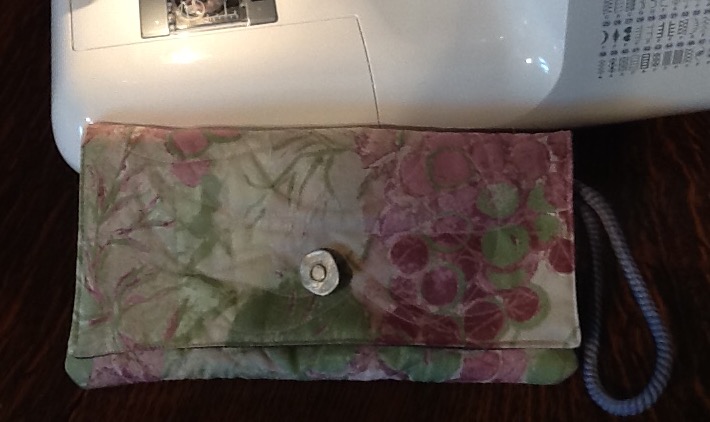
Inside is a sheet of tissue paper ready to wrap a goody from the present drawer. Even so this will store almost flat until needed.

Canvas embroidery sampler

I have resurrected an old project and tried out a few new stitches which have reignited my enthusiasm for cross stitch.

The green and white is alternating oblong and cross stitch ( just stitch over an oblong rather than a square to make the oblongs), the grey and pink is layering upright and traditional cross stitch over a double sized square and the maroon is gobelin.

if you are interested,  graphics below,

I am working on a giant roll of canvas so have set myself a target of 100  stitch or colour variations, about 90 to go!

Glass leading

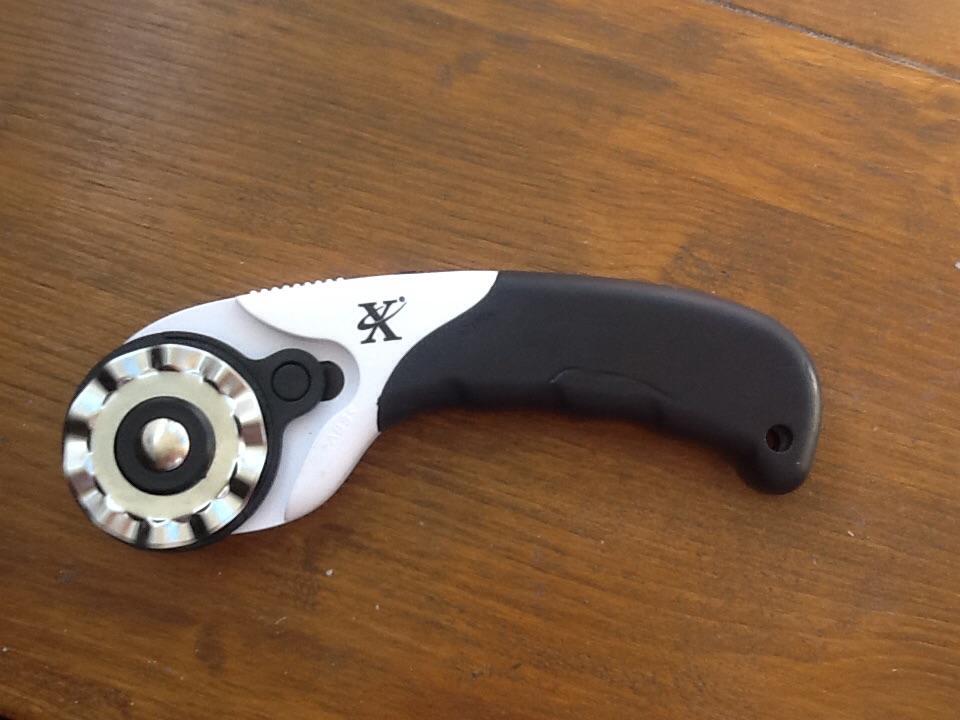
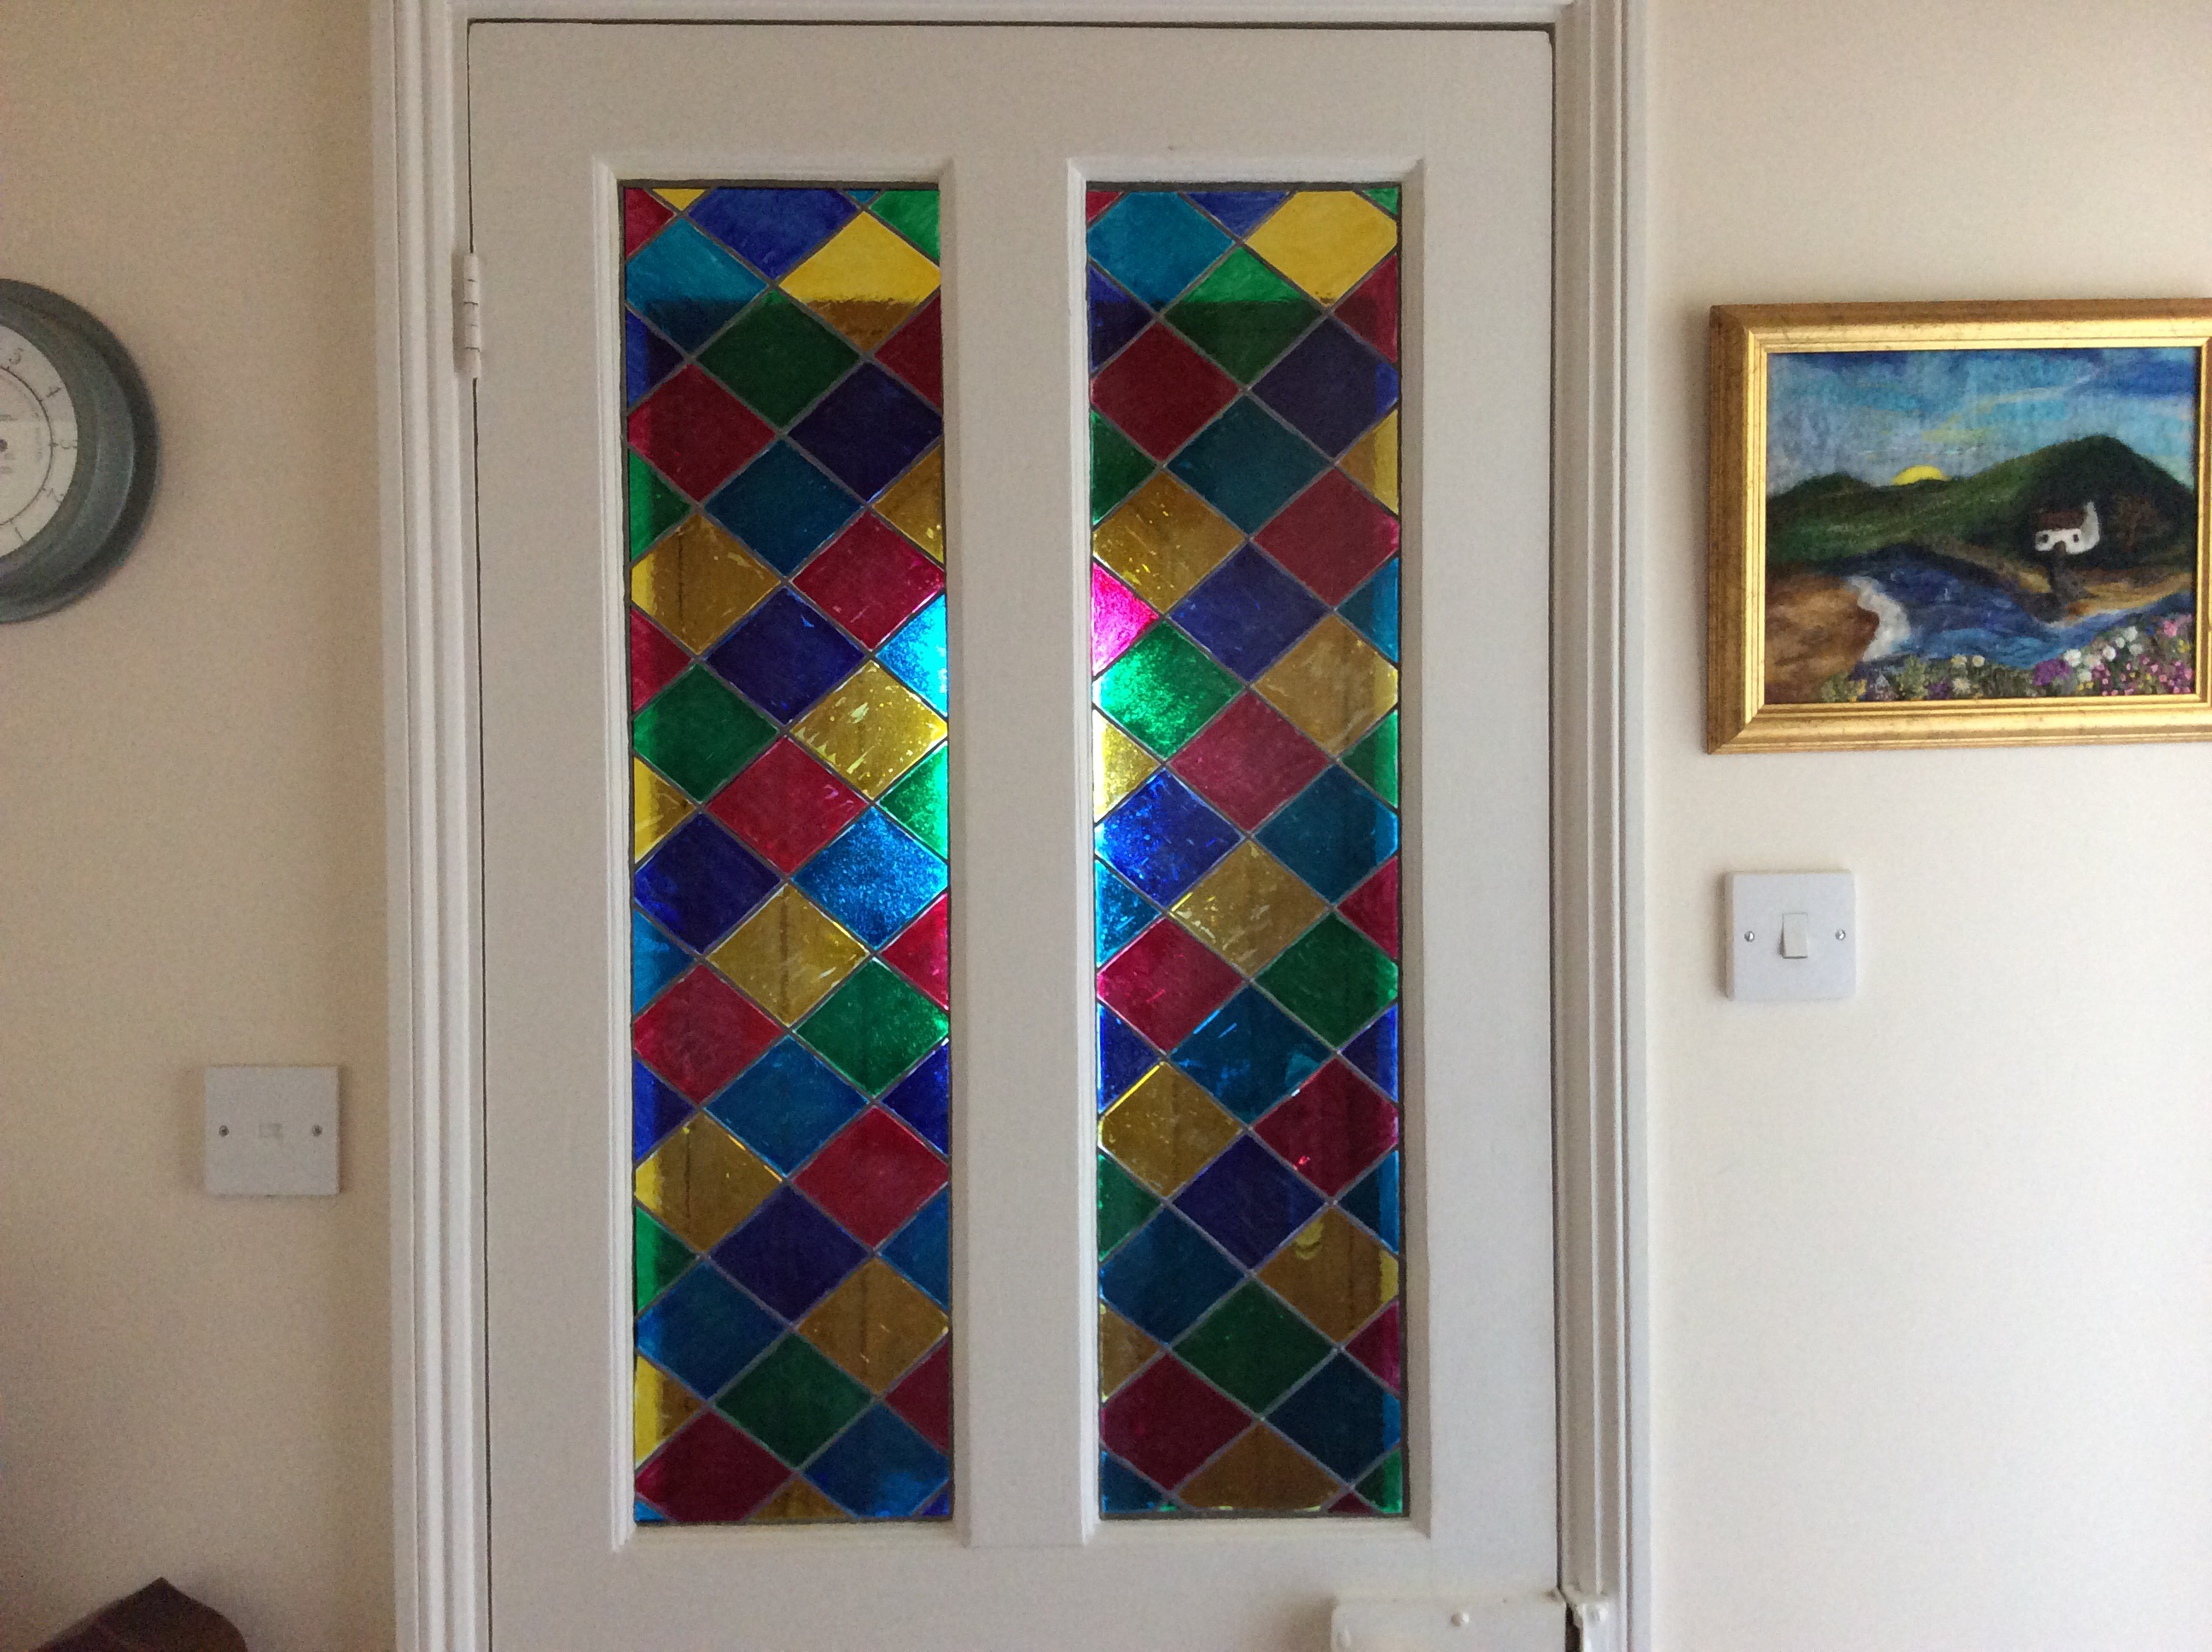
Decra  led   self adhesive strips were great for this faux stained glass door panel

but what to do with the left overs?

I jave been upcycling glass bottles and jars aplenty. in this case a simple coffee jar with a good seal in the lid

looks great with the panels painted with left over glass paint but not for food containers as it warps ones expectations of the contents. Blue sugar anyone? Painted glass best for Epsom salts or potpourri storage.

particularly good for up cycling (white) wine bottles to hold our home made vinegars, sorry I gave them away before I remembered to photograph them.

so to use up the rest of the packs I am off to the charity shop tomorrow to titivate a couple of vases.

Father’s Day card

Docrafts adhesive cork and patterned paper, scan n cut letters plus petrol blue matting card finished with tool style brads and an inevitable dash of wink of Stella .

Happy Father’s Day on the inside but now (years into card making) I realize that just for you on the outside means a personalized message on the insert can be added at the mast minute.  Off to make some manly stash cards!

Ribbon scrap tidy and dispenser


a simple way to organize the sack of ribbon scraps…

materials: 1 A4 sheet cardstock (I used craft card), scissors, strong tape or glue, hole punch Washi tape to close and decorate

method

score and fold card into toblerone shape – I scored at 6.5, 13 and 19cm then turned the card and scored at 4 cm from either side

i then cut up the 4cm score lines, trimmed and wedged the flaps created to make triangles as shown

I then hole punched 14 holes (enough to squeeze in different scraps of ribbons, if it will wrap round an A6 card, I keep it). I only have an office ring binder punch so was limited to punch near a score line but the holes can be wherever you want). Then form the toblerone shape and stick the overlapping triangles together. I used red liner tape.

Poke ends of ribbon through the holes from inside to out, a crochet hook works well, and when your holder is full secure it closed with washi tape so you can top it up some time in the future without destroying the box

just a few more to make before I get the ribbon stash under control!

if decorated this would make a nice little gift for a crafty friend…

Clutch bag

Discovered a dozen magnetic bag clasps in my sewing box, so decided to use one and follow a Debbie Shore tutorial. I made this bag with three squares of fabric, it is a quick and easy project.

I cut two 11″ squares of the floral fabric and one of a plain lining material. I cut a matching square of wadding which I free motion quilted to the back of one of my floral squares and a half square piece ( 11 x 5 1/2″) which I quilted to half of my other floral piece. I had a 15″ piece of cord for the wrislet and a spare button for embellishment. Vintage brooches would be perfect for this sort of bag embellishment.

Debbie’s tutorial is, as always, easy to follow. I top stitched at the end to give it a bit more finish.

Next time I will put some stabiliser on the lining and maybe round or angle the corners on the top flap. I might even put a pocket in the lining as this is such a quick and easy project.

Addicted to making paper handbags

At 45 minutes per bag I won’t be making many of these but I do LOVE the e d result and am using stash stuff so maybe just a few more

follow maymaymadeit sophisticated satchel you tube video to turn the following into a lovely handbag:

3 A4 sheets lightweight base card (cream for me)

1 A4 sheet matting paper and half for contrast matting

2 12″ x 1 3/4 ” strips card for the handles

brads or candi plus embellishments

Jeans to … Puppy present

Next step on the jeans up cycling project …. A tug toy for a friend’s new puppy.

Inspired  by pinterest, I drew a bone shaped paper template and then cut matching pieces of old jeans leg with the seams at artistic(!) angles on each side then free motion embroidered the name before seaming, turning and stuffing. (Stuffed with trimmings from an ongoing sewing project)

The weak point might be my hand sewn closing of the seam but let’s see.

A quick, easy project that my dog approved before posting. So I did him his own version.

Brooch holder

I love vintage brooches and try to wear them on jackets often

i have turned their storage into a display with this project

a piece of corduroy and contrast linen which was three inches longer and wider were sandwiched (right sides OUT) around some batting so that the corduroy was centered on the bigger fabric giving an equal border.

the border was pressed in half and then folded over the edge of the cord and pressed agin then pinned in place, creating the look of bias binding

I top stitched around the frame that was created (twice, once at the crease and once on the outer edge to sharpen it up).

the corners were folded as hospital corners on a bed with the long edges on top, to create a mitre effect but these were left unsewn so I could poke a curtain rod through the channel created when I sewed the frame

I threaded cord through the convenient hole in each end of the slim metal curtain rod (an adjustable one designed for net curtains) -and knotted it to secure it