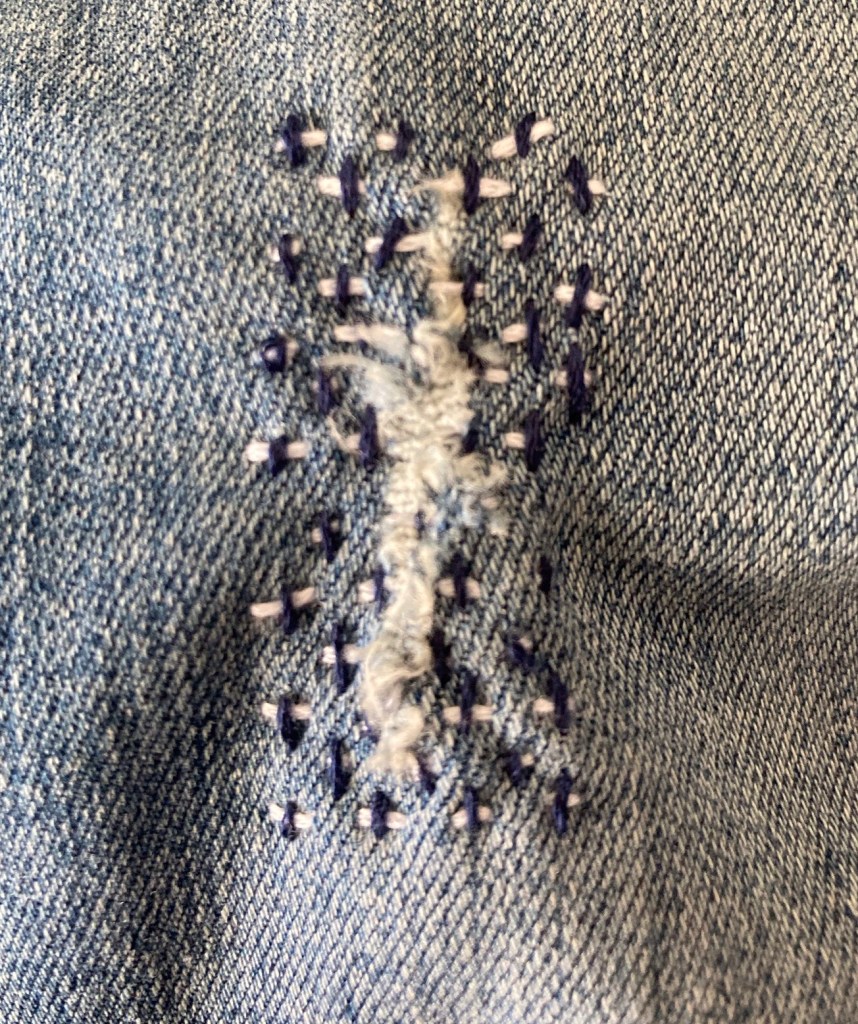
First go at Japanese embroidery technique on my trendily ripped jeans.
About as detailed as I will get.

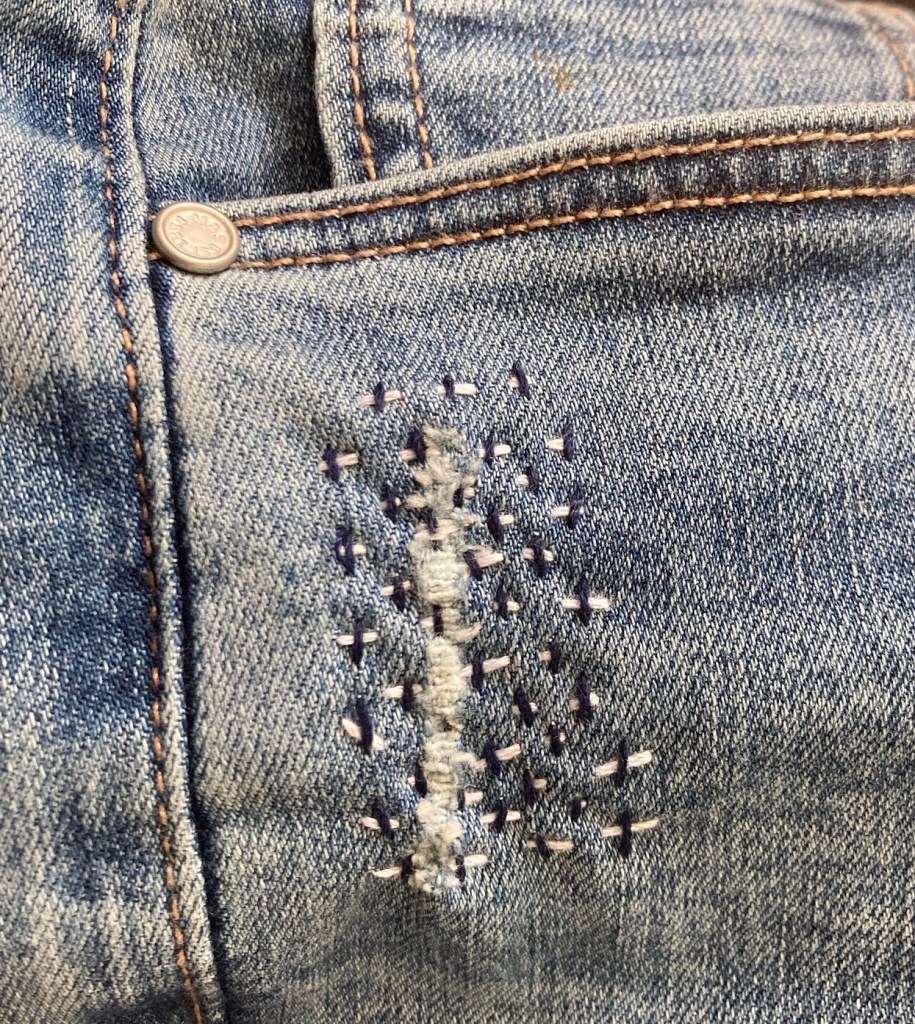
First go at Japanese embroidery technique on my trendily ripped jeans.
About as detailed as I will get.
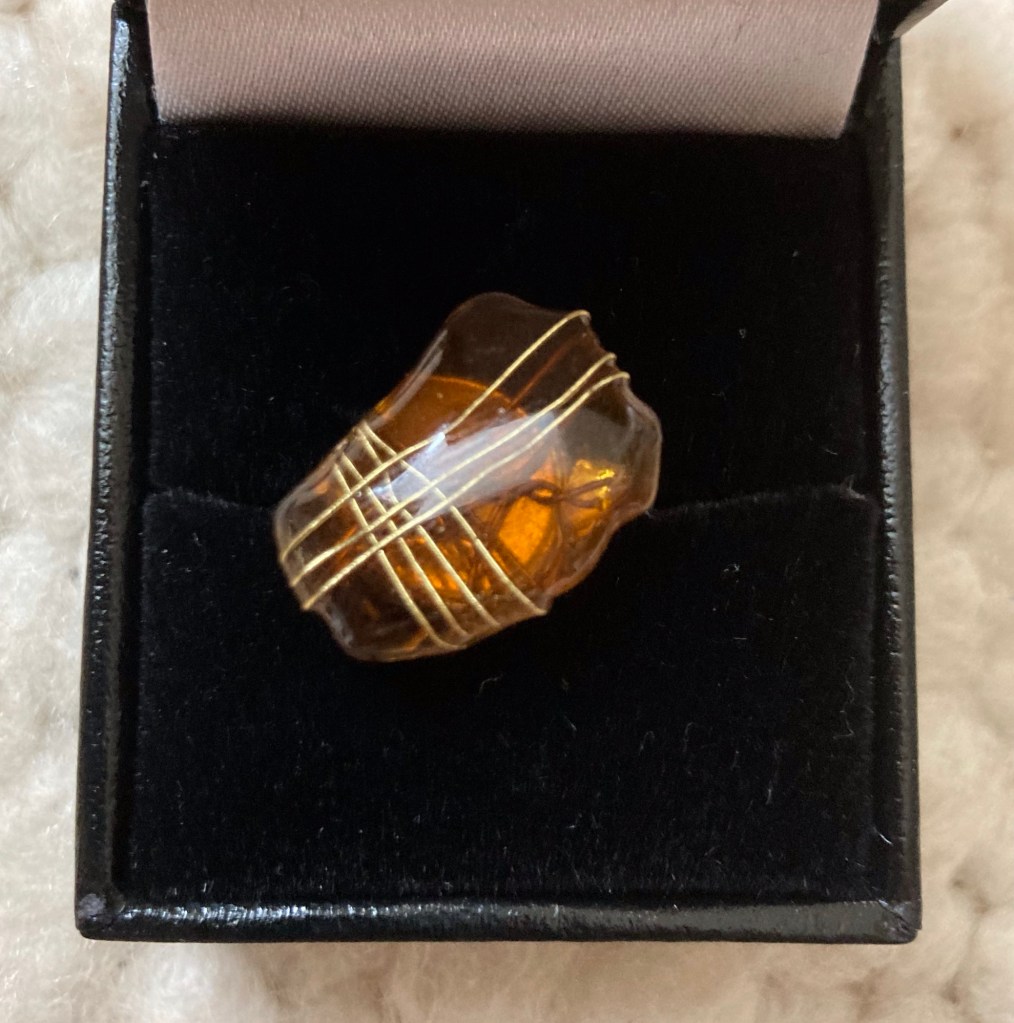
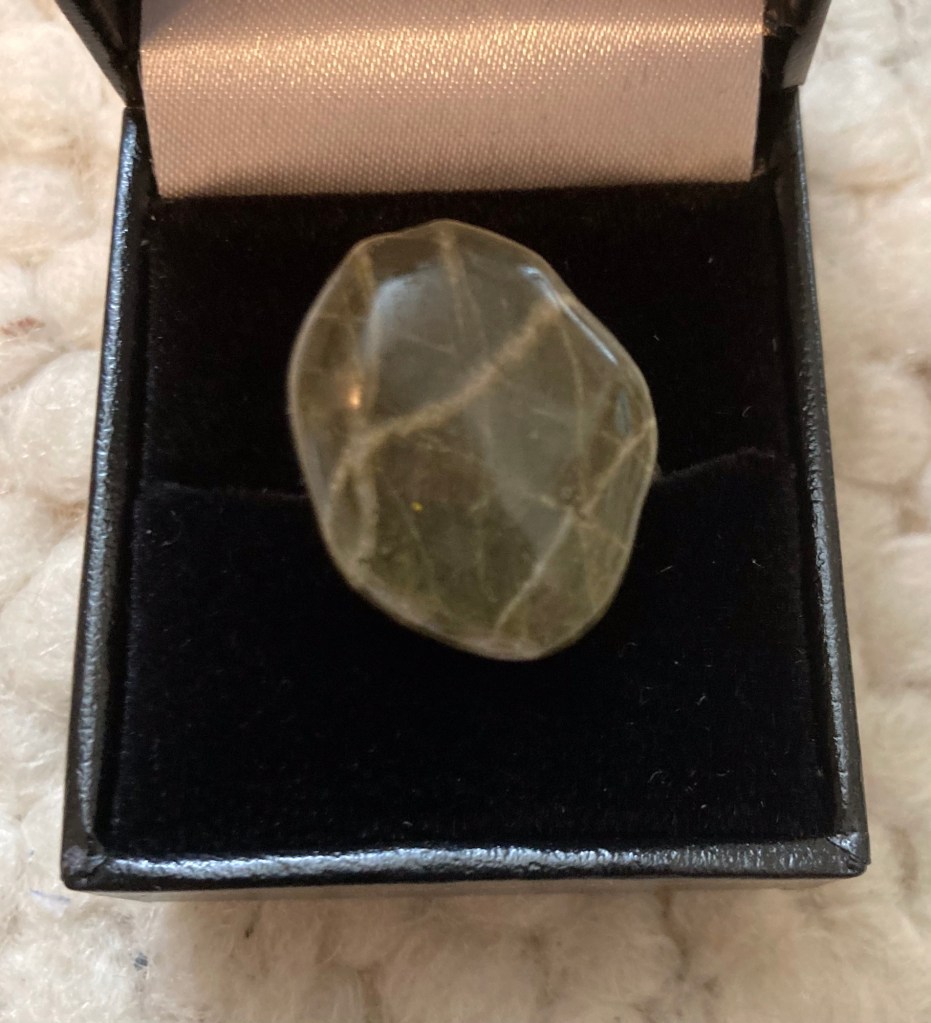
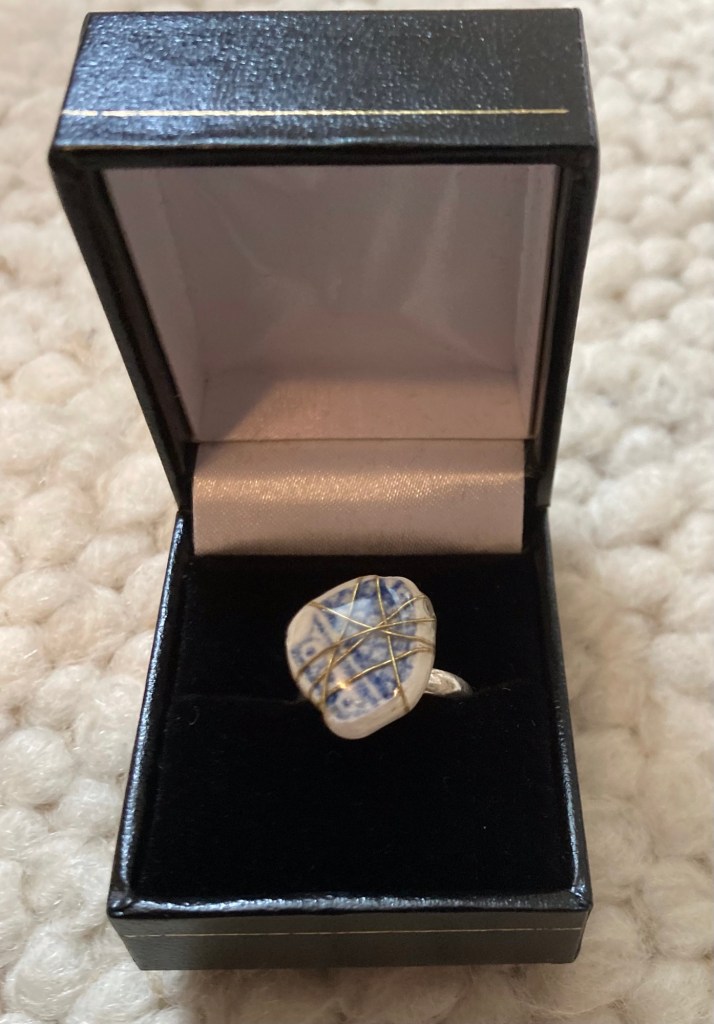
Finally used the ring mounts from my stash and sealed the stone, beach pottery find and sea glass with uv resin for adhesion as well as to lacquer.
A little bit of wire wrapping under the resin coat and this was a quick and rewarding project.
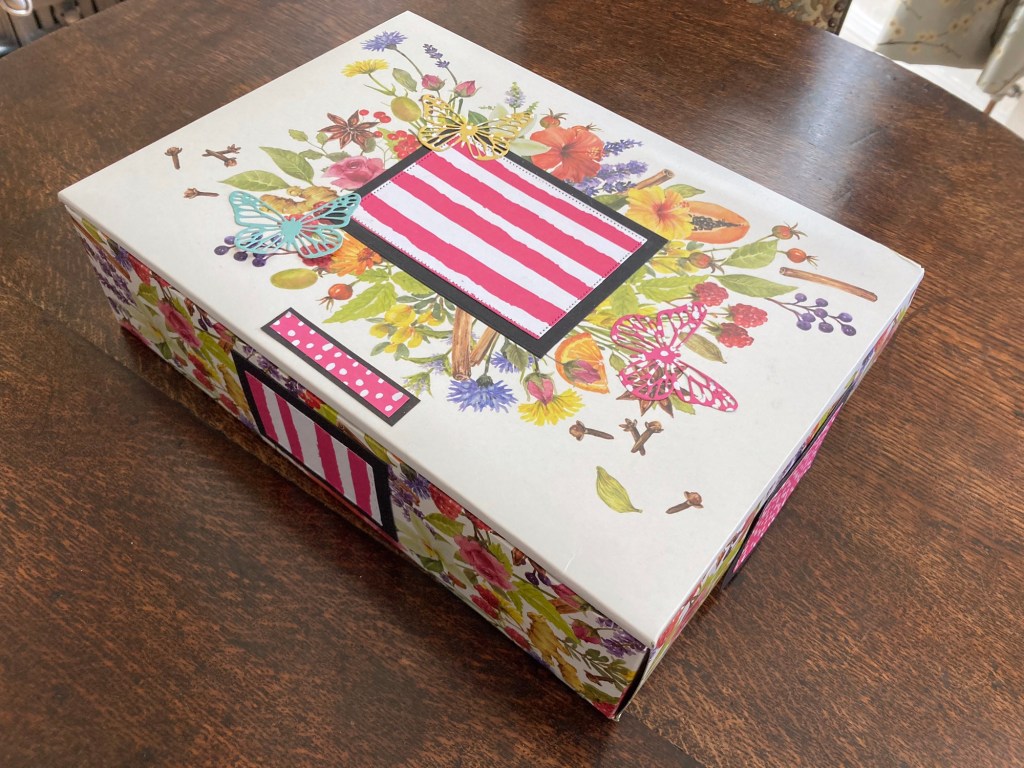
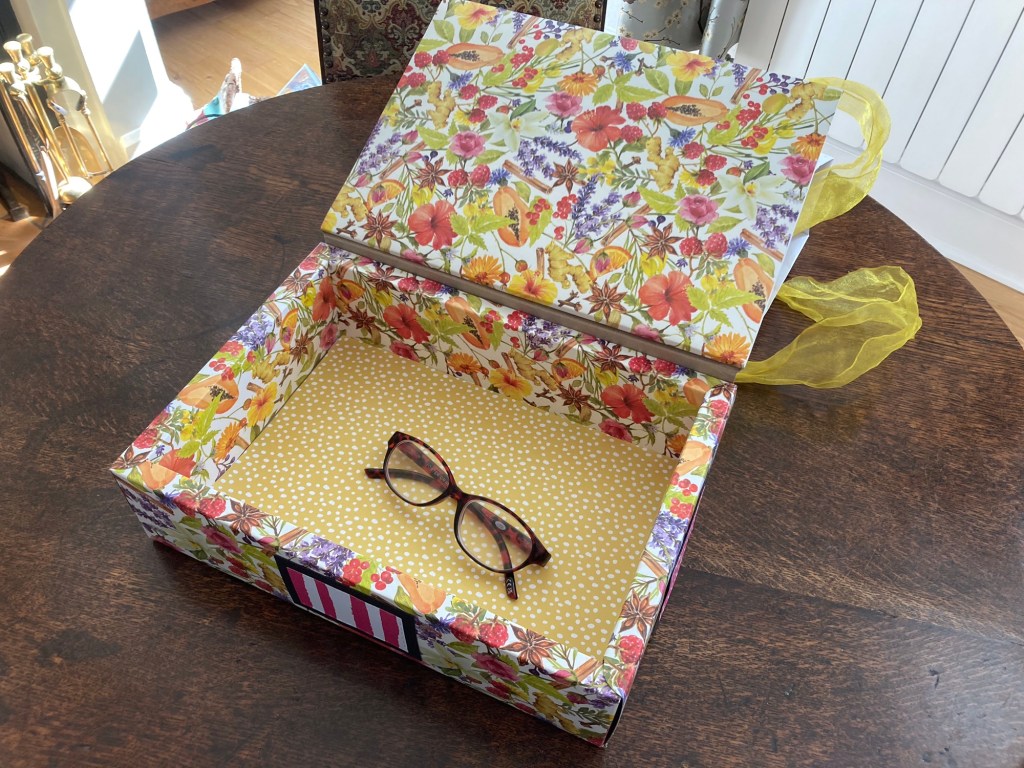
A crafter gets as excited about the packaging as they do about a gift received. Just cover any commercial messages with paper from the stash and put the beautiful box ready to present home made gifts in the future!
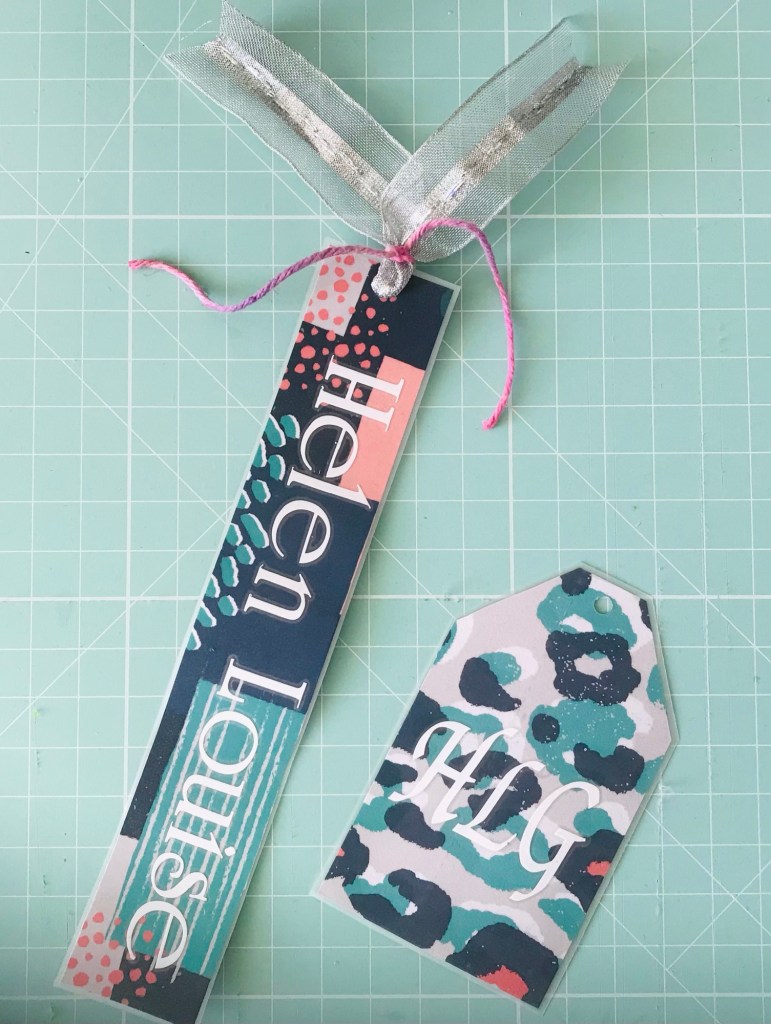
A quick make as a gesture for a traveler.
I like the matt laminating sheets I have. They create a subtler effect without the gloss.
To use up the laminating sheets I made a storage pouch (slipping a second sheet inside and turning it inside out) and extra book marks for another day …


I salvaged a pretty serviette from a coffee morning and decided to use it up when I upcycling a cheese tray about to hit the recycling and scallop shells from a yummy ready meal.
I just pasted the top ply of the napkin on with mod podge (using up the giant pot of gloss where I can so I can get some Matt finish glue soon).
Layers of mod podge not only stick the paper, they also seal it enough for casual trinket dishes.
Mod podge also sealed the paint I put on one of the shells and I finished off the edges with some Goldfinger burnish effect.
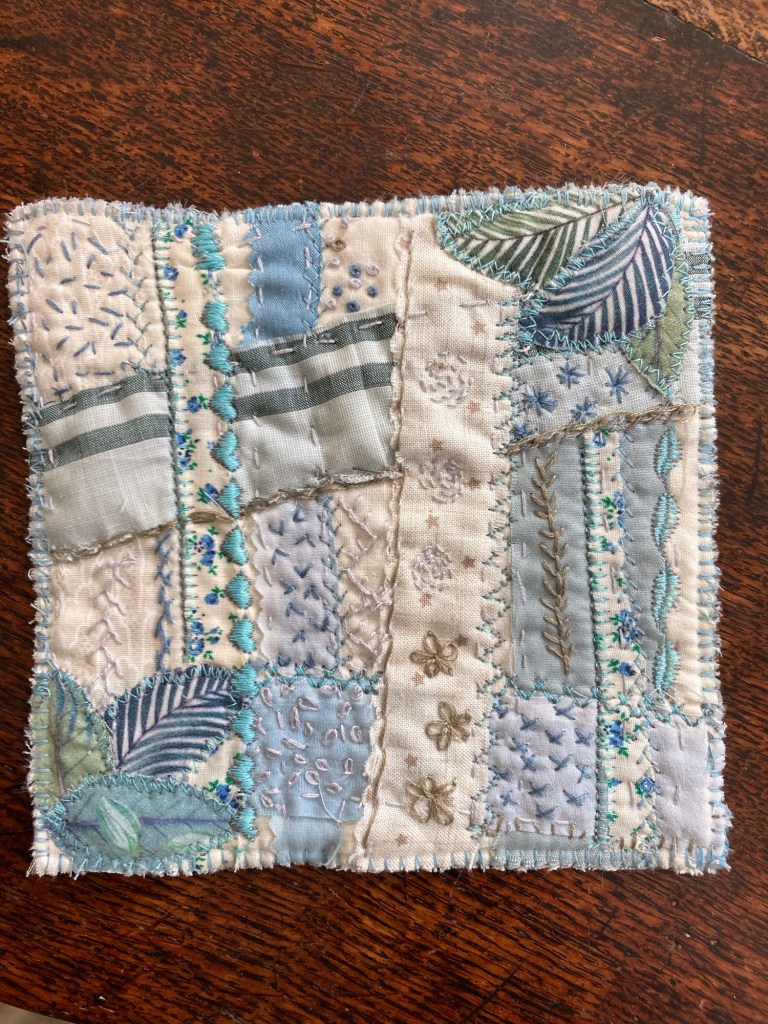
I don’t have enough patience to slow stitch large projects so finished this 6” mat with machine embroidery.
A good practice of embroidery stitches and a little using up of the fabric and ribbon mountain though.
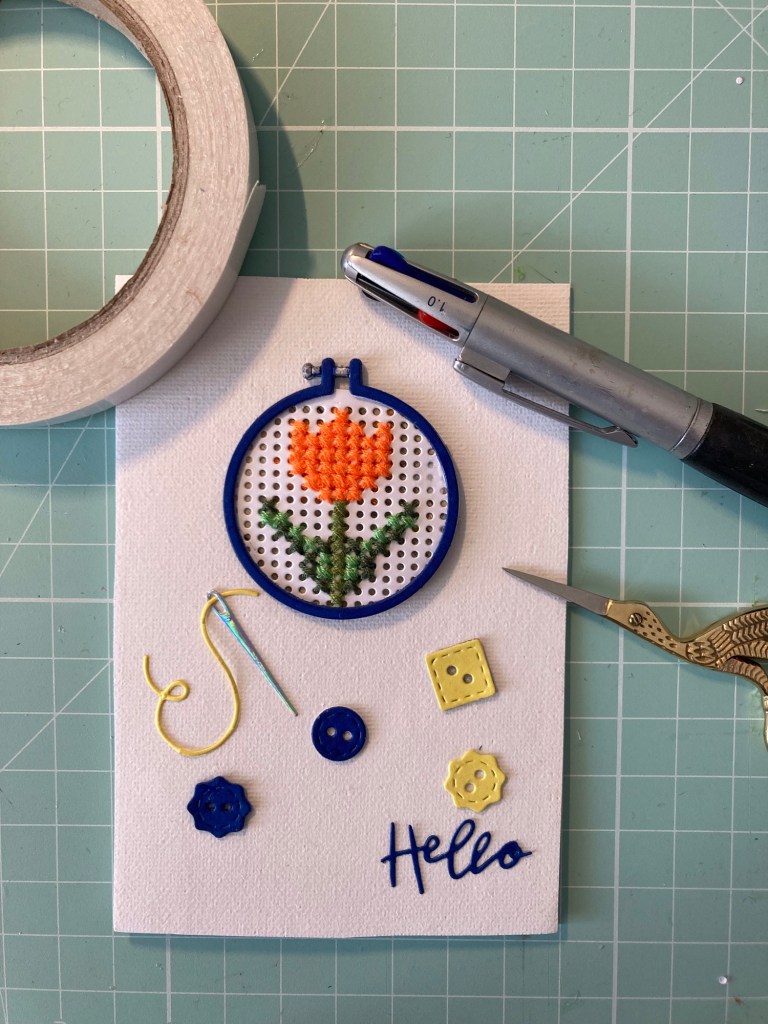
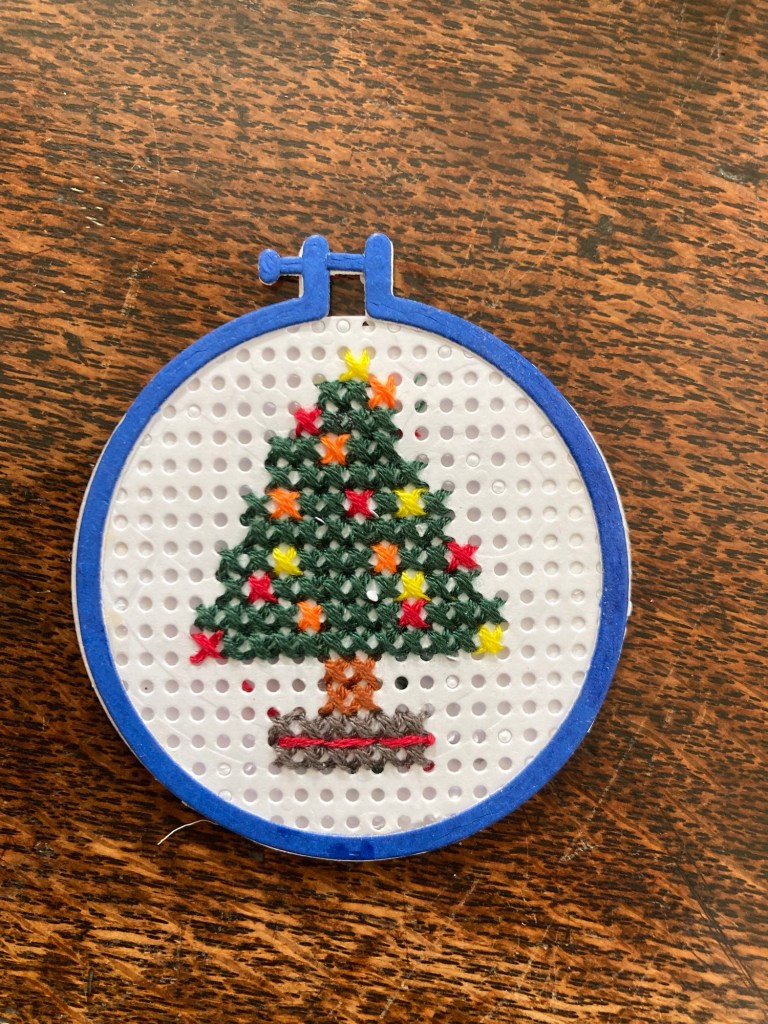
I bought a cheap die set from Globeland on Amazon and have been stitching on paper for the last month.
The set includes a die to make Aida effect punched paper, dies to make different sizes of hoops, buttons and sewing accessories. Well worth the price at about £7.
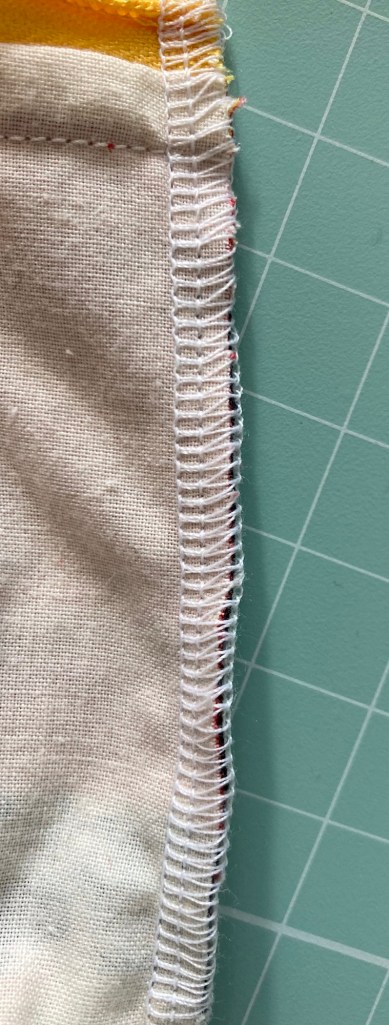
Our library has a ‘fab lab’ where you can play on machines such as 3d printers, sublimation and sewing machines. I decided to see if a serger was something I might find useful.
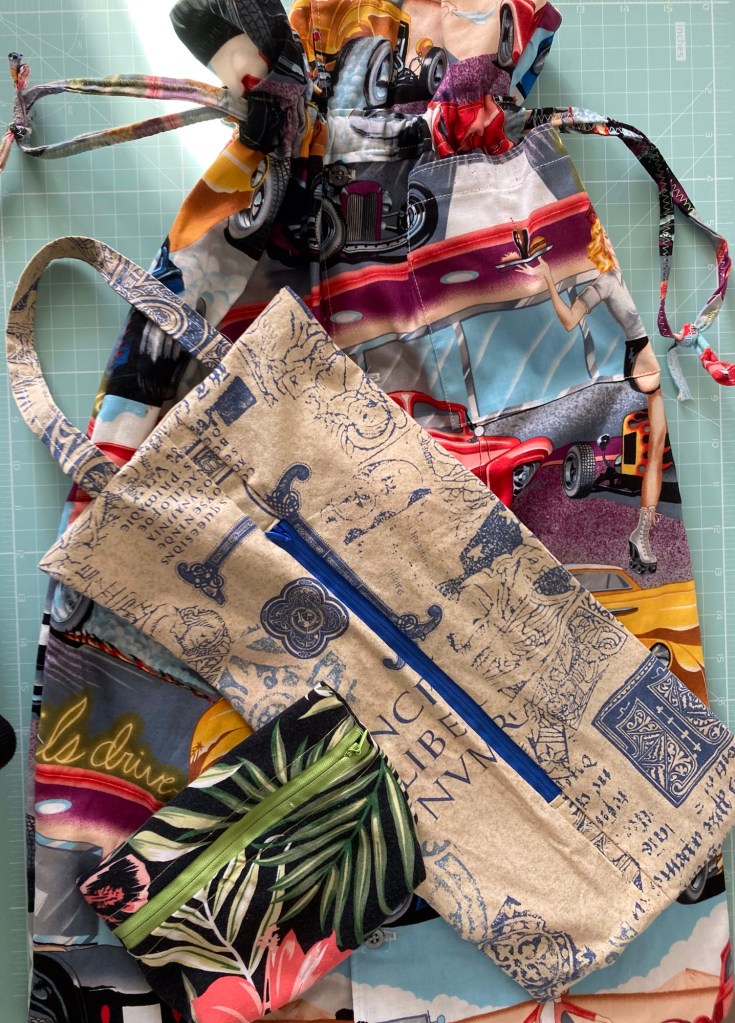
A one hour session making up assorted bags and pouches was enough to convince me NOT to buy one. Fiddly to thread, scary to use and I can do a mock overlock with my standard machine.
Thanks to the library for the trial run though.
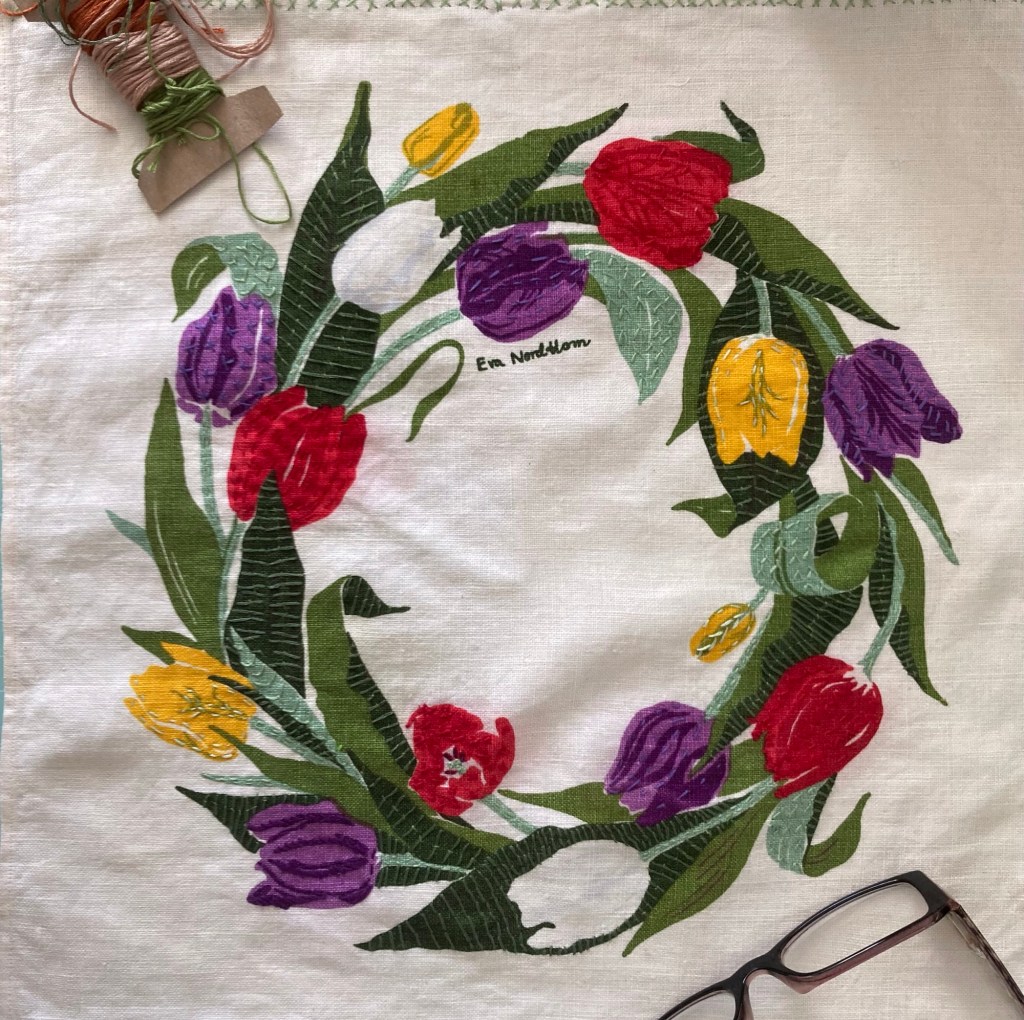
This beautiful Swedish mat had a small stain on it so I stitched (simple straight and cross stitch with embroidery floss) over the printing until the stain ‘disappeared’ and now it is back in use as beautiful as ever.
