‘It’s the season – to be making cards

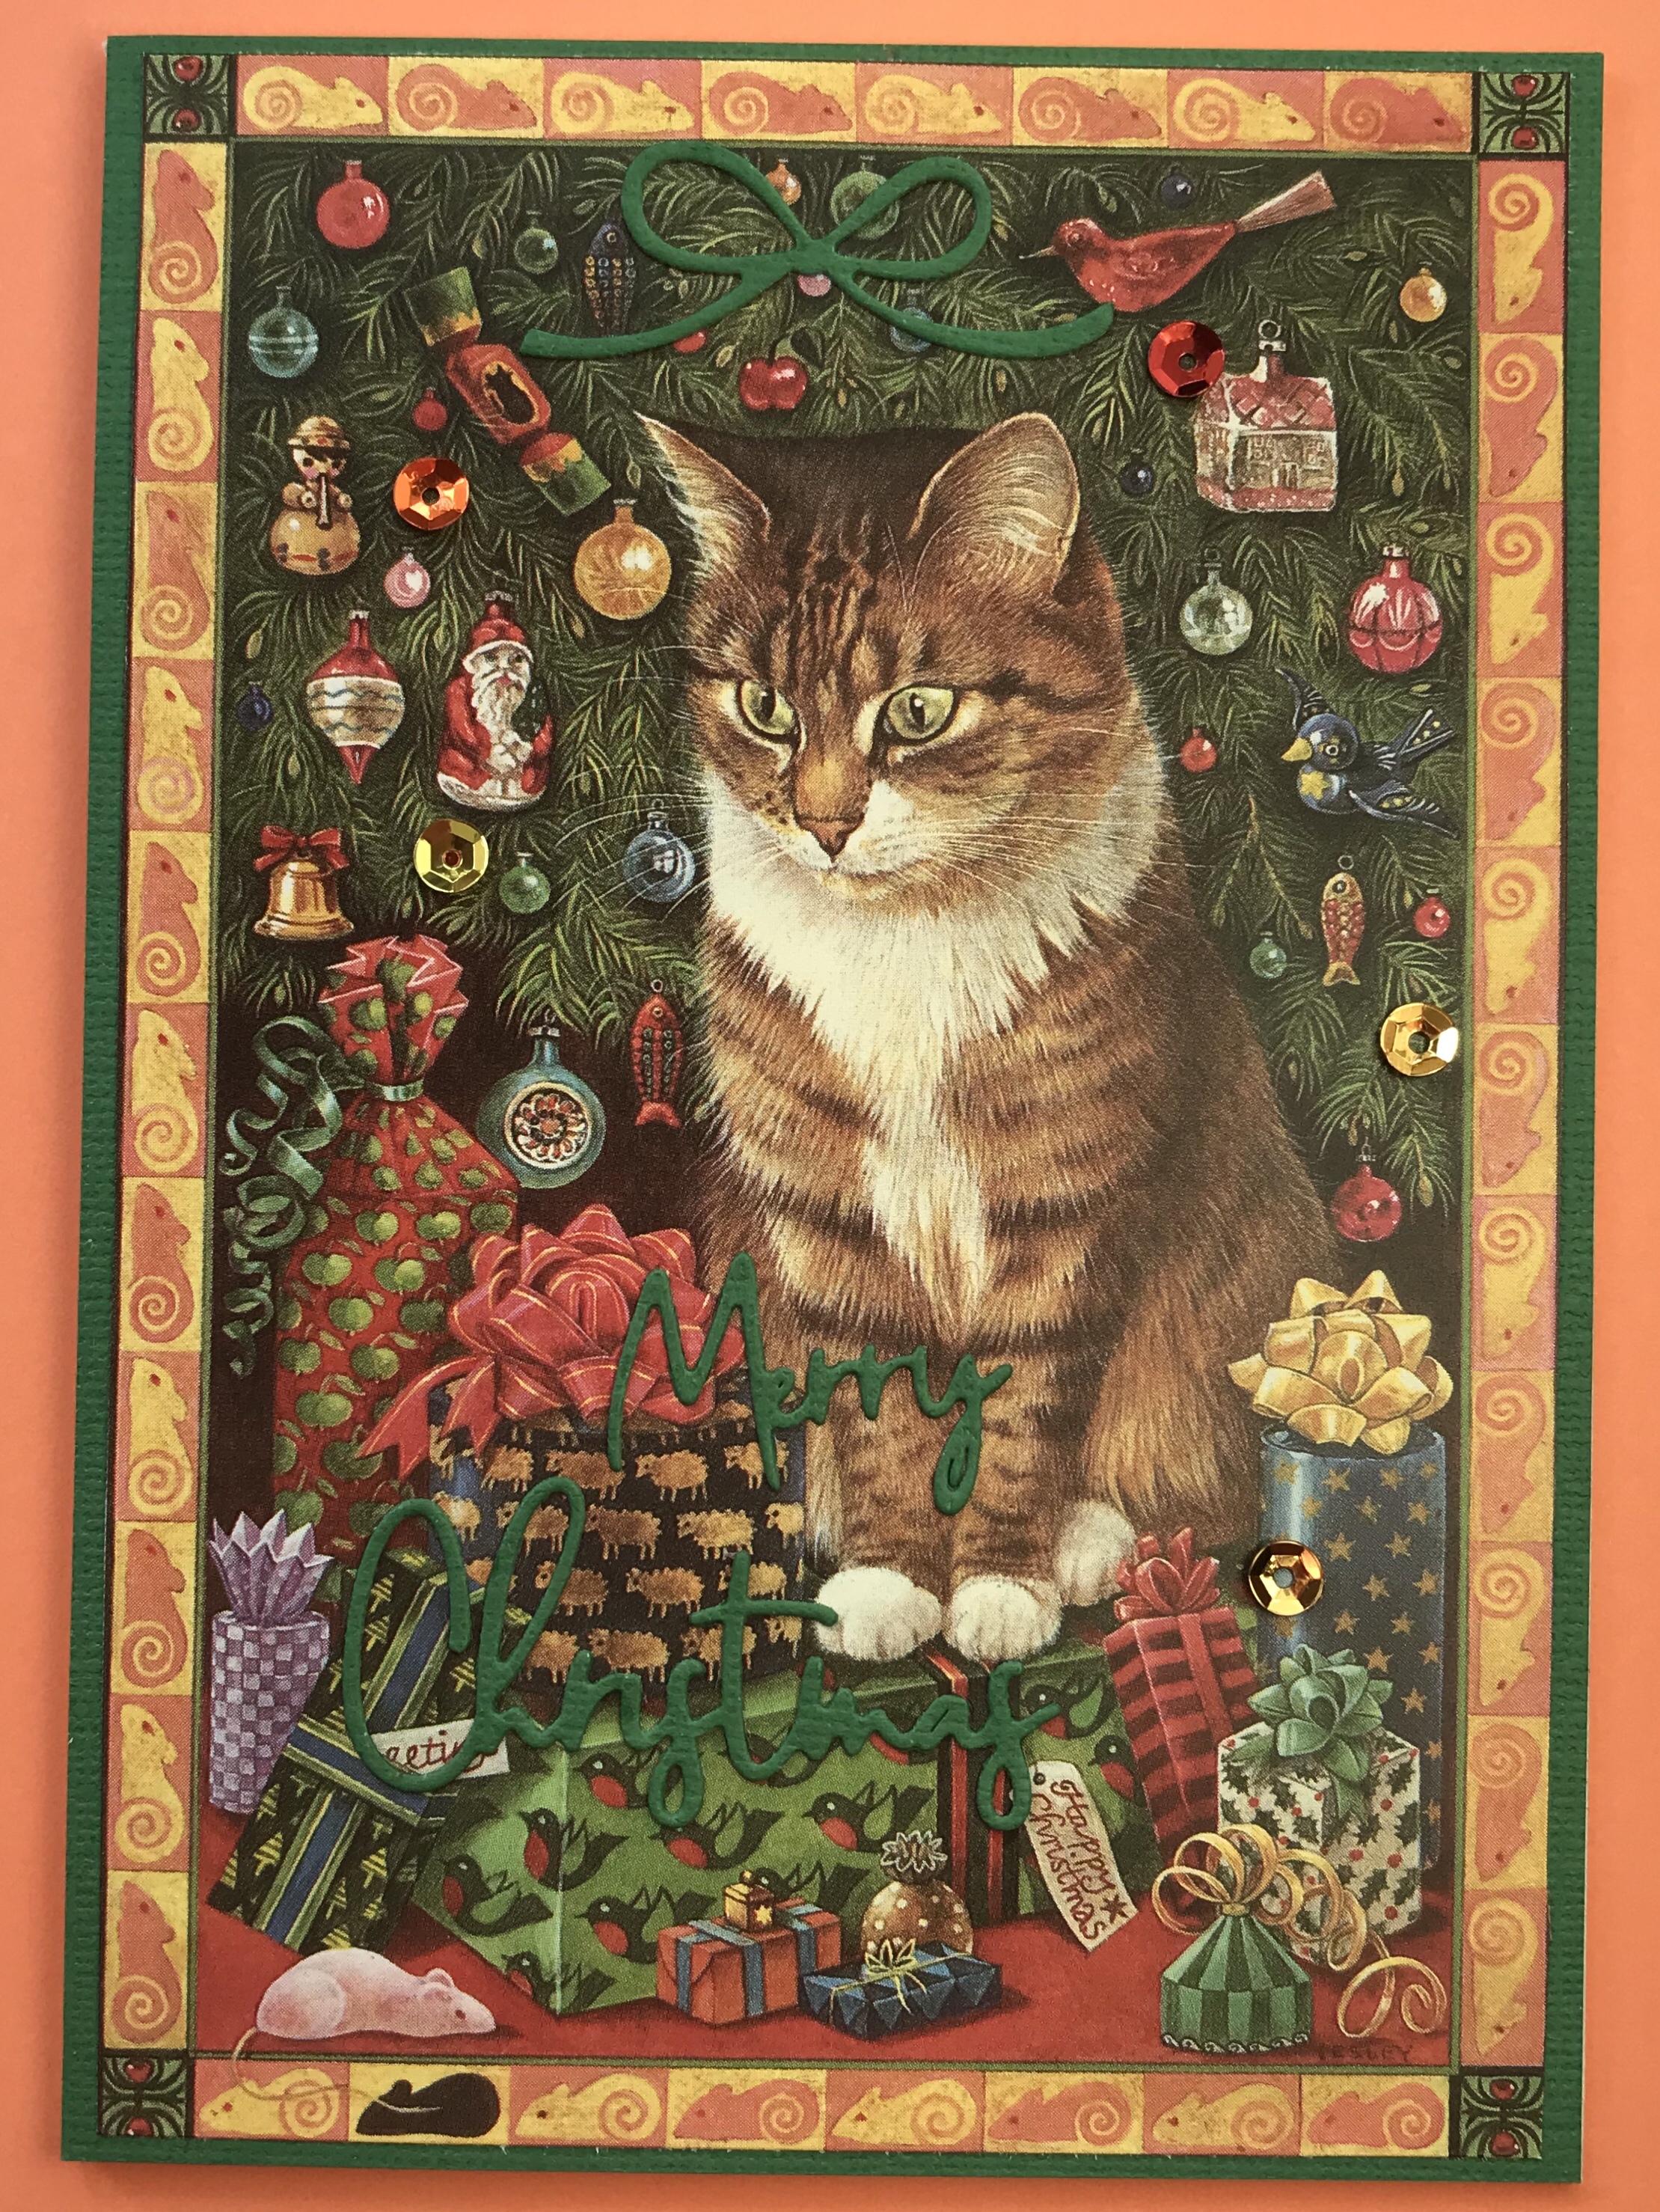
I have been recycling an old Lesley Anne Ivory perpetual diary into cat cards and decided to put the Christmas cats into one bundle.

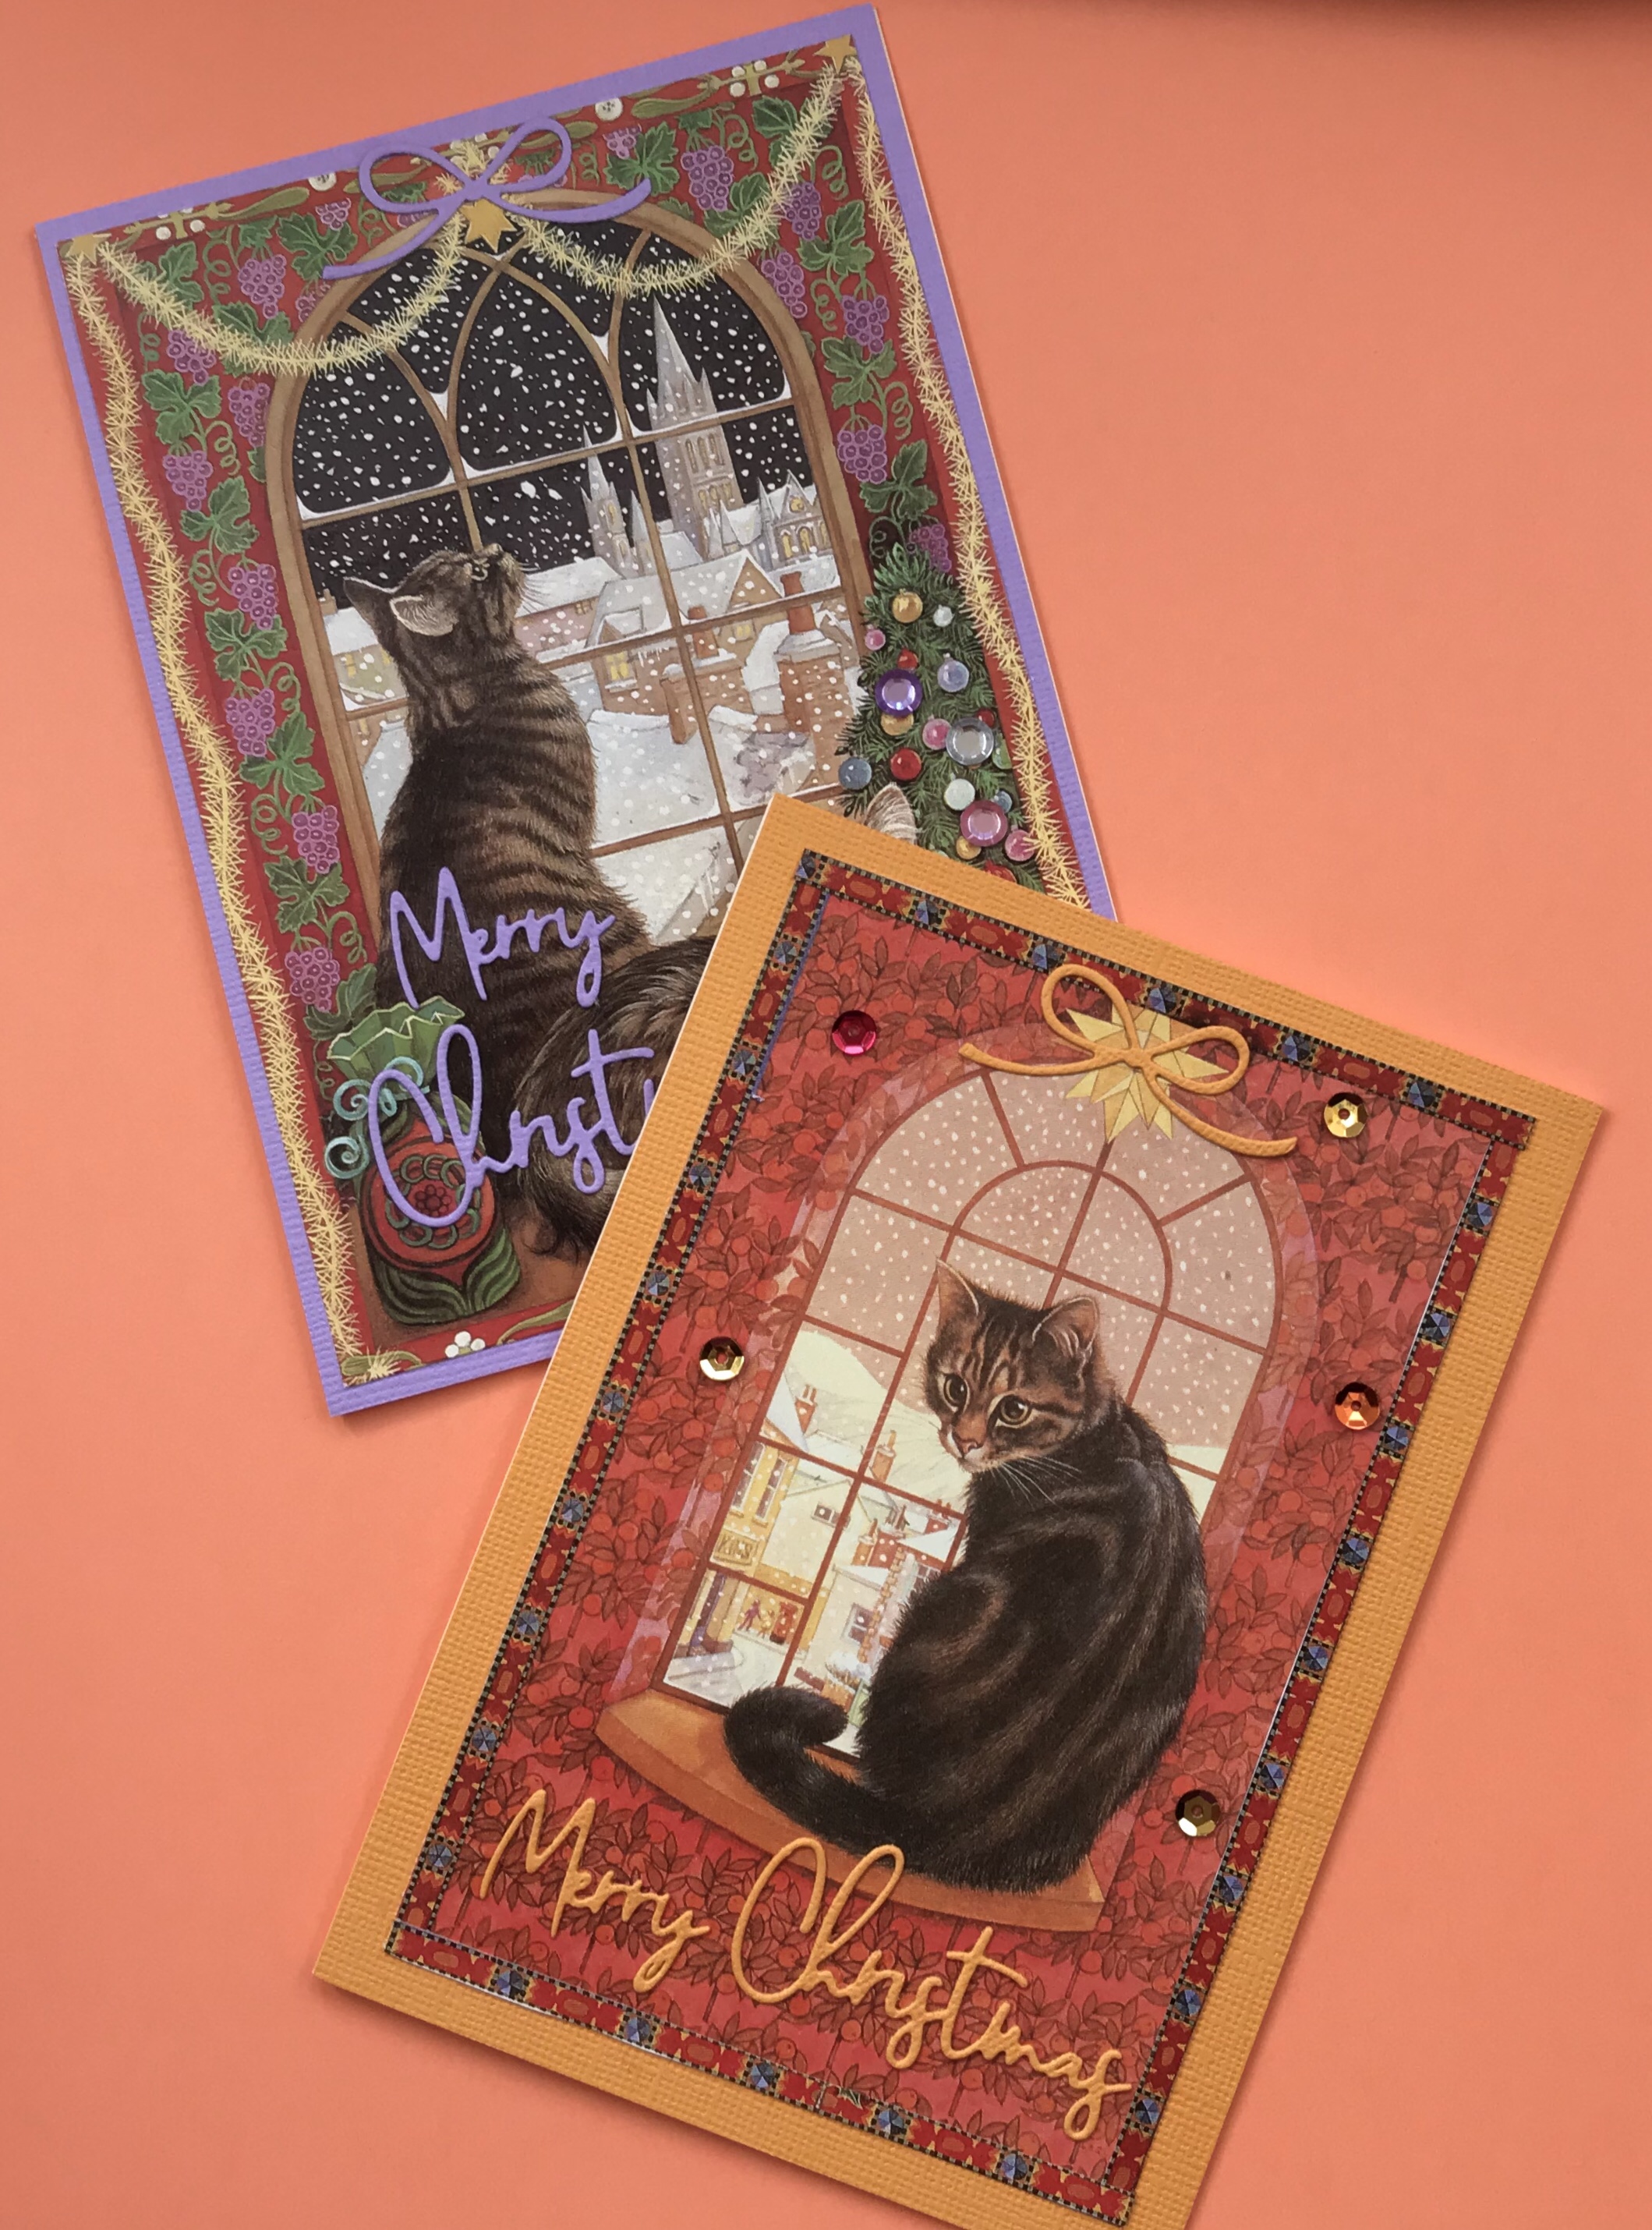
These images just need matting onto card before adding to the A6 card front. I cut the ‘Merry Christmas’ and bow, using papercraft society November kit dies, from the mat card before sticking the image on to it.

Finished with some sequins or gem stones these now make a cat lover’s Christmas kit. Think I like the non traditional colours best.
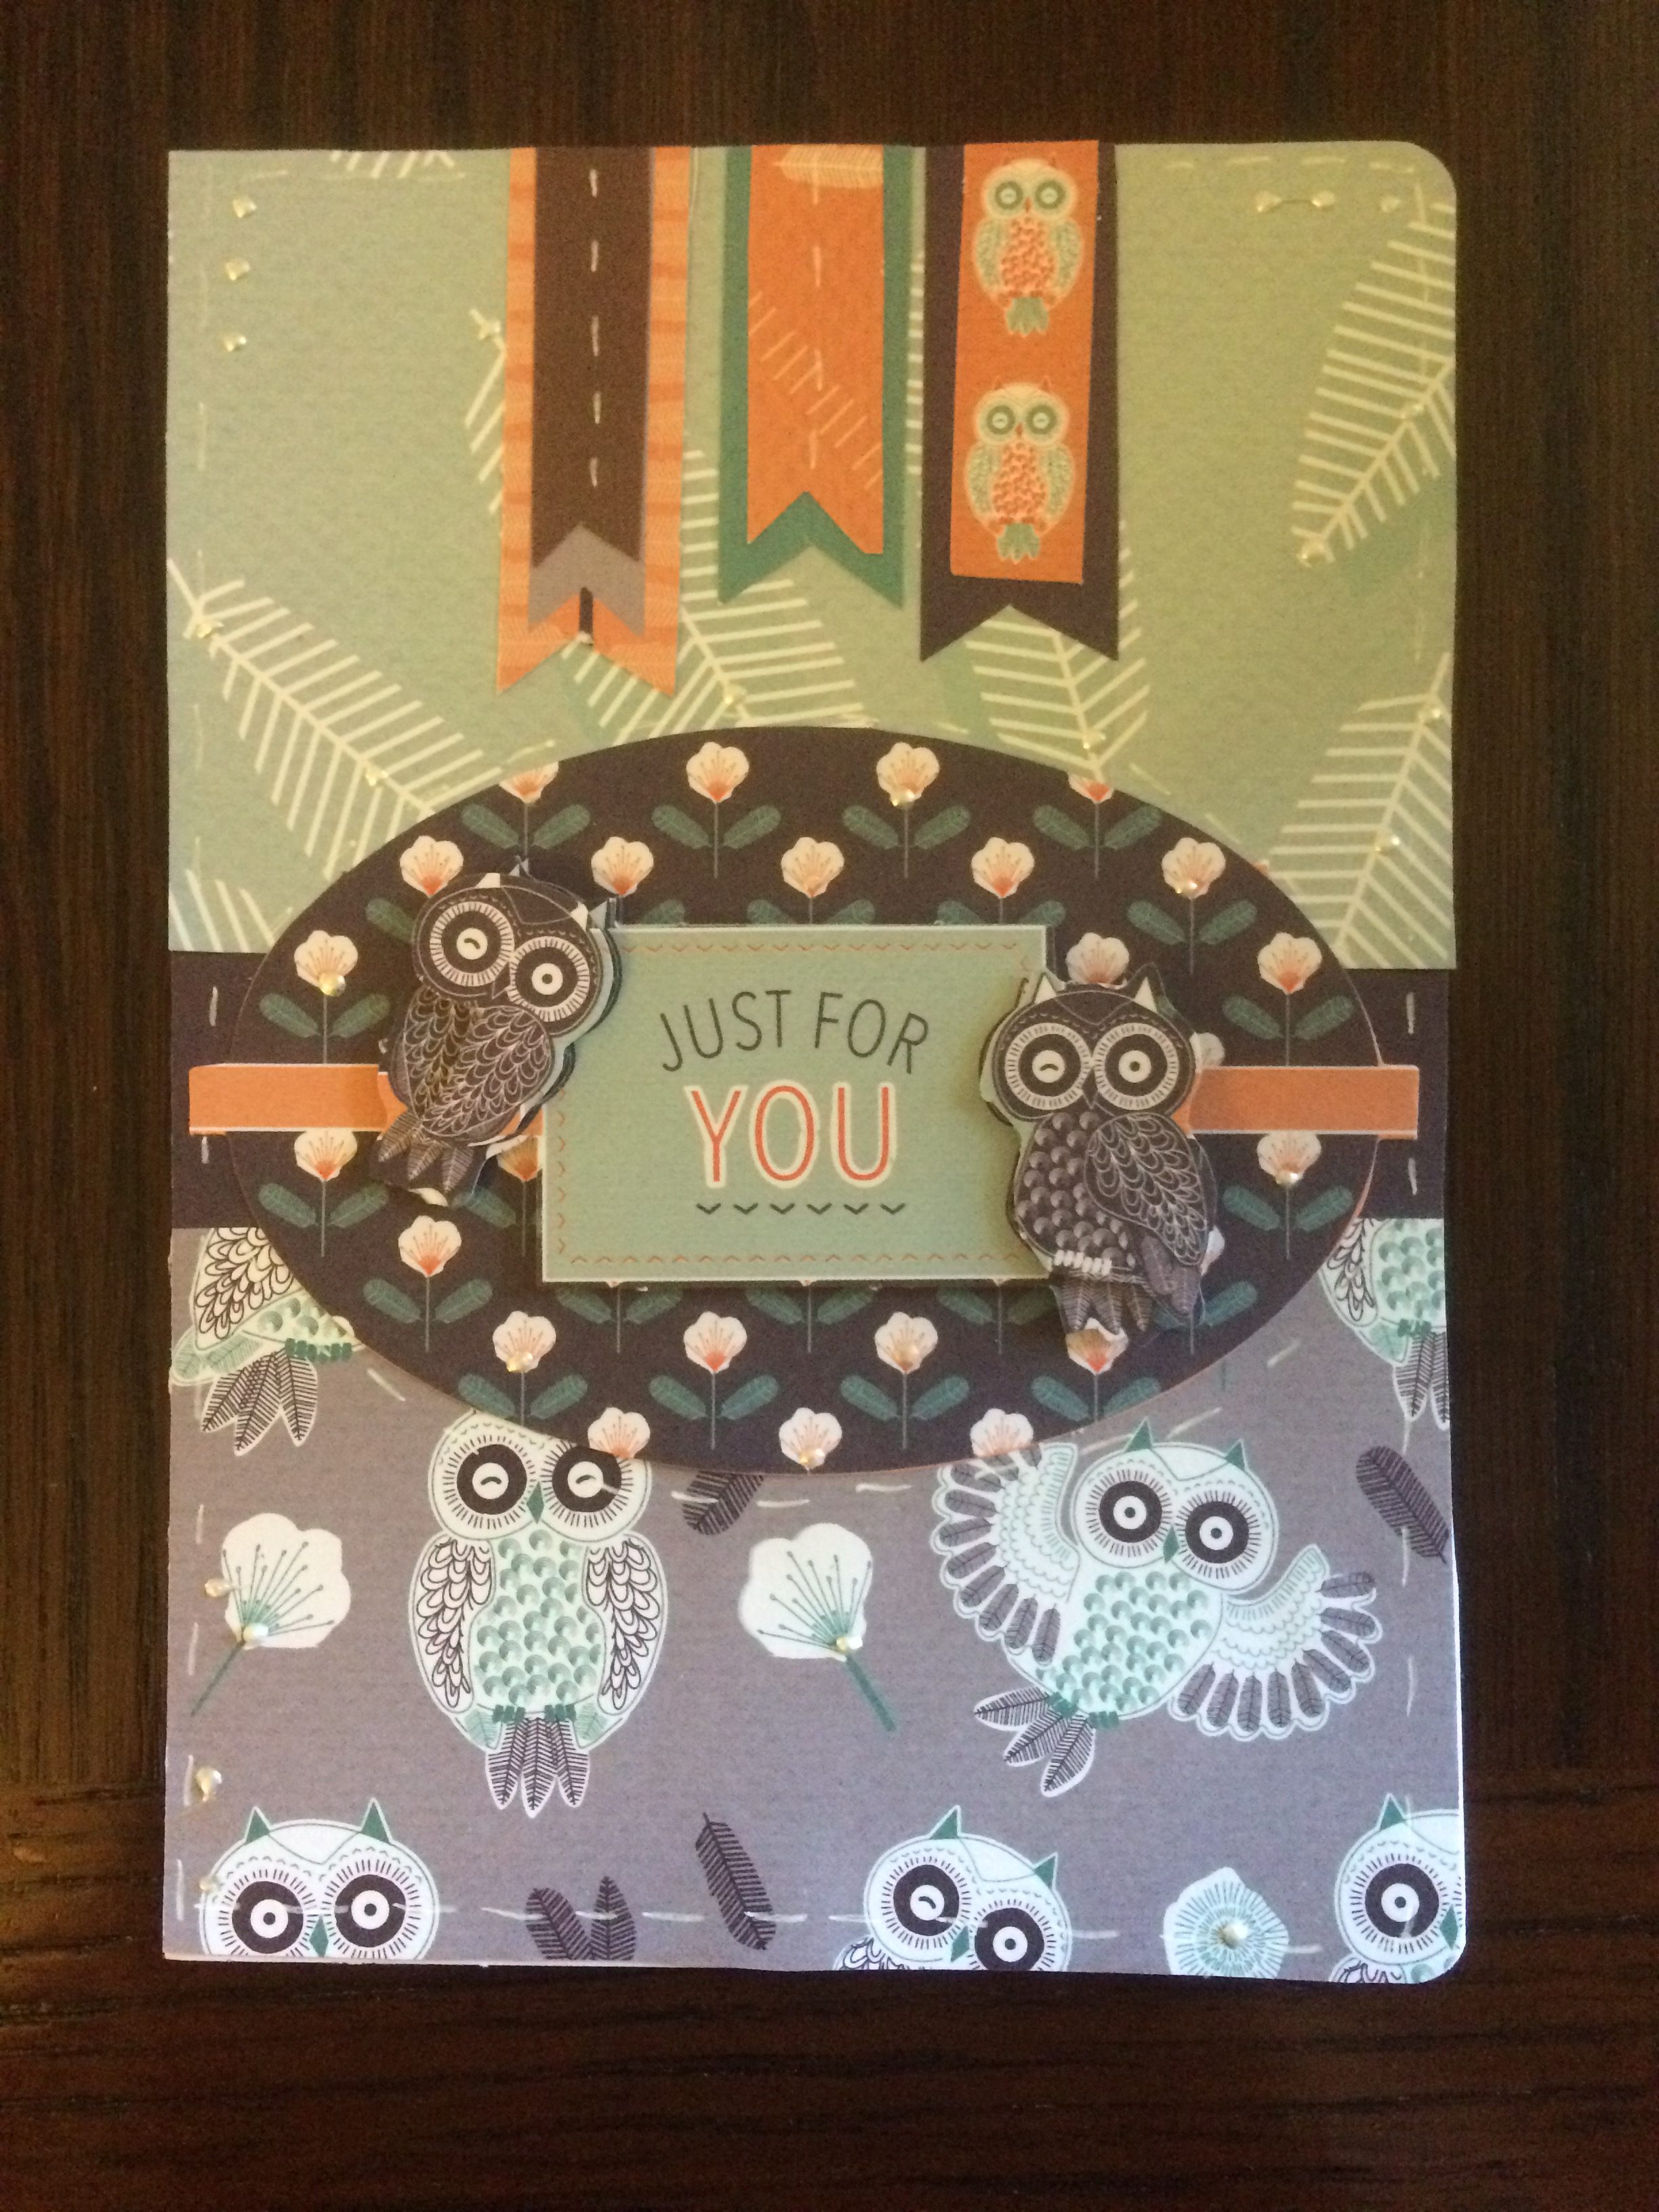
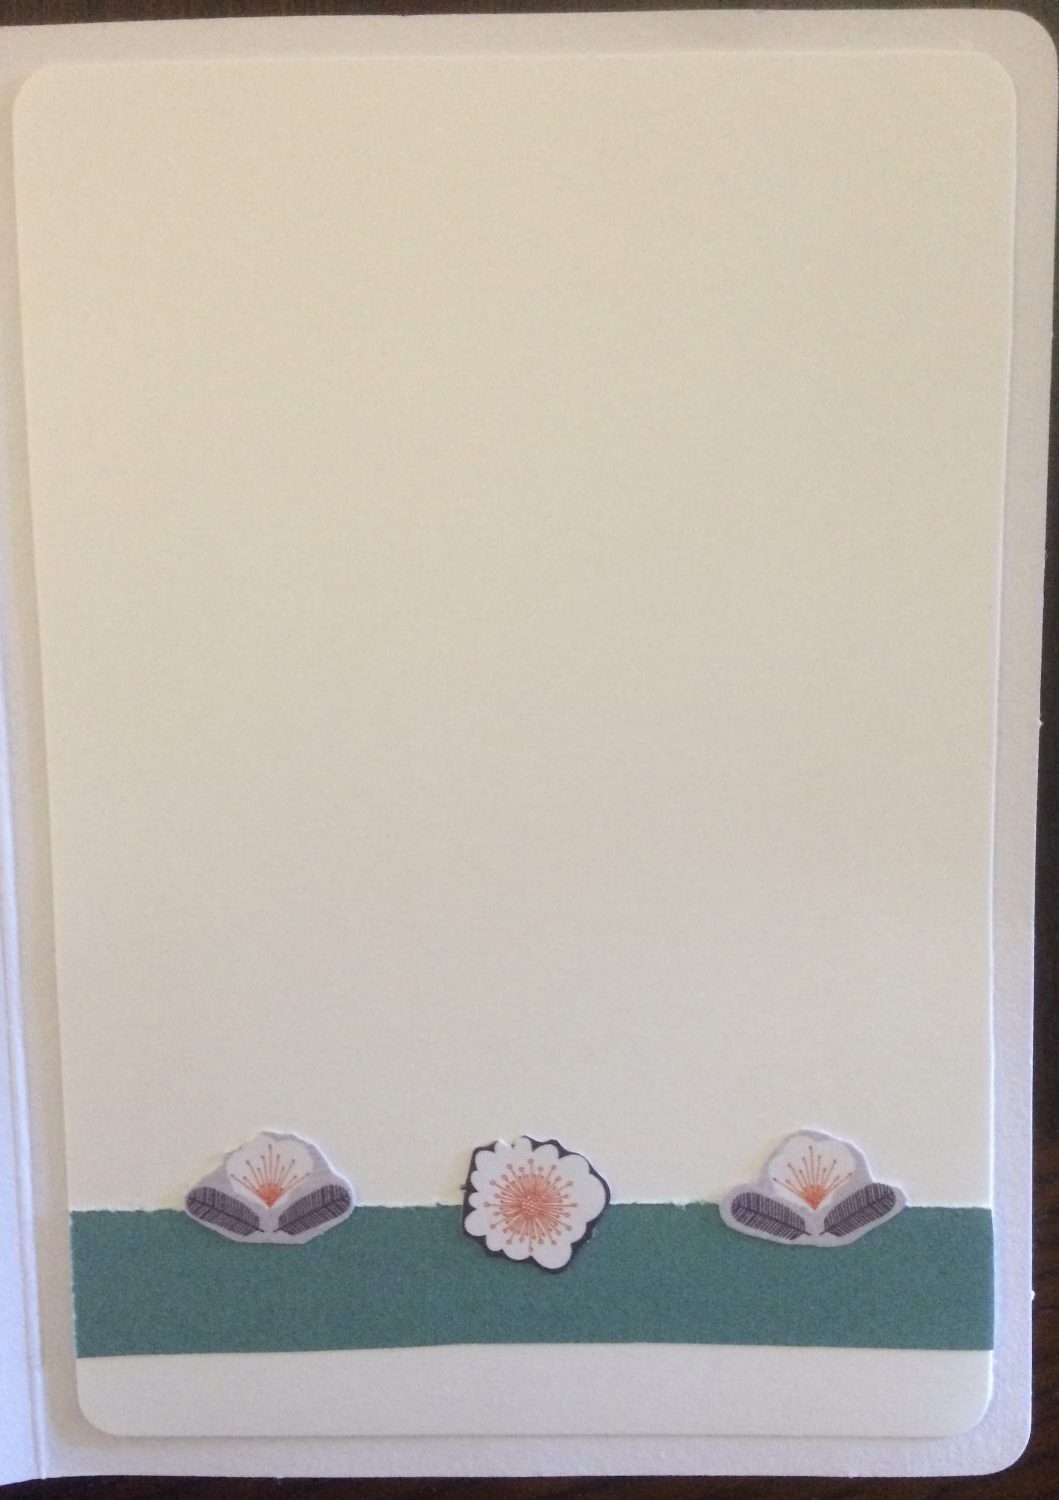
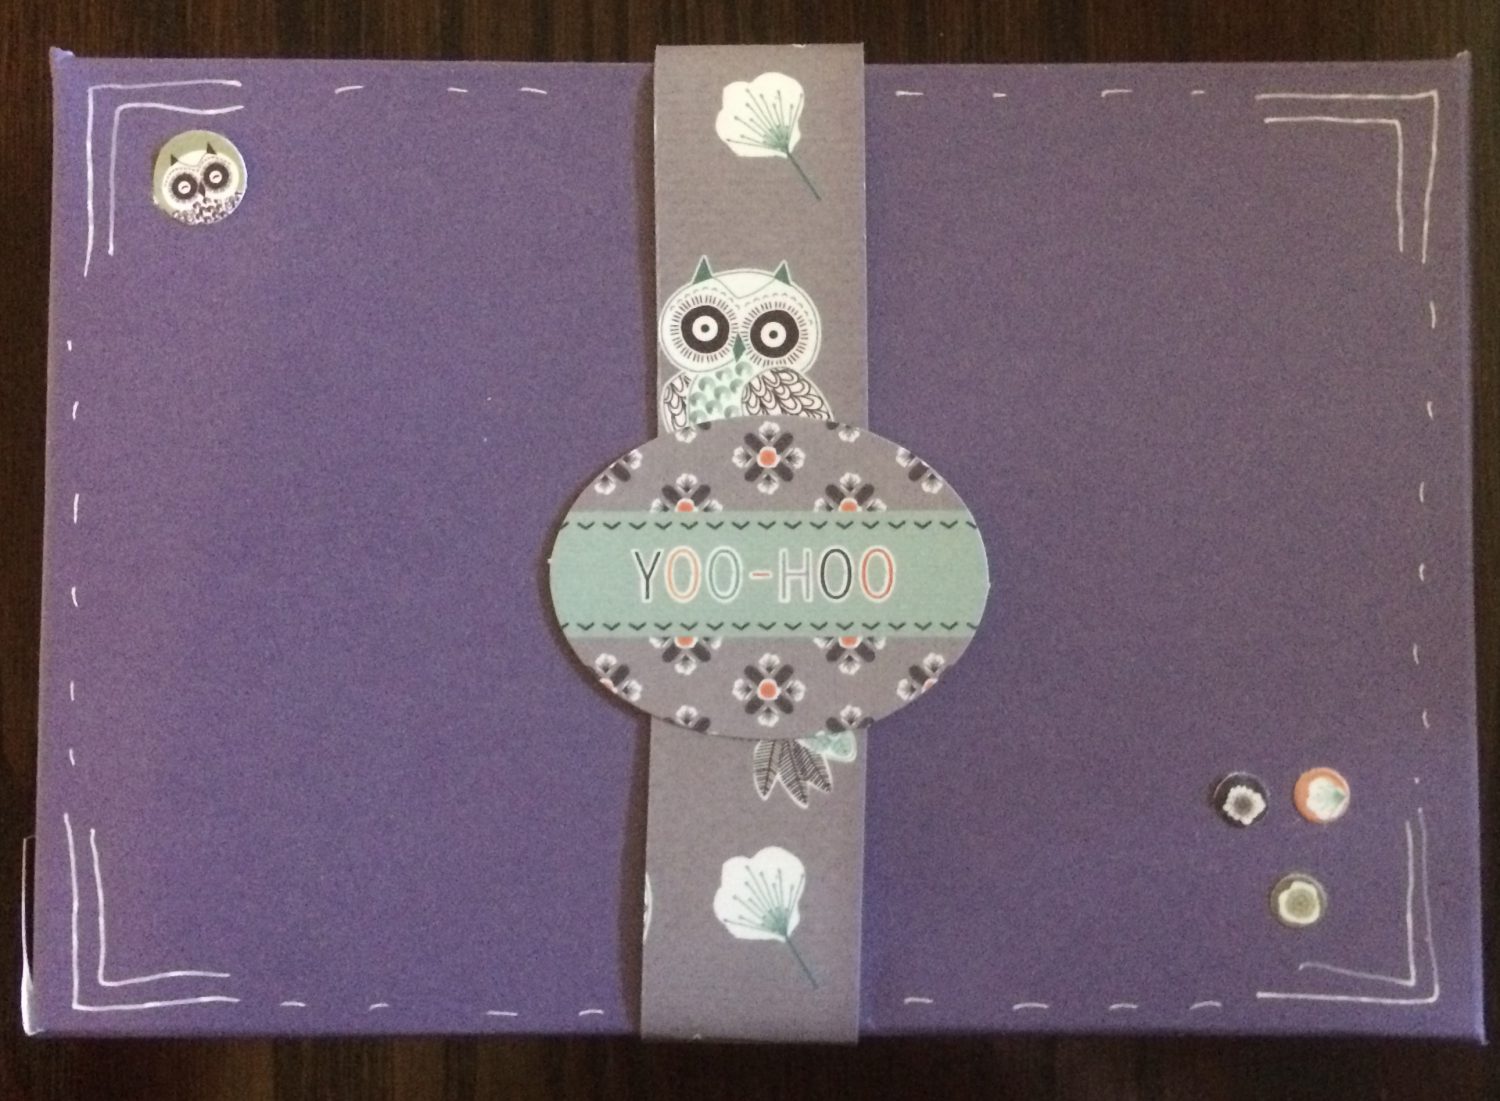
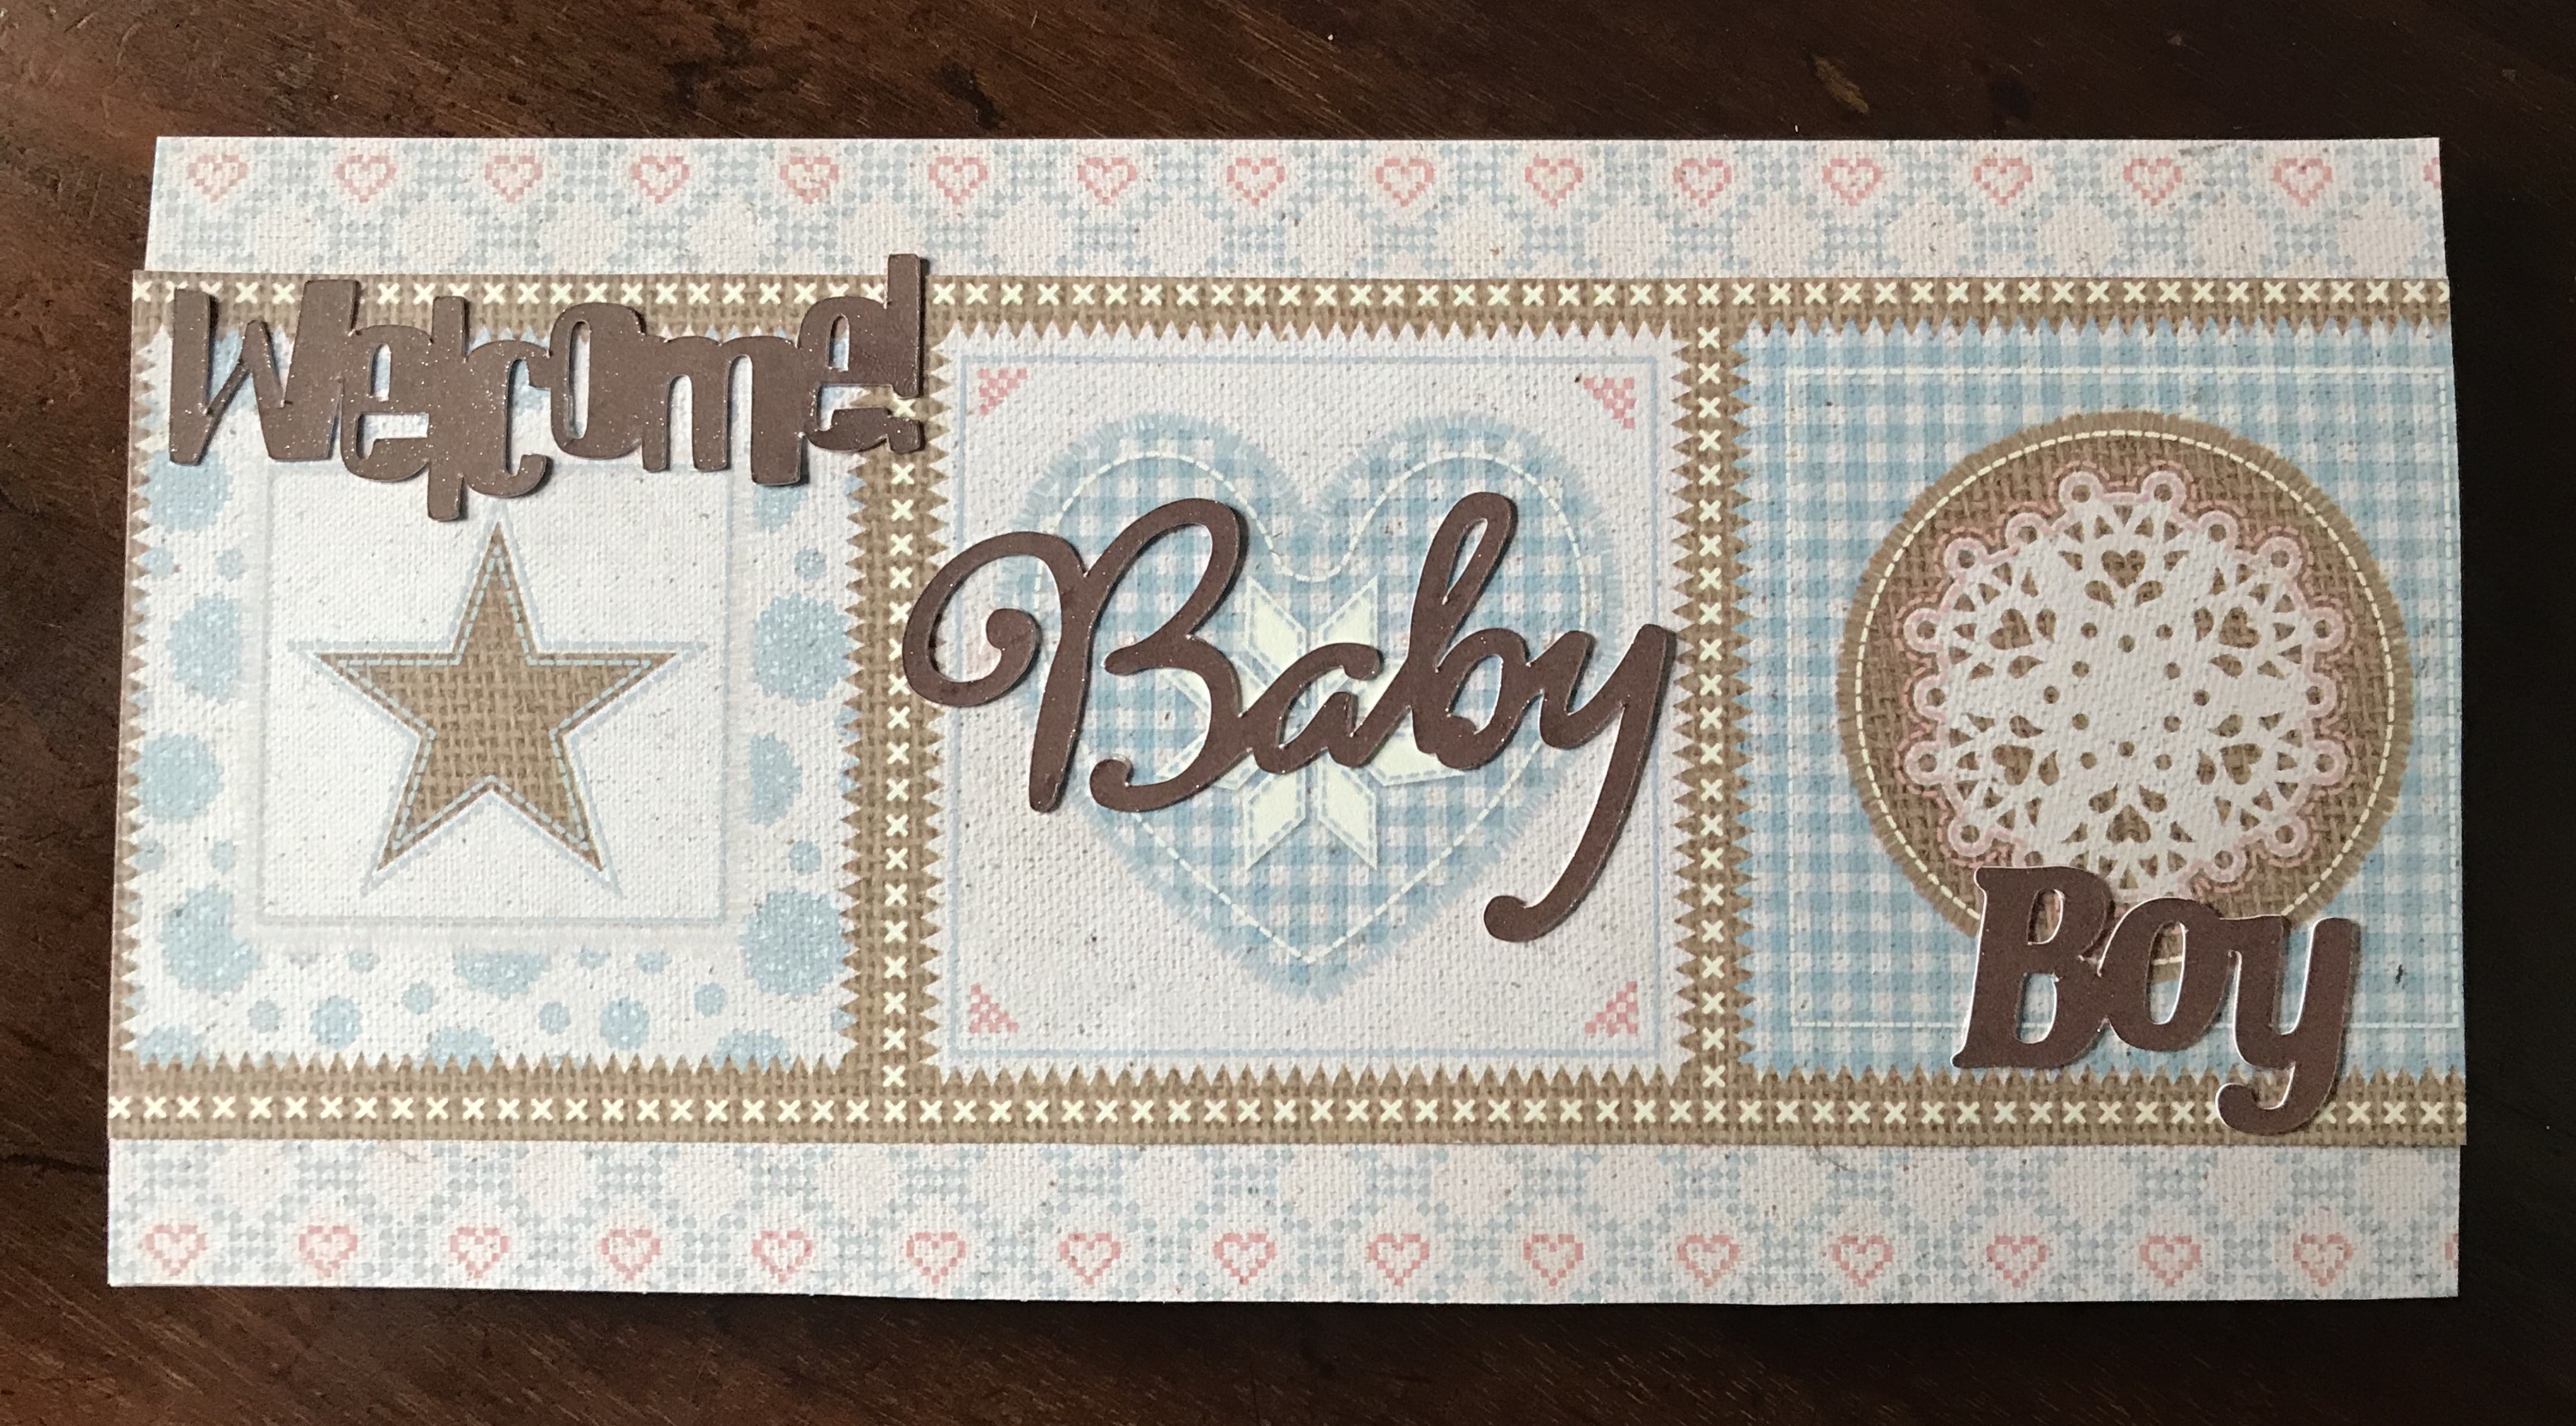
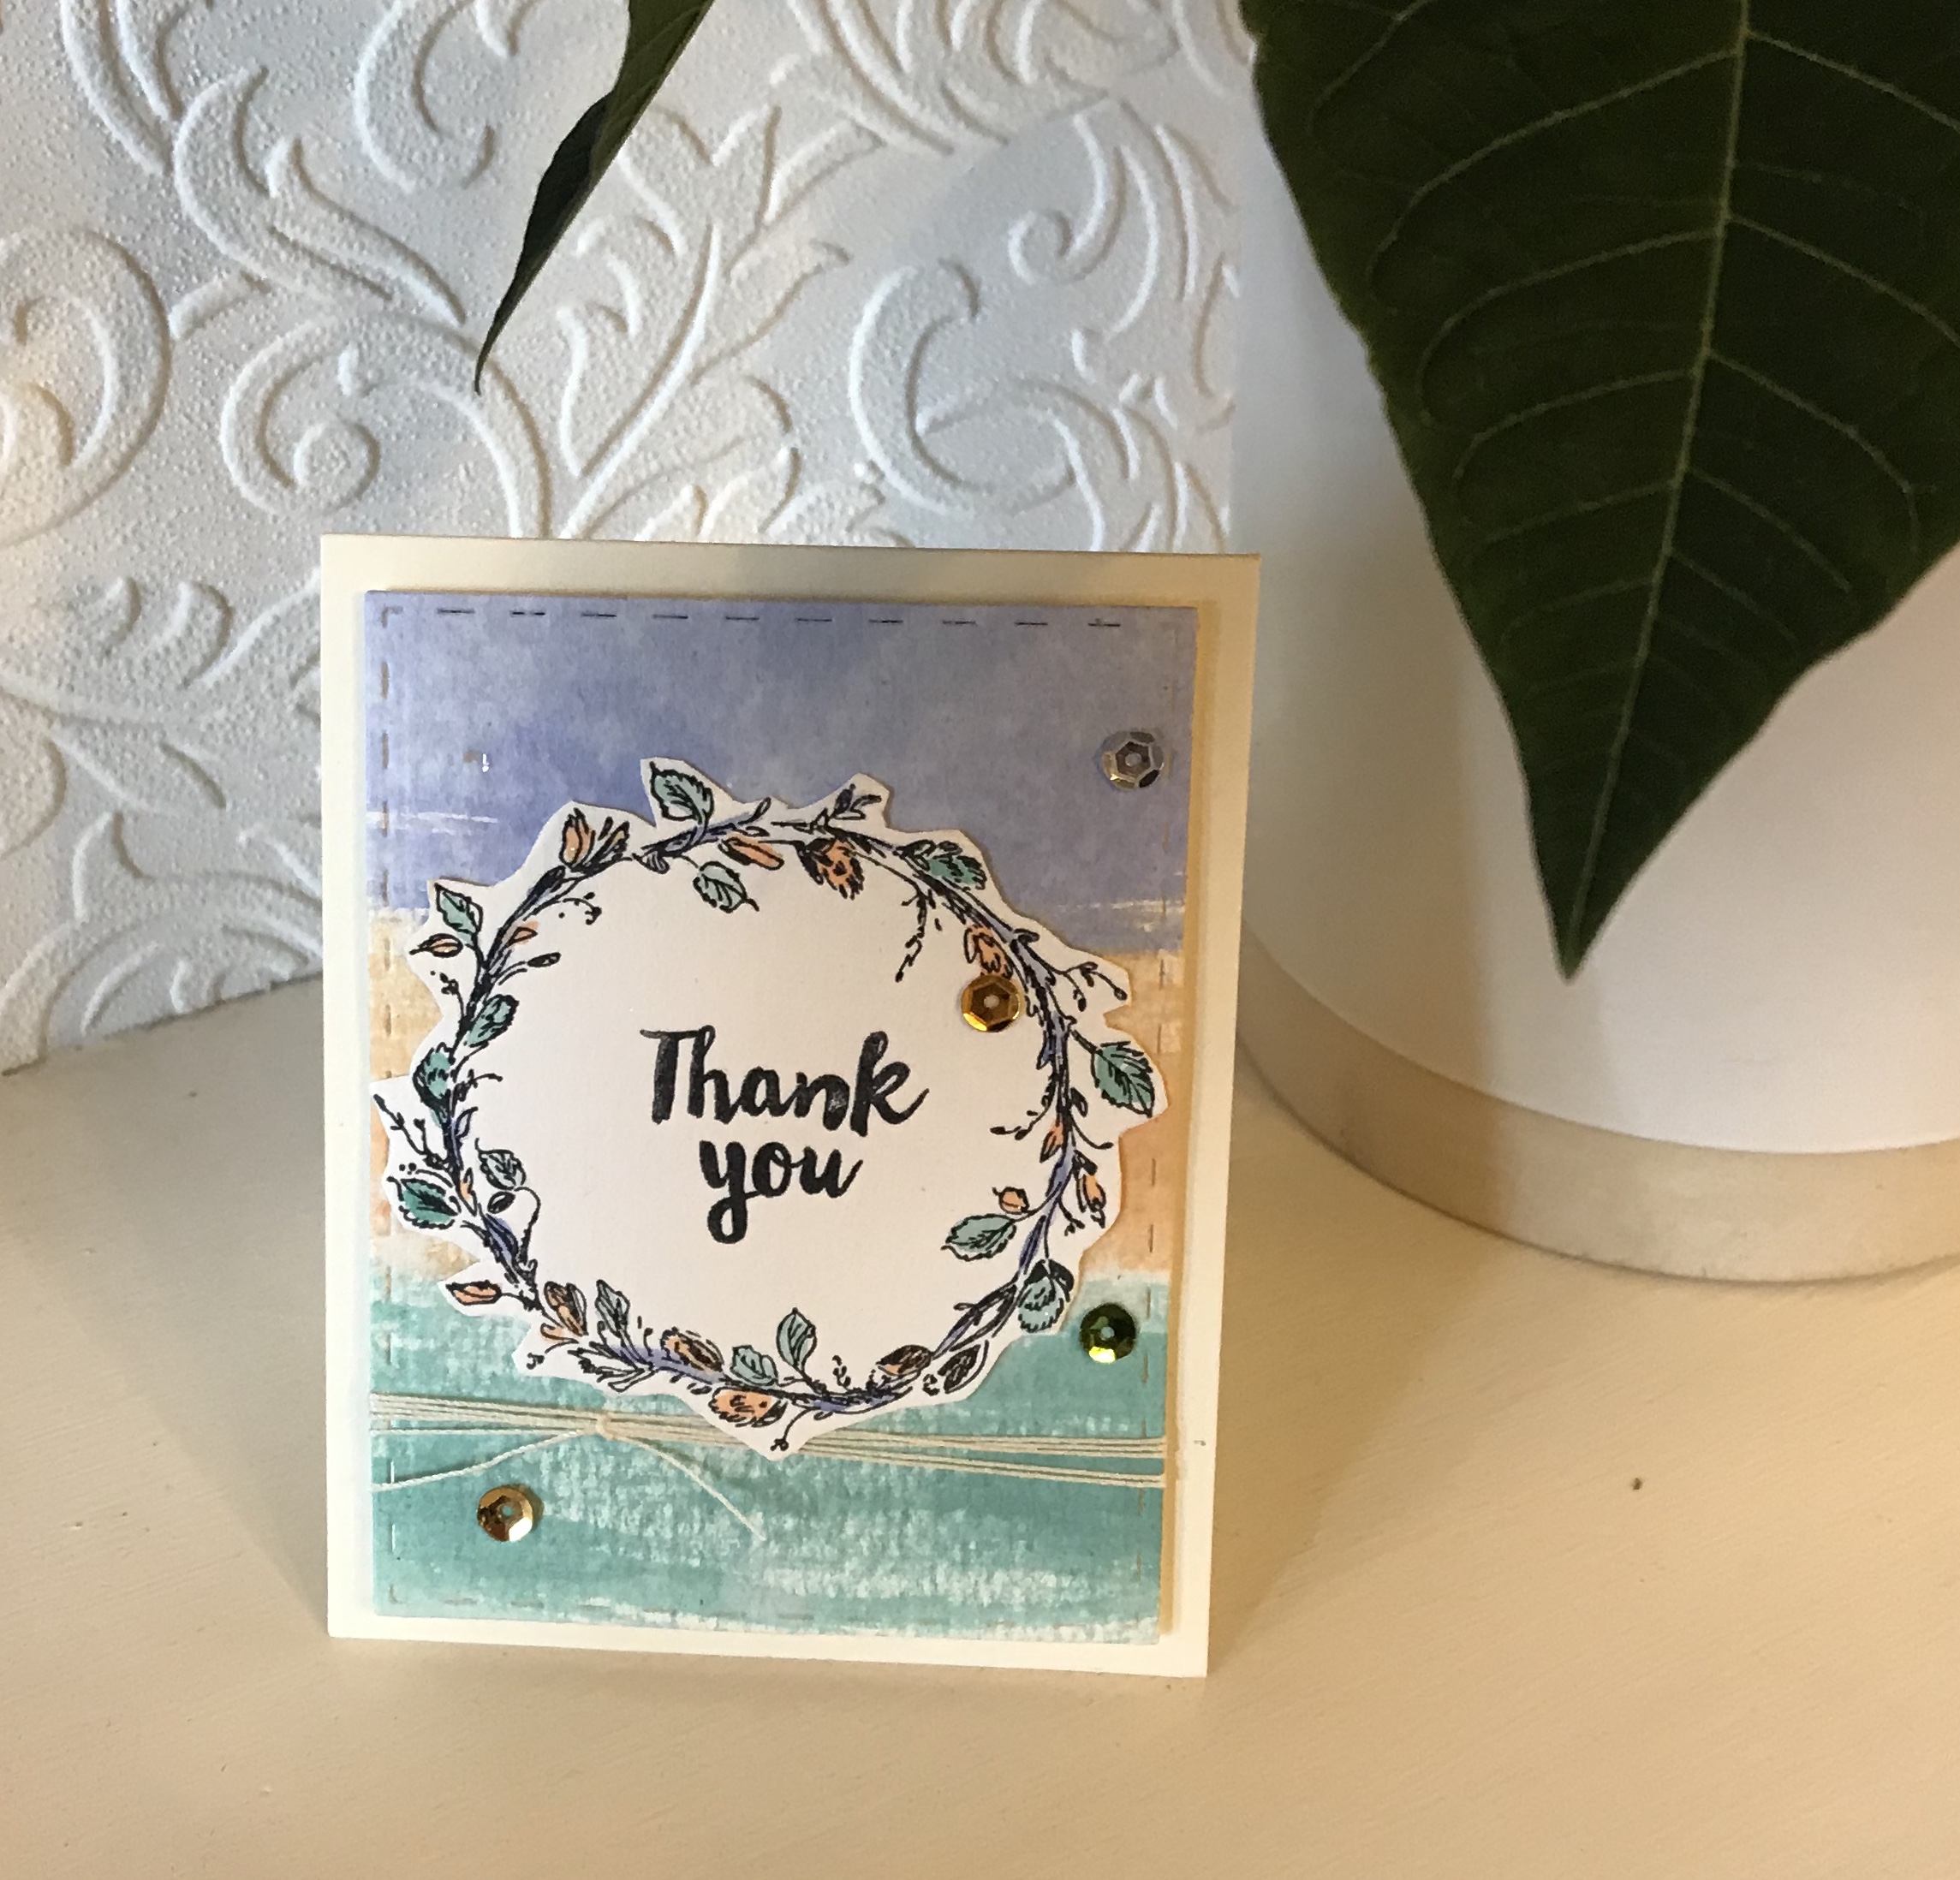
More card casing


this time from Joanna Sheen cardmaking collection…

The shadows are achieved by masking and effects by pulling up the ink with water – useful practice.

I thought I would be using the die and stamp set from this mag but got sidetracked by an article on blending distress oxides with the stencils that came in the kit. Here are my two ‘casing’ efforts.

10 cards to reduce the stockpile- a bit

I must i must decrease the stockpile and here are 10 cards to make a start

i have already used the craftwork cards antiqued set and accessories quite a bit but these are very generous kits

Three cards on craft card blanks . 

two use tags from the kit and one layered die cuts . I die cut the sentiment twice to make a drop shadow

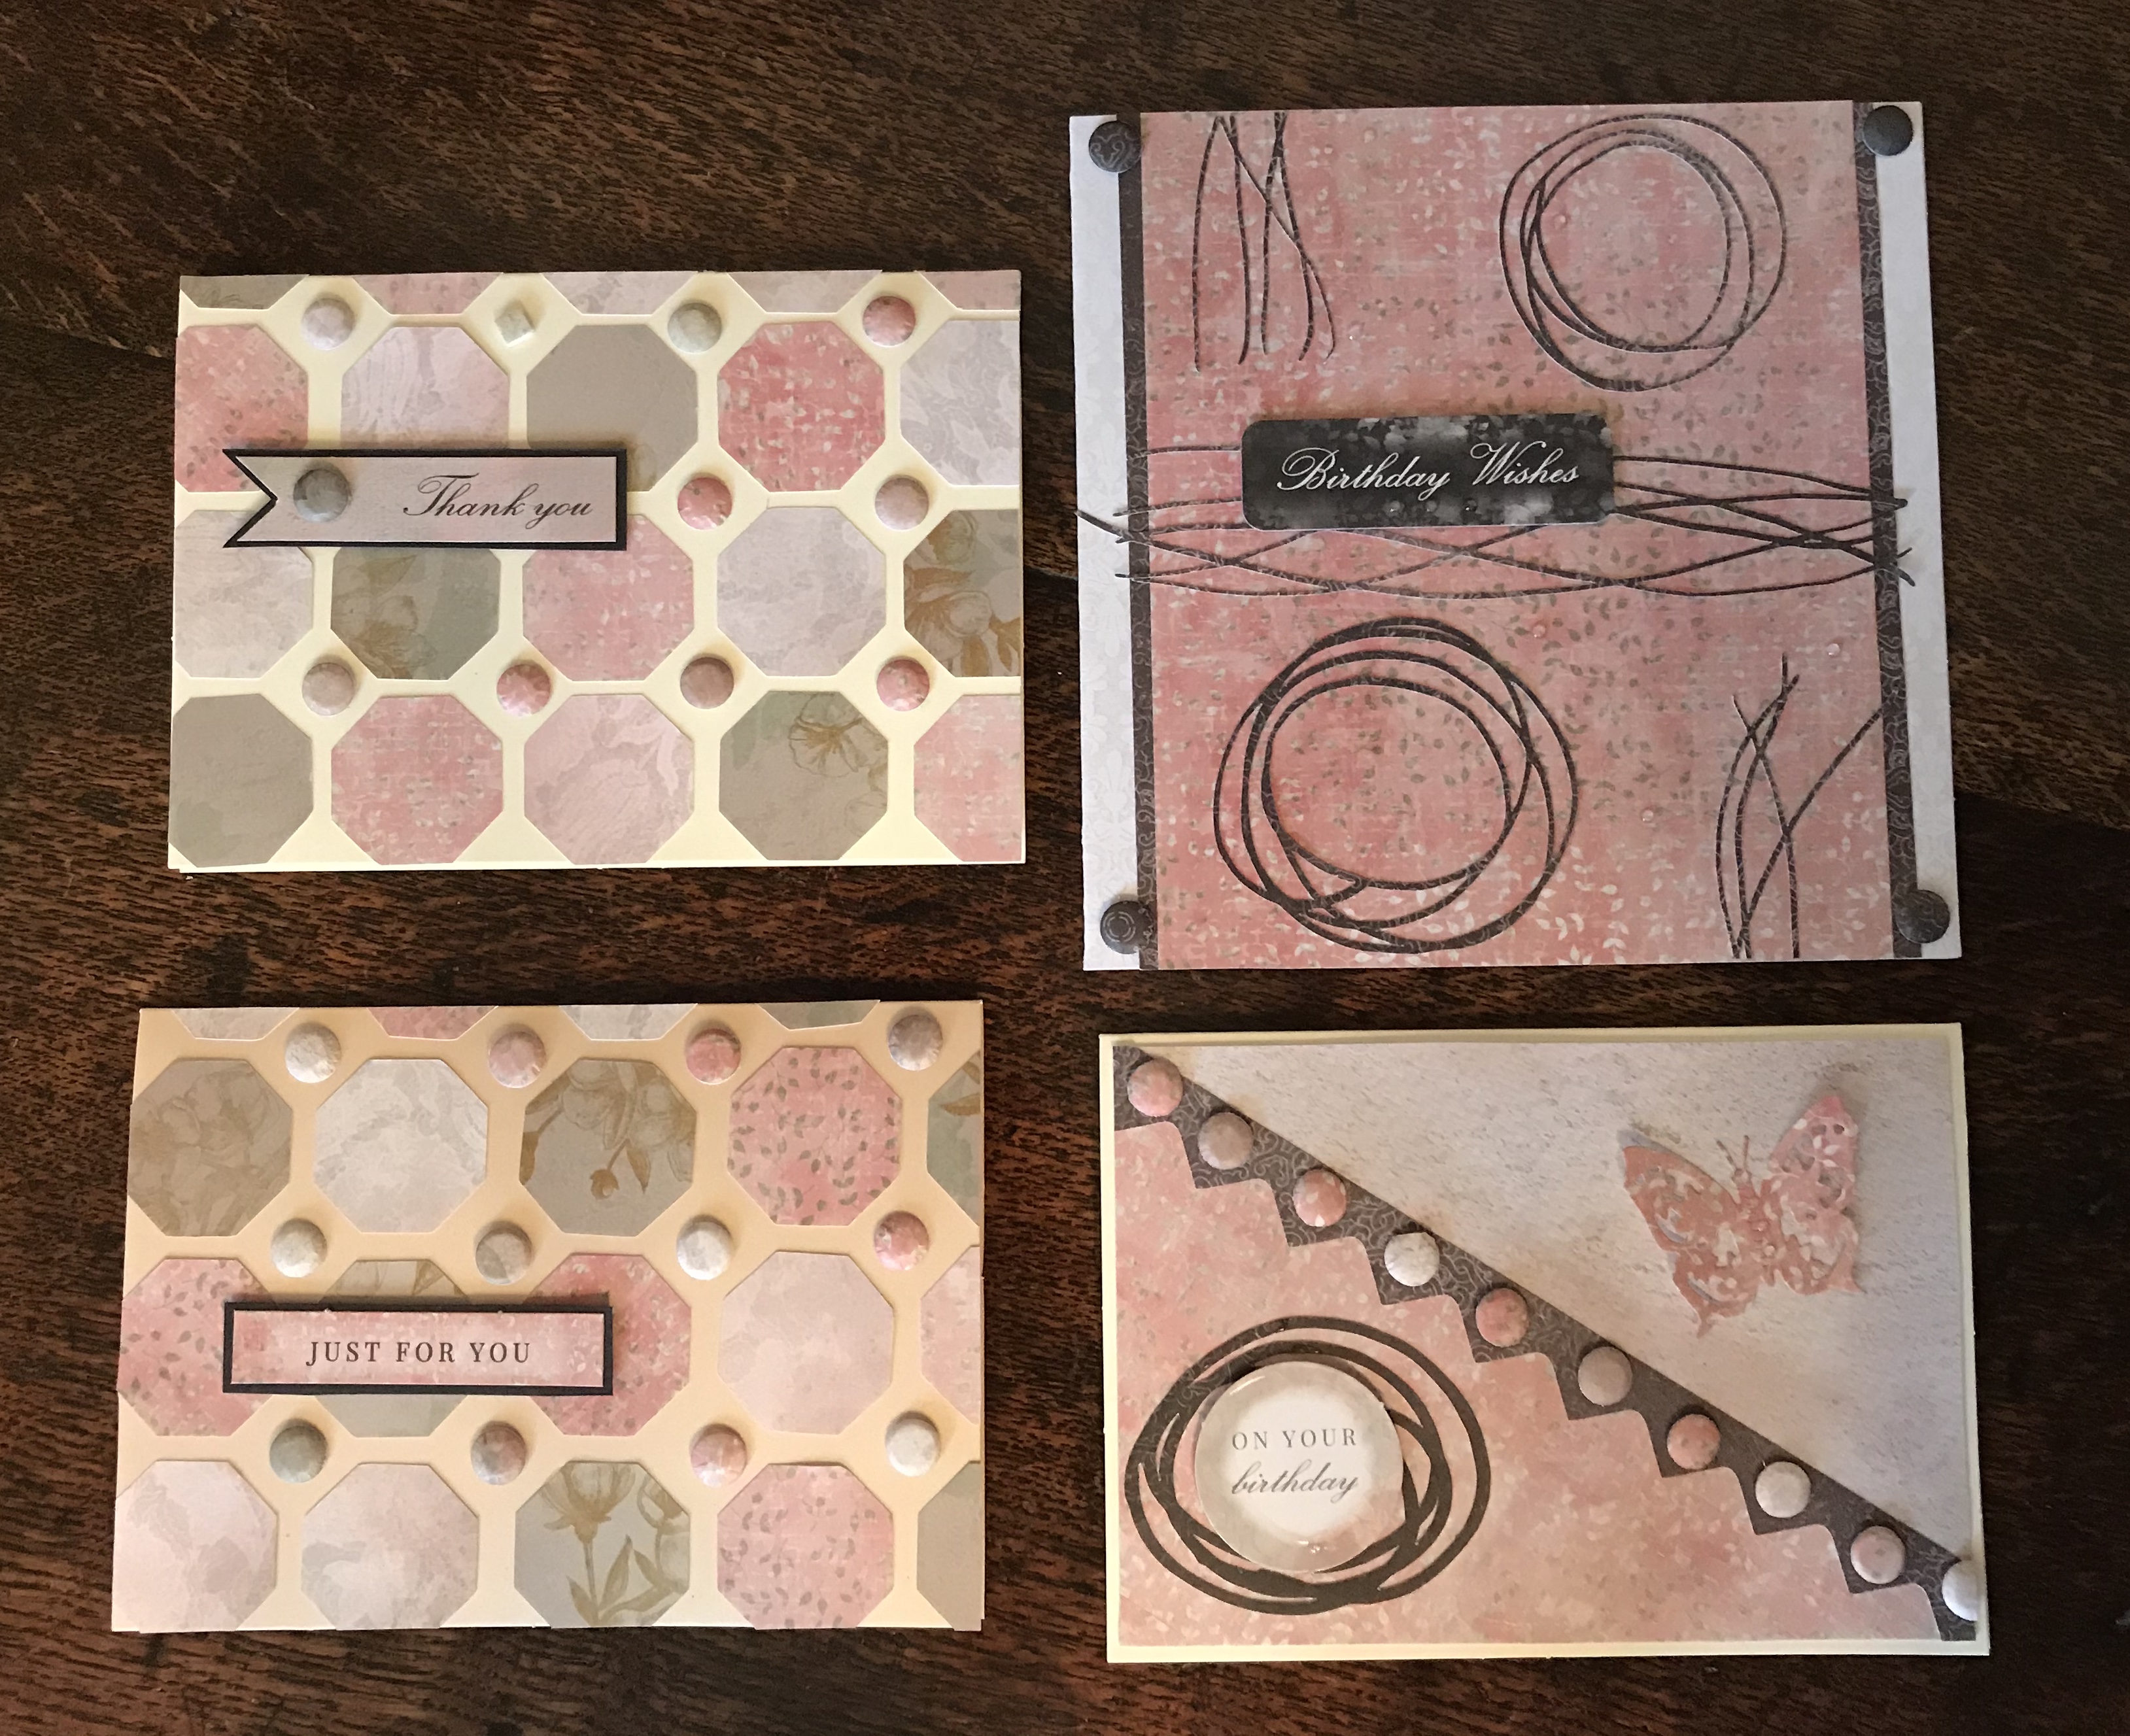
Scan n cut put to use here here with the octagon layout and a free svg of some doodles for contrast

tip for next time, octagons don’t tessellate or mosaic togetherlike hexagons would, but here studding with the Candi worked out fine

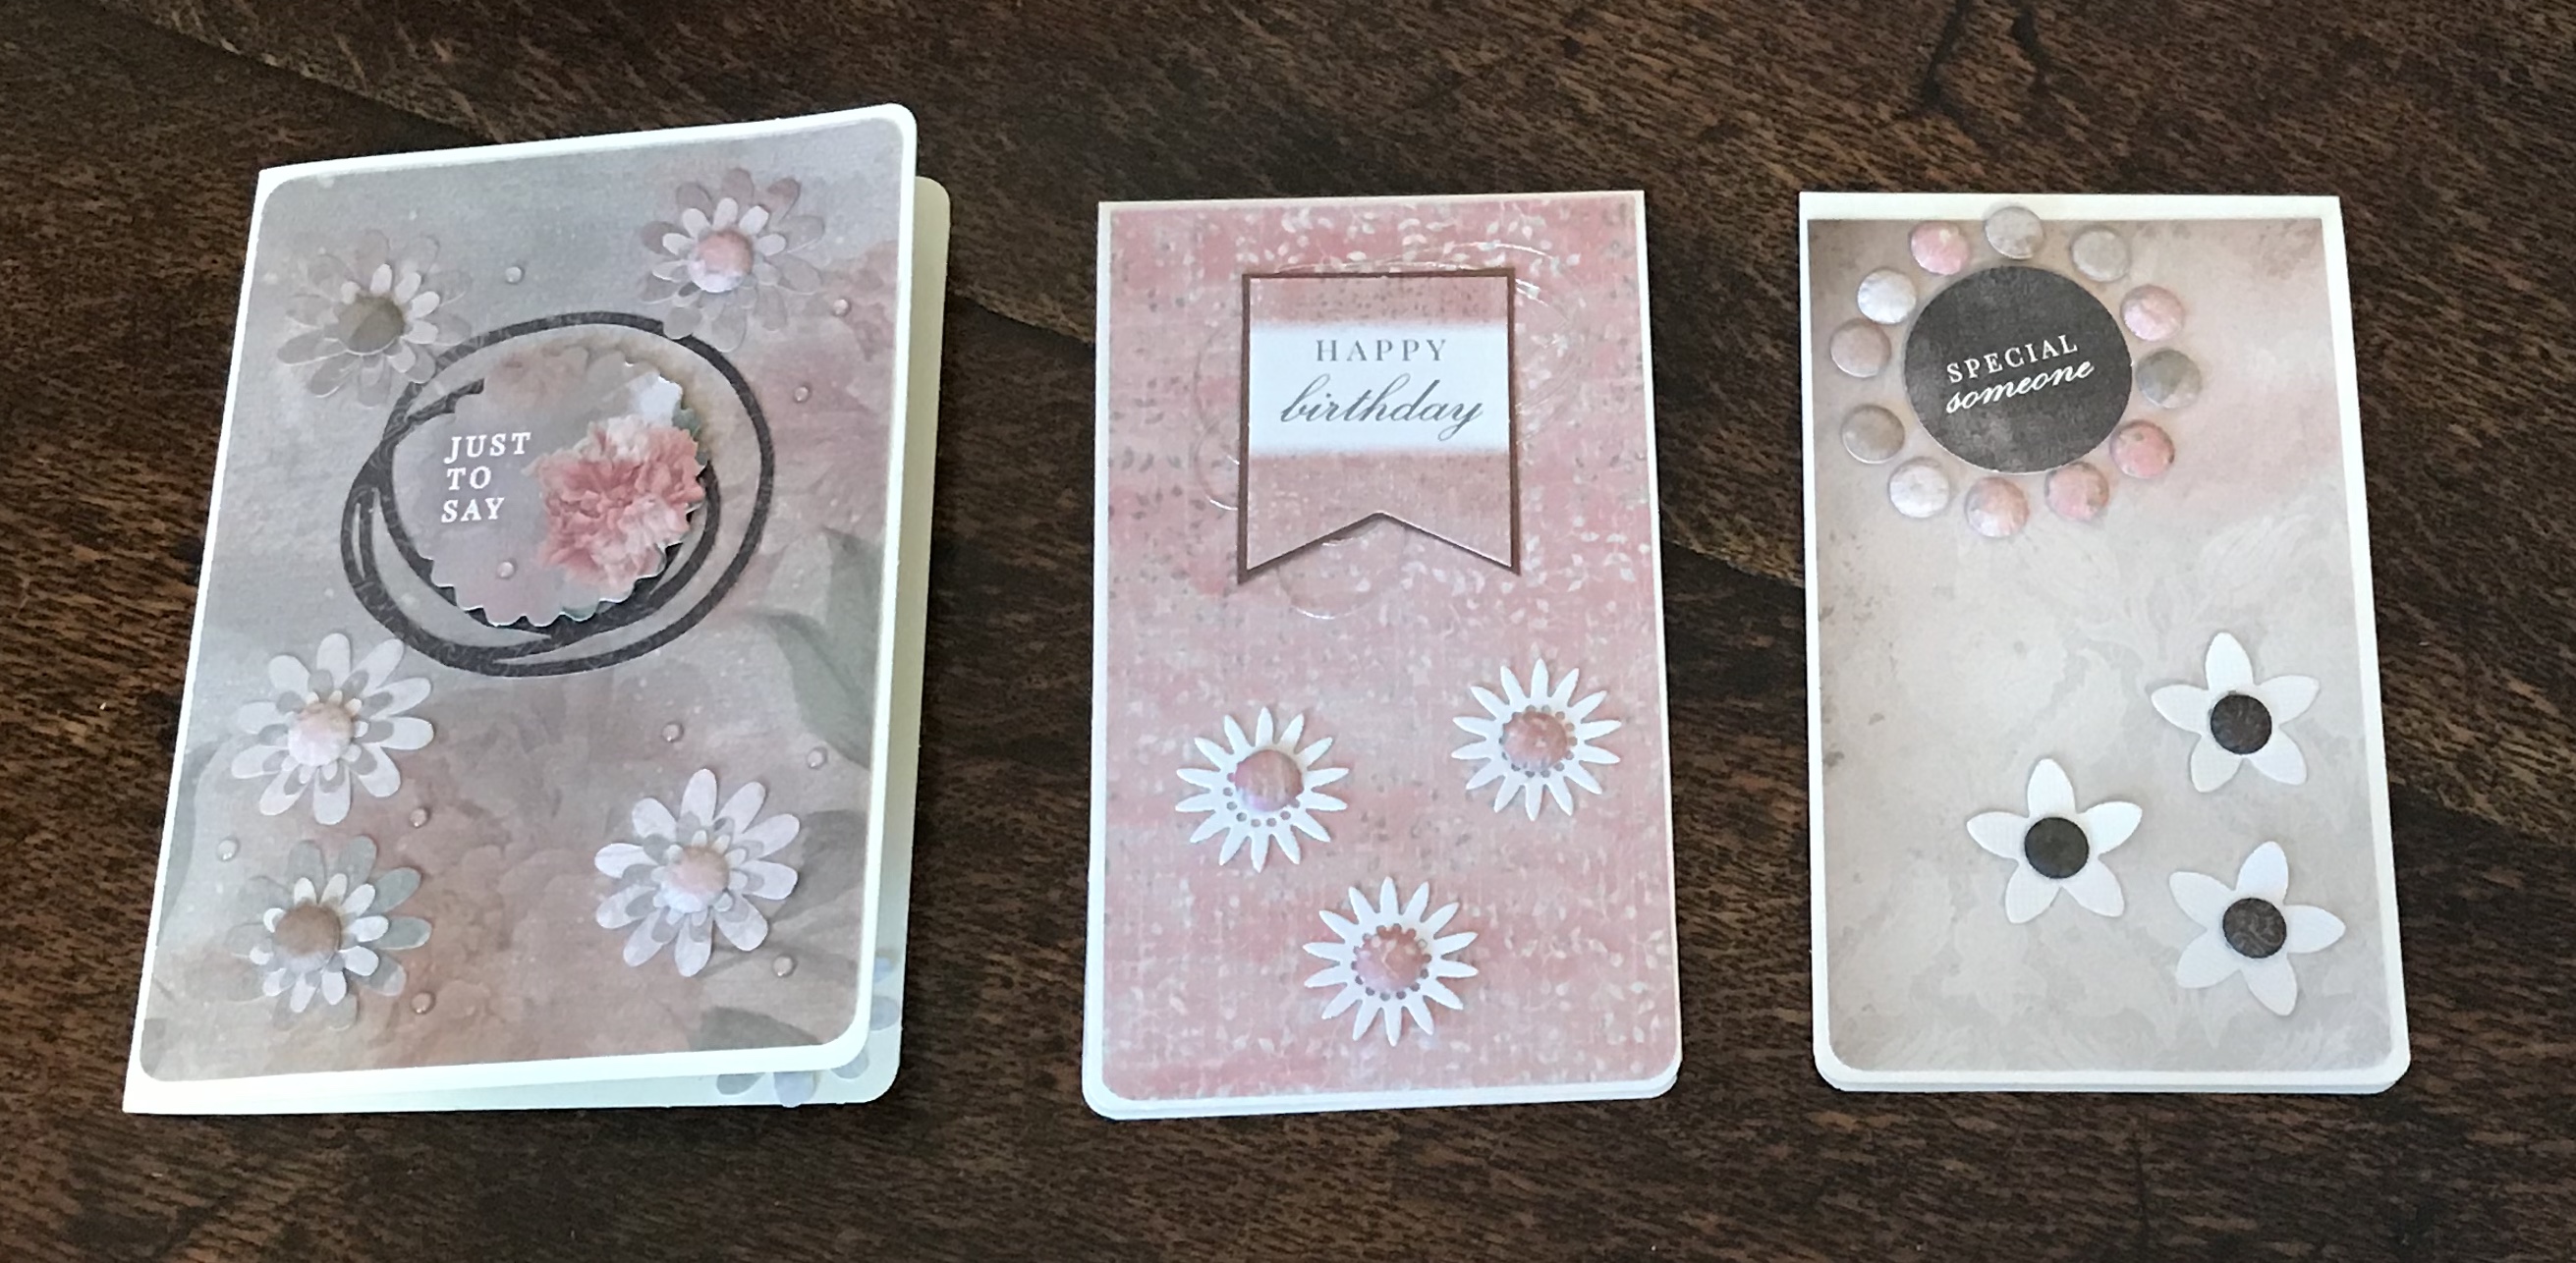
And using up my die cut flowers …

ten simple cards done in one afternoon but there are still 21 untouched pages of paper in the kit. So much paper left to play with.

quick cut cards

Precisely cut cards using my stash of lovely papers

The ‘hello’ card was made with 7 equal squares and one double size from assorted papers with little motifs from the scan n cut library to embellish them. The card base was dry embossed at half inch intervals and then the panels mounted on fun foam and then adhered in place.

I found it easiest to position the small corner pieces first , then the large piece and then centring the remaining pieces afterwards. The embossing helped with alignment

For the baby card I used the Docrafts papermania pastels craft collection paper. I covered the card base with the small hearts paper, stuck a strip of the large icons paper centrally over it and then cut words in different fonts from brown card for the greeting.

Inside I stuck two hearts and a footer strip from complementary papers from the pad – keeping towards the blue tones. To finish I brushed the greeting with Wink of Stella glitter.

Distress watercolour thank you

First steps in watercolour folloing a Crafts Beautiful outline determined to expand my techniques so used the freebies and copied a layout from the march issue …

I stamped the wreath and greeting with stazon on watercolour paper then cut an A2 panel of the same watercolour paper. I dug out three colour of distress inks and tapped each on an acrylic block to use as a palette) . I misted the paper and the block with water then brushed bands of ink across the paper using the largest brush I had in the craft room. I then cut the panel with one of my stitched rectangle dies, tied some jute coloured thread around, mounted it in fun foam and stuck that to an A2 card base.

I fussy cut the wreath, water coloured the design using the same three distress inks ( I don’t have a water brush so used an ancient wink of Stella to pick up the ink remnants from the acrylic block) . I stuck that on the panel and added a few sequins in the same colour range for finish

inside the card is blank

Stitched and embossed cards

01DD108B-3A2A-4B55-9697-B7916EC6AE81

Back in love with individual card making…

I cut feather shapes on my scan n cut, mixing scraps from various paper collections focussing on green, brown and blue.

I dry embossed my panel of card at half inch intervals on a score board then stitched on the feathers in columns.

I used a neutral cotton and an old needle which is kept for paper stitching but didn’t need a special foot or stitch settings.

3E4C49C0-F9FE-46ED-B461-B099CF71EB68

The panel was stuck on a base made from matching pearlised card and a few sequins adhered

Inside a lone feather was glued in place on a plain paper insert and outside a few dots of gold Stickles finished it off.


Stash buster card making

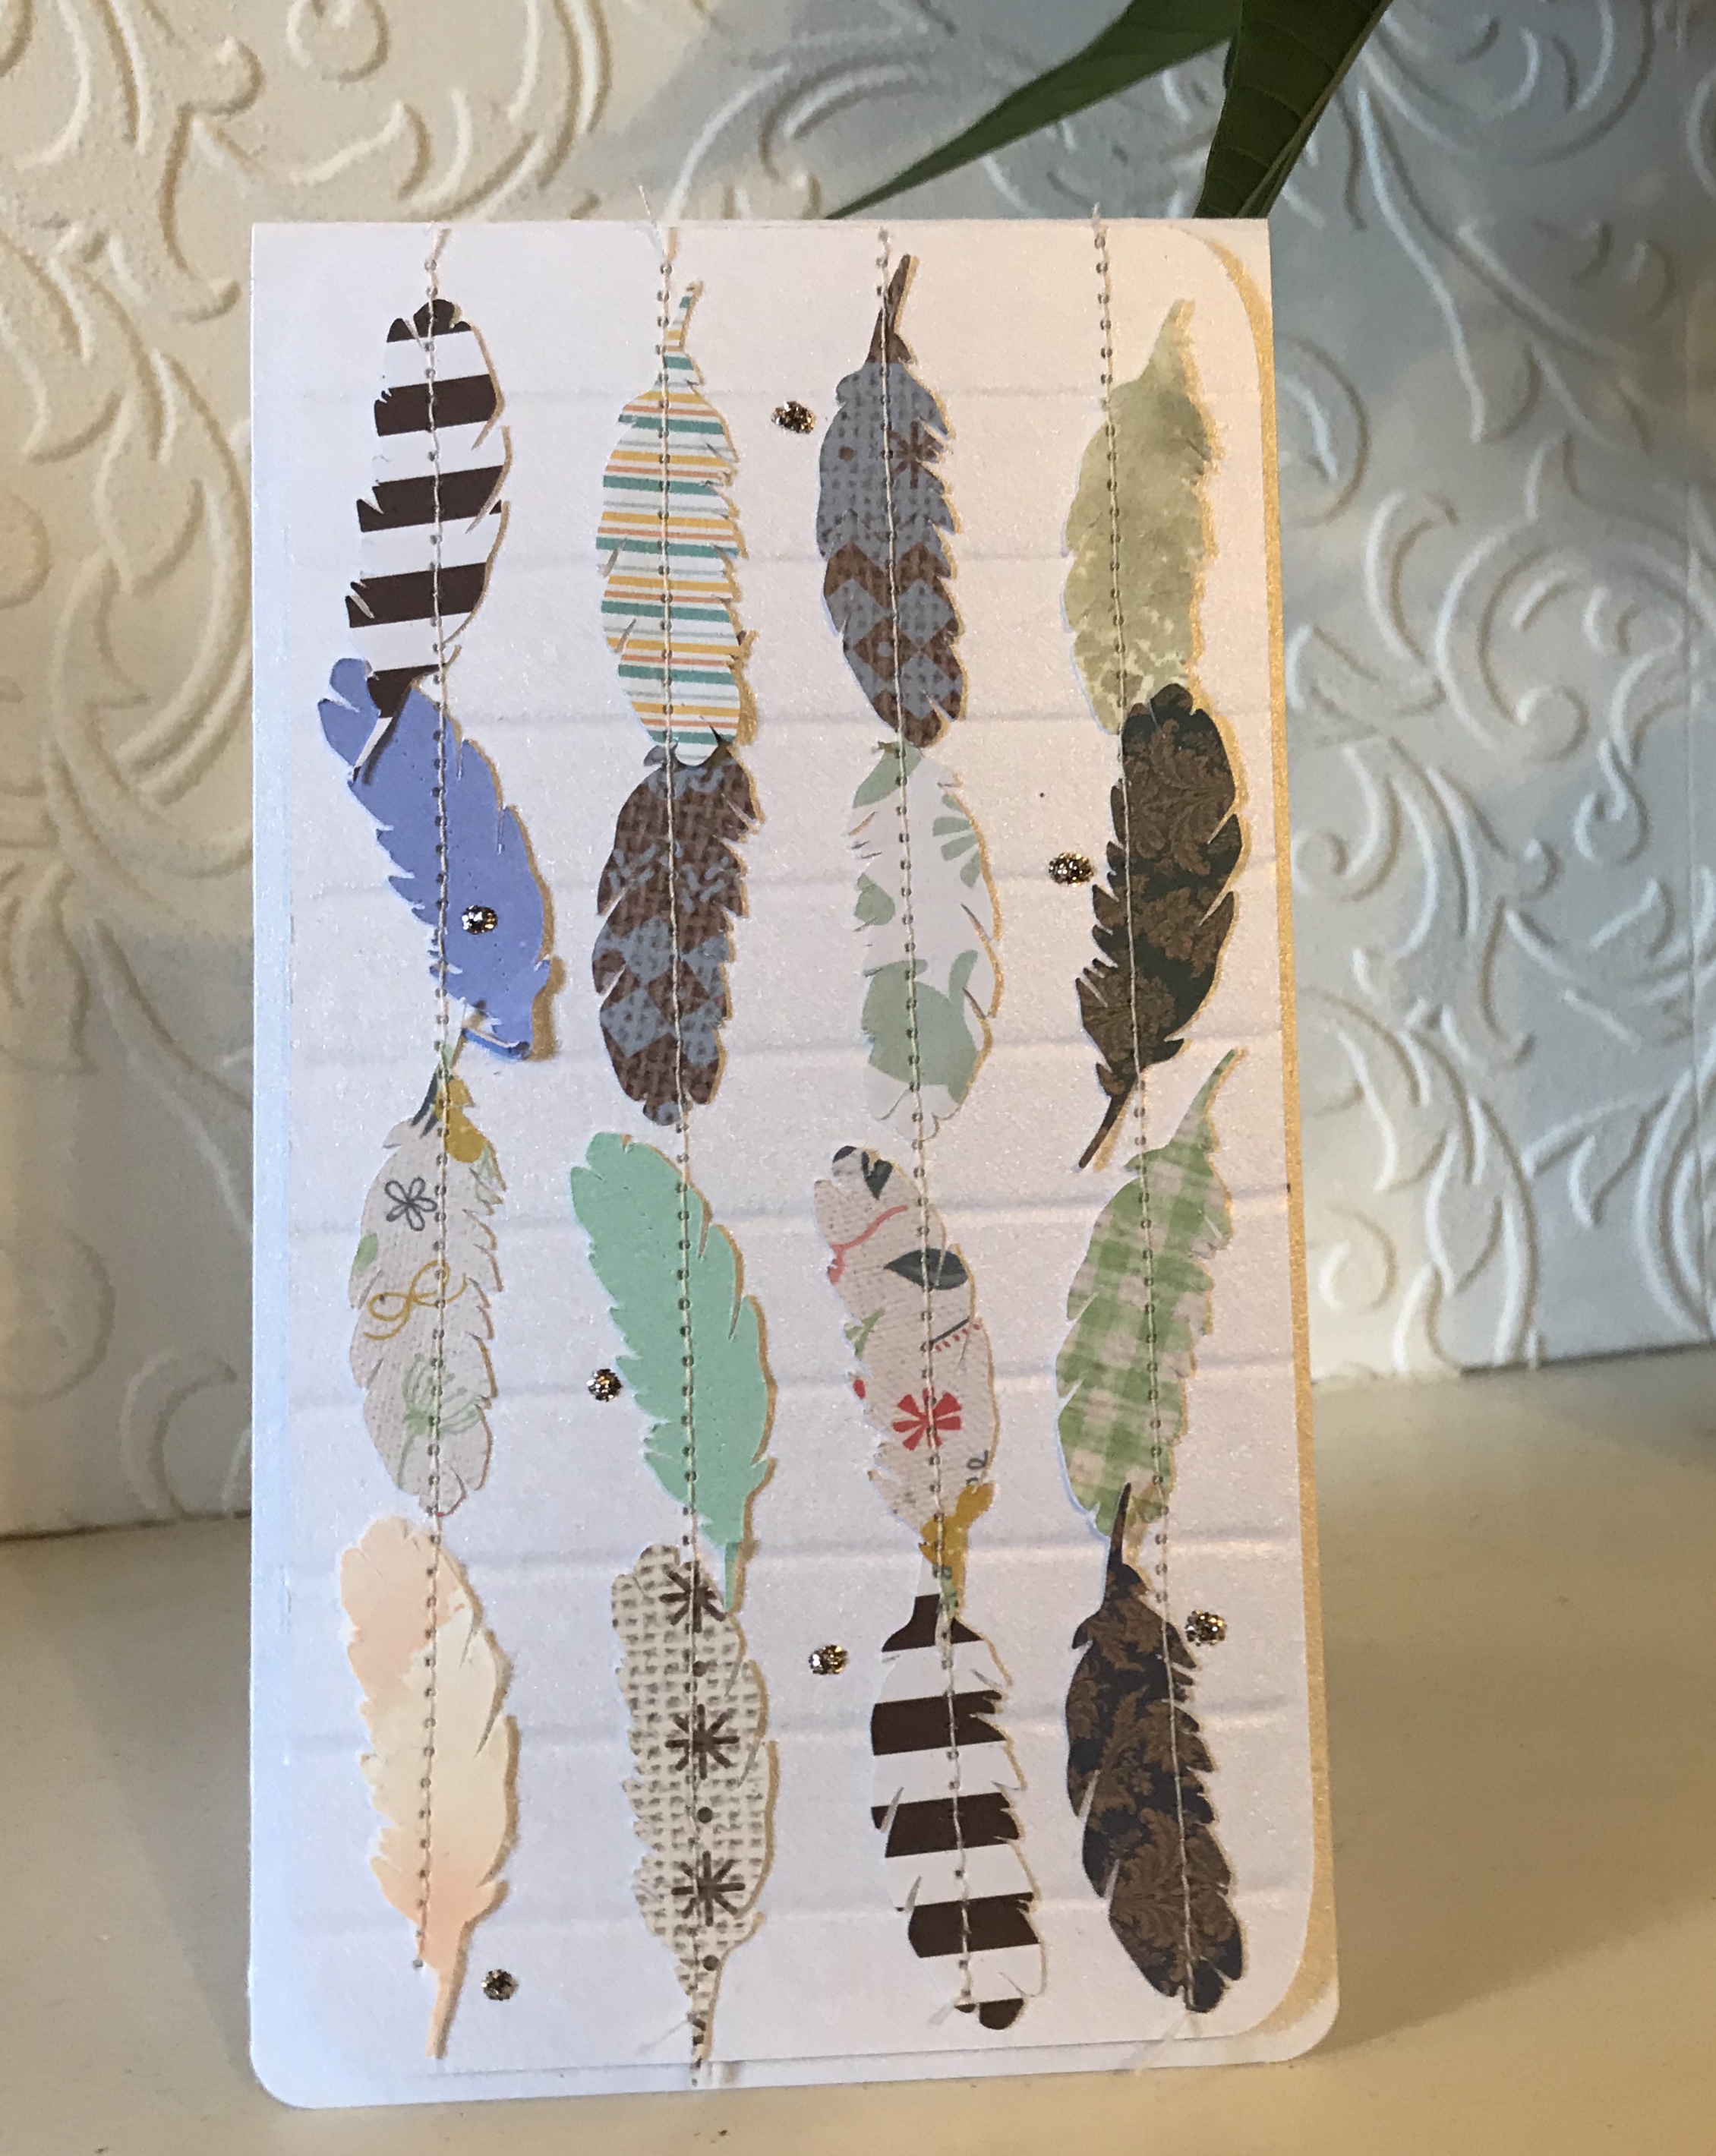
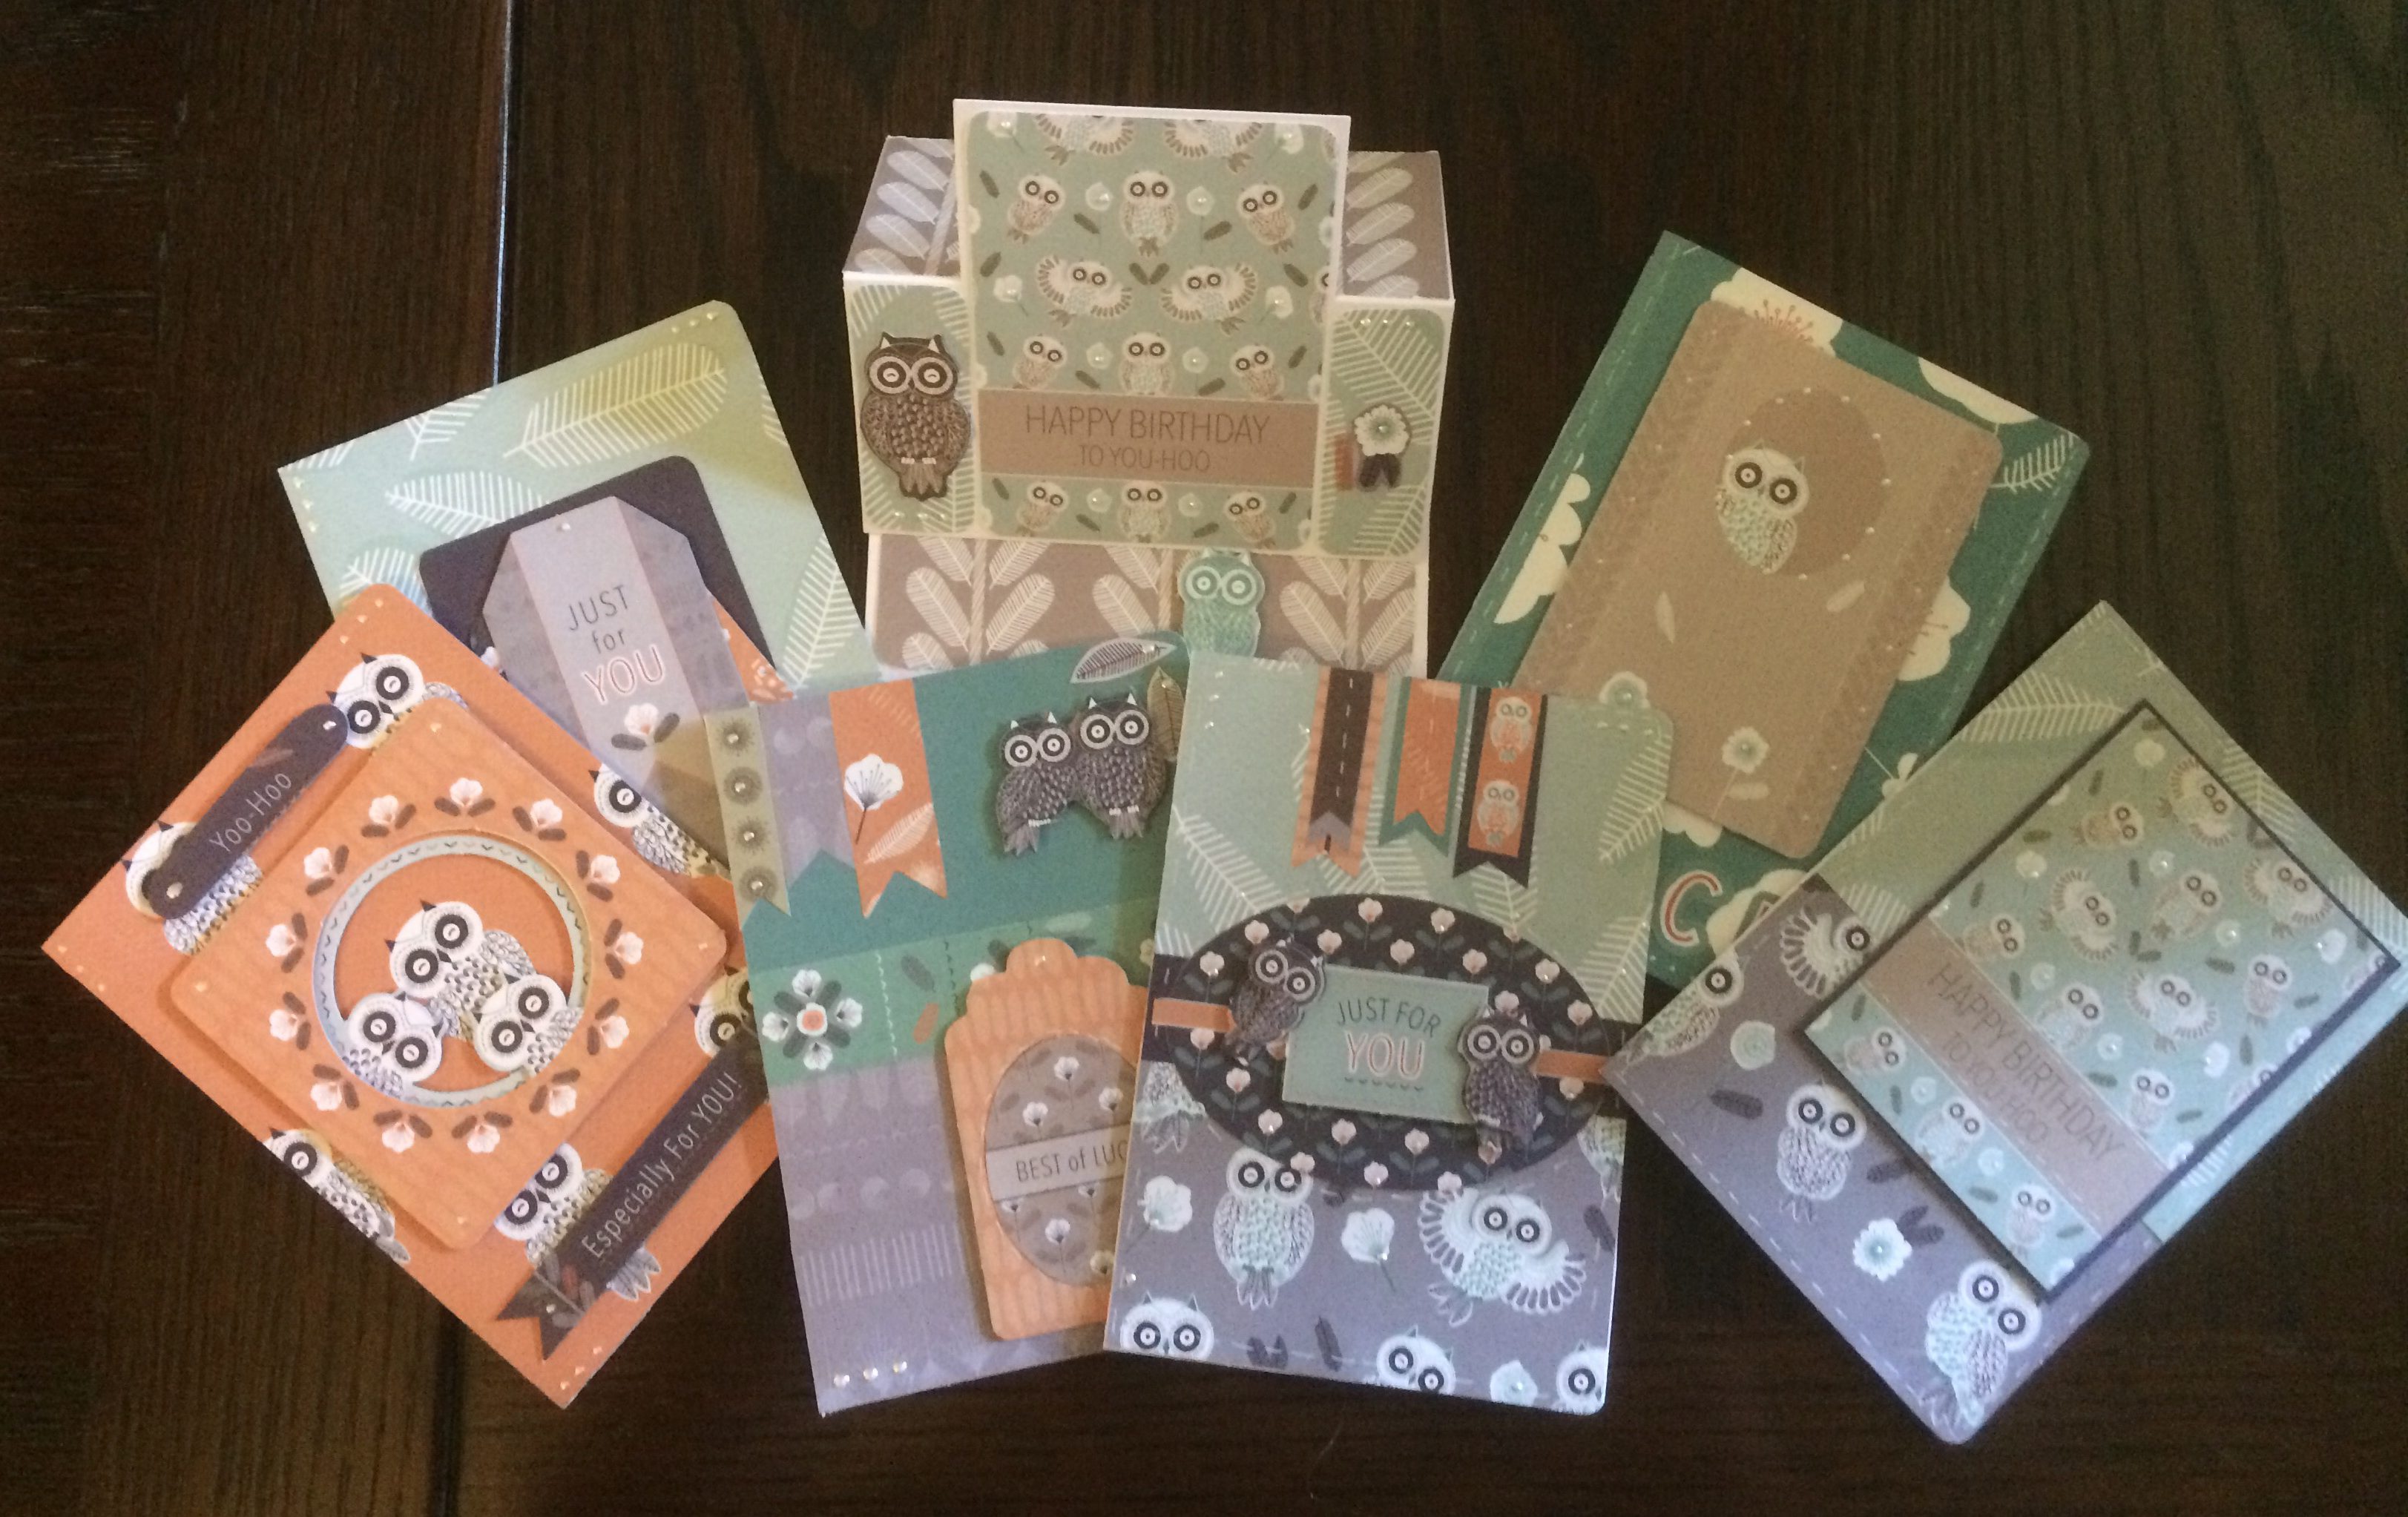
My holiday crafting project: to use up some of my die cut and paper packs….

15 cards, 6 gift card holders put into three presentation boxes ( with a few cards for my use) but there is still soooo much left over that I can’t see myself ever needing  to buy another pack.

I do like the colours of this do-crafts owl folk paper set but I must have made more than 30 cards already from the ultimate pack I bought – in the sale of course- so won’t mind when I use it up.

This time I tried new layouts with banners, flags and layering

And rather than stamping a sentiment inside just decorated an insert sheet with some strips or little die cuts

And the boxes were pizza box style from a sheet of A4 card that was just big enough but needed to be closed with a belly band cut from the paper kit to remind me what is inside each box.