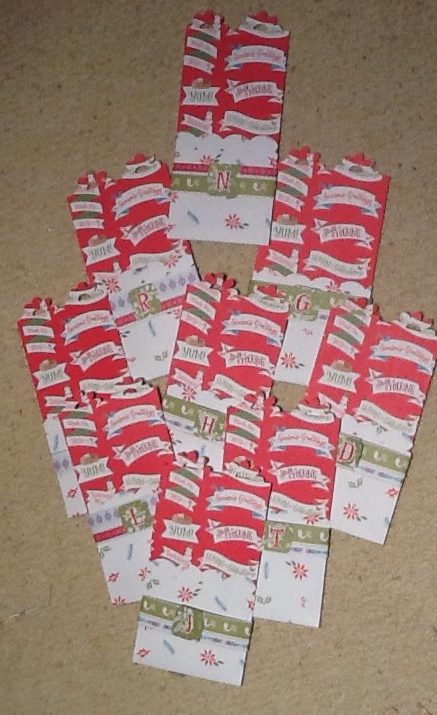
The card list is shrinking as people choose not to send and receive cards… but I keep making for those we don’t see and who aren’t into electronic messages.
Most are upcycled from last year’s received cards with the rest made with long held supplies. In this case cross stitch fabric. The goal is to use what I have!
Now to face up to the postage costs and get them off in the mail…
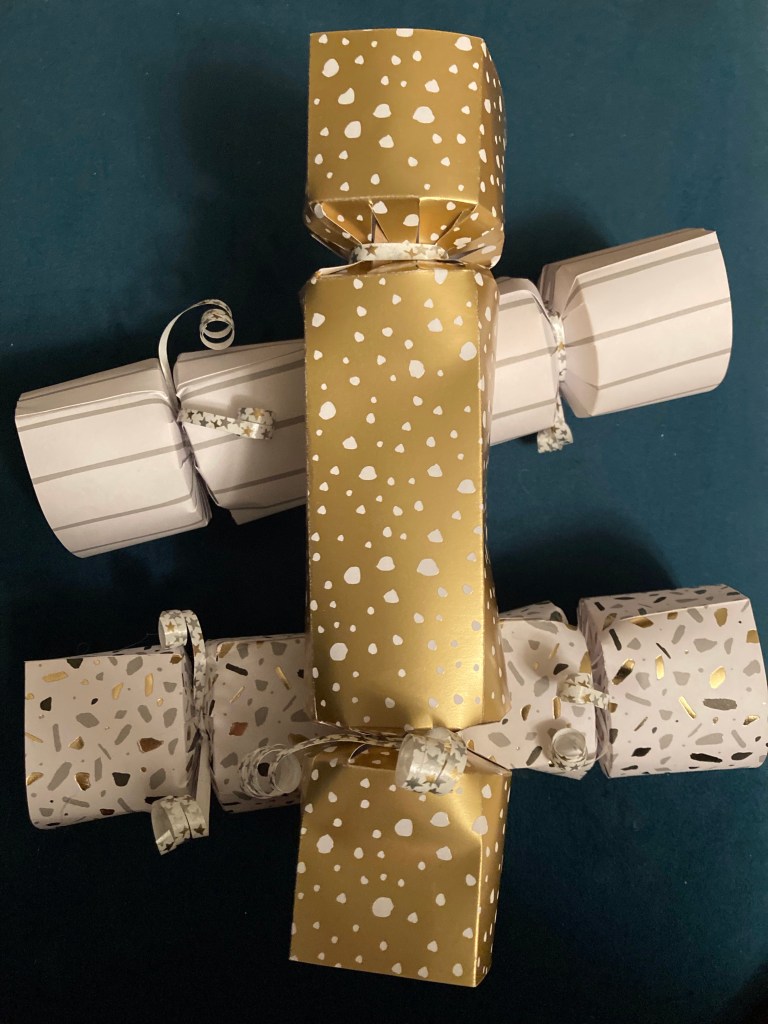
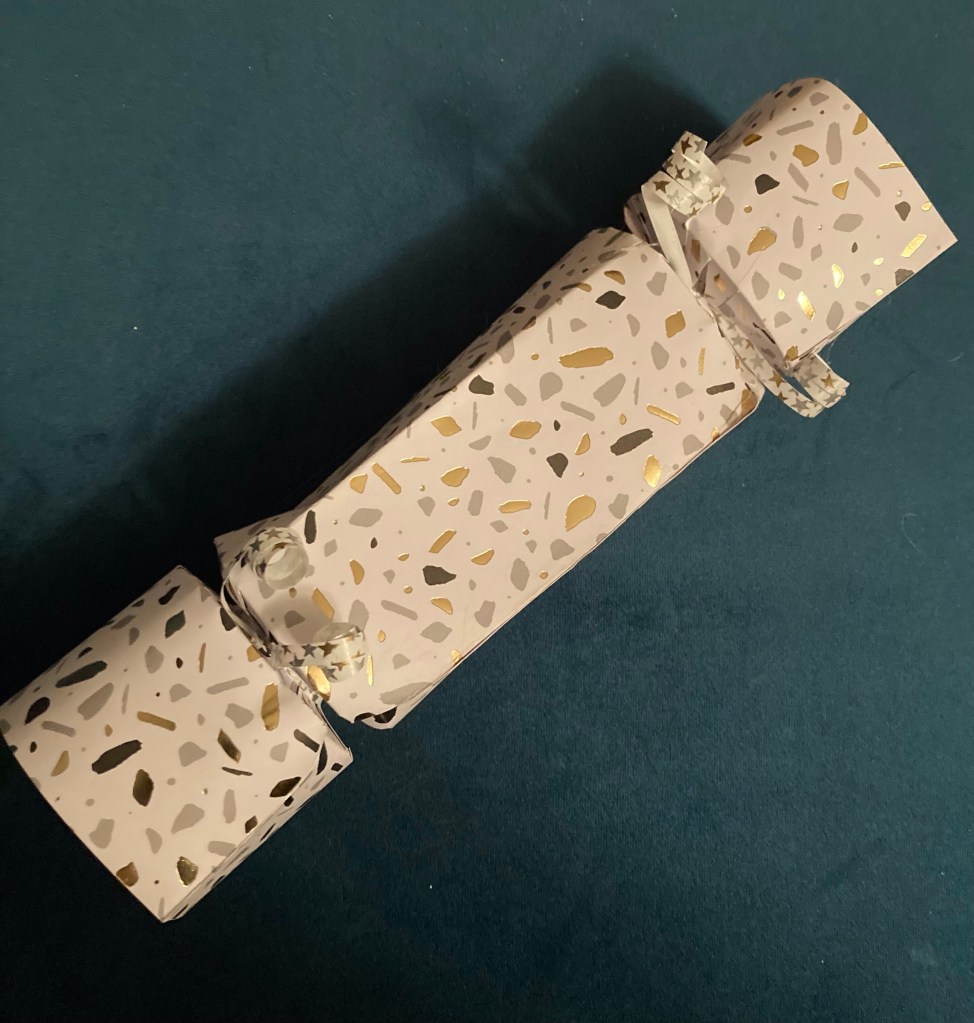
Traditionally for Christmas but great table decorations at any time of year, home made crackers will contain goodies right for your gathering and you won’t feel guilty about the plastic ‘gifts’ that go straight in the bin. Why not make Easter lunch special?
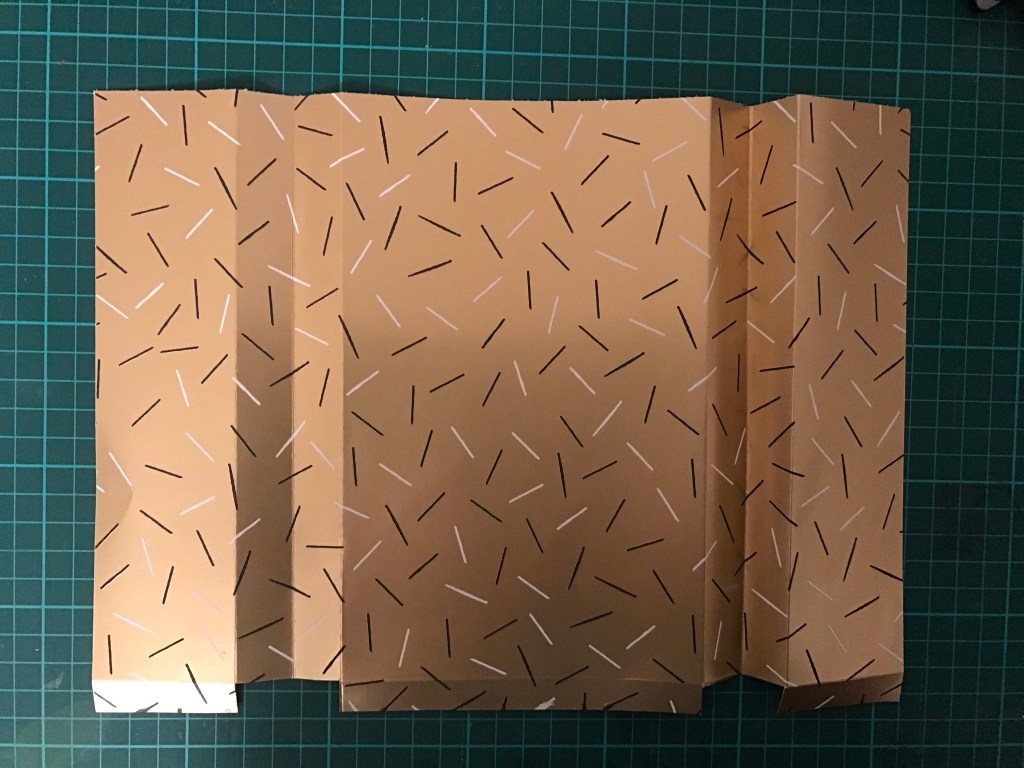
Easy to make I trimmed quality paper to 12” x 8.5” but standard A4 would work as well with a little tweaking.
For the round version, I scored at 2”,2.5” and 3” in from each side and also 0.5” at the bottom. For the rectangular barrel version I added three more width-way scores at 2.5”,4.5” and 6.5”
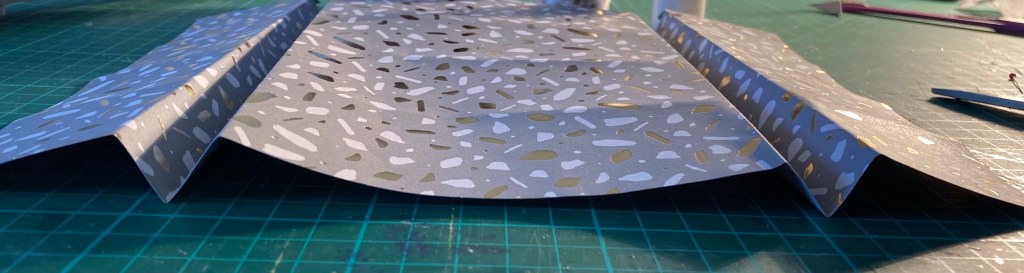
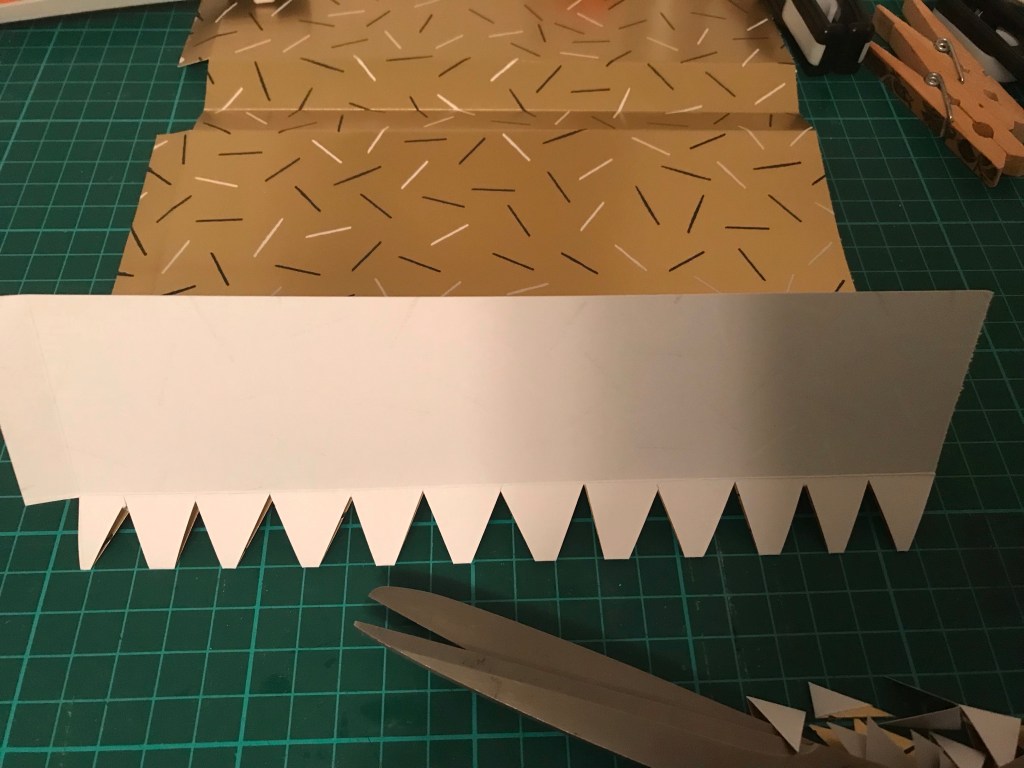
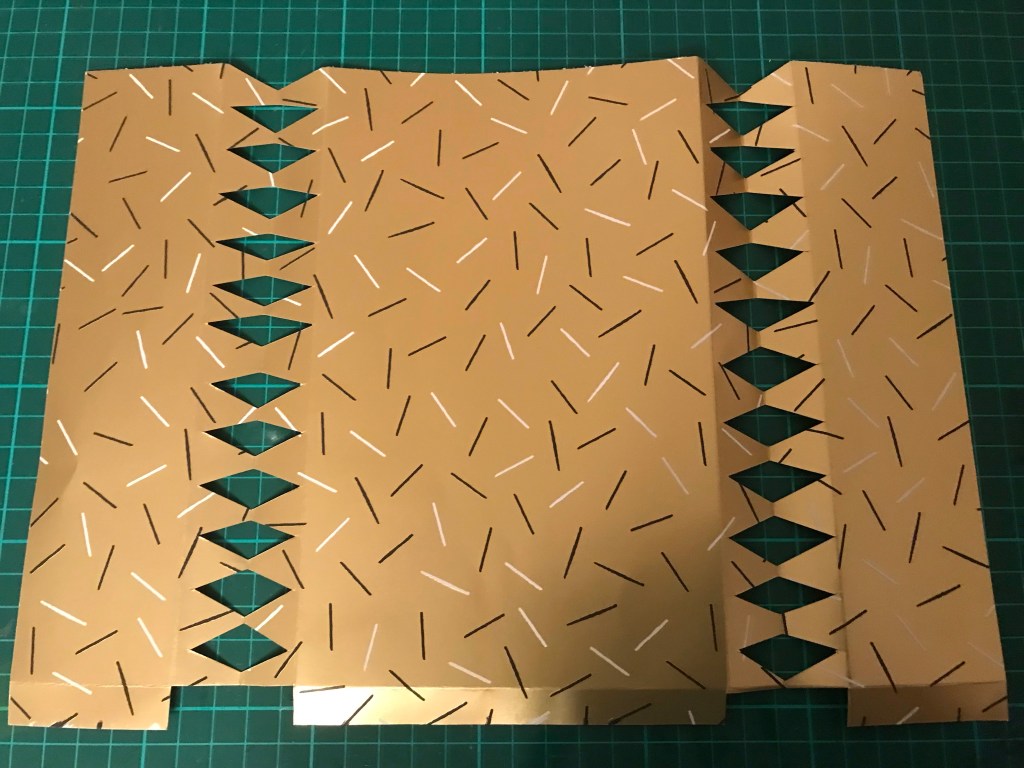
Fold the 2, 2.5 and 3” scores into a ‘w’ ie mountain, valley, mountain then clip out v shapes as shown.
Cut out the bit of the 0.5” score as shown, then tape the rest of it. Stick in a tube or fold and stick as a rectangle for the square version.
Then poke in a purchased snap if you want a ‘bang’. I tape the ends to the inside of the cracker as well. Finally slide in your goodies then tie string, ribbon or raffia around the concertina cut edges.
Ideas for contents: beauty samples, packets of seeds, miniature bottles, sweeties, memory sticks, rolled up money, printed messages, jokes, photos and of course a daft paper crown. I made mine on the scan and cut using the offcuts from the paper.
I love these little birdies given a tree gifts this year. Made from acrylic felt and a crafters companion Scandi bird die set they have been fun to make.
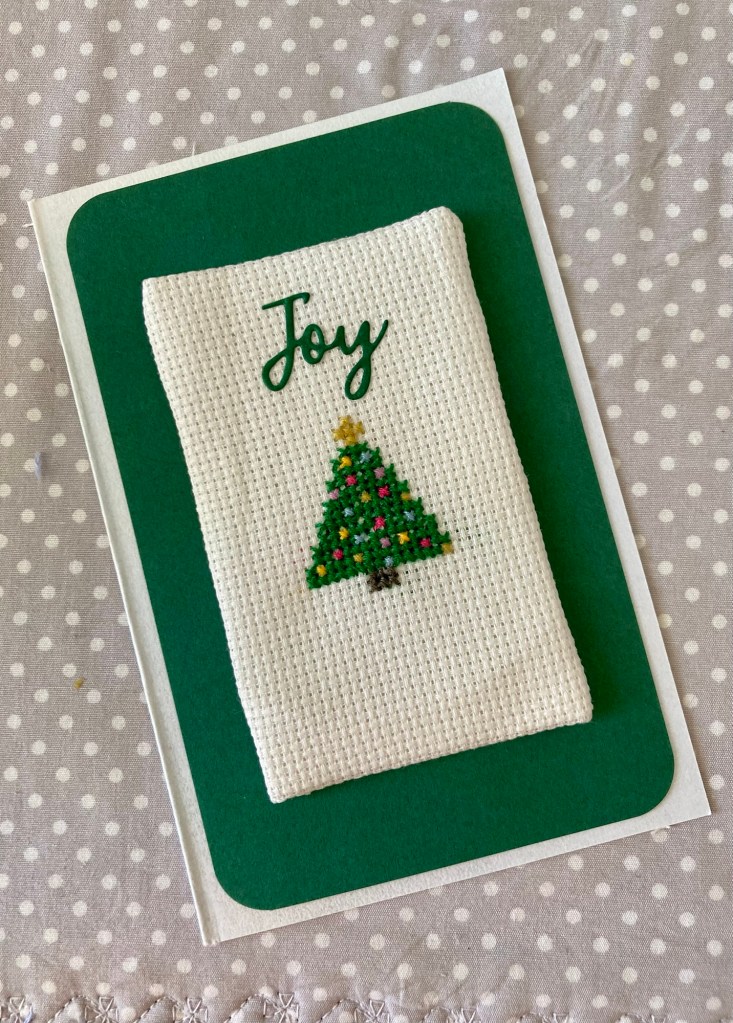
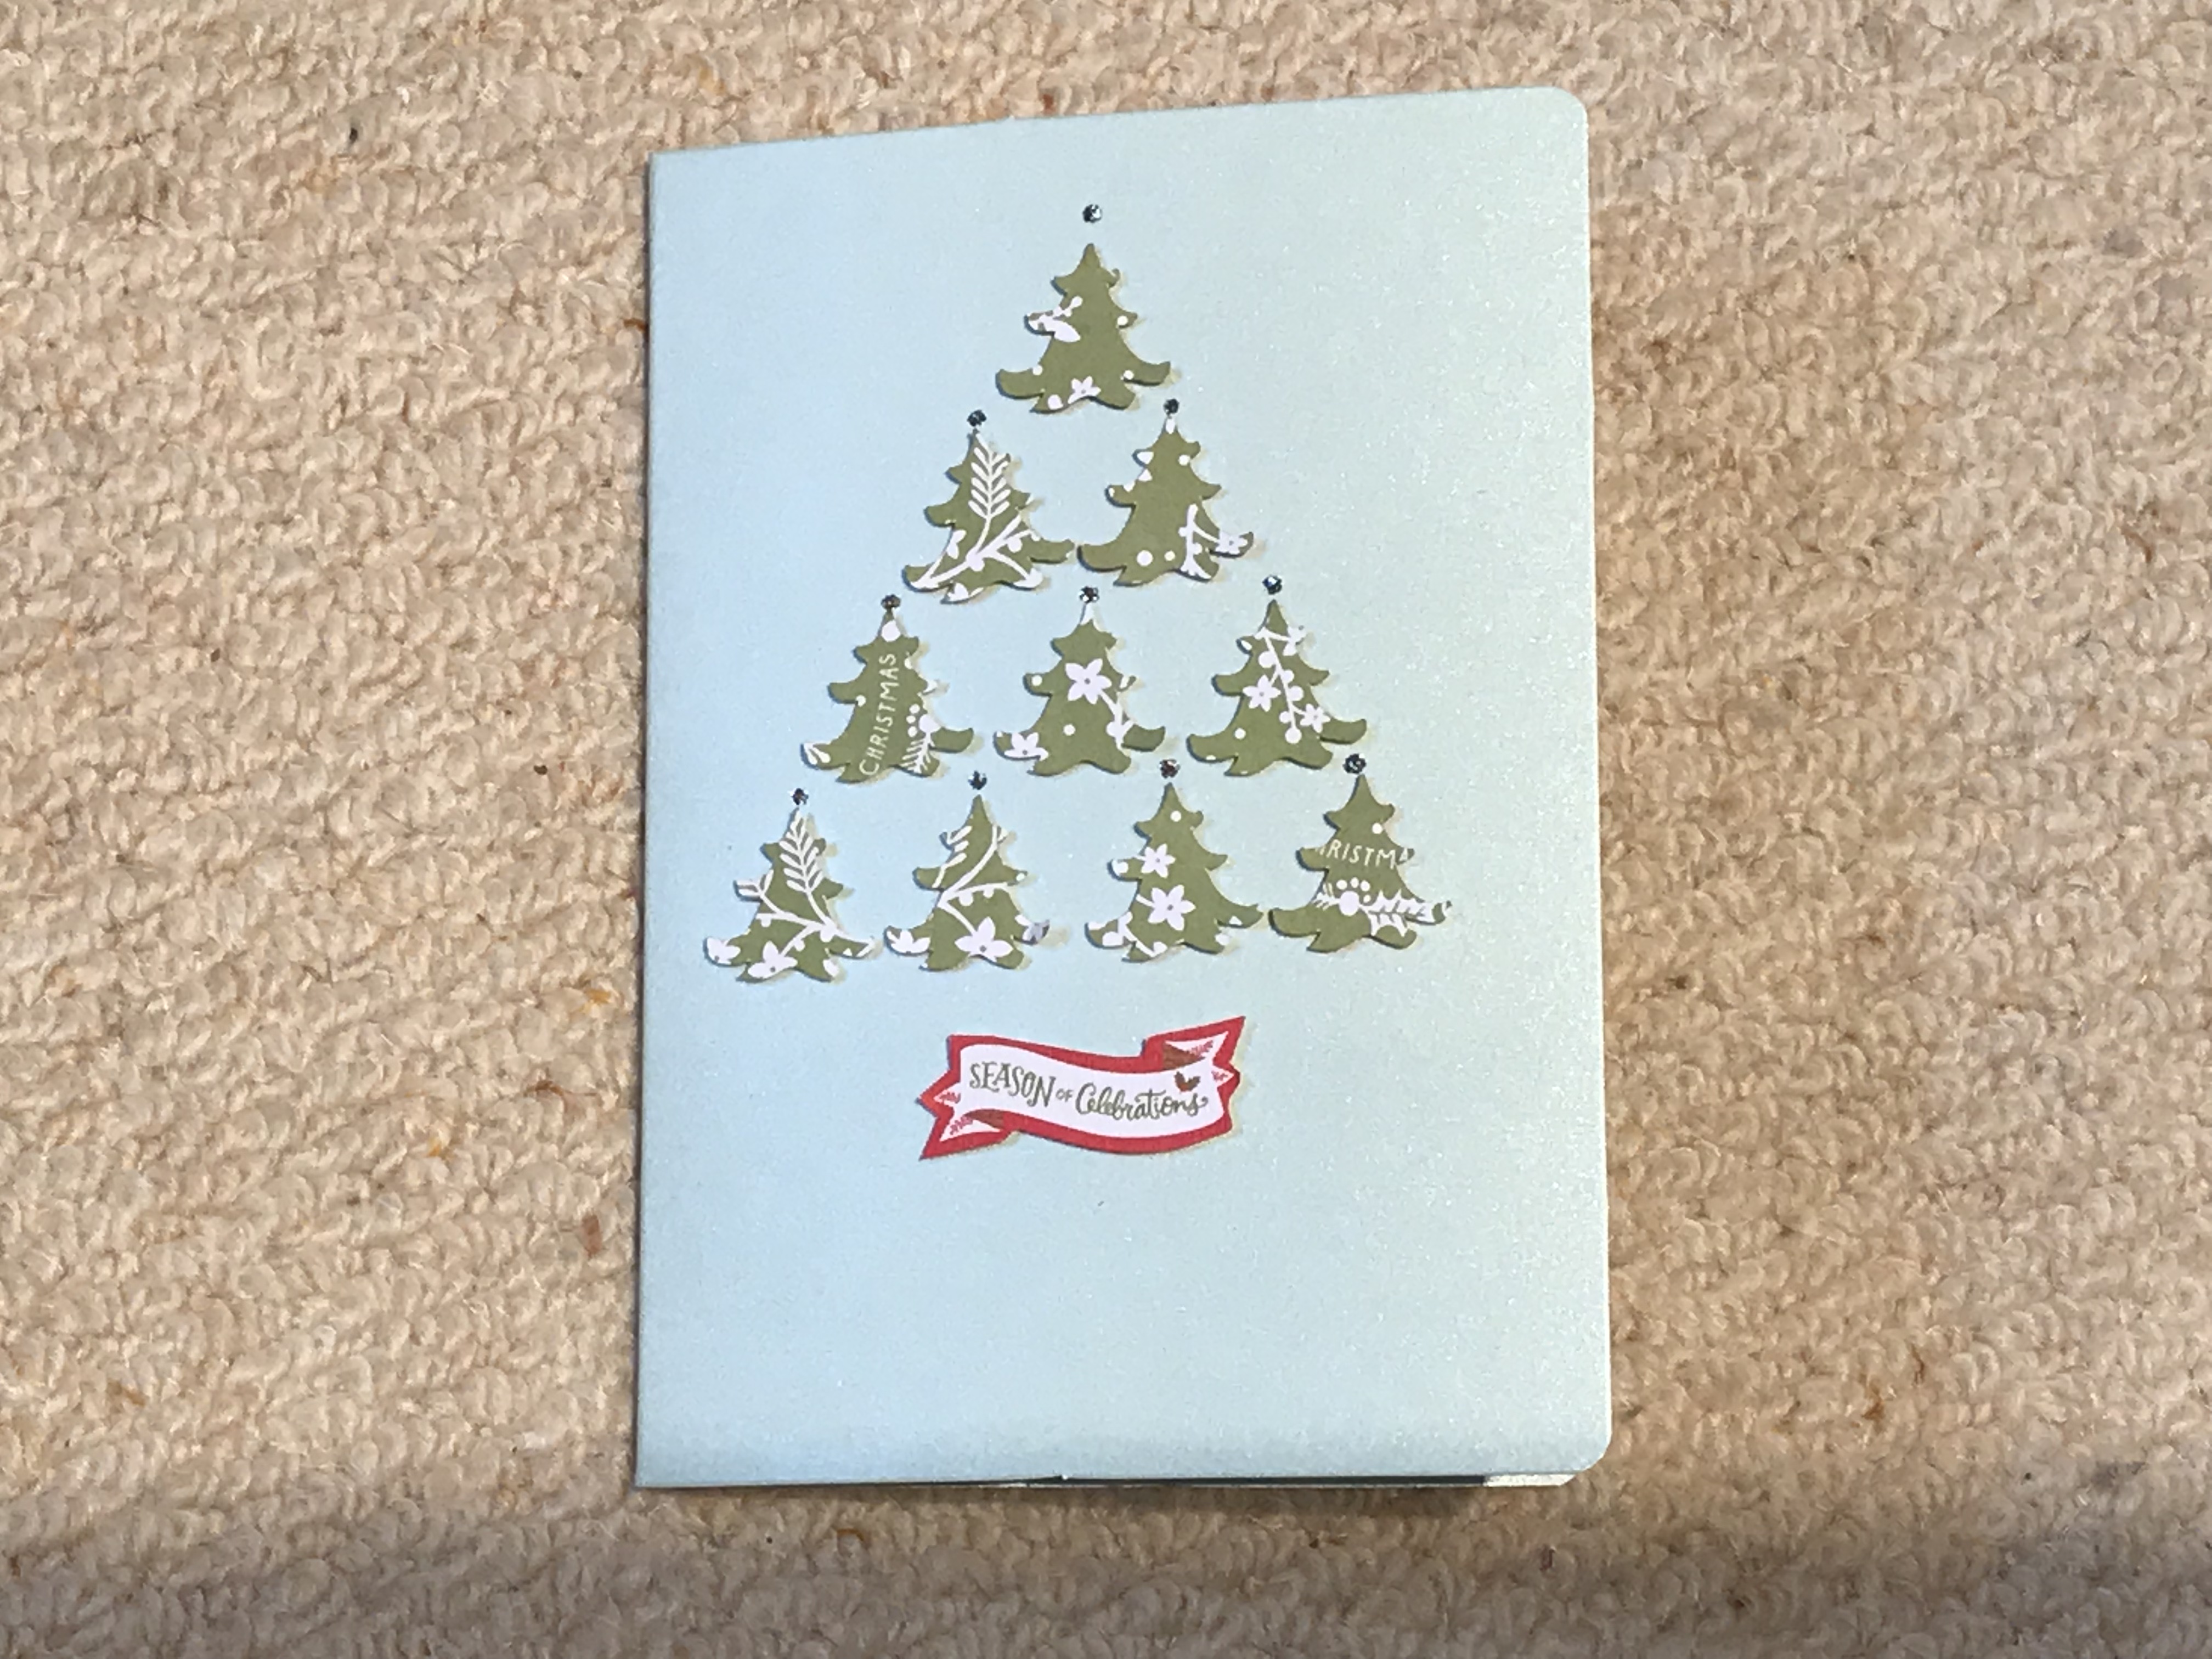
I love making clean and simple cards, these use scraps from the seemingly everlasting Docrafts Folk Christmas kit.
I am trying to use it up before I let myself buy anymore paper but there is still lots still to work with.
I used an image from my scan n cut inbuilt library to cut 11 trees, each cut 2 cm high and mounted on small foam pads, so easy – 10 for the front and one for the insert.
I reckon this would work as well with a punch maybe in star or holly shapes if you didn’t have trees …
Here is a quick video on how to diy an insert for a basic card blank. Let me know what you think of my video efforts …
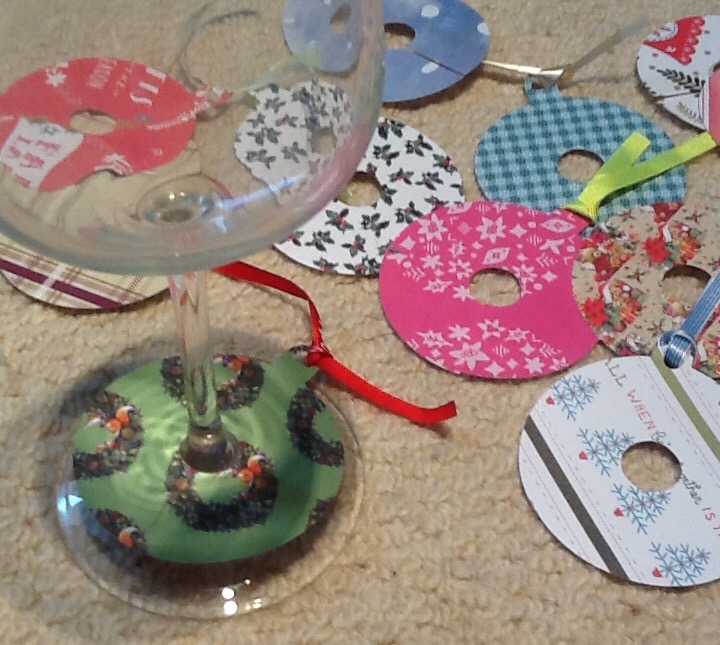
I ve made sets of wine glass tags today, using up Christmas paper and ribbon scraps. Feels good to have some mini gifts made ready.
I cut bauble shapes 65mm wide on the scan n cut and welded a central circle 17mm in the middle to create the gap for the stem.
To fit the tag around the Stem, I cut a slash from edge to centre (by hand as it was quicker than going to the software to set it up) and threaded scraps of ribbon through the bauble tops.
I added stickles to some of the less decorative papers but for a disposable mini gift, they really weren’t necessary.
In some sets I added napkin holders, (from scan n cut canvas projects , just a strip of paper with angled slashes at either end to loop round a serviette) with Christmas elements added to make a little Christmas buffet kit.
Presented in vellum envelopes, these would make a great craft fair goody. How much would one charge for a dozen tags in a set though? though
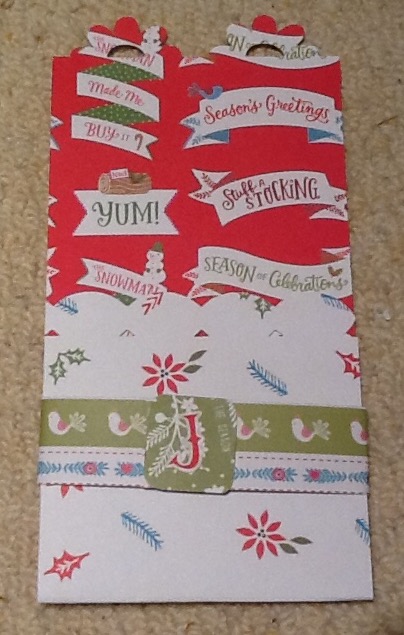
I need to use some of my lovely Christmas papers so made up the set of cutlery pouches as a gift for someone I know likes the concept.
I used the docrafts folk Christmas kit. This included sheets of stick on initials.
Method: a 12 x 12 sheet is cut into three strips, each 4 inches wide. Each strip is folded at 8 inches to create a front flap half the height of the back. The sides of the pouch are stuck down with thin double sided tape
A belly band is created by cutting a 1 inch strip from some contrast paper, the strip wrapped round the pouch and fixed with double sided tape
A square (with corners rounded) of scrap paper is stuck over the join in the belly band and an initial stuck on the square
I used border patterns from my scan n cut to give top and bottom of each sheet a scallop edge but a border punch or pinking scissors would also work.
Four sheets of paper made nine pouches including belly bands and trim and a set of spare initials was included to cater for a range of guests.
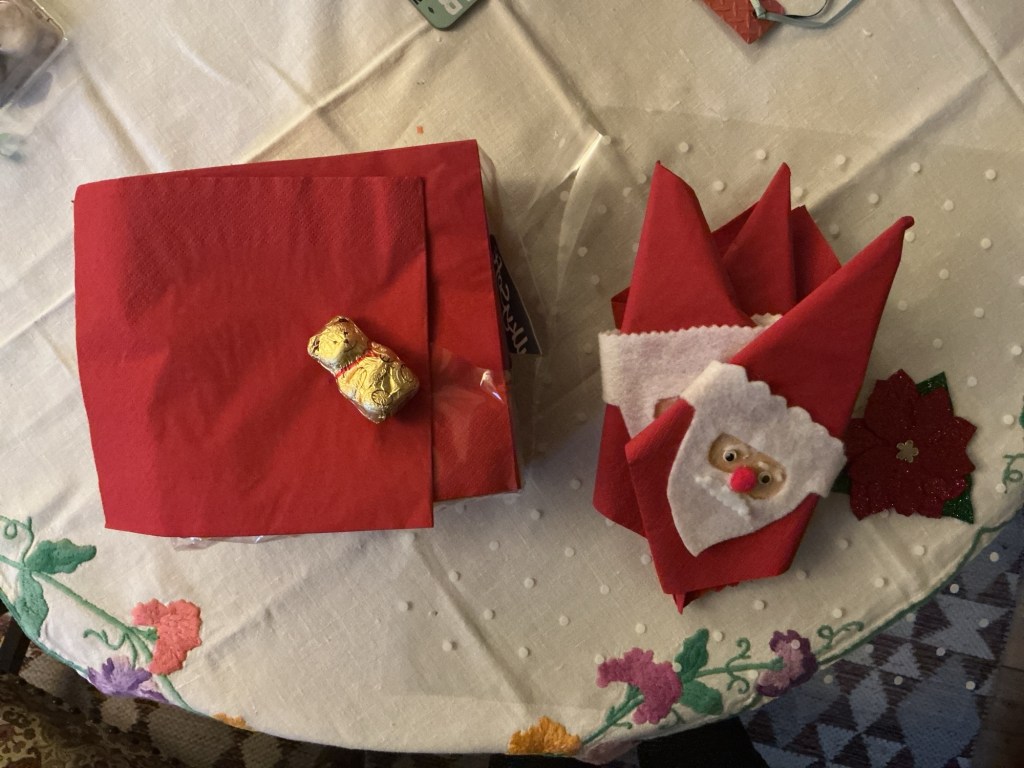
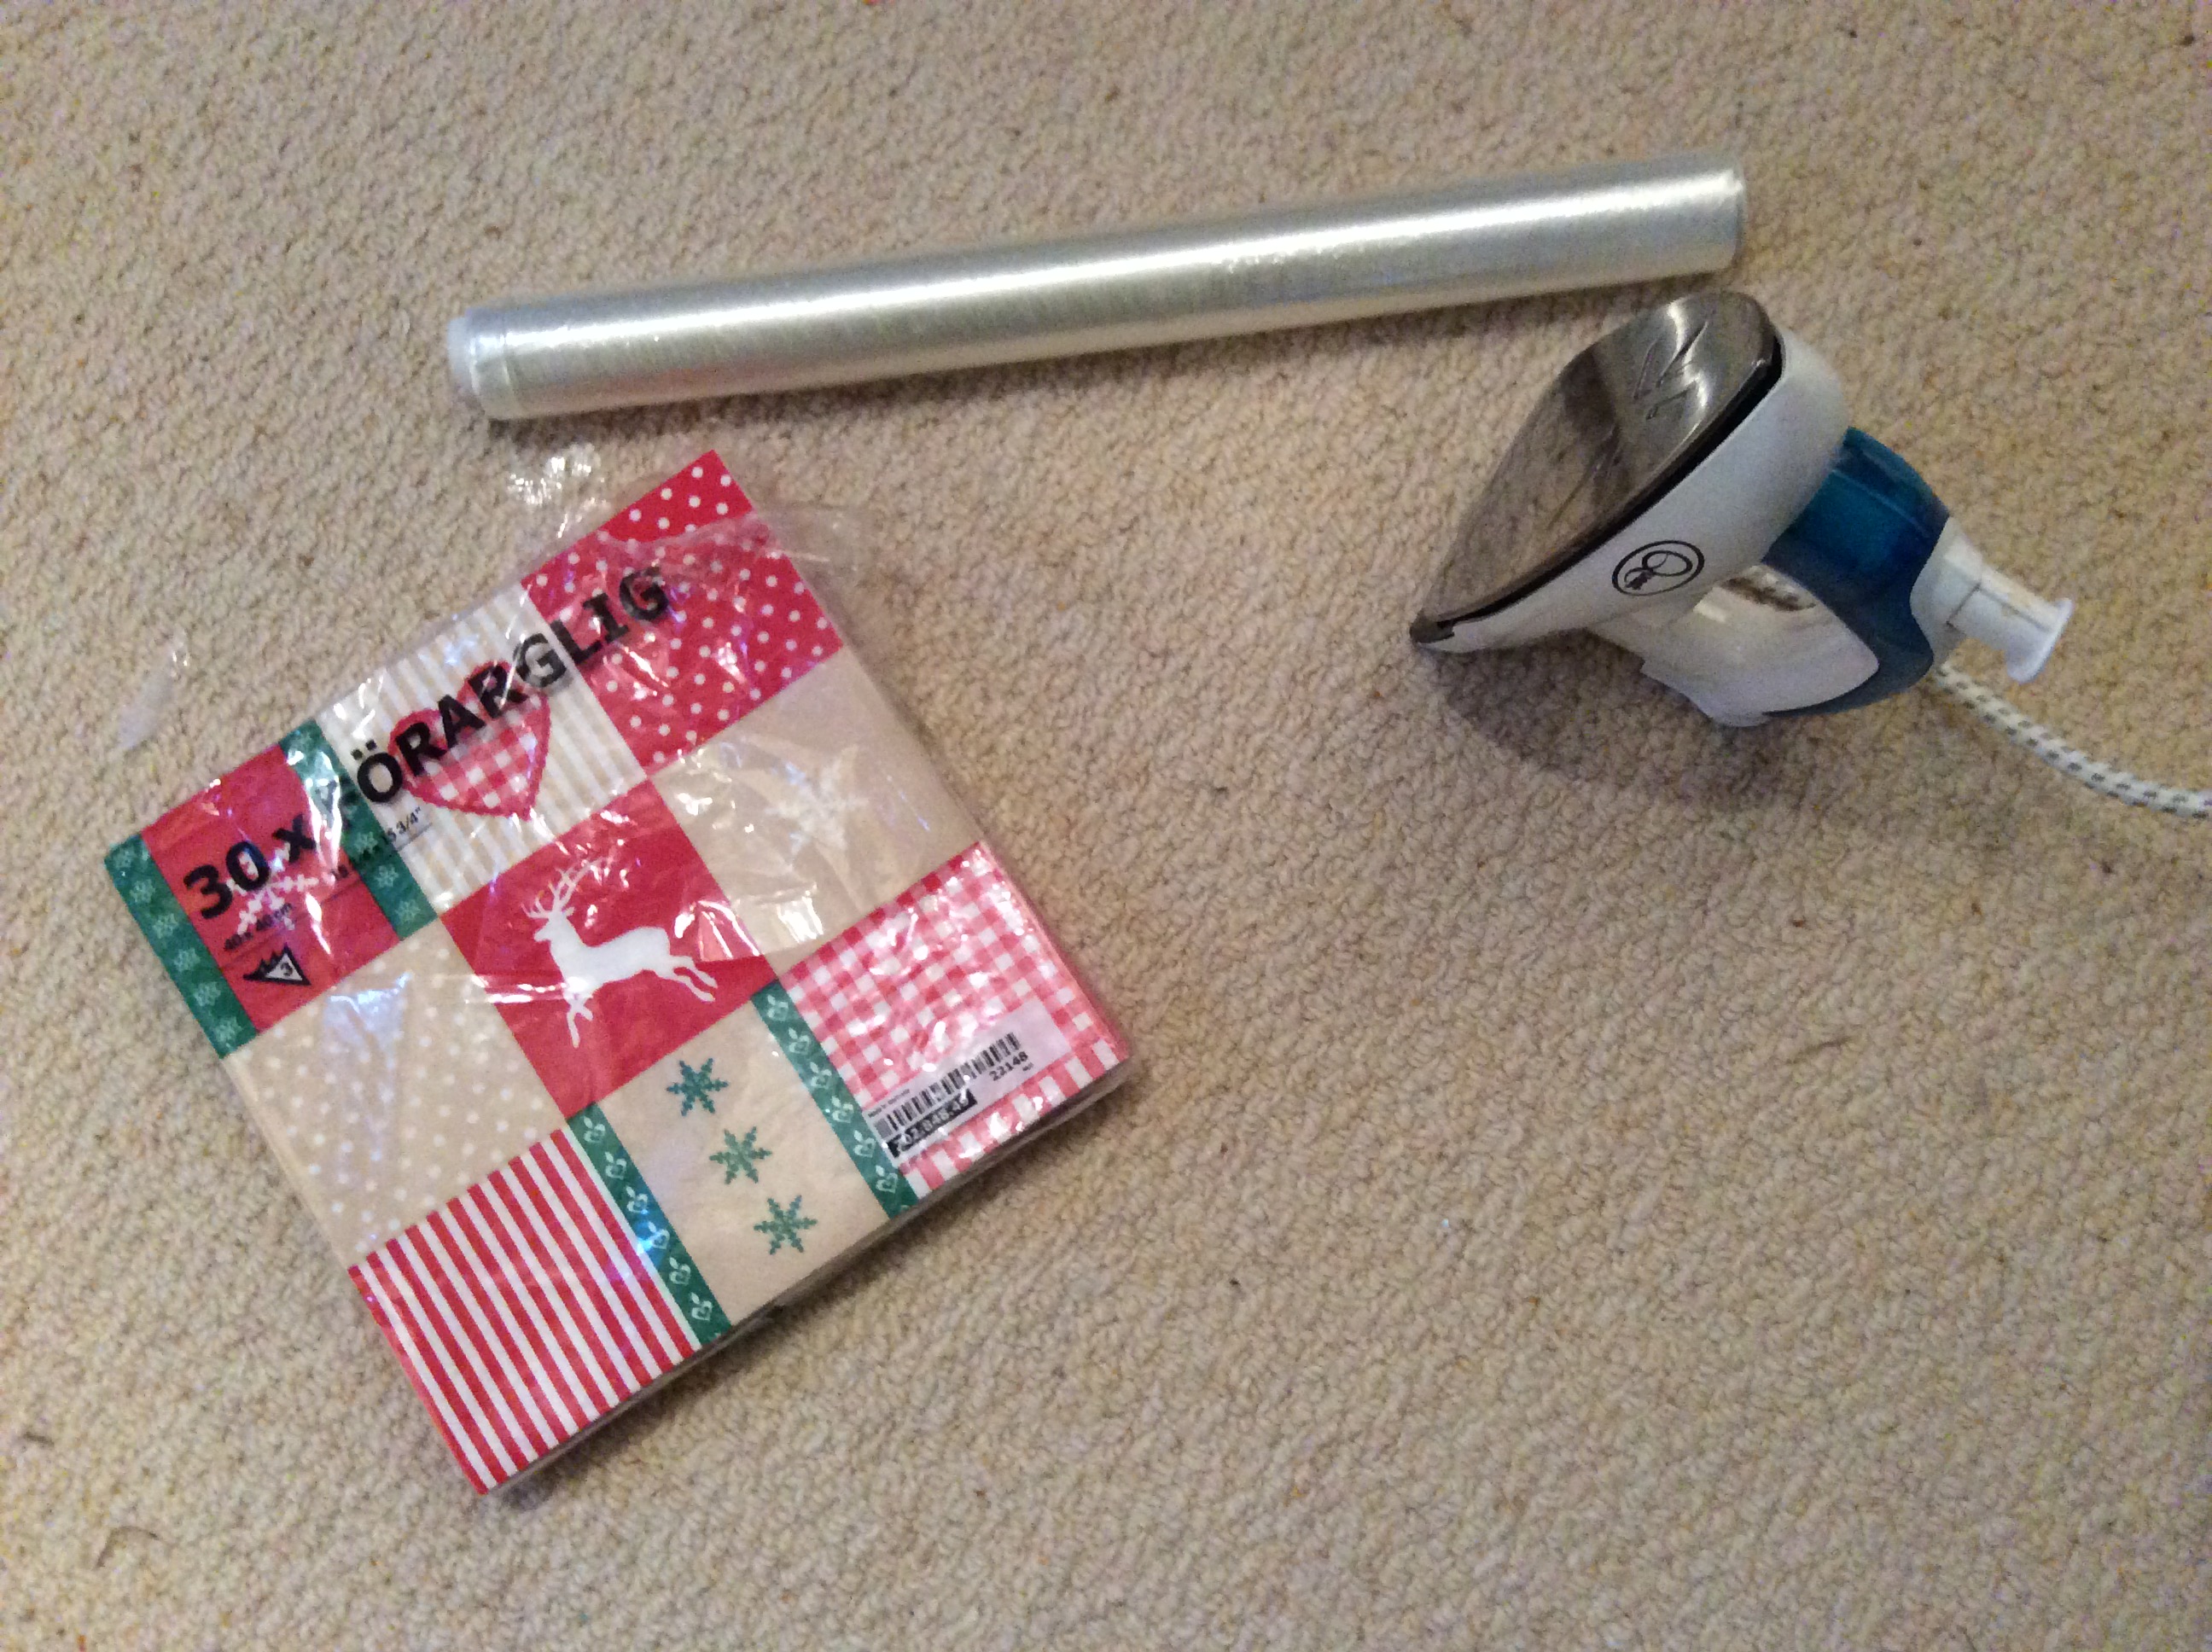
Seal part of a decorative napkin on card to use as a card topper? I can’t recommend this but it maybe worth a try if you are out of other resources… I had a go while tidying away my Christmas stuff
method
place a sheet of light card (I used a whole A4 sheet ) on your ironing board then lay a piece of cling film smaller than that on top. Peel the top ply of your napkin away from the plain underside ( or sides if you have a 3 ply napkin) and discard the plain bits, cut down the image to the size you want for your final card topper ( I used a quarter of a napkin for an 8 inch card base), lay it face up on top of the cling film and cover with a sheet of cheap copy paper. Iron with a hot, steam free, iron for several seconds until the cling film seals the napkin to the card.
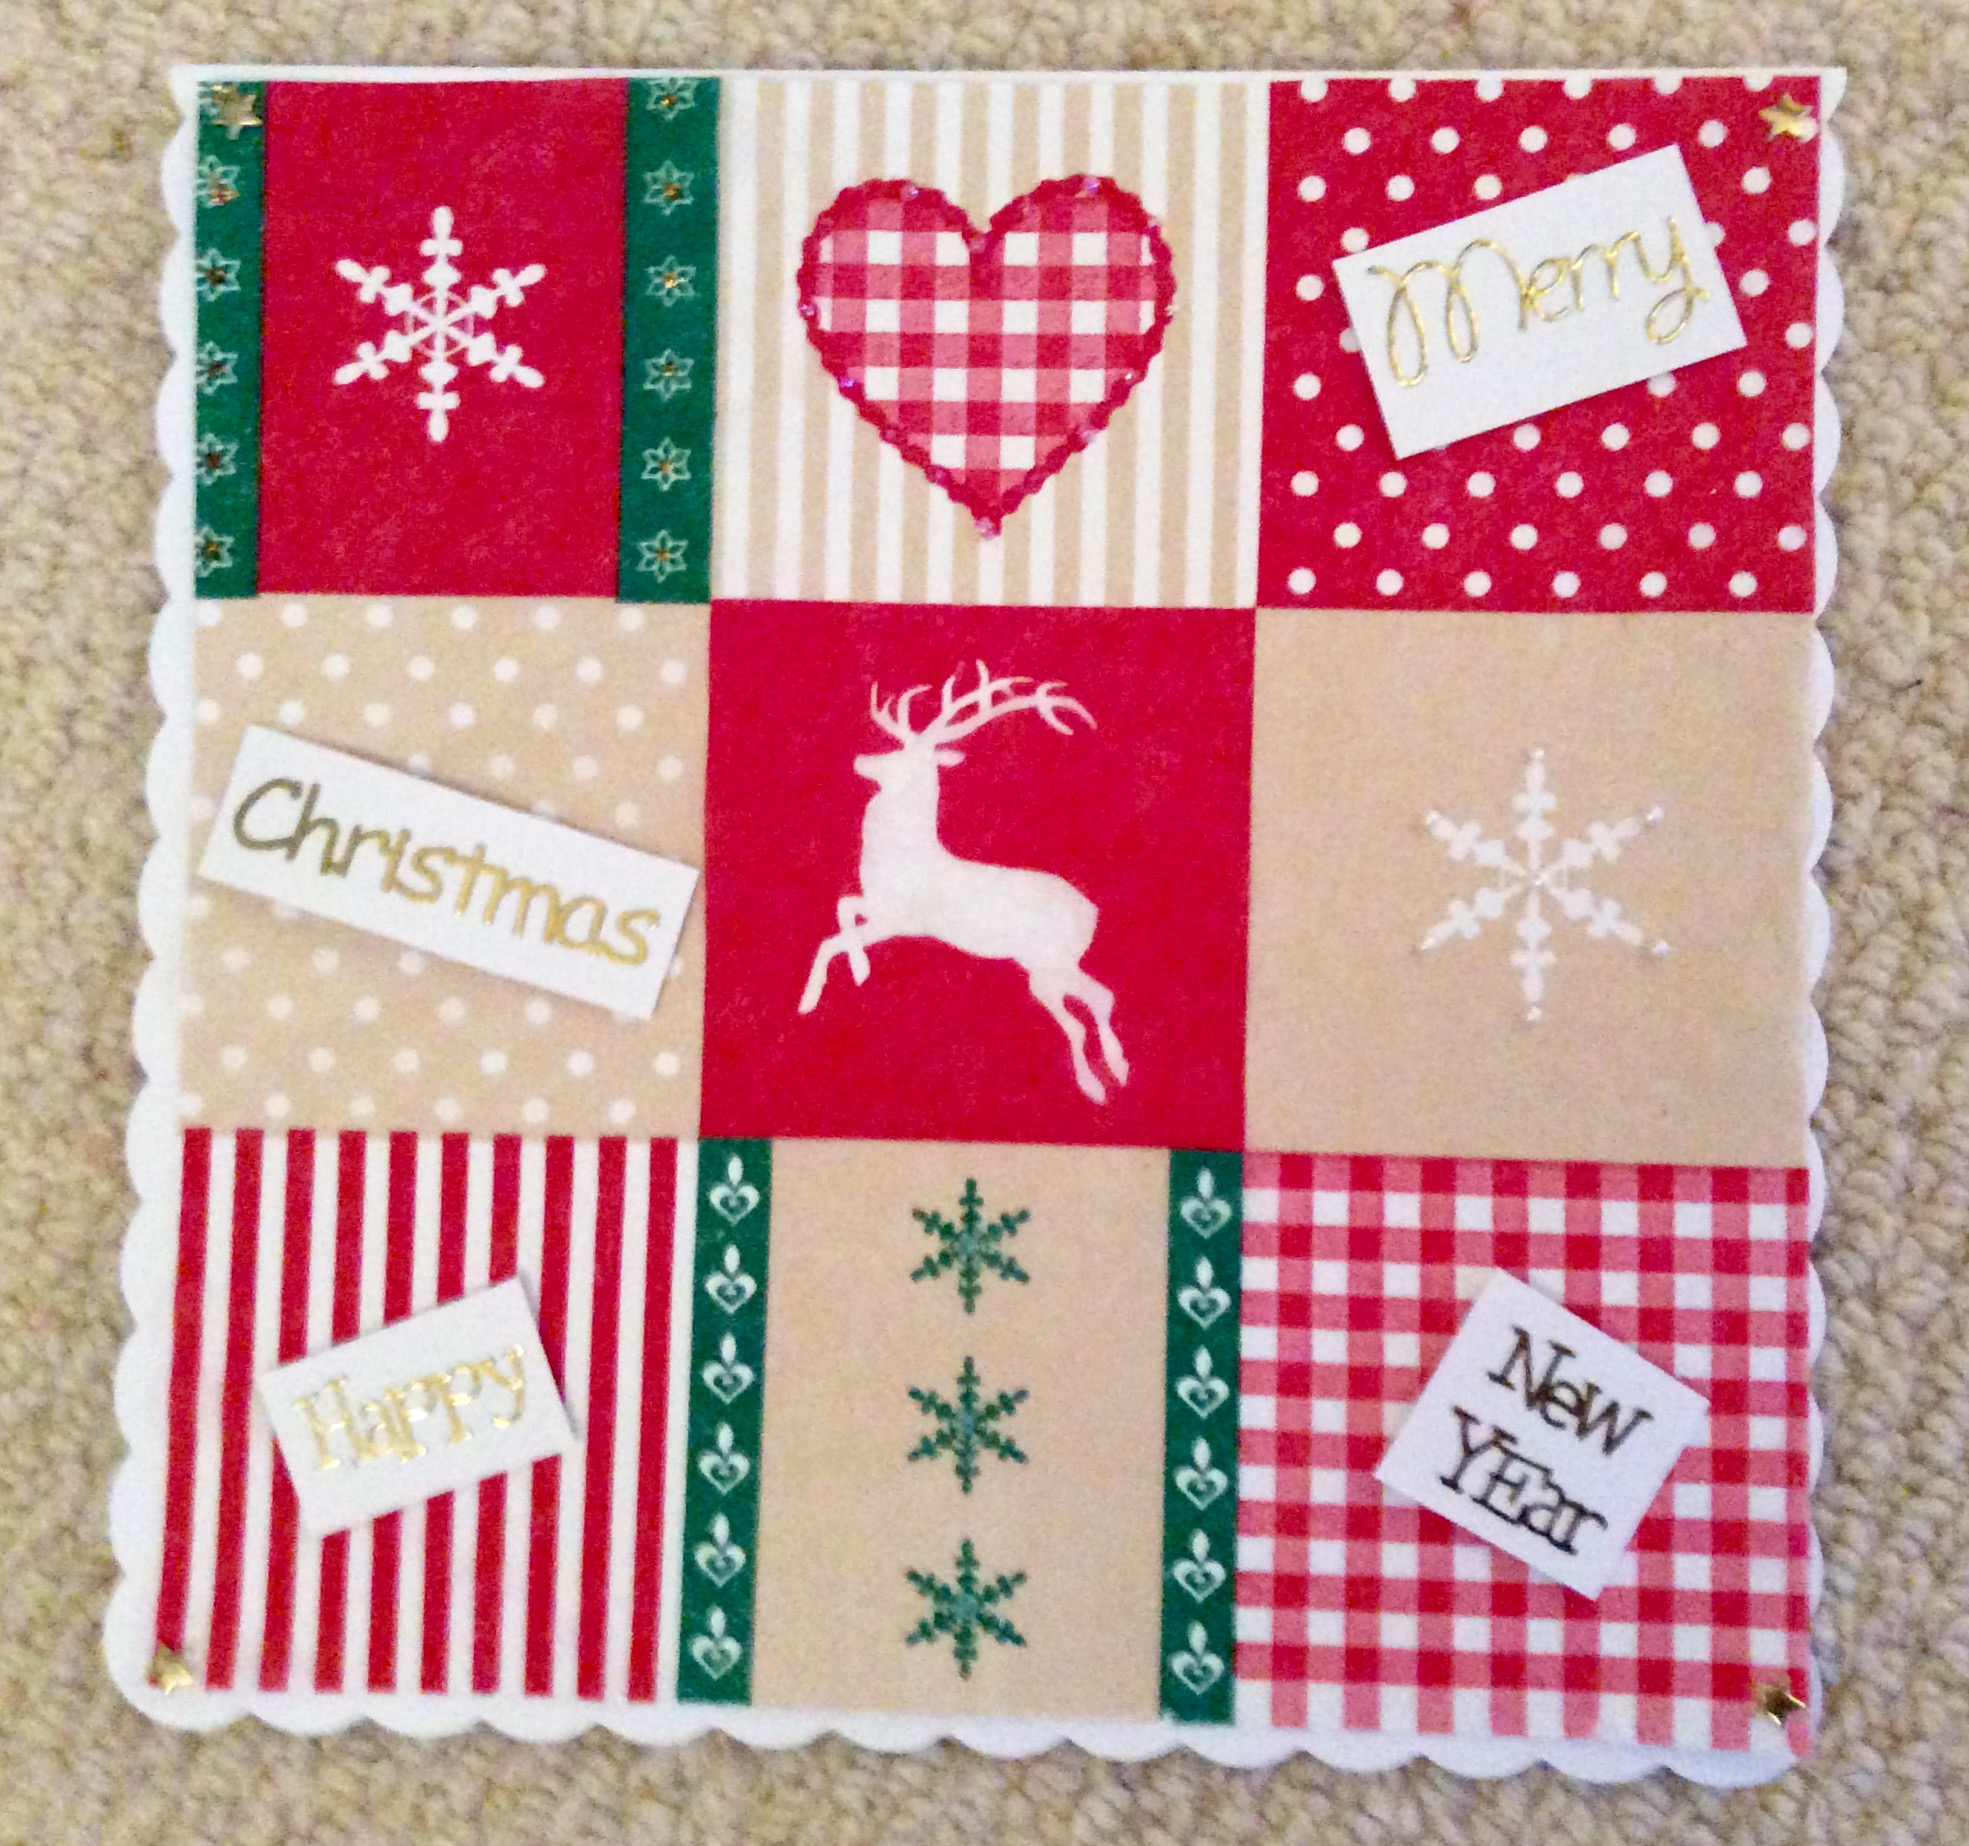
Remove the top paper to check everything has stuck, you can have another go if it hasn’t, then use scissors to cut the card flush with the napkin- take care, a trimmer will probably tear the napkin.
I had to fix brads in the corners as I couldn’t get a proper seal and when I used wink of Stella to embellish the reindeer, the napkin puffed off the cling film. Liquid pearls and stickles worked well though and my sentiment was peel offs stuck on card and foam tape mounted on the plainest bits of the napkin.
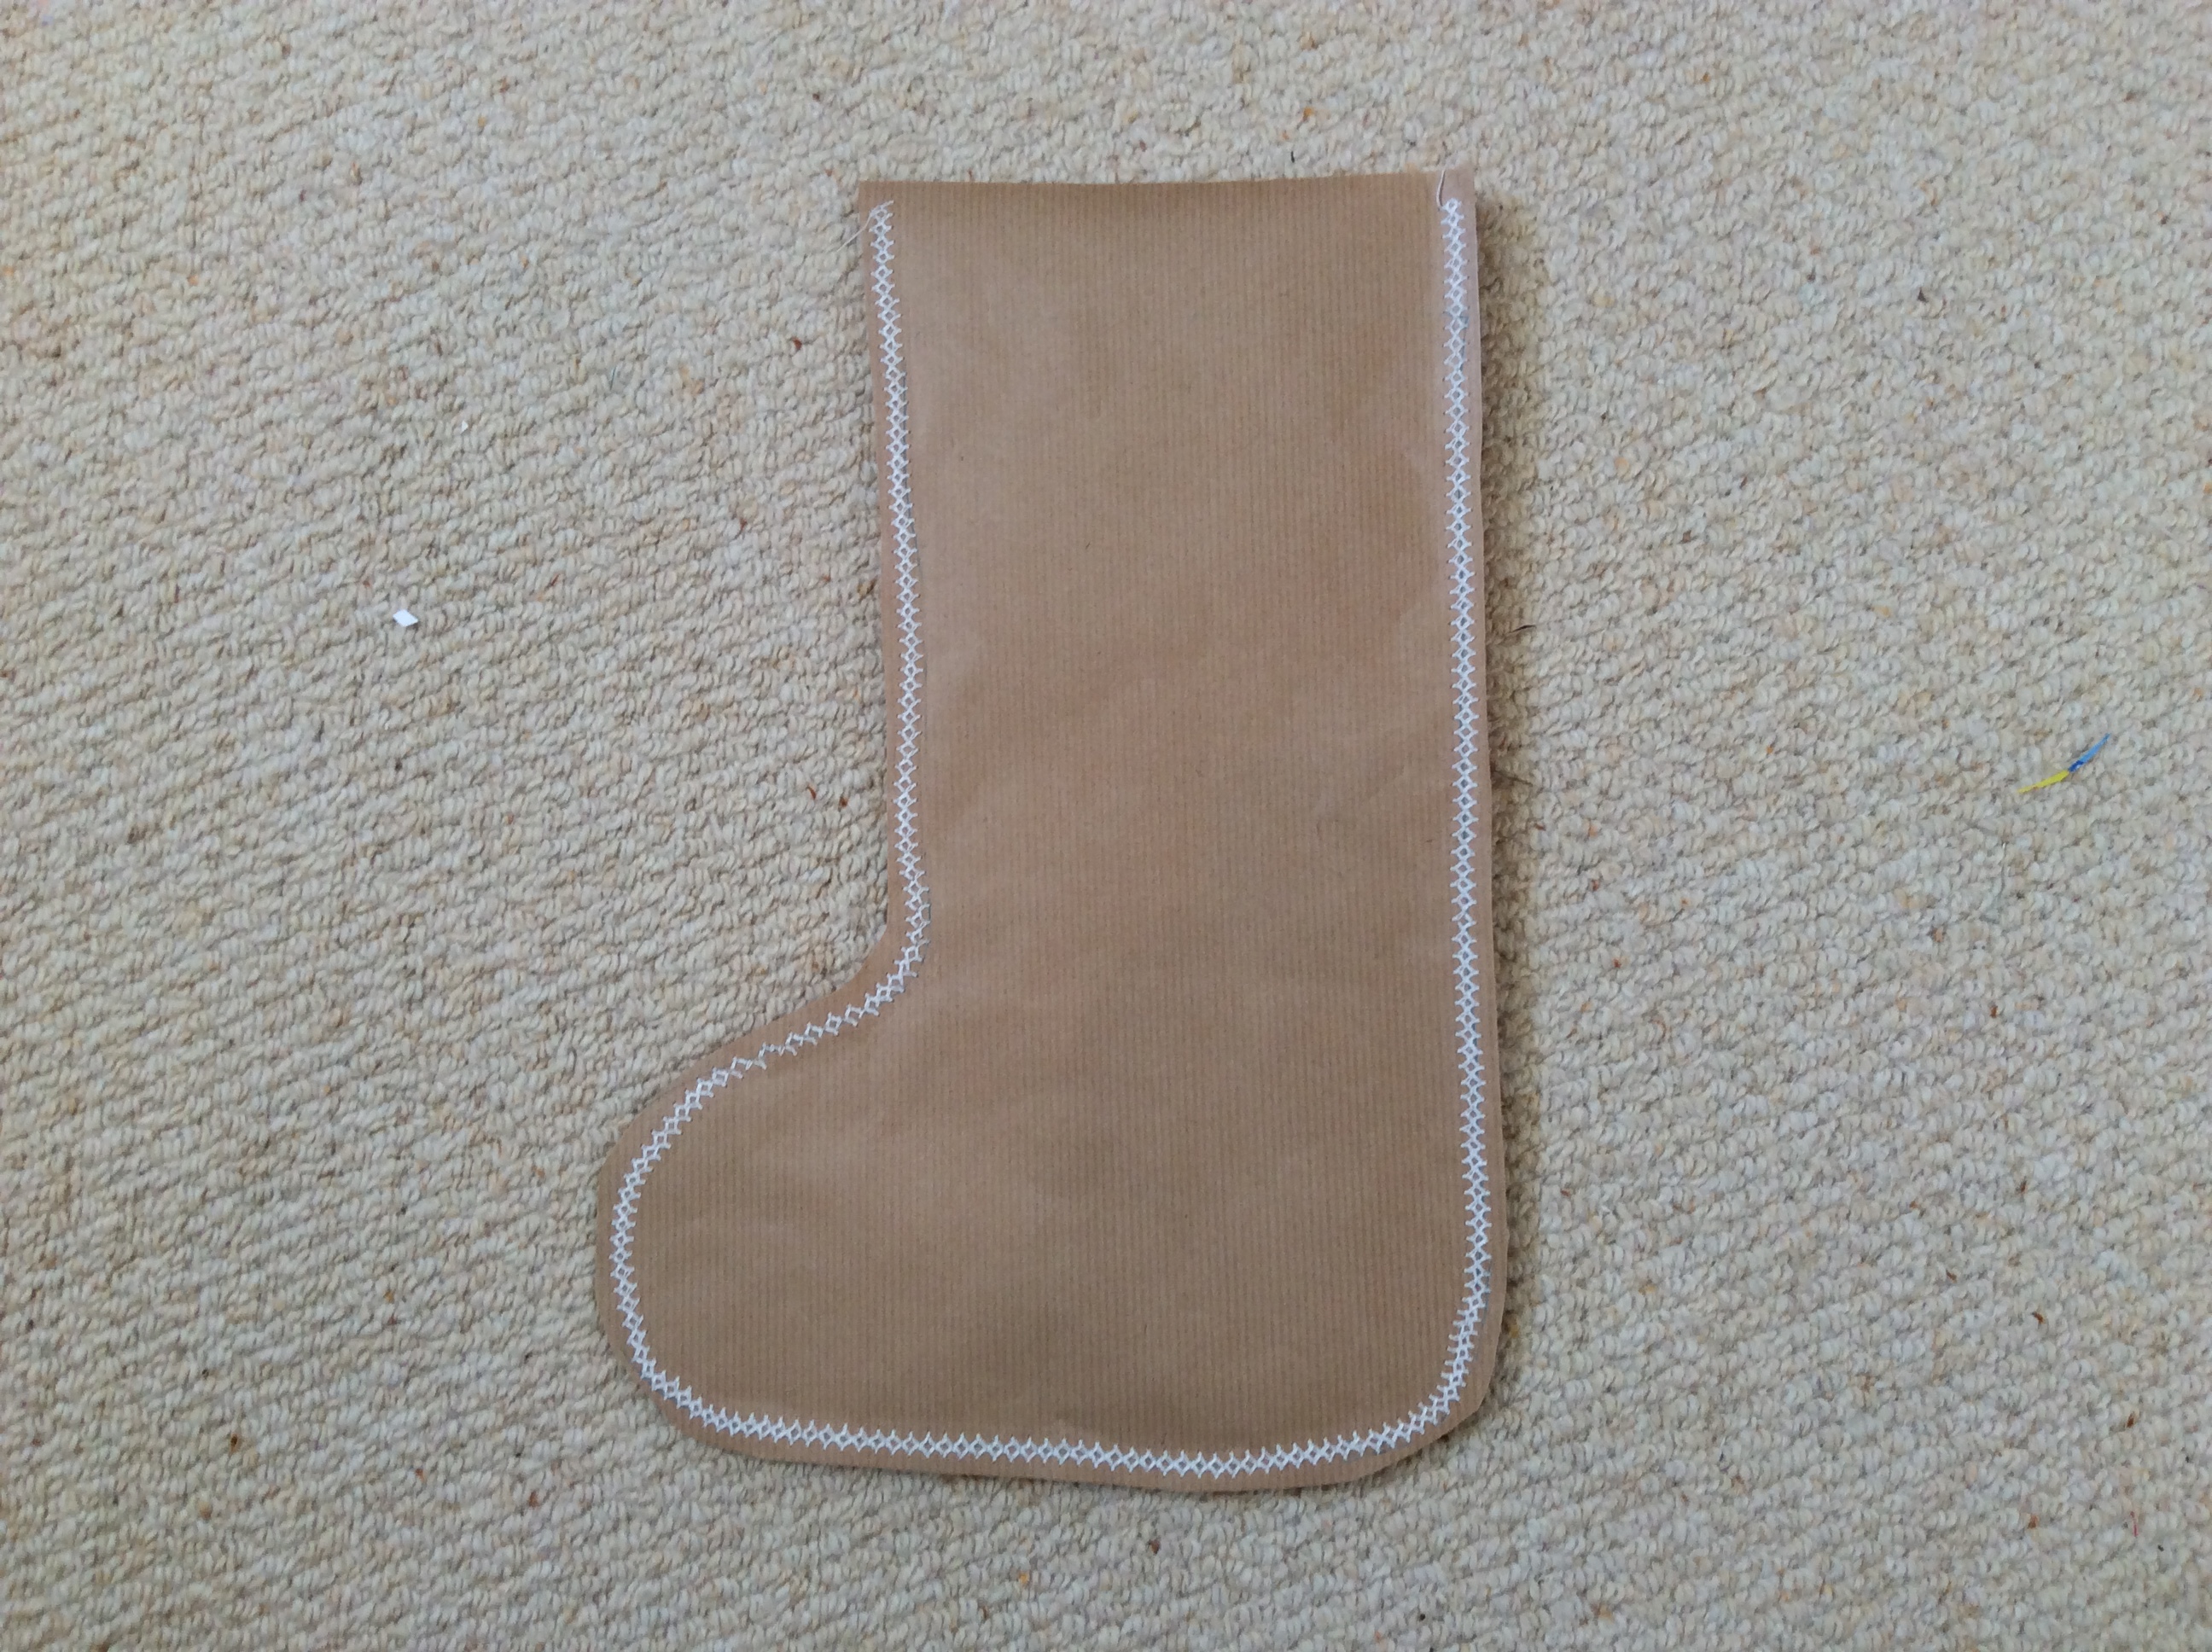
I am using brown paper for lots of my wrapping this year with scan n cut embellishments and stamping for most parcels, but these simple sewn packets are a joy to make and look very classy
fold your paper in half then trace the shape you want to end up with one side ( I used a frixion pen in case I needed to erase it but light pencil would do as well).
then choose a decorative stitch to sew around all but one side of your image. I used a white thread here but Am inspired to try lots of threads from the sewing basket now.
I had my walking foot on the machine so nothing slipped but you might want to help the paper through if using a standard foot
trim the paper close to the stitch line to tidy it up (pinking shears would add a good effect, but too much use on paper might not be good for your expensive scissors)
pop in the present then sew up the final side
tip: make the packet larger than the contents or you will struggle to sew the final side closed and don’t want to sew through the contents
if you want to decorate the paper or write on the addressee details you will need to finish it all before you put the gift inside
some people keep old machine needles for their paper projects, I will just dispose of this needle before I start my next fabric project as the paper will blunt it.