Felt piggy bank

A57E860C-C238-41E6-8612-288C37168DF0While  the felt and googly eyes were on the table, I remembered this Pinterest inspired ‘to do’.

In practical terms, bigger is better – this one wouldn’t hold many coins, but I was pleased at how easy it was to make from some of my Ali Express little felt squares.

I sketched the outline in pencil direct on the felt then cut it out on two matching pieces of cheap, stiff, nylon felt before zig zag stitching around the coin slot and edges. The googly eyes were stuck on with collage medium.

It might be fun to make a suitcase or flag shaped one for someone saving for a holiday; car shaped or Christmas tree shaped or …

No glue gift bags

image

Exacto knife and paper is all you need to make a quick, cute and quite strong gift bag…

The pattern for this came from ohappyday.com where they are intended as brown paper picnic snack bags but they are far too cute to stay in brown paper.

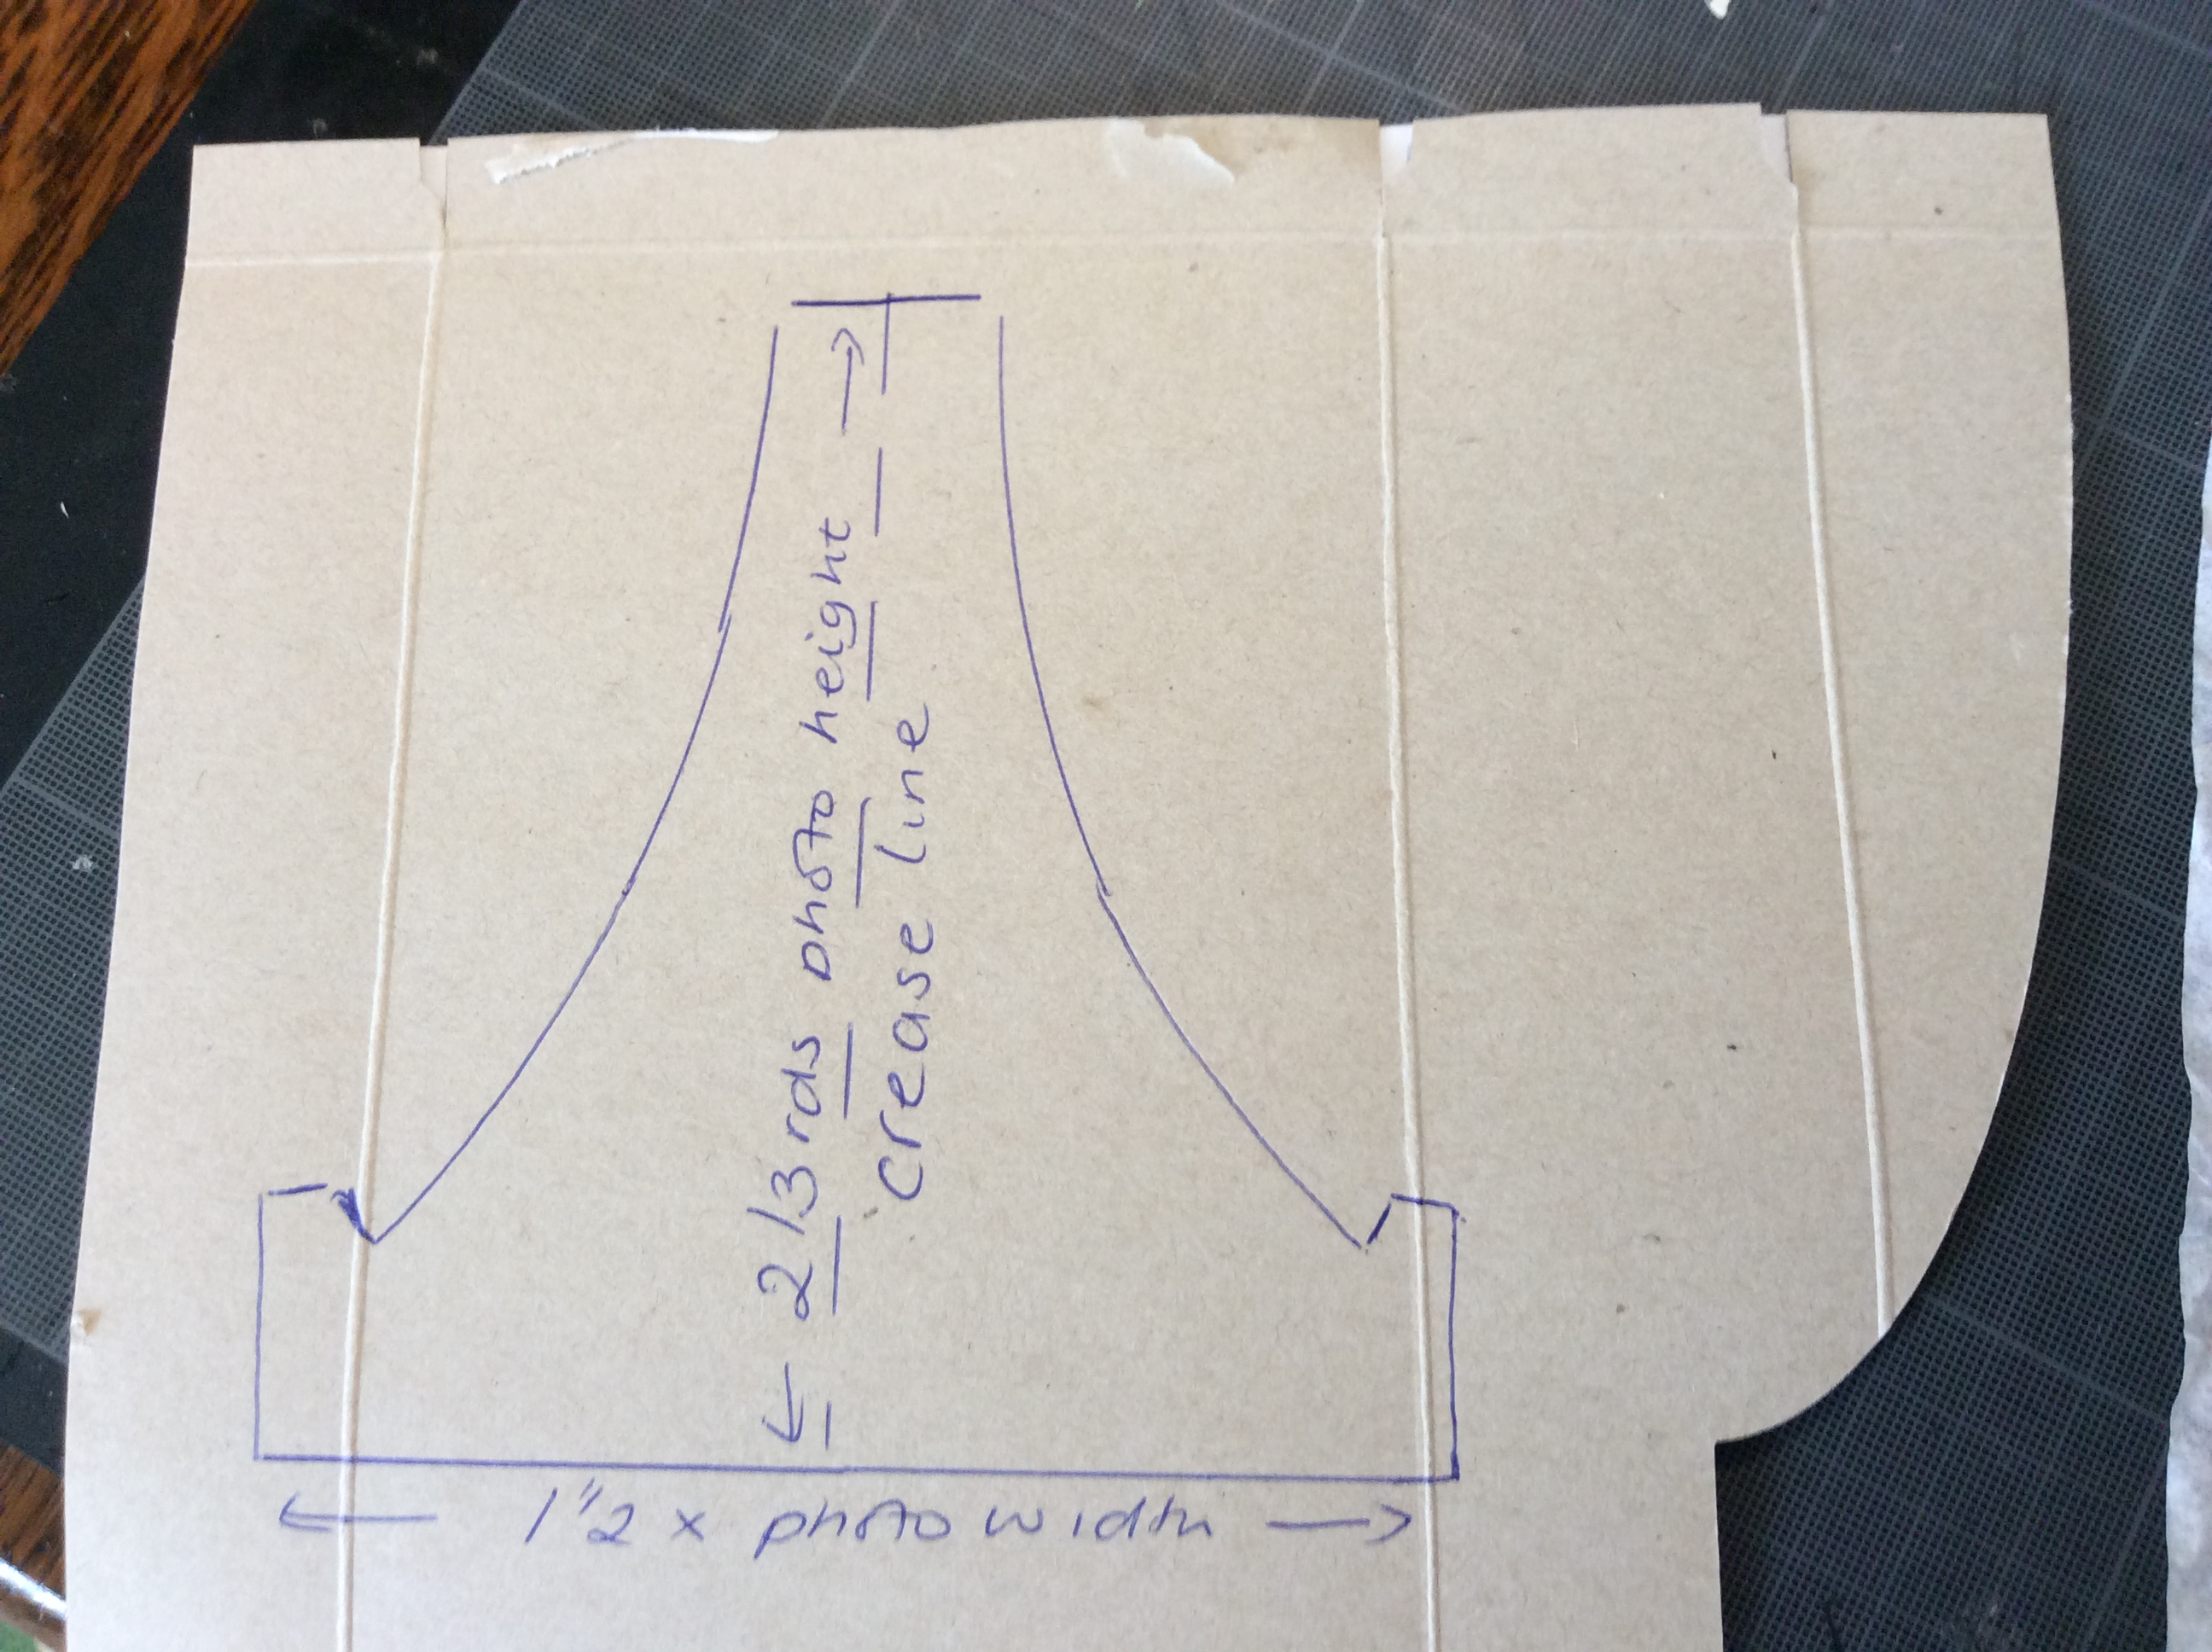
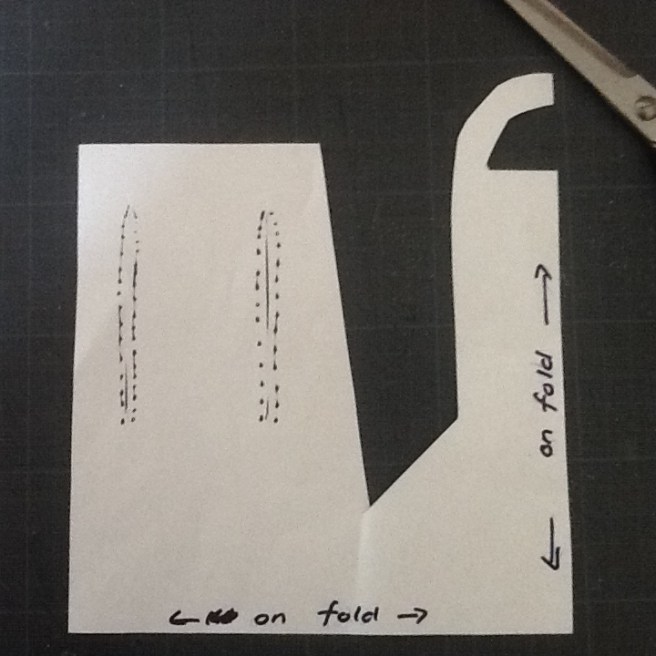
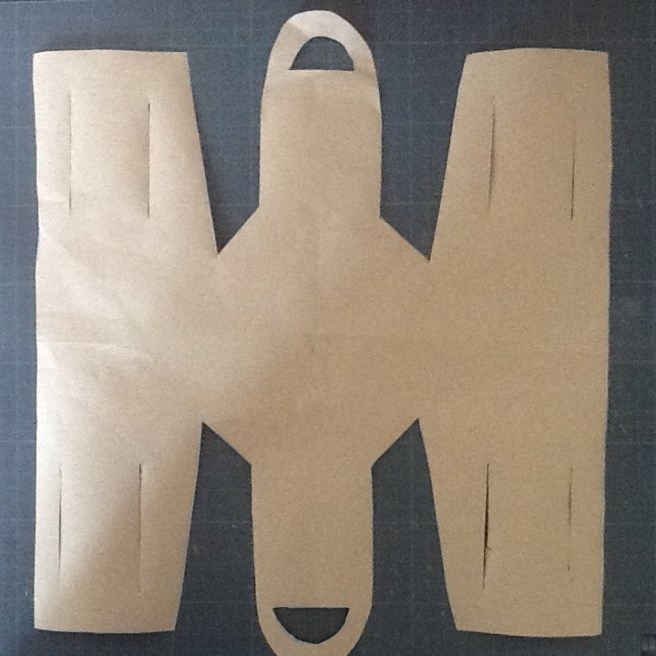
I started by downloading the template from the diy picnic basket post. It makes a quarter of the template needed so should be placed on a larger piece of paper folded in four to get the whole template. You can just cut round the folded paper with an exacto knife. Or you could follow their instruction to rotate and trace the template, but I found that a longer process.

imageimage

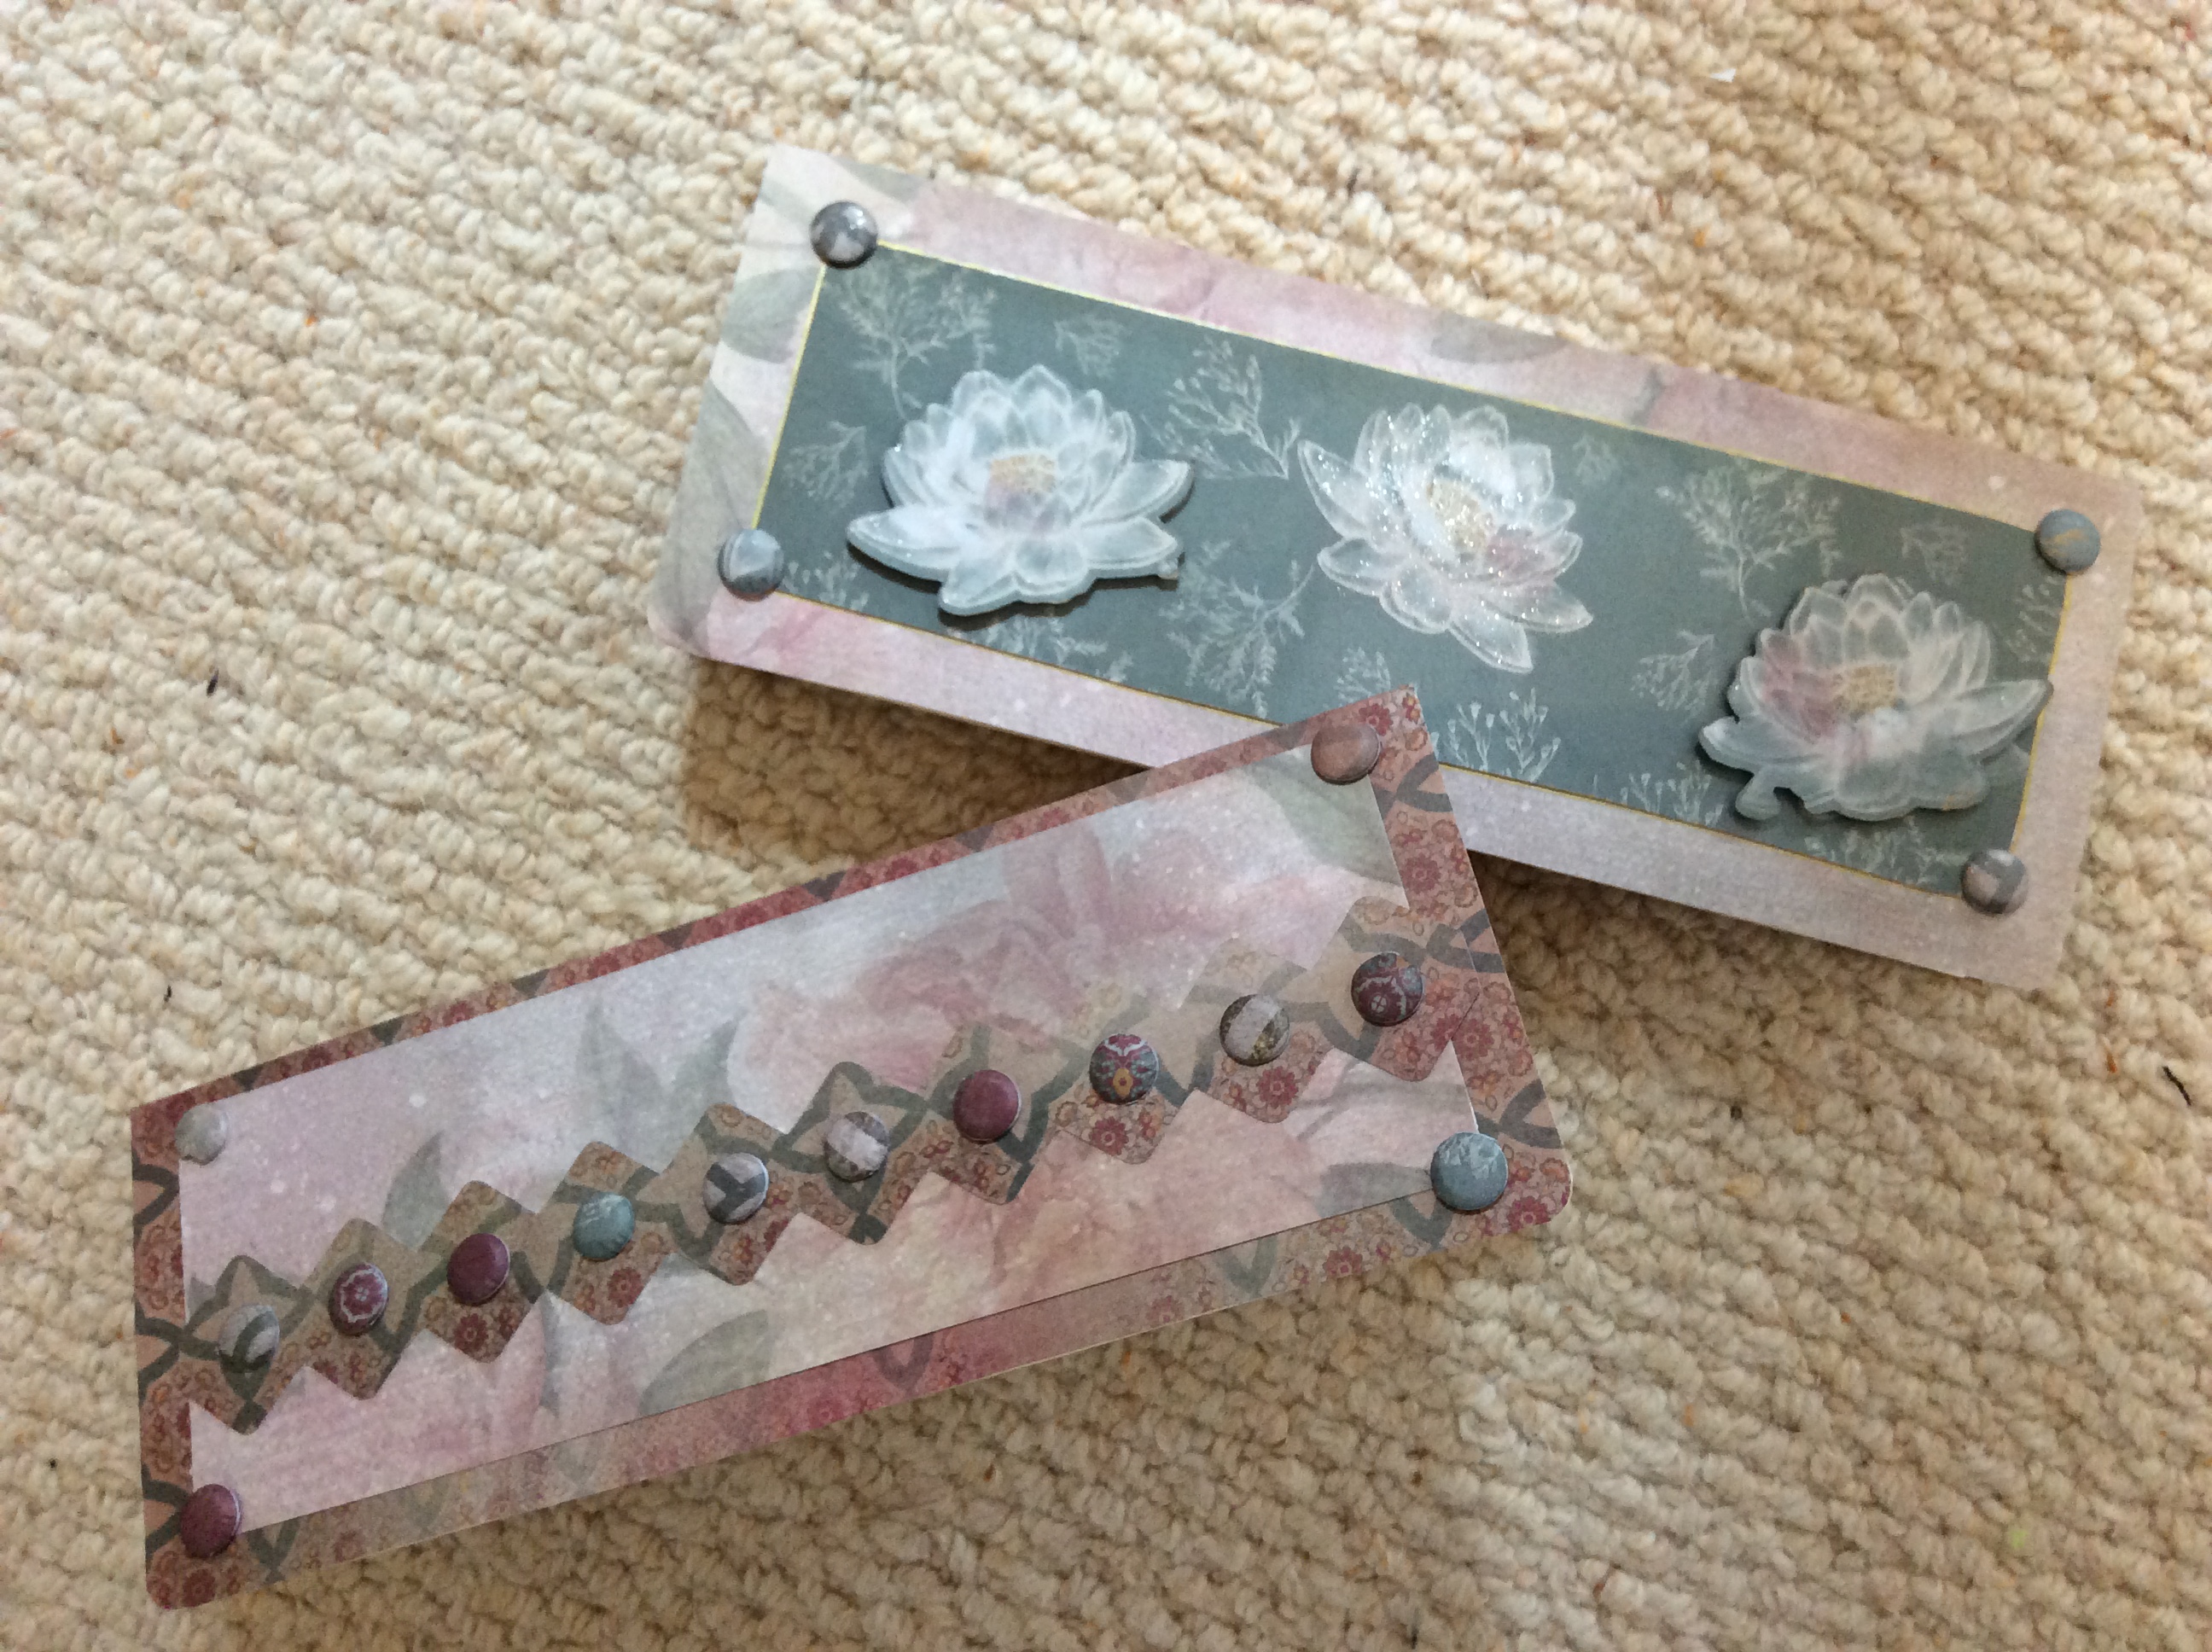
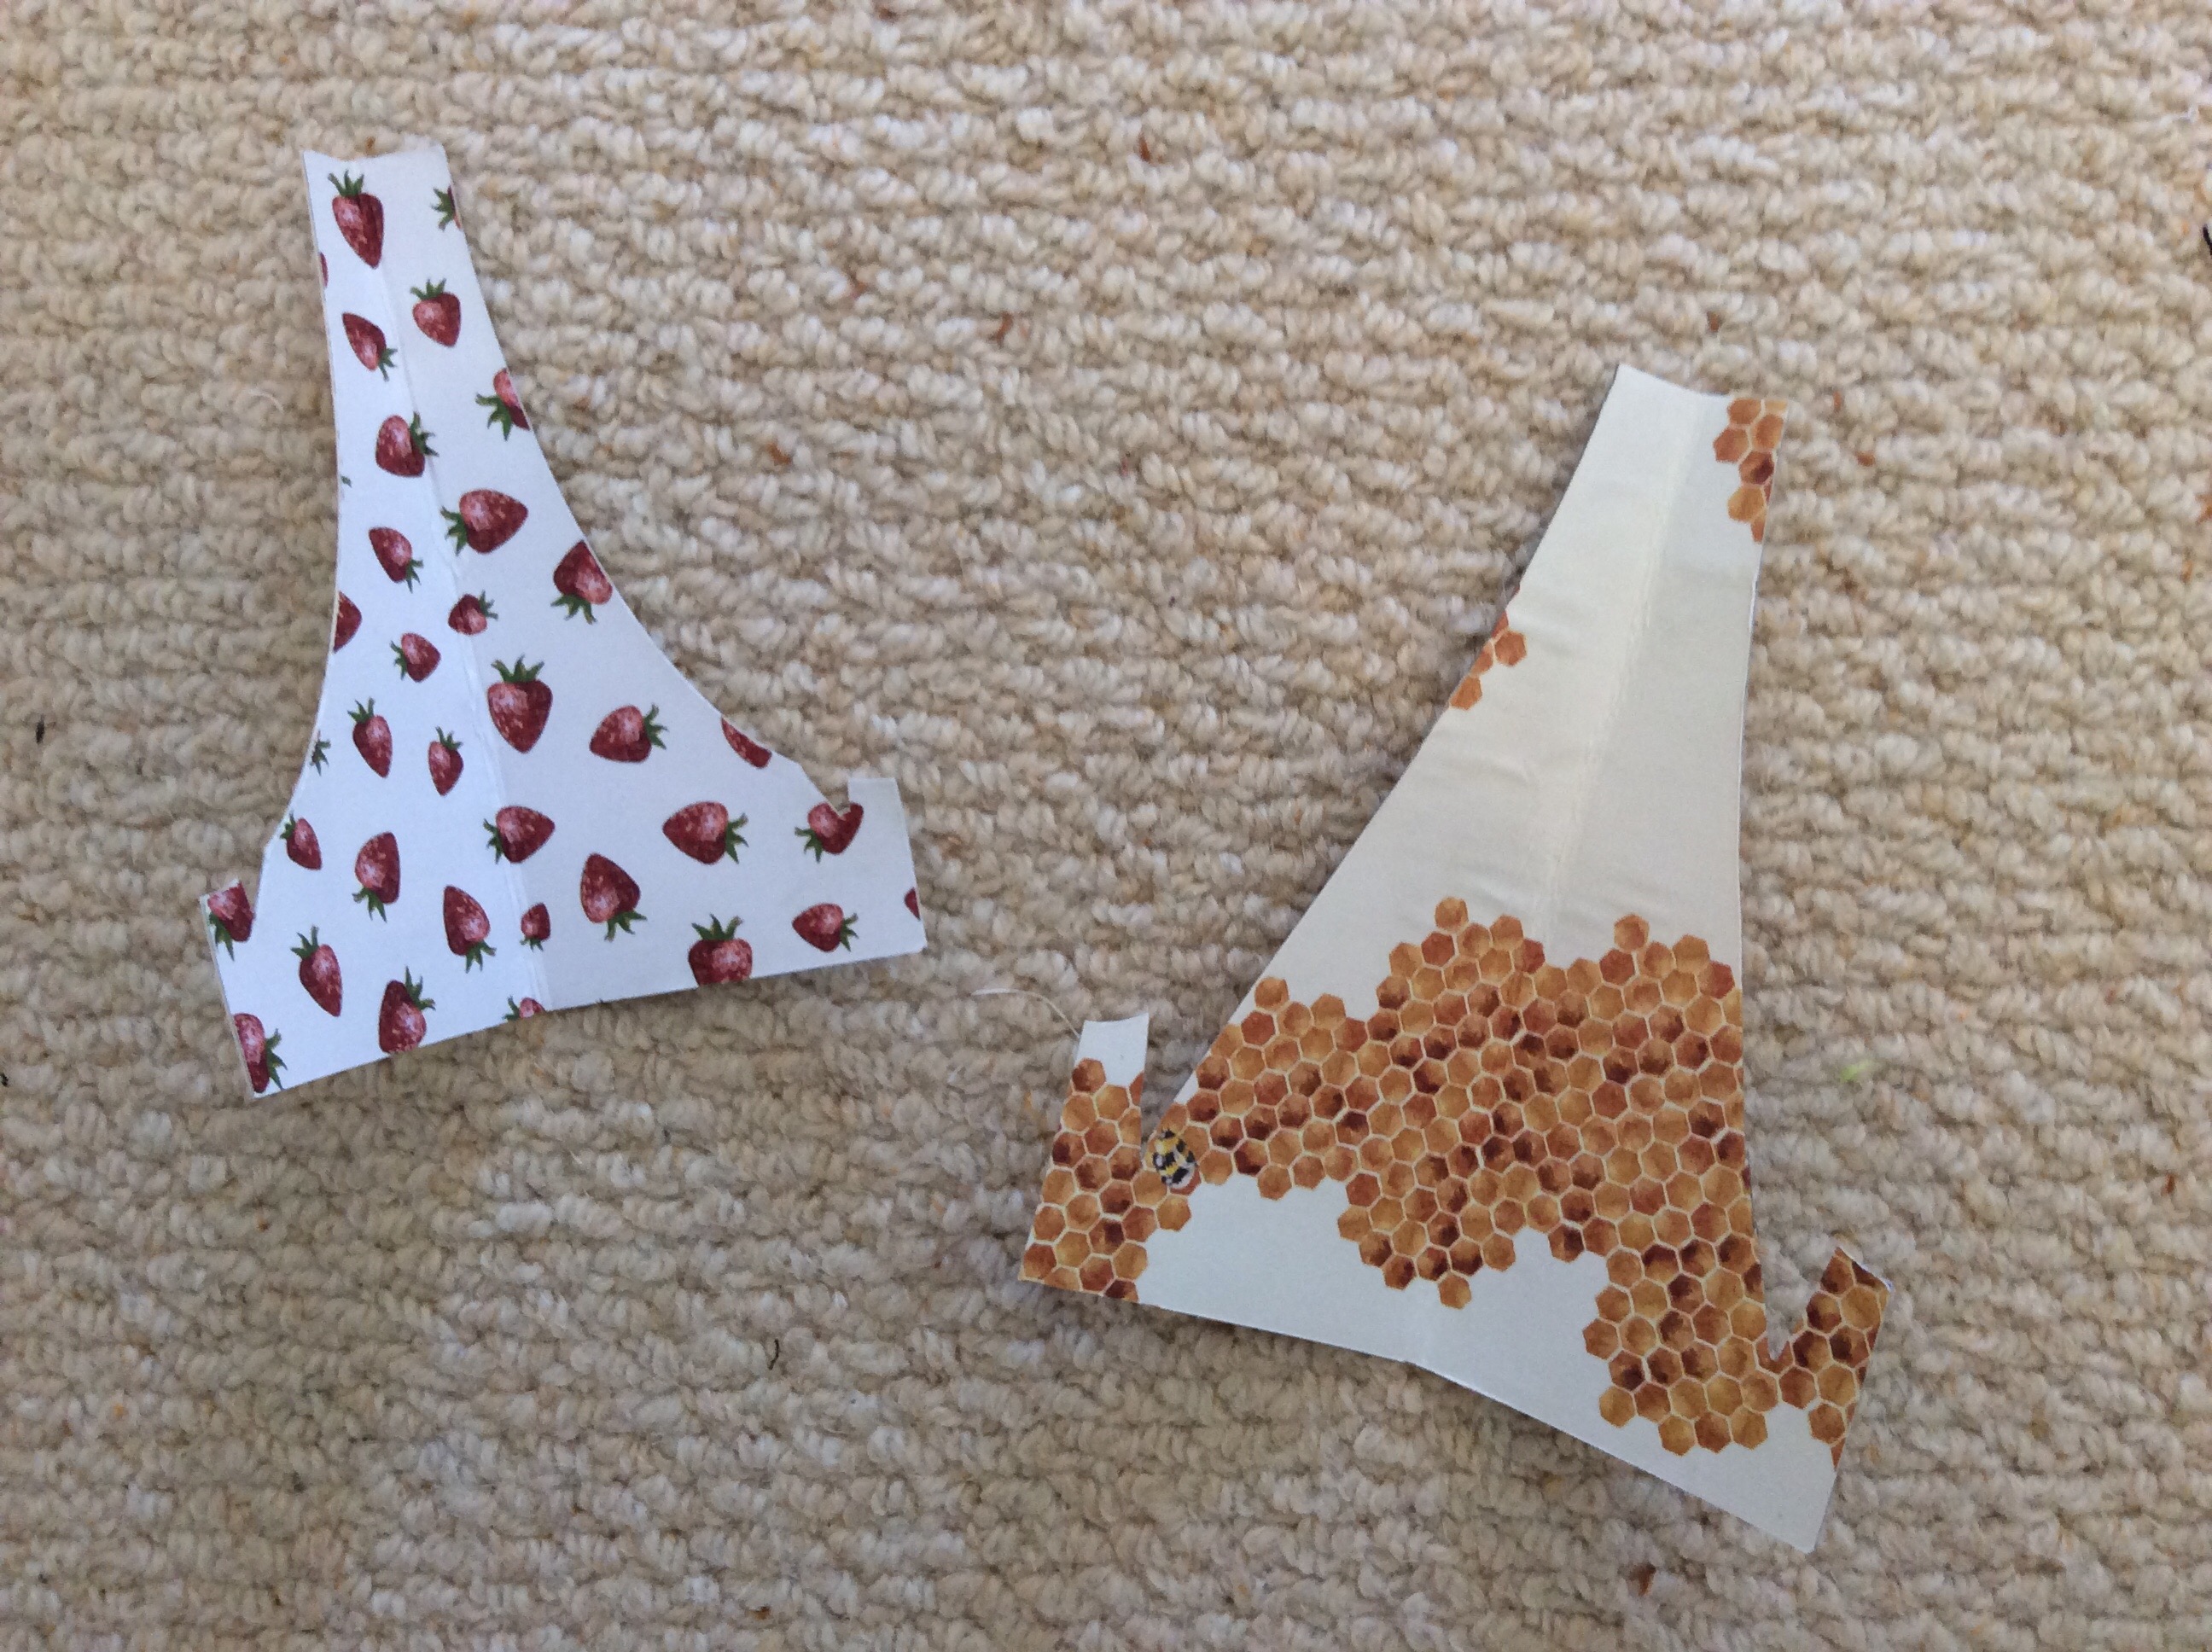
I decided to trace mine on some wallpaper remnants – only 50pence in the end of line box at B&Q. This made for an even stronger bag and handle than a brown paper version.

Once the shape is cut, the side flaps are folded in and round and the handles are just threaded through the slits in the flap and the bag pulls together. So satisfying.

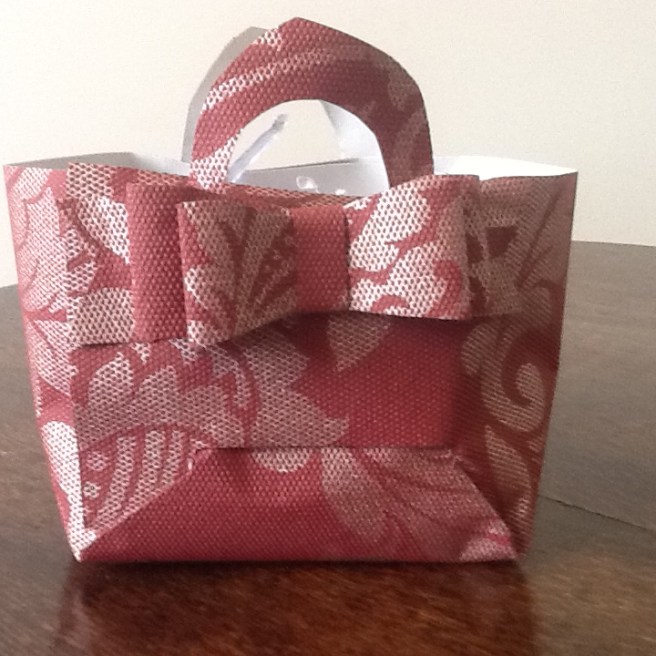
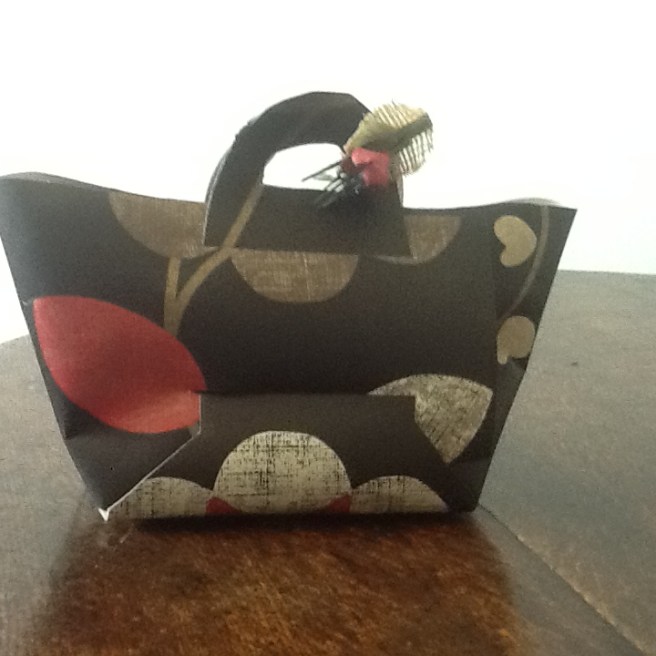
I couldn’t resist embellishing with a cheater’s ribbon made from three strips of the paper scraps – yes this was taped together and stuck on the bag. But tags tied around the handle would look good too.

The first bag was filled with shredded paper, the second one had its handles clipped together with a mini peg which pushed out the sides to make more of a handbag shape. Oh this is addictive.

image

Buoyed by success I then scaled the template down to make a mini bag from a piece of unloved 12”x12” paper.image


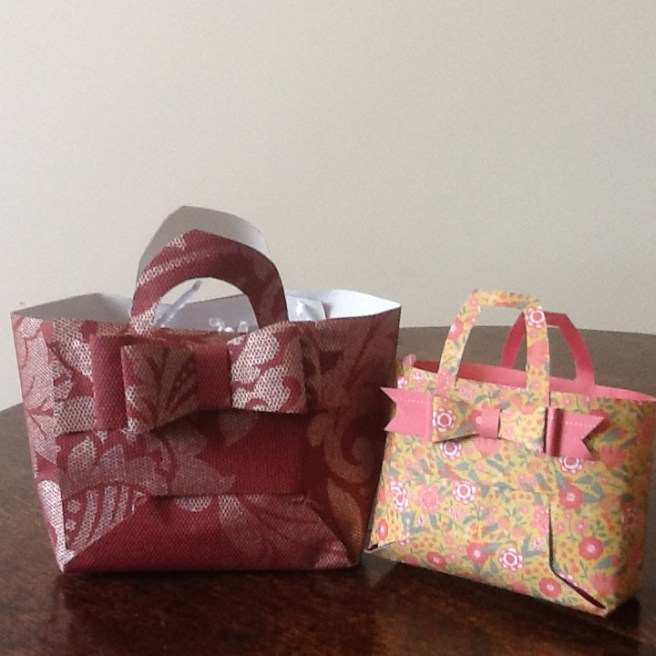
Even cuter. Can’t recommend this highly enough.
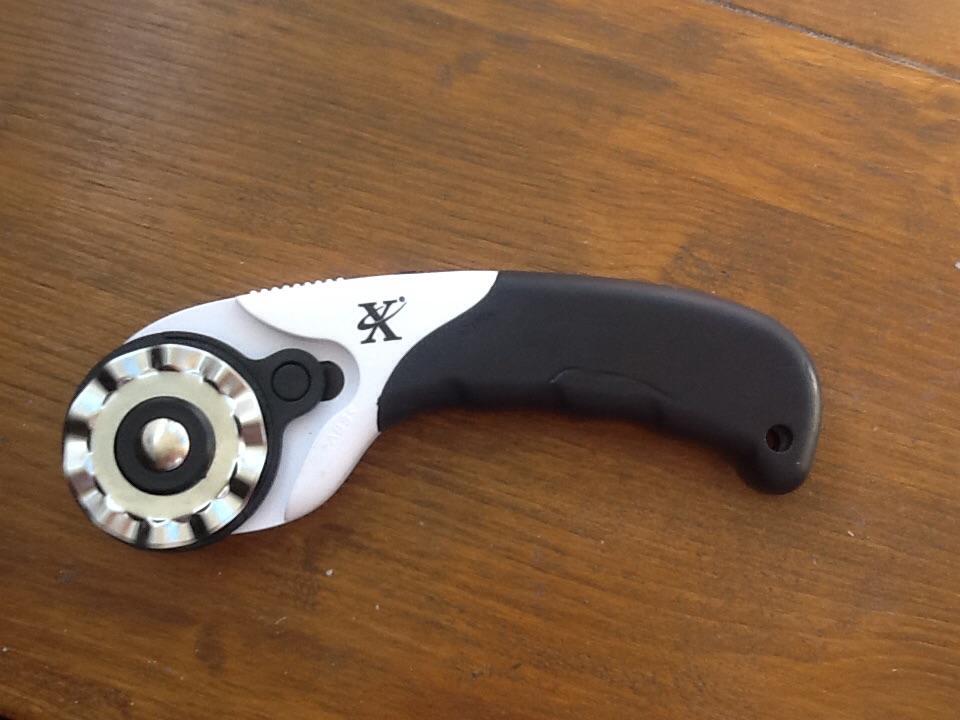
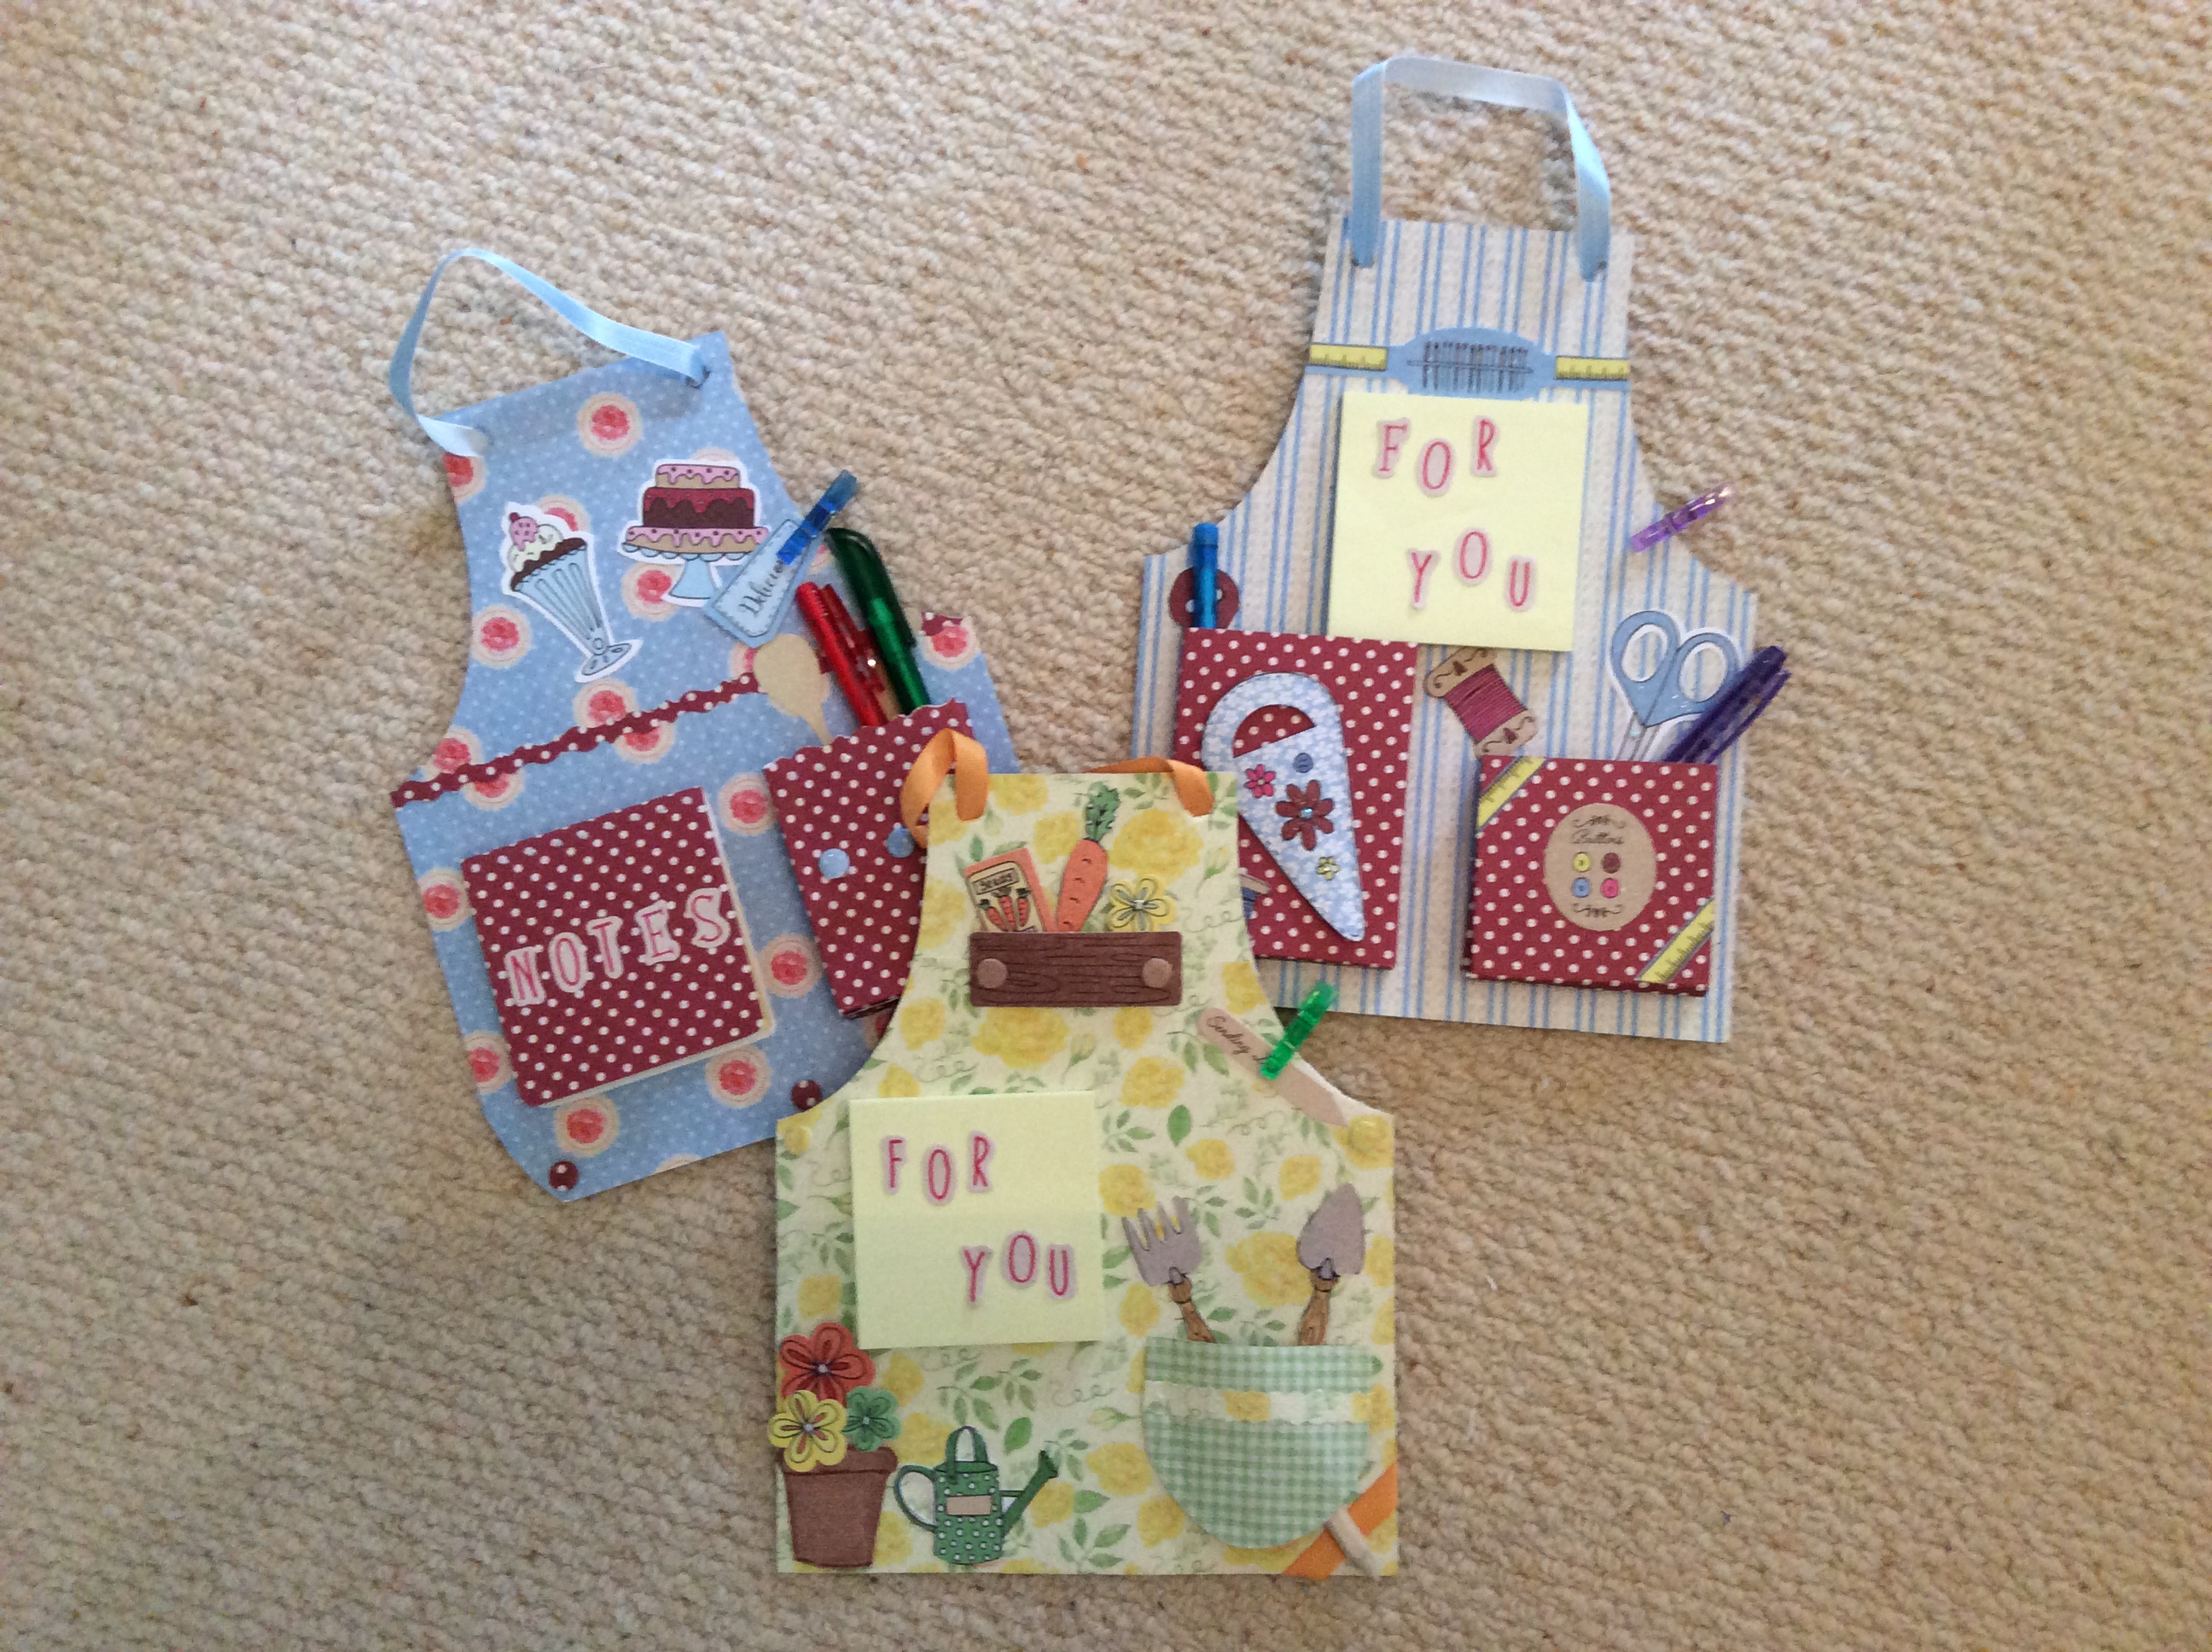
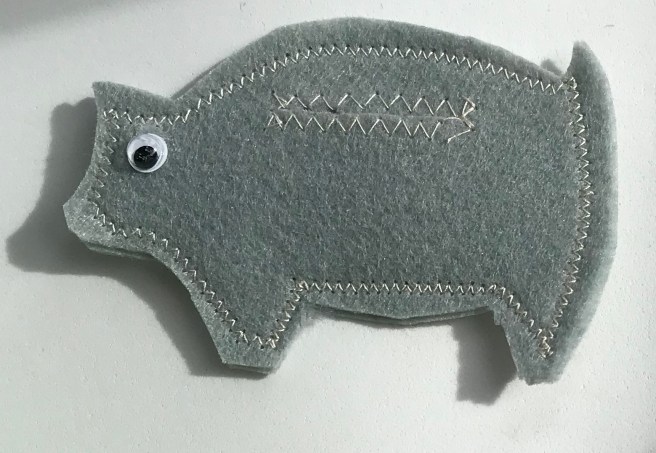
 

Decorated pegs

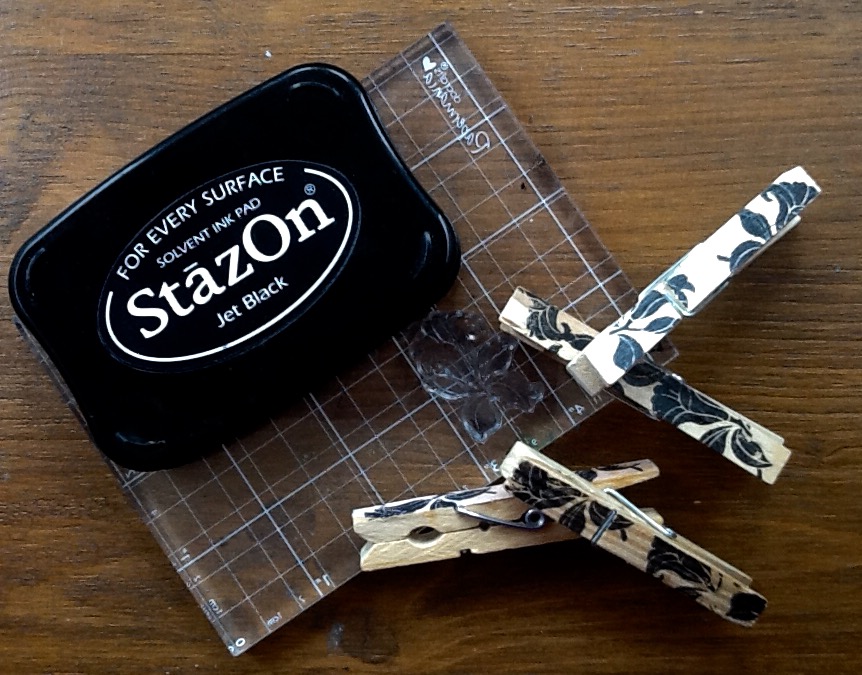
Makes a useful,  basic and inexpensive tool just a little prettier…

Plain, wooden clothes pegs are useful in the craft room for box making, clamping glued items and stacking papers as well as storing cords and fabrics

Glued on a shelf in the utility room they are great for holding odd socks until their ‘sole mates’ re-appear or holding dog leads out of the way

And in the kitchen they keep packets and bags closed to stop spills

Functional is good but prettified and still functional is even better, so a stamping session took place this week.

Prettified, these pegs will also add a final, rustic touch to attach a tag and close a gift bag.

Maker’s tip: I used a floral stamp and placed it on an acrylic pad, took the ink pad to the stamp and then rested the peg on the stamp to get the right position. It is easier than trying to balance the peg on a work surface then tap your much bigger stamp on top of it.

Use the right ink to avoid smudges and stains- I used stazon – or découpage pretty papers with something like modpodge to keep them durable…

Lavender tub tea

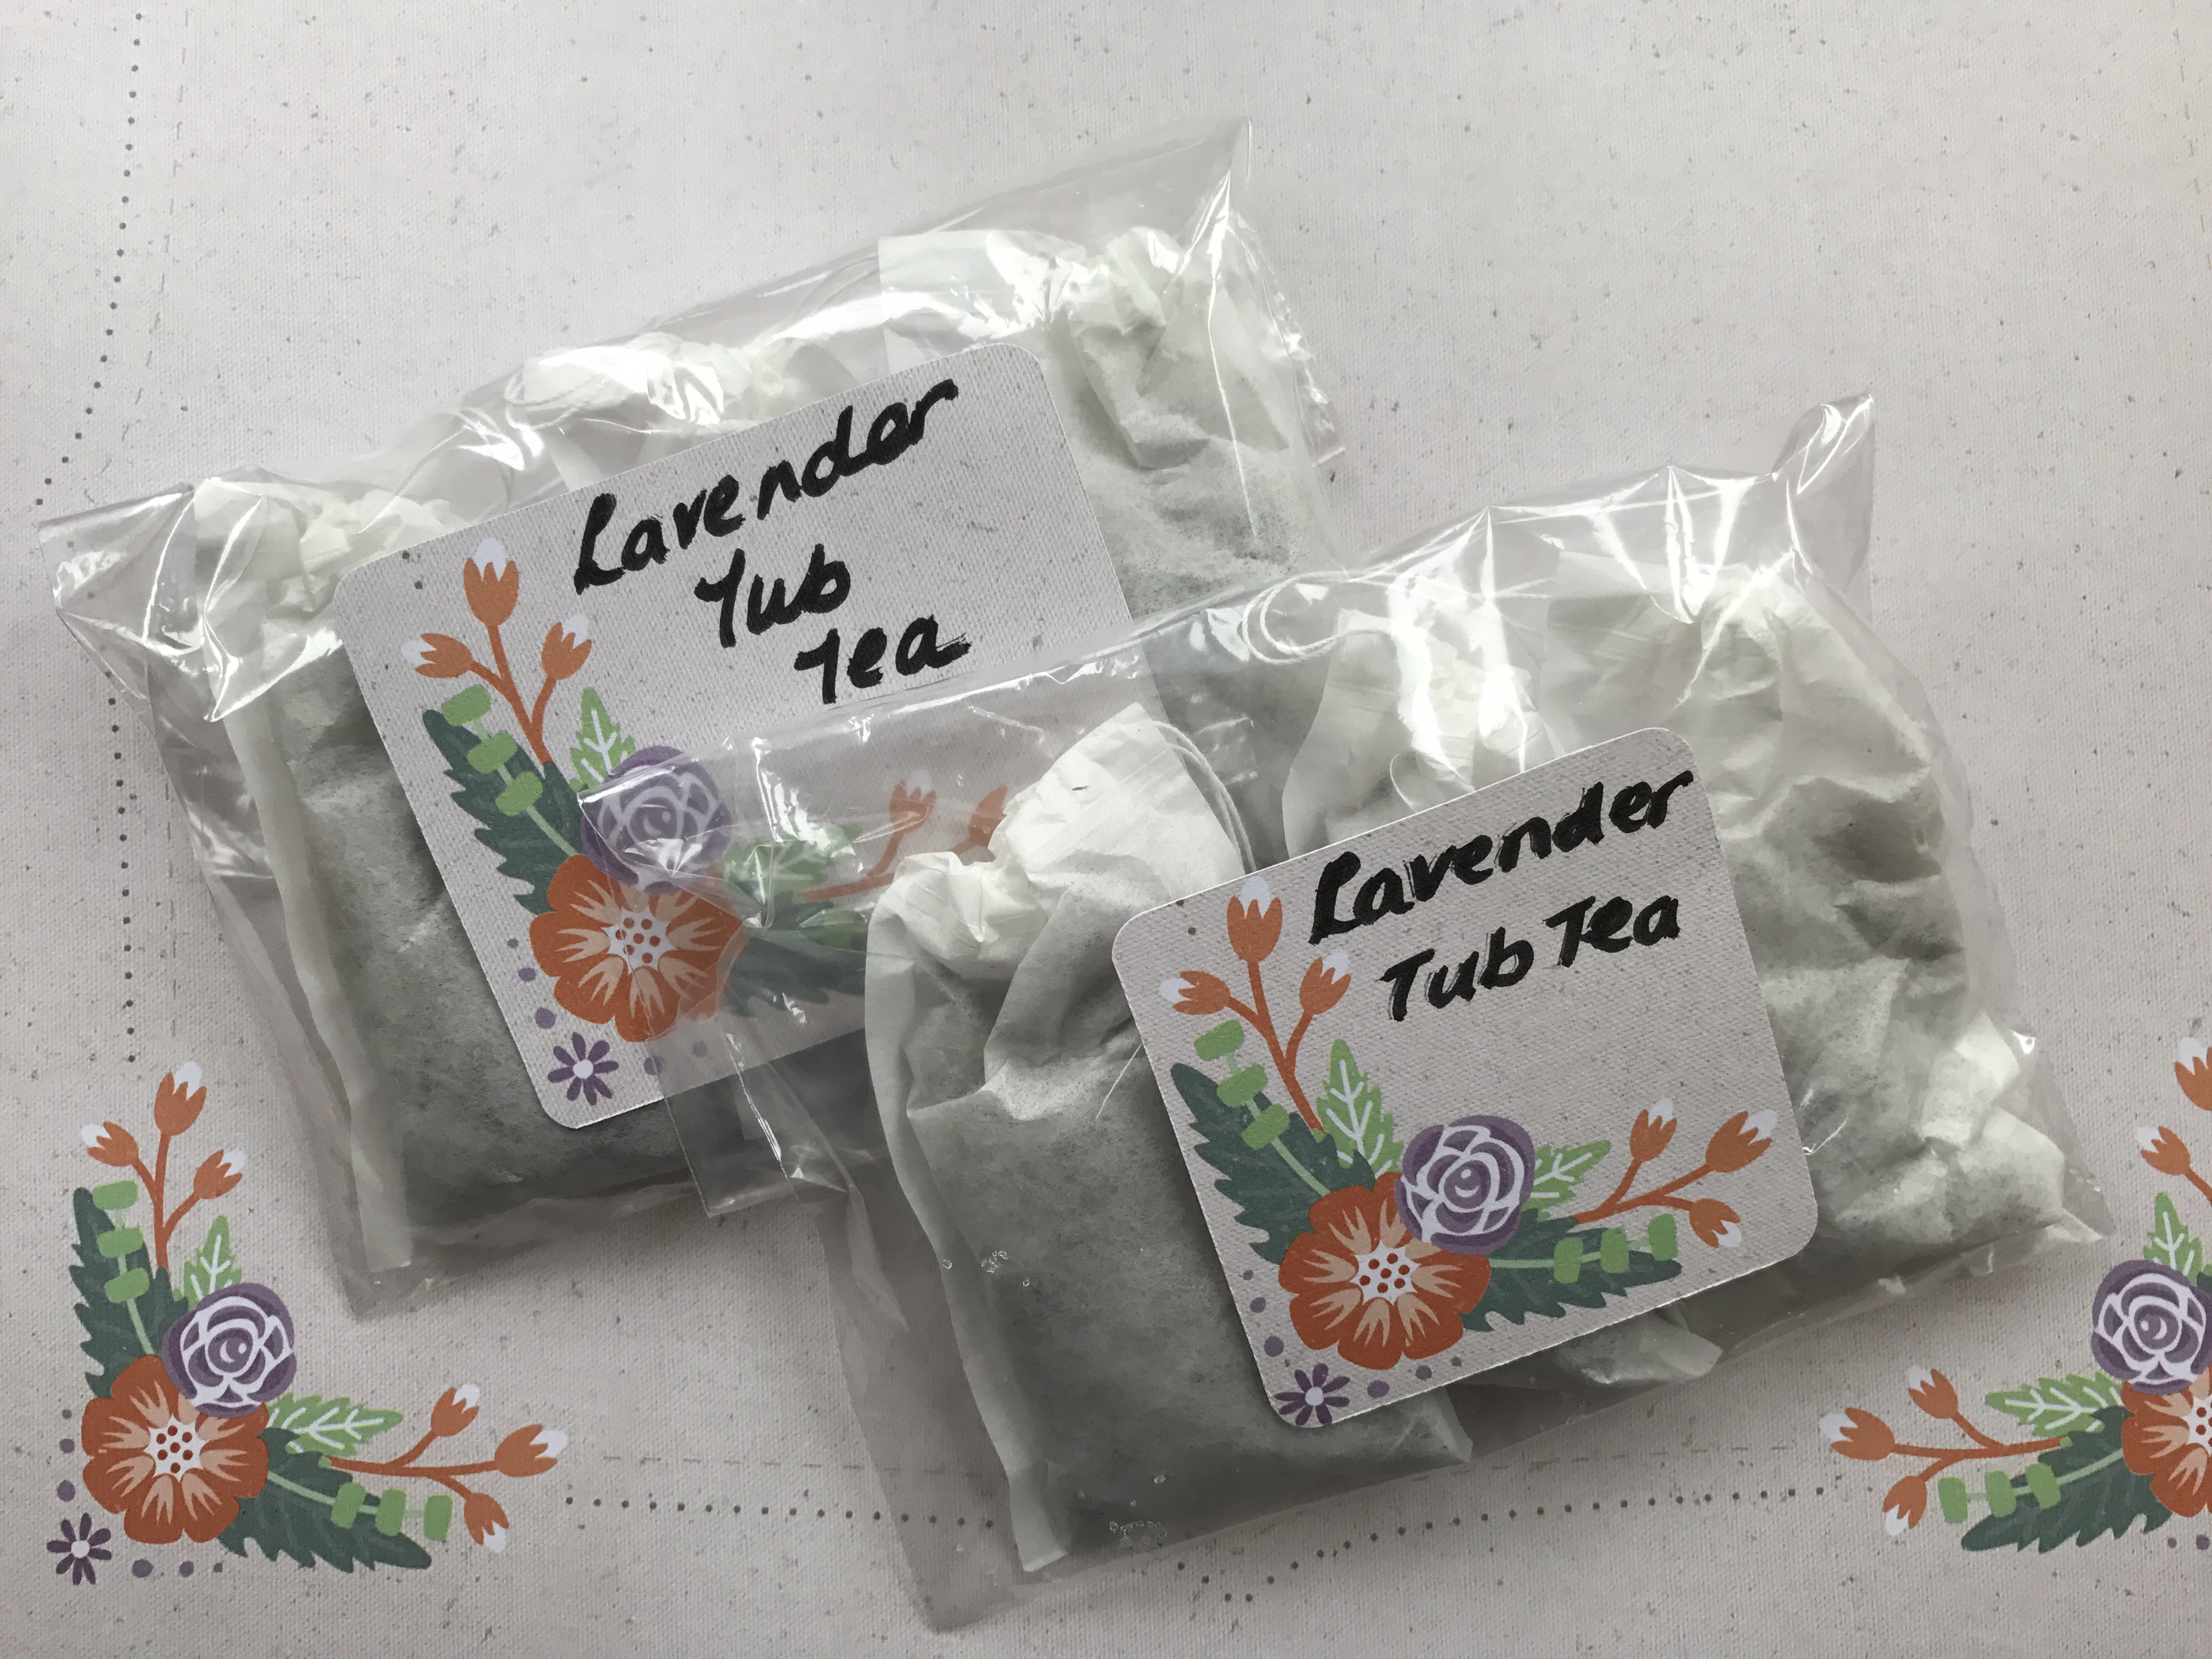
Some of the french lavender that my sister harvested has been turned into bath salts thar won’t clog the plug hole.

Fill-your-own tea bags were stuffed with  a mixture of dried lavender and dead sea bath salts.

I searched for some lavender themed paper for the packaging but this was the closest I had in my huge supply pile. The reverse of this paper is however lavender polka dots so the trimmings were used to make banner ended tags for the bag ties.


Co ordinated gift bag and tag, so simple

I bought a bundle of brown food bags from the catering supplies shop for Christmas and duly stuck on panels and greetings in red, green and gold. But eighteen months on I still have plenty left, so have decorated a few simply ready to pop gifts in.

I used a stencil panel which fitted the bag front perfectly so used all the patterns rather than re aligning one of them.

I dabbed some distress ink- evergreen bough- on to a craft sheet and rubbed the ink through the stencil with a piece of cheap bathroom ‘sponge’. The back was also stencilled the same way.

The gift card and flower were cut from craft card with the scan n cut, the same distress ink rubbed on the edges of the flower and stamped on the tag. The message is ‘a gift for you’ stamped repeatedly on the diagonal, so it can be used for many occasions.

Distress ink or sepia browns work brilliantly on craft and for more masculine versions I am using rosettes rather than flowers.

Inside is a sheet of tissue paper ready to wrap a goody from the present drawer. Even so this will store almost flat until needed.

Brooch holder

I love vintage brooches and try to wear them on jackets often

i have turned their storage into a display with this project

a piece of corduroy and contrast linen which was three inches longer and wider were sandwiched (right sides OUT) around some batting so that the corduroy was centered on the bigger fabric giving an equal border.

the border was pressed in half and then folded over the edge of the cord and pressed agin then pinned in place, creating the look of bias binding

I top stitched around the frame that was created (twice, once at the crease and once on the outer edge to sharpen it up).

the corners were folded as hospital corners on a bed with the long edges on top, to create a mitre effect but these were left unsewn so I could poke a curtain rod through the channel created when I sewed the frame

I threaded cord through the convenient hole in each end of the slim metal curtain rod (an adjustable one designed for net curtains) -and knotted it to secure it

Serious cards

Beautiful papers from Craftwork Cards Antiqued and Chinoiserie pads were used to make some serious cards for ‘thinking of you’ messages

I used the scan n cut to create a decoupage effect with the water lilies (very impressed with the direct cut feature now I have tried it) and the trellis strip (a border from the pattern library) Continue reading

Quick photo stands


Want to display some photographs or cards but don’t have any frames spare? Head for the recycling box and use old cardboard for a quick fix.

I covered my card with pretty paper before cutting. I used my scan n cut to get a neat shape but scissors would work.

I then creased the shape against  a ruler to get the fold

adapt for your photos but aim For a width much wider than the photo so, once the support is creased, the photo can lean backwards rather than be too upright


Wall hanging note pads

img_0206

A craftwork cards Leisure kit contained the greyboard apron shaped cut outs so I have covered them with paper and die cuts from the kit, made pockets as pen holders and attached post it note pads with red liner tape

on one I took part of a memo block and covered it in paper to make a note pad

to finish I stuck ribbon scraps to make the handles and found some mini pegs to clip on the sides as receipt holders

little Mothering Sunday gifts, done!