serviette decoupage

IMG_0085

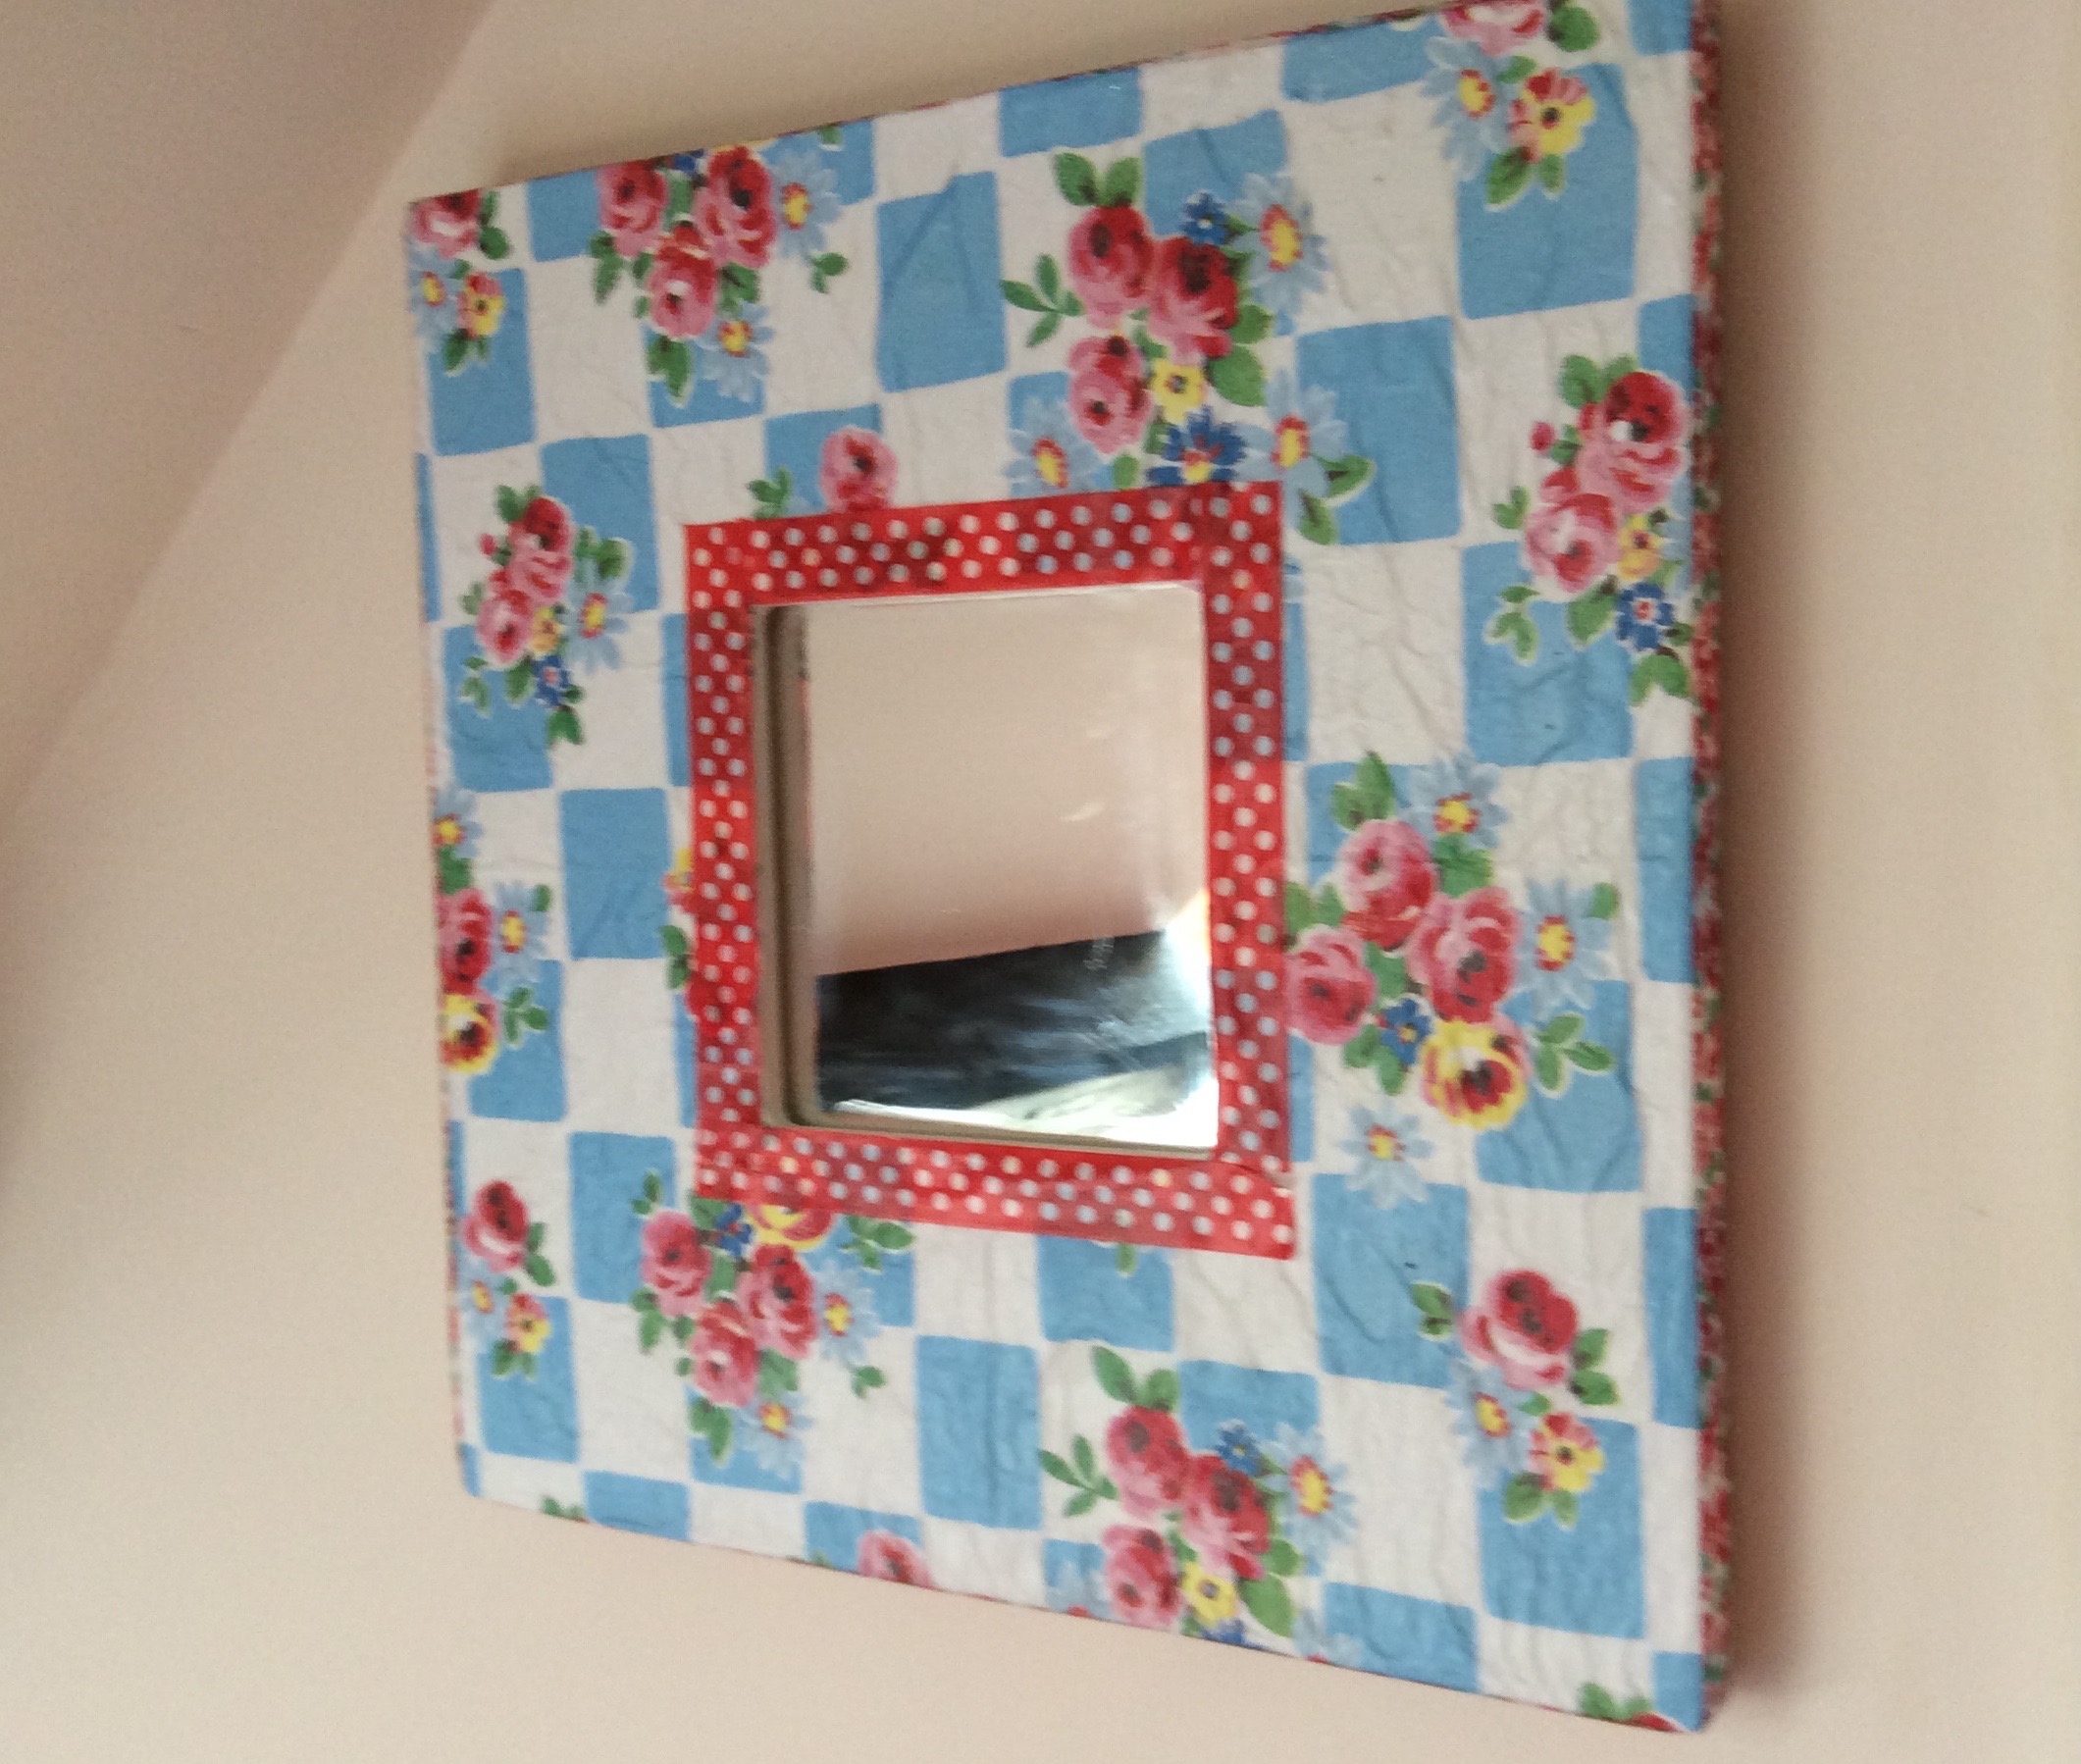
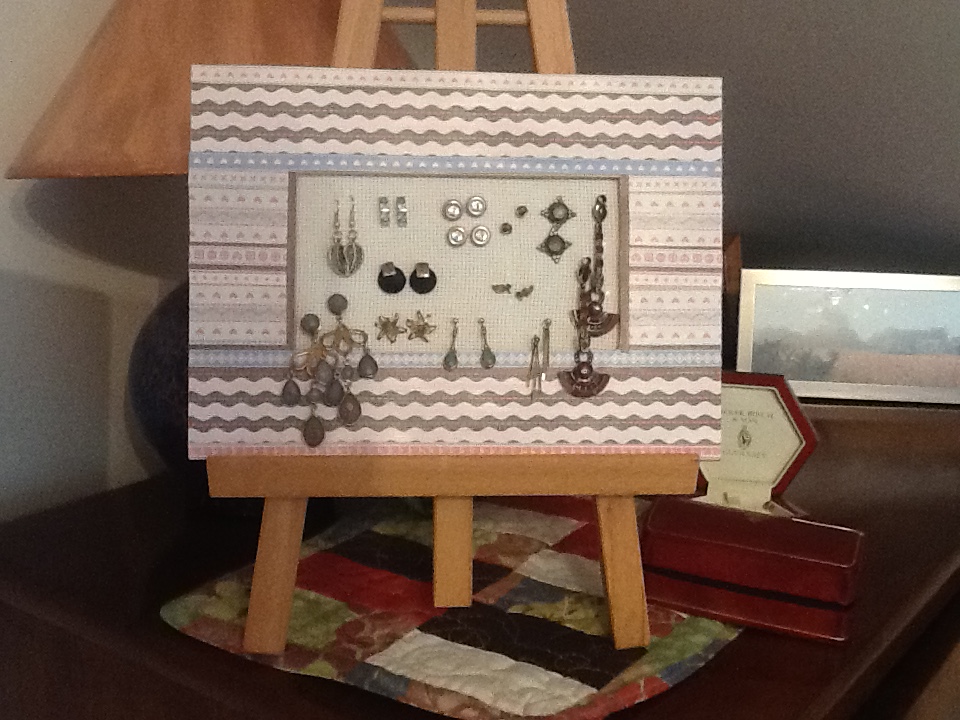
IKEA mirror upcycle – I found some Cath Kidston paper serviettes on sale (45p the packet!). They are soooo pretty that I decided to use them for crafting. I peeled off the plain paper liner and pasted a thin layer of mod podge on the mirror. Rather than tearing the napkin into pieces, decided to keep the chequerboard structure in tact which entailed some fussy tearing around the mirror. Decided my fussy tearing wasn’t neat enough so some contrast washi tape provided a central contrast to finish things off.

The napkins wrinkled to provide a lovely texture to the finished mirror.

Machine stitch sampler

As recommended, when I got my Janome decor doc 3050, I made a stitch sampler. But rather than have a useless but decorative piece hanging around – I decided to make it into a bag to hold the presses feet and accessories.

image

main challenge for this was putting the continuous zipper together, I find threading the zip on tough despite following YouTube videos carefully. Nevertheless continuous zips make financial sense and are worth the fiddle. Maybe I will be organized and thread all the bits together before I need them ?

Stud earring display frame

imageA companion for the framed burlap holder I use for hoop earrings. This works for studs or earrings with butterfly backs. If only rarely to be used (how many earrings do I own?!)  could be wall hung but for ease of access to the back this sits on an easel. I used strips of docrafts craft paper sealed with modpodge to pretty up my old frame.

image

method: remove glass and backing from frame. If necessary decorate the front of the frame with papers or ribbons or paint or … Cut a piece of aida cross stitch canvas a bit bigger than the aperture of your frame .  Stick to the back of the frame pulling the fabric taut as you go.  If gifting cover the back of the frame to cover your work. Job done,

Double oven mitts, again from jeans

image imagea freestyle project using ‘jolly molly’ double oven mitts as a template.

layer outer canvas, insulbright, batting, outer canvas and jeans back pockets over the template made from old mitts. Baste around the edge then fix bias binding to seal the edges.

Don’t look too closely at the binding, next time I will hand stitch the second side as I found it tough to stitch in the ditch.

What to do with a fabric samples book?

Ideas please as I have a stack of curtain fabric samples to be used. There just isn’t room in my craft cupboard for all the fabric I am accumulating.

imageProject number one – my failsafe door stop design with sizing adapted to fit the fabric square. Four identical rectaingles and two squares to match the width of the rectangles with a strip folded to make a handle. Method; stitch the rectangles to form four sides of cube, keep it inside out.. Top stitch the folded strip and sew on the top square in place as a handle. Stitch  the top into position in the cube and stitch around most of the base square leaving a gap for turning. After turning fill with cushion poly fill and finish with some gravel or pebbles as weight before hand stitching closed the gap.

Rustic table mat

image

Think I found the idea for this in home crafts magazine last year. A simple make to suit a rustic table and a practical recycle of bits

method- disassemble a pack of wooden clothes pegs (ideas please for what to do with the discarded clips) and hot glue to an old cloth place mat. Cut the place mat to leave as much border as you want- you may prefer to do this first if you are confident about size.

word of warning, hot glue re melts if you put a hot pot or pan on the pegs, and they will detatch

Fabric baskets

image image image imageGoal:To replace the tired old bread basket with a home made version.

result: love this with contrasting fabric which makes it reversible. so far one bread basket suitable for 2 people (10 inch squares) and one (18 inches) now my cottons basket.

method- take two squares of fabric, back with heavyweight interfacing and iron neatly.

draw darts midway each side – for the large one mine were three inches deep and three inches wide.

image

Sew each dart so it pulls the fabric into bowl shape then, with right sides facing, stitch the pieces together leaving a gap for turning. Turn right sides out, iron to tidy the edge and top stitch to neaten and close the turning gap.

For or the large one I also rounded the corners before I drew the darts using a plate as a template  and at the end stitched a button on each flap. Other variations to follow, love this practical make.


Dog coat

image
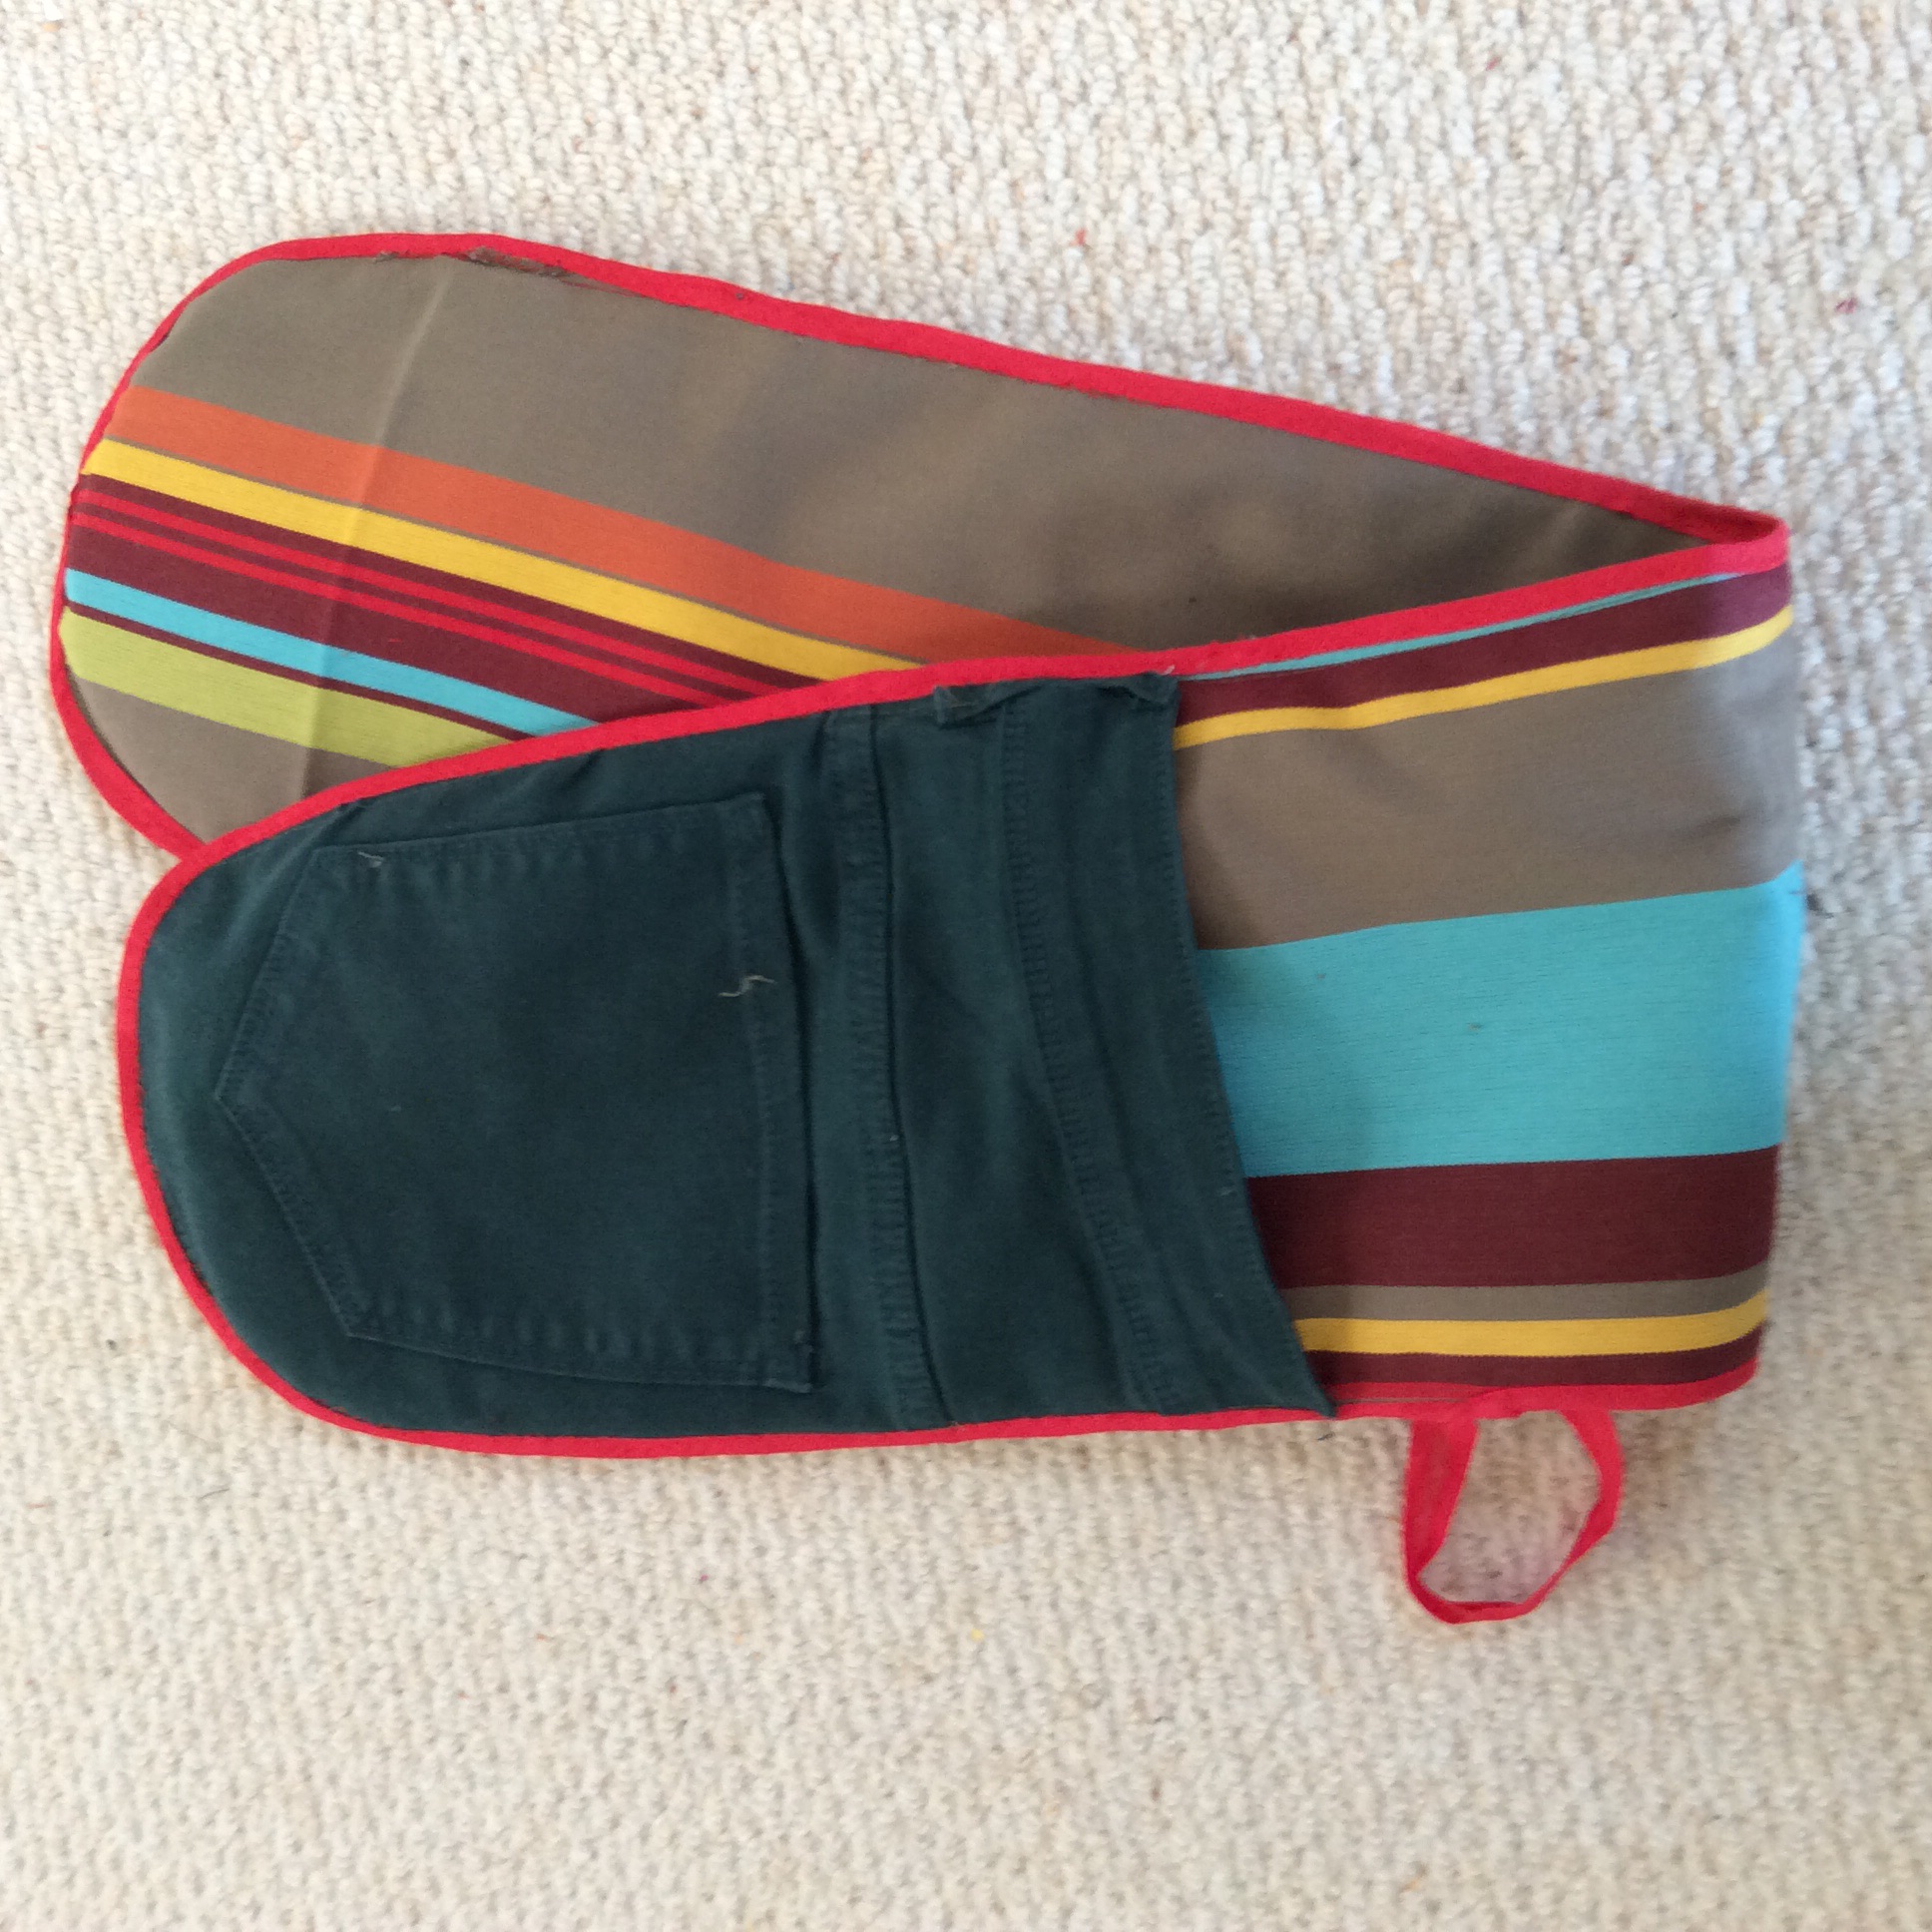
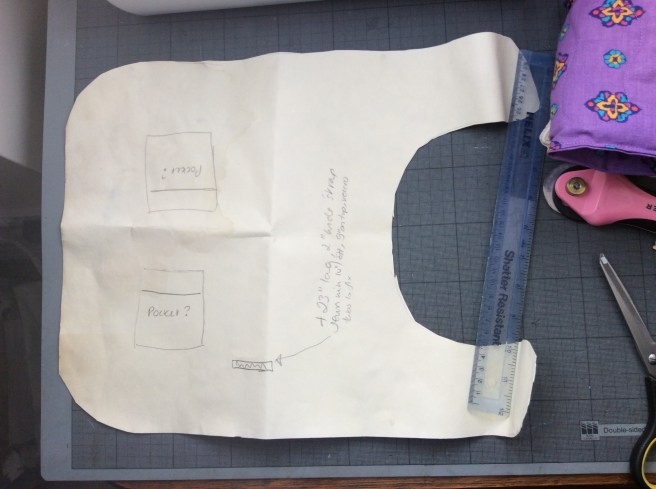
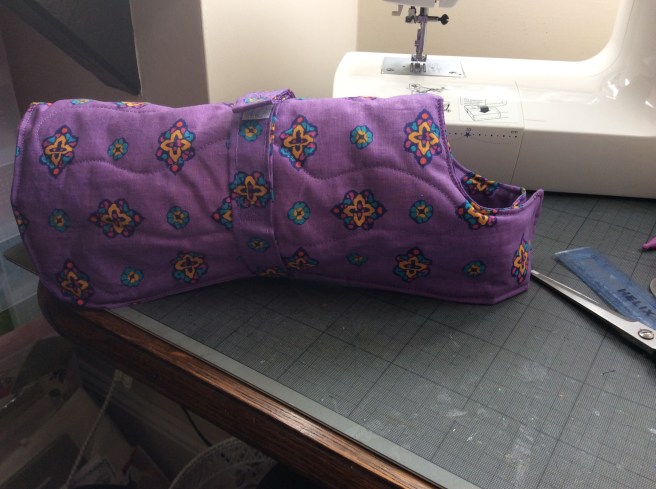
the most expensive dog coat turns out to be the easiest pattern to copy, just traced.


to fit Harvey this is 12.5 inches wide, 11.5 inches back to neck, 17 inches back to end of each tab

image

Method: use pattern to cut two fabric shapes and a 23 inch long four inch wide strip. Quilt wadding to the reverse of one shape then sew shapes wrong side together, leaving a gap to turn. Top stitch the edge, this also seals the turning gap. Iron the strip in half then turn in each edge to make a four ply strip . Top stitch along each edge and fix as on pattern.

once checked on doggie for fit,  affix Velcro tabs on neck and on strip. Now just waiting for the reflective tape to arrive, so his night time walks are warm and safe.