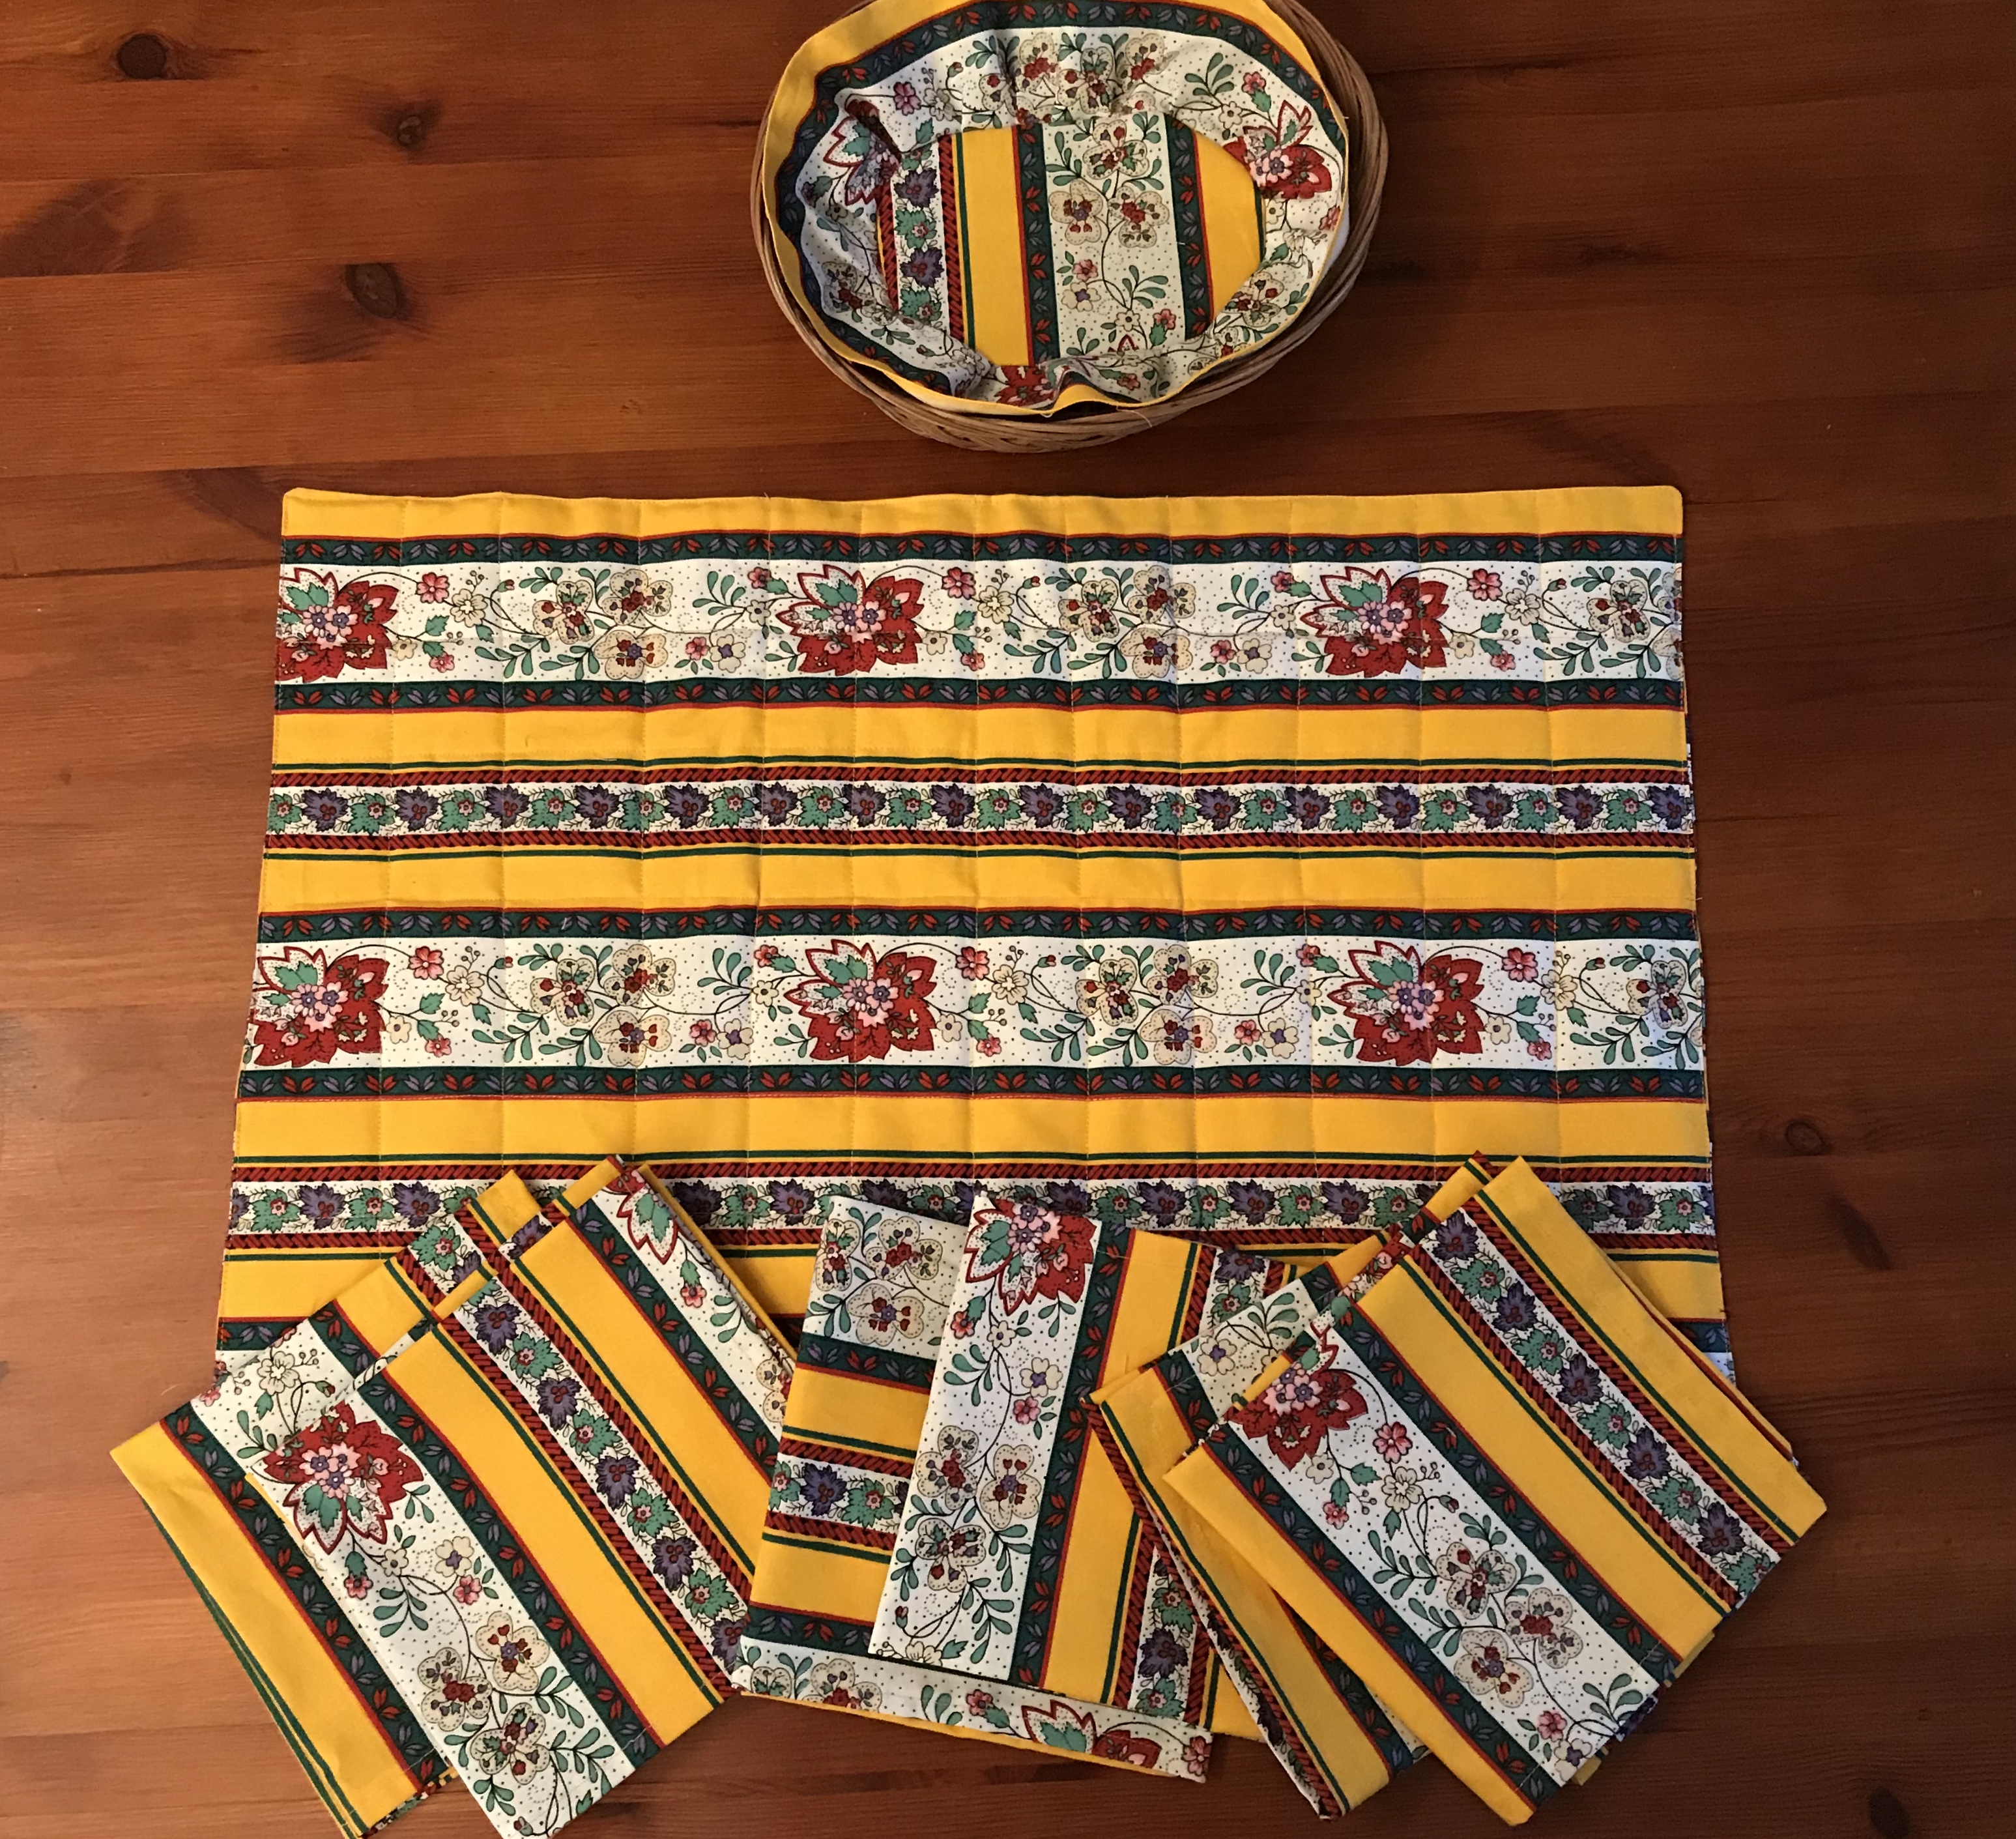
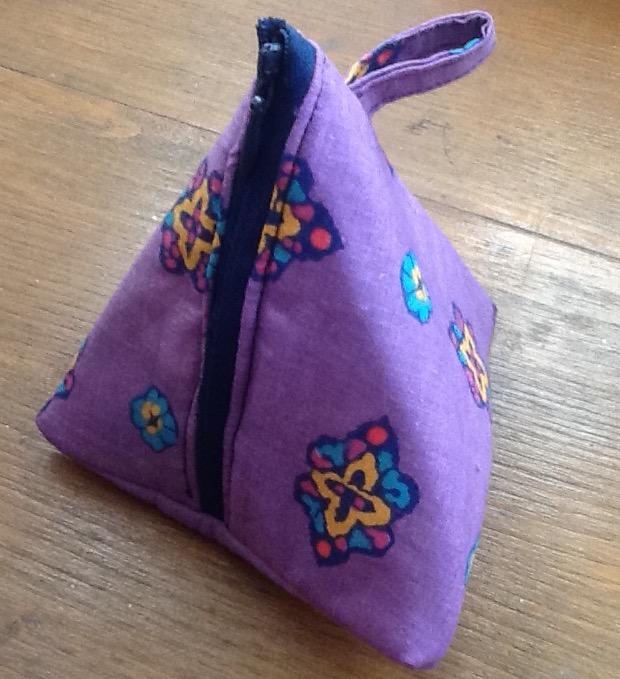
I am determined not to add to my fabric stash so am using up bits and pieces in small projects.
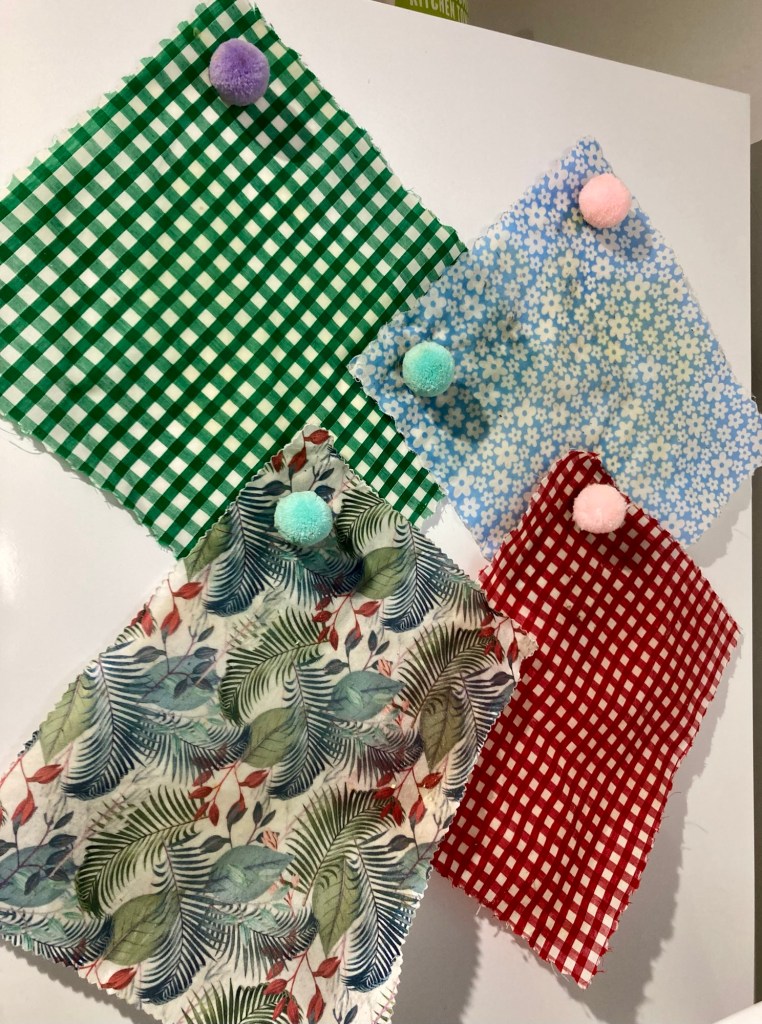
Scraps of fabric have been waxed to provide clingfilm alternative waxed wraps, these live on the fridge ready for use. I used beeswax pellets as solid bees wax needs messy grating before it is ironed on the fabric.
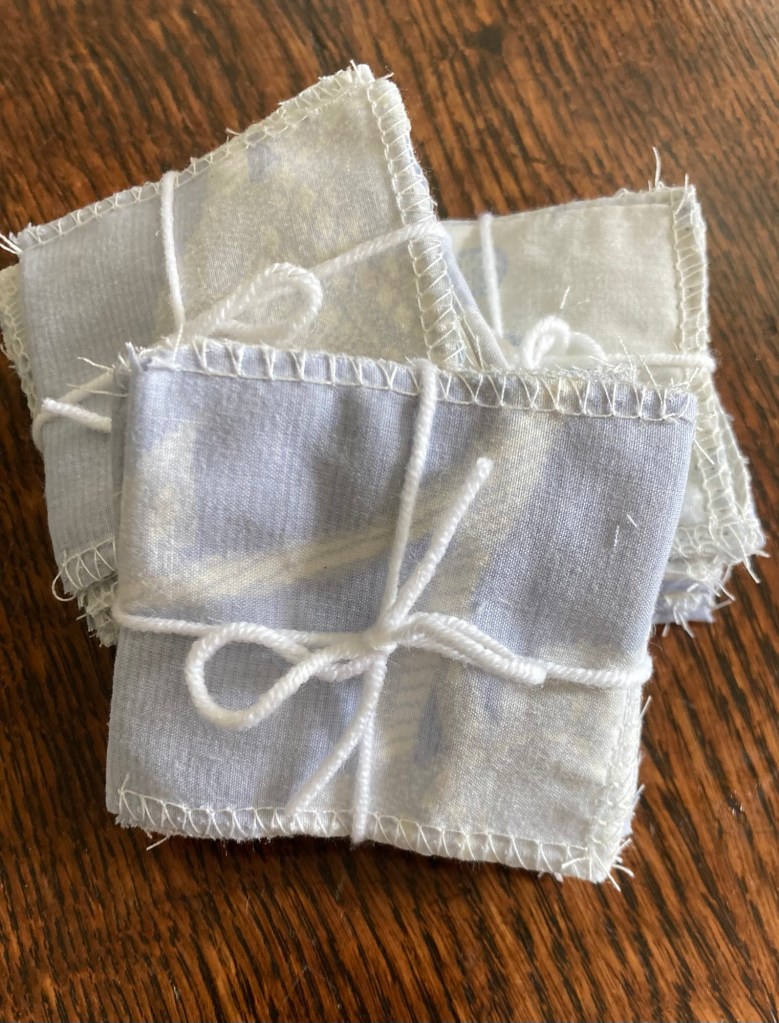
Then when reducing the size of a king size duvet cover to fit a double bed I ended up with surplus strips of fabric.
As the overlock machine was out I decided to fold the strips in four and overlock them into squares for use as reusable cotton face wipes. Enough extra bundles were made to go in the present drawer with suggested ‘recipes’ for diy facial cleanser.

 A learning project.