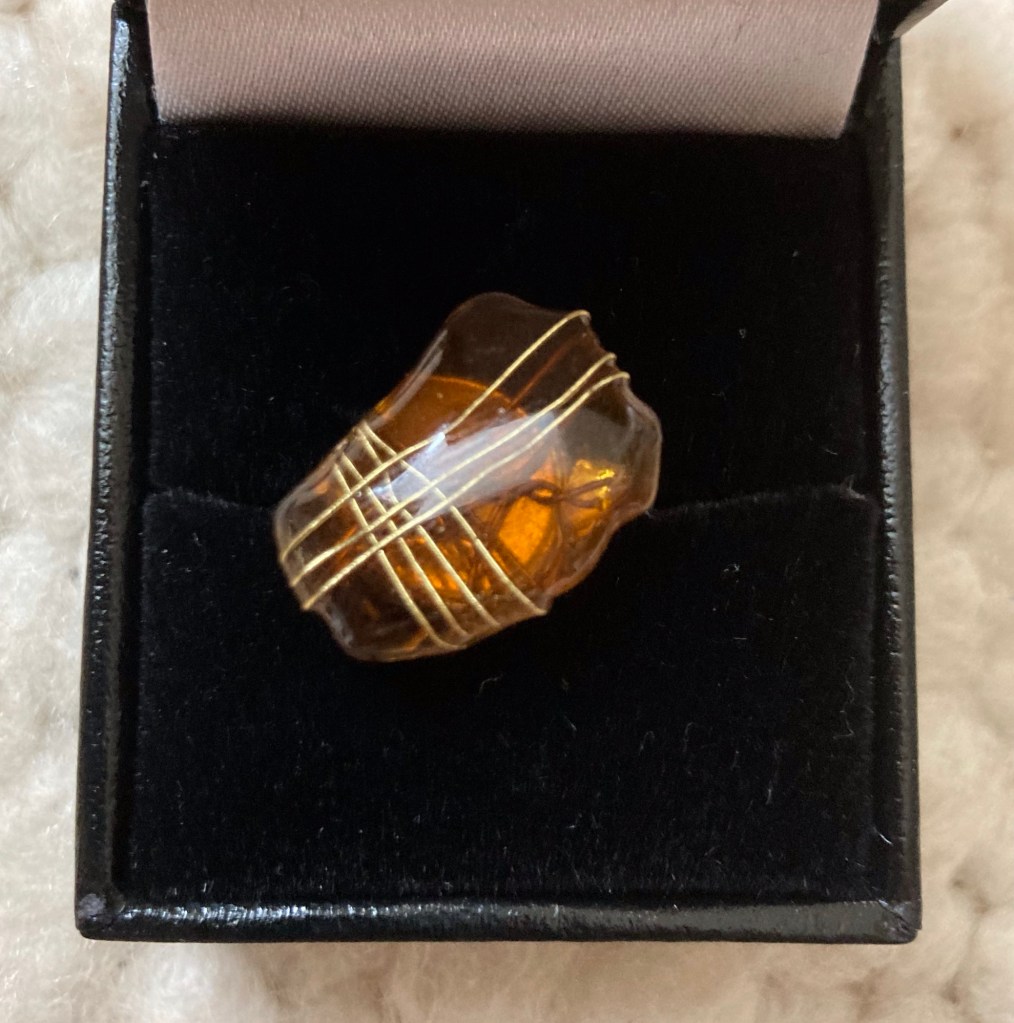
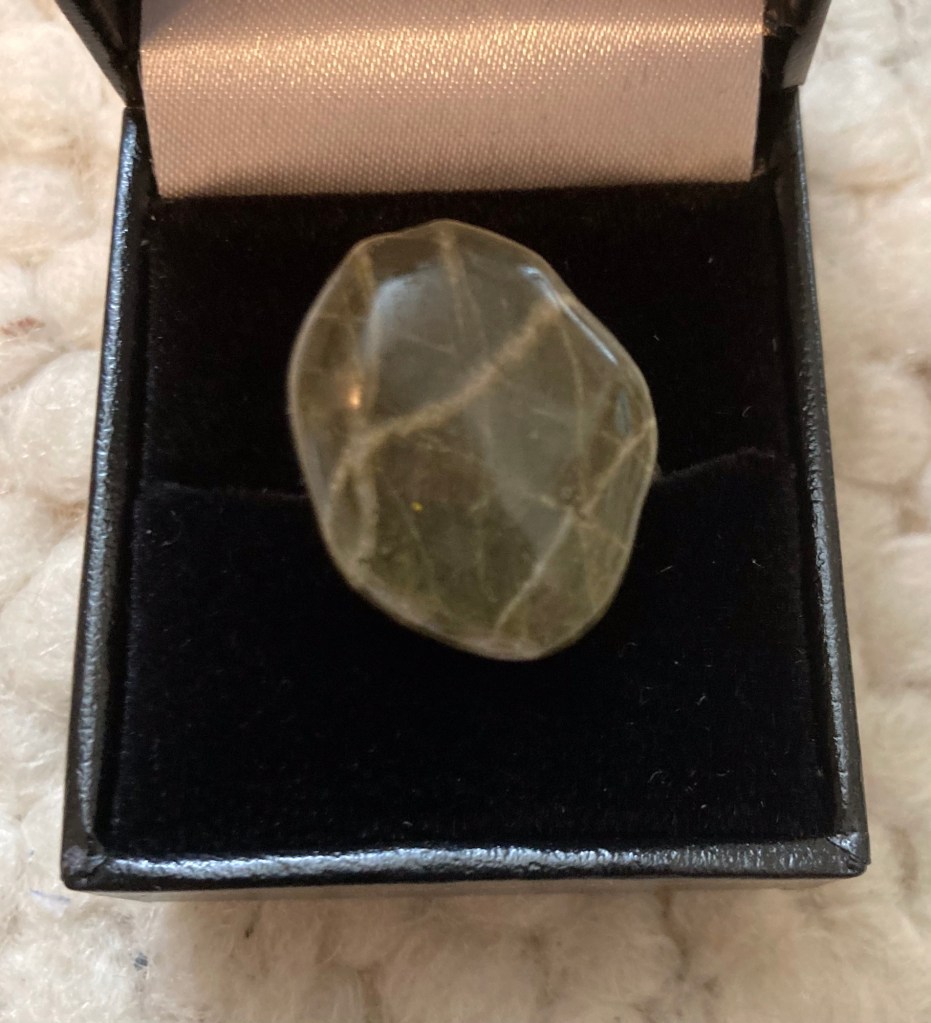
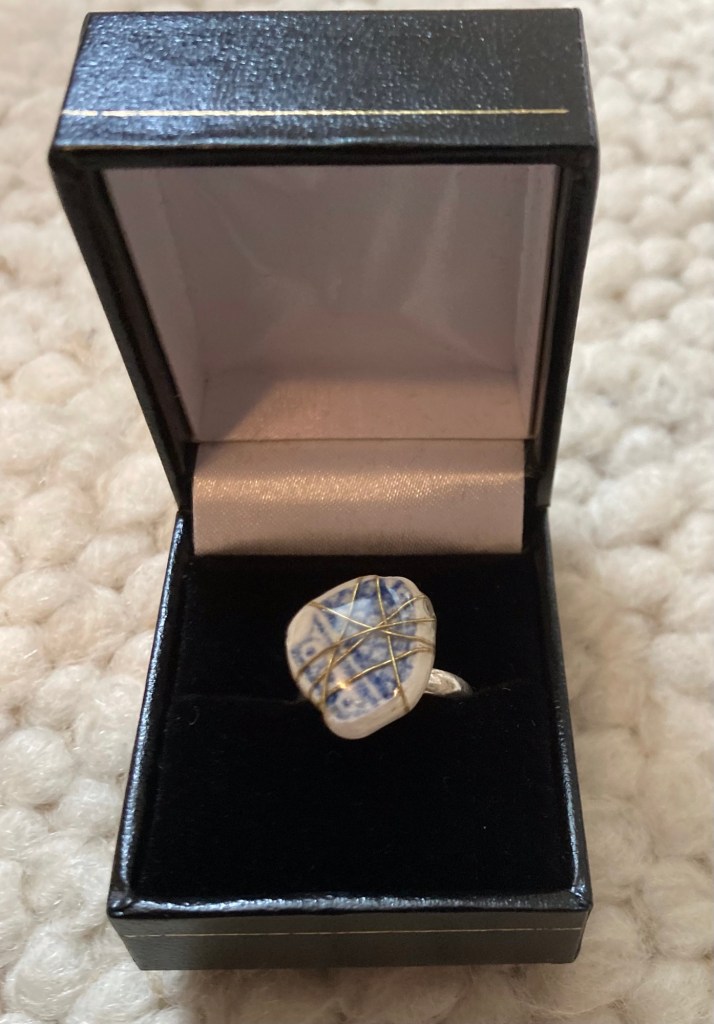
Finally used the ring mounts from my stash and sealed the stone, beach pottery find and sea glass with uv resin for adhesion as well as to lacquer.
A little bit of wire wrapping under the resin coat and this was a quick and rewarding project.

Finally used the ring mounts from my stash and sealed the stone, beach pottery find and sea glass with uv resin for adhesion as well as to lacquer.
A little bit of wire wrapping under the resin coat and this was a quick and rewarding project.
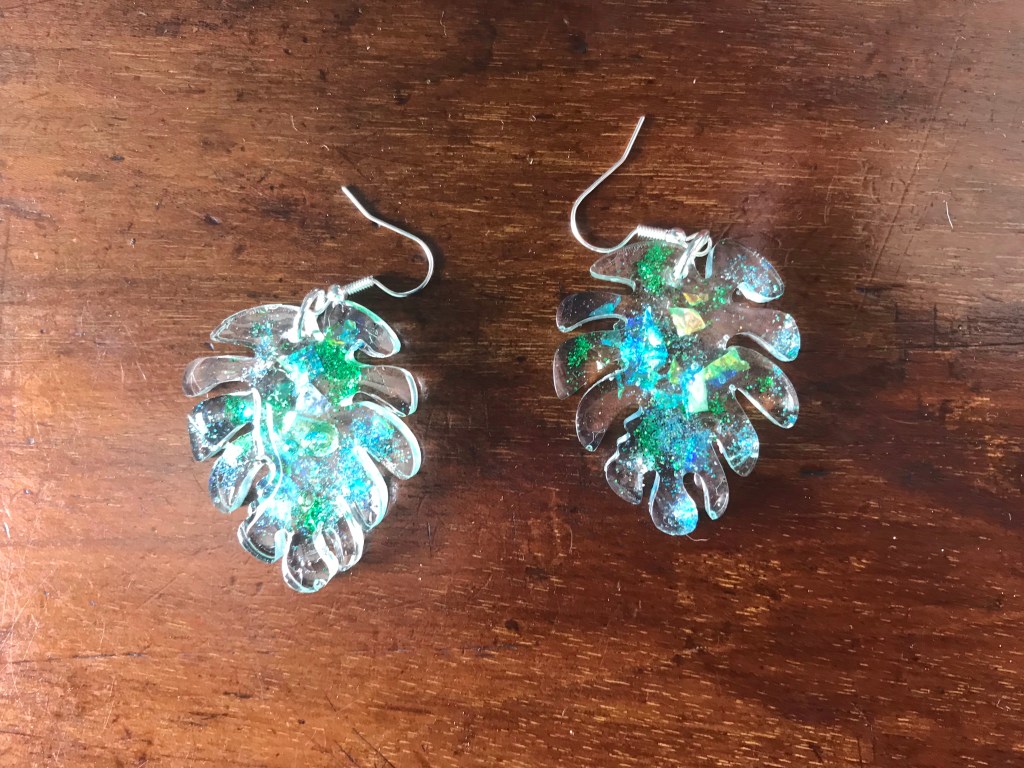
Resin that cures in uv light is super easy to play with and the ‘Let’s resin’ kit got me hooked.
Key rings, pendants, earrings and embellishments galore.
Boring safety stuff aside (gloves and mask essential) I love this. And walking round craft and jewellry stalls at local markets I realise how many other people do too.
Thank you Frugal Crafter for the suggestion
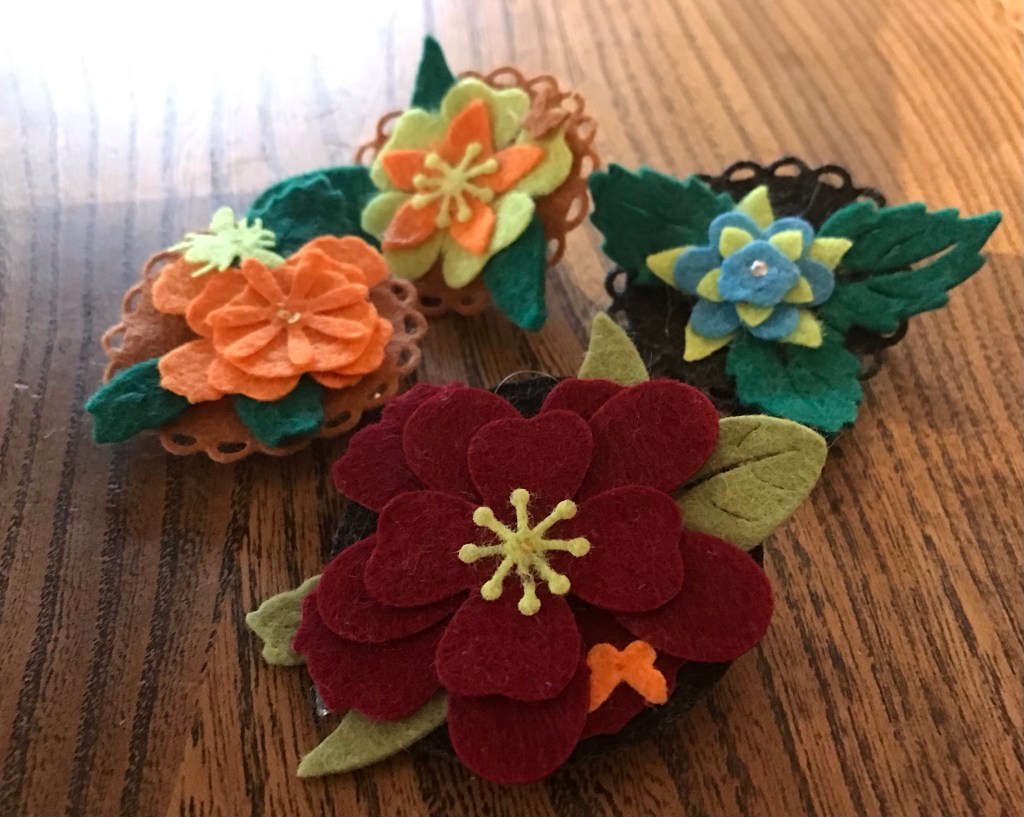
Time to use some felt scraps. decided to make some badges to brighten winter coats to stuck the layered flowers on felt circles and then stuck on badge pins sandwiched with felt rectangles for stability.
This is a very frugal activity using up old badges and taking miniscule scraps of felt. So while I have supplies out I am going to make embellishments for lavender bags etc. And happily nearly all dies designed for paper seem to work on felt – including the bee and butterfly – although the stamens die does create very flimsy results.
While I used hot glue for these, a more refined approach would be embroidery to fix flowers to the backing. I have used a few French knots here but really enjoy how quickly these come together.
Now to go through my dies to see what other little felt shapes I can cut…
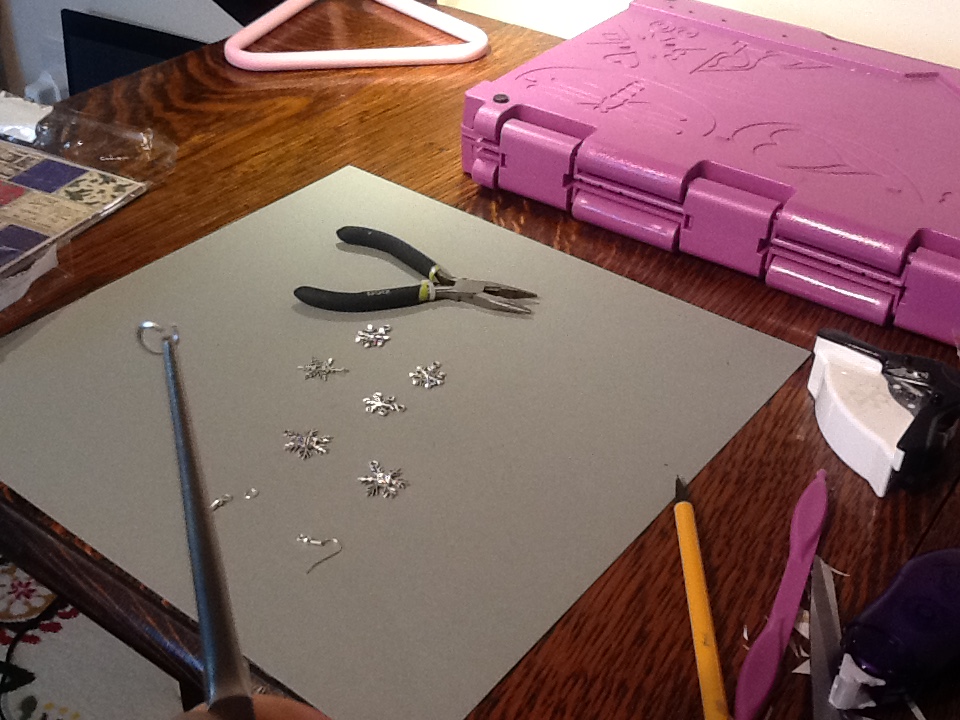 A project to present simple earrings made from snowflake charms in a cute little envelobox.
materials- bag of snowflake charms (Amazon 50 mixed charms), jump rings, earring wires, square of patterned paper, glue , tissue paper and raffia
equipment – jewellry pliers, crafters companion ultimate pro or score board
method – make the earrings by opening the jump rings (twist don’t pull) and thread on the charm and ear wire before closing the ring again
To make the envelobox take a square of patterned paper and score it across each corner in parallel lines as shown, cut out the intersection. To save the calculations follow the Crafters’ Companion template. Optional round corner and stick the envelope closed.

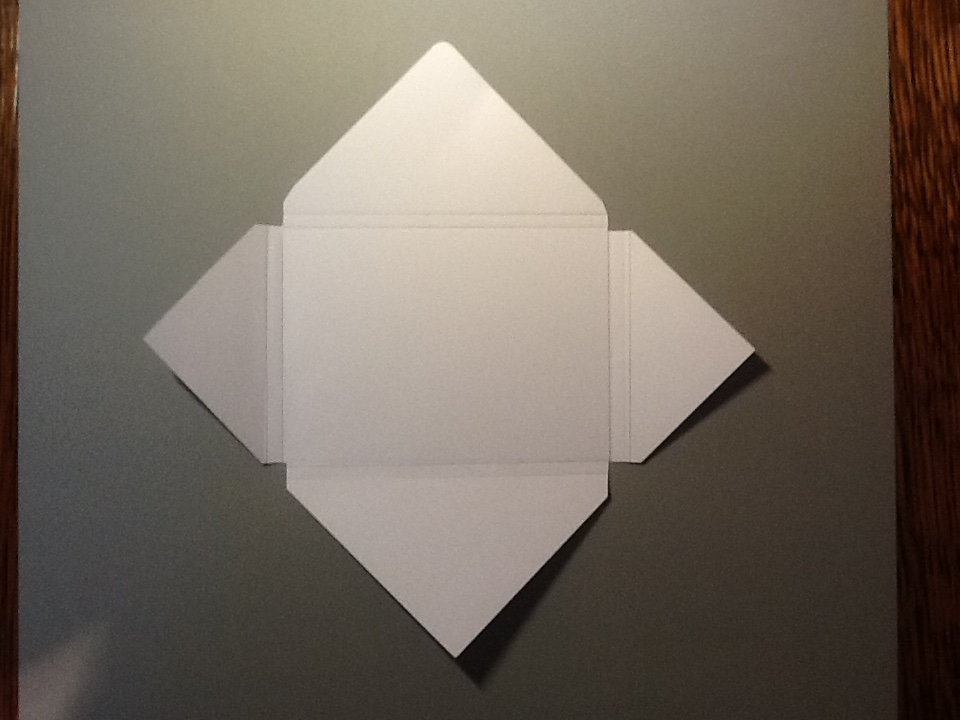
I wrapped the earrings in tissue to given the envelobox some bulk and then tied it with raffia.
Video here;
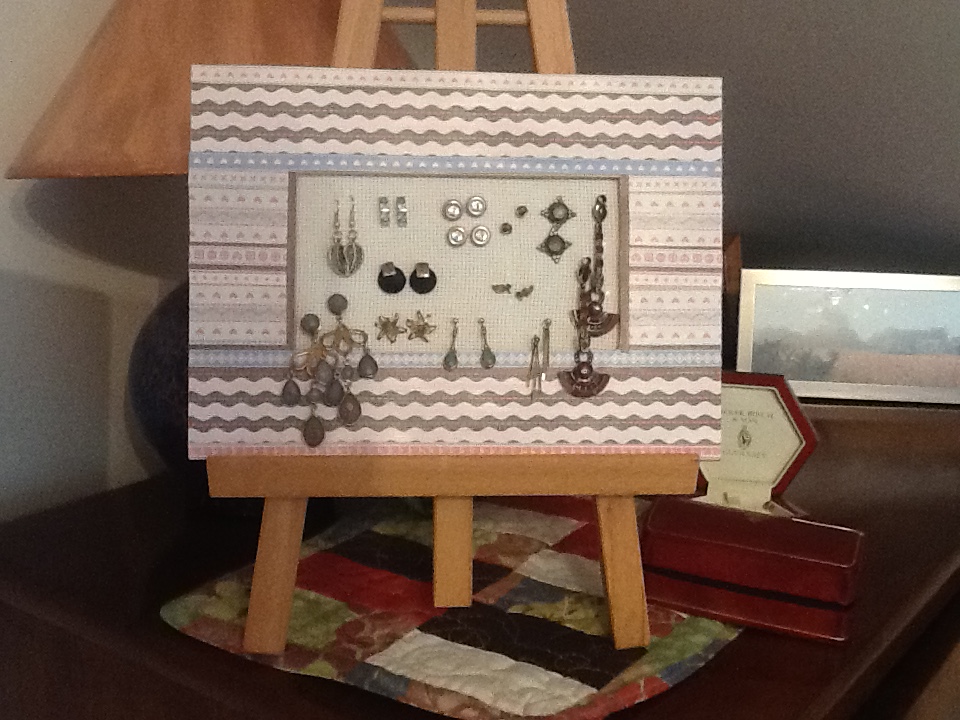 A companion for the framed burlap holder I use for hoop earrings. This works for studs or earrings with butterfly backs. If only rarely to be used (how many earrings do I own?!) could be wall hung but for ease of access to the back this sits on an easel. I used strips of docrafts craft paper sealed with modpodge to pretty up my old frame.

method: remove glass and backing from frame. If necessary decorate the front of the frame with papers or ribbons or paint or … Cut a piece of aida cross stitch canvas a bit bigger than the aperture of your frame . Stick to the back of the frame pulling the fabric taut as you go. If gifting cover the back of the frame to cover your work. Job done,
