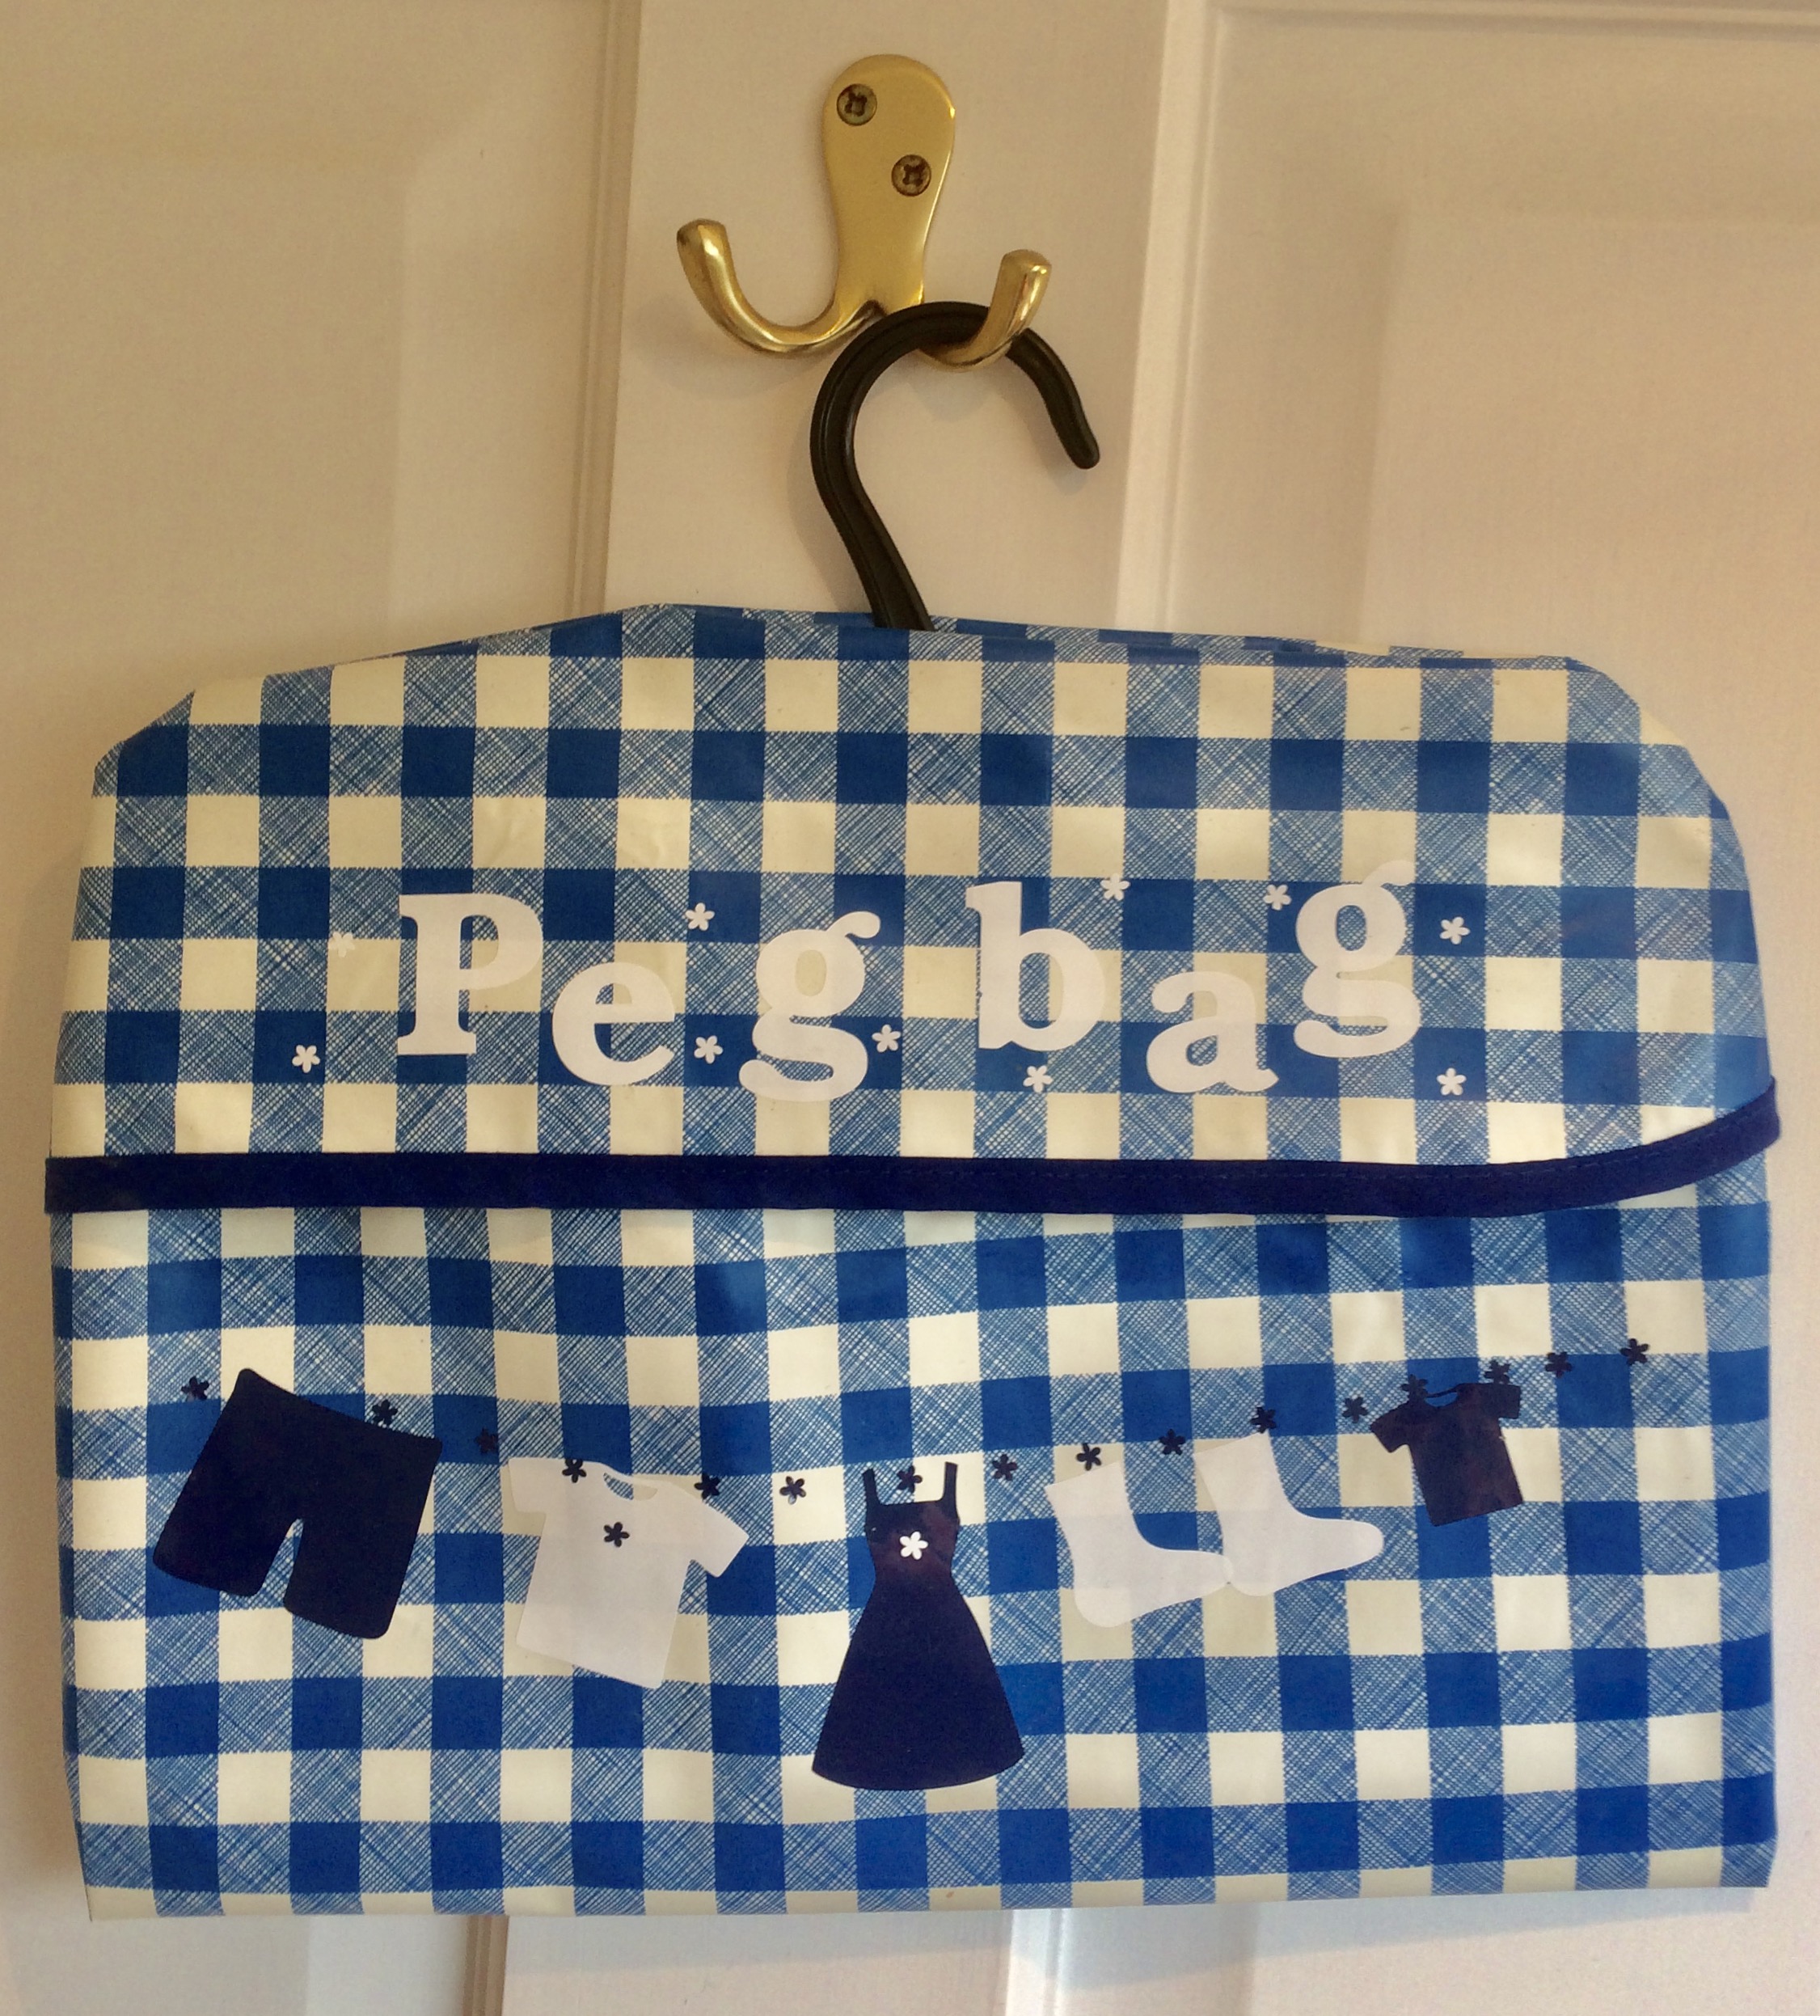
scan n cut to decorate my tablecloth to peg bag project
the old oilcloth tablecloth has been taking up space in my fabric pile and all I can think of using it for is peg bags, any ideas?
I used a smallish plastic hanger ( note to self remember to keep hangers when next buying stuff in m&s as stash now depleted) and traced around the width of the hanger on the reverse of my oilcloth. I gave myself a half inch seam allowance and some wriggle room as the oilcloth doesn’t stretch.
The fabric length was cut at one and a half times the planned length of the bag (this gave me the back and folded up to make the bottom of the bag front. When this piece was cut I folded it in half lengthwise to check it was symmetrical
To get the top front of the bag a separate piece of fabric was cur to match the width and shape of the back piece but length to just more than half of the planned bag size.
I planned the cutting so the cut pieces finished on the bias bound edge of my tablecloth. This saved a hemming step. (That is why the right edge of my front does a little bend in the picture, I thought it would look stylish, actually it just looks wobbly).
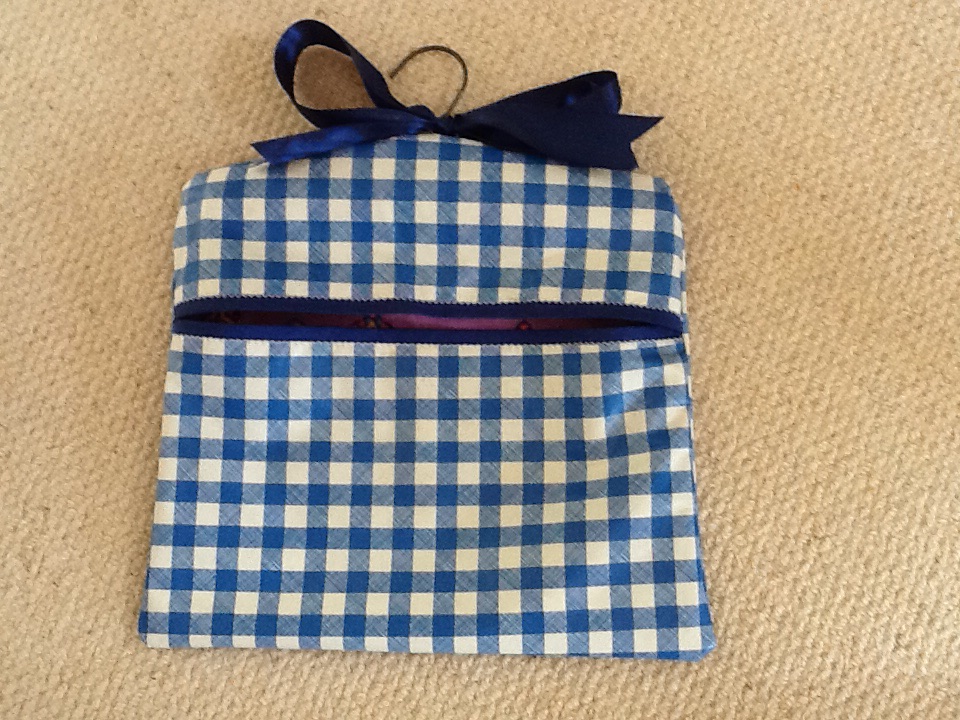
The two pieces were stitched wrong sides together leaving a small gap to put the hanger through. I then Turned them right sides out and creases were finger smoothed out (even a cool iron melted a prototype).
I cut shapes from external use vinyl on the scan n cut to decorate (and cover the iron damage on my prototype) and trust the project will enjoy a good second life somewhere