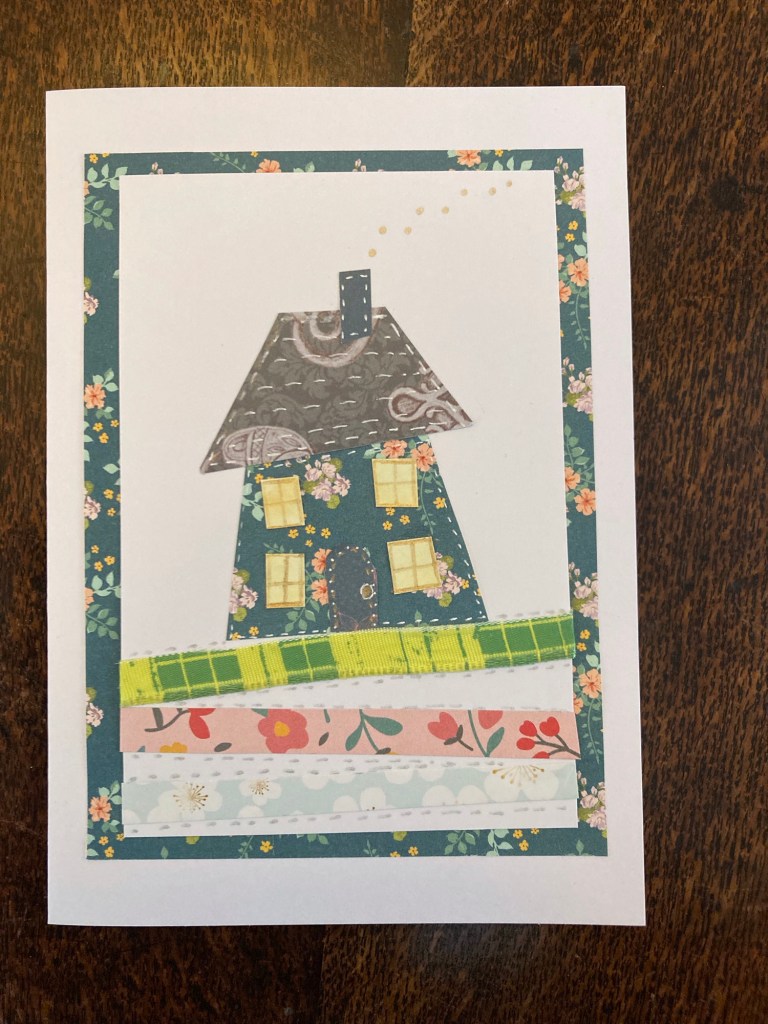
Experiments with fabric, ribbon and patterned paper remnants to create a series of cards.

Experiments with fabric, ribbon and patterned paper remnants to create a series of cards.
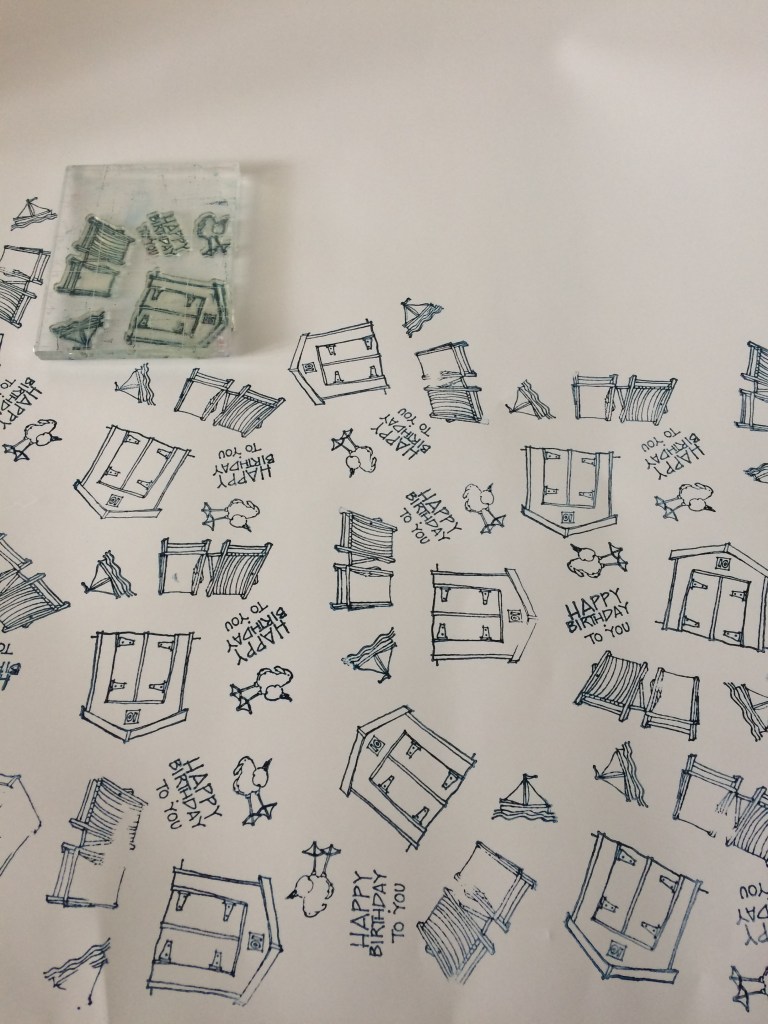
A roll of white paper, neglected stamps and ink. You could also diy wrapping paper by stencilling, splattering, writing or adding stickers. No need to buy and much more personal.
I assembled the stamps on the biggest acrylic block I own ( not that big but am in a no buy mode) and rotated them irregularly.
I think monochrome looks classier and will also use blue washi tape to secure. A coordinating gift tag to finish!
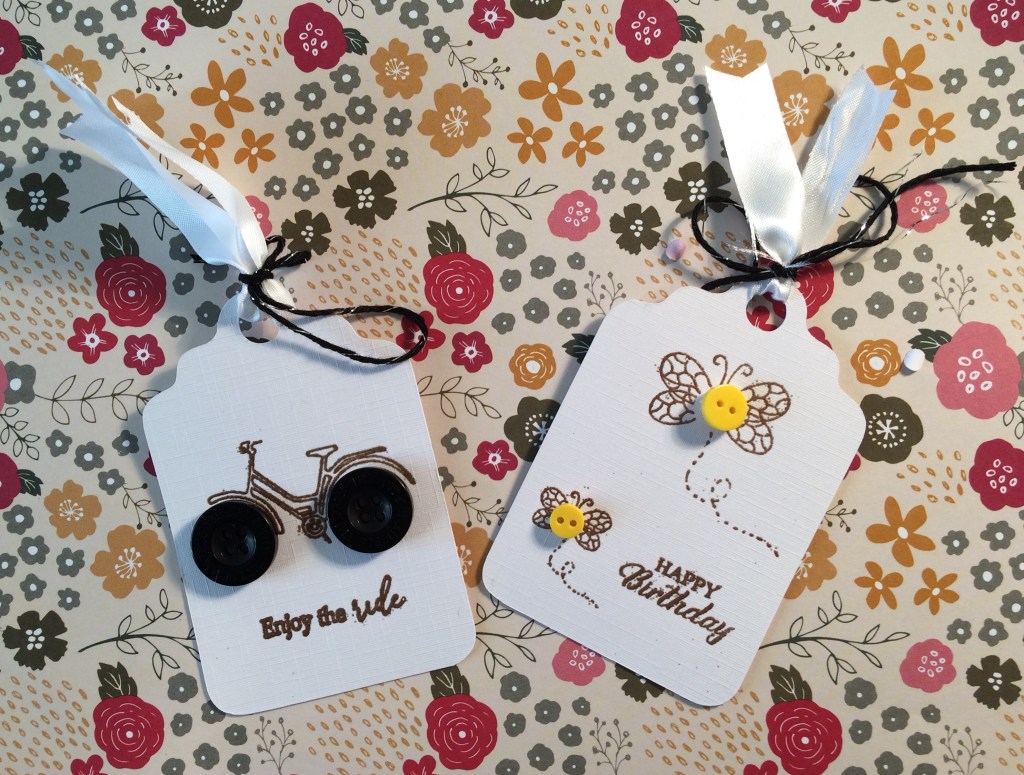
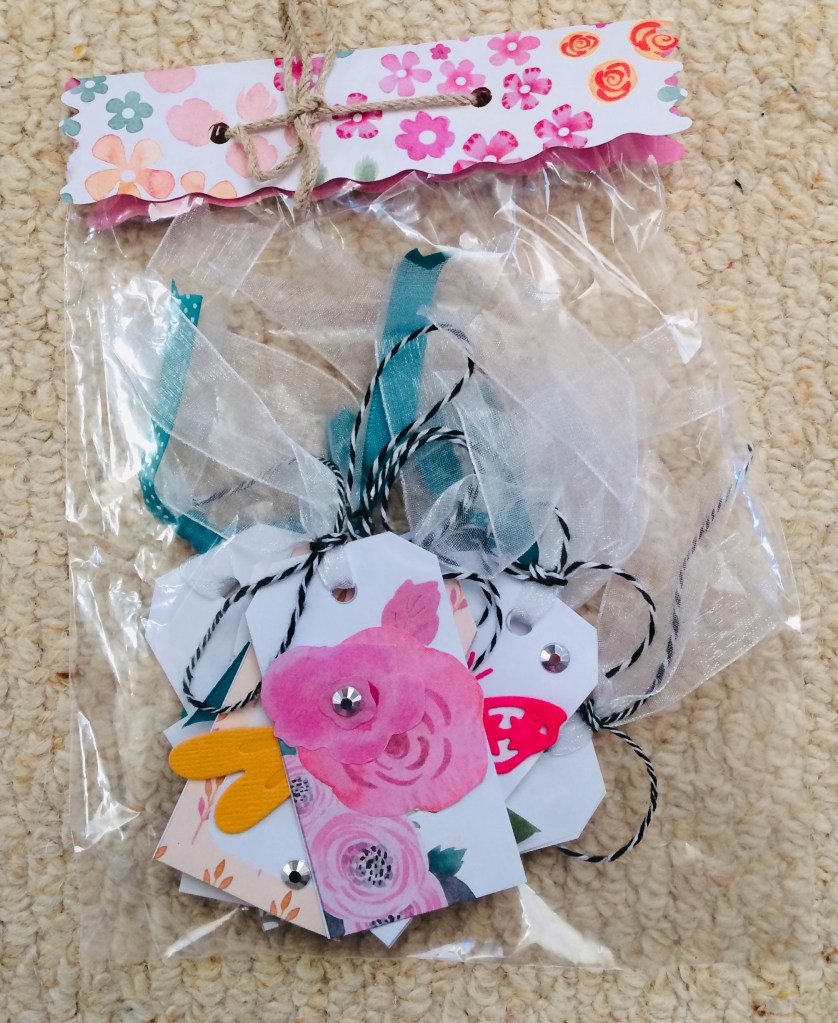
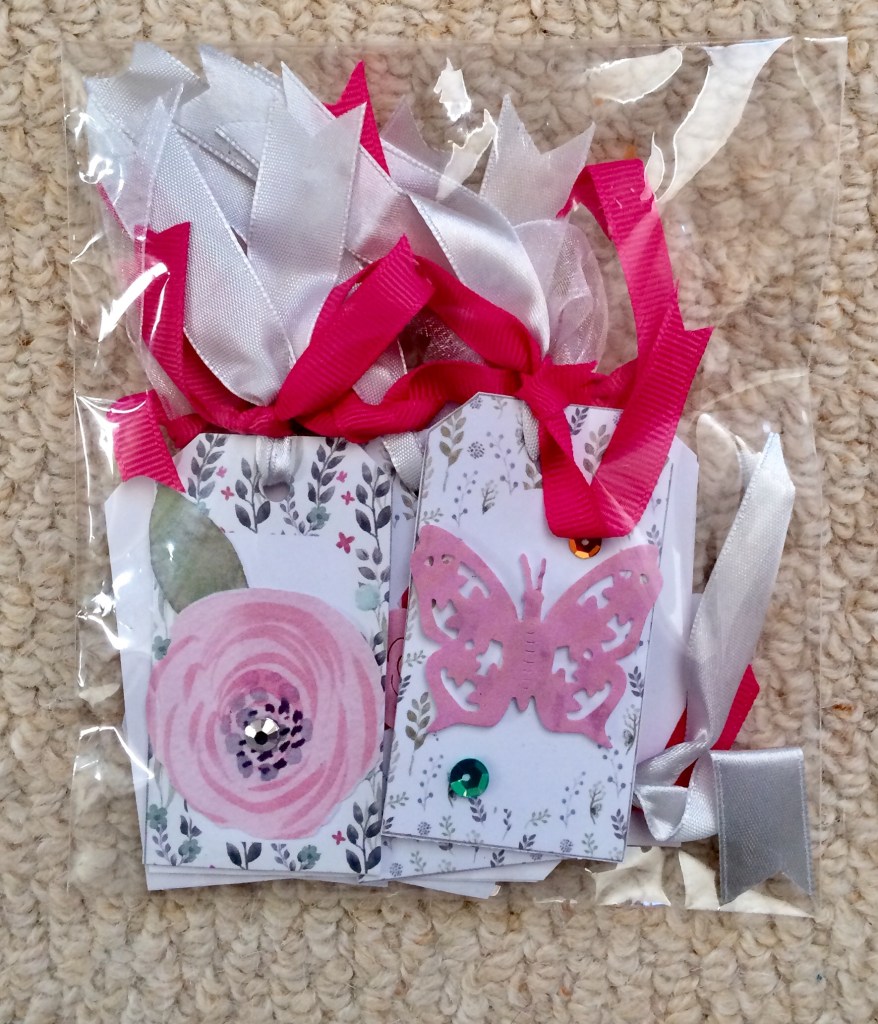
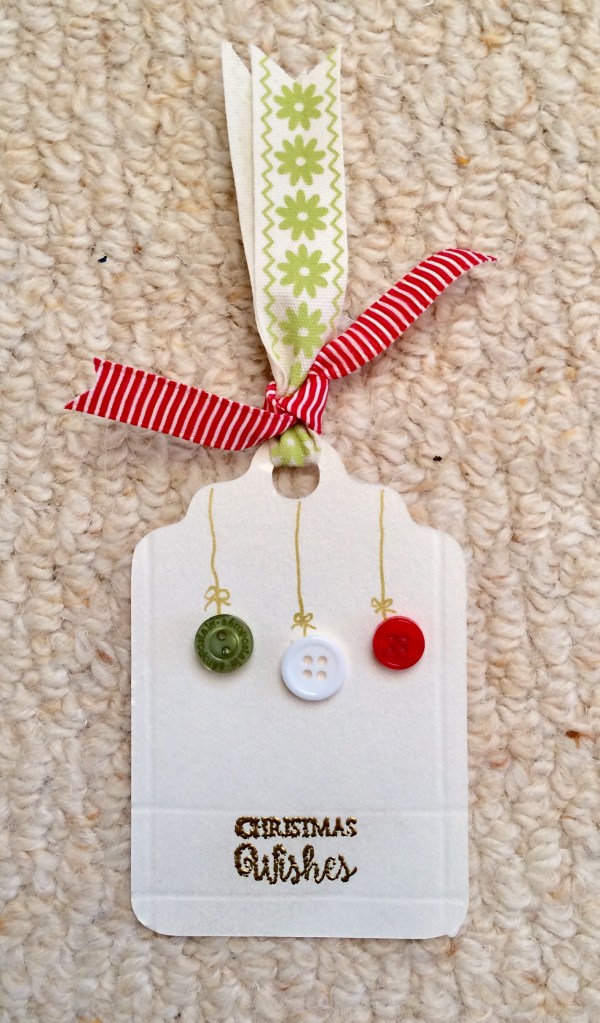
I cut tag shapes (with the scan n cut) from scraps of card and tried to use up embellishments as part of a ‘Use What You Have’ drive. This was so successful that I have batched and bagged sets to give away.
You tube easy gift bag how to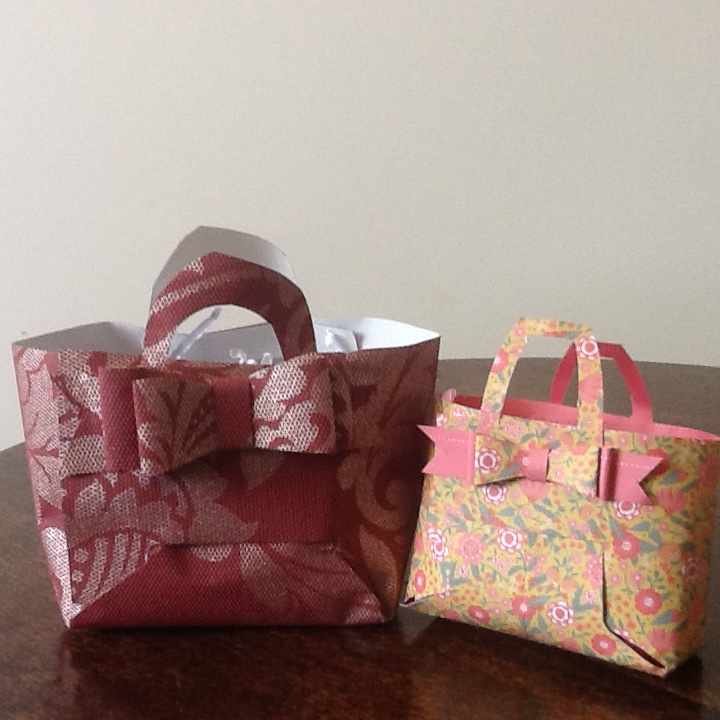 need a gift bag but no time to fuss?
just fold a rectangle of paper as below … or watch the video
place the paper face down and landscape (long sides north and south)
fold a small border on the west edge of the paper, just wide enough to later run some tape or glue along, then fold the remaining width of paper in half and in half again to create four equal panels. With the paper still folded in four, crease up from the south a panel that will form the base of the bag. An optional last step is to open out the sheet then fold down a little collar along the top this is only needed if your paper is flimsy and you want to strengthen it a bit
cut – cut out the little rectangle at the south of the border fold then cut up the three bottom creases just as far as the first width crease – if you are being smart you can cut either side of the creases to make final assembly even easier
stick – if you have a collar stick it down
then fold the little border over so a little bit of the pretty side of the paper is facing you, run tape or glue down the border and then fold the eastern side of your sheet over and on to the sticky border. once the glue is set wobble the paper to form a floppy box, crease each of the panel folds to encourage the paper to set in the final shape
now fold each of the bottom panels up, you may need to crease them with your fingers to set the folds in the right direction, add some tape or glue on the plain side of the last two bottom pieces. You may need to put your hand inside the bag/box to ‘set’ the adhesive.
close and decorate with paper clips, pegs, stickers, brads, staples or ribbon threaded through punch holes
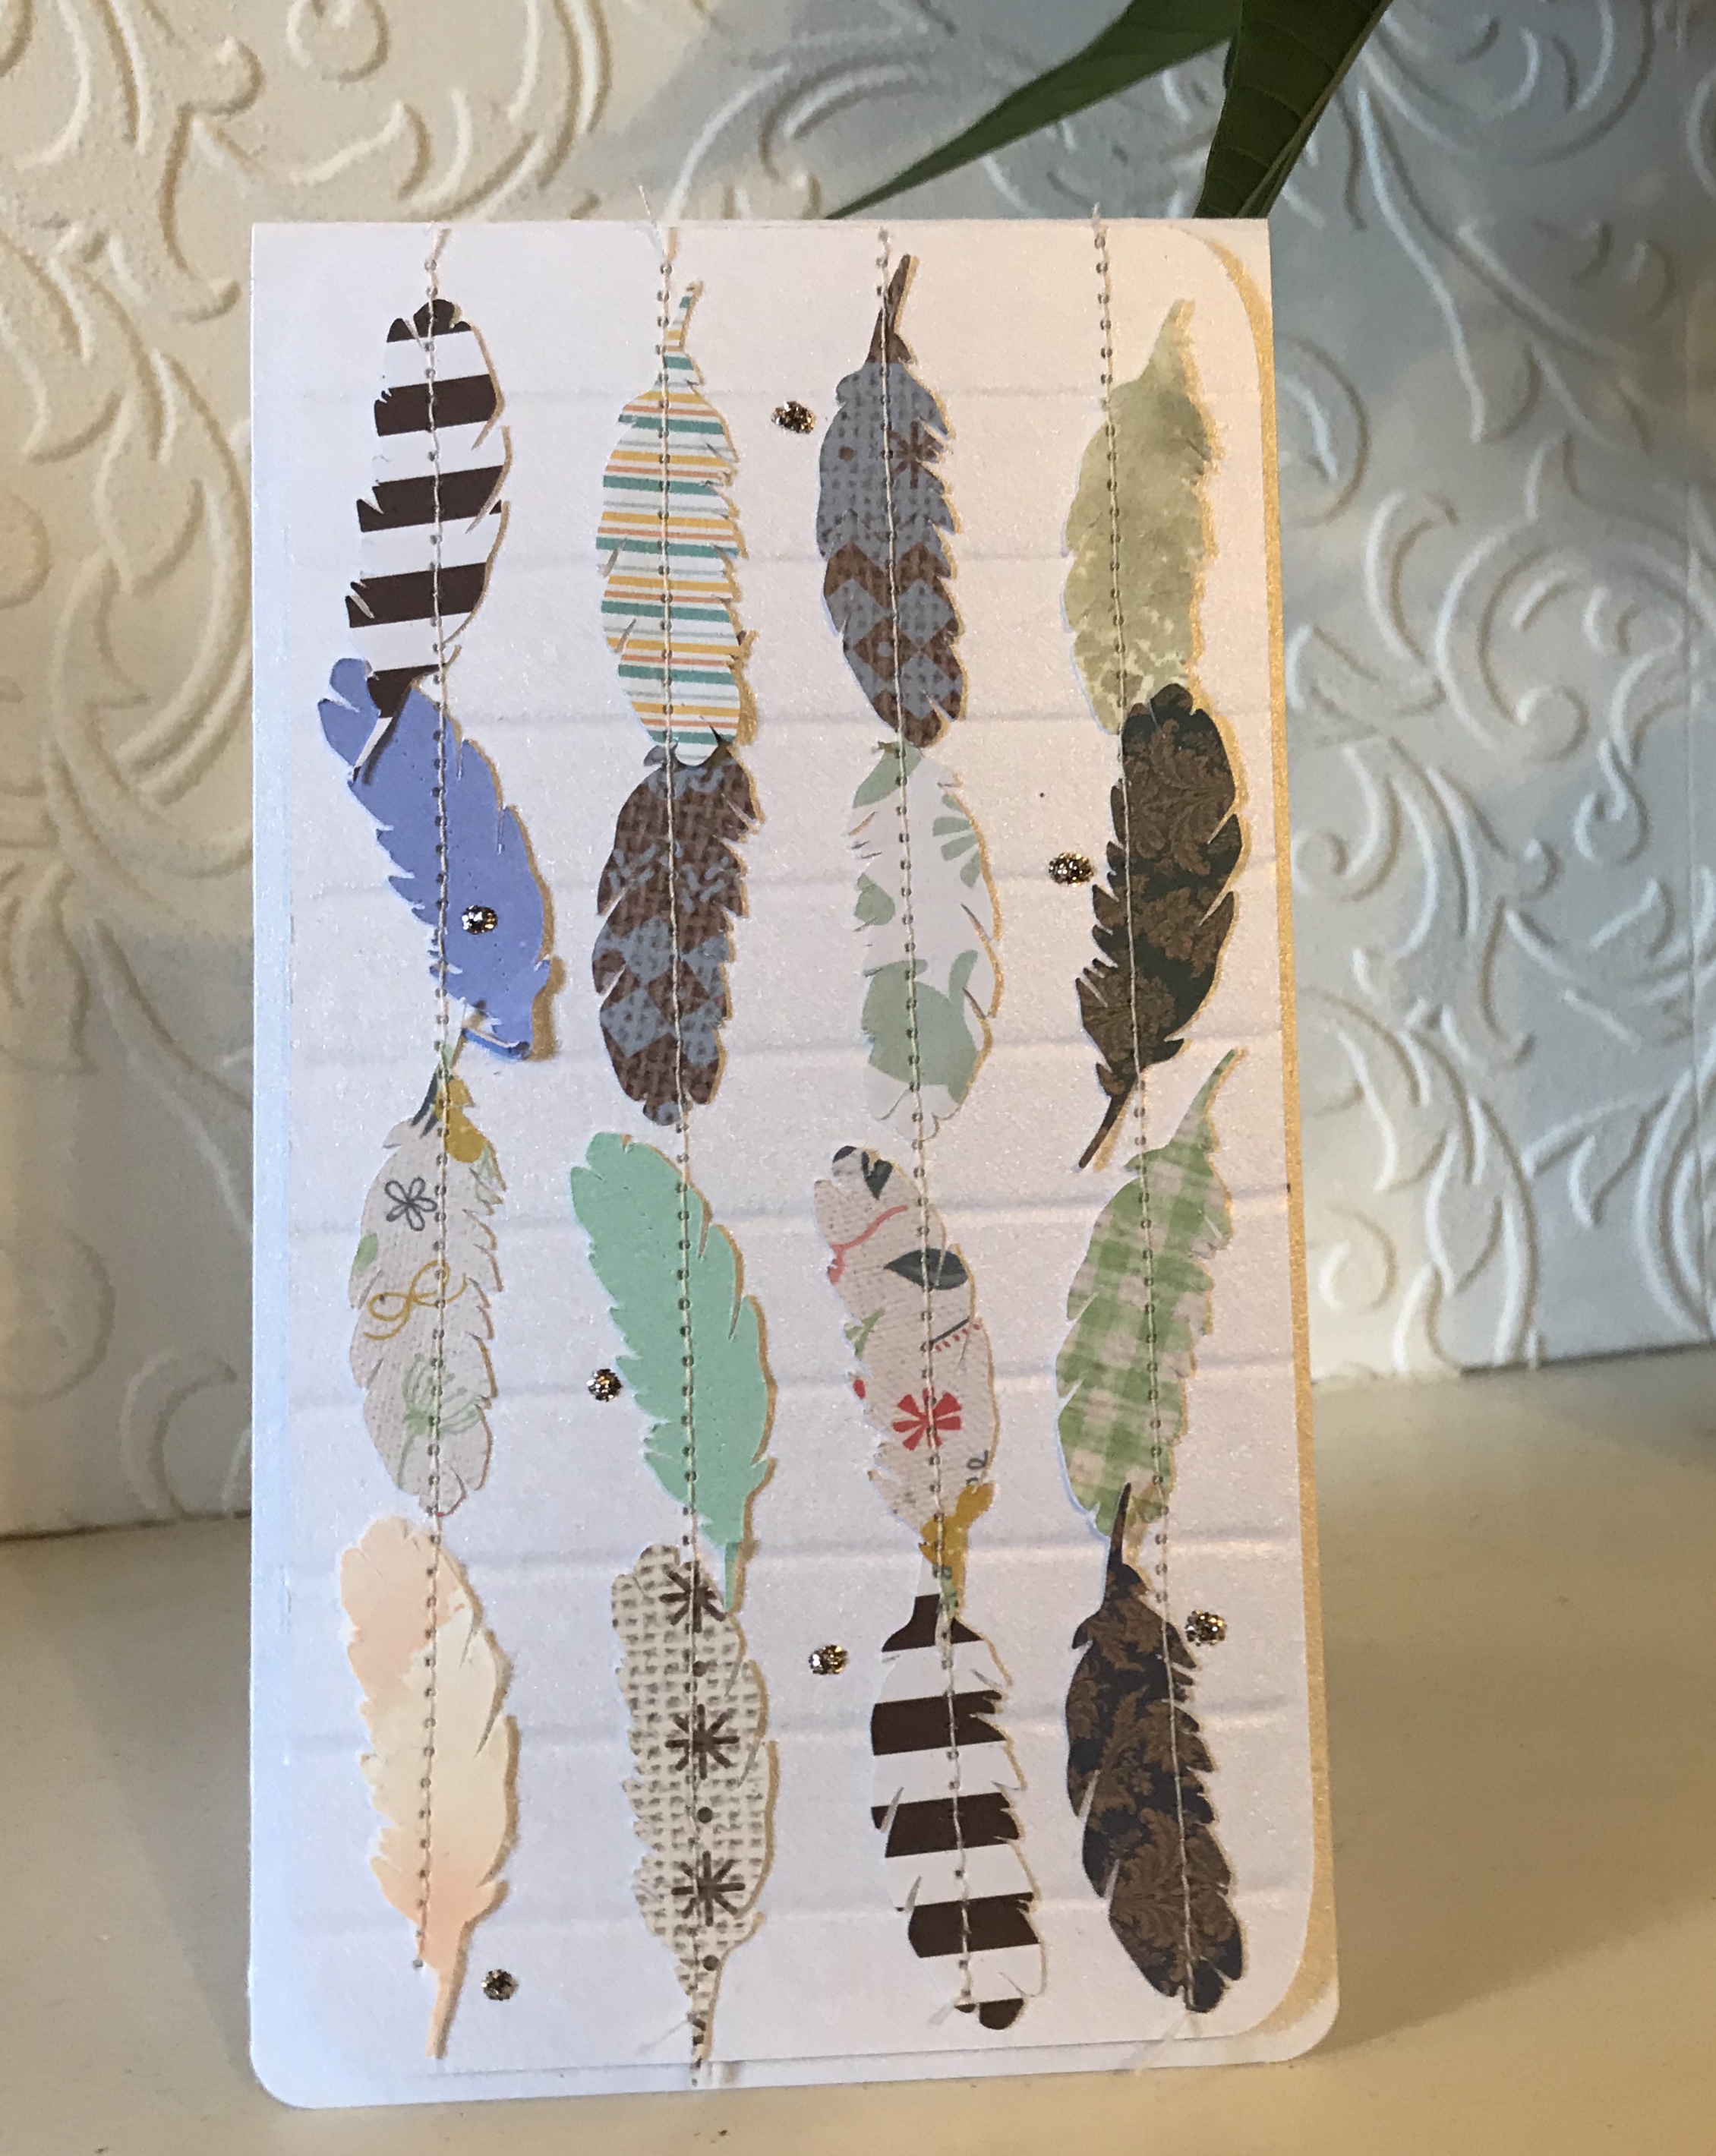
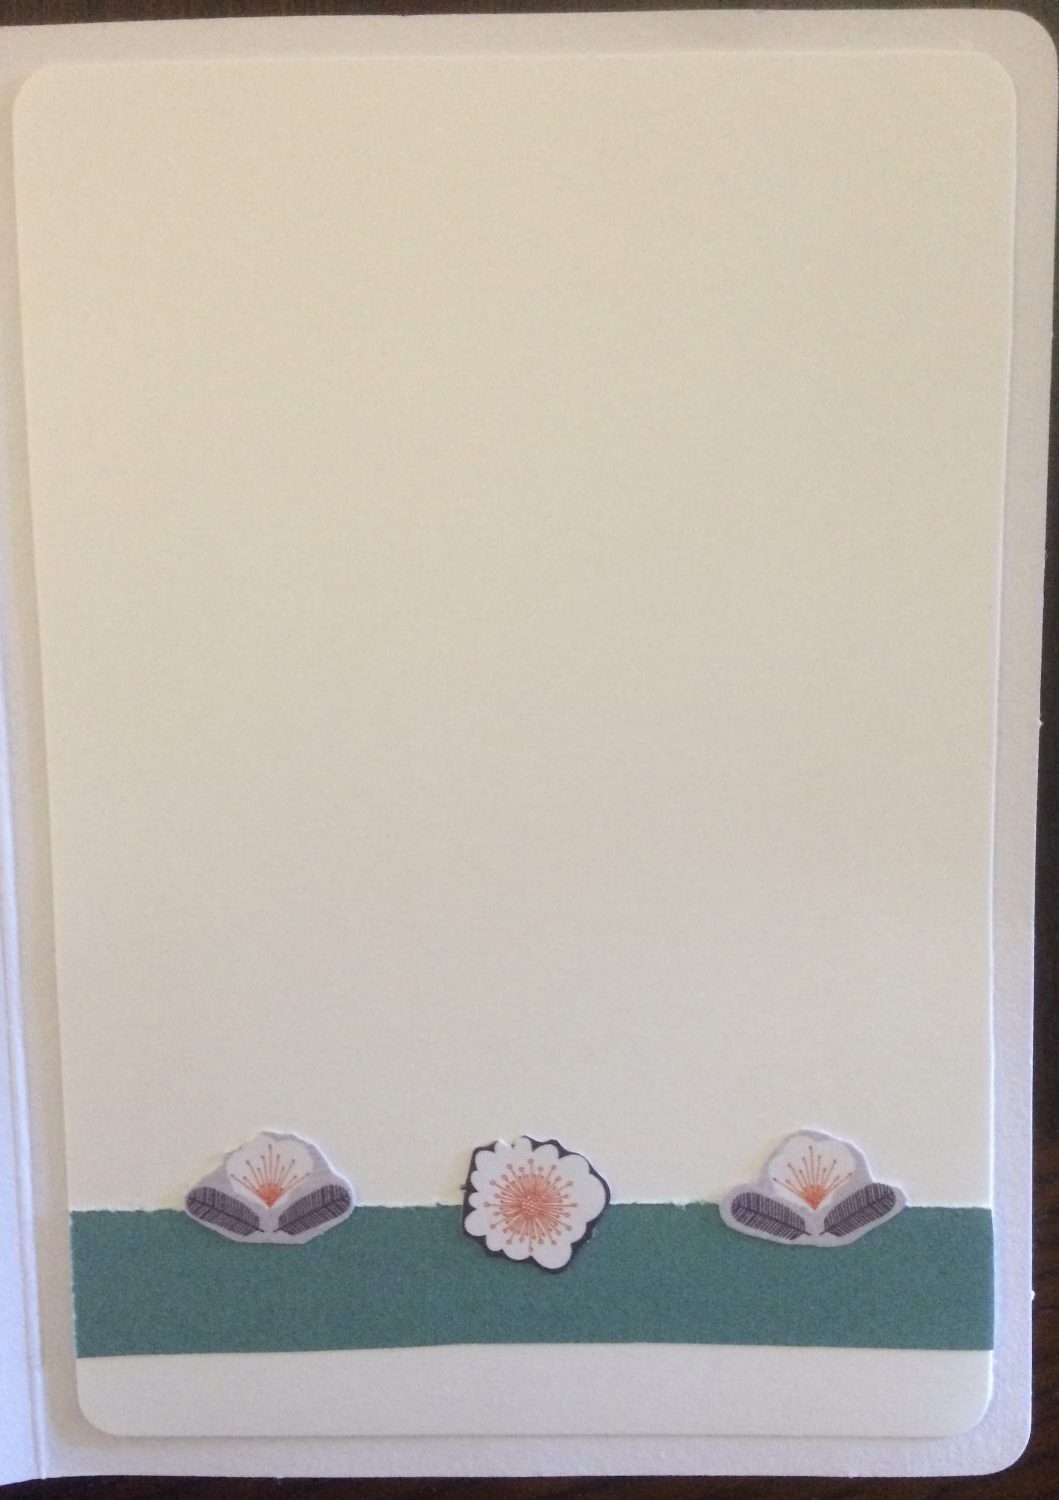
Back in love with individual card making…
I cut feather shapes on my scan n cut, mixing scraps from various paper collections focussing on green, brown and blue.
I dry embossed my panel of card at half inch intervals on a score board then stitched on the feathers in columns.
I used a neutral cotton and an old needle which is kept for paper stitching but didn’t need a special foot or stitch settings.

The panel was stuck on a base made from matching pearlised card and a few sequins adhered
Inside a lone feather was glued in place on a plain paper insert and outside a few dots of gold Stickles finished it off.
a little something for the Christmas table
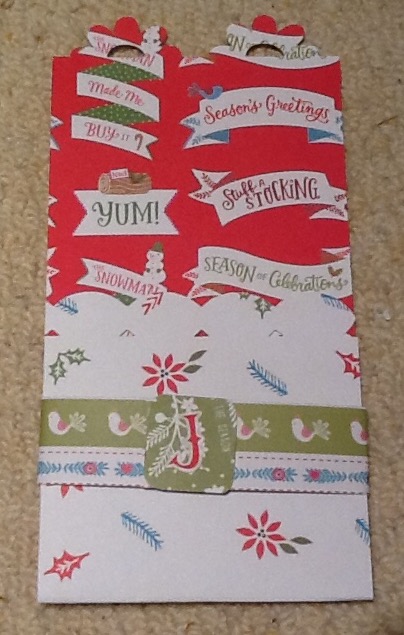
I need to use some of my lovely Christmas papers so made up the set of cutlery pouches as a gift for someone I know likes the concept.
I used the docrafts folk Christmas kit. This included sheets of stick on initials.
Method: a 12 x 12 sheet is cut into three strips, each 4 inches wide. Each strip is folded at 8 inches to create a front flap half the height of the back. The sides of the pouch are stuck down with thin double sided tape
A belly band is created by cutting a 1 inch strip from some contrast paper, the strip wrapped round the pouch and fixed with double sided tape
A square (with corners rounded) of scrap paper is stuck over the join in the belly band and an initial stuck on the square
I used border patterns from my scan n cut to give top and bottom of each sheet a scallop edge but a border punch or pinking scissors would also work.
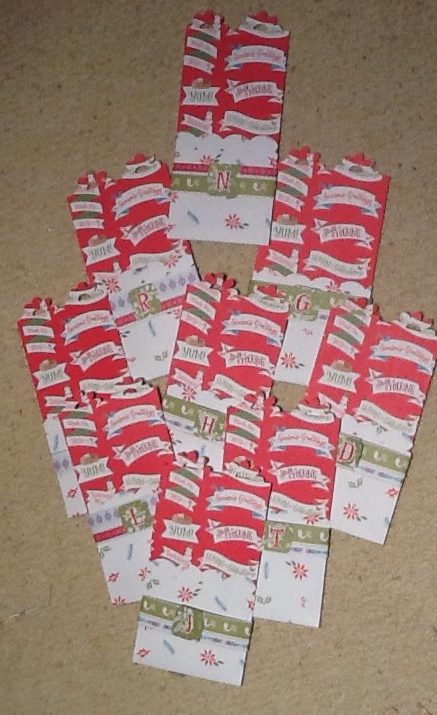
Four sheets of paper made nine pouches including belly bands and trim and a set of spare initials was included to cater for a range of guests.
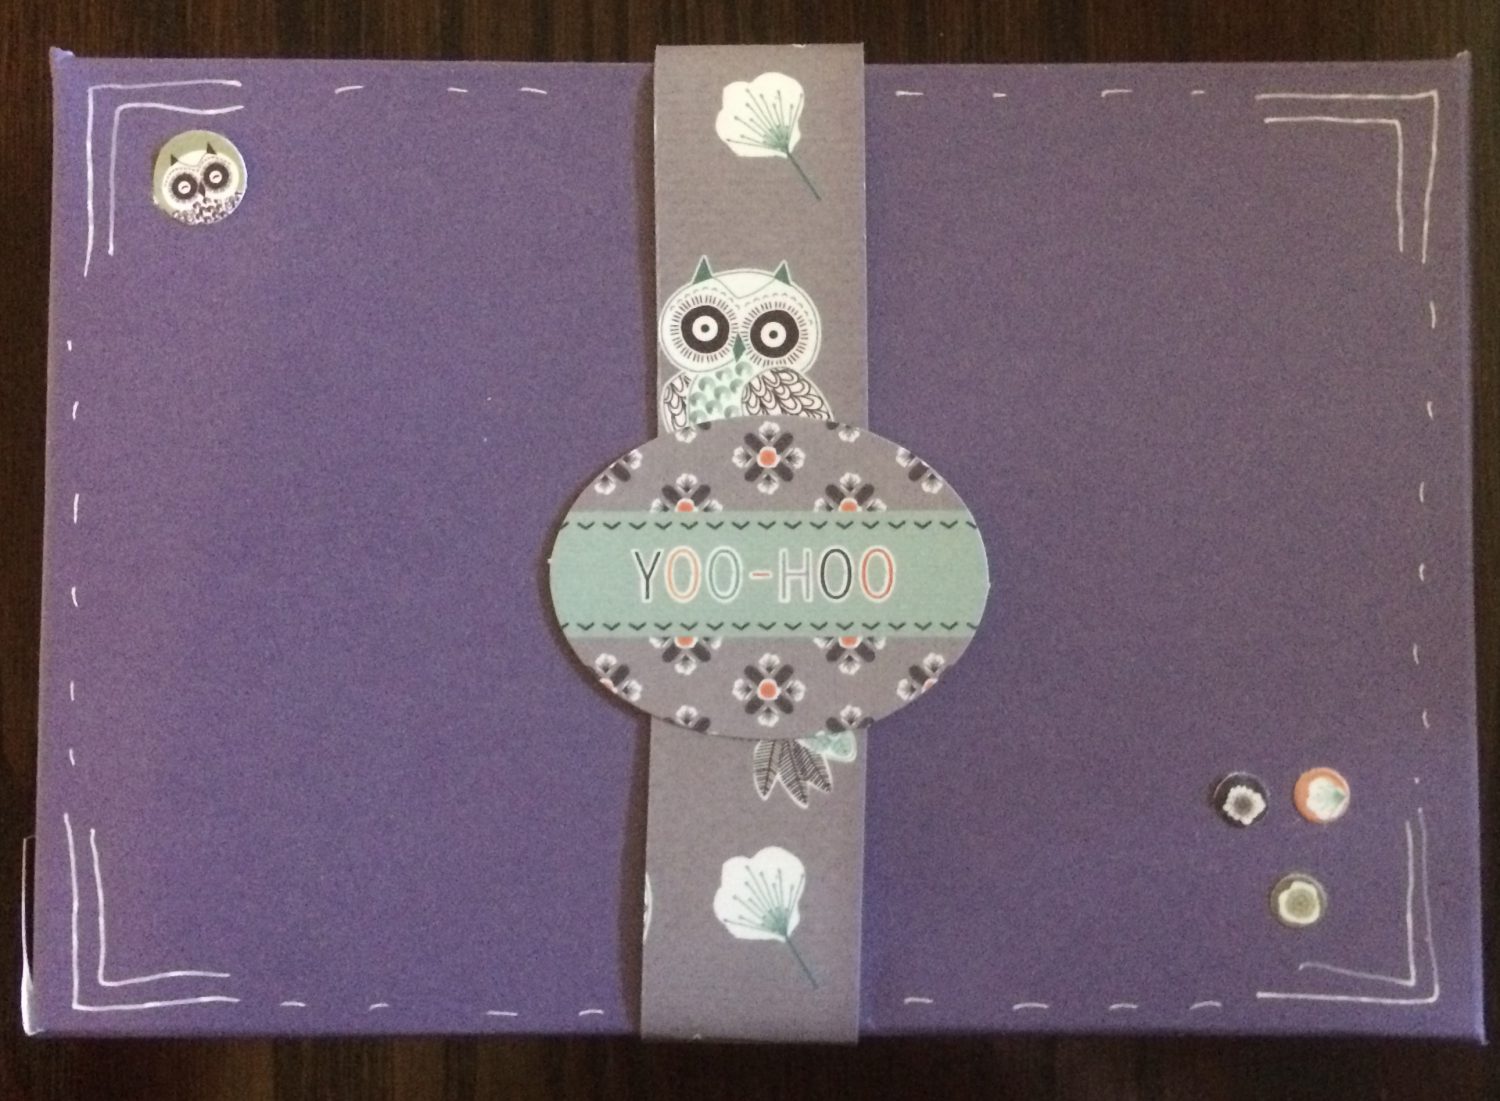
 My holiday crafting project: to use up some of my die cut and paper packs….
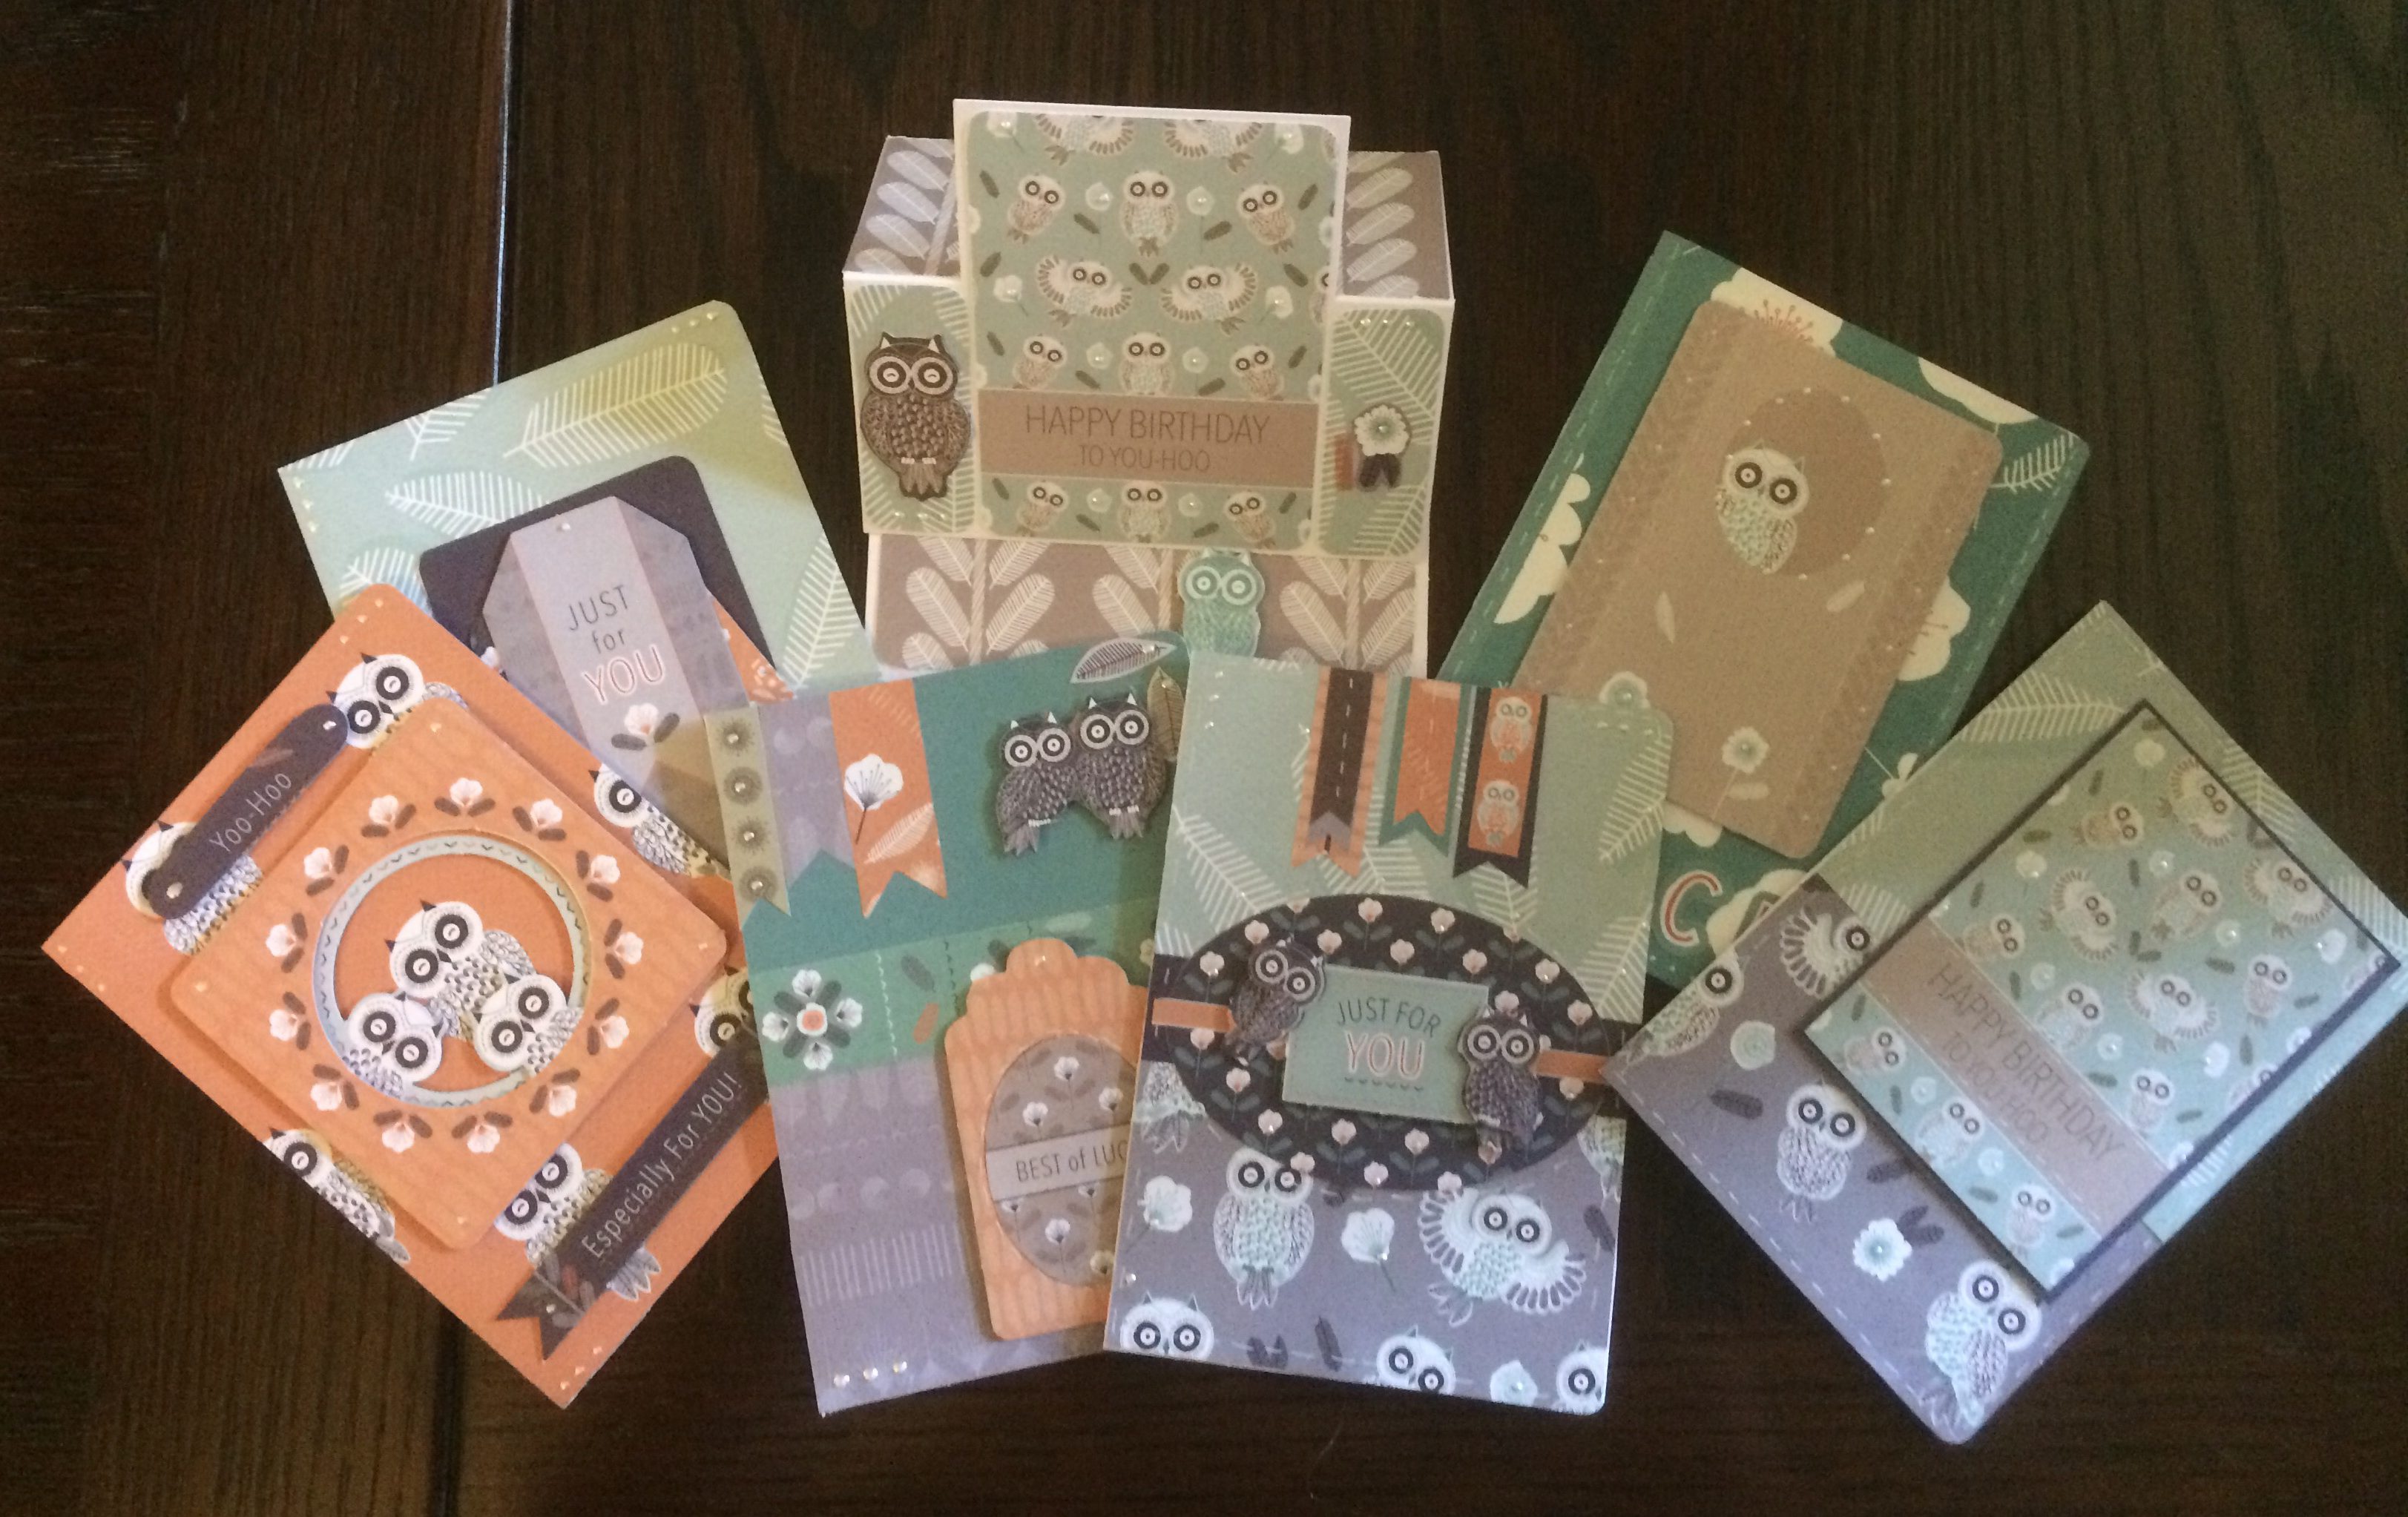
15 cards, 6 gift card holders put into three presentation boxes ( with a few cards for my use) but there is still soooo much left over that I can’t see myself ever needing to buy another pack.
I do like the colours of this do-crafts owl folk paper set but I must have made more than 30 cards already from the ultimate pack I bought – in the sale of course- so won’t mind when I use it up.
This time I tried new layouts with banners, flags and layering
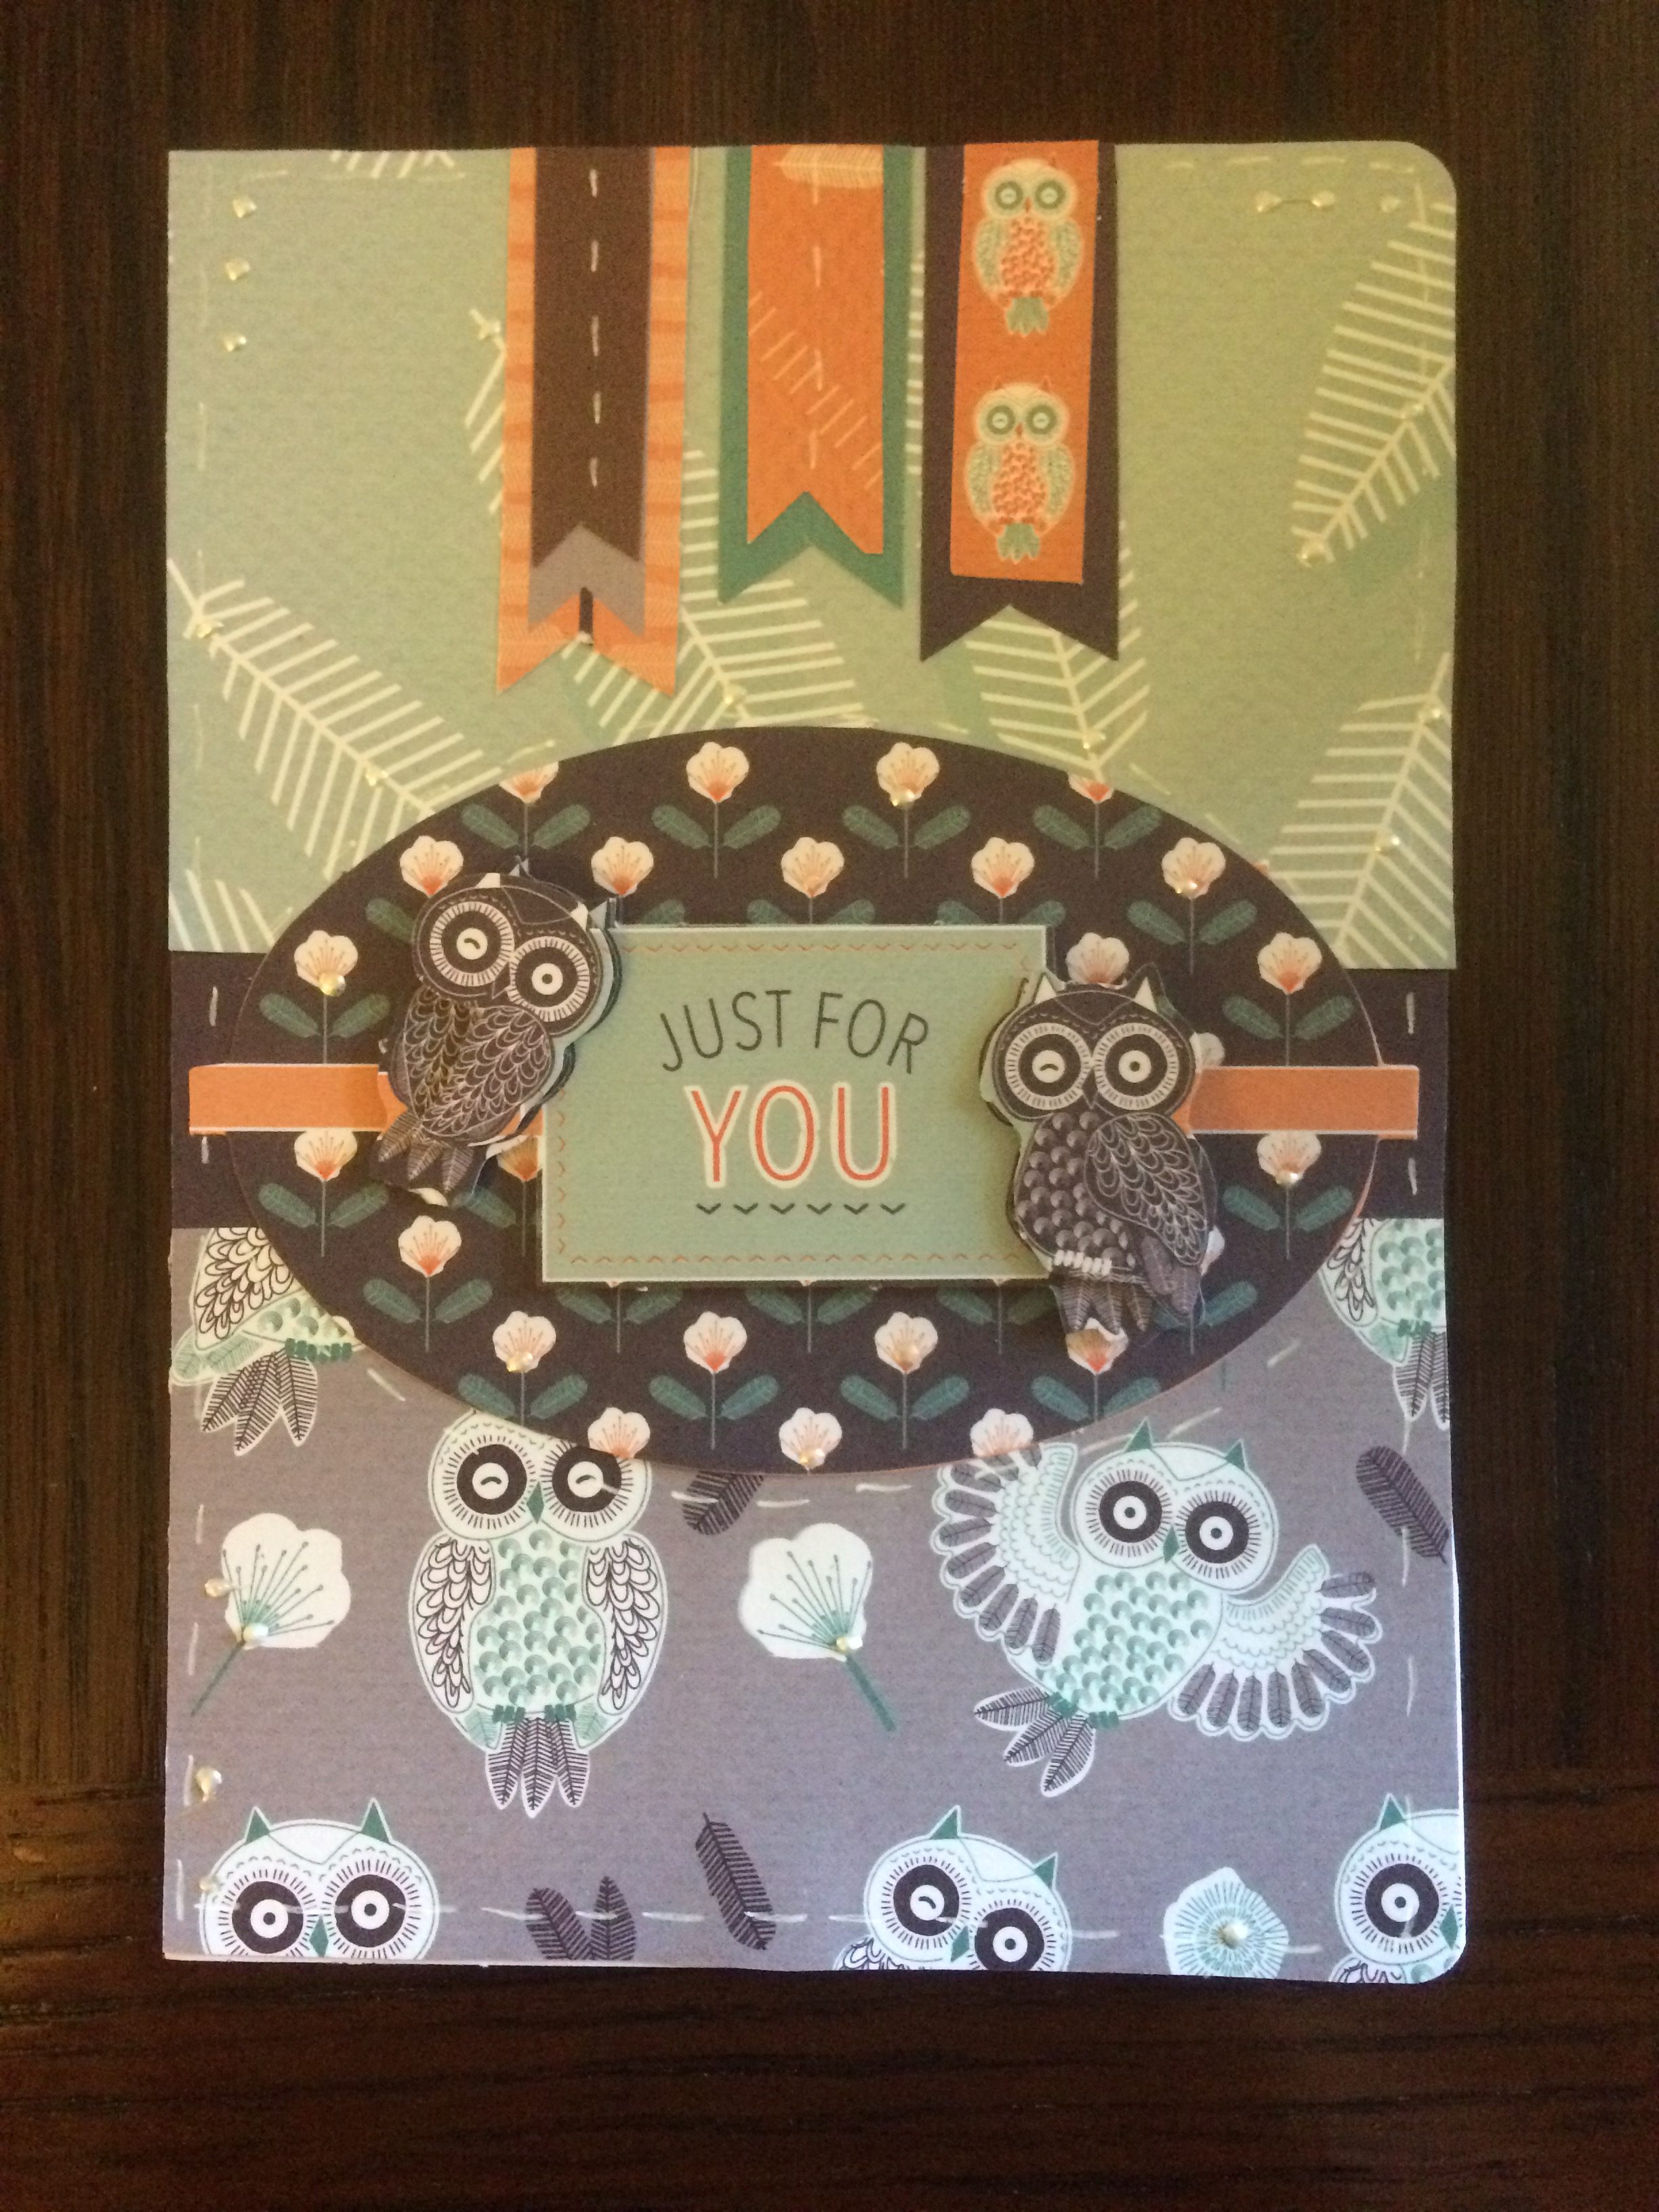
And rather than stamping a sentiment inside just decorated an insert sheet with some strips or little die cuts
And the boxes were pizza box style from a sheet of A4 card that was just big enough but needed to be closed with a belly band cut from the paper kit to remind me what is inside each box.

a simple way to organize the sack of ribbon scraps…
materials: 1 A4 sheet cardstock (I used craft card), scissors, strong tape or glue, hole punch Washi tape to close and decorate
method
score and fold card into toblerone shape – I scored at 6.5, 13 and 19cm then turned the card and scored at 4 cm from either side
i then cut up the 4cm score lines, trimmed and wedged the flaps created to make triangles as shown
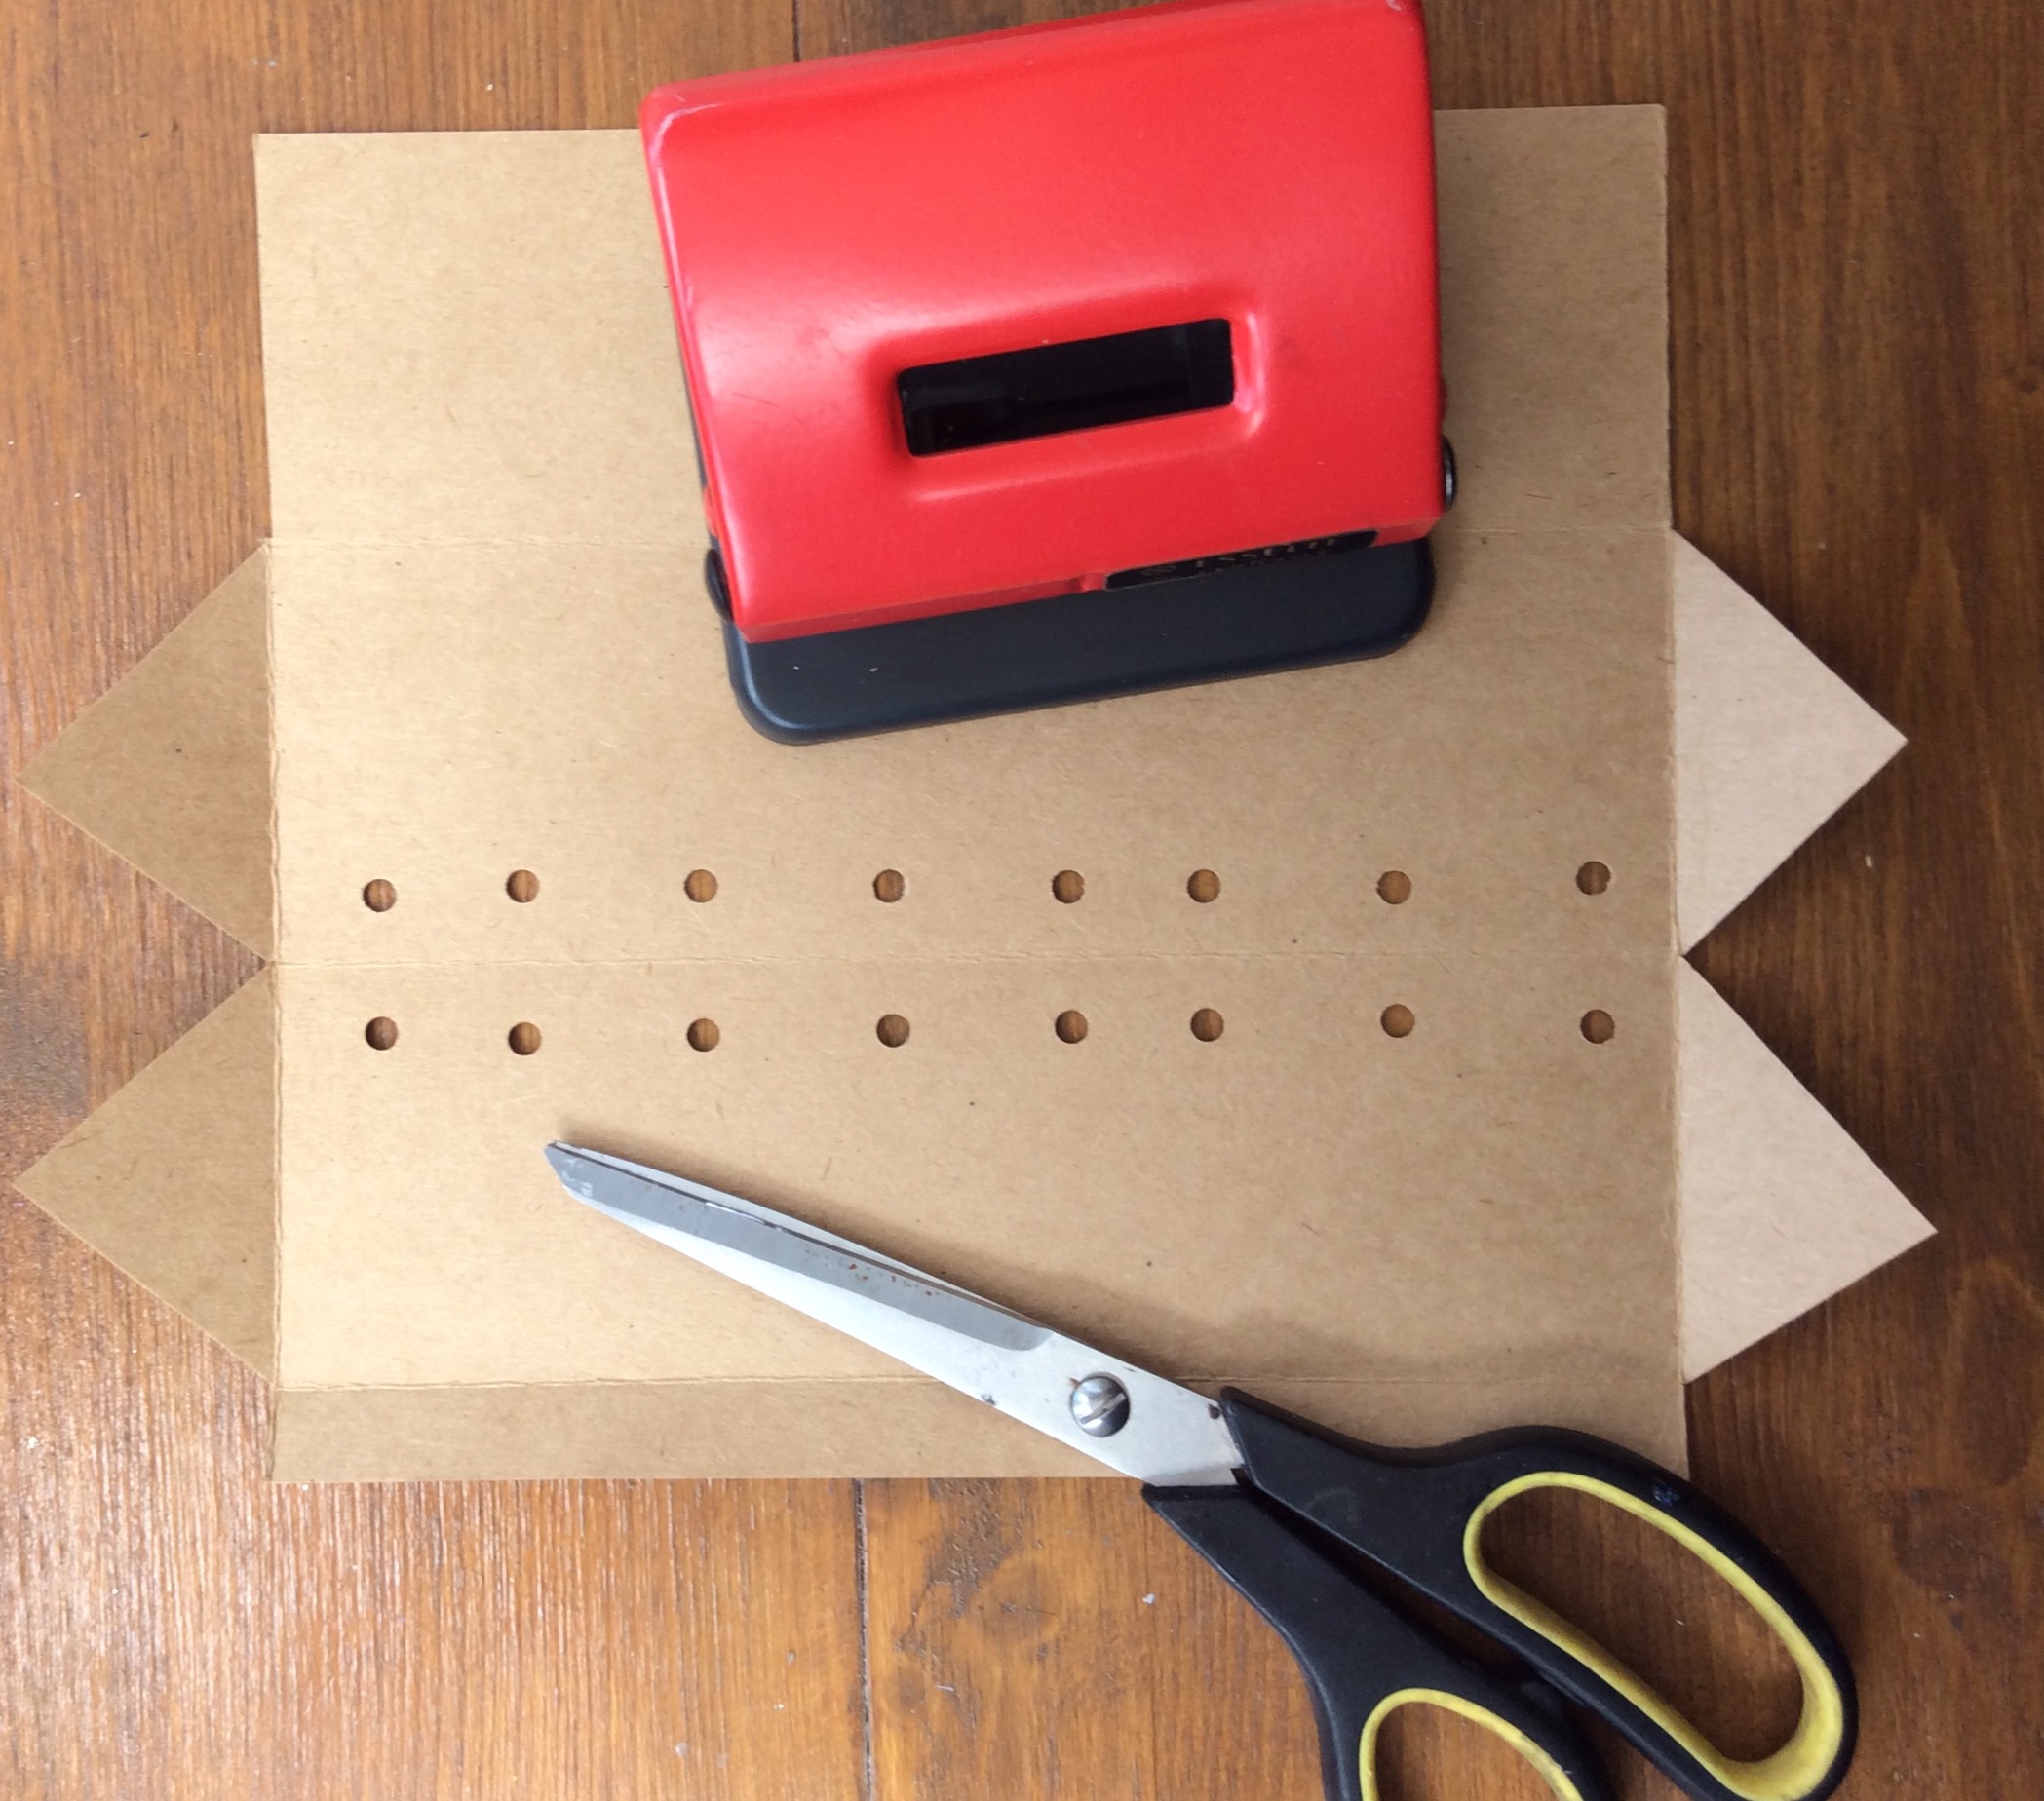
I then hole punched 14 holes (enough to squeeze in different scraps of ribbons, if it will wrap round an A6 card, I keep it). I only have an office ring binder punch so was limited to punch near a score line but the holes can be wherever you want). Then form the toblerone shape and stick the overlapping triangles together. I used red liner tape.
Poke ends of ribbon through the holes from inside to out, a crochet hook works well, and when your holder is full secure it closed with washi tape so you can top it up some time in the future without destroying the box
just a few more to make before I get the ribbon stash under control!
if decorated this would make a nice little gift for a crafty friend…
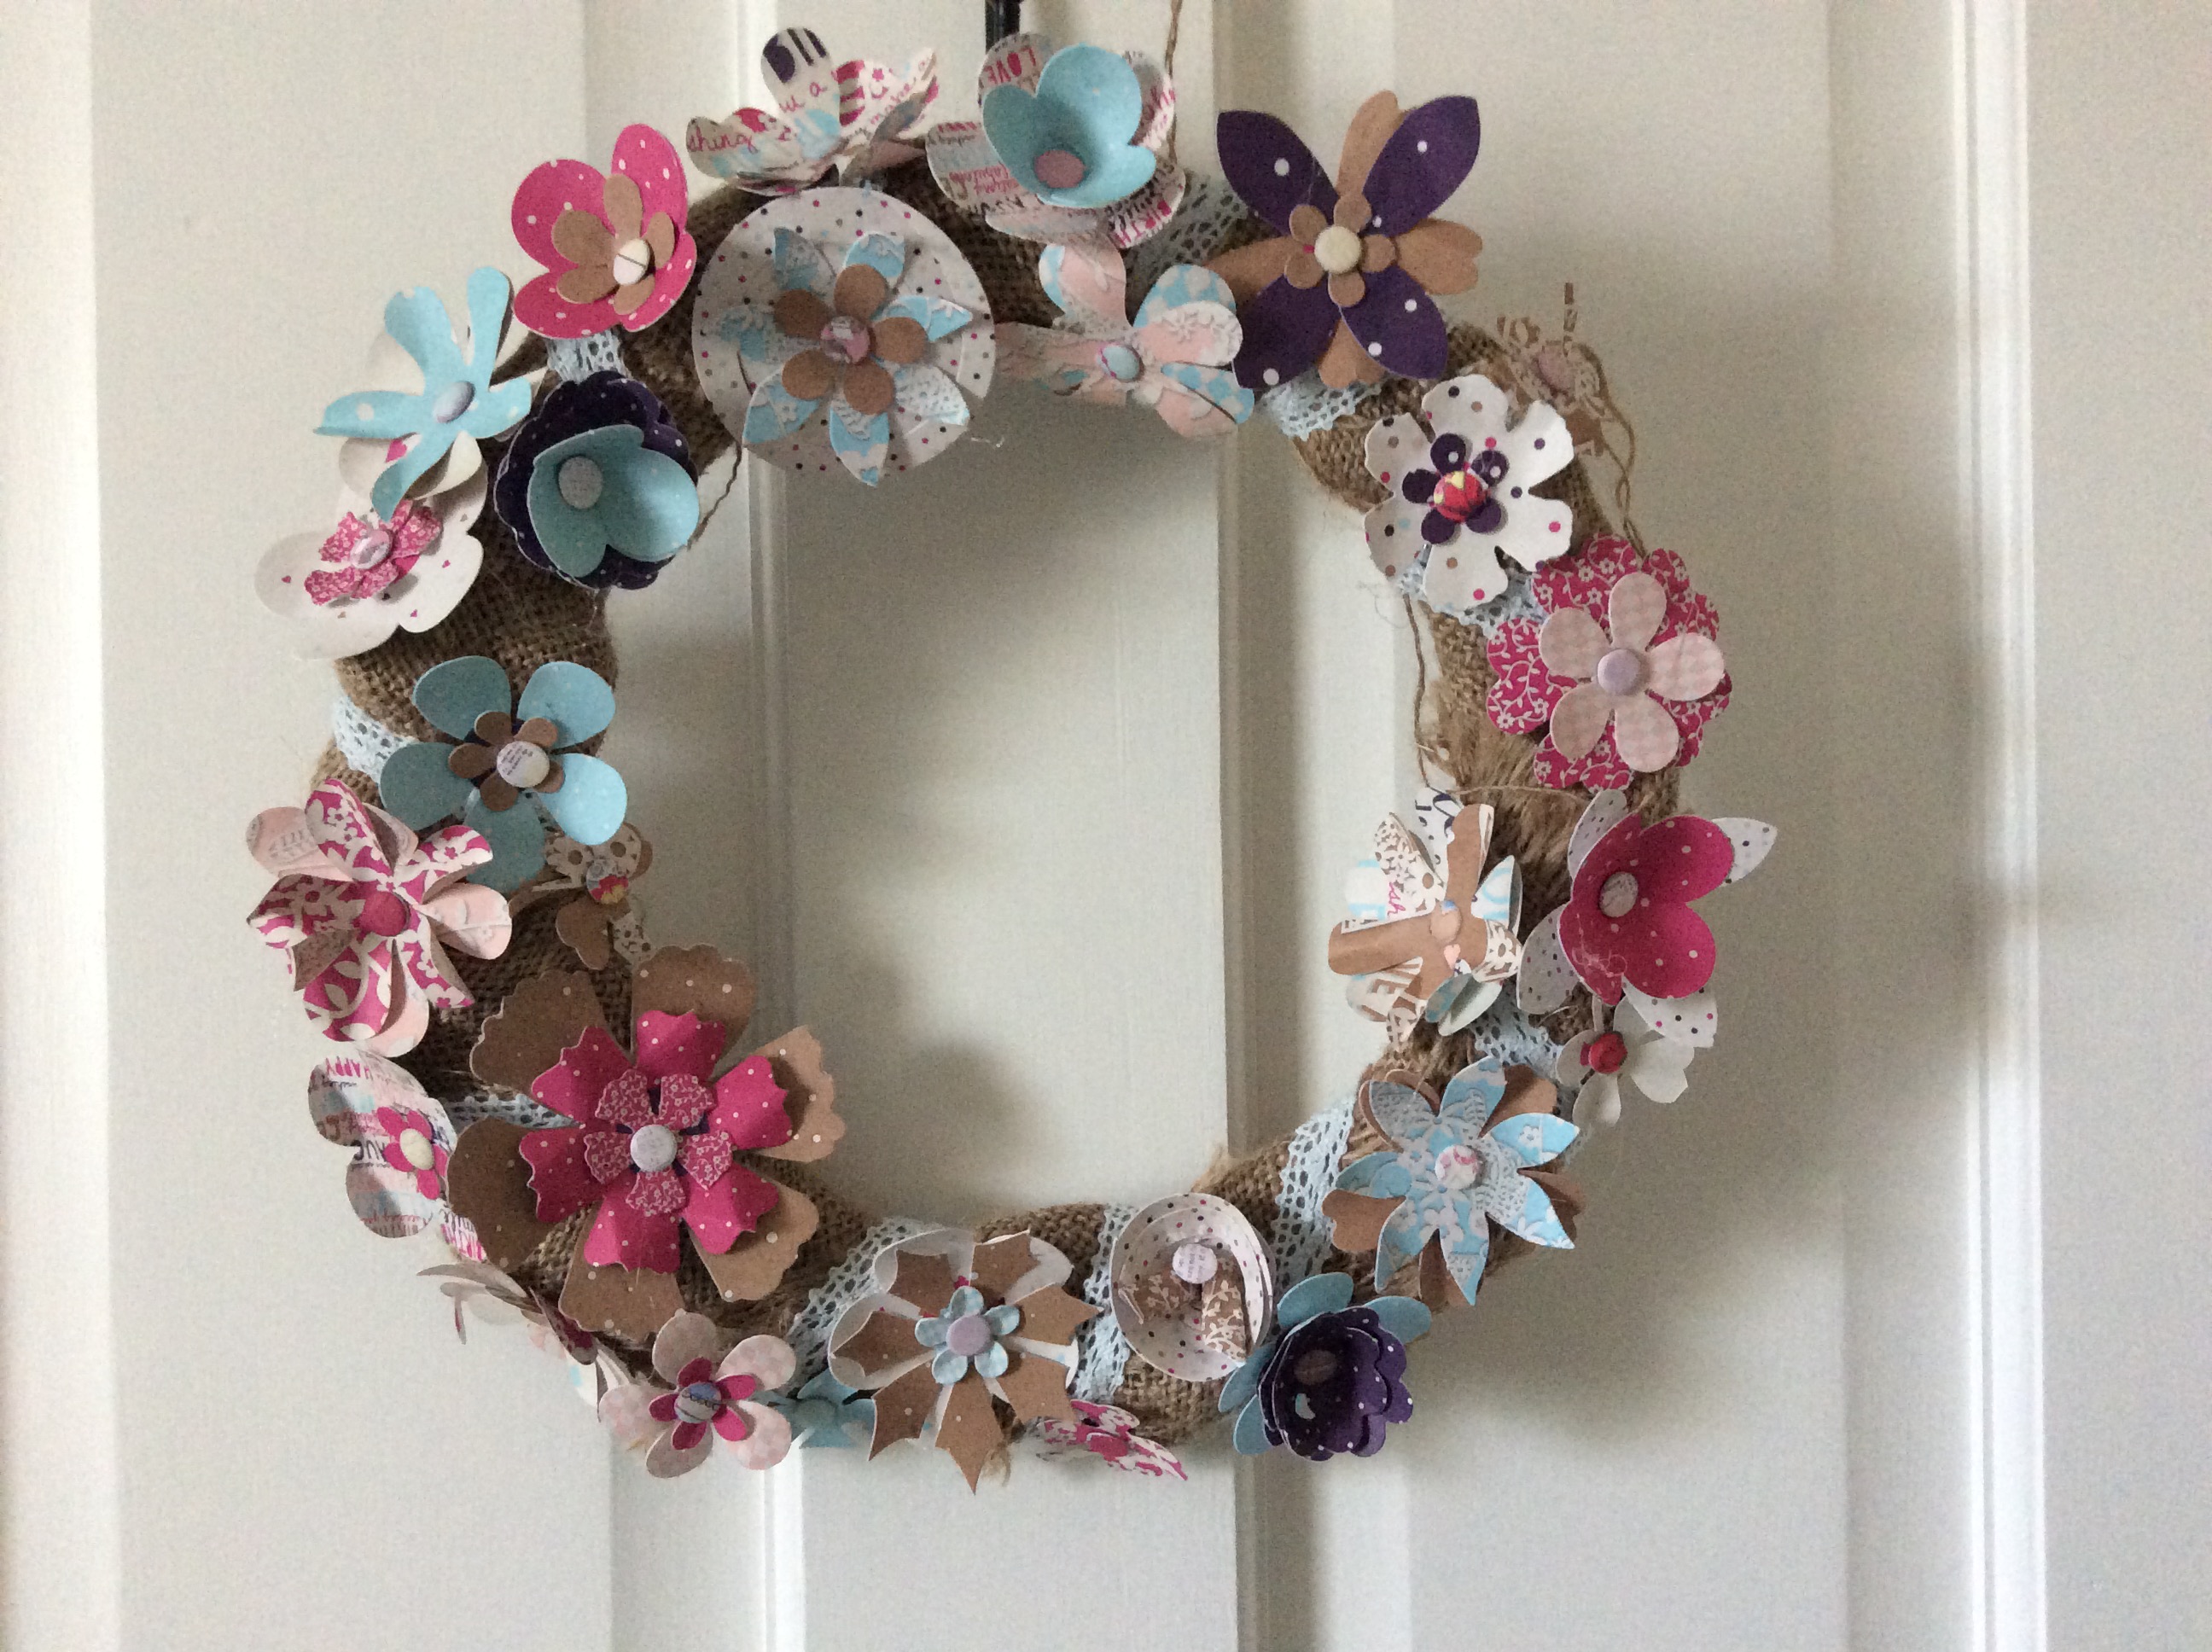
I love how this was made from bits and pieces…
The cardboard box was cut into a ring doughnut shape using a craft knife around a dinner and side plate as templates. Honestly, the finished piece looks as good as a bought polystyrene ring would.
The ring was then wrapped with strips of burlap to give a bit of dimension and cover the card. Any plain fabric, canvas or even paper would do. I then wrapped lace effect cord on top of the burlap at about 10 centimeter spacing with about 20 cm spare at the end, which I pinned through the burlap to create a hanger.
You could use a longer loop for hanging if you wanted your cord to show and garden string looks good on burlap if you don’t have a long enough piece of cord. If you tie shorter pieces of string together, glue your decorations over the knots.
Pre cut, die cut flowers from a craftwork cards beau paper kit were stuck on with hot glue and supplemented with flowers cut on the scan n cut from the same paper pack. I found putting the flowers on the inner and outer of the ring face added more dimension.
l added ‘candi’ to the flower centre as a bit of detail, but the waste from the office hole punch would work, as would beads or buttons if you like more frill effects.
When you feel it looks full enough, hang it up to check from every angle and fill in the gaps, as fuller is better to plump up the paper.
The beauty if this is that the theme and colours could change according to the paper you have – from a glittery festive to a ‘natural’ palette.

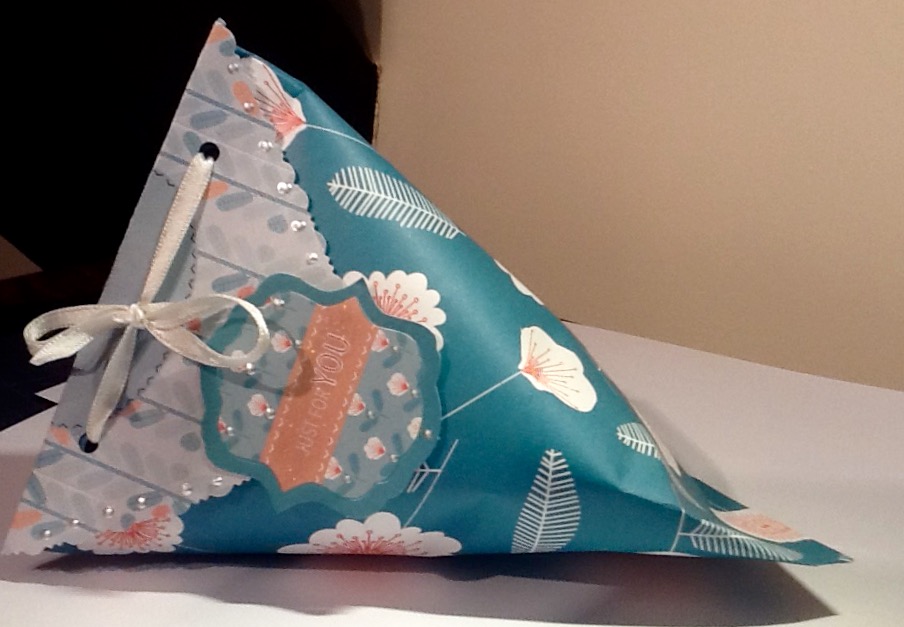
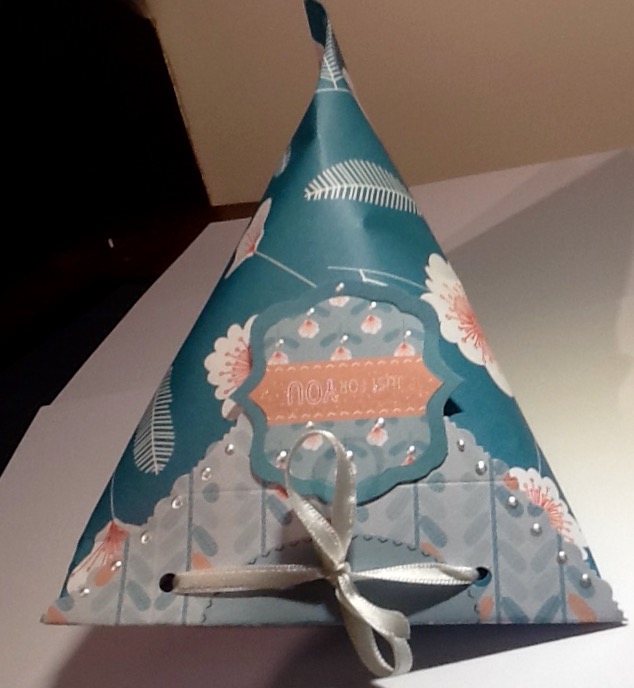
I love this papermania owl folk paper kit and used a sheet to wrap some beauty treats using the pouch method.
place double sided tape along the west side of a rectangle of paper. (Plain side facing up . Roll the east side over so that you form a tube with the pattern side sticking to the tape. Burnish the taped seam so it sticks well
flatten the tube lightly with the seam roughly mid way along the back and tape inside the southern (bottom) edge to make an open top packet. Pop in your goodies leaving plenty of space at the open top.
Now push the east and west sides together and staple or hole punch them together to form a wedge shaped pouch.
I added a flap of contrast paper which I trimmed with decorative edged scissors and hole punched then laced some ribbon through. A tag from the kit was added and then a brush of ‘wink of Stella ‘ for sparkle and some liquid pearls finished it off.
