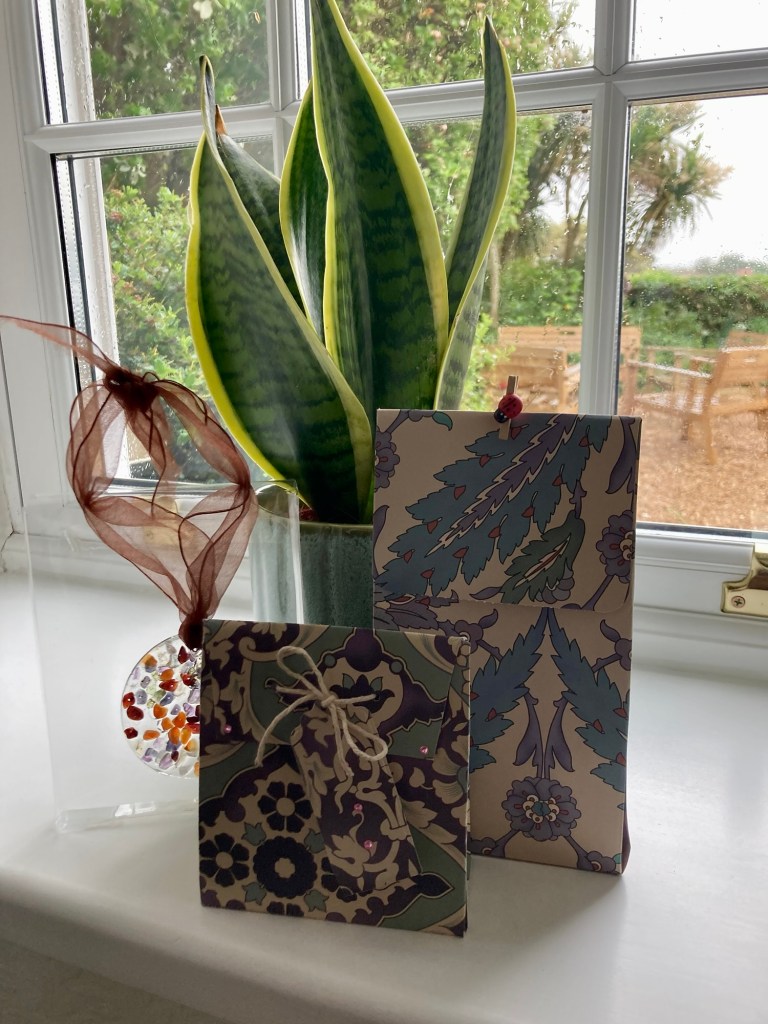
A few stash busting bags using the acetate and large pattern paper I can’t use on greeting cards.
Simply made as long as the side panels are the same. Some sides are pushed in to make gussets, there are different closure styles from Velcro to string, pegs and brads.
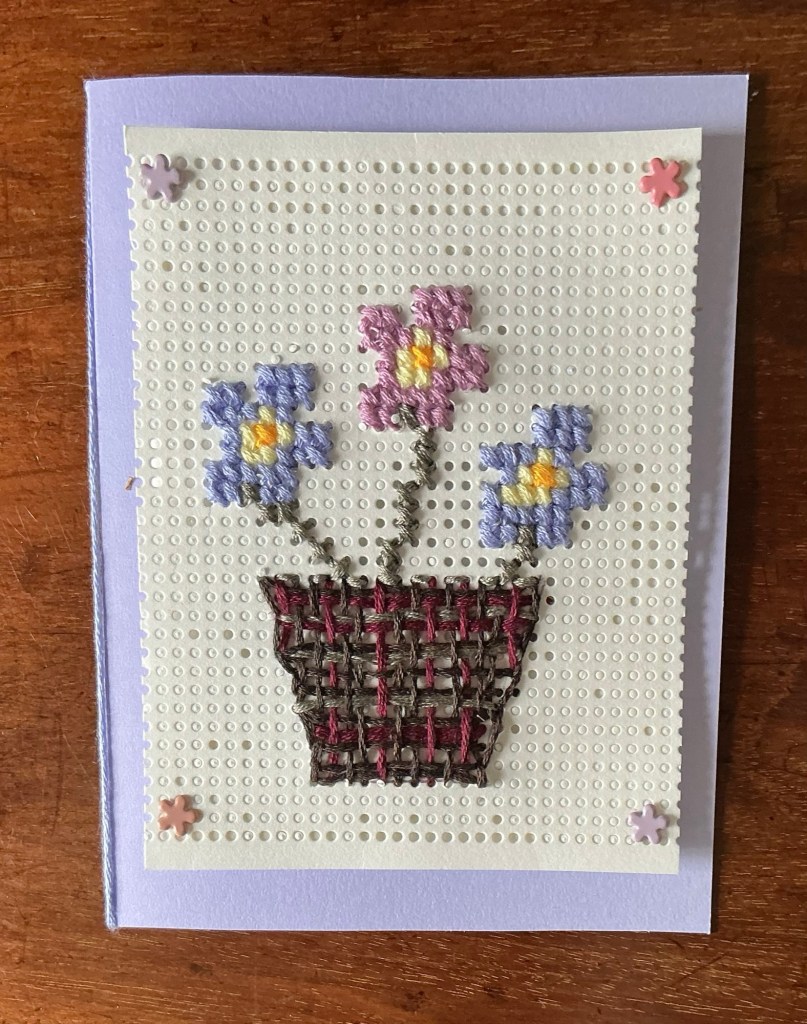
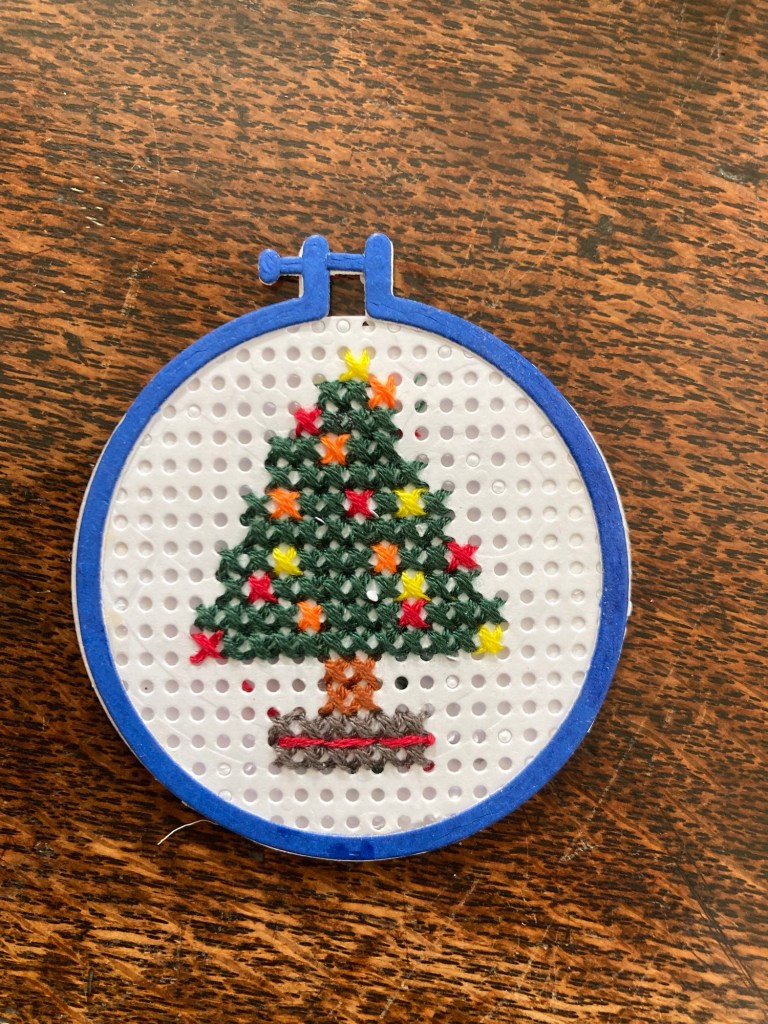
My cross stitch ‘to do’ list is huge but I had to try this basket of flowers before any of the bigger ones because I am trying cure myself of a YouTube addiction!
My vow to stop mindless watching is to try out a crafty project if I watch a crafty video (and to cook a recipe if I watch yet another foodie video etc.).
So when the lovely Sarah Homfrey demonstrated basket weaving stitch in her May embroidery upload I had to try it.
I have a paper die that creates cross stitch panels so used that rather than load a hoop for stitching a more detailed basket on fabric.
I freestyled the pansies and fixed the finished panel on some craft foam before mounting it on a card base. I found some matching brads to embellish and tied some embroidery thread around the spine.
Rustic but at least the project is done and I can tackle some other UFOs (un finished projects).
Being a crafter makes it hard to dispose of greetings cards received so I feel obliged to remake them and hand them on. I feel if I add embellishments and effort it isn’t cheating on the home made card making ‘rules’.
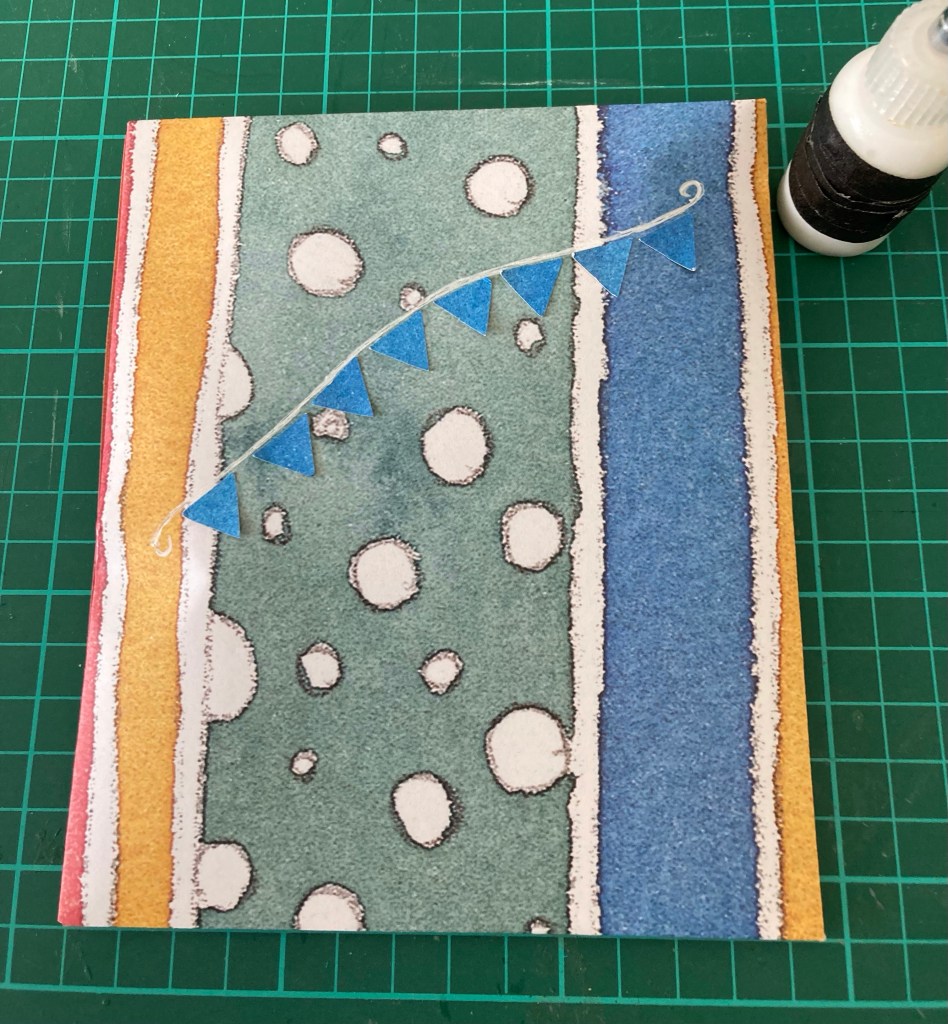
This one received for the Channel Islands liberation day (ending 5 years of occupation in WWII) won’t be handed on until next May 9 th but I enjoyed remaking it now.
Card front cut apart then mounted on a card base once the white brads were put in to the bunting line. Googly eyes stuck on and dots of Nuevo drops added to the flowers and a piece of embroidery thread tied around the spine.
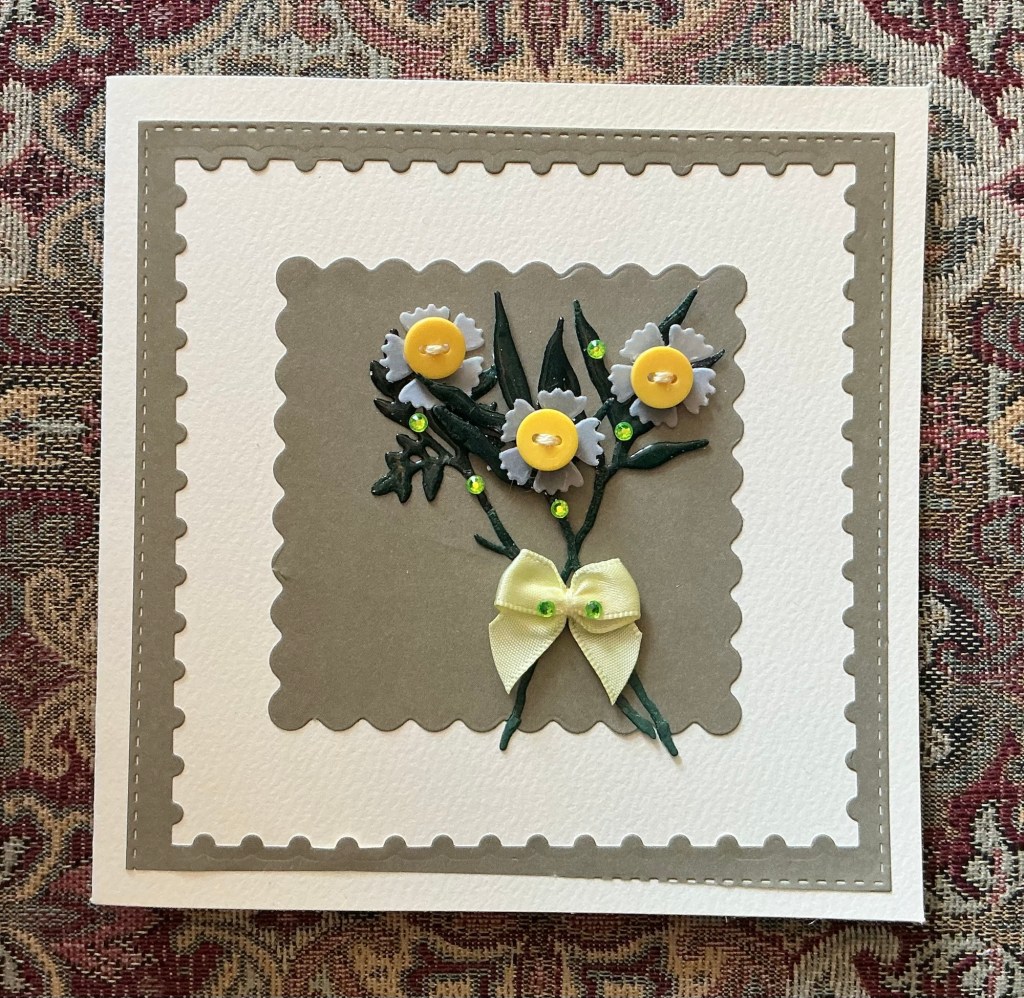
Just clear some bits from my desk I thought but it turned into a long session to produce just one card…
The card base was cut to fit a donated envelope. The green backing paper scrap was just about big enough for the die cut frame and square.
The green stems are heat embossed, the ribbon bow donated but needed the (donated) jewels to cover a mark. The buttons (from my jar) needed some thread tying through them then a die cut vellum flower to back them.
So nothing purchased and yes the desk was cleared…
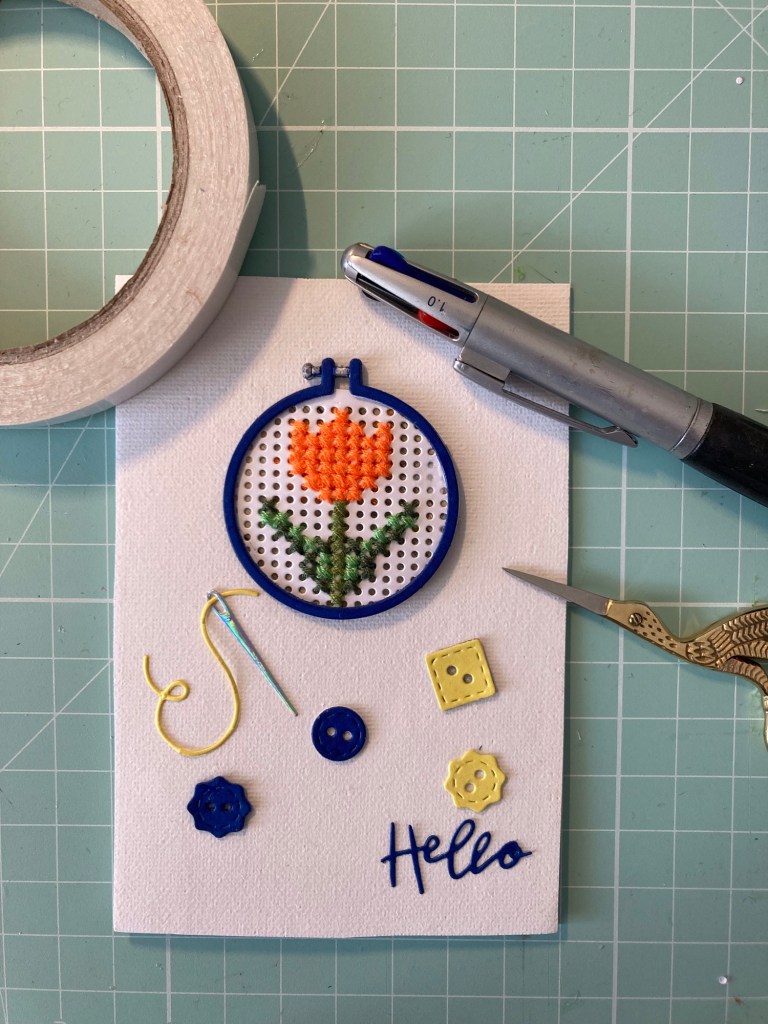
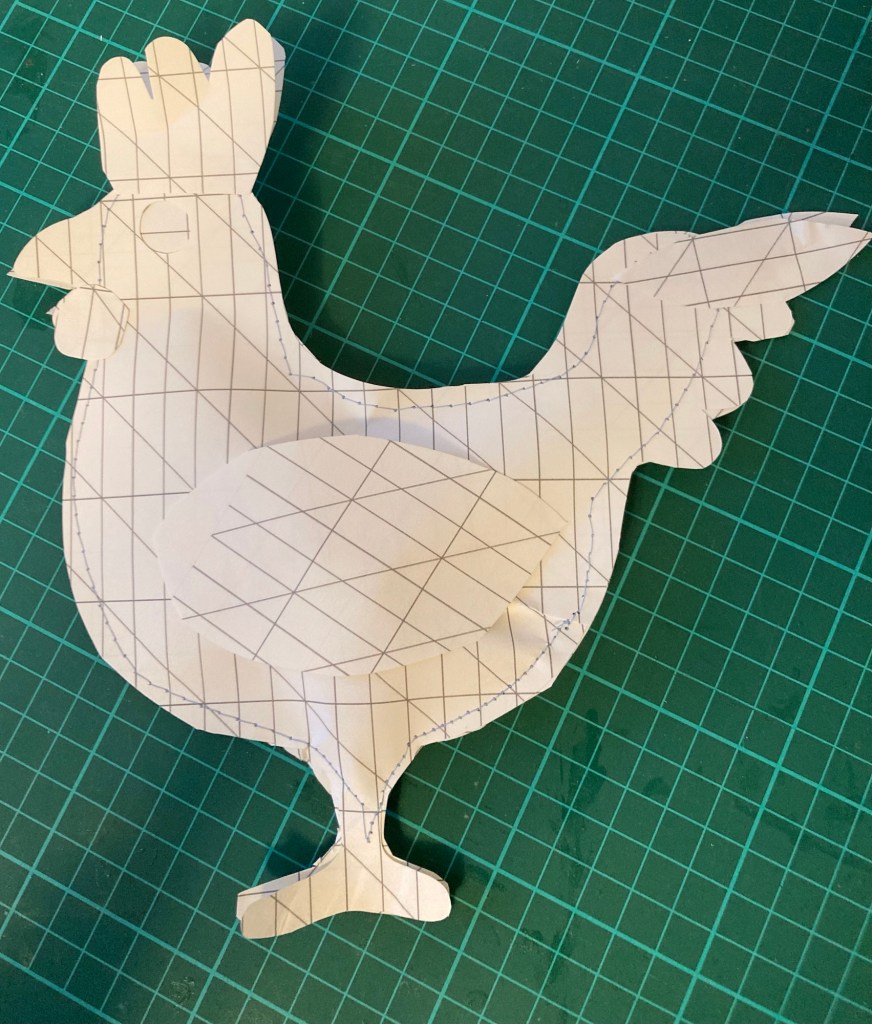
I bought a cheap die set from Globeland on Amazon and have been stitching on paper for the last month.
The set includes a die to make Aida effect punched paper, dies to make different sizes of hoops, buttons and sewing accessories. Well worth the price at about £7.
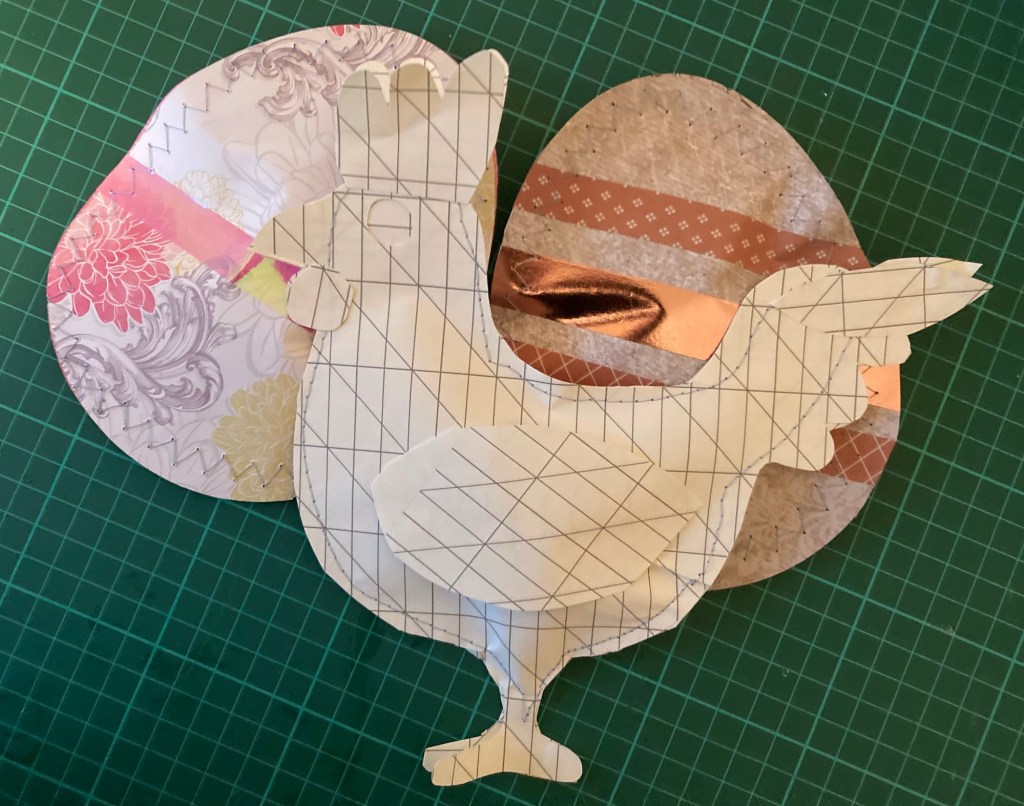
A pair of paper cut outs (calligraphy paper aplenty in my drawer) were sewn to sandwich a crème egg inside. Ready for little Easter gifts and tucked away so we don’t inadvertently nibble them.
Then a few eggs were made using up magazine papers and washi tape (will I never use it up?) again sewn shut and packed away for Easter.
The basic shapes were cut from my scan and cut to the maximum size of my papers. I can see this working with other stock shapes for single sweet treats throughout the year – hearts, cars, stockings …
Must remember to keep the sewing machine needle with my papercraft projects as the paper blunts the needle quickly.
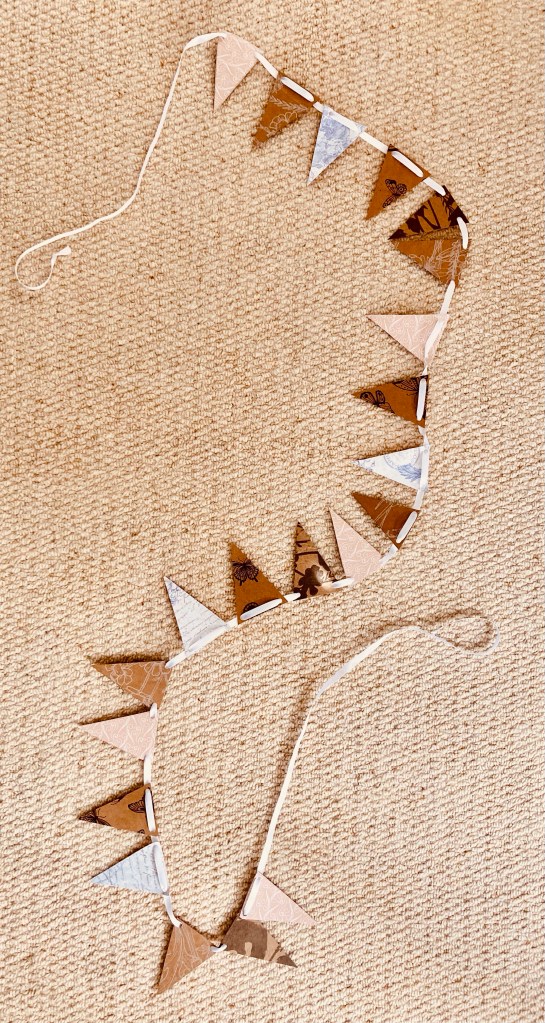
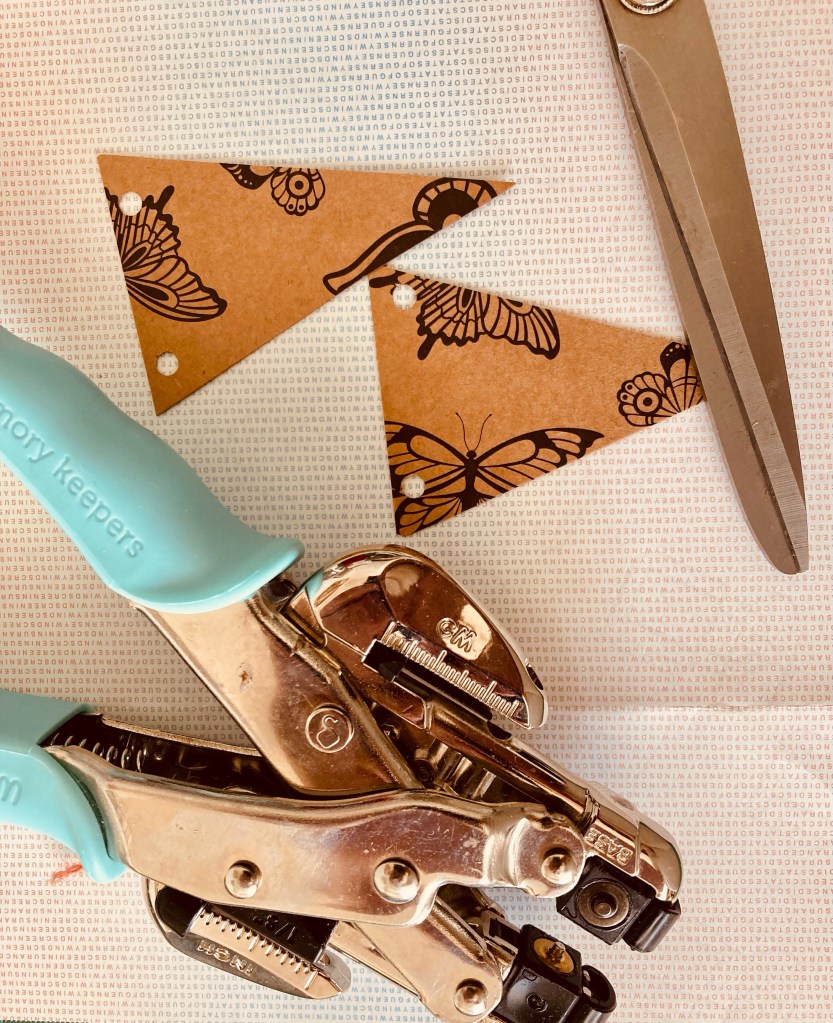
Trying to empty my scrap paper folder so made two mini bunting strings that will be named once the recipient is decided upon
This is simple triangle cutting (2 inches across the top and 3 inches from top to tip) from past Papercraft society folios and magazine free papers.
Once four stacks have been created (I glued two sheets of the flimsy magazine paper together so I had double sided prettiness to create patterns 3&4), I used a hole punch and threaded the triangles on ribbon to create my strings.
Minimum number of triangles to spell -eventually- ‘happy birthday’ is 19.
I am storing each string in a quick made envelope using a single sheet of craft magazine paper folded and stuck to make an A5 envelope, decoration is another string of bunting ready for the recipients name.
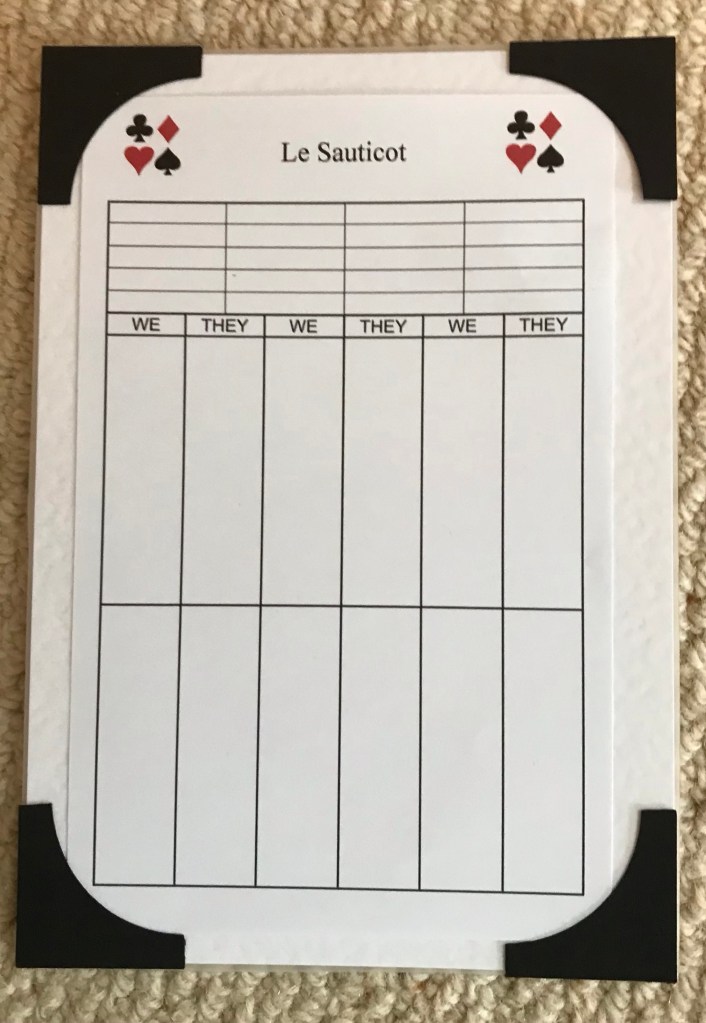
Why buy when you can make? A set of bridge score cards made in Pages and some holders that are just matt laminated card with scan n cut photo corners stuck with red liner tape.
Now to work on my bidding so I can record some good scores on these!
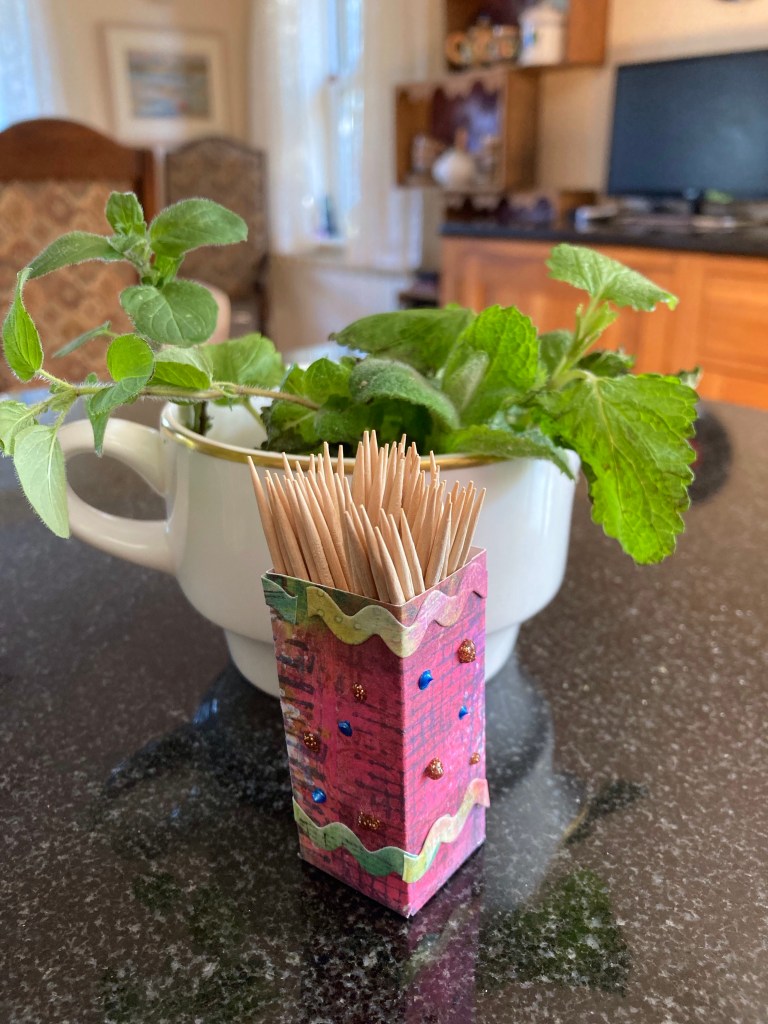
Couldn’t find a holder for tooth picks, which arrived in a big bag, so I made one with card that was out on my desk.
A simple box of four equal scored sides plus a small scored flap for adhesive and bottom flaps also stuck with adhesive tape. Decorated with die cut ric rac strips and some stickles, this was a 5 minute project done and in use.
Going to use before I buy any more. Stage one, make some tags from the bag of bits. Also used the double sided adhesive sheets to make attaching the sentiments a bit easier.