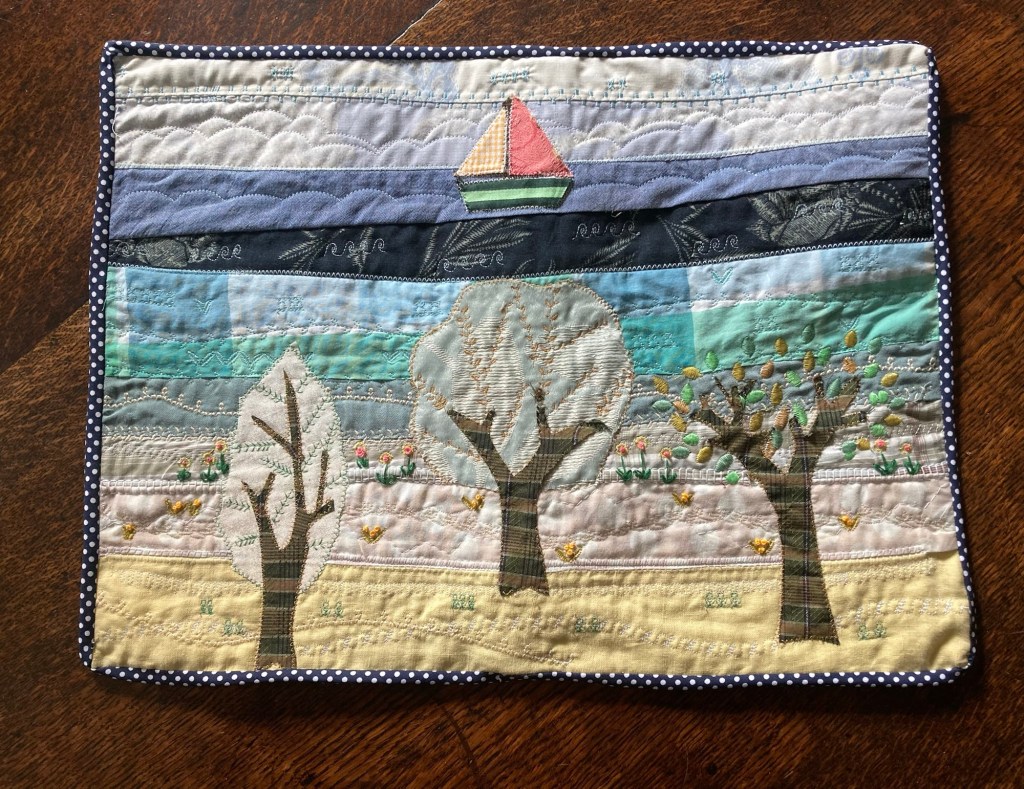
Using stitches from my new machine and just a little hand embroidery I turned strips of scrap from old clothes and fabric remnants into a rustic placemat
A great way of trying out the decorative stitches.

Using stitches from my new machine and just a little hand embroidery I turned strips of scrap from old clothes and fabric remnants into a rustic placemat
A great way of trying out the decorative stitches.
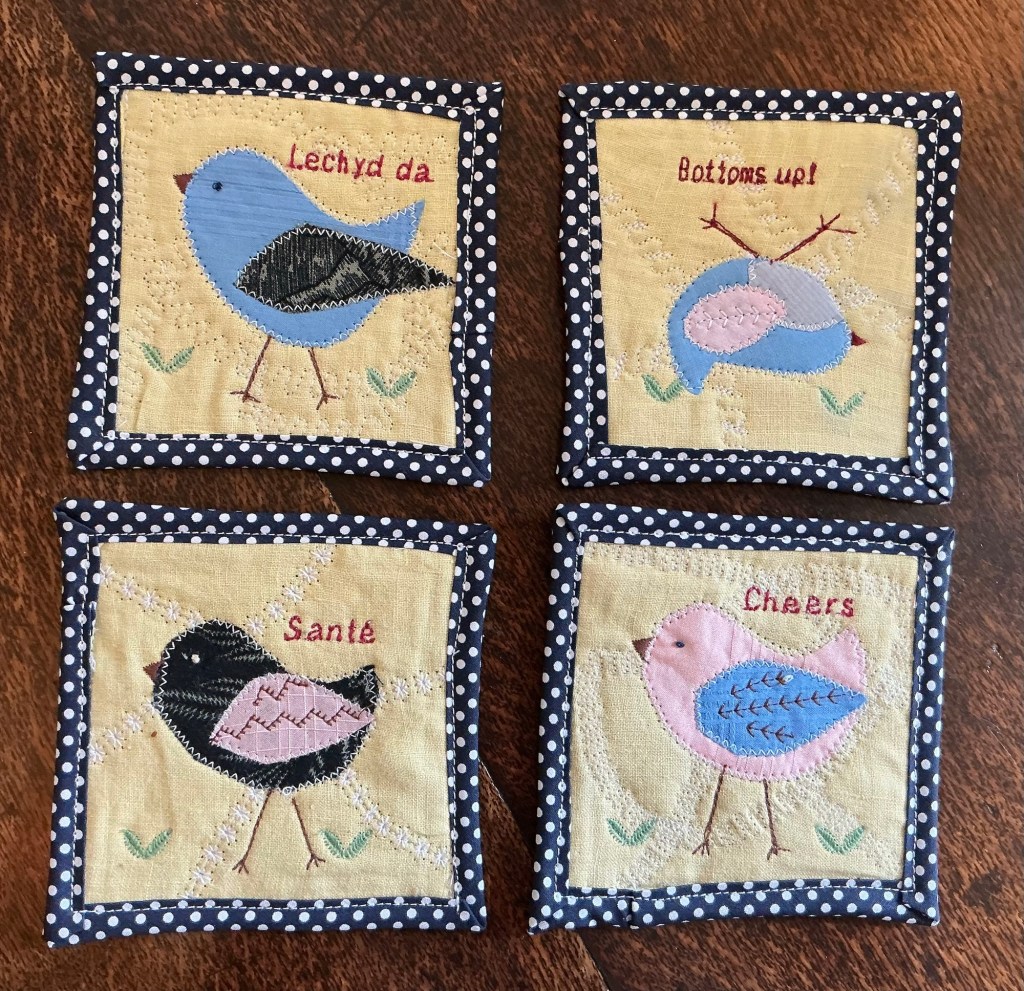
I made these coasters to try out my letter character skills on my new machine and had to master binding to finish them off.
Experimenting with the feet that came with my new Janome machine…
The over edge stitch recommended the c foot and the results blew me away.
So easy to line the foot up with the straight edge of the fabric just so that the standard width stitch finishes the edge exactly.
Who needs an overlocker?
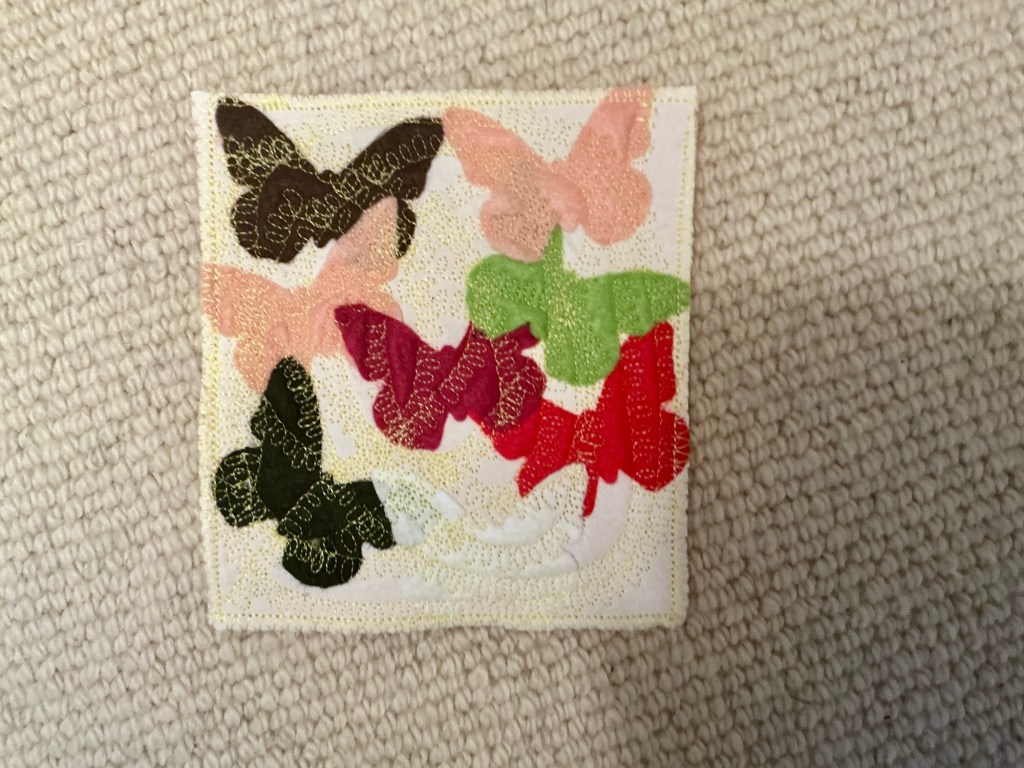
This was due cut felt butterfly shapes on a 6” cotton square with a felt backing.
I used a decorative stitch to fix the shapes and it makes a simple glass coaster or mug rug.
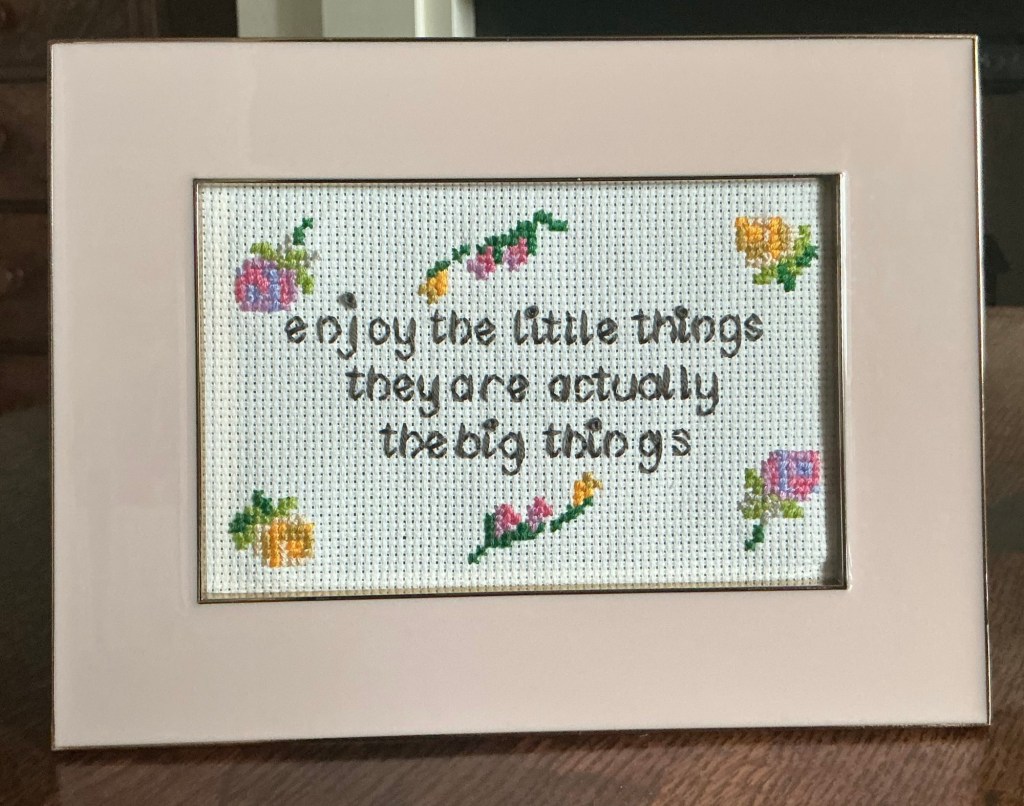
The use it up campaign continues with one of many surplus photo frames used to mount a little cross stitch.
Once the chosen phrase is charted out to get the letters centred I can work out the size of fabric required and then choose a frame big enough so I can add cross stitch decoration.
Essential tools:
Friction heat erasable pens help me centre the lettering and position the stitching.
Graph paper to write out the wording and get the spacing right.
Embroidery frame to keep the fabric straight.
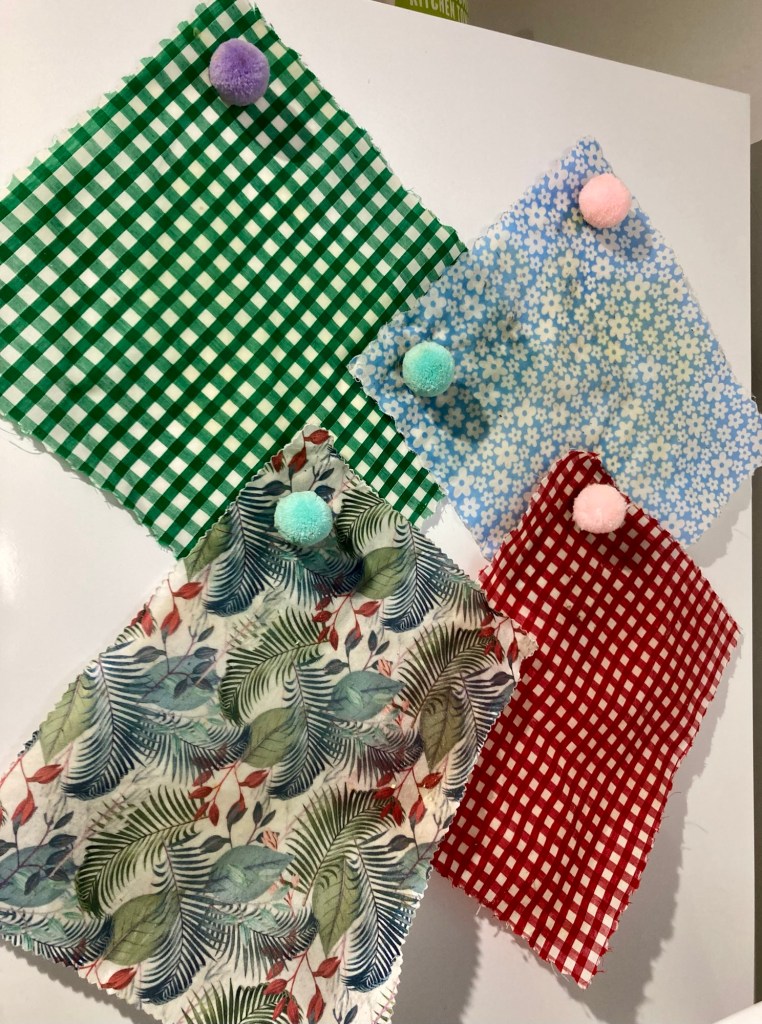
I am determined not to add to my fabric stash so am using up bits and pieces in small projects.
Scraps of fabric have been waxed to provide clingfilm alternative waxed wraps, these live on the fridge ready for use. I used beeswax pellets as solid bees wax needs messy grating before it is ironed on the fabric.
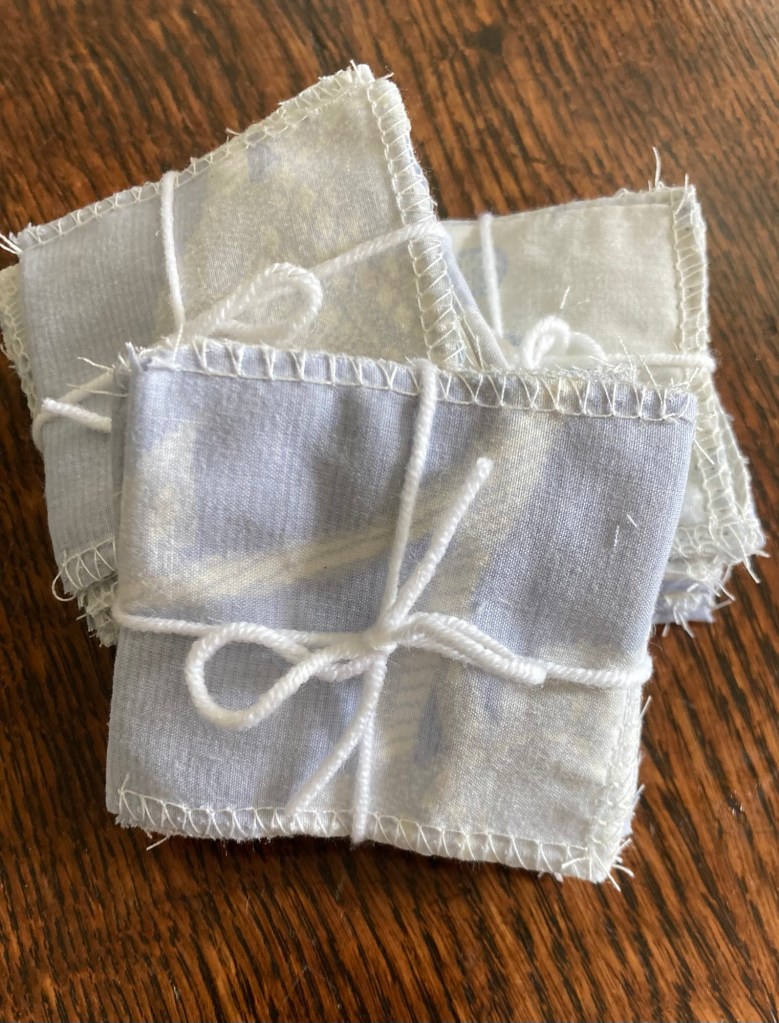
Then when reducing the size of a king size duvet cover to fit a double bed I ended up with surplus strips of fabric.
As the overlock machine was out I decided to fold the strips in four and overlock them into squares for use as reusable cotton face wipes. Enough extra bundles were made to go in the present drawer with suggested ‘recipes’ for diy facial cleanser.
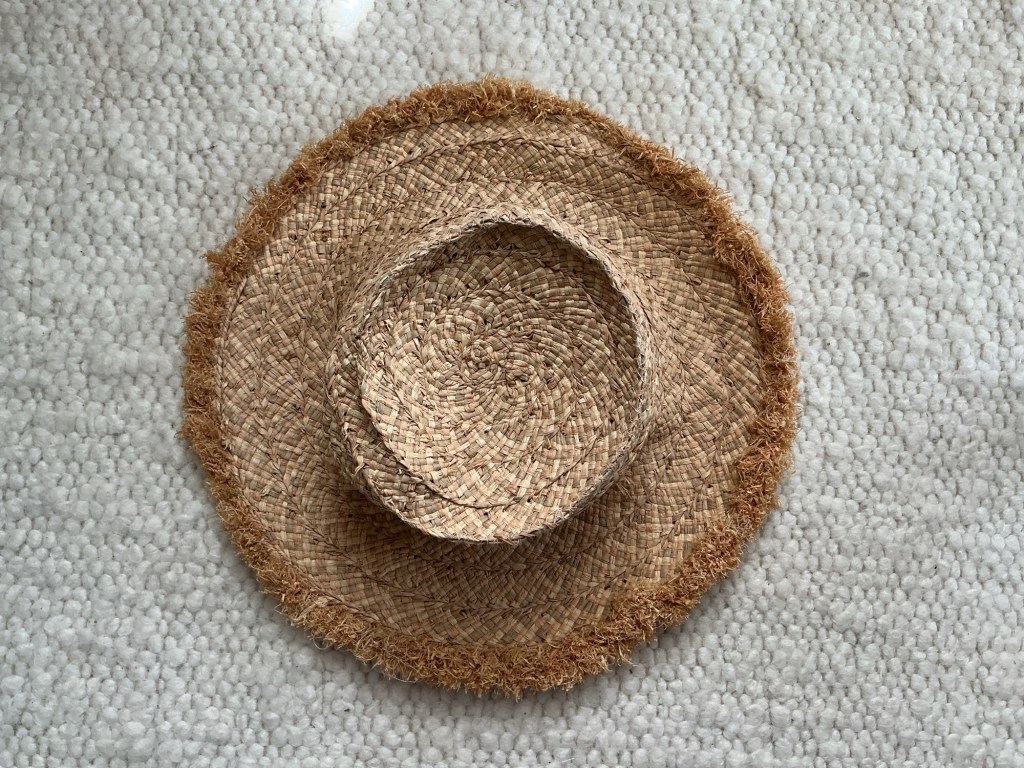
Inspired by Patrick Grant’s book Less, I repaired stuff today.
Sewing the holes in this ancient sun hat was a two minute job once I decided to do it and the result makes me happy!
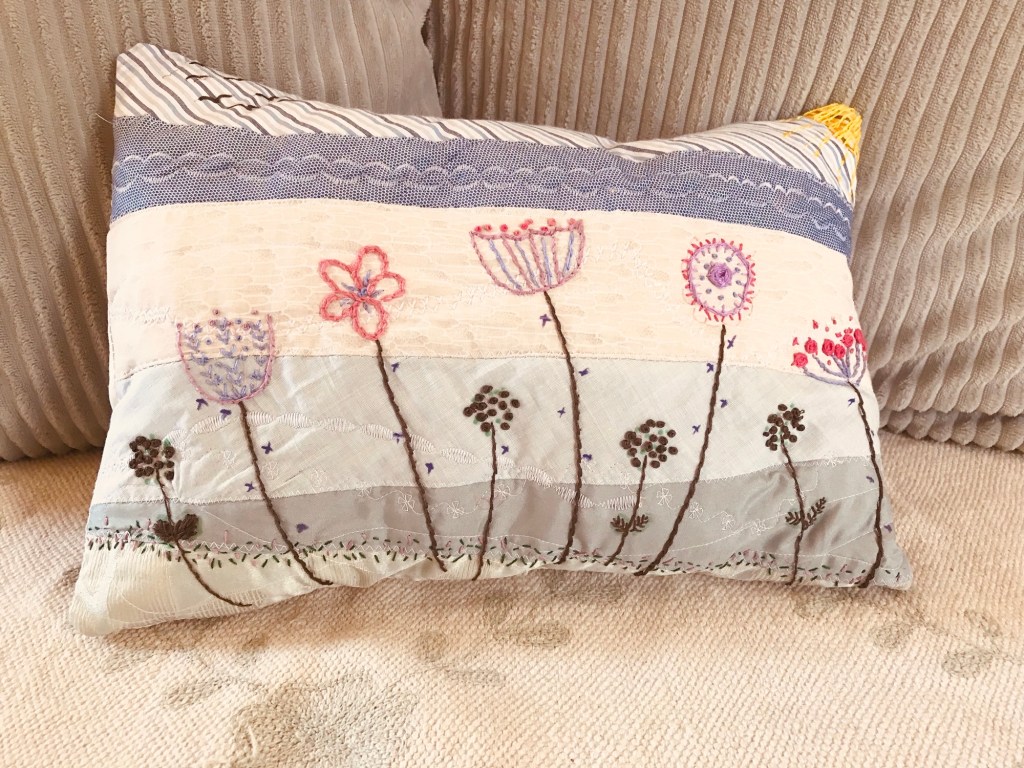
This was going to be an appliqué beach scene so started with strips of background.
I then lost patience with the number of unfinished projects hanging around and embroidered some large scale ditzy flowers instead, added some slow stitch and fabric paint detail and turned it into a small pillow instead.

My favourite coaster/mug rug made from a collage of fabric scraps with an assortment of embroidery, slow stitch and machine embroidery.
Only I know how long it took to transform the scraps into some thing unique and useful.
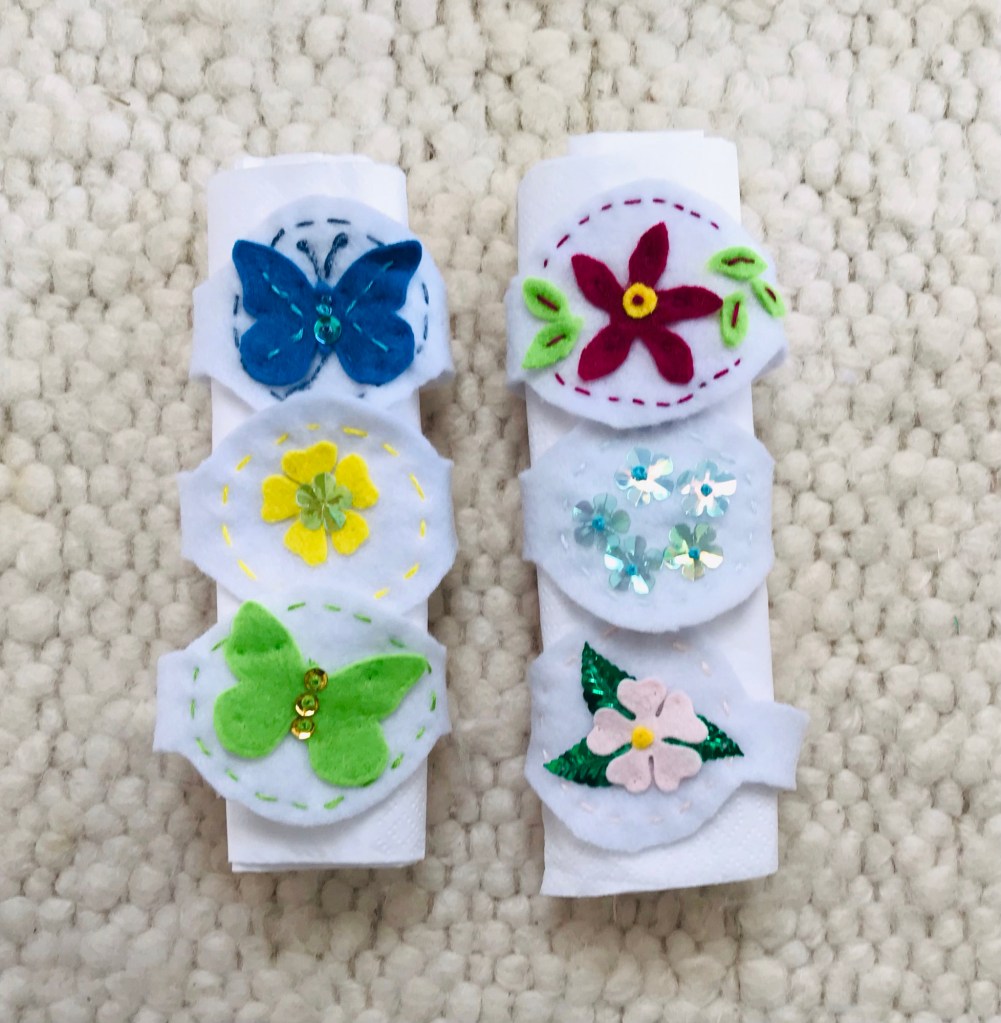
These sweet little napkin rings were quick makes from felt scraps.
The strap is about 7cm long and the central round is about 3 cm diameter.
I fixed mine with Velcro dots but they can be stitched closed or have button holes.
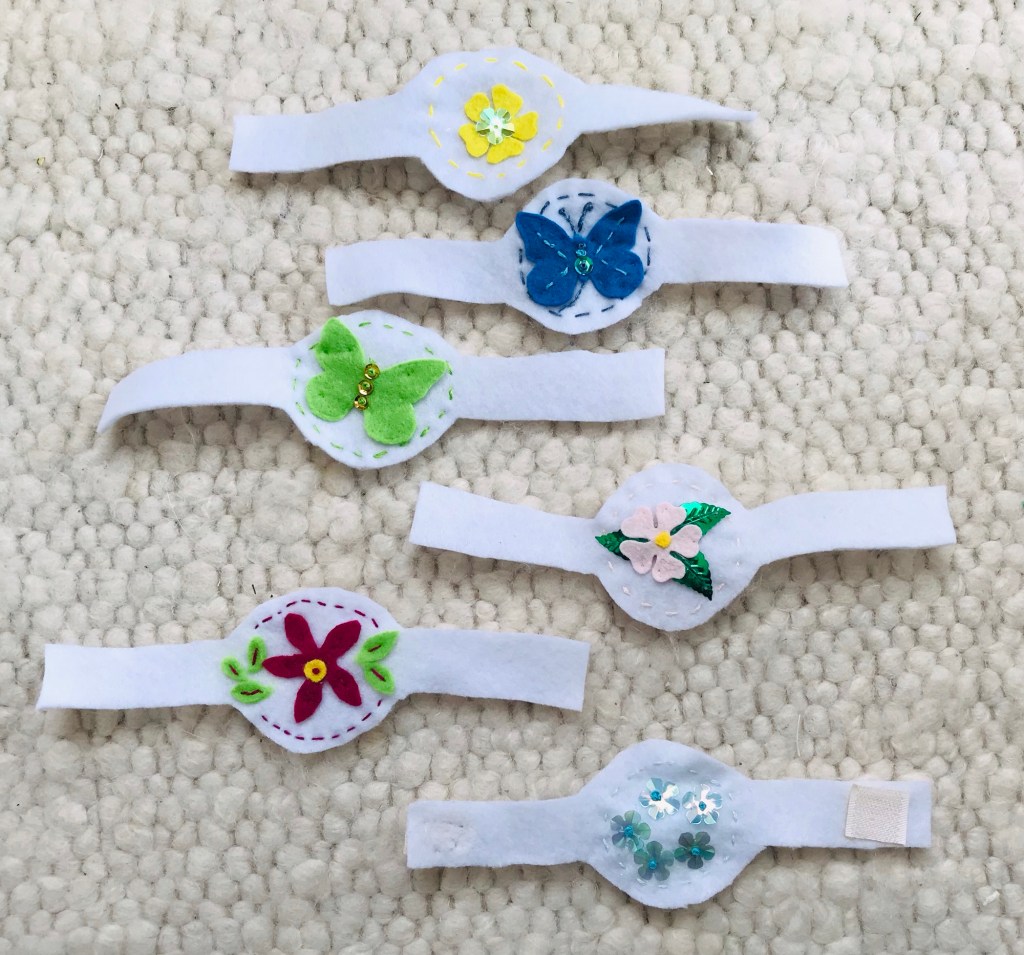
Some had simple die cut shapes stitched on with invisible thread. Some had sequins and some more complicated stitching with embroidery thread. to harmonise them as a set, I straight stitched a circle around each design in a contrast colour.
Some had felt circles backing the thread work so they don’t unravel too quickly but they are delicate and definitely won’t survive red wine spills or washing.
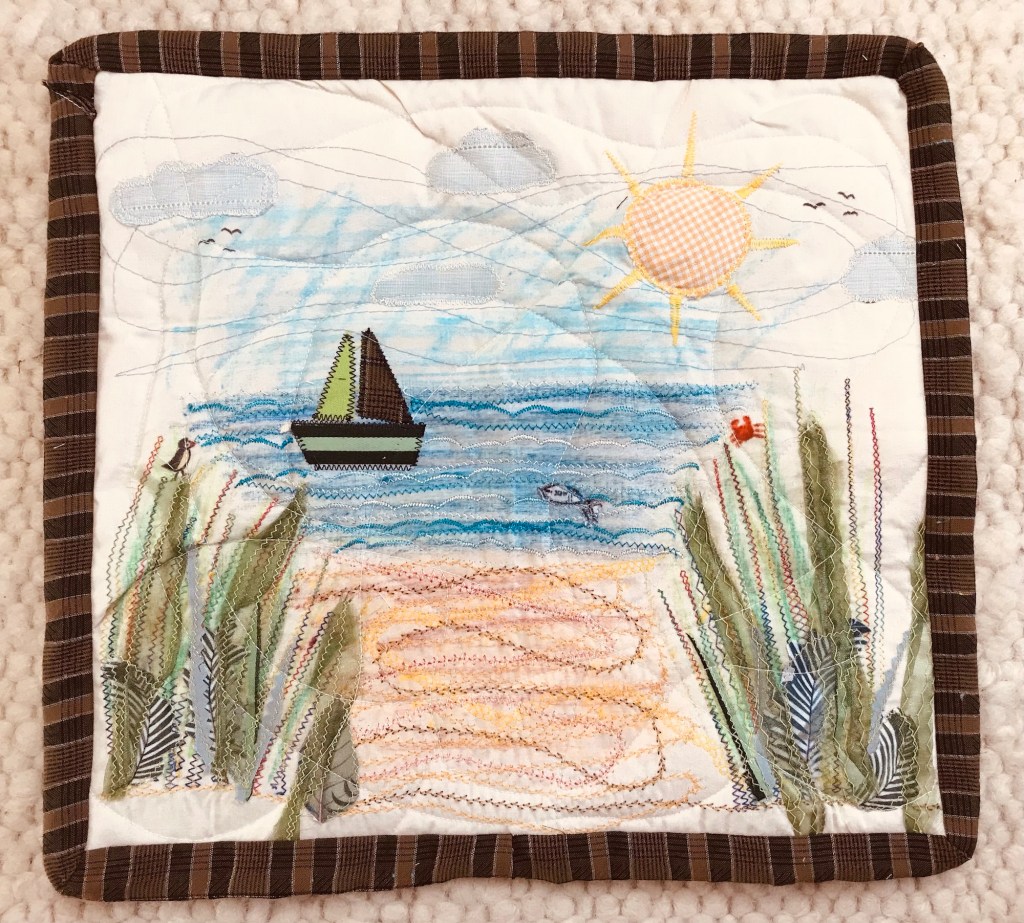
I love finding practical uses for my crafting so turn appliqué, fabric painted and/or free motion stitcheries into lightly quilted mats for bedside or occasional tables .
This one used lots of ribbon scraps stitched down to look like ferns and the crab and puffin were simply drawn with fabric paint at the end.
I quilt in random swirls as I like the texture it creates.
To finish I made my own binding to replicate a picture frame effect.
