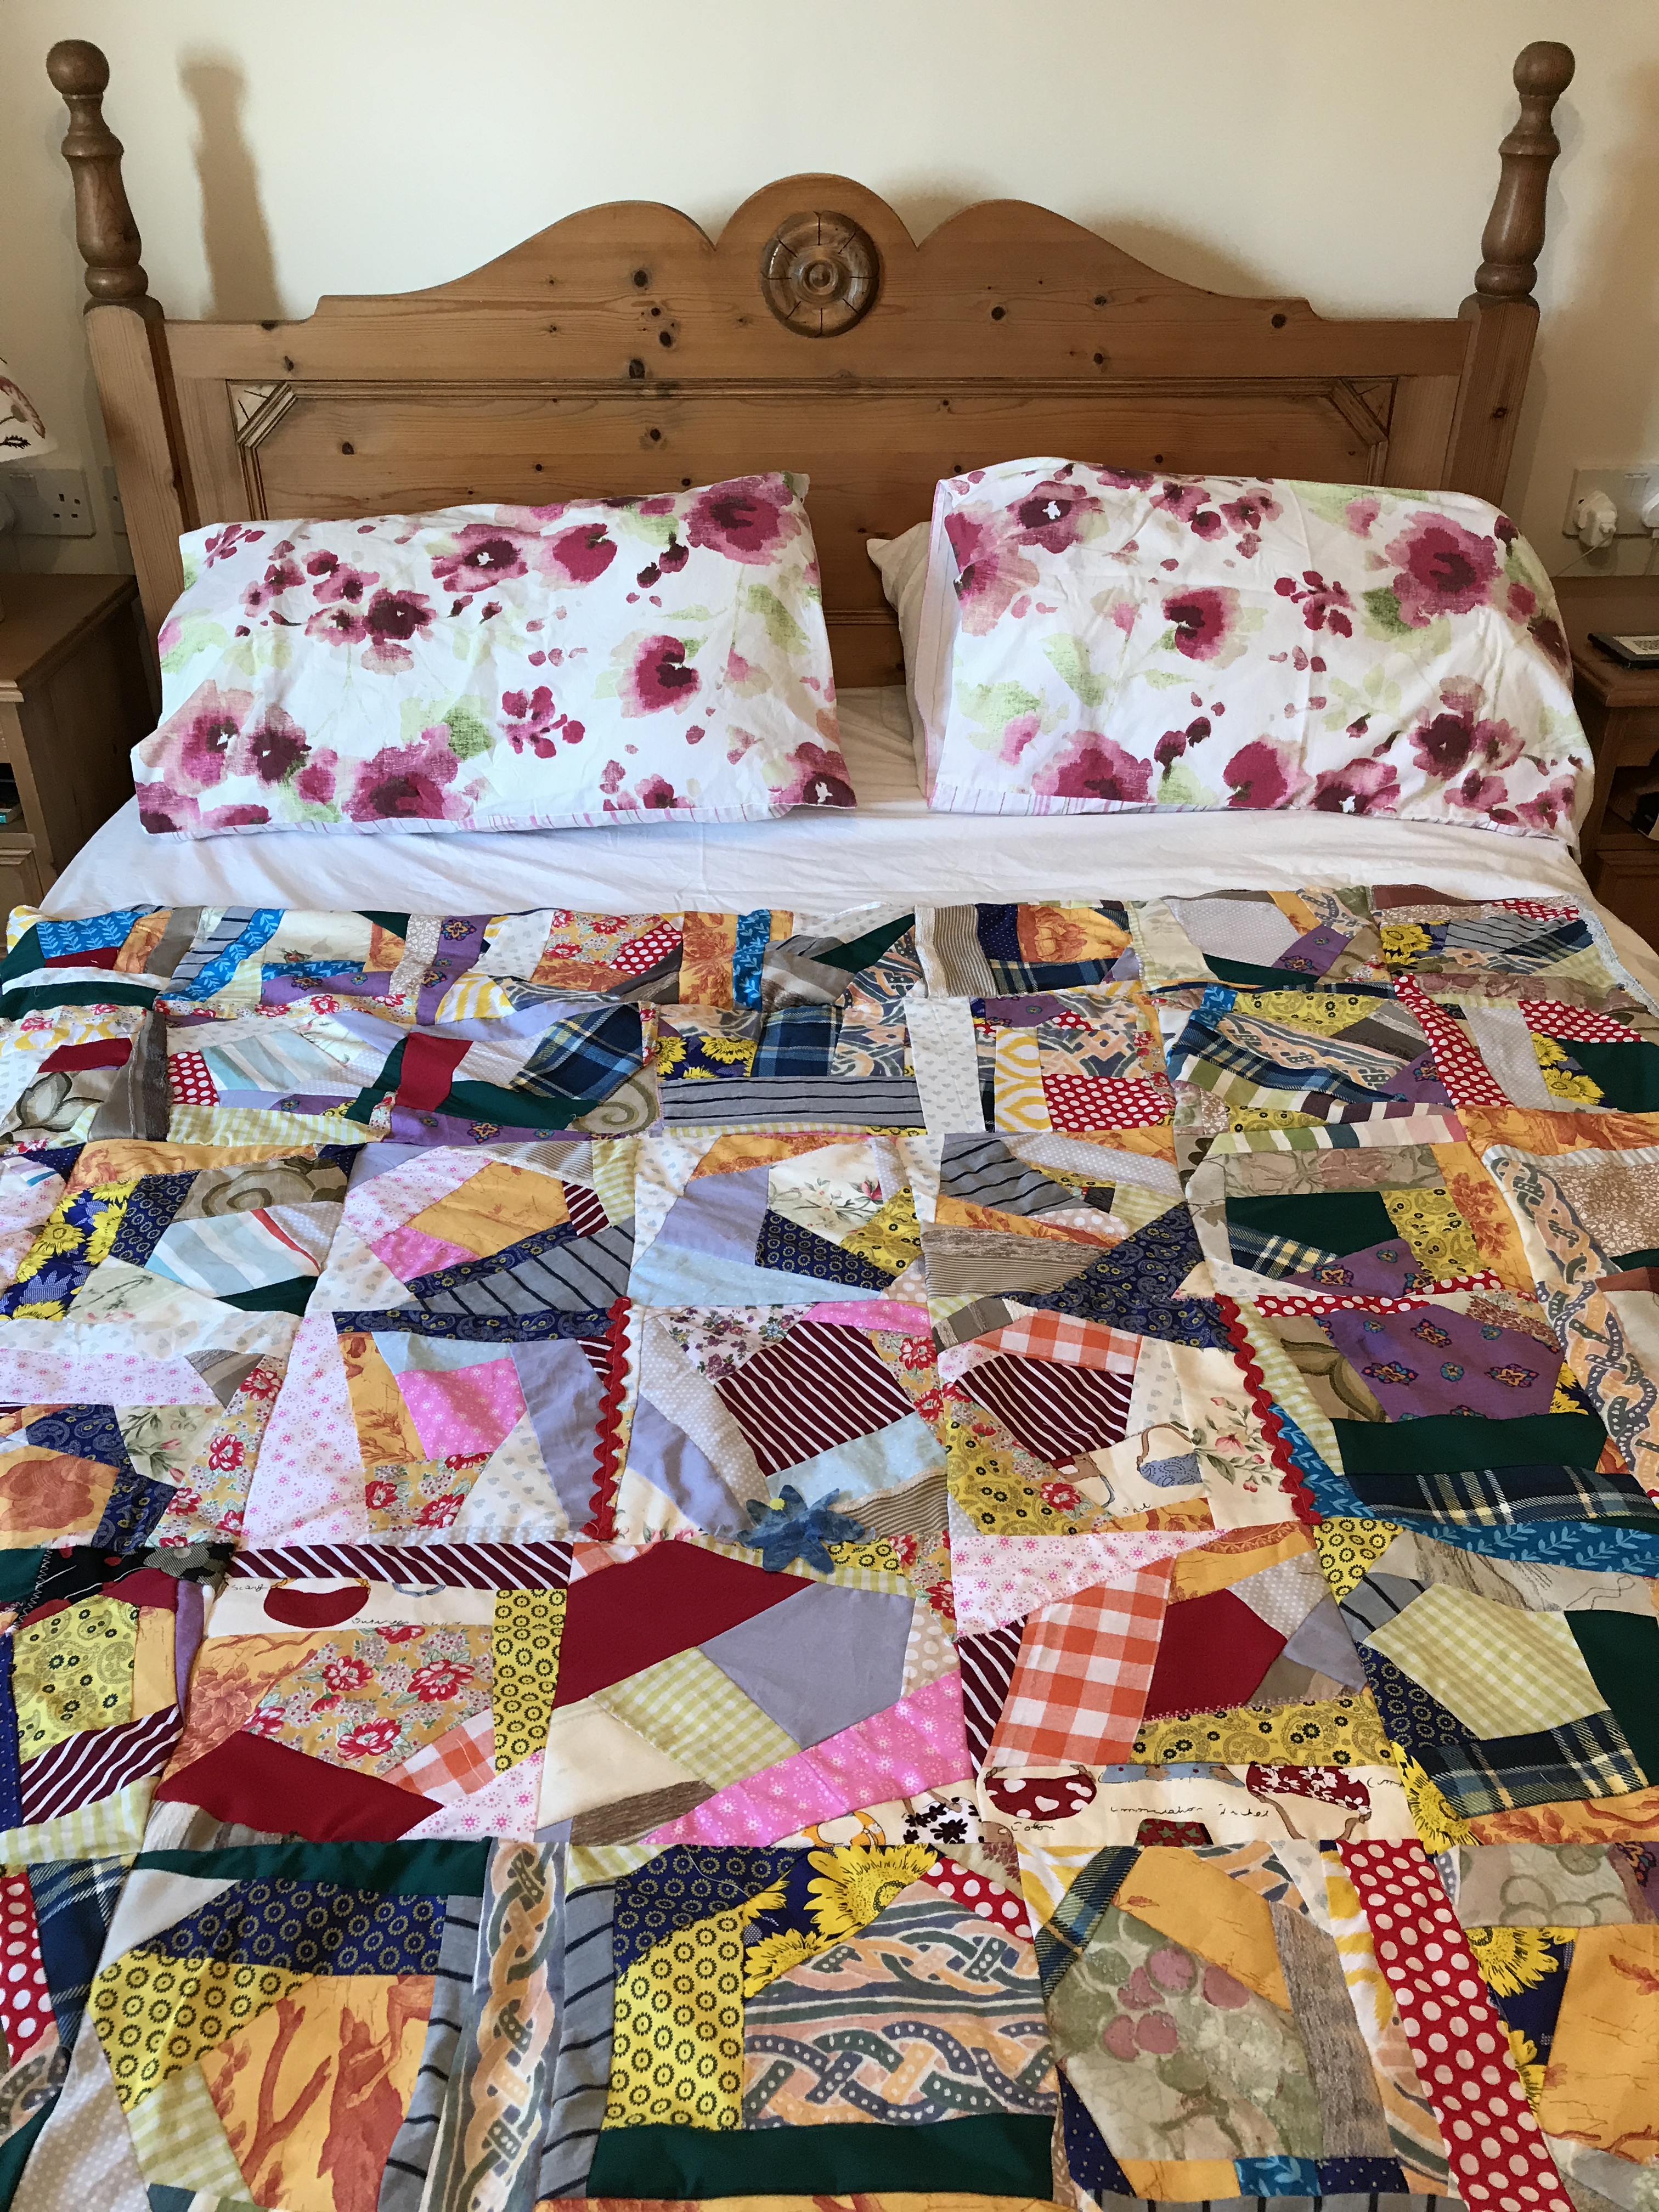
 A stash buster built on the base of an IKEA throw, using crazy quilt 9 inch blocks
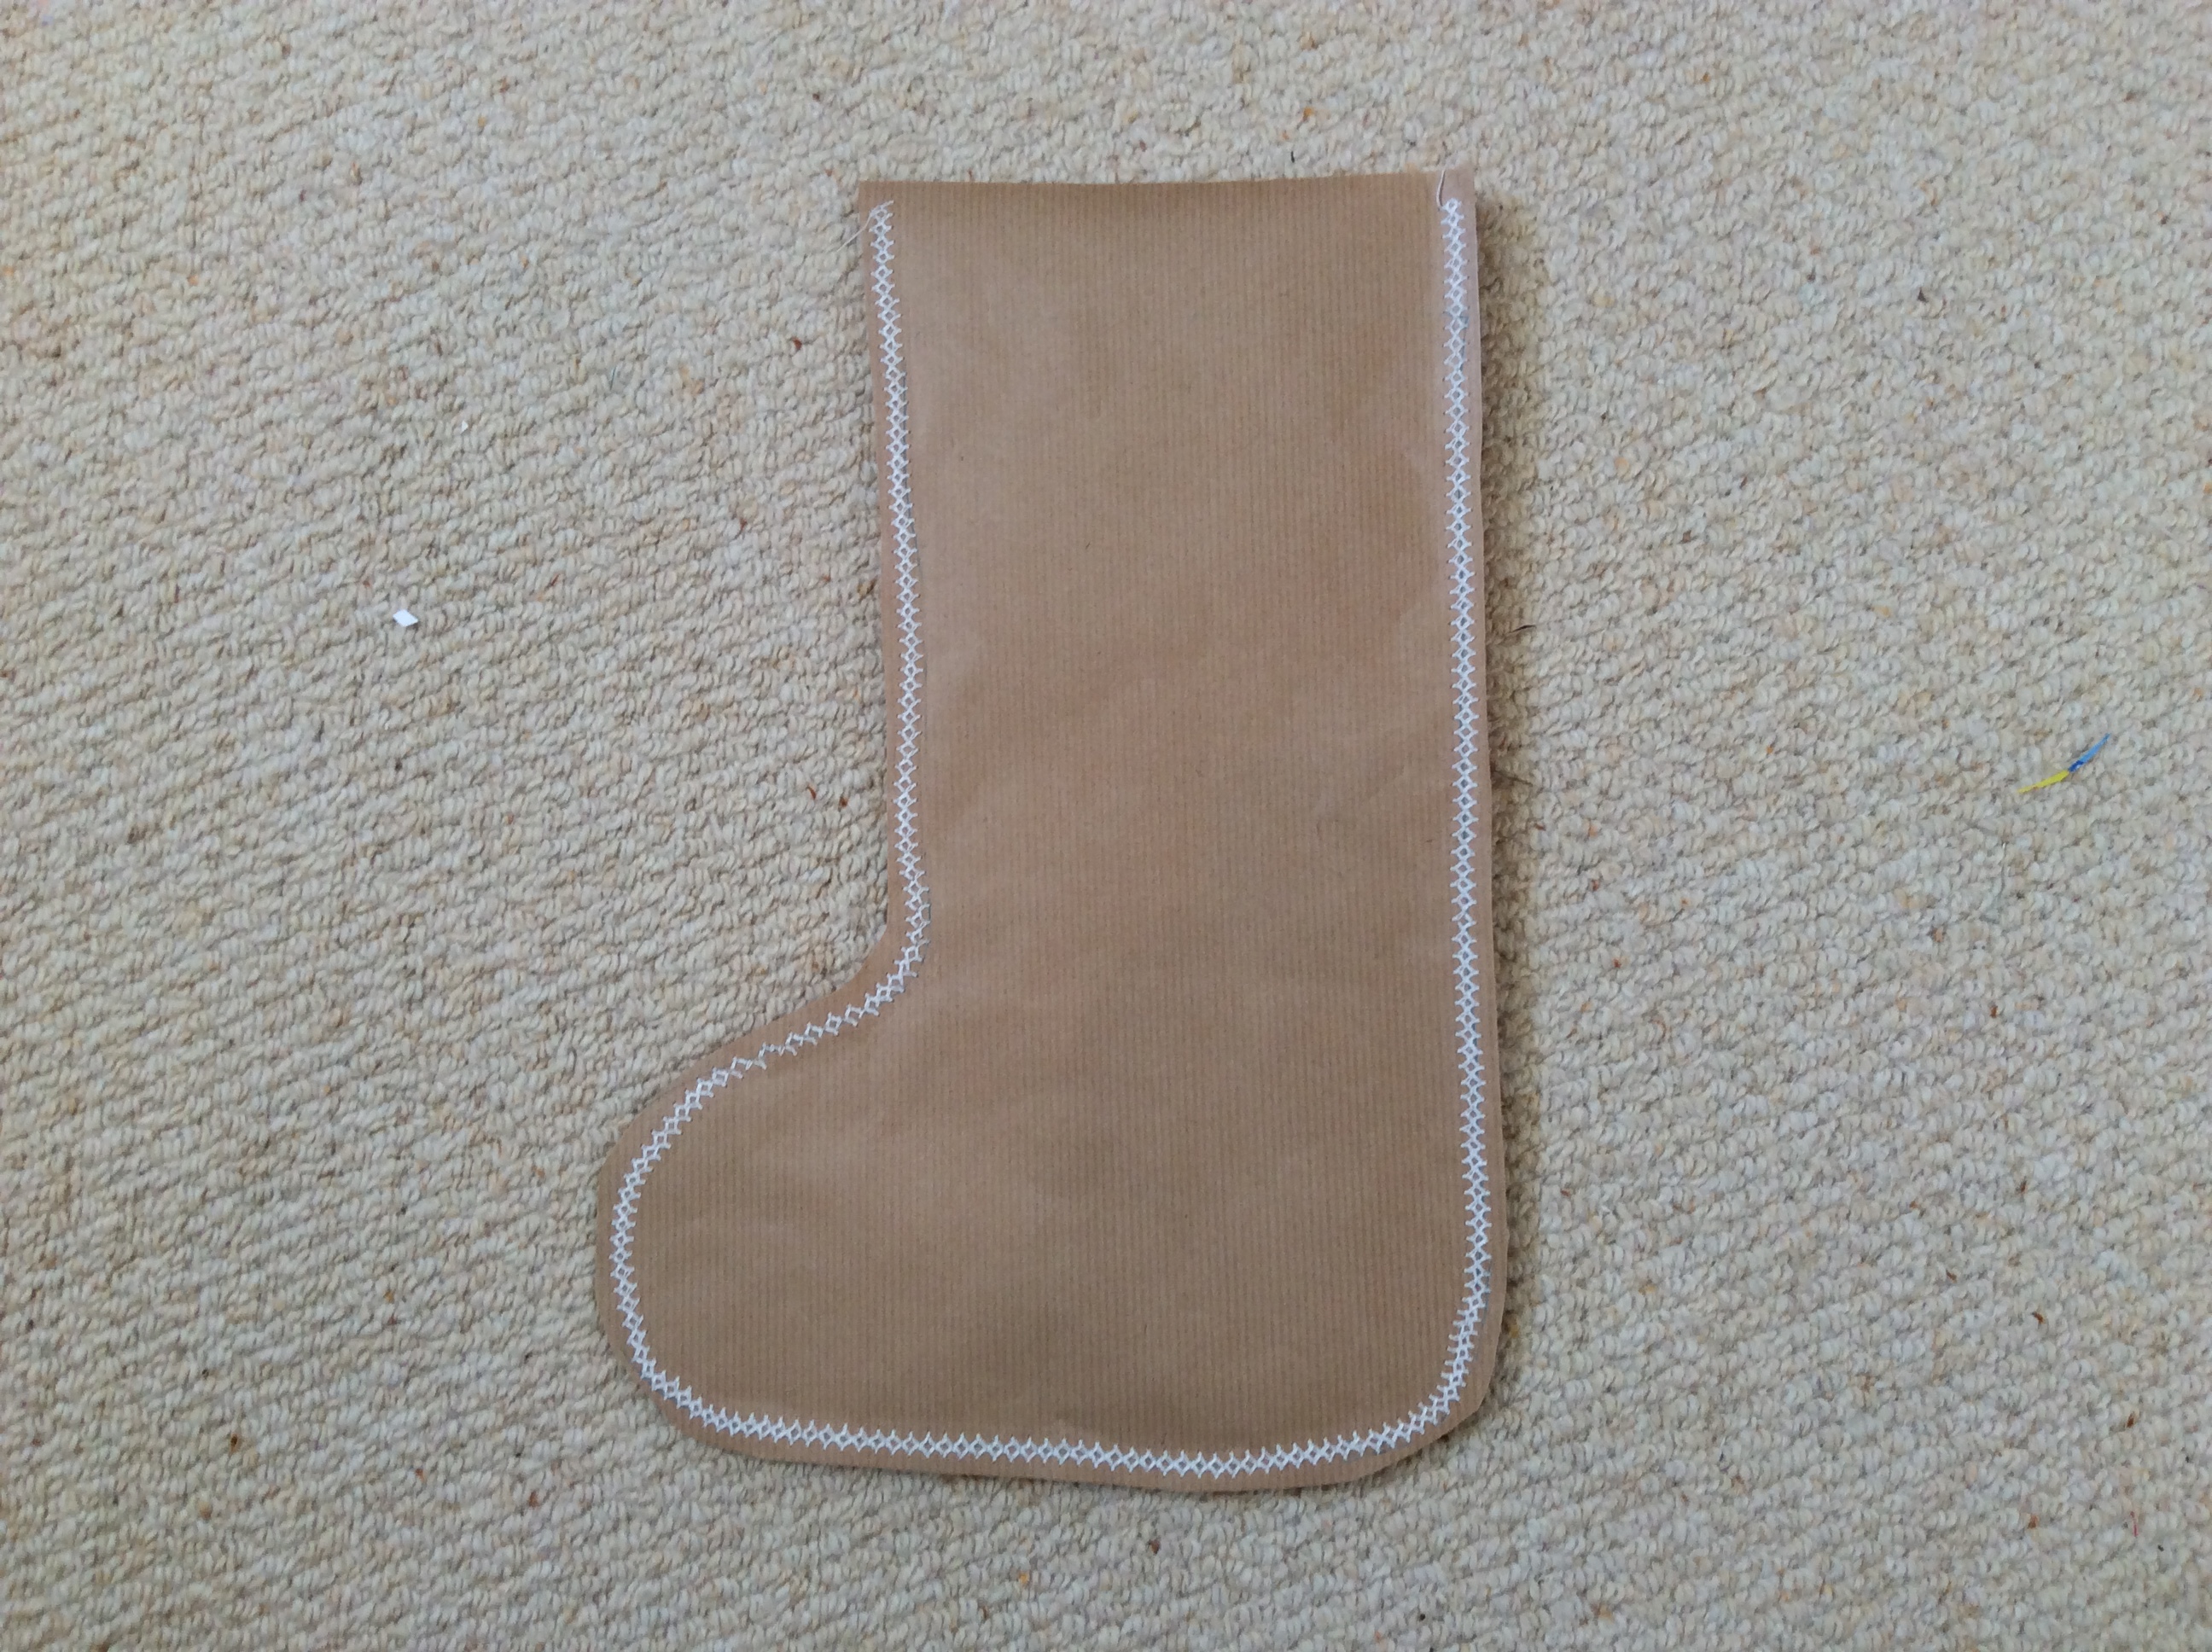
I cut wonky hexagons as the scentre of each block and added strips, working my way round the sides of the hexagon until it was about 9 inches square, then trimmed it against a 9 inch card template to be accurate
blocks were sewn into strips and then directly on to to the throw base until it was covered
where there were gaps or tears- I made a few mistakes!- I added ribbon or ric rac or just did a line of decorative stitching over it
ikea fleece is brilliant and a cream coloured bobbin thread is invisible on the finished item
this truly is crazy as it combines all sorts of materials, doesn’t have a backing, frame or proper quilt finish I just seamed ribbon along two edges and hemmed with a zig zag elsewhere
never going to be a quilter but loved doing this …. if I forget how long it took I might even do another one!
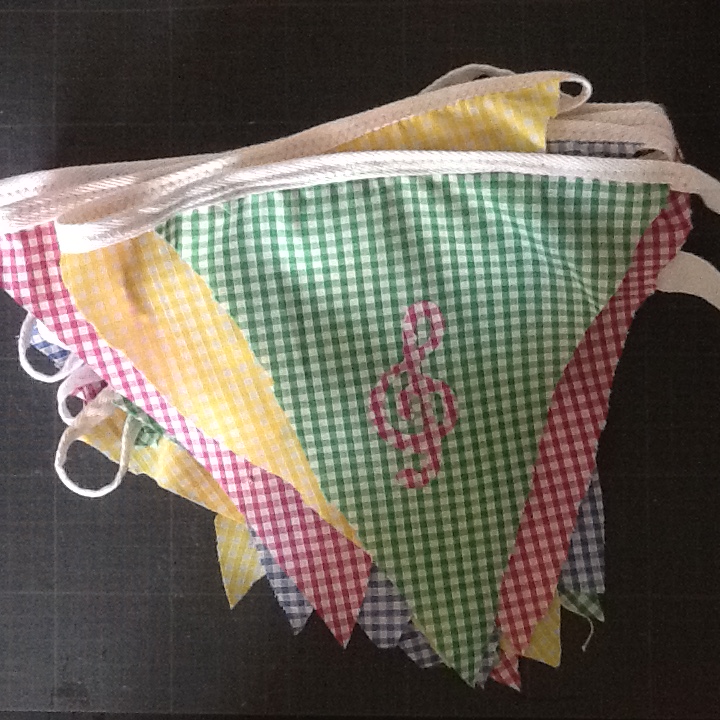 Birthday present Of music themed bunting