
A simple project using a template from ‘Felt So Food’ using the template provided and stitching on some decorative scraps
does anyone use an egg cosy any more!
A simple project using a template from ‘Felt So Food’ using the template provided and stitching on some decorative scraps
does anyone use an egg cosy any more!
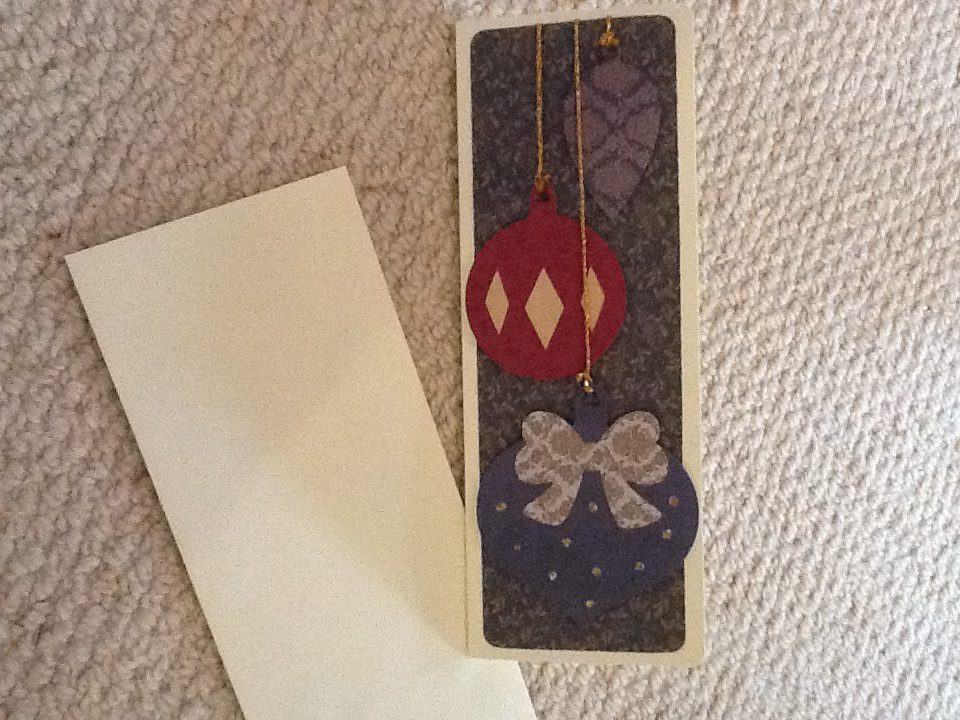
Smart and simple card thanks to scan n cut
three of the library baubles cut from a paper set :(docrafts) stuck on a mat – same paper set- with foam squares and the strings of gold thread tied on then stuck behind with tape runner as the mat was taped to the card blank
no sentiment, no insert but classy card blank
6 down, 94 to go
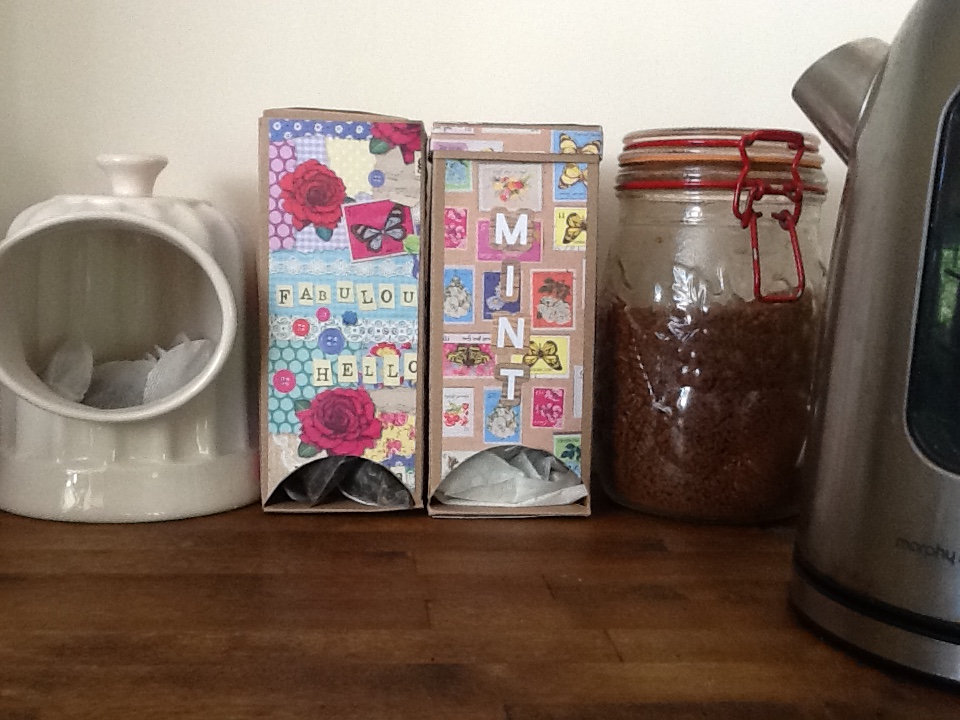
the jumble of teas was a mess so a set of boxes to tidy them up was needed
i ordered some fill your own tea bags to sort the loose leaf teas and made and labelled the tags with paper scraps.
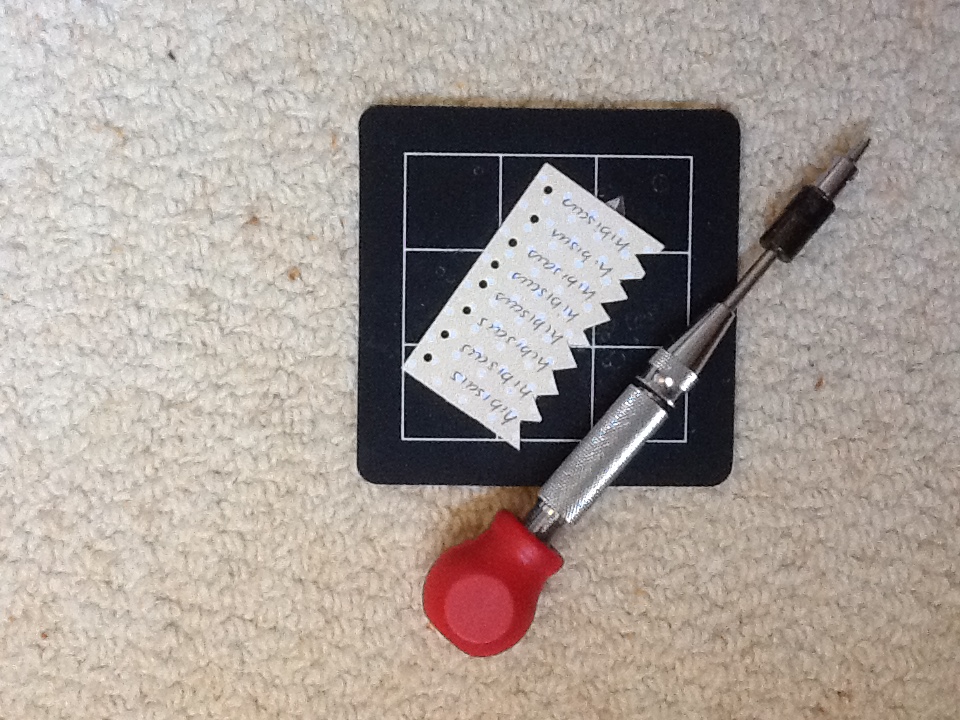
For the holder
1 sheet craft card plus 11cm square craft card
2 sheets 8×8 inch scrapbook paper, I used Bohemian dreams from craftwork cards
scalpel, glue and roll of red liner tape
lay the sheet landscape in front of you and score at 7, 14, 21 and 28 cm down then 4 cm across. Cut out the tiddly corner and cut up the bottoms as shown to create the base flaps. Place the tape roll on one of the panels at the bottom crease and scalpel inside it to create the opening
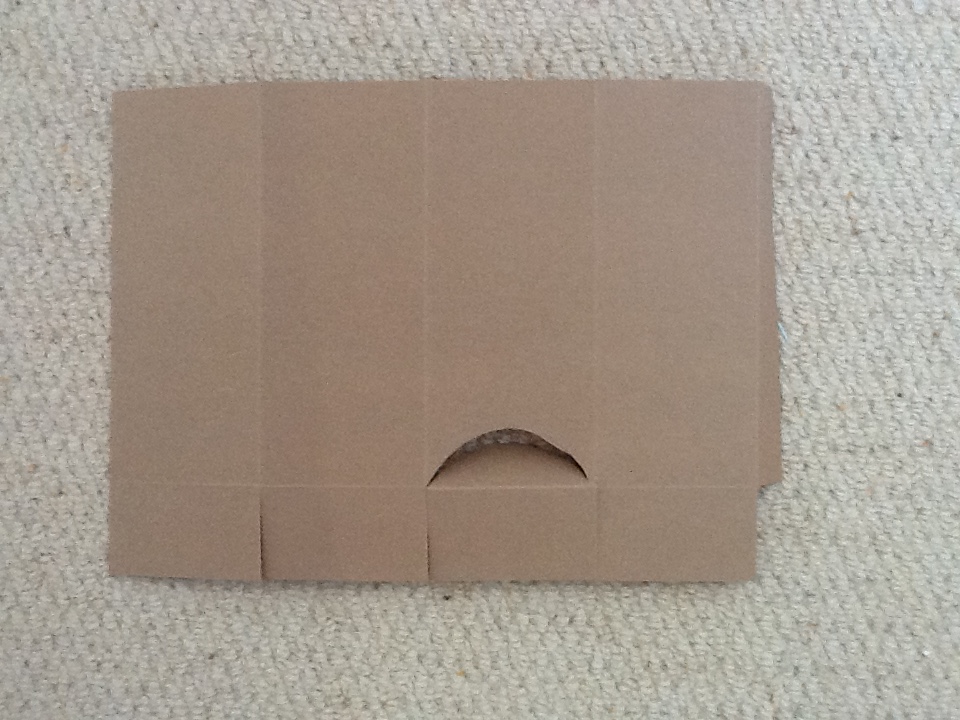
on the square card score around at 2 cm and cut one side of each of the corners as shown. I find it tidier to cut a tiny wedge out of these snips to make folding neater.

tape the boxes with red liner to keep them secure, tape the half moon flap to the base for extra stability and cover the outside panels with paper that is just a bit smaller to create a mat effect

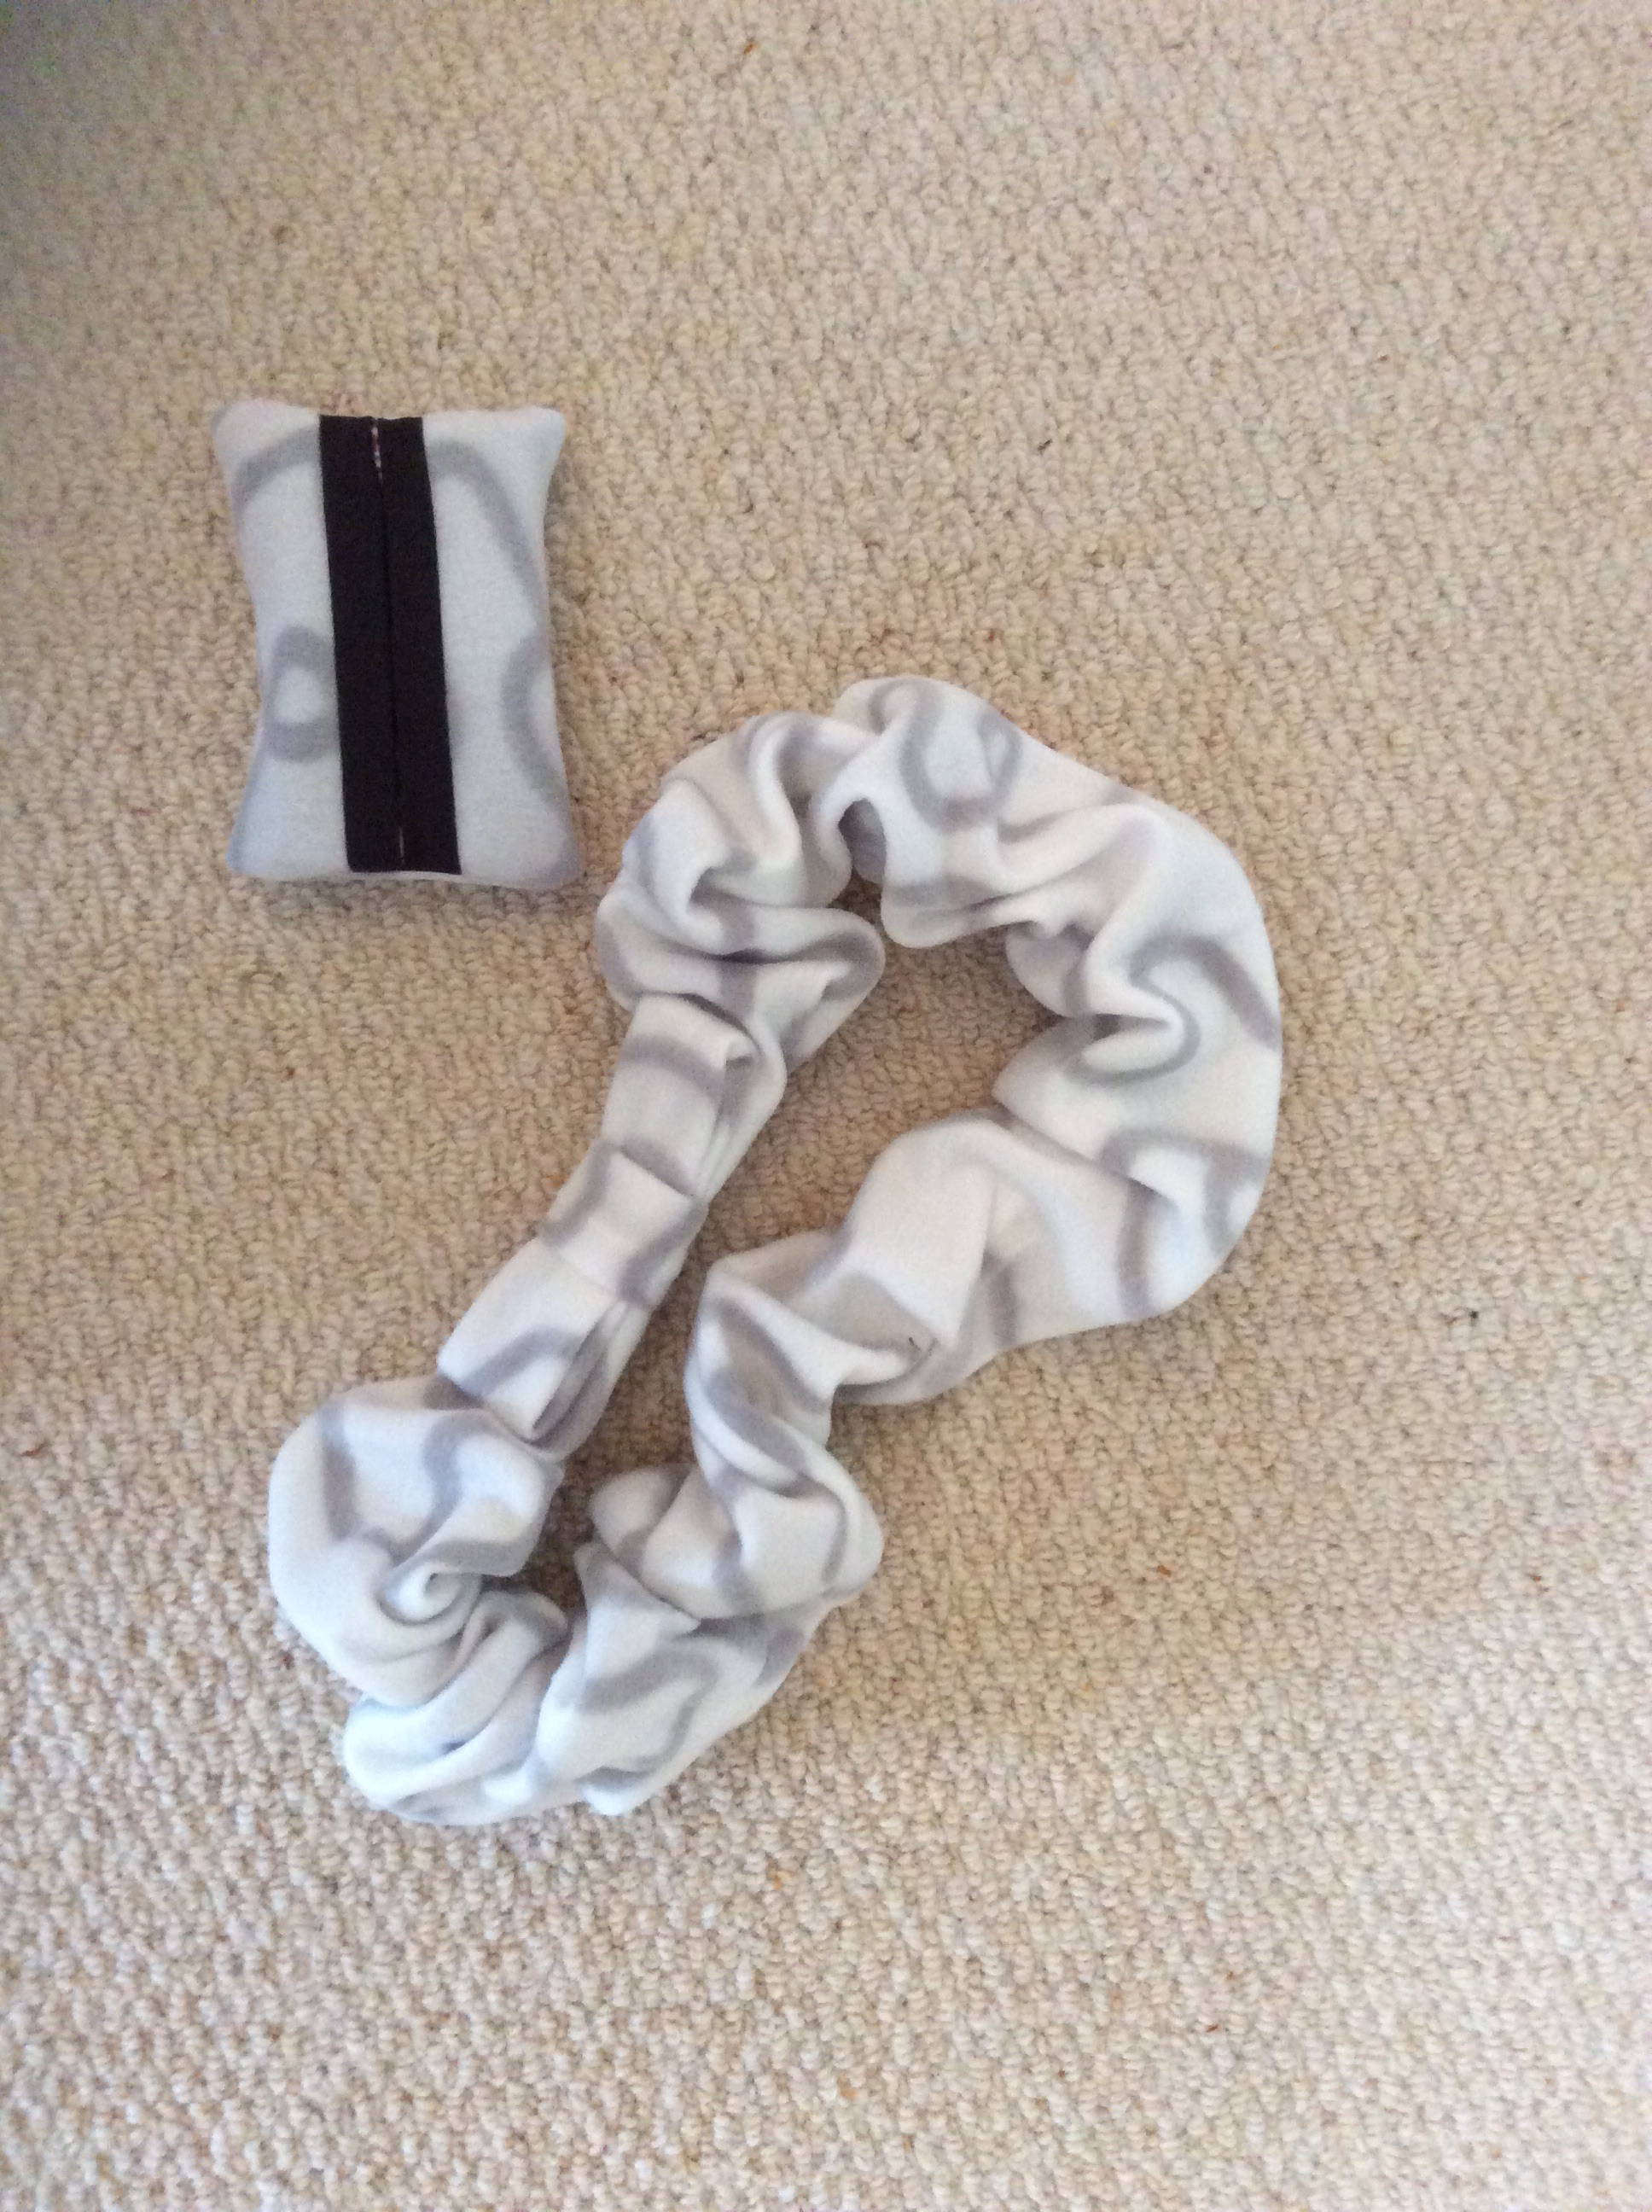
I briught back two pretty ikea fleeces from Anna and VIlle’s wedding with the promise of transforming them
so far, tissue holder from previous pattern
and new
bathroom bandana- keeps your fringe off your face for a face pack
Elastic that is one or two inches wide cut one inch longer than the snug circumference of your head
strip of fleece six inches wide and double the length of the elsstic
For the bow, strip of fleece four inches wide eight inches long And a strip of fleece two inches wide four inches long
sew each fleece strip into long tube using straight stitch and narrow seam, turn each tube to hide the seam
thread elastic through the long tube and , keeping the fleece edges away from the needle, zig zag the one inch overlap to form a circlet, slide one end of the fleece tube inside the other then zig zag the overlap closed, try to centre the elastic in the tube and go slowly as it is bulky
fold the edges of the next size tube in half to create a bow shape with the raw edges facing the overlap raw edge of the circlet, tack in place, wrap the little tube tightly over this and straight stitch the back to fasten it all and finish the bow
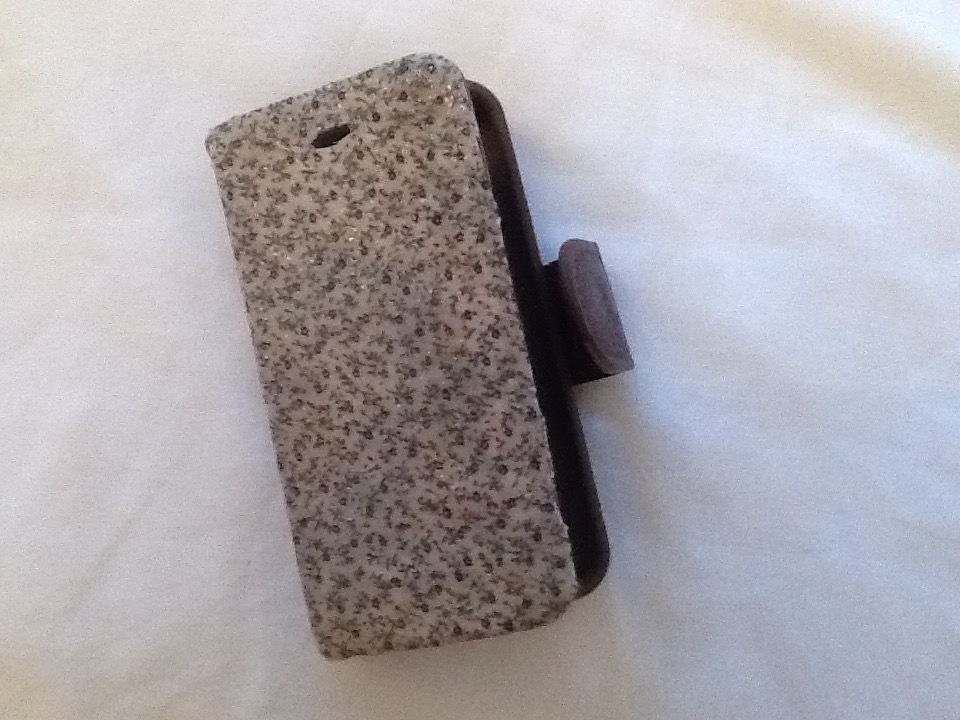
 I loved my fabric phone cover but it did look tatty so I gave in and bought another (only a cheapo one though as I am going to craft that too) while I played with my old favourite.
so simple:
fabric larger than the cover when unfolded
mod podge , classic not even fabric one
sharp scissors and a biro
Unfold the cover and lay it as flat as possible over the wrong side of he fabric then trace around the edge and mark through the holes (3 on the iphone)
remove the leather trim or embellishment from the old cover so there is a flat surface
cut out the fabric leaving a generous border for now and trim out the lens hole etc fairly neatly but under rather than over cut
coat the old cover with a layer of mod podge then smooth the new fabric in place. Start by positioning the lens holes and the rest can be stroked in place. Add a couple more coats of mod podge -letting it dry between coats. When the fabric feels papery trim the edges more precisely and neaten up the lens holes by rubbing the point of a crochet hook or similar inside them
fold and unfold the cover a couple of times to check the fabric gives and maybe let the glue cure a day or so before you use it
i will let you know how durable this is, but have plenty of scraps to do a refit next time
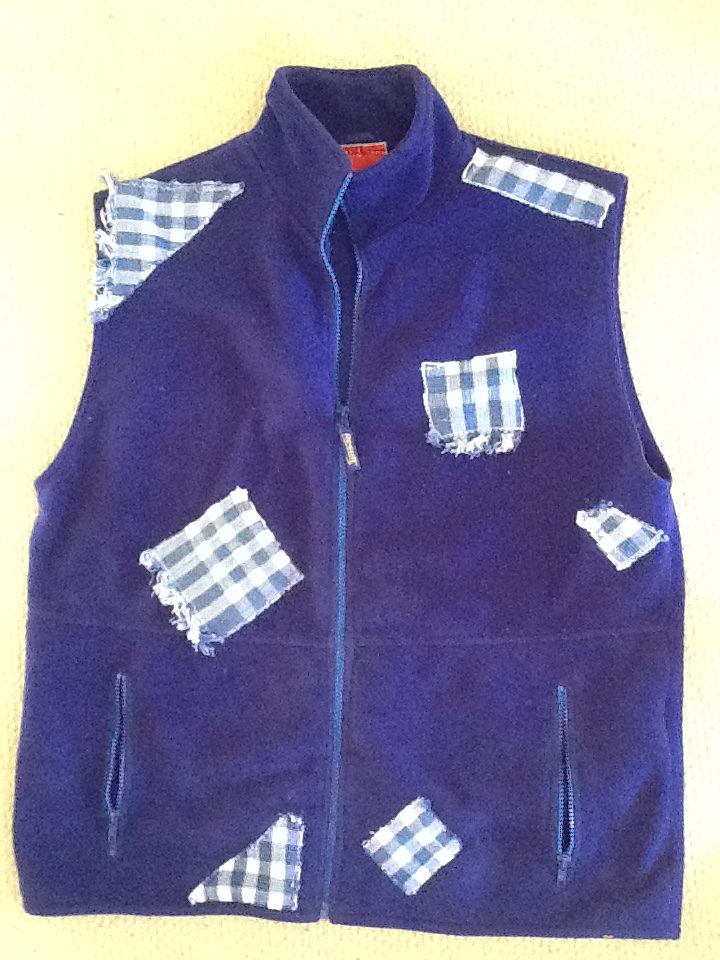
Covering a logo on a dog walking fleece looked a bit odd with just one patch. So I have begun layering on patches in random places to balance up the cover up. Simple blanket stitch and or zig zag to fix on each patch and, yes, the walking foot is essential for this.
an ongoing project I plant to add decorative stitch lines and more patches until it looks ‘right’.
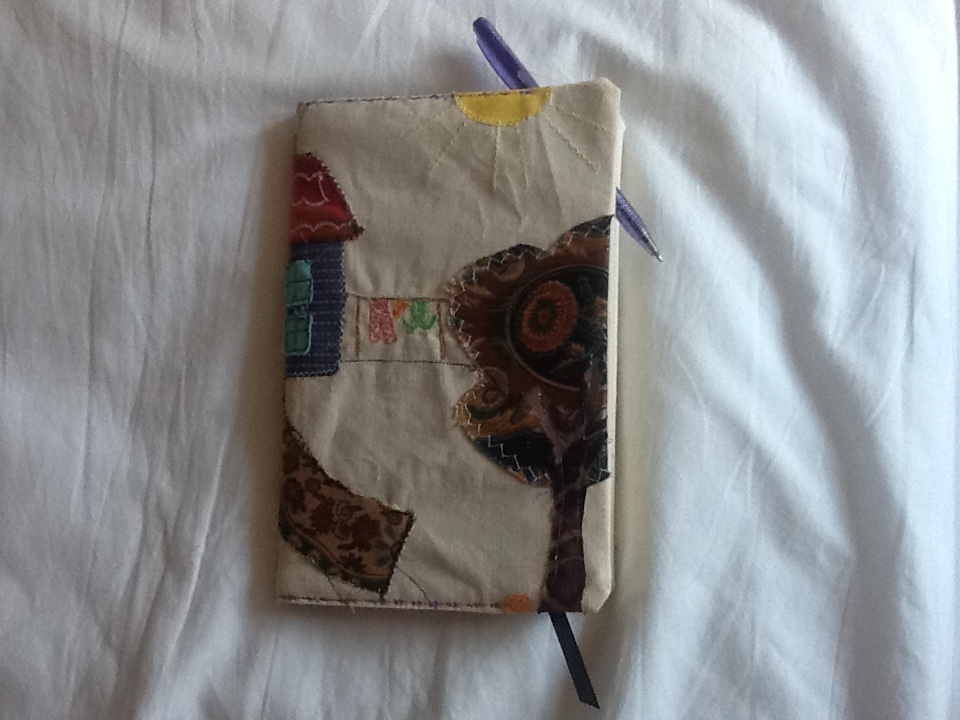
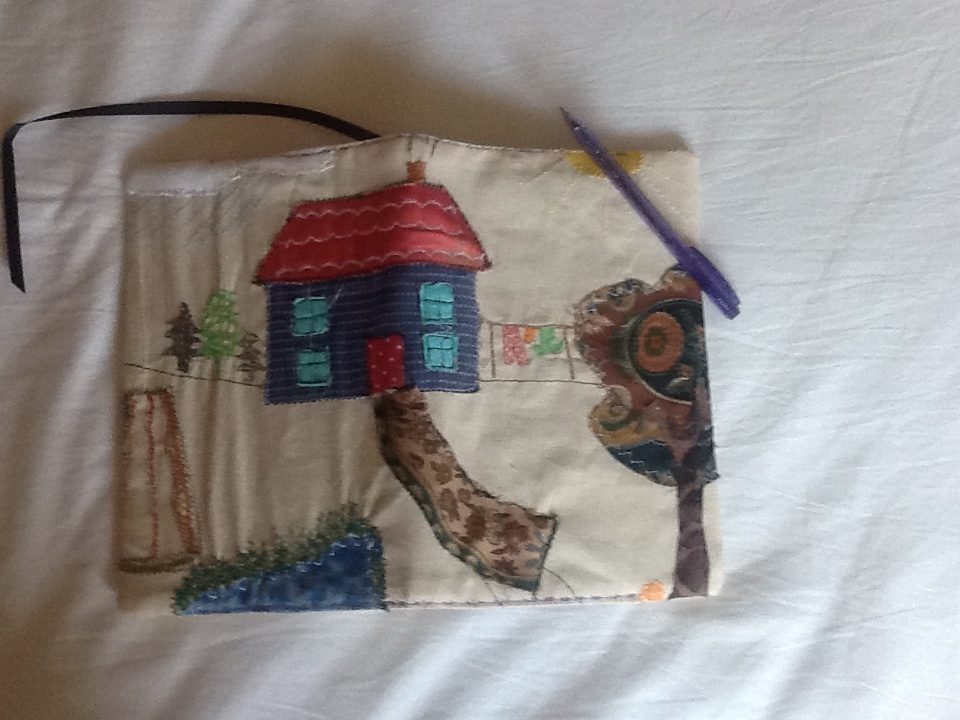
take a quality corporate notebook and personalise it with a piece of beginner’s applique that I didn’t want to throw away…
cut applique and lining fabric one inch bigger on each side of the fully opened book. Cut two panels of pocket fabric the same height as the other pieces and double the width of the pocket you want. Fold each pocket piece and sandwich between lining face up and cover face down with raw edges to side so they will get caught in the seam.
hem all the way round leaving a gap for turning, a walking foot is useful here. Turn out and flip pockets to inside. Iron well. Fit book inside to see how much wriggle room you have. Tighten up the wriggle room with a decorative top stitch around the edge. I just did top and bottom, this also closes the turning gap..
so much fun I did another one with crazy quilting but this time made it wider than the book and just 1 inch taller, hemmed the edges all sides then folded back the two sides to make the pockets before blanket stitching them in place and turning right sides out. Ironed an applique on to use it up


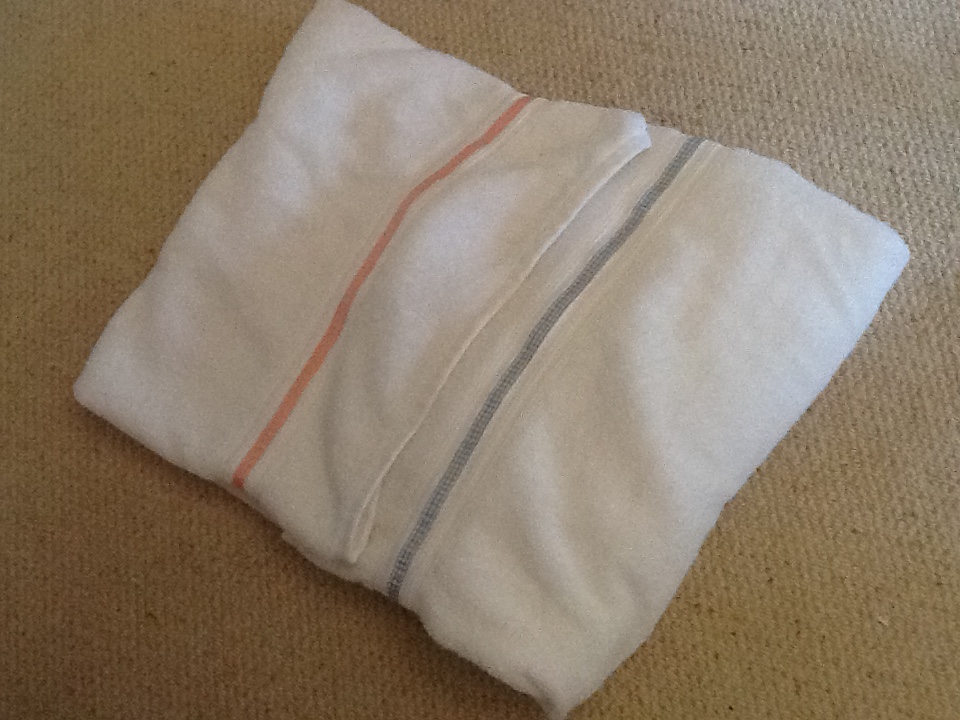 Back from holiday and itching to craft, but first I had to tidy the ribbon drawer. Thought these contrasting lengths would decorate a plain bath sheet – and reduce the stash a little.
I used a walking foot and a zig zag at 2.5 width along each edge of each ribbon and the job is done.
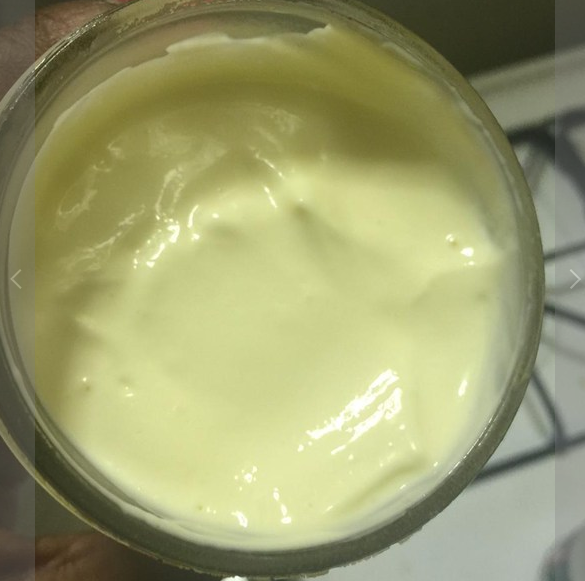 I had to stand in and do a slot at our food event so I was given this ‘bombproof’ recipe to make good mayonnaise using an electric stick blender. It works (even on a hot day, in front of an audience) and is tasty too. Apparently it originated with Masterchef Australia’s Gary Mehigan
2 eggs
1 tbsp of mustard – I used dijon but recipes suggest wholegrain
2 tbsp of white vinegar – again some people say white balsamic
pinch of salt
500 ml sunflower oil (approximately)
Add mustard to eggs in bowl – no need to separate – add salt and vinegar plus a dash of oil then blend for about 10 seconds. (The beauty of this is that you don’t spend time trickling oil in gradually, it won’t split if you are generous with even the first dash of oil). Add further slugs of oil until the mayonnaise is the consistency you want. If it gets too thick you can thin it with lemon juice, vinegar or even water.
Option: add in chopped herbs or spices even sweet chili sauce etc.
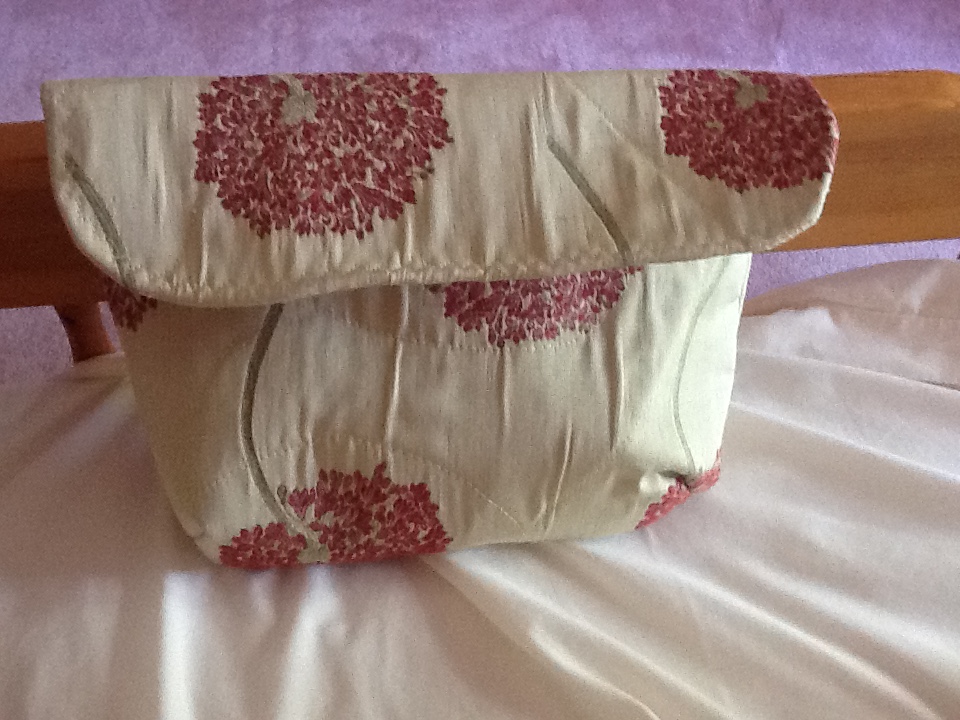 Who said “mistakes are the portals to new discoveries”?*
well a few doors should be opening for me right now…
usually when I follow a ‘sew very easy’ tutorial on you tube it goes well but this project was a big fat failure.
The interfacing wouldn’t manipulate, it was tough to seam and top stitch so the end project won’t be the intended ‘designer clutch bag’ but just another lingerie holder living in a drawer.
I do like the darts to form the curved shape though and will one day try again
On to the next crafting project then

