Patchwork drawstring bag

image

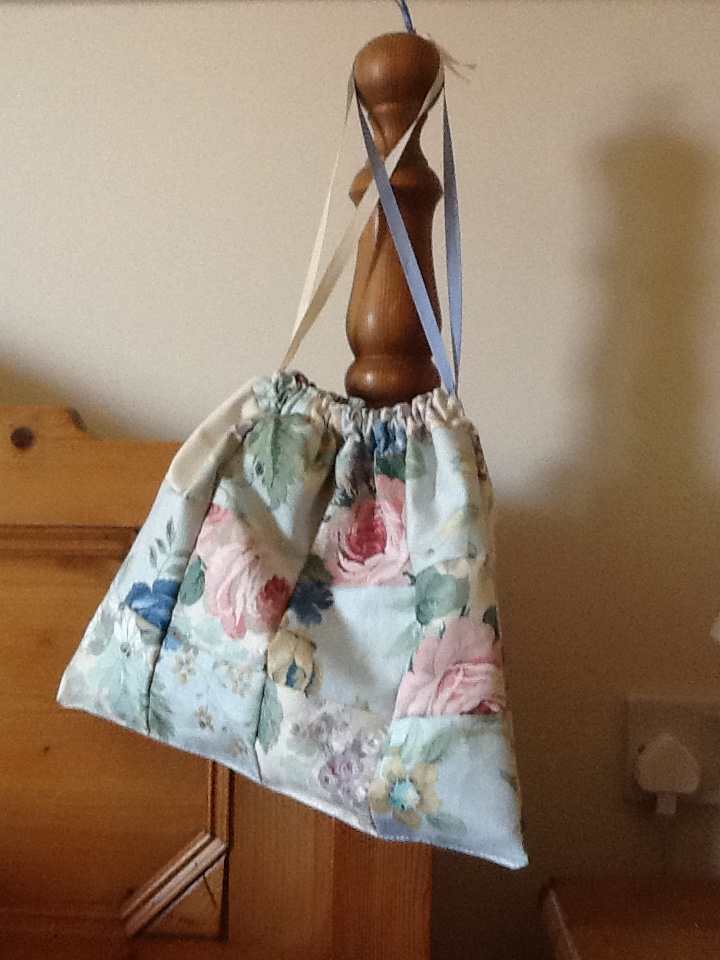
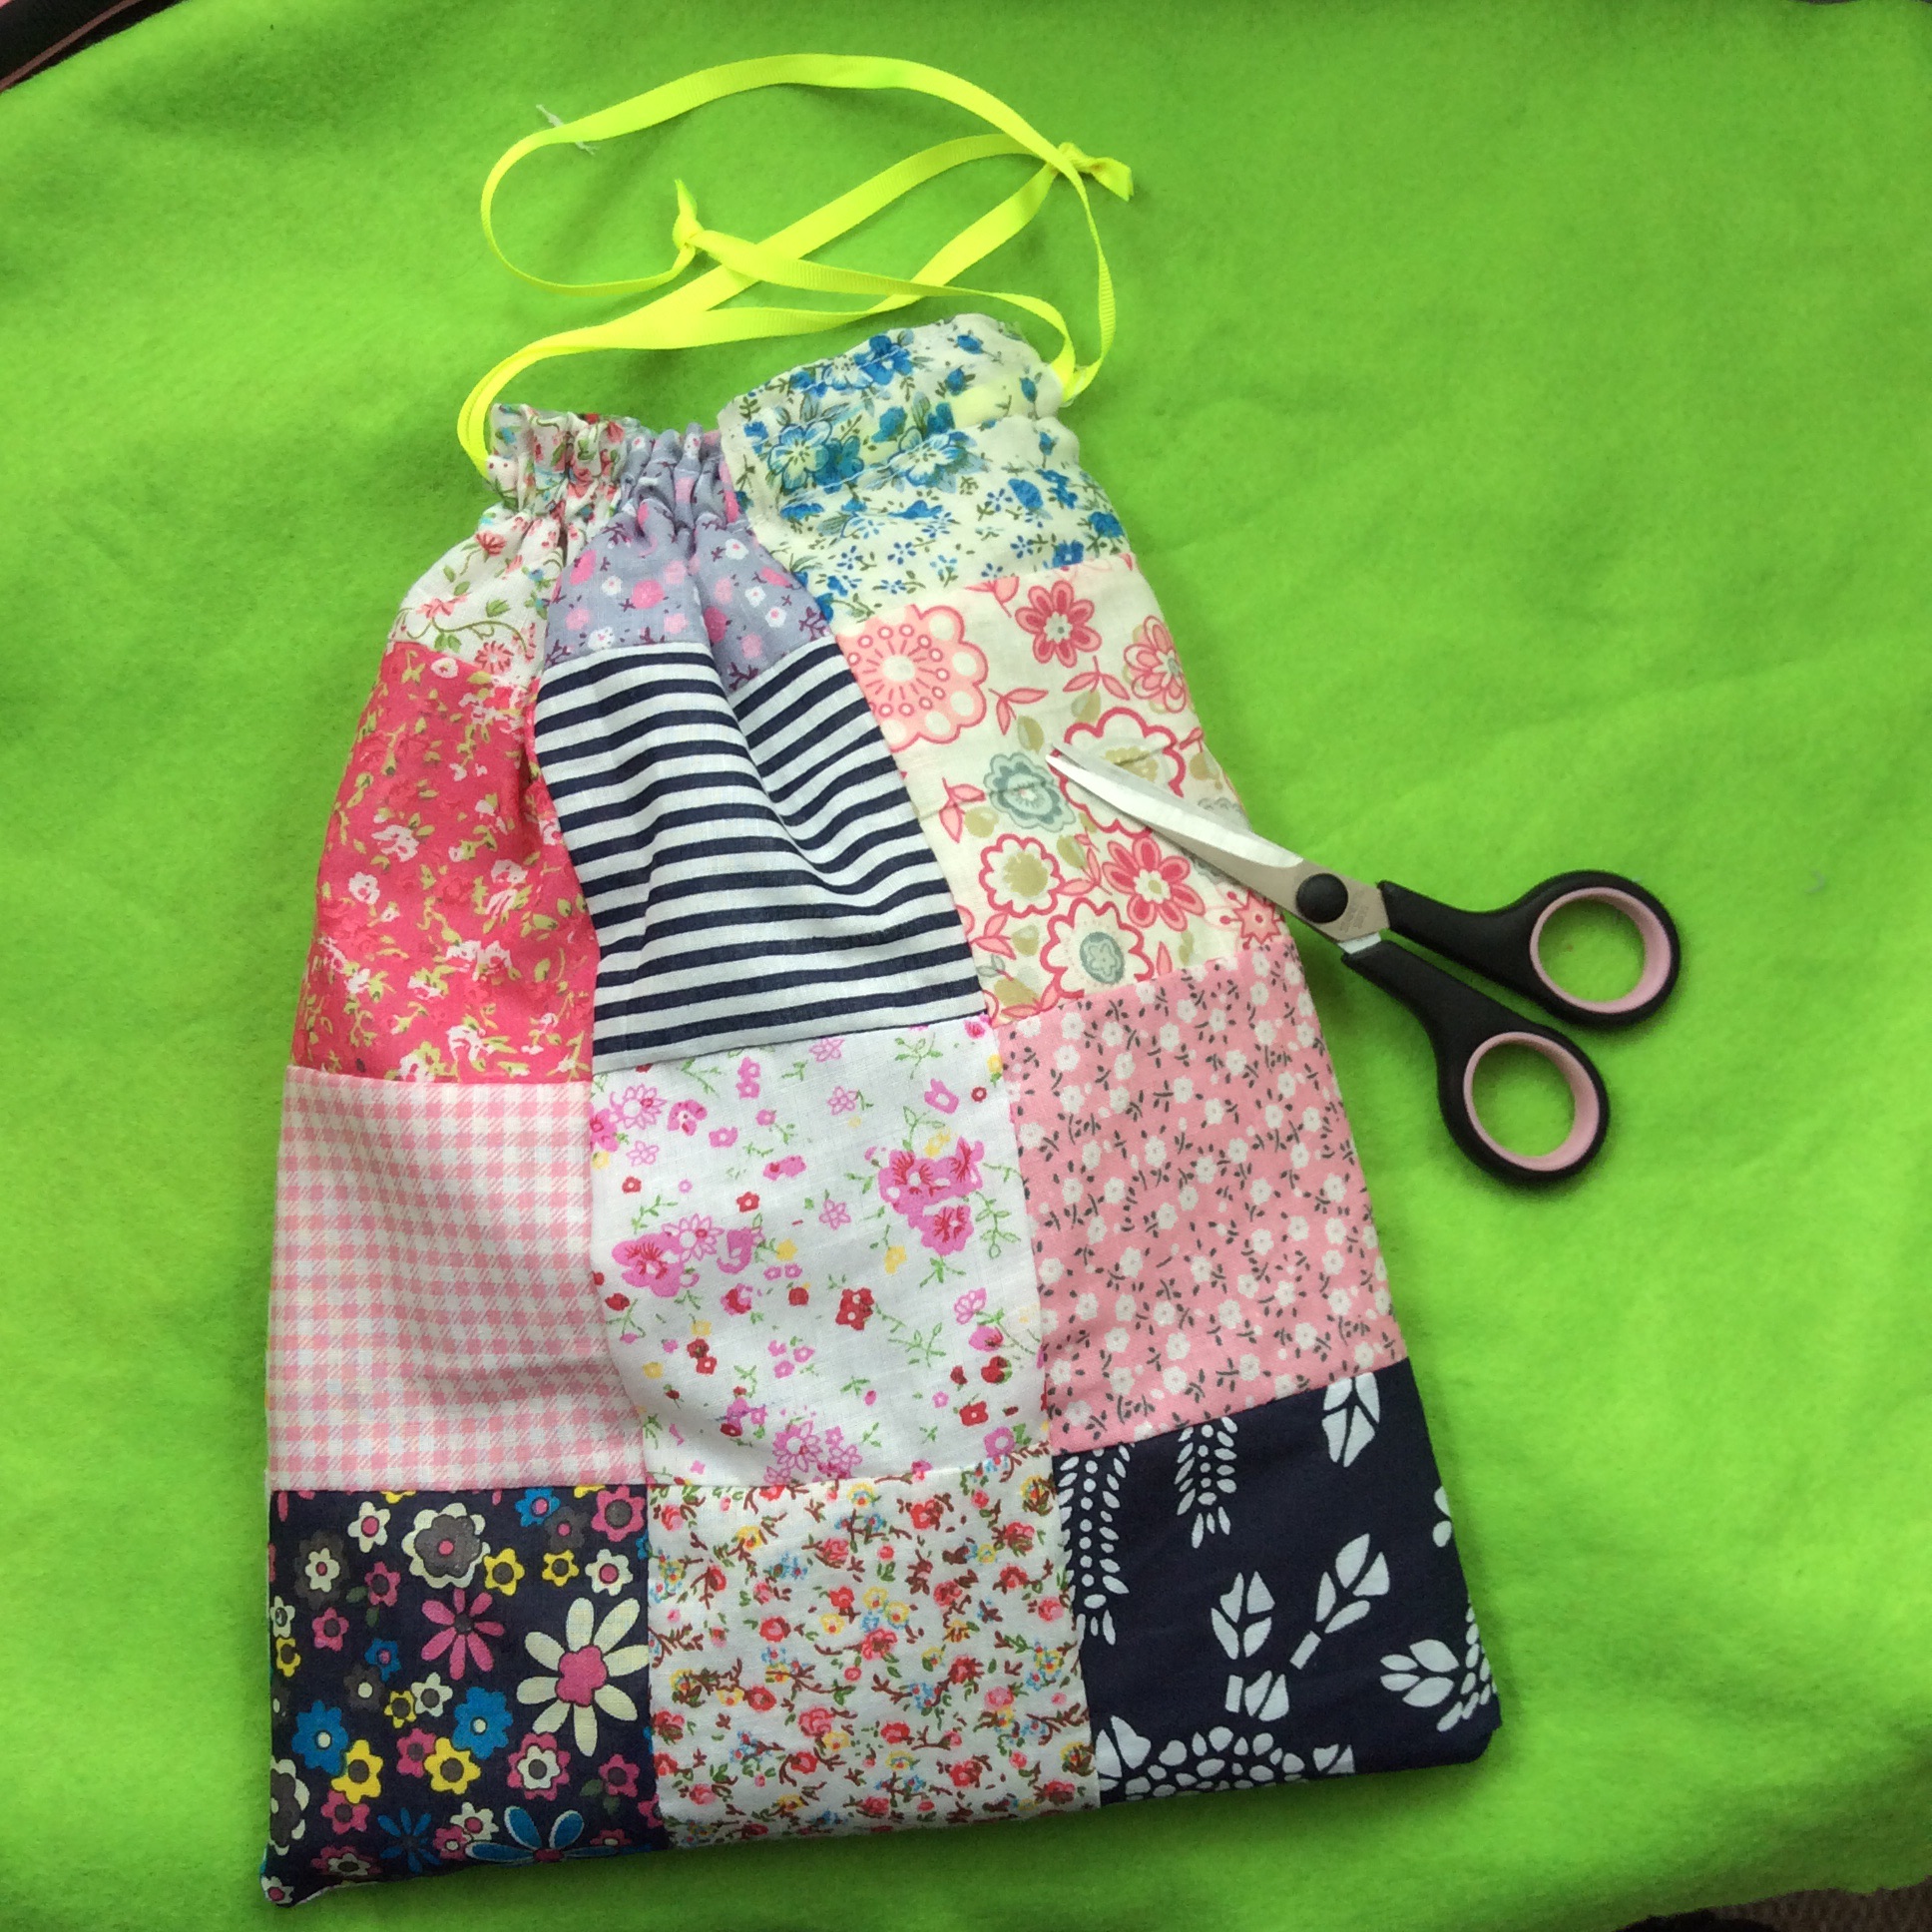
A frugal project to make an elegant bag for wet stuff, toiletries or …


three sheets from a pattern book donated, lining from a shower curtain, ribbon from my stash

cut fabric into equal shares and patch together to size required for front and back. Sew around leaving gap for drawstring channel about 3 inches from top on either side seam . Cut lining three inches shorter than outer then seam round leaving gap in bottom for turning. Slip outer inside lining, right sides facing, and match seams with clips. Sew around all the top. Turn through gap in lining then top stitch gap closed. Push lining down so that the top of the (taller) outer folds over and top stitch above and below the channel gaps to create a ‘tube’ through to thread ribbon from either side. When ribbon has gone all the way round, knot the ends and you are done

Stud earring display frame

imageA companion for the framed burlap holder I use for hoop earrings. This works for studs or earrings with butterfly backs. If only rarely to be used (how many earrings do I own?!)  could be wall hung but for ease of access to the back this sits on an easel. I used strips of docrafts craft paper sealed with modpodge to pretty up my old frame.

image

method: remove glass and backing from frame. If necessary decorate the front of the frame with papers or ribbons or paint or … Cut a piece of aida cross stitch canvas a bit bigger than the aperture of your frame .  Stick to the back of the frame pulling the fabric taut as you go.  If gifting cover the back of the frame to cover your work. Job done,

Double oven mitts, again from jeans

image imagea freestyle project using ‘jolly molly’ double oven mitts as a template.

layer outer canvas, insulbright, batting, outer canvas and jeans back pockets over the template made from old mitts. Baste around the edge then fix bias binding to seal the edges.

Don’t look too closely at the binding, next time I will hand stitch the second side as I found it tough to stitch in the ditch.

What to do with a fabric samples book?

Ideas please as I have a stack of curtain fabric samples to be used. There just isn’t room in my craft cupboard for all the fabric I am accumulating.

imageProject number one – my failsafe door stop design with sizing adapted to fit the fabric square. Four identical rectaingles and two squares to match the width of the rectangles with a strip folded to make a handle. Method; stitch the rectangles to form four sides of cube, keep it inside out.. Top stitch the folded strip and sew on the top square in place as a handle. Stitch  the top into position in the cube and stitch around most of the base square leaving a gap for turning. After turning fill with cushion poly fill and finish with some gravel or pebbles as weight before hand stitching closed the gap.

Wet stuff pouch

image image

A super cheap IKEA shower curtain is the lining for a simple zippered pouch which will carry wet swim wear or soggy stuff in style this summer

method: cut two identical panels of outer fabric (I used six charm pack squares quilted on to wadding), two of liner (shower curtain) and optional interfacing if you want stability.

sandwich interfacing first then outer then zip then lining to one side of zip – all raw edges aligned then do other side of zip. Optional top stitch afterwards

lay linings to the right and outer space to the left with good sides facing then stitch around leaving a gap for turning on the long lining side

turn then top stitch the gap closed.

done

to be honest the shower curtain is going to rip under pressure and was tough to sew at zip level so the next one is going to be an envelope style pouch with Velcro fixing instead

Rustic table mat

image

Think I found the idea for this in home crafts magazine last year. A simple make to suit a rustic table and a practical recycle of bits

method- disassemble a pack of wooden clothes pegs (ideas please for what to do with the discarded clips) and hot glue to an old cloth place mat. Cut the place mat to leave as much border as you want- you may prefer to do this first if you are confident about size.

word of warning, hot glue re melts if you put a hot pot or pan on the pegs, and they will detatch

Fabric baskets

image image image imageGoal:To replace the tired old bread basket with a home made version.

result: love this with contrasting fabric which makes it reversible. so far one bread basket suitable for 2 people (10 inch squares) and one (18 inches) now my cottons basket.

method- take two squares of fabric, back with heavyweight interfacing and iron neatly.

draw darts midway each side – for the large one mine were three inches deep and three inches wide.

image

Sew each dart so it pulls the fabric into bowl shape then, with right sides facing, stitch the pieces together leaving a gap for turning. Turn right sides out, iron to tidy the edge and top stitch to neaten and close the turning gap.

For or the large one I also rounded the corners before I drew the darts using a plate as a template  and at the end stitched a button on each flap. Other variations to follow, love this practical make.


Portable sewing kit

imageimageimage
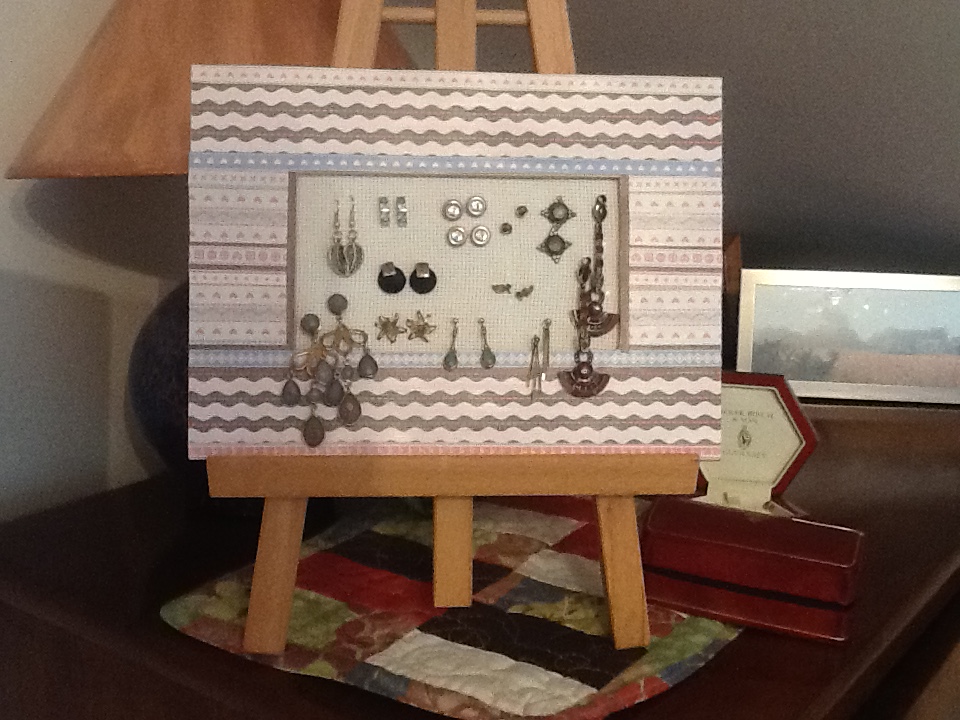
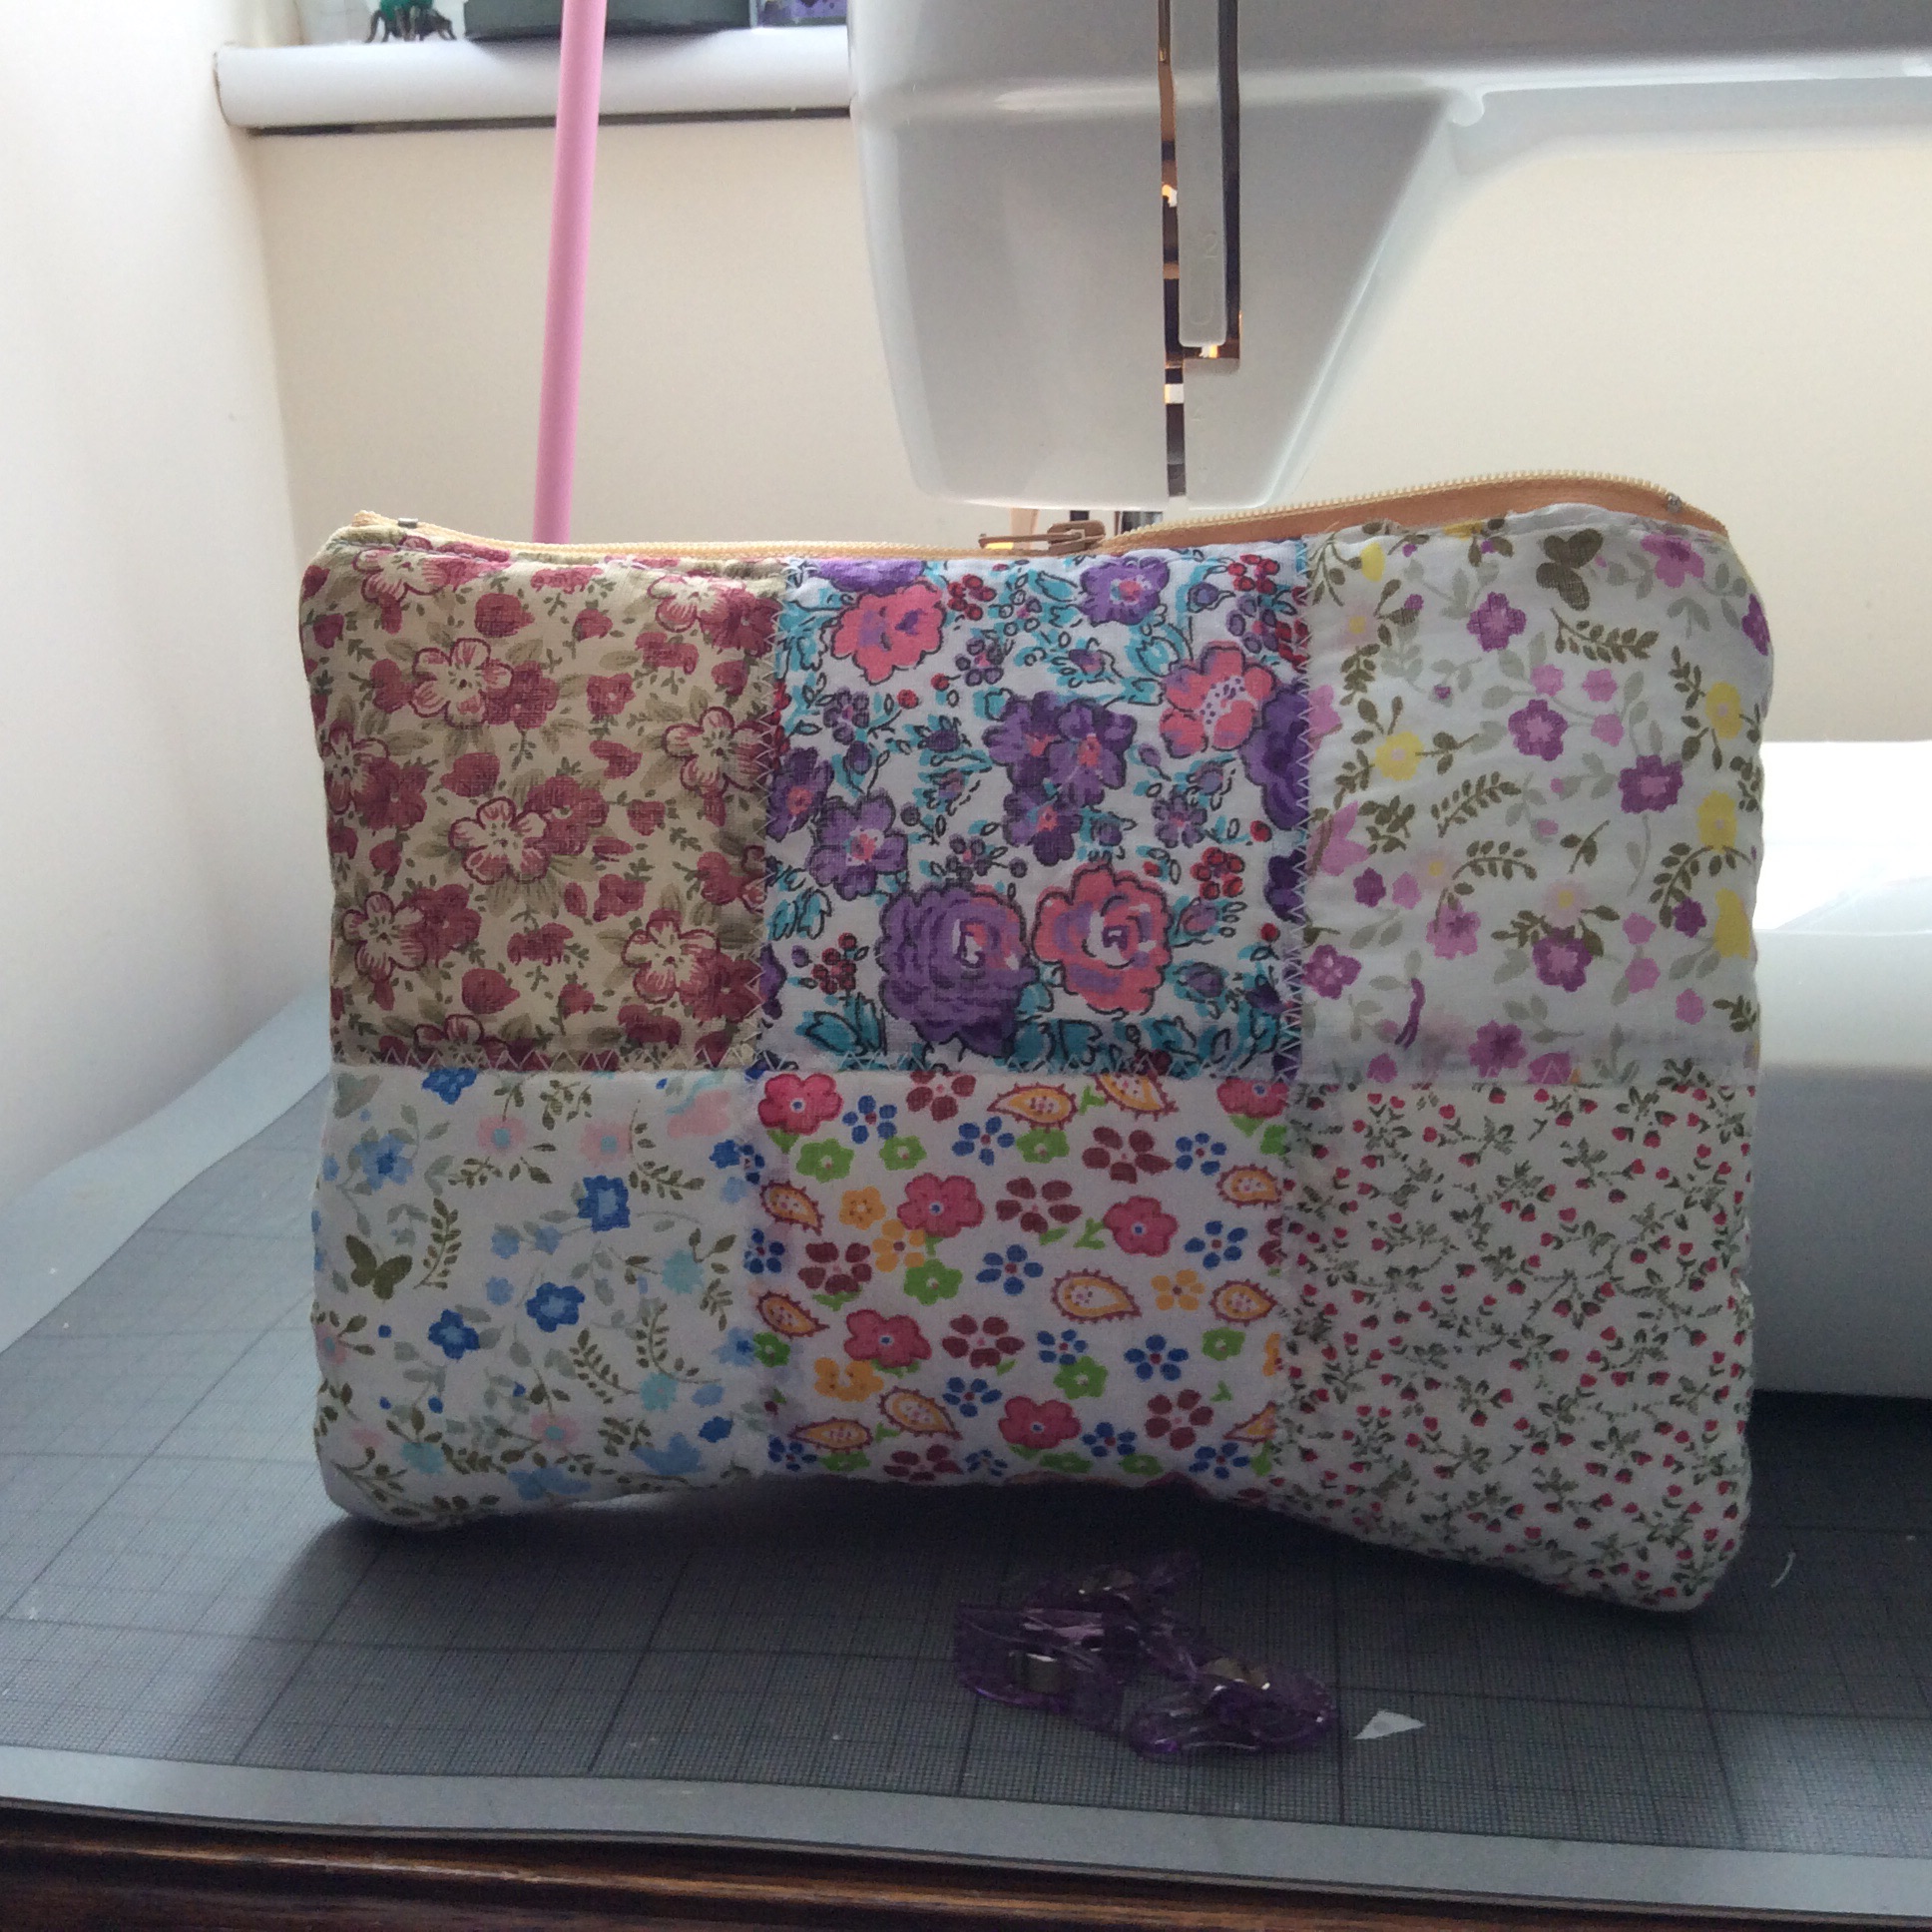
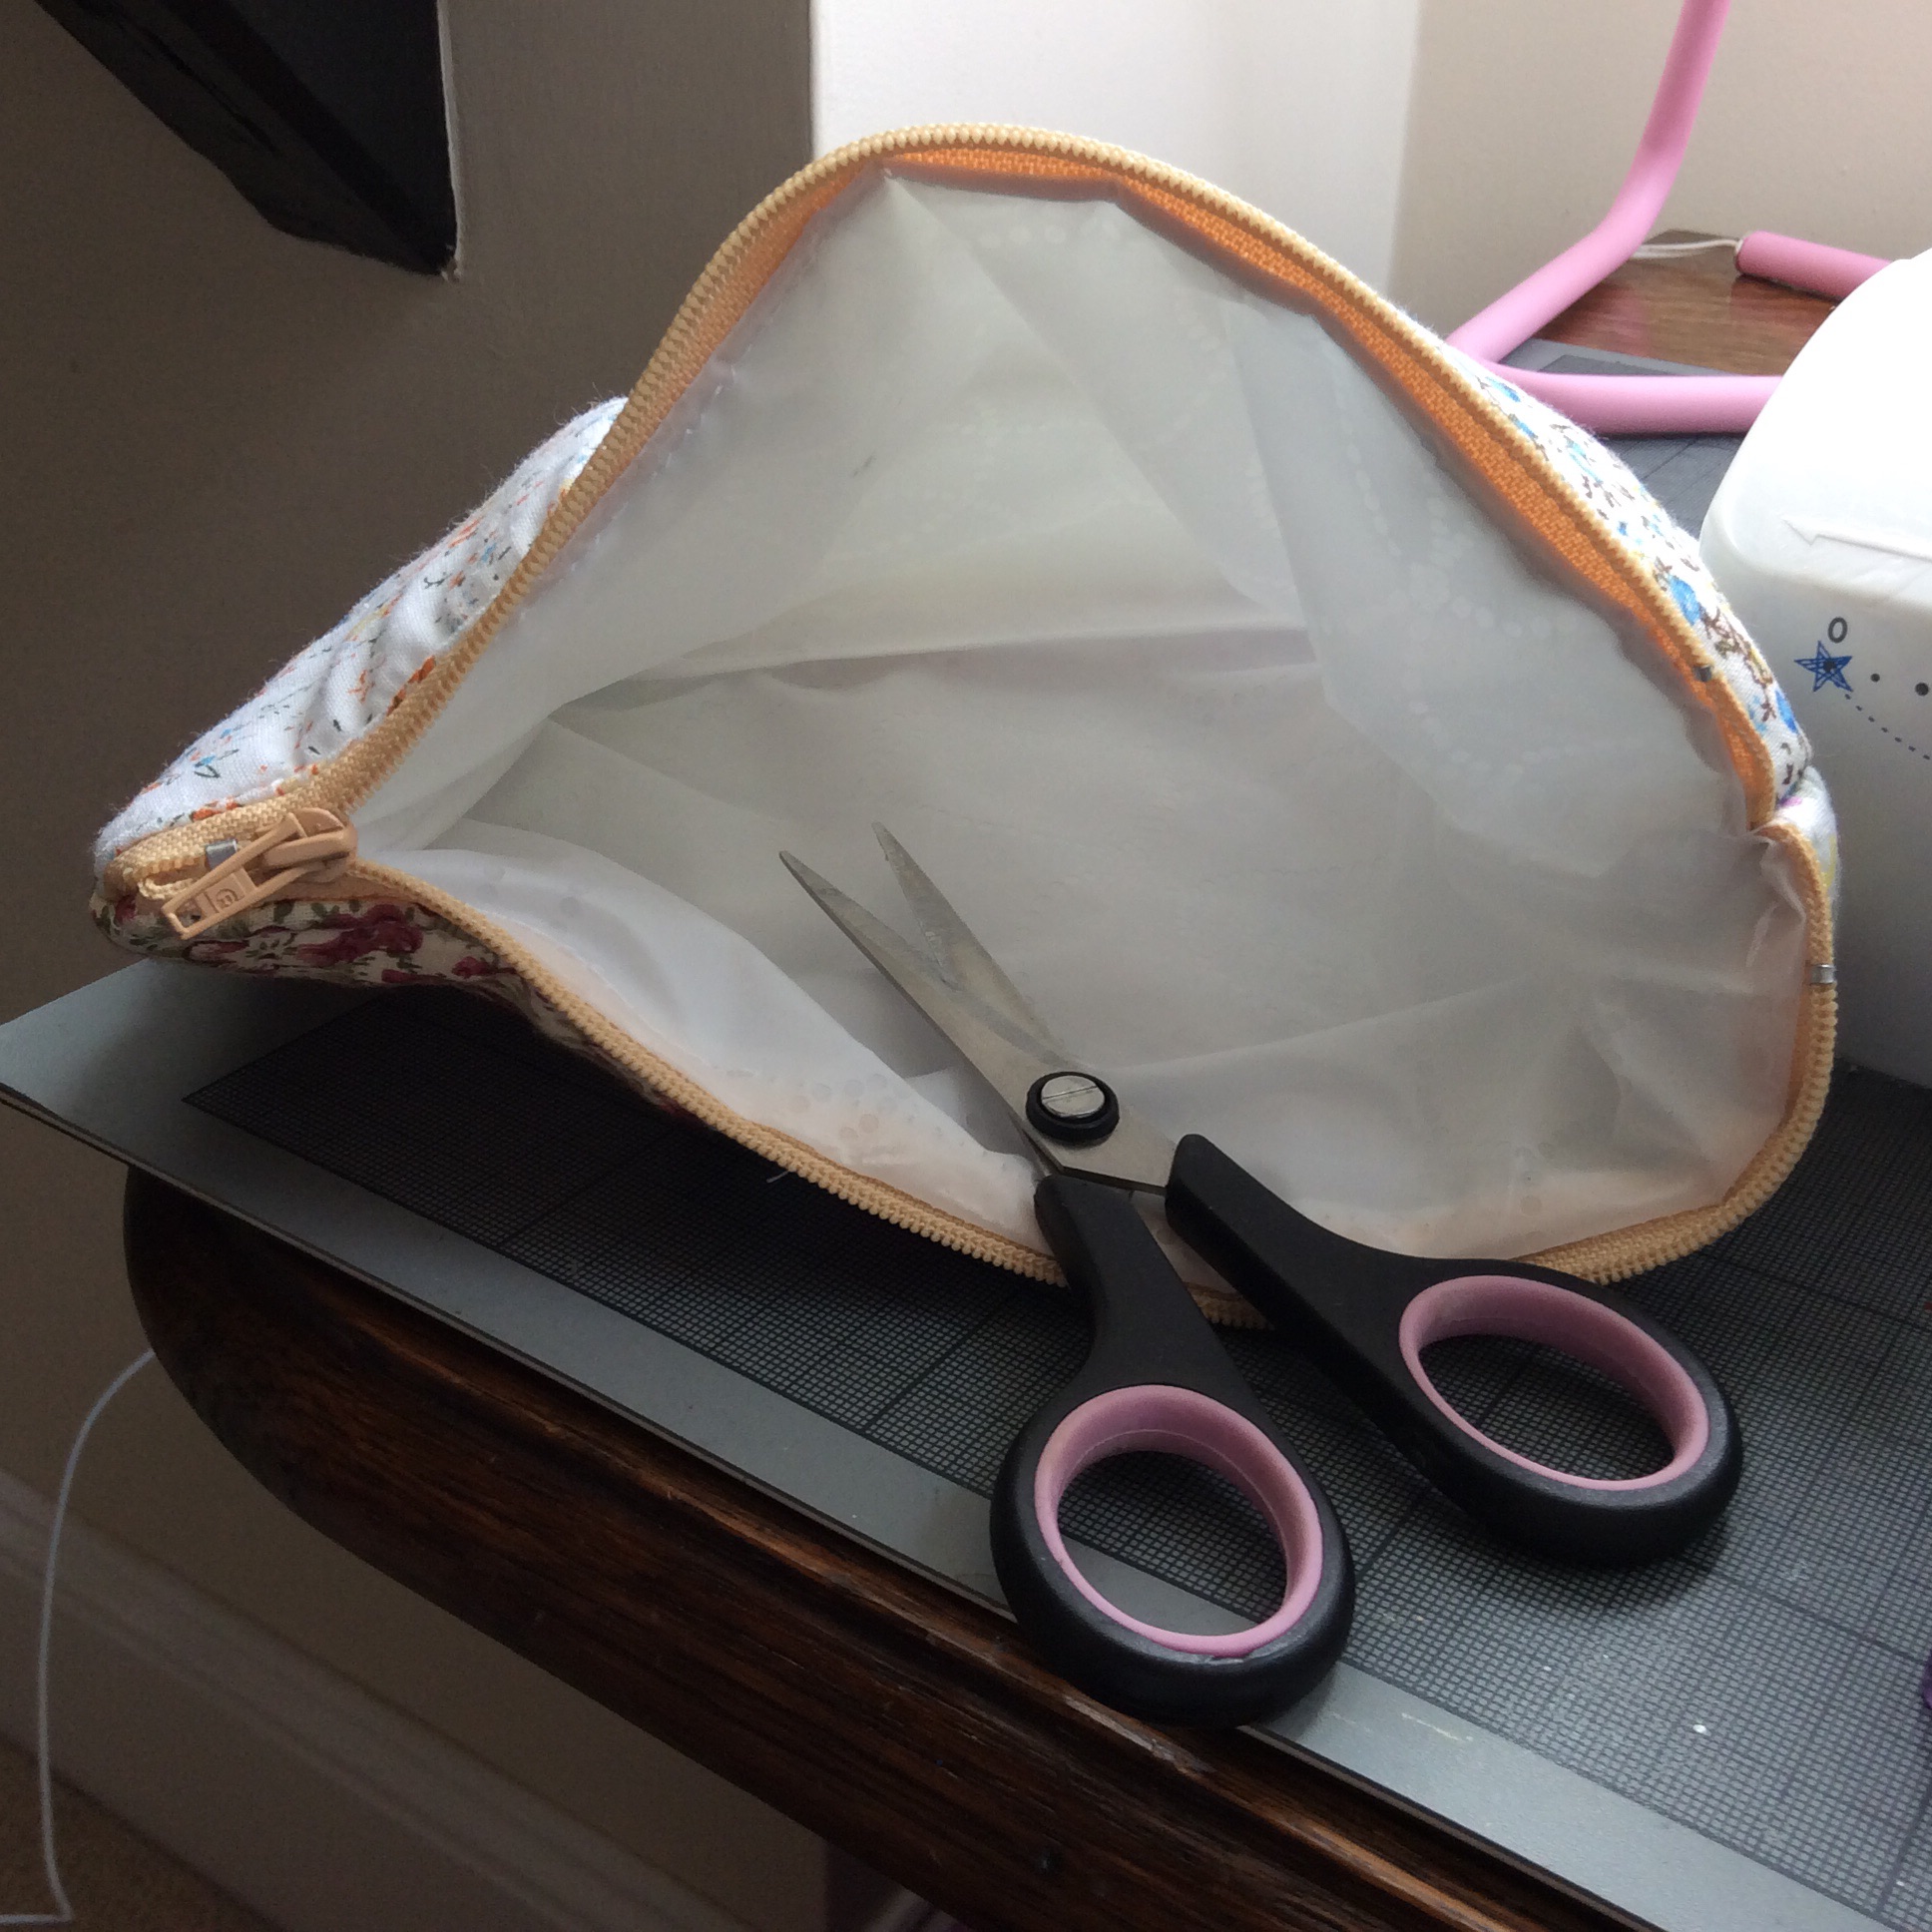
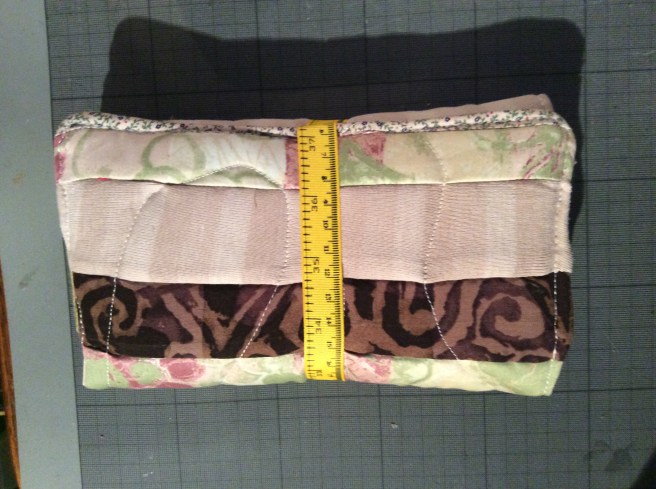
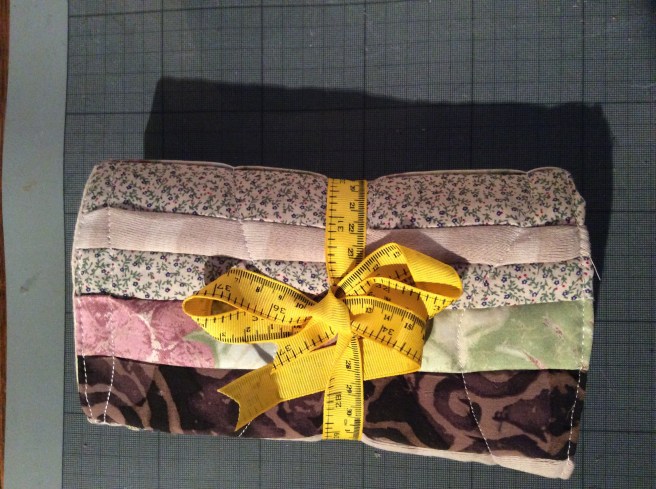
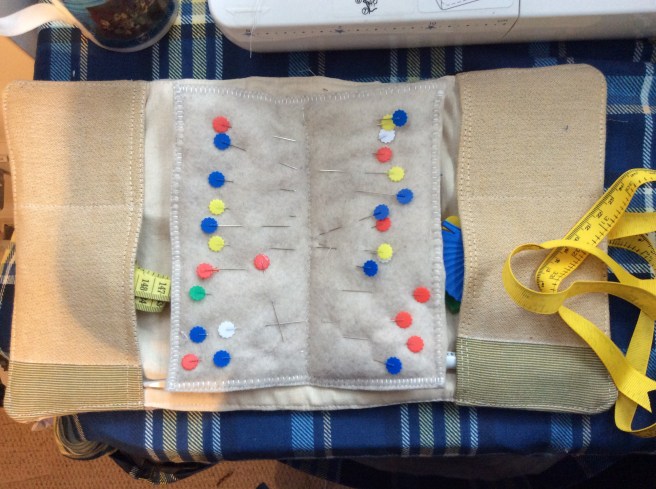
A scrap attack with a ‘quilt as you go’ exterior,  free motioned on to wadding.  The interior was just two pieces of folded fabric used to make the two pockets and a square of felt for the pin holder .

It was all sandwiched together right sides facing (with ribbon tie carefully pinned away from the sides) and once turned, top stitched to tidy.


Pyrography, done?

image

Another craft ticked off the list.

a piece of driftwood, my hot fix tool and I have established that if we ever need a new house sign, this is do-able.

ideally I would have a thin tip to draw with but my method works:

sketch the the word or design with an erasable pen, I used a friction one. Make dots by tapping the hot tip along the traced lines and repeat so that the dots join up. I sealed the finished piece with mod pudge