Papier-mâché experiment

img_0196 img_0197


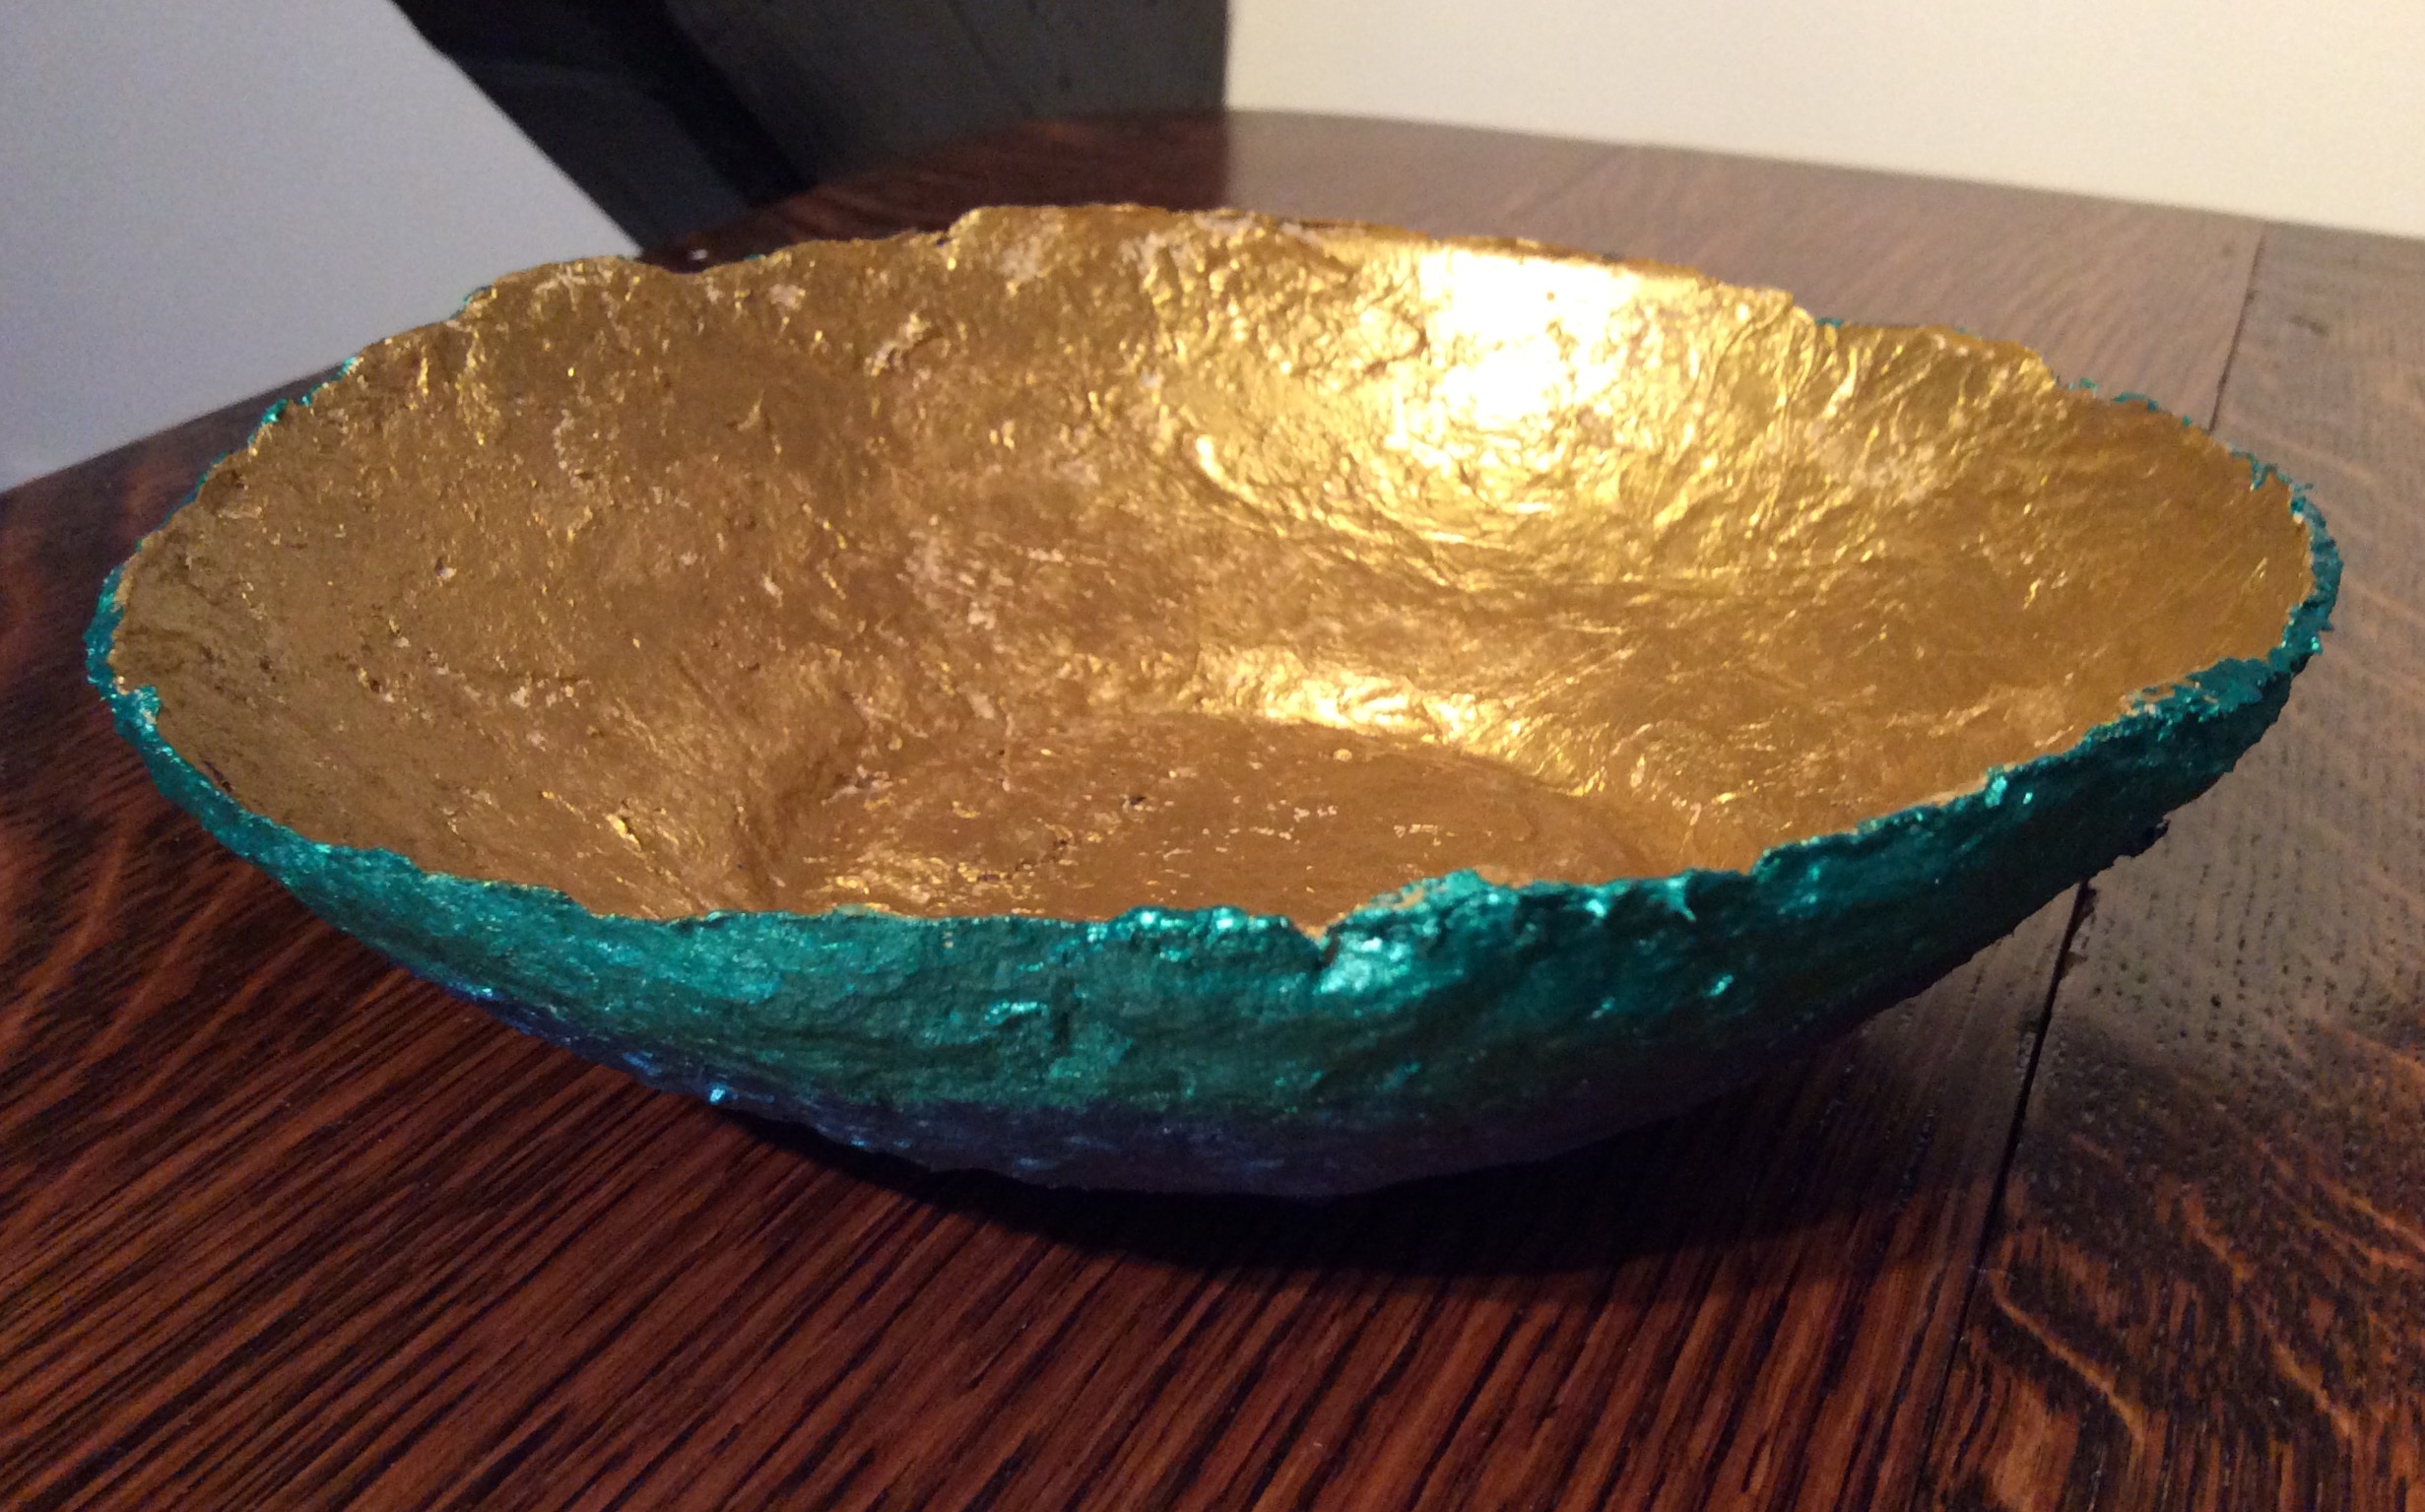
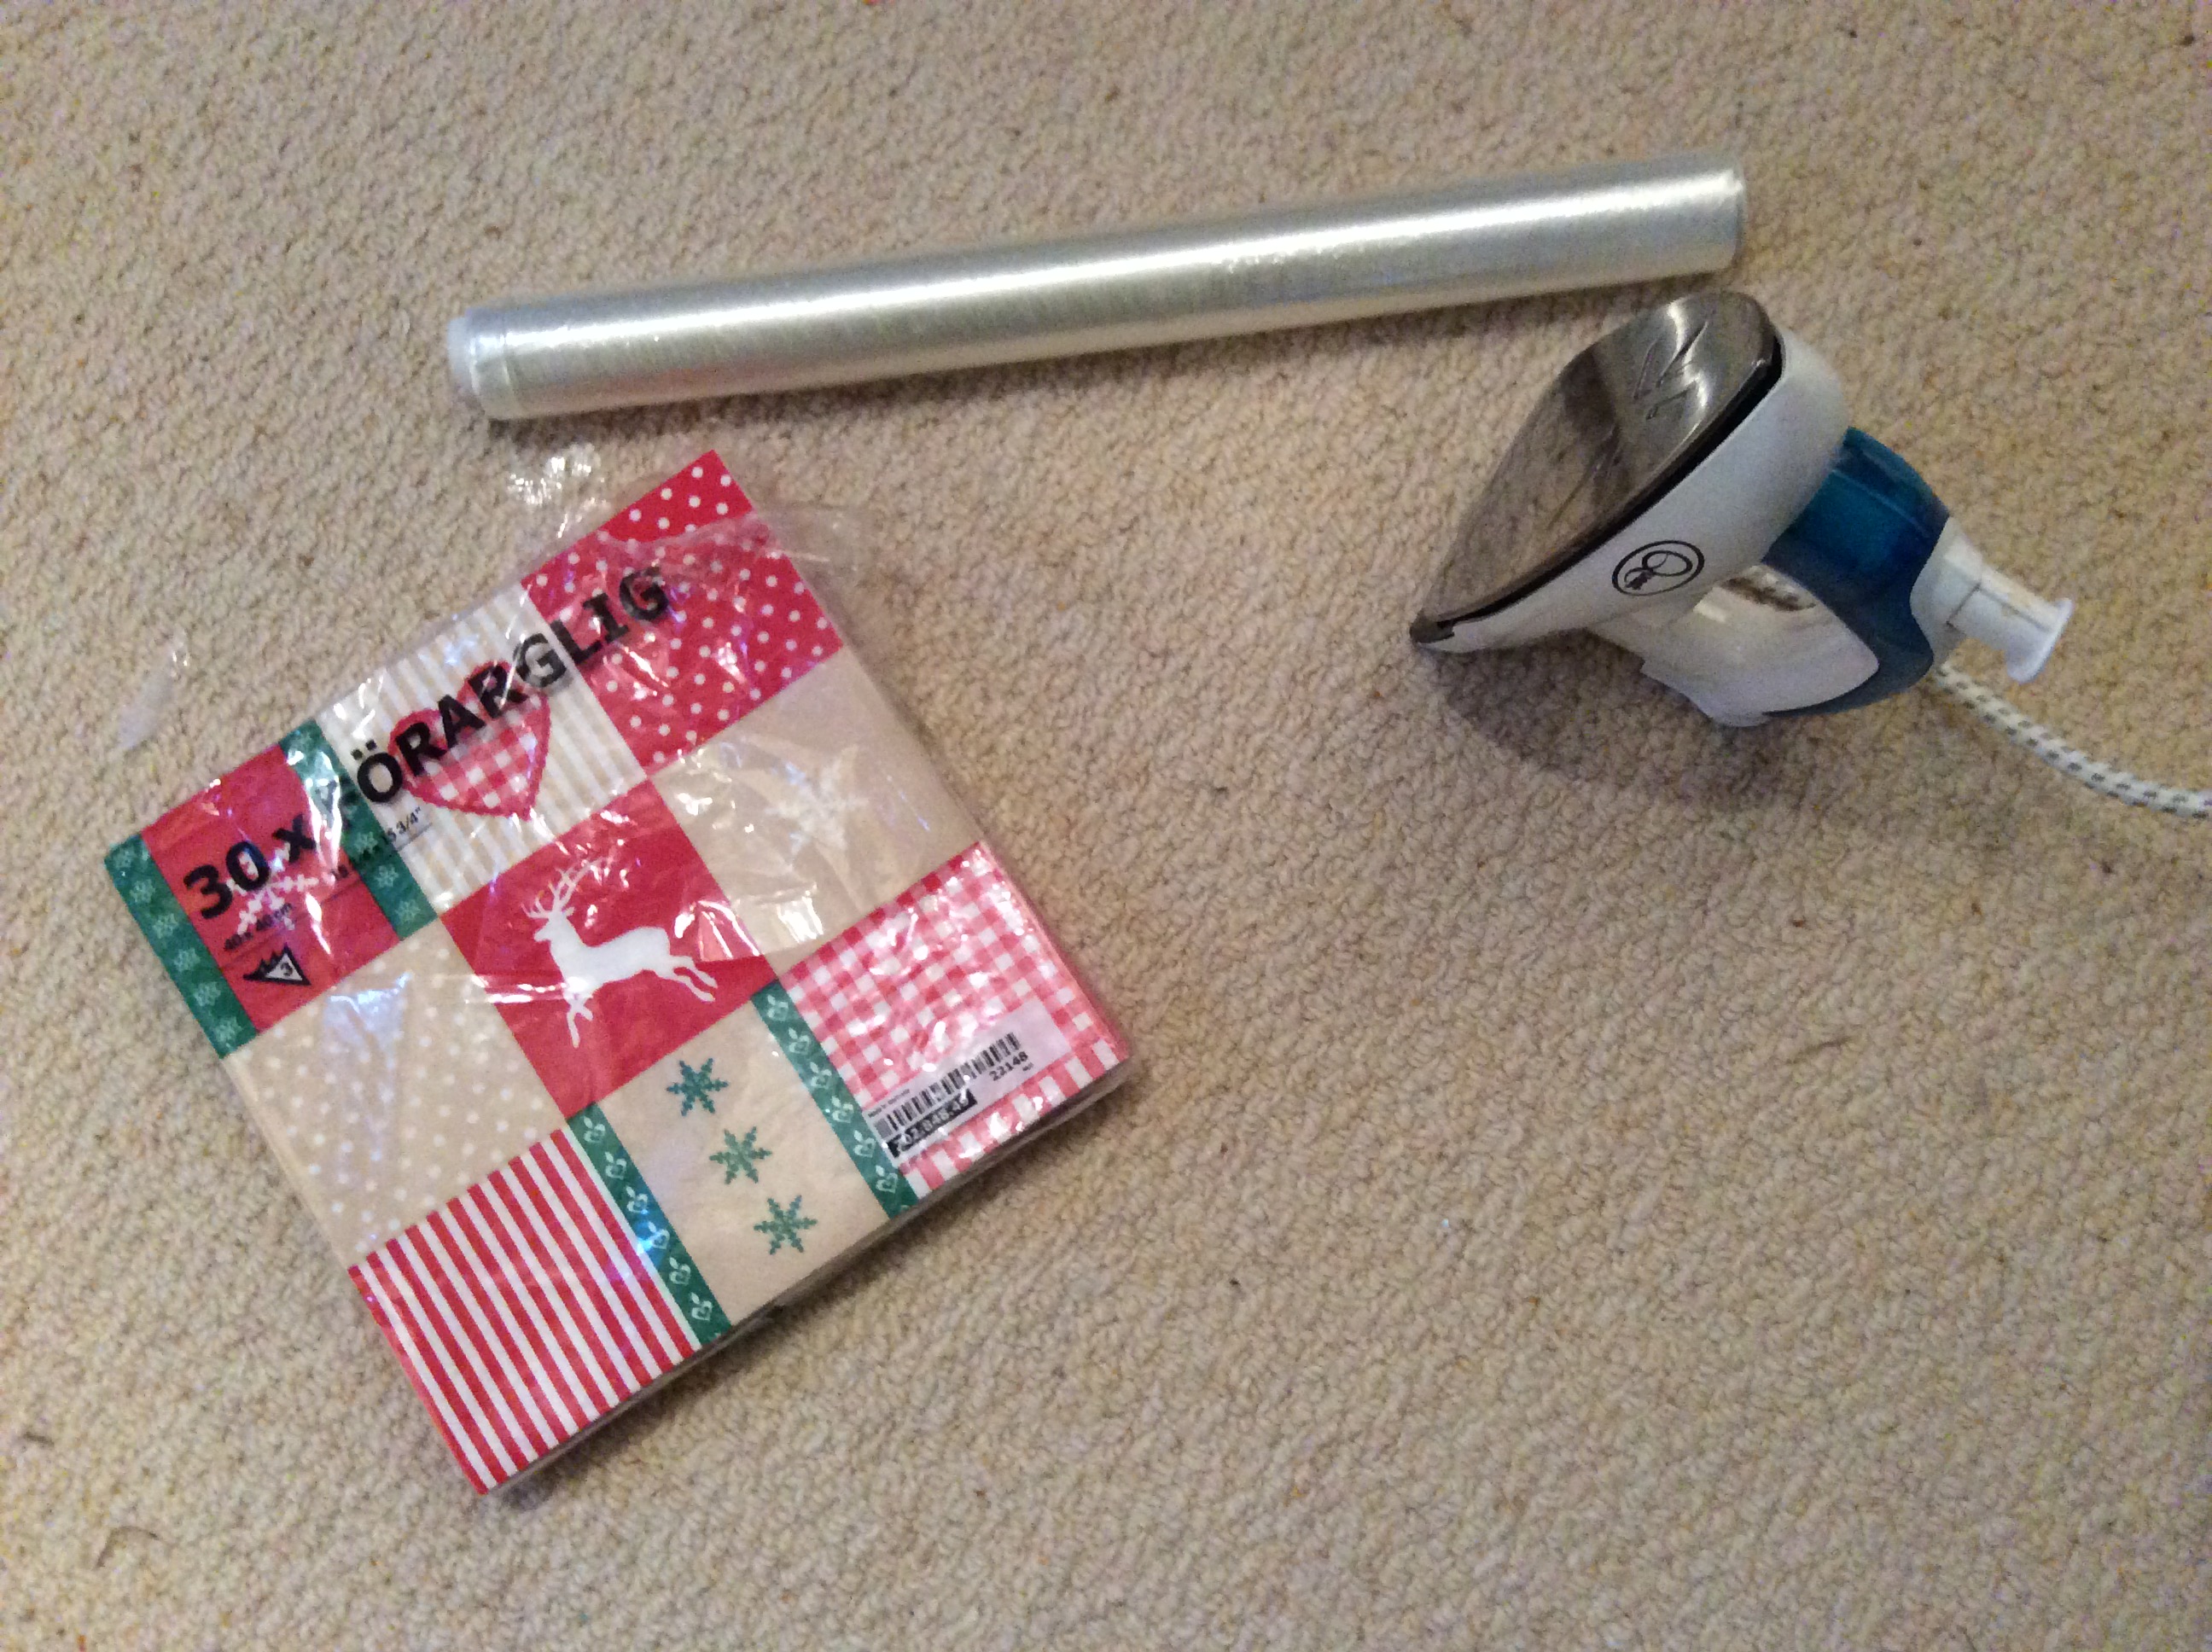
A charity shop papier-mâché kit find motivated me to try bowl making… the kit suggested moulding the paper pulp provided around semi inflated balloons but my balloons were perished (the kit had probably been lingering in the shop for a while ) so I wrapped two bowls in cling film before moulding on the moistened pulp.

Pulp was much faster and less messy than tearing up squares of paper and pasting with glue as we did at school.

however, it was harder to get a level surface with pulp and when dry was rock hard, so when I tried to pull the bowls from the mounds they lost a little of their shape.

metallic finish paint to the rescue! Haven’t a clue about brand or colours as it came in the kit, but thre blues and the gold were lovely and I have saved the dregs for painting another box one day

Conclusion, my dexterity is not good enough to gift these bowls but I am glad I tried my £1.50 experiment. if I repeated the exercise would decoupage the finished bowls to distract from the flaws.

Who needs to buy a Fuse to make shaker pockets?

not me! Thanks to the brilliant frugal crafter blog, I dug out the hot fix soldering tool (meant to put gems on fabric) and sealed up some page protectors into mini pockets.

img_0194I used a steel ruler and silicone mat to avoid mishaps and tried not to worry about the burning smell!

i sealed three sides of my pocket and checked the seal was good before adding sequins and glitter then sealed the fourth side.  I then cut off the excess with scissors to make everything neat. Sometimes I did a double seam if I wasn’t confident everything was glitter tight.

Somehow I have lots of (unwanted) glitter and sequins which I managed to use lots of, so stash reduced and lots of card or tag ready sparkly little pockets created, for free!

Little bag of tags

img_0598 img_0599

Scraps of card were cut into label shapes with the scan n cut then decorated with die cuts from the enormous , seemingly endless,  Natures Gallery Docrafts bundle. I stamped ‘to’ and ‘from’ and tied twine in place then made a mini folder pocket to hold them in.

I then got in the mood with old Christmas cards cut the same way and a shaker card version too. This required a bit of organization to put the same weight of card through the scan n cut at the same pass but really effective.

image

Lampshade rejuvenated

imageWe couldn’t find a lampshade to replace the tatty one so simply splashed the remains of a glittery fabric paint over the old shade.

the instructions said to spray lightly but in an all or nothing attempt to cover marks I soaked the shade by emptying the contents over it and rubbed the solution around with a plastic spoon

a long drying time later I am really happy with the results and have resisted the temptation to embellish more

Paper napkin, cling film card make

img_0190 img_0191Seal part of a decorative napkin on card to use as a card topper? I can’t  recommend this but it maybe worth a try if you are out of other resources… I had a go while tidying away my Christmas stuff

method

place a sheet of light card (I used a whole A4 sheet ) on your ironing board then lay a piece of cling film smaller than that on top. Peel the top ply of your napkin away from the plain underside ( or sides if you have a 3 ply napkin) and discard the plain bits, cut down the image  to the size you want for your final card topper ( I used a quarter of a napkin for an 8 inch card base), lay it face up on top of the cling film and cover with a sheet  of cheap copy paper. Iron with a hot, steam free, iron for several seconds until the cling film seals the napkin to the card.

Remove the top paper to check everything has stuck, you can have another go if it hasn’t, then use scissors to cut the card flush with the napkin- take care, a trimmer will probably tear the napkin.

I had to fix brads in the corners as I couldn’t get a proper seal and when I used wink of Stella to embellish the reindeer, the napkin puffed off the cling film. Liquid pearls and stickles worked well though and my sentiment was peel offs stuck on card and foam tape mounted on the plainest bits of the napkin.

So at least one card in the stash for Christmas!


Scrabble tiles

image
image

image

The tidy up continues… this time the remains of a bag of scrabble tiles has been gone through and a few used.

First I hot glued tiles on to clothes pegs. Easy. Then I stuck strips of magnetic sheet on the back of the pegs so they could be fridge magnets. Even better.

Key rings were salvaged from Christmas crackers pile. I removed the butterfly, plastic ornament with jewellry pliers keeping the chain in tact and threaded stretch elastic from the jewellry making box through the last link in the chain then sandwiched the elastic between pairs of scrabble tiles which were stuck together with jewellry cement to make initial key rings.

While looking for the jewellry cement I found some cuff link bases in the jewellry making box. As the mount of the cuff link  fitted perfectly inside the scrabble tile it stuck well with jewellry cement and looks really good.

now for ideas to use the remaining tiles… I have the tiles -t-o-p-d-o-g- to hand so suggestions welcome.

Scrap buster card makes

img_0188I have a new year resolution not to buy until the stash is reduced… plus a friend donates a pile of orphan envelopes and ribbon so I start making one off cards.  I have tried to use new techniques, such as heat embossing on vellum – which is beautiful – and take the embellishments a step further as with the sequins stuck on glitter card

img_0189img_0187


Gel candles experiment

img_0181

I found a kit in a charity shop so had a go using some old spare glasses

start by dissolving a little gel in a saucepan then soaking the wick, cut to an inch or so longer than the depth of your chosen glass,  in the gel then let it dry on some paper towel

fix one end of the wick to the base of the glass with a little blu tak or plasticine, have to hand a skewer or matchstick long enough to balance across the centre of the glass later

dissolve more gel in the same pan, you can reheat the excess from the priming exercise if it has set by now

carefully pour a little dissolved gel into the glass and swish it around to coat the sides then sprinkle in glitter or sequins of your choice. You can see here my sprinkling was a bit heavy handed

holding the wick upright with one hand pour in some more gel then a little more glitter and repeat until the glass is nearly full. I used too much glitter on the topping up stage which gave a layer effect I hadn’t intended

now balance the skewer across the rim of the glass and drape the excess wick over it while the gel sets

once set trim the wick

tip: wash the pan by hand to avoid coating other stuff in the dishwasher with gel

Christmas wreath for friends with pets

img_0183

A bonio bonus as we now have a dog and have many friends with dogs that we want to include in Christmas fun.

I cut the hoop form from cardboard packaging using a dinner plate as a guide for the outside and a side plate for the inside of the ring then wrapped long strips of fabric round and round to cover the cardboard.

I then took bias binding, (this one is of the same as the base fabric) and left a long tail before wrapping the rawhide bones firmly in place around the wreath. Once all the way back to the beginning of the circle, I tied a knot with the beginning tail and then made a hanging loop with the spare length of binding.

later versions use more colourful tape on hessian backing and different types of treats are bound in but all were made without glue, string or embellishments just in case the dogs get unsupervised access to the wreath.


snowflake charm earrings in an envelobox

img_0563A project to present simple earrings made from snowflake charms in a cute little envelobox.img_0562


materials- bag of snowflake charms (Amazon 50 mixed charms), jump rings, earring wires, square of patterned paper, glue , tissue paper and raffia

equipment – jewellry pliers, crafters companion ultimate pro or score board

method – make the earrings by opening the jump rings (twist don’t pull) and thread on the charm and ear wire before closing the ring again

To make the envelobox take a square of patterned paper and score it across each corner in parallel lines as shown, cut out the intersection. To save the calculations follow the Crafters’ Companion template. Optional round corner and stick the envelope closed.

img_0560 img_0561

I wrapped the earrings in tissue to given the envelobox some bulk and then tied it with raffia.

Video here;