Clutch bag

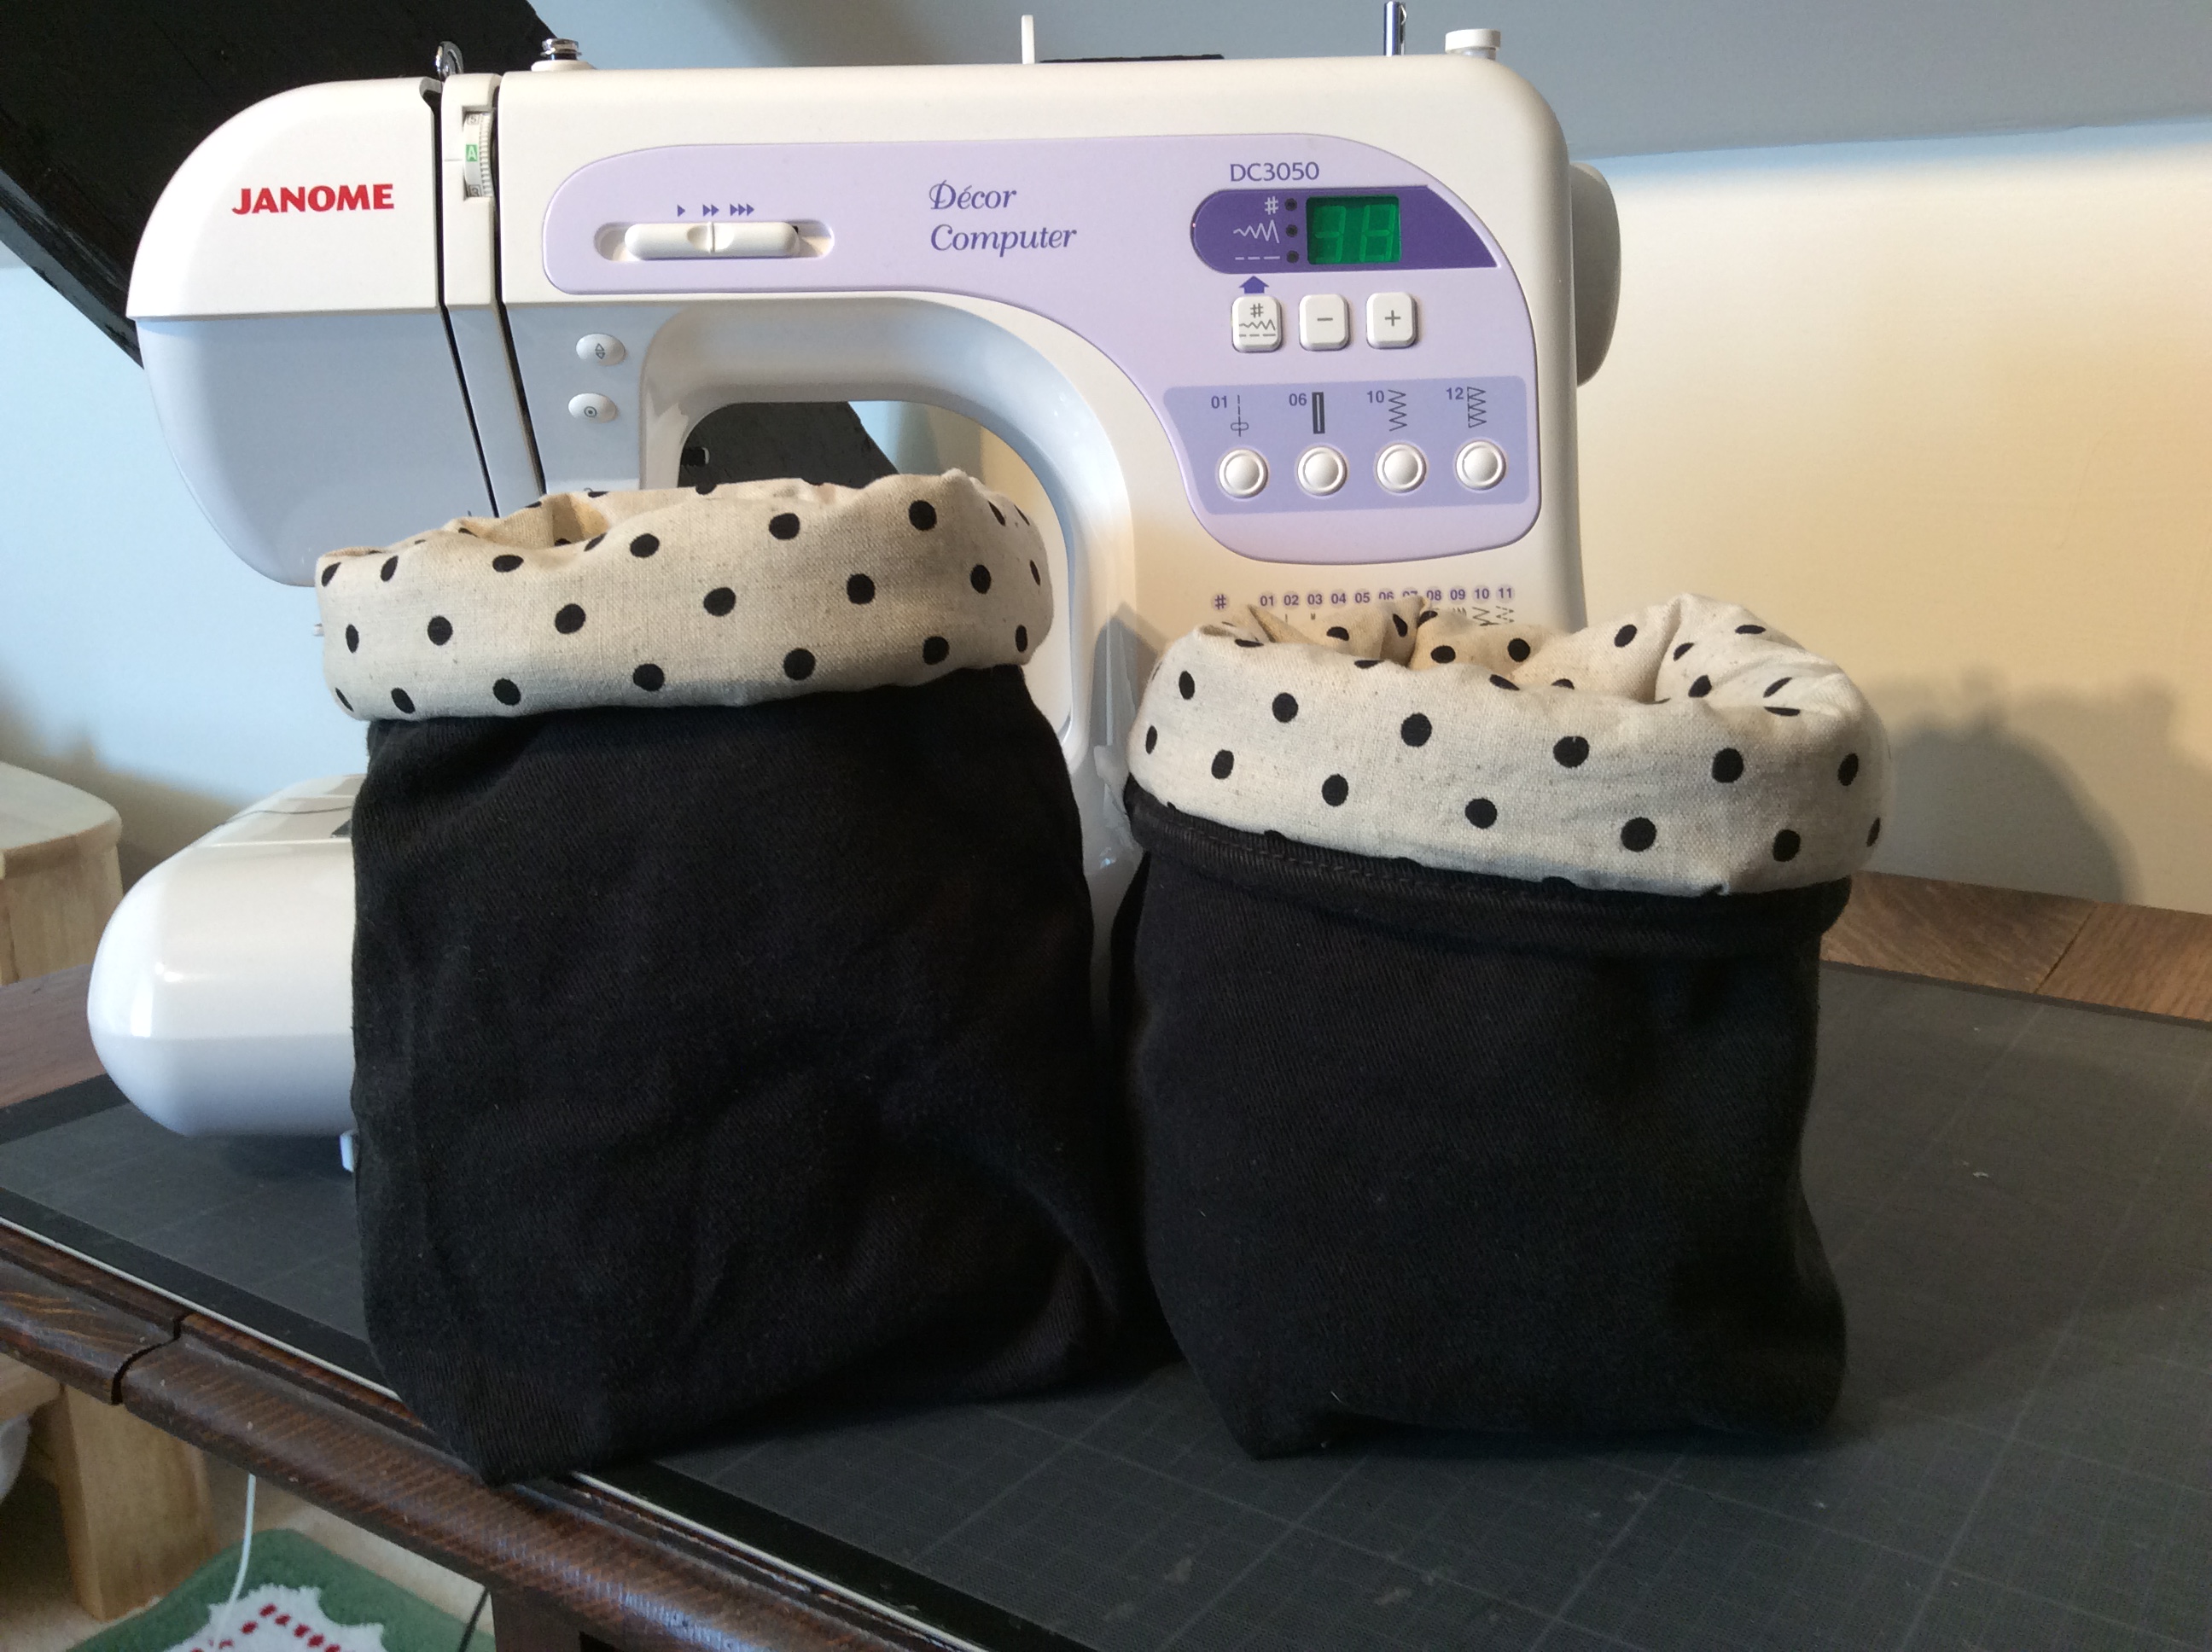
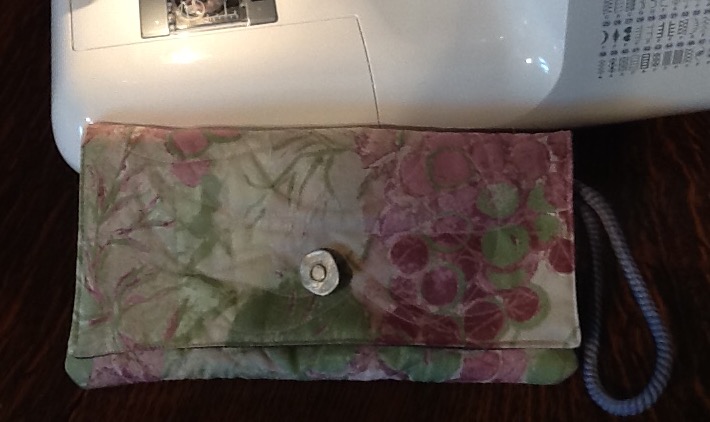
Discovered a dozen magnetic bag clasps in my sewing box, so decided to use one and follow a Debbie Shore tutorial. I made this bag with three squares of fabric, it is a quick and easy project.

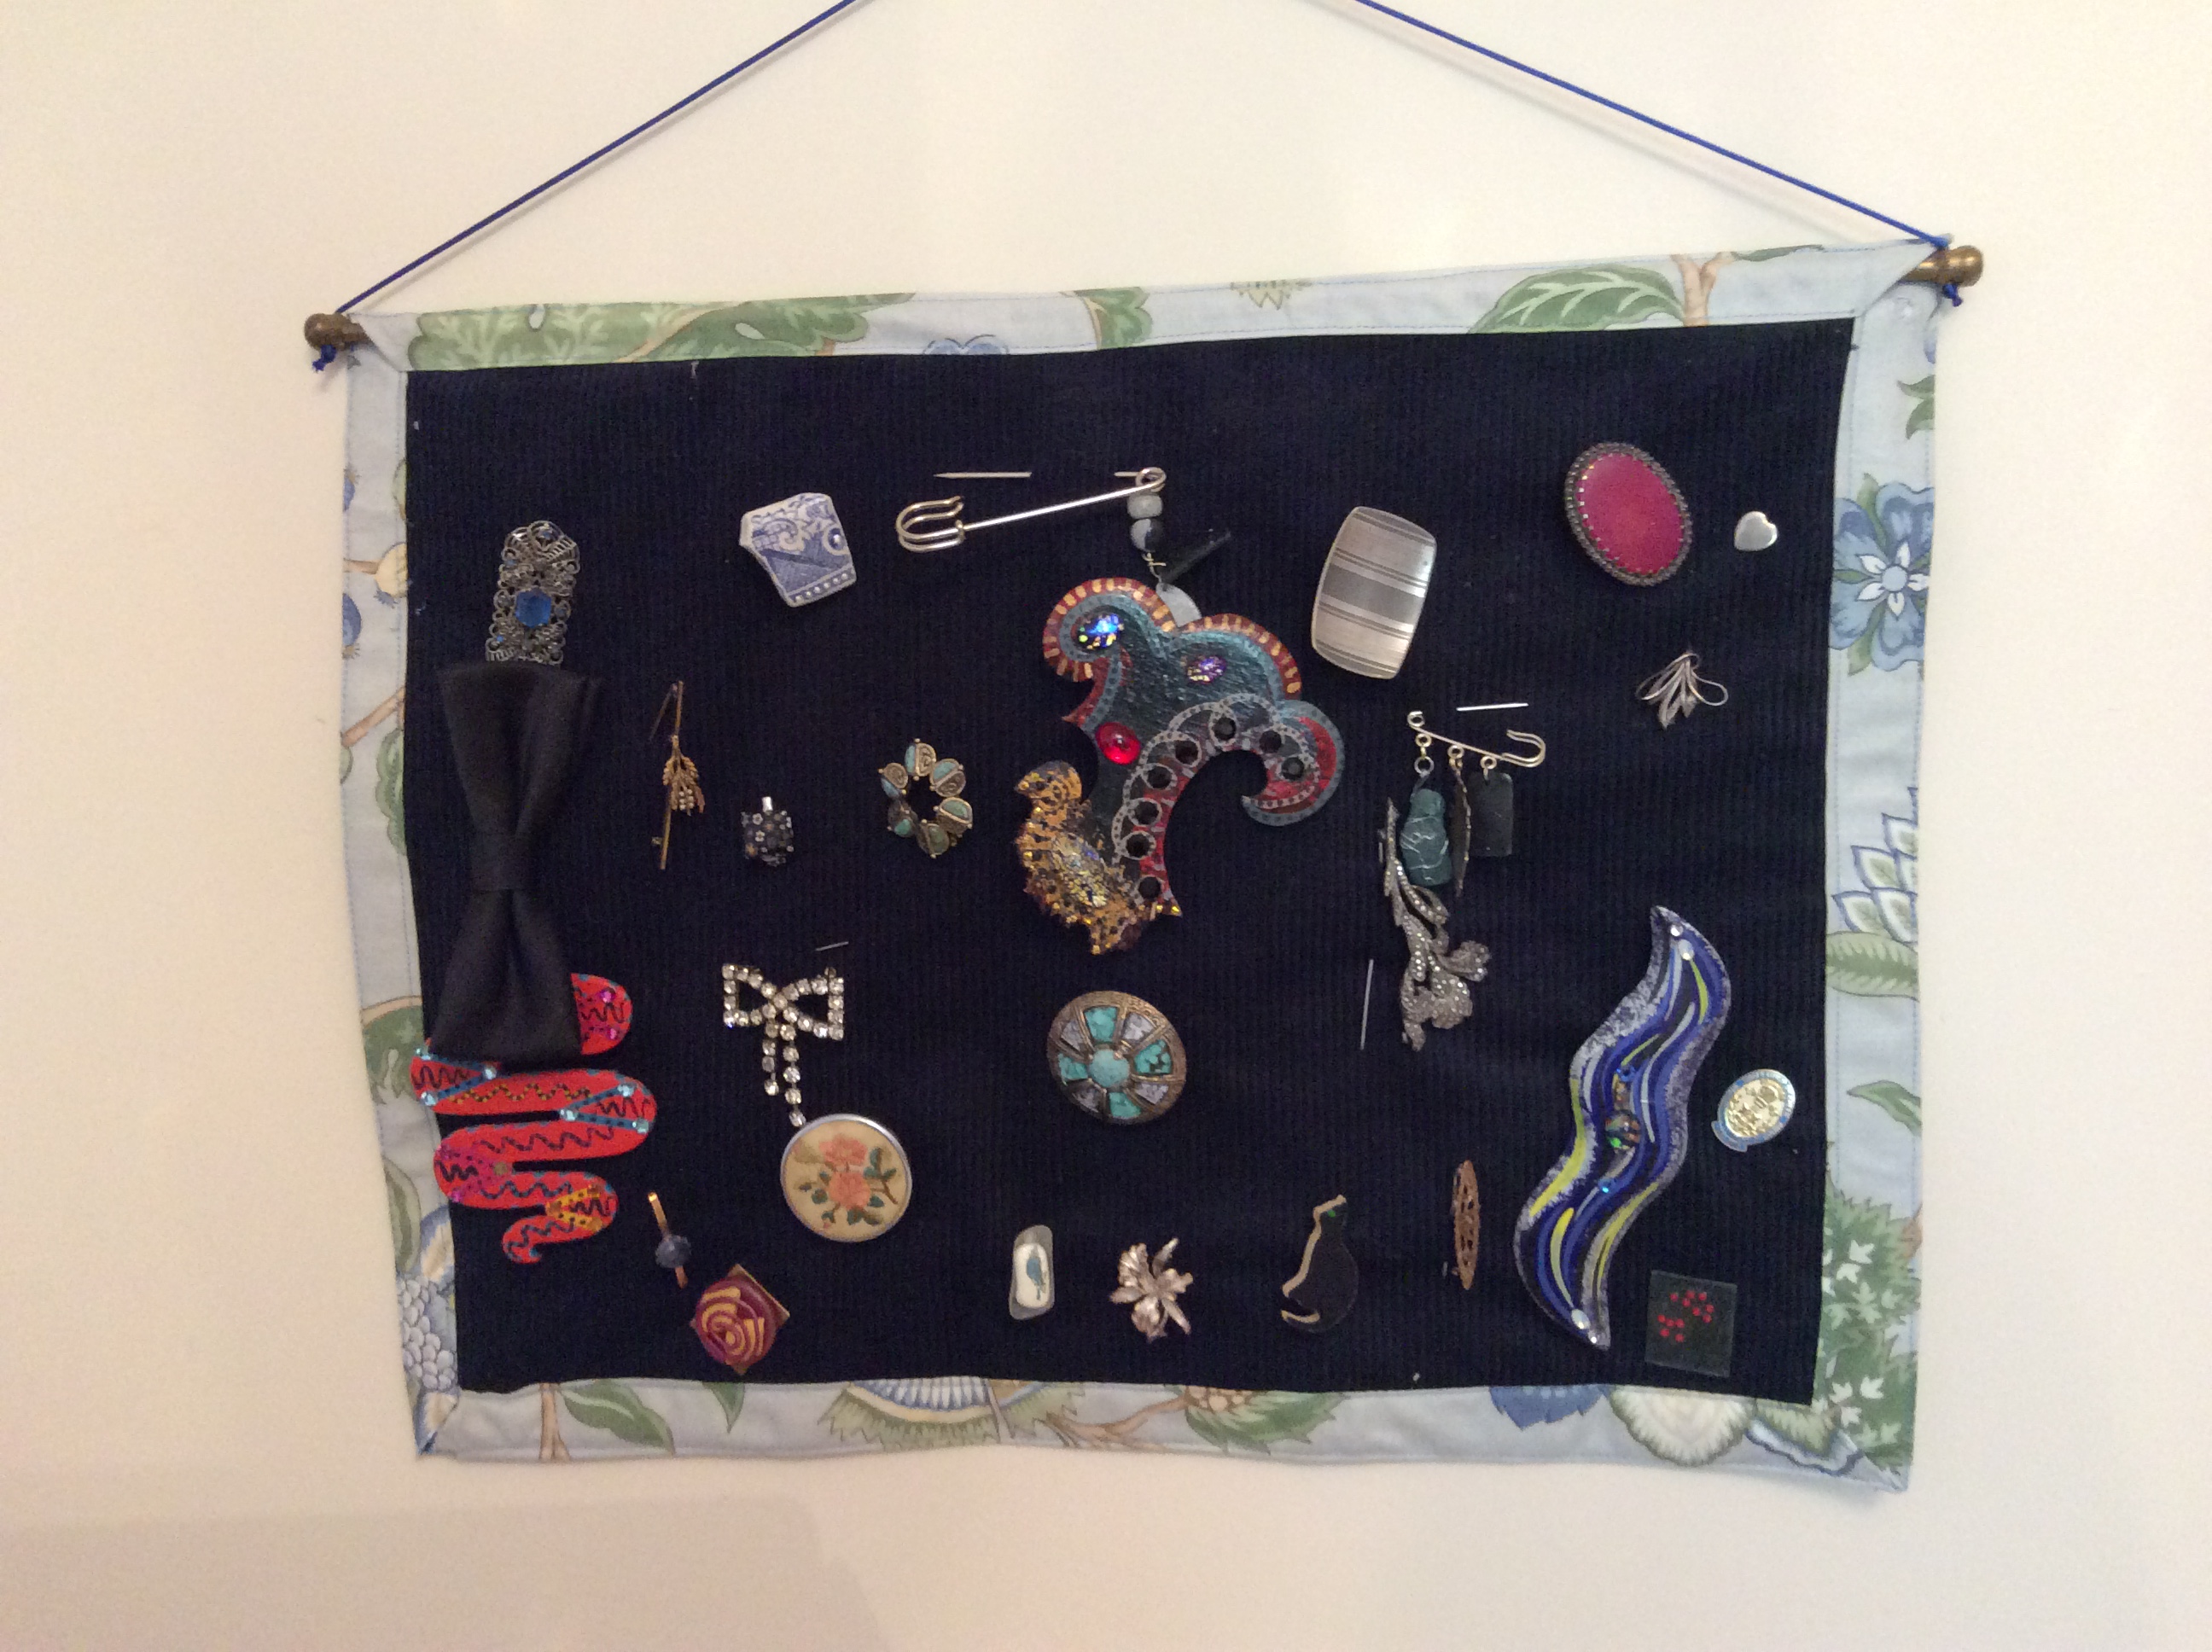
I cut two 11″ squares of the floral fabric and one of a plain lining material. I cut a matching square of wadding which I free motion quilted to the back of one of my floral squares and a half square piece ( 11 x 5 1/2″) which I quilted to half of my other floral piece. I had a 15″ piece of cord for the wrislet and a spare button for embellishment. Vintage brooches would be perfect for this sort of bag embellishment.

Debbie’s tutorial is, as always, easy to follow. I top stitched at the end to give it a bit more finish.

Next time I will put some stabiliser on the lining and maybe round or angle the corners on the top flap. I might even put a pocket in the lining as this is such a quick and easy project.

Jeans to … Puppy present

Next step on the jeans up cycling project …. A tug toy for a friend’s new puppy.

Inspired  by pinterest, I drew a bone shaped paper template and then cut matching pieces of old jeans leg with the seams at artistic(!) angles on each side then free motion embroidered the name before seaming, turning and stuffing. (Stuffed with trimmings from an ongoing sewing project)

The weak point might be my hand sewn closing of the seam but let’s see.

A quick, easy project that my dog approved before posting. So I did him his own version.

Brooch holder

I love vintage brooches and try to wear them on jackets often

i have turned their storage into a display with this project

a piece of corduroy and contrast linen which was three inches longer and wider were sandwiched (right sides OUT) around some batting so that the corduroy was centered on the bigger fabric giving an equal border.

the border was pressed in half and then folded over the edge of the cord and pressed agin then pinned in place, creating the look of bias binding

I top stitched around the frame that was created (twice, once at the crease and once on the outer edge to sharpen it up).

the corners were folded as hospital corners on a bed with the long edges on top, to create a mitre effect but these were left unsewn so I could poke a curtain rod through the channel created when I sewed the frame

I threaded cord through the convenient hole in each end of the slim metal curtain rod (an adjustable one designed for net curtains) -and knotted it to secure it

Jeans to … sewing challenge

Take one pair of jeans and too many hours on Pinterest and let us see what we can make….

so far the bottom of the legs have been chopped off and made into two simple storage pots.

I boxed the bottoms (the tops really to preserve the hems) and lined with some dotty fabric and some wadding. One leg had a longer lining piece to create a bigger contrast cuff

These will be used to store ready readers and sunglasses.

If I made them again and had enough firm form interface I would use that to make the sides more rigid but these will do the soft storage job

Now back to Pinterest to see what else to try … I have ppreviously made a garden apron/belt, some  oven gloves and mitts -see earlier posts-  so want to expand my jeans recycling repertoire

Cube door stop

image

Am trying to use up some scraps of upholstery fabric so cut six squares  and a strip for another door stop.

if you make with lighter weight material you will need heavy duty interfacing

method: fold the strip- about the same length as the side of a square –  edges to middle and then fold in half and straight stitch along the length on either edge to create a handle. Position the handle on top of the centre of one of the squares and sew the ends firmly with a quarter inch seam. This seam will be hidden later.

take four squares to form the sides of the cube. With right sides facing and a half inch seam,  fix them in a box shape then pin the top square facing downwards carefully to form the cube lid.

seam  the top to the sides, go slowly round the corners to catch all the bulk and keep a consistent half inch seam to fix the handles in place

check your work before pinning the bottom square in place, still wrong sides facing. Seam as the top but leave a gap for turning. Leave at least three fingers for your turning gap as the fabric is bulky.

check the seams at the corners and maybe go round again as the finished cube has quite a lot of weight to bear

turn Right side out through the turning gap in the bottom. stuff at least  two thirds of the cube with pillow stuffing (it will take more stuffing than you expect and you don’t want it saggy from understuffing) and then fill up with gravel, lizard litter or rice. Hand stitch the gap closed to finish.


Lampshade rejuvenated

imageWe couldn’t find a lampshade to replace the tatty one so simply splashed the remains of a glittery fabric paint over the old shade.

the instructions said to spray lightly but in an all or nothing attempt to cover marks I soaked the shade by emptying the contents over it and rubbed the solution around with a plastic spoon

a long drying time later I am really happy with the results and have resisted the temptation to embellish more

Christmas wreath for friends with pets

img_0183

A bonio bonus as we now have a dog and have many friends with dogs that we want to include in Christmas fun.

I cut the hoop form from cardboard packaging using a dinner plate as a guide for the outside and a side plate for the inside of the ring then wrapped long strips of fabric round and round to cover the cardboard.

I then took bias binding, (this one is of the same as the base fabric) and left a long tail before wrapping the rawhide bones firmly in place around the wreath. Once all the way back to the beginning of the circle, I tied a knot with the beginning tail and then made a hanging loop with the spare length of binding.

later versions use more colourful tape on hessian backing and different types of treats are bound in but all were made without glue, string or embellishments just in case the dogs get unsupervised access to the wreath.


Decoration fail!

imageribbon strips sewed on to felt cut in the shape of bells …

I sandwiched a loop of elastic between two pieces of felt (scan n cut not happy about cutting felt in a freezer paper sandwich)

i glued one pair of bells together then hot glued lengths of ribbon across the front and back of the shape, to cover the edge some ric rac was glued around the side

Not happy with that I tried sewing rather than gluing, still not looking good enough for use, oh well, an experiment!

Plastic bag holder

imagea quick sew to tidy up all those stray bags that still come back from shopping expeditions

a fat quarter or 18x 22 inch rectangle of material

8 inches of elastic , 1/2 inch wide is fine

8 inches of tape or ribbon

fold over 1 inch on a short end of the rectangle, which we will now call the bottom, and fold it over again then press and straight stitch at least 1/2 inch away from the top fold so you have made a casing for the elastic

fold over 1/2 inch once on the top edge of the fabric, fold again and press then stitch that so you have a neat hem at the open top where you will add bags in

fix a large safety pin to one end of the elastic and thread it through the casing, when it emerges pin the ends of the elastic together to form a circle

with right side of the fabric on the inside, fold the sides are together and seam from top to bottom to make a tube. While doing the seam make sure you sew the elastic ends  together maybe back stitching over the elastic for security

Fold the tape in half and stitch in place near the top of the side seam to make a loop for hanging

trim loose threads and excess seam maybe using pinking shears for neatness, turn right sides out and stuff with all those loose bags


Bookmark bonanza

imageMethod one:  I cut  a length of tape slightly longer than a hardback book, fixed on a ribbon clamp at either end with jewellry pliers and decorated one end with  home made tassels made from embroidery thread.

I dug out some charms from the jewellry ‘bits box’  which I attached to the other clamps with jump rings. Made 3!

method 2: A simple ribbon book mark will be less robust but just as easy using clamps and tassels at both ends.

Method 3: two matching pieces of fabric were ironed to heat and bond then to the middle of the hessian piece. I sewed a decorative stitch around the fabric to halt the hessian fraying too much, then frayed the bottom up to the stitching to make a fringe.  A ribbon clamp and cord tassel at the top finished this. However the back isn’t so pretty so this isn’t a success.