Glass leading

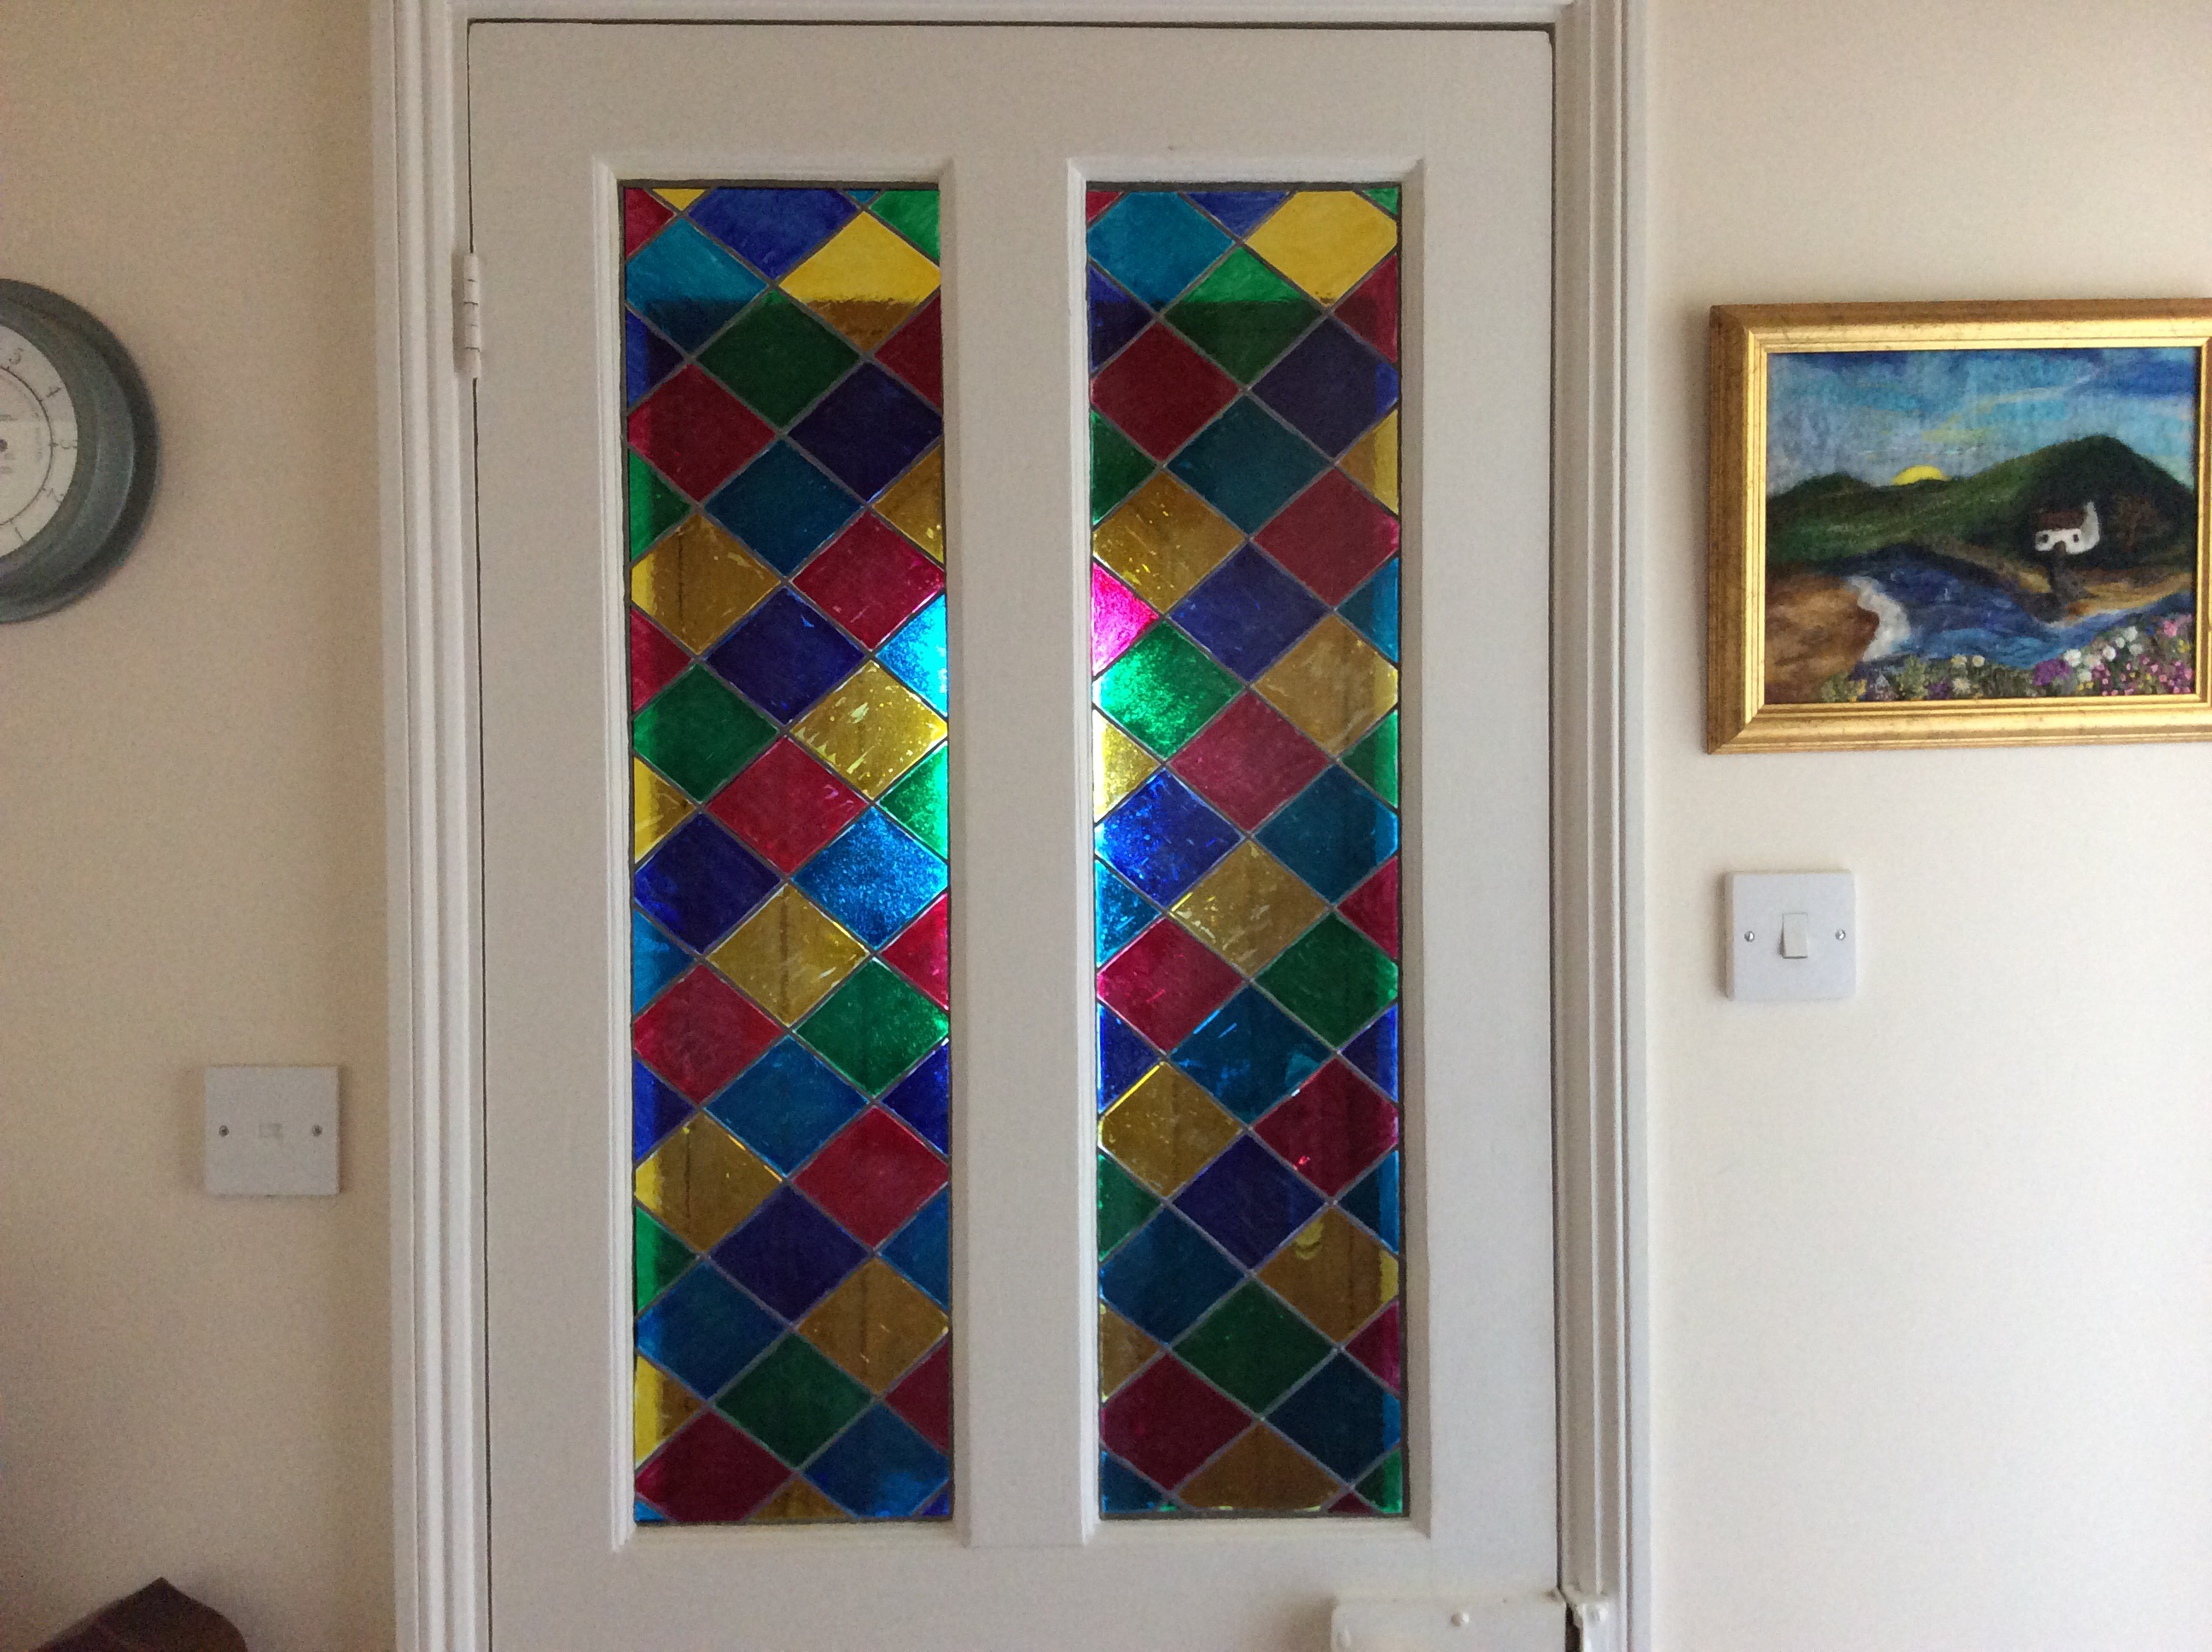
Decra  led   self adhesive strips were great for this faux stained glass door panel

but what to do with the left overs?

I jave been upcycling glass bottles and jars aplenty. in this case a simple coffee jar with a good seal in the lid

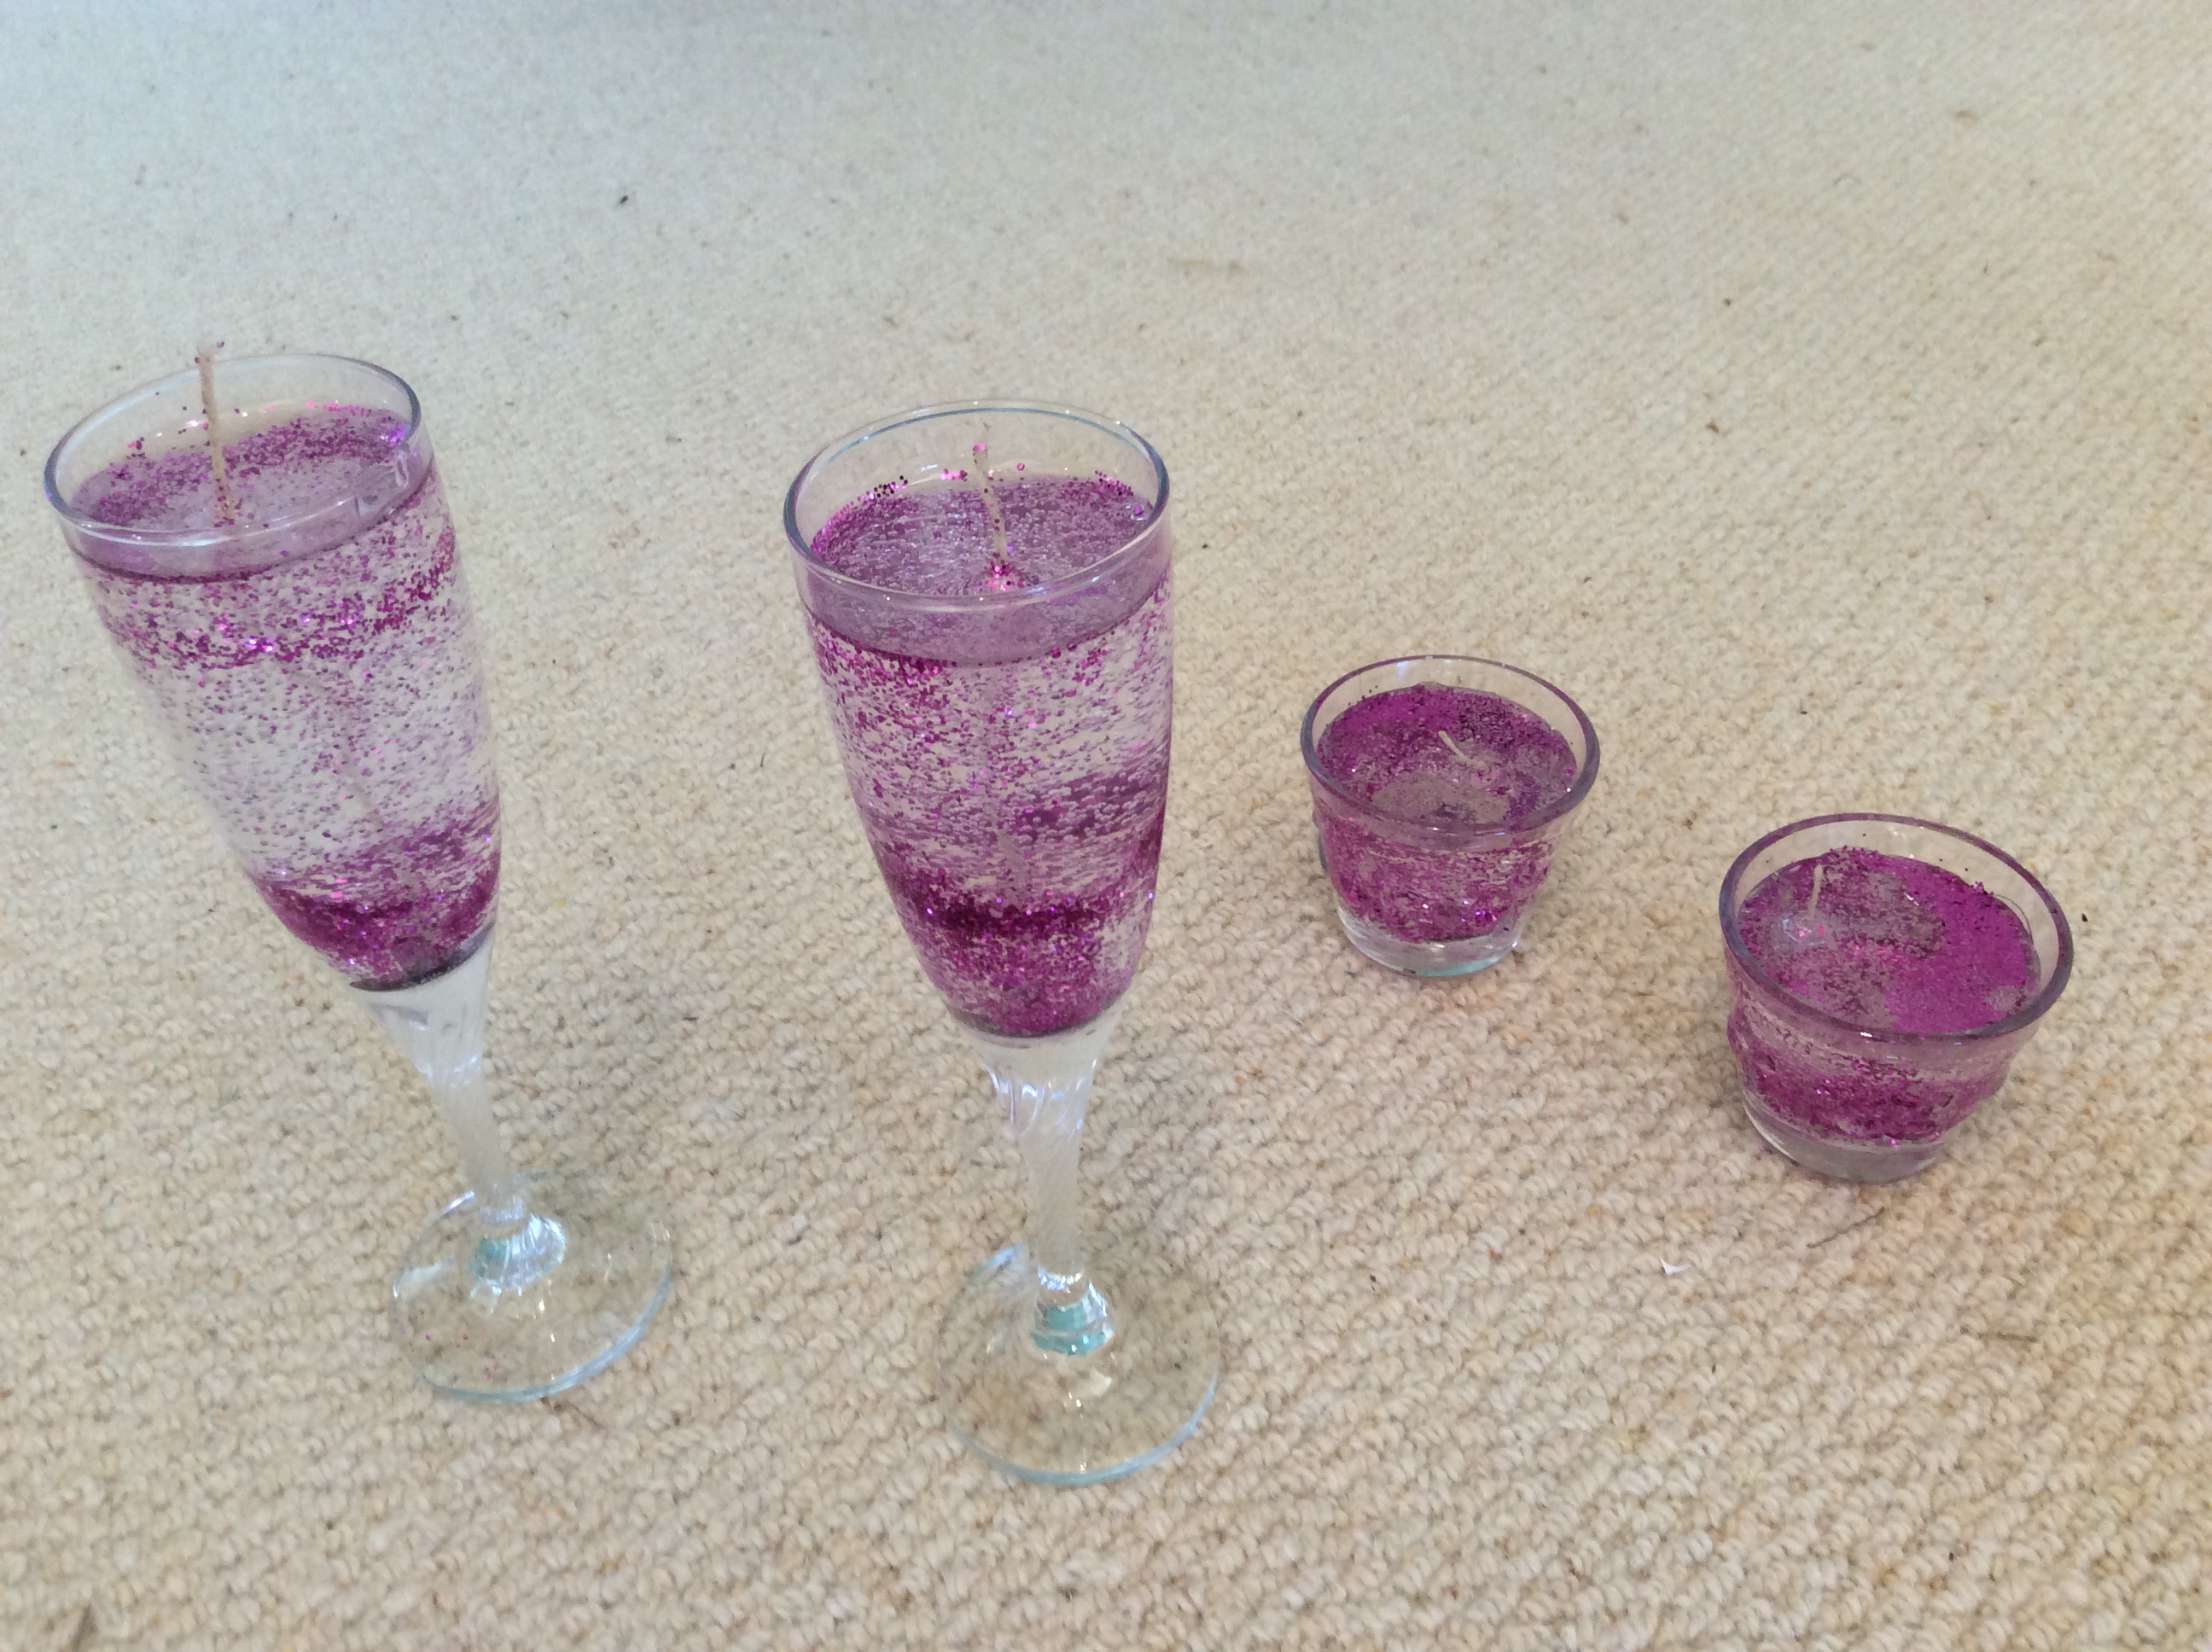
looks great with the panels painted with left over glass paint but not for food containers as it warps ones expectations of the contents. Blue sugar anyone? Painted glass best for Epsom salts or potpourri storage.

particularly good for up cycling (white) wine bottles to hold our home made vinegars, sorry I gave them away before I remembered to photograph them.

so to use up the rest of the packs I am off to the charity shop tomorrow to titivate a couple of vases.

Jeans to … Puppy present

Next step on the jeans up cycling project …. A tug toy for a friend’s new puppy.

Inspired  by pinterest, I drew a bone shaped paper template and then cut matching pieces of old jeans leg with the seams at artistic(!) angles on each side then free motion embroidered the name before seaming, turning and stuffing. (Stuffed with trimmings from an ongoing sewing project)

The weak point might be my hand sewn closing of the seam but let’s see.

A quick, easy project that my dog approved before posting. So I did him his own version.

Jeans to … sewing challenge

Take one pair of jeans and too many hours on Pinterest and let us see what we can make….

so far the bottom of the legs have been chopped off and made into two simple storage pots.

I boxed the bottoms (the tops really to preserve the hems) and lined with some dotty fabric and some wadding. One leg had a longer lining piece to create a bigger contrast cuff

These will be used to store ready readers and sunglasses.

If I made them again and had enough firm form interface I would use that to make the sides more rigid but these will do the soft storage job

Now back to Pinterest to see what else to try … I have ppreviously made a garden apron/belt, some  oven gloves and mitts -see earlier posts-  so want to expand my jeans recycling repertoire

Wallpaper gift bags

I wanted to present some of my mountain of hand made cards so I made gift bags using a roll of wallpaper (I buy 50p remnant rolls of the more ornate papers when I see them). This is sturdier and more pliable than paper or card.

method: cut a rectangle of paper about 34cm wide by 20 high ie just bigger than A4, this will hold 8 ish A6 cards and envelopes

fold about 3 cm down and towards you to make a cuff with the reverse of the paper showing, then score down over the cuff at 3 cm, 16 cm, 19 cm, 32 cm  – all the way to the bottom

then fold under about all the way across about 3 cm from the bottom to make your base

cut up the score lines from the bottom to that last across score line to make the bottom flaps and cut out the tiny rectangle bottom right

fold the score lines to form the bag shape

stick double sided tape on the right hand down strip and bottom flaps to fix bag

punch matching pairs of holes in the cuff front and back, I used an office hole punch which fit inside the bag neatly. Thread ribbon or cord through the holes and tie knots inside the bag to fasten

if needed cut a piece of card to fit inside the bottom to reinforce the base, wallpaper seems strong enough for a light package though

You can pinch the side panels to give the impression of a side gusset and embellish or label as well..


Quick photo stands


Want to display some photographs or cards but don’t have any frames spare? Head for the recycling box and use old cardboard for a quick fix.

I covered my card with pretty paper before cutting. I used my scan n cut to get a neat shape but scissors would work.

I then creased the shape against  a ruler to get the fold

adapt for your photos but aim For a width much wider than the photo so, once the support is creased, the photo can lean backwards rather than be too upright


Little bag of tags

img_0598 img_0599

Scraps of card were cut into label shapes with the scan n cut then decorated with die cuts from the enormous , seemingly endless,  Natures Gallery Docrafts bundle. I stamped ‘to’ and ‘from’ and tied twine in place then made a mini folder pocket to hold them in.

I then got in the mood with old Christmas cards cut the same way and a shaker card version too. This required a bit of organization to put the same weight of card through the scan n cut at the same pass but really effective.

image

Lampshade rejuvenated

imageWe couldn’t find a lampshade to replace the tatty one so simply splashed the remains of a glittery fabric paint over the old shade.

the instructions said to spray lightly but in an all or nothing attempt to cover marks I soaked the shade by emptying the contents over it and rubbed the solution around with a plastic spoon

a long drying time later I am really happy with the results and have resisted the temptation to embellish more

Scrabble tiles

image
image

image

The tidy up continues… this time the remains of a bag of scrabble tiles has been gone through and a few used.

First I hot glued tiles on to clothes pegs. Easy. Then I stuck strips of magnetic sheet on the back of the pegs so they could be fridge magnets. Even better.

Key rings were salvaged from Christmas crackers pile. I removed the butterfly, plastic ornament with jewellry pliers keeping the chain in tact and threaded stretch elastic from the jewellry making box through the last link in the chain then sandwiched the elastic between pairs of scrabble tiles which were stuck together with jewellry cement to make initial key rings.

While looking for the jewellry cement I found some cuff link bases in the jewellry making box. As the mount of the cuff link  fitted perfectly inside the scrabble tile it stuck well with jewellry cement and looks really good.

now for ideas to use the remaining tiles… I have the tiles -t-o-p-d-o-g- to hand so suggestions welcome.

Gel candles experiment

img_0181

I found a kit in a charity shop so had a go using some old spare glasses

start by dissolving a little gel in a saucepan then soaking the wick, cut to an inch or so longer than the depth of your chosen glass,  in the gel then let it dry on some paper towel

fix one end of the wick to the base of the glass with a little blu tak or plasticine, have to hand a skewer or matchstick long enough to balance across the centre of the glass later

dissolve more gel in the same pan, you can reheat the excess from the priming exercise if it has set by now

carefully pour a little dissolved gel into the glass and swish it around to coat the sides then sprinkle in glitter or sequins of your choice. You can see here my sprinkling was a bit heavy handed

holding the wick upright with one hand pour in some more gel then a little more glitter and repeat until the glass is nearly full. I used too much glitter on the topping up stage which gave a layer effect I hadn’t intended

now balance the skewer across the rim of the glass and drape the excess wick over it while the gel sets

once set trim the wick

tip: wash the pan by hand to avoid coating other stuff in the dishwasher with gel

Peg bag

imageAn old tablecloth remnant has become useful again

wooden coat hanger (we didn’t have any children’s hangers so Edward cut an old padded hanger down by about an inch each end

Materials- water resistant outer fabricwide as the hanger plus seam and about twice as long, lining same size

method; draw around the hanger on to reverse of fabric to create a pattern for the back and extend the sides down to make a square ish shape , cut a half inch outside the line for a seam allowance

lay the remaining outer fabric on top and cut a top front panel and bottom front panel to match. I used the tablecloth binding as the mouth of  the bag but otherwise would have added a half inch to the bottom of the top panel and top of the bottom panel for a seam allowance

cut lining fabric to match each of the three pieces

blanket stitch about one inch in the centre of the back and top pieces where the hanger will go through

place front panel lining and outers right sides together and seam where the mouth of the bag will be ie top of the bottom and bottom of the top, flip out and press lightly

place back panel lining face down, back panel outer on it face up, front panels face down  with partially fixed lining on top- clip in place and seam from edge of blanket stitched top all the way round back to the other side of the top

turn, wriggle the hanger in place and decorate with ribbon to finish