Scrabble tiles

image
image

image

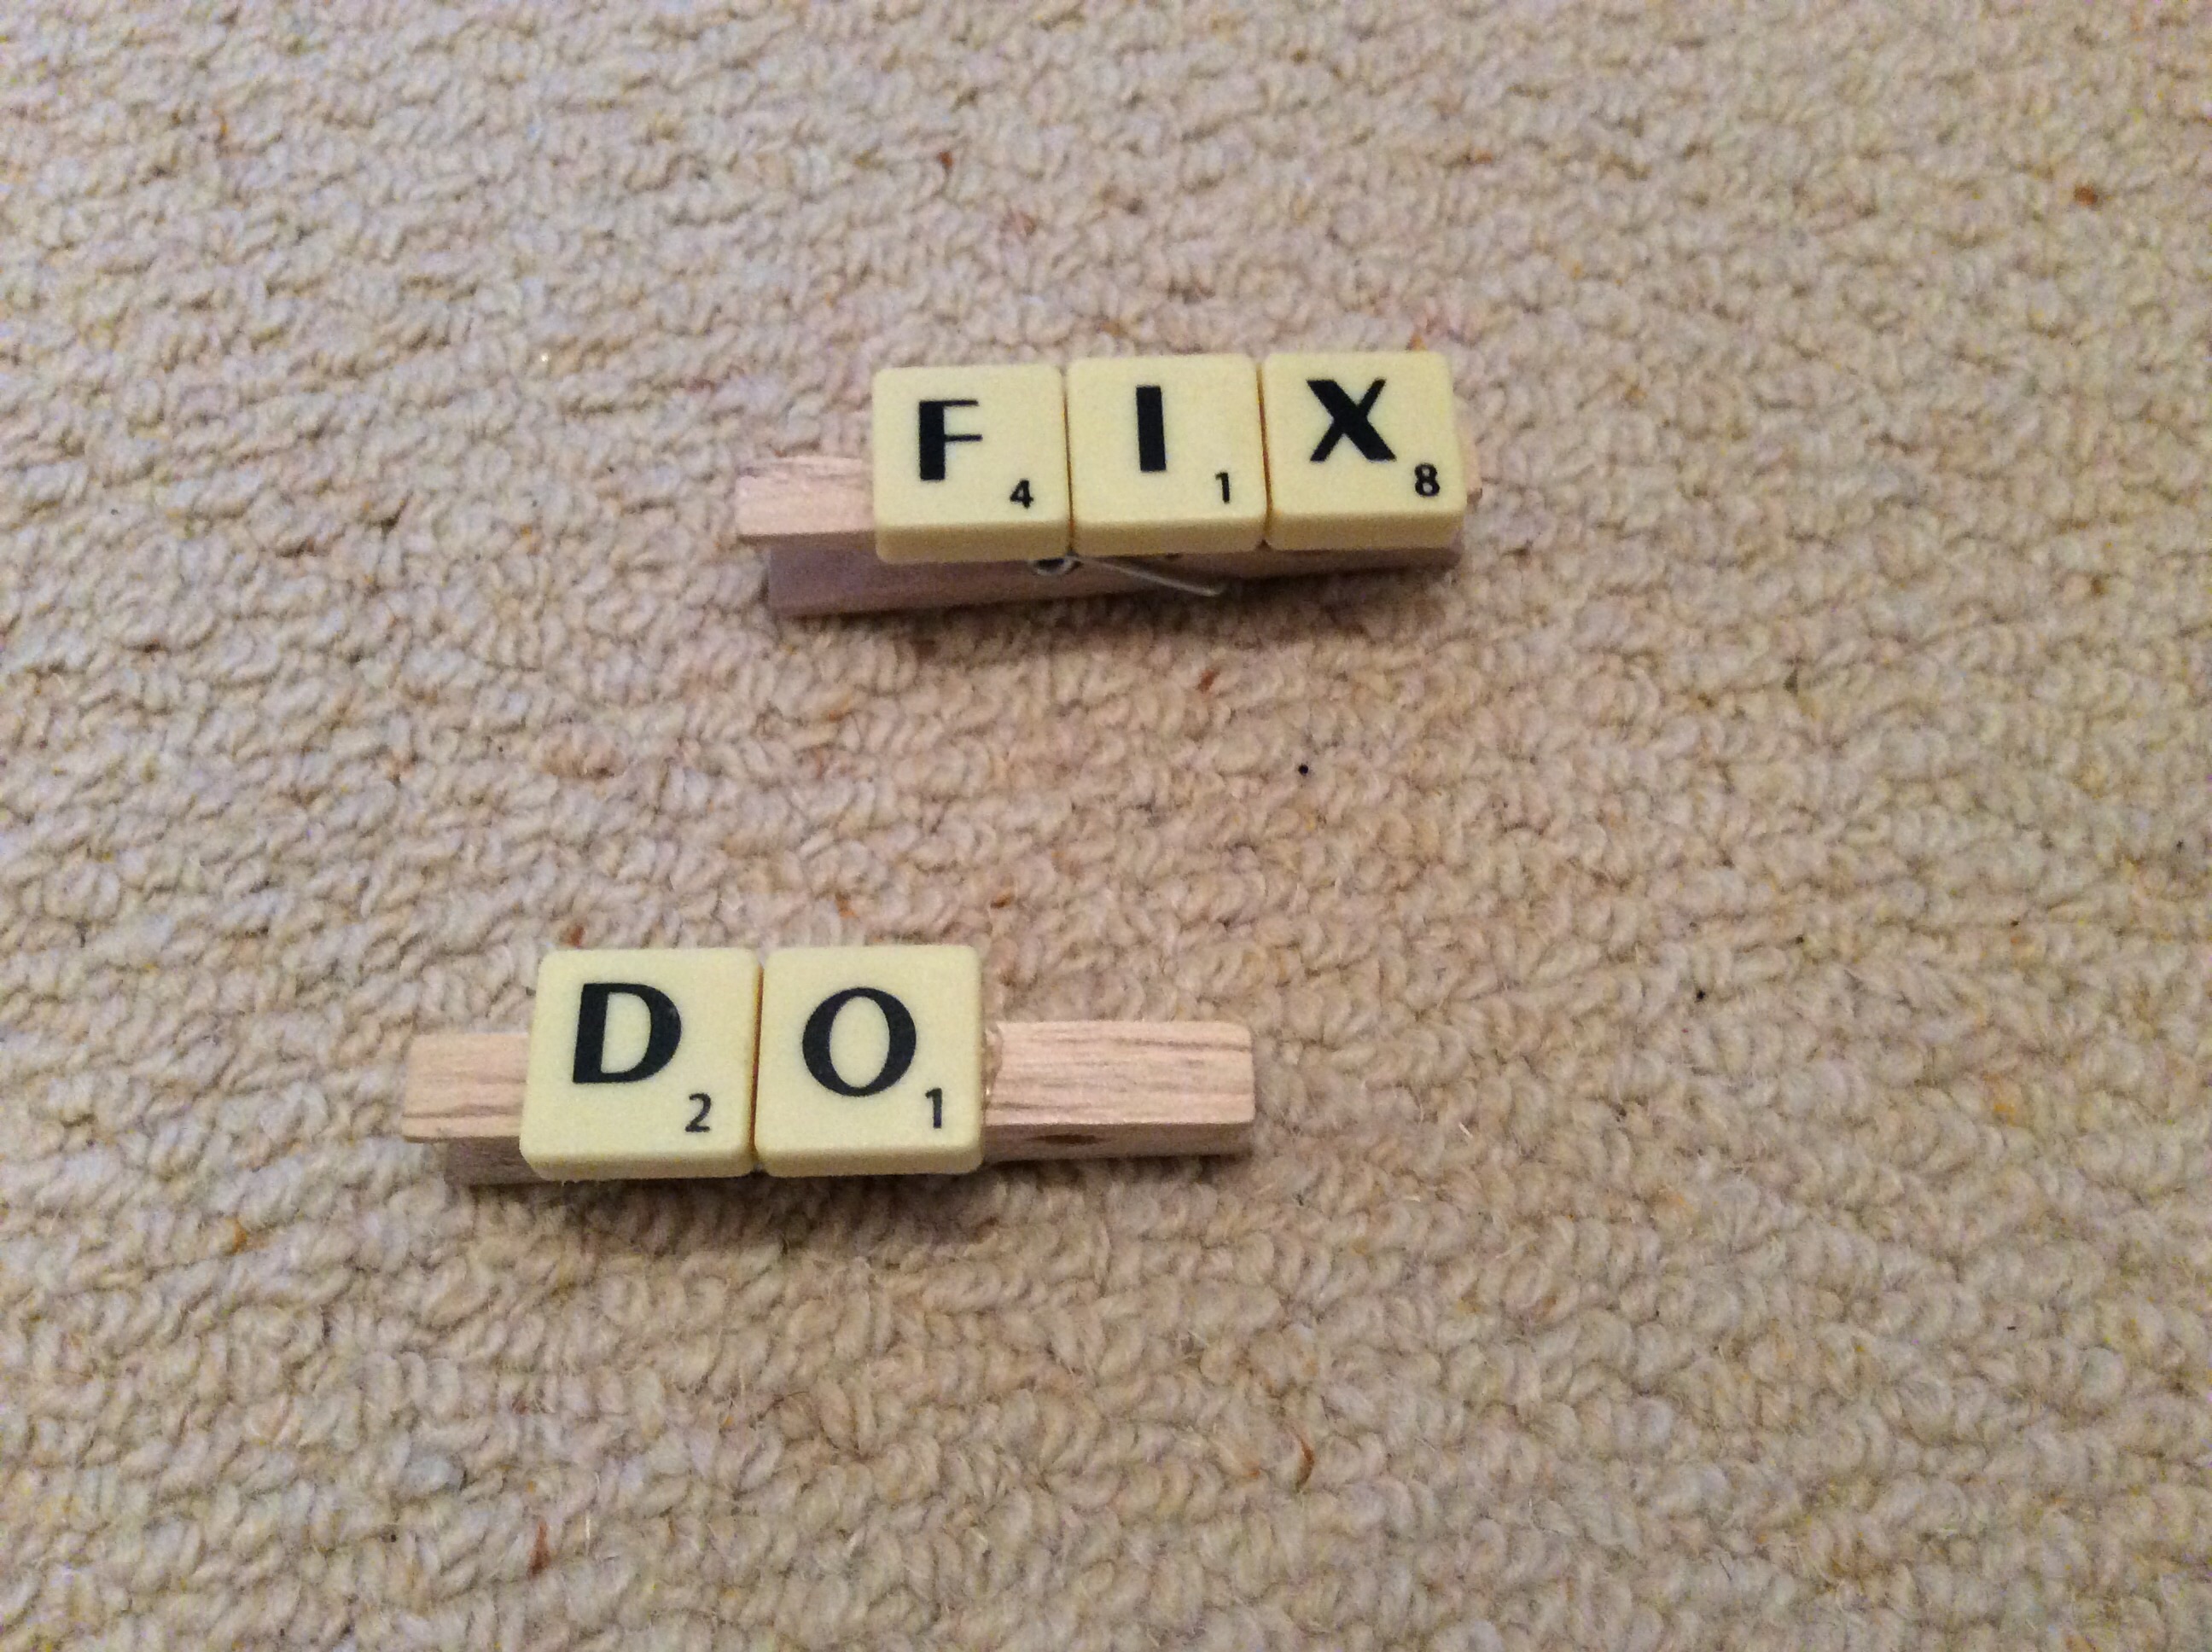
The tidy up continues… this time the remains of a bag of scrabble tiles has been gone through and a few used.

First I hot glued tiles on to clothes pegs. Easy. Then I stuck strips of magnetic sheet on the back of the pegs so they could be fridge magnets. Even better.

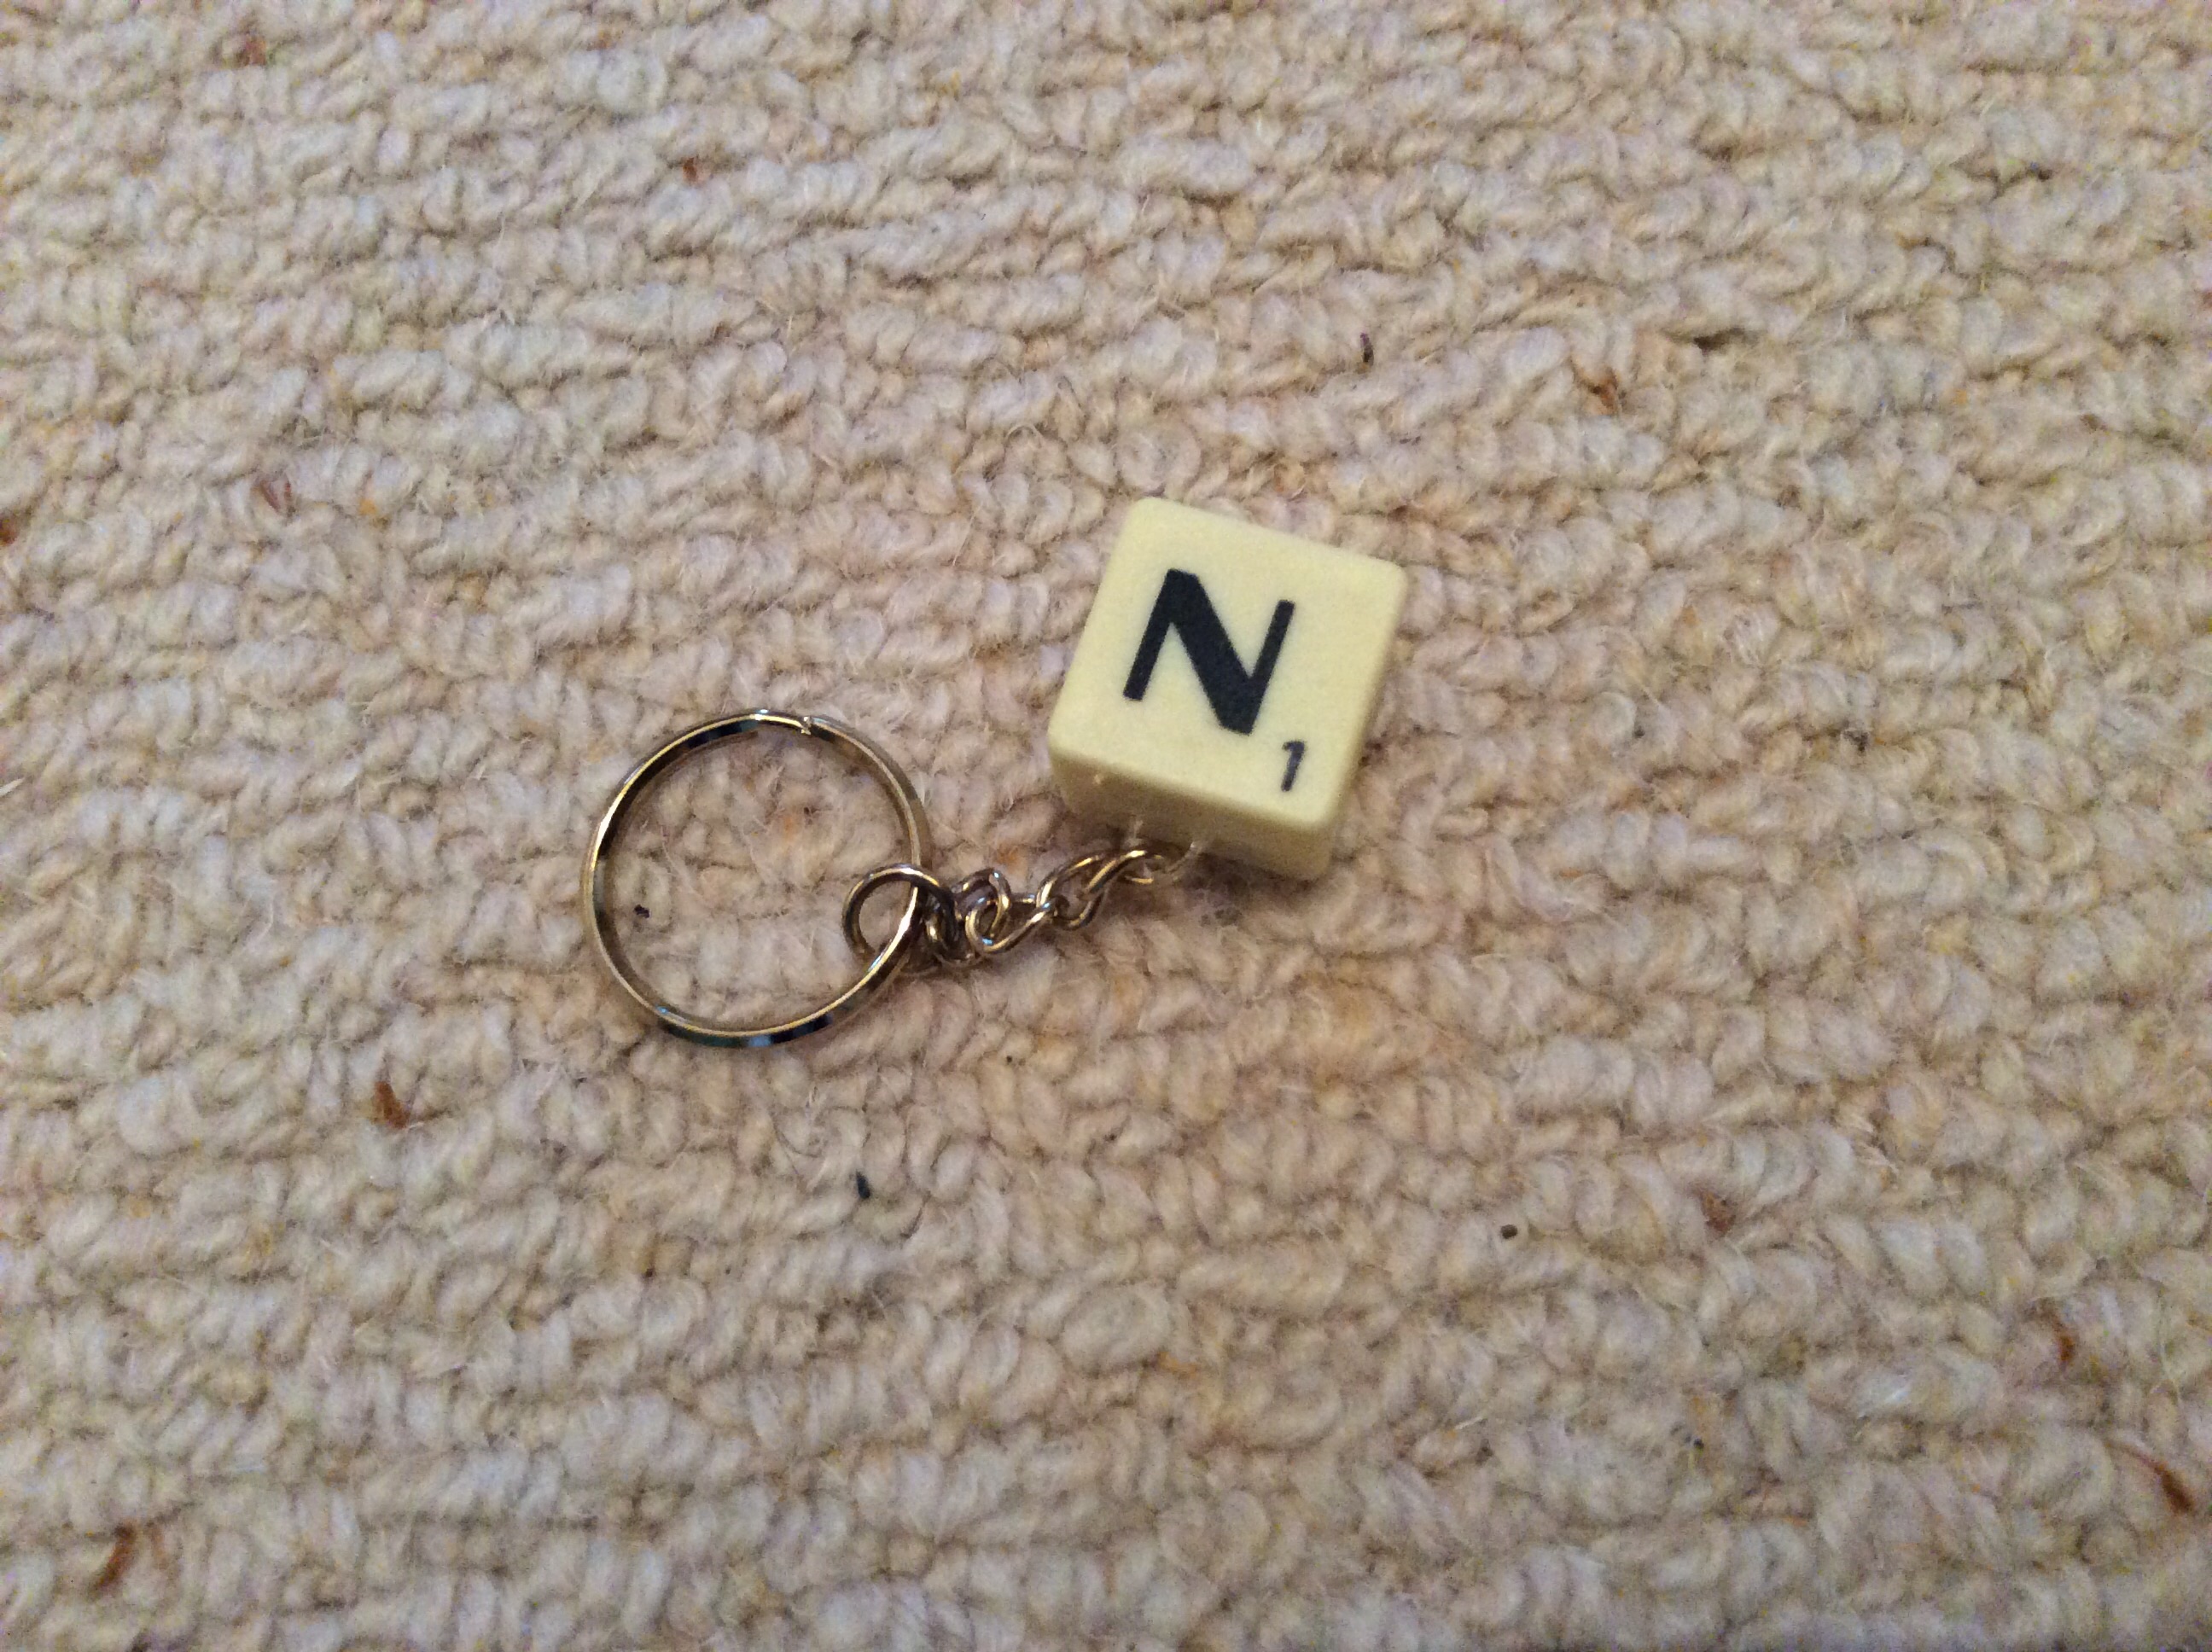
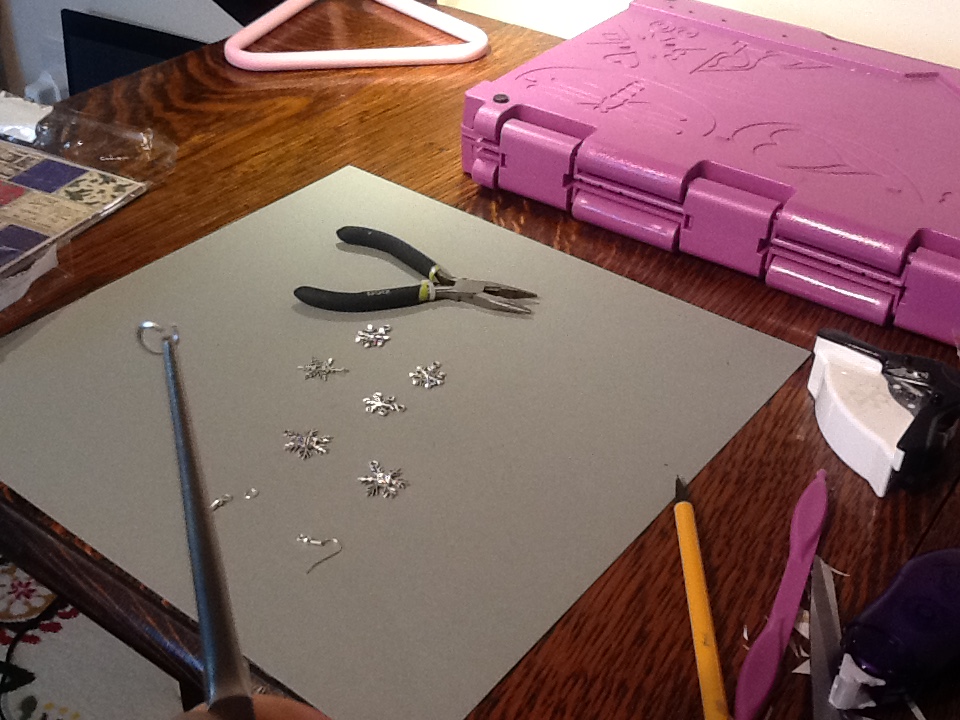
Key rings were salvaged from Christmas crackers pile. I removed the butterfly, plastic ornament with jewellry pliers keeping the chain in tact and threaded stretch elastic from the jewellry making box through the last link in the chain then sandwiched the elastic between pairs of scrabble tiles which were stuck together with jewellry cement to make initial key rings.

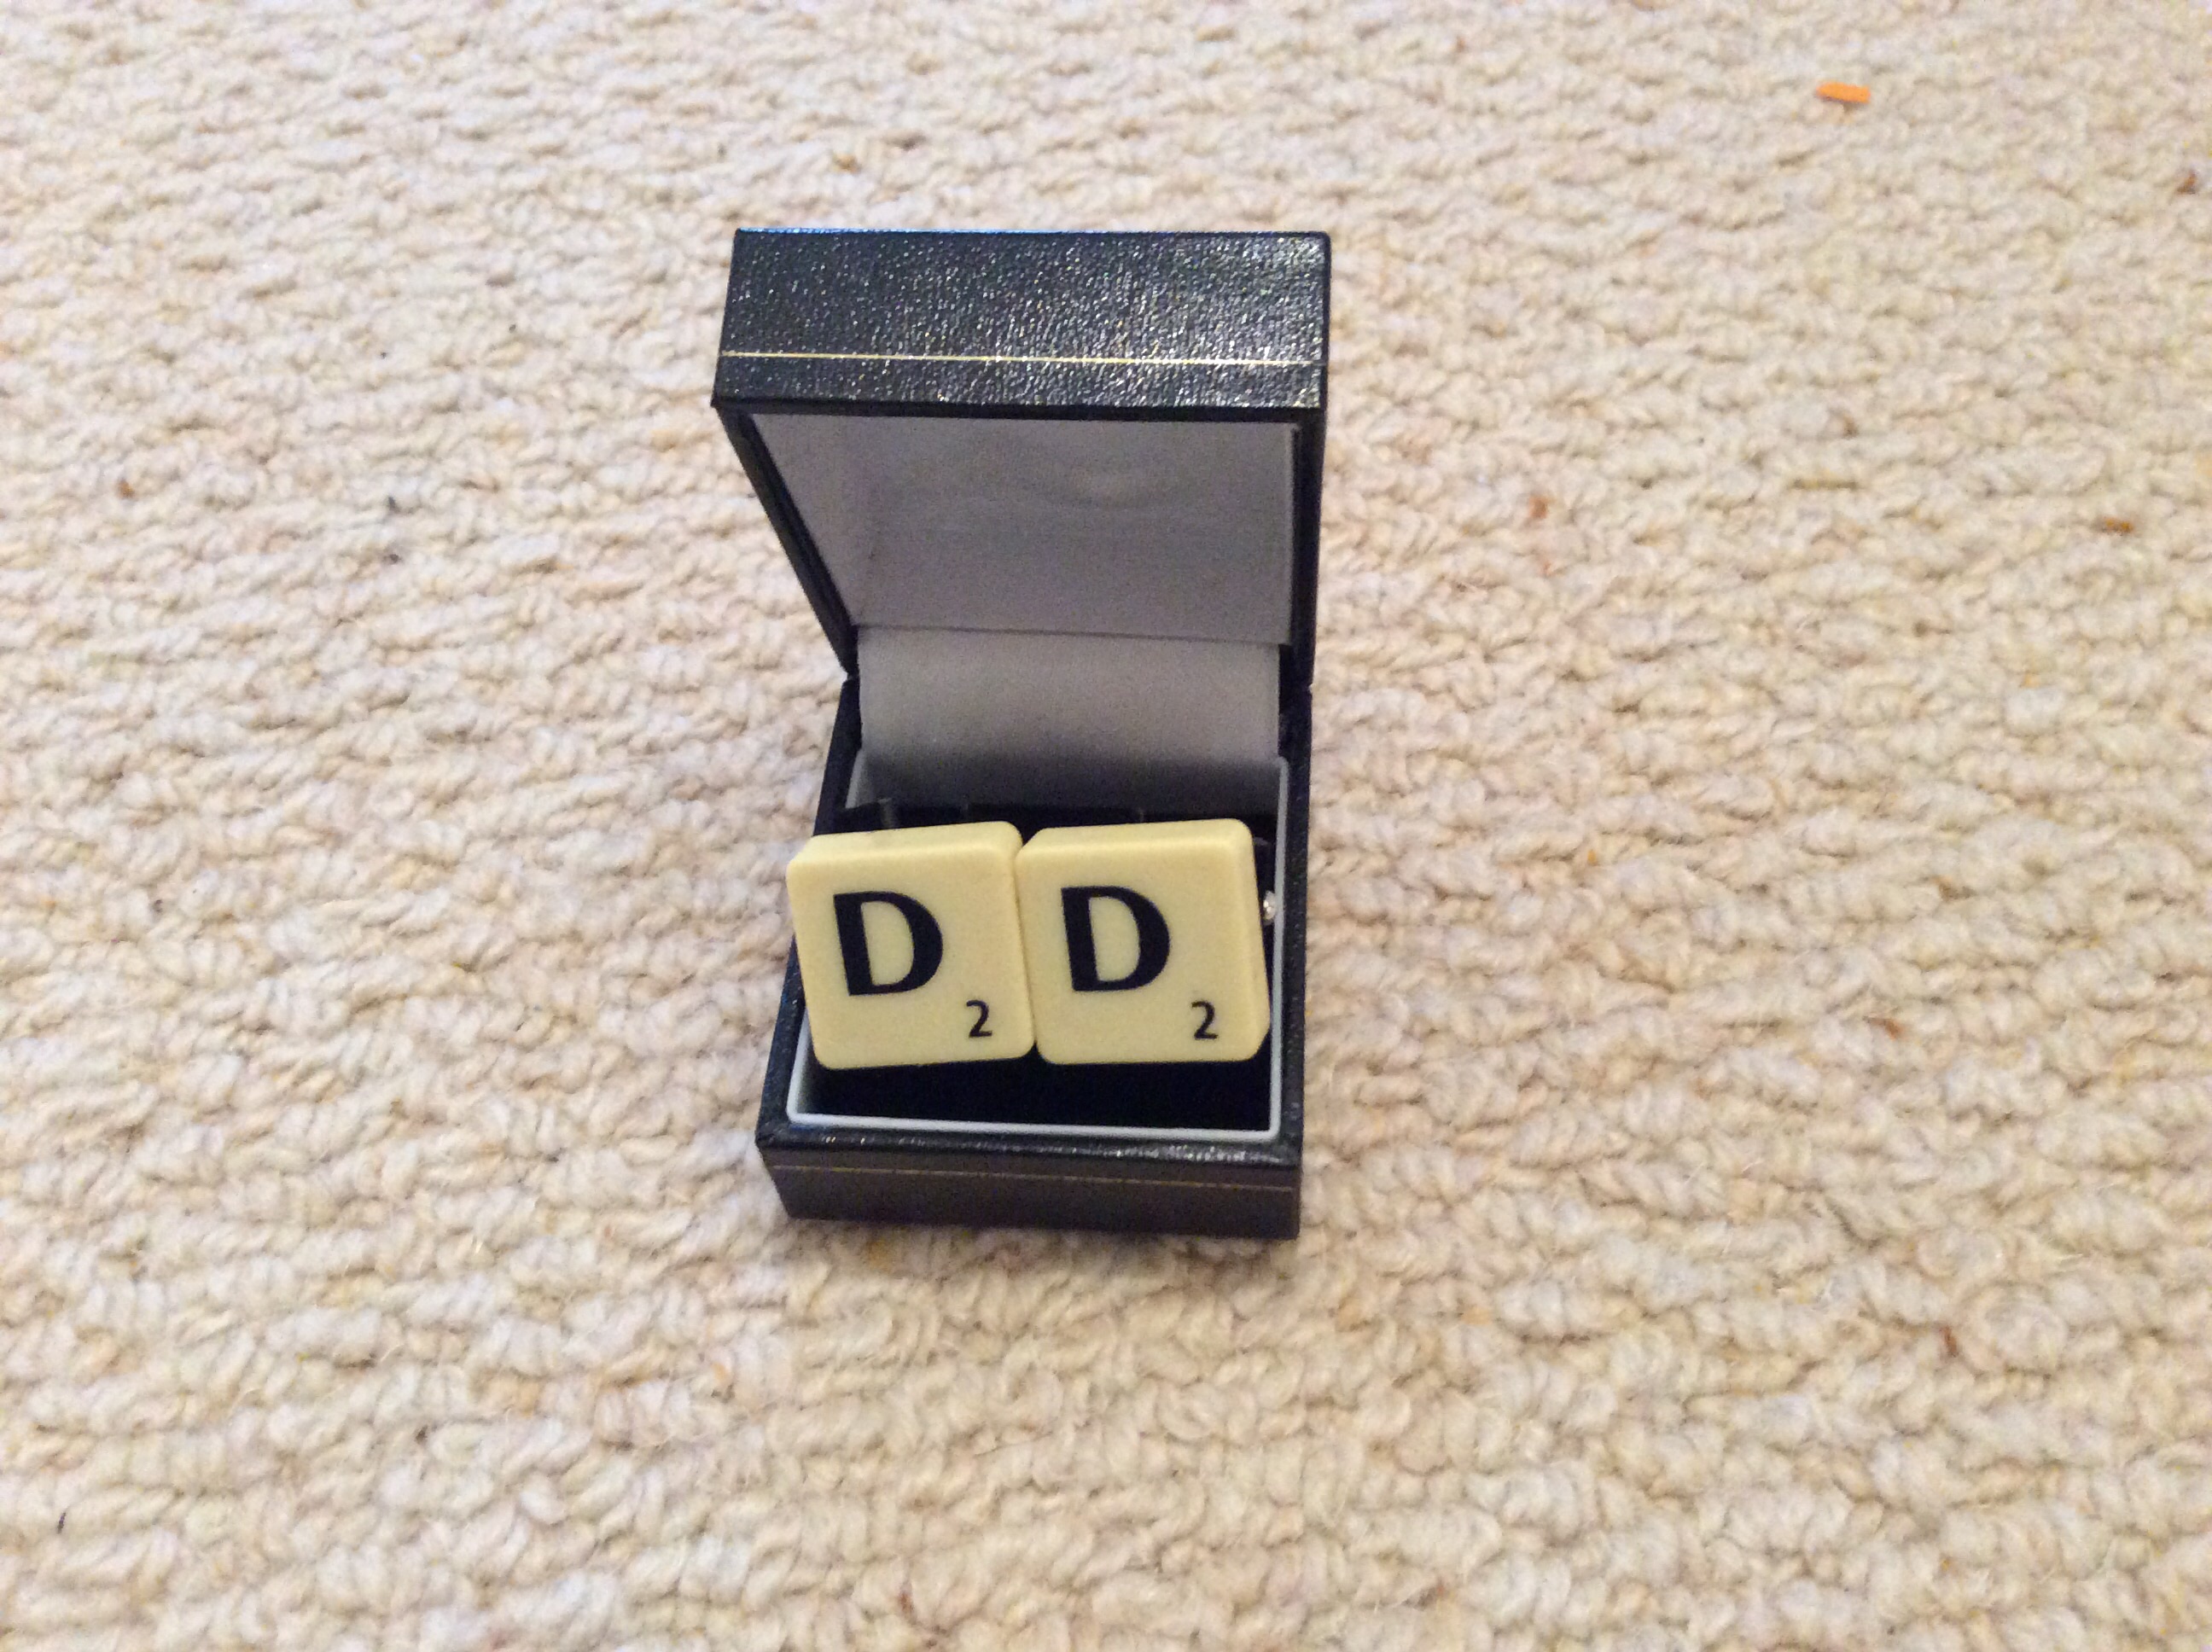
While looking for the jewellry cement I found some cuff link bases in the jewellry making box. As the mount of the cuff link  fitted perfectly inside the scrabble tile it stuck well with jewellry cement and looks really good.

now for ideas to use the remaining tiles… I have the tiles -t-o-p-d-o-g- to hand so suggestions welcome.

Scrap buster card makes

img_0188I have a new year resolution not to buy until the stash is reduced… plus a friend donates a pile of orphan envelopes and ribbon so I start making one off cards.  I have tried to use new techniques, such as heat embossing on vellum – which is beautiful – and take the embellishments a step further as with the sequins stuck on glitter card

img_0189img_0187


Sour cream pouch, quick wrap idea

image image

I love this papermania owl folk paper kit and used a sheet to wrap some beauty treats using the pouch method.

place double sided tape along the west  side of a rectangle of paper.  (Plain side facing up . Roll the east side over so that you form a tube with the pattern side sticking to the tape. Burnish the taped seam so it sticks well

flatten the tube lightly  with the seam roughly mid way along the back and tape inside the southern (bottom) edge to make an open top packet. Pop in your goodies leaving plenty of space at the open top.

Now push the east and west sides together and staple or hole punch them together to form a wedge shaped pouch.

I added a flap of contrast paper which I trimmed with decorative edged scissors and hole punched then laced some ribbon through. A tag from the kit was added and then a brush of ‘wink of Stella ‘ for sparkle and some liquid pearls finished it off.


Cache-pot

img_0184

A quick fix for an awkward size plastic pot

quality paper cut to form a tube to fit snugly around the plastic pot (if you want to taper the tube see glass lampshade post from this time last year for cutting angles)

drop tube over plastic so it can be removed for watering but doesn’t gape

cut strips of contrast paper and concertina them before sticking the folds to the top of the tube, I overlapped three strips to get all the way round and used quick grabbing liquid glue so I only had to hold the concertina strip in place for a few seconds

a final strip was cut in half lengthways with decorative scissors and taped to the bottom of the pot

Gel candles experiment

img_0181

I found a kit in a charity shop so had a go using some old spare glasses

start by dissolving a little gel in a saucepan then soaking the wick, cut to an inch or so longer than the depth of your chosen glass,  in the gel then let it dry on some paper towel

fix one end of the wick to the base of the glass with a little blu tak or plasticine, have to hand a skewer or matchstick long enough to balance across the centre of the glass later

dissolve more gel in the same pan, you can reheat the excess from the priming exercise if it has set by now

carefully pour a little dissolved gel into the glass and swish it around to coat the sides then sprinkle in glitter or sequins of your choice. You can see here my sprinkling was a bit heavy handed

holding the wick upright with one hand pour in some more gel then a little more glitter and repeat until the glass is nearly full. I used too much glitter on the topping up stage which gave a layer effect I hadn’t intended

now balance the skewer across the rim of the glass and drape the excess wick over it while the gel sets

once set trim the wick

tip: wash the pan by hand to avoid coating other stuff in the dishwasher with gel

Brown paper packages for christmas

img_0182

I am using brown paper for lots of my wrapping this year with scan n cut embellishments and stamping for most parcels, but these simple sewn packets are a joy to make and look very classy

fold your paper in half then trace the shape you want to end up with one side ( I used a frixion pen in case I needed to erase it but light pencil would do as well).

then choose a decorative stitch to sew around all but one side of your image. I used a white thread here but Am inspired to try lots of threads from the sewing basket now.

I had my walking foot on the machine so nothing slipped but you might want to help the paper through if using a standard foot

trim the paper close to the stitch line to tidy it up (pinking shears would add a good effect, but too much use on paper might not be good for your expensive scissors)

pop in the present then sew up the final side

tip: make the packet larger than the contents or you will struggle to sew the final side closed and don’t want to sew through the contents

if you want to decorate the paper or write on the addressee details you will need to finish it all before you put the gift inside

some people keep old machine needles for their paper projects, I will just dispose of this needle before I start my next fabric project as the paper will blunt it.

Christmas wreath for friends with pets

img_0183

A bonio bonus as we now have a dog and have many friends with dogs that we want to include in Christmas fun.

I cut the hoop form from cardboard packaging using a dinner plate as a guide for the outside and a side plate for the inside of the ring then wrapped long strips of fabric round and round to cover the cardboard.

I then took bias binding, (this one is of the same as the base fabric) and left a long tail before wrapping the rawhide bones firmly in place around the wreath. Once all the way back to the beginning of the circle, I tied a knot with the beginning tail and then made a hanging loop with the spare length of binding.

later versions use more colourful tape on hessian backing and different types of treats are bound in but all were made without glue, string or embellishments just in case the dogs get unsupervised access to the wreath.


snowflake charm earrings in an envelobox

img_0563A project to present simple earrings made from snowflake charms in a cute little envelobox.img_0562


materials- bag of snowflake charms (Amazon 50 mixed charms), jump rings, earring wires, square of patterned paper, glue , tissue paper and raffia

equipment – jewellry pliers, crafters companion ultimate pro or score board

method – make the earrings by opening the jump rings (twist don’t pull) and thread on the charm and ear wire before closing the ring again

To make the envelobox take a square of patterned paper and score it across each corner in parallel lines as shown, cut out the intersection. To save the calculations follow the Crafters’ Companion template. Optional round corner and stick the envelope closed.

img_0560 img_0561

I wrapped the earrings in tissue to given the envelobox some bulk and then tied it with raffia.

Video here;


With thanks

imageWhether it is to say  a big thanks or a little one I like to make simple, happy cards and have a few ready for a variety of recipients

I found theses pennant sentiments printed on the back of a ‘pay per box’ carton when tidying my paper stash and couldn’t bear to waste anything, so four quick cards were created by fussy cutting around the pennants and using saved embellishments, craft card bases and docrafts backing papers.

I have glued white paper inserts inside to make the message easier to write and see.

Miniature maintenance

image

Dusted off and tidied up, the old doll’s house needed some tlc

my range of glues from papercrafting has come in useful for roof repairs and some of the papers from stash will be used to repaper the walls but nearly there

now to sell some surplus supplies on eBay and add a few bits of furniture to my Christmas wish list …

an easy one to make a new roof for the Noah’s ark. Wonder if the dog ate it?image