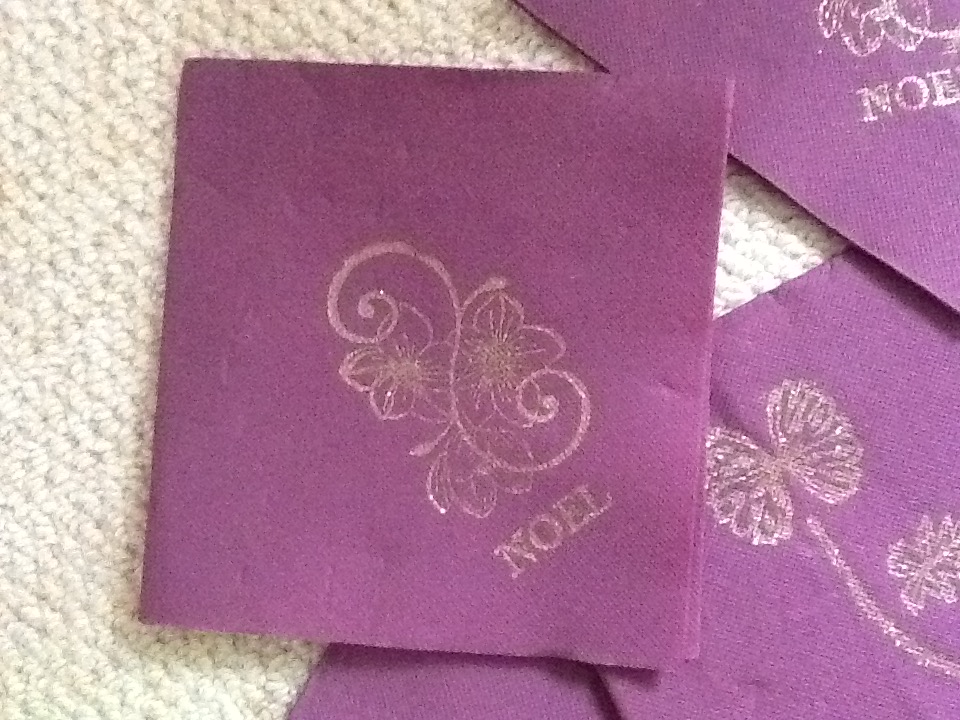
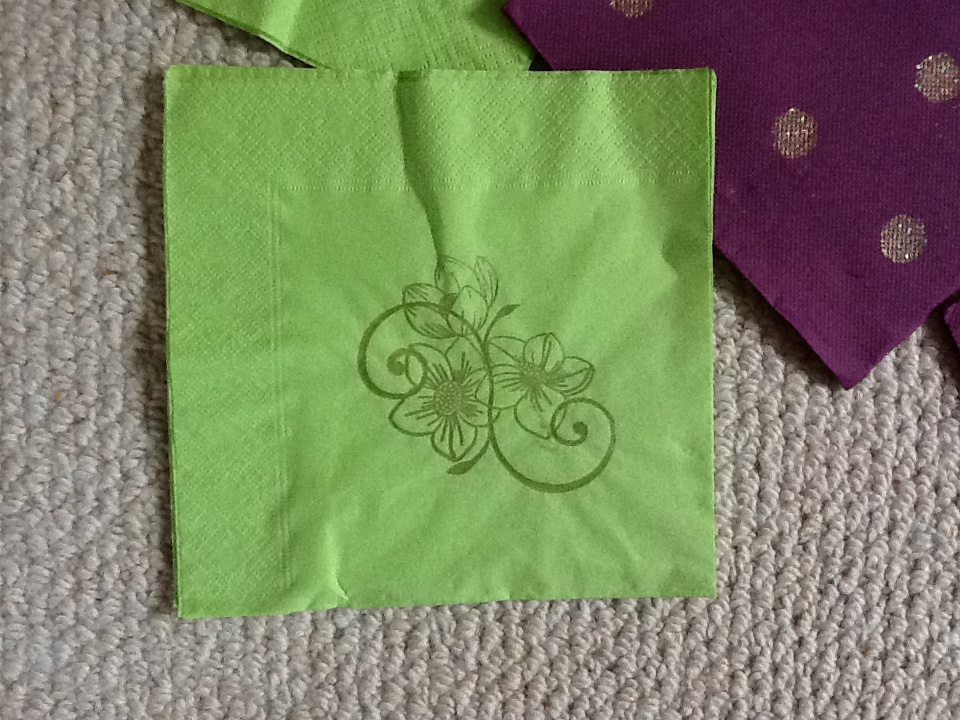
Why didn’t I know about this when I first got my embossing stuff, instant success using stuff I already have!
deviating from a Halloween project (where I discovered that only white embossed well on black paper) here is the first of my Christmas creations


 ,
,
How to: Line up three napkins at a time on a firm surface, apply versamark watermark glue (comes in a stamp pad or pen) to your chosen stamp then stamp on the napkins. Sprinkle with embossing powder, then return the excess powder to the pot before using a heat gun to ‘turn’ the powder to its embossed effect. That’s it. You’re done.
Now to order some large alphabet stamps so I can do name and initial versions as name plates. Will also do some research on folding paper napkins to show off corner embossing to best effect.
49.465691
-2.585278

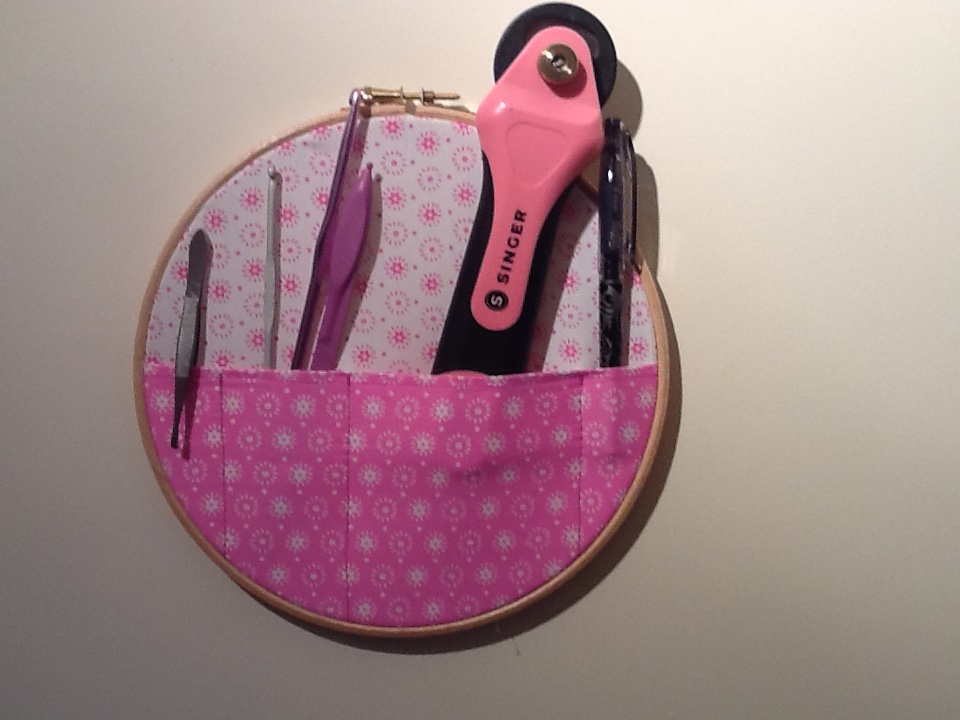
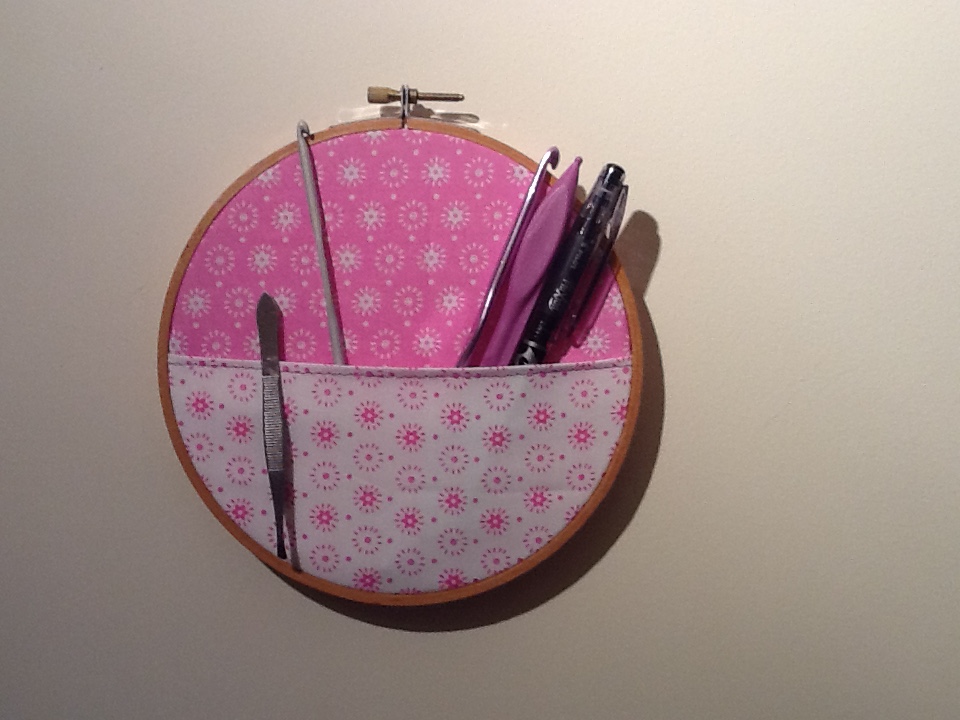
 By pinning the centres of two proportionate rectangles and carefully marked boxes in the corners of my top fabric, it worked!
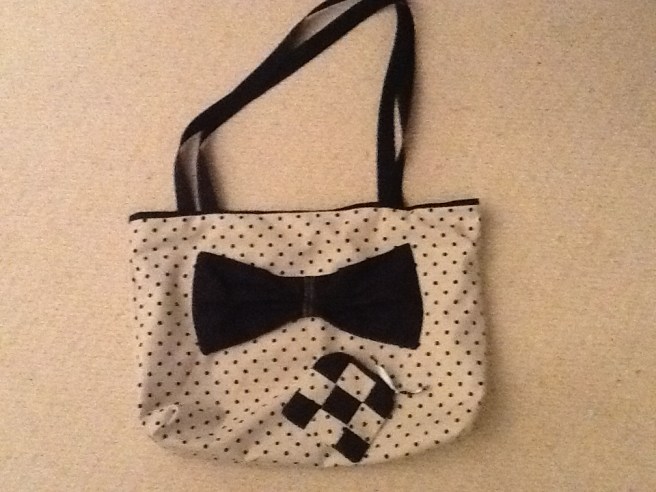 a simple tote with webbing for handles, interfaced and lined with a pocket inside and a decorative bow on the front – thanks to Debbie Shore videos for techniques