No logo fleece

image

Covering a logo on a dog walking fleece looked a bit odd with just one patch. So I have begun layering on patches in random places to balance up the cover up. Simple blanket stitch and or zig zag to fix on each patch and, yes, the walking foot is essential for this.

an ongoing project I plant to add decorative stitch lines and more patches until it looks ‘right’.

Crazy quilted dust cover

image image

An attack on my scraps bag was needed so I I cut a piece of old tablecloth big enough to cover my scan n cut then crazy quilted scraps all over it. I included a piece of black work – yellow and navy  – embroidery started 20 years ago and added appliqué shapes, scraps of lace and ribbon and then used decorative stitches to tidy up some of the edges. A contrast bias binding finished it off (sewn back to front, whoops).


it may not be fitted and my scrap bag is still full but this useful little addition to my craft room is full of stitching memories, I love it.

Double oven mitts, again from jeans

image imagea freestyle project using ‘jolly molly’ double oven mitts as a template.

layer outer canvas, insulbright, batting, outer canvas and jeans back pockets over the template made from old mitts. Baste around the edge then fix bias binding to seal the edges.

Don’t look too closely at the binding, next time I will hand stitch the second side as I found it tough to stitch in the ditch.

What to do with a fabric samples book?

Ideas please as I have a stack of curtain fabric samples to be used. There just isn’t room in my craft cupboard for all the fabric I am accumulating.

imageProject number one – my failsafe door stop design with sizing adapted to fit the fabric square. Four identical rectaingles and two squares to match the width of the rectangles with a strip folded to make a handle. Method; stitch the rectangles to form four sides of cube, keep it inside out.. Top stitch the folded strip and sew on the top square in place as a handle. Stitch  the top into position in the cube and stitch around most of the base square leaving a gap for turning. After turning fill with cushion poly fill and finish with some gravel or pebbles as weight before hand stitching closed the gap.

Fabric baskets

image image image image
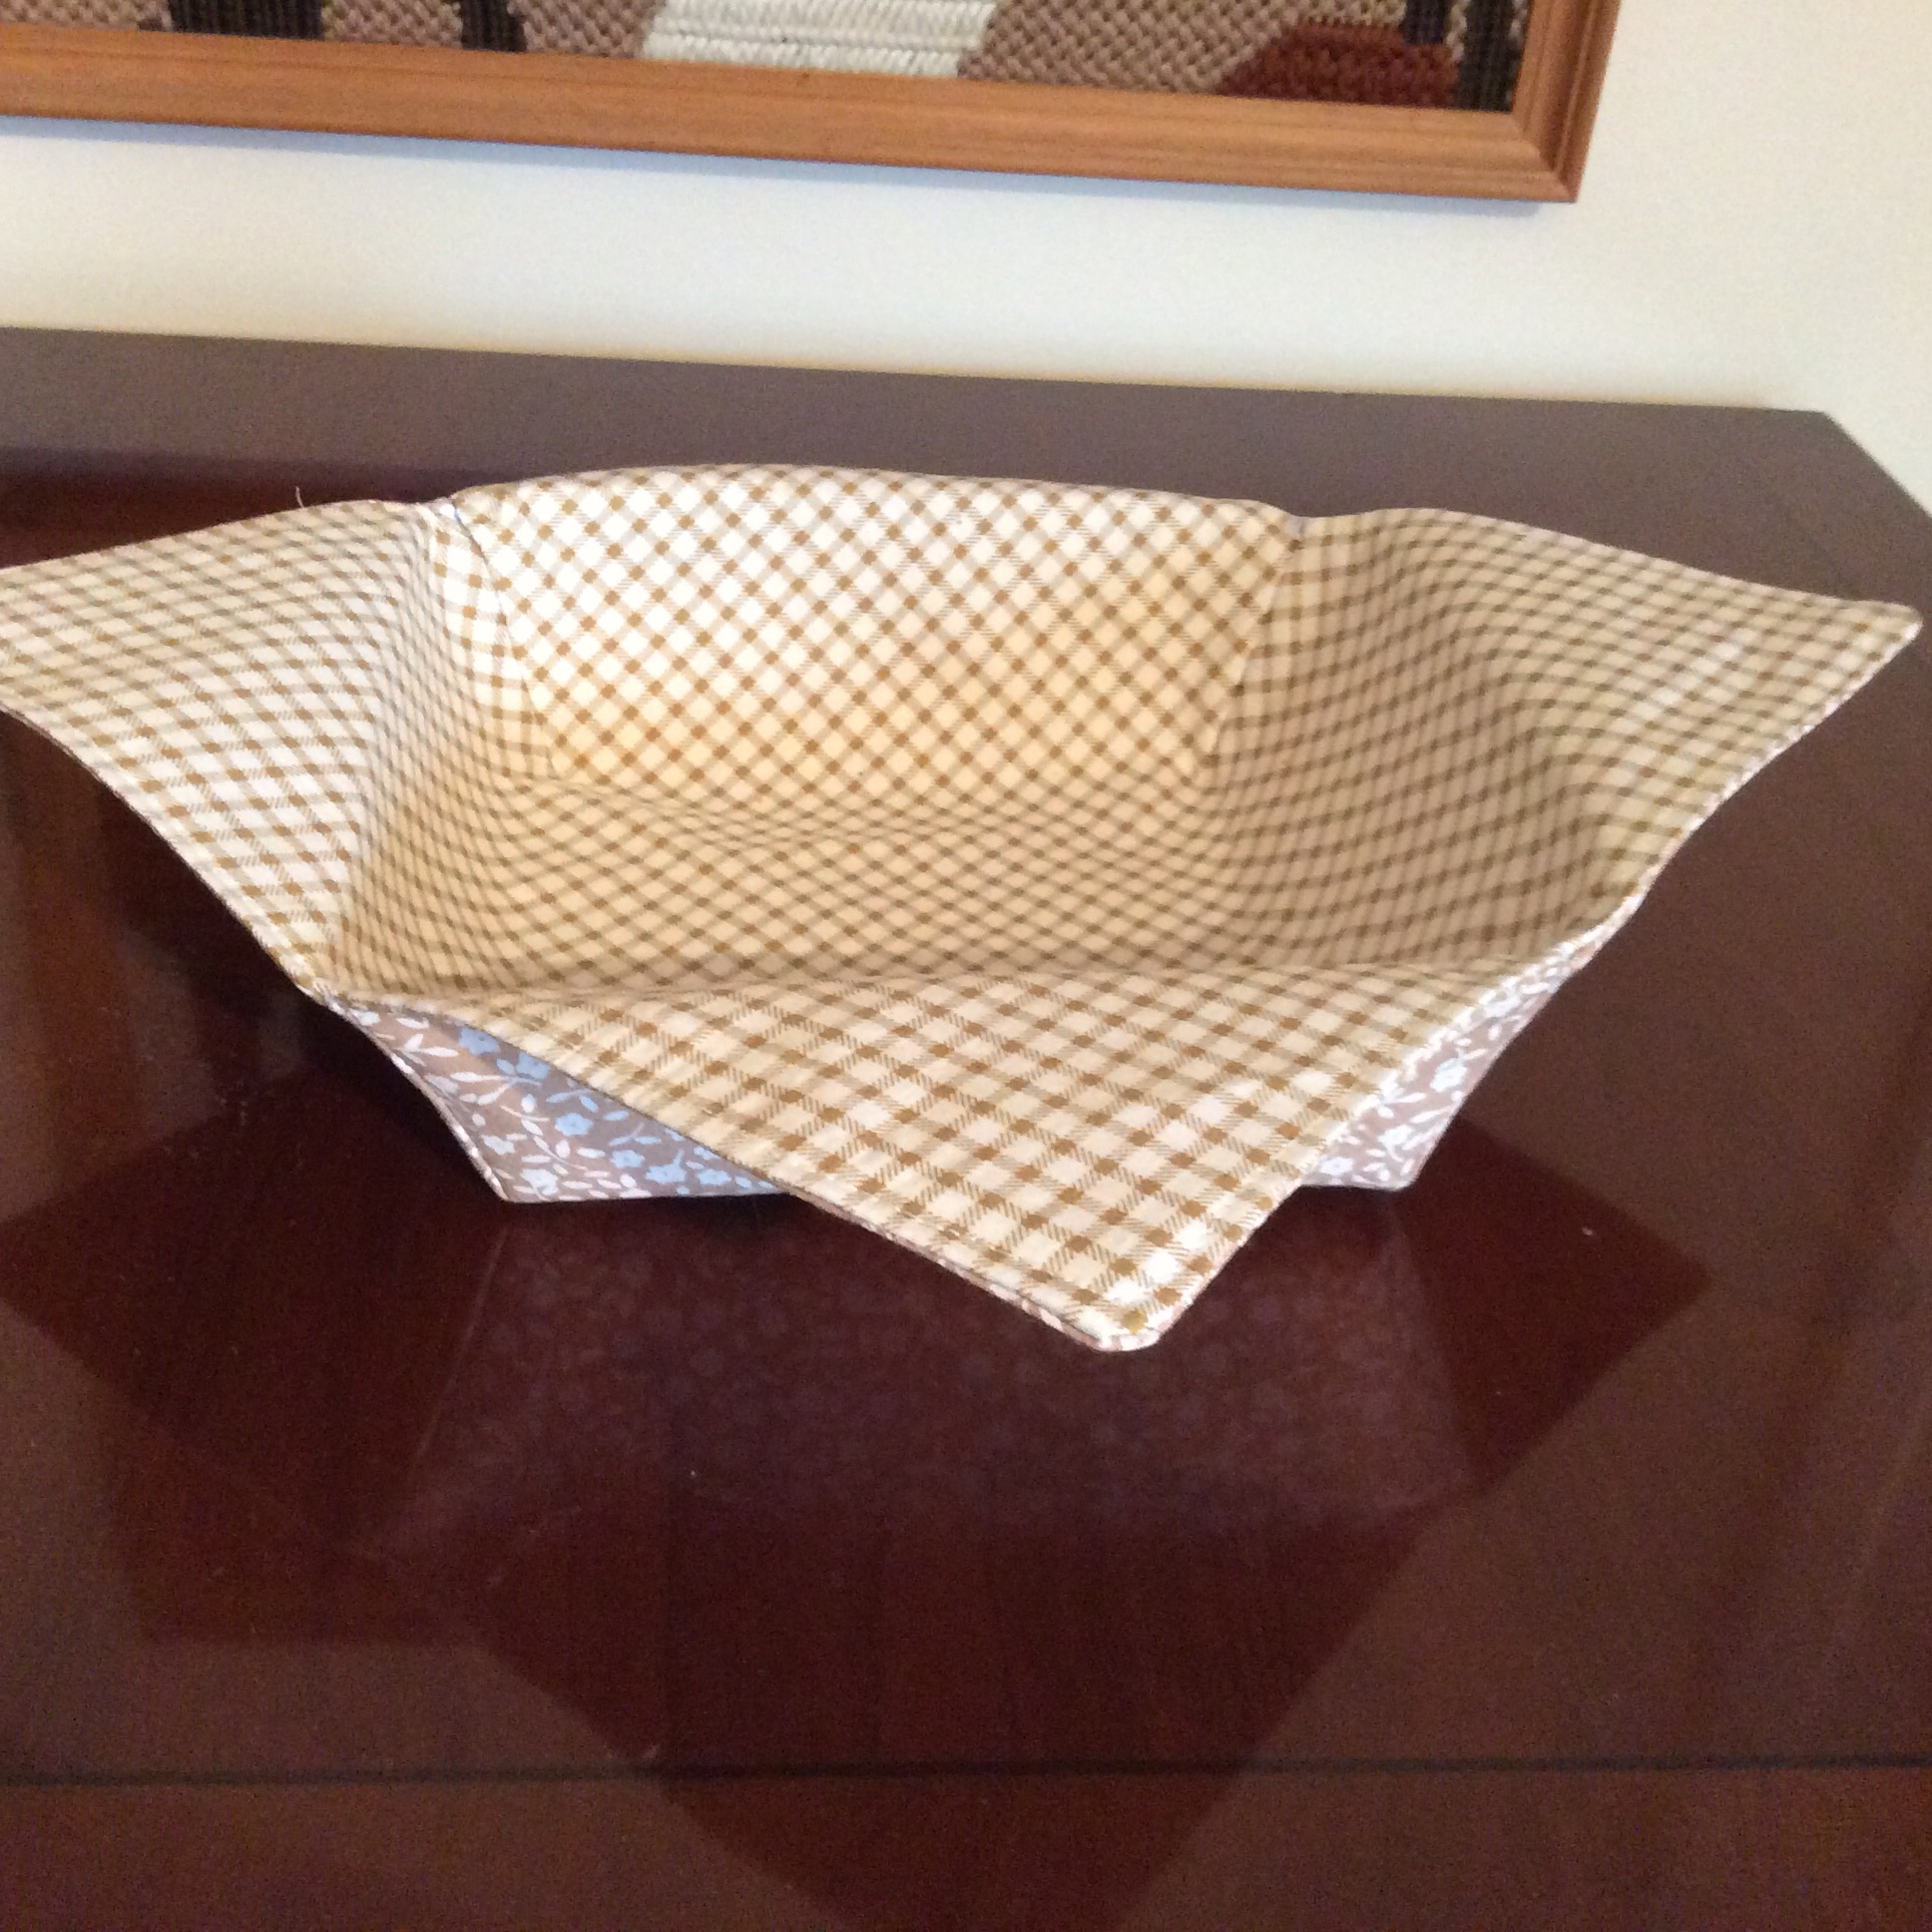
Goal:To replace the tired old bread basket with a home made version.

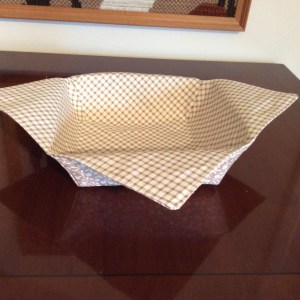
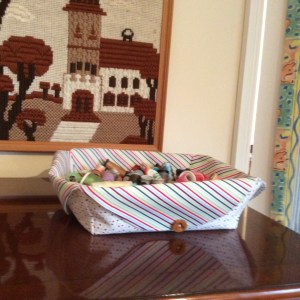
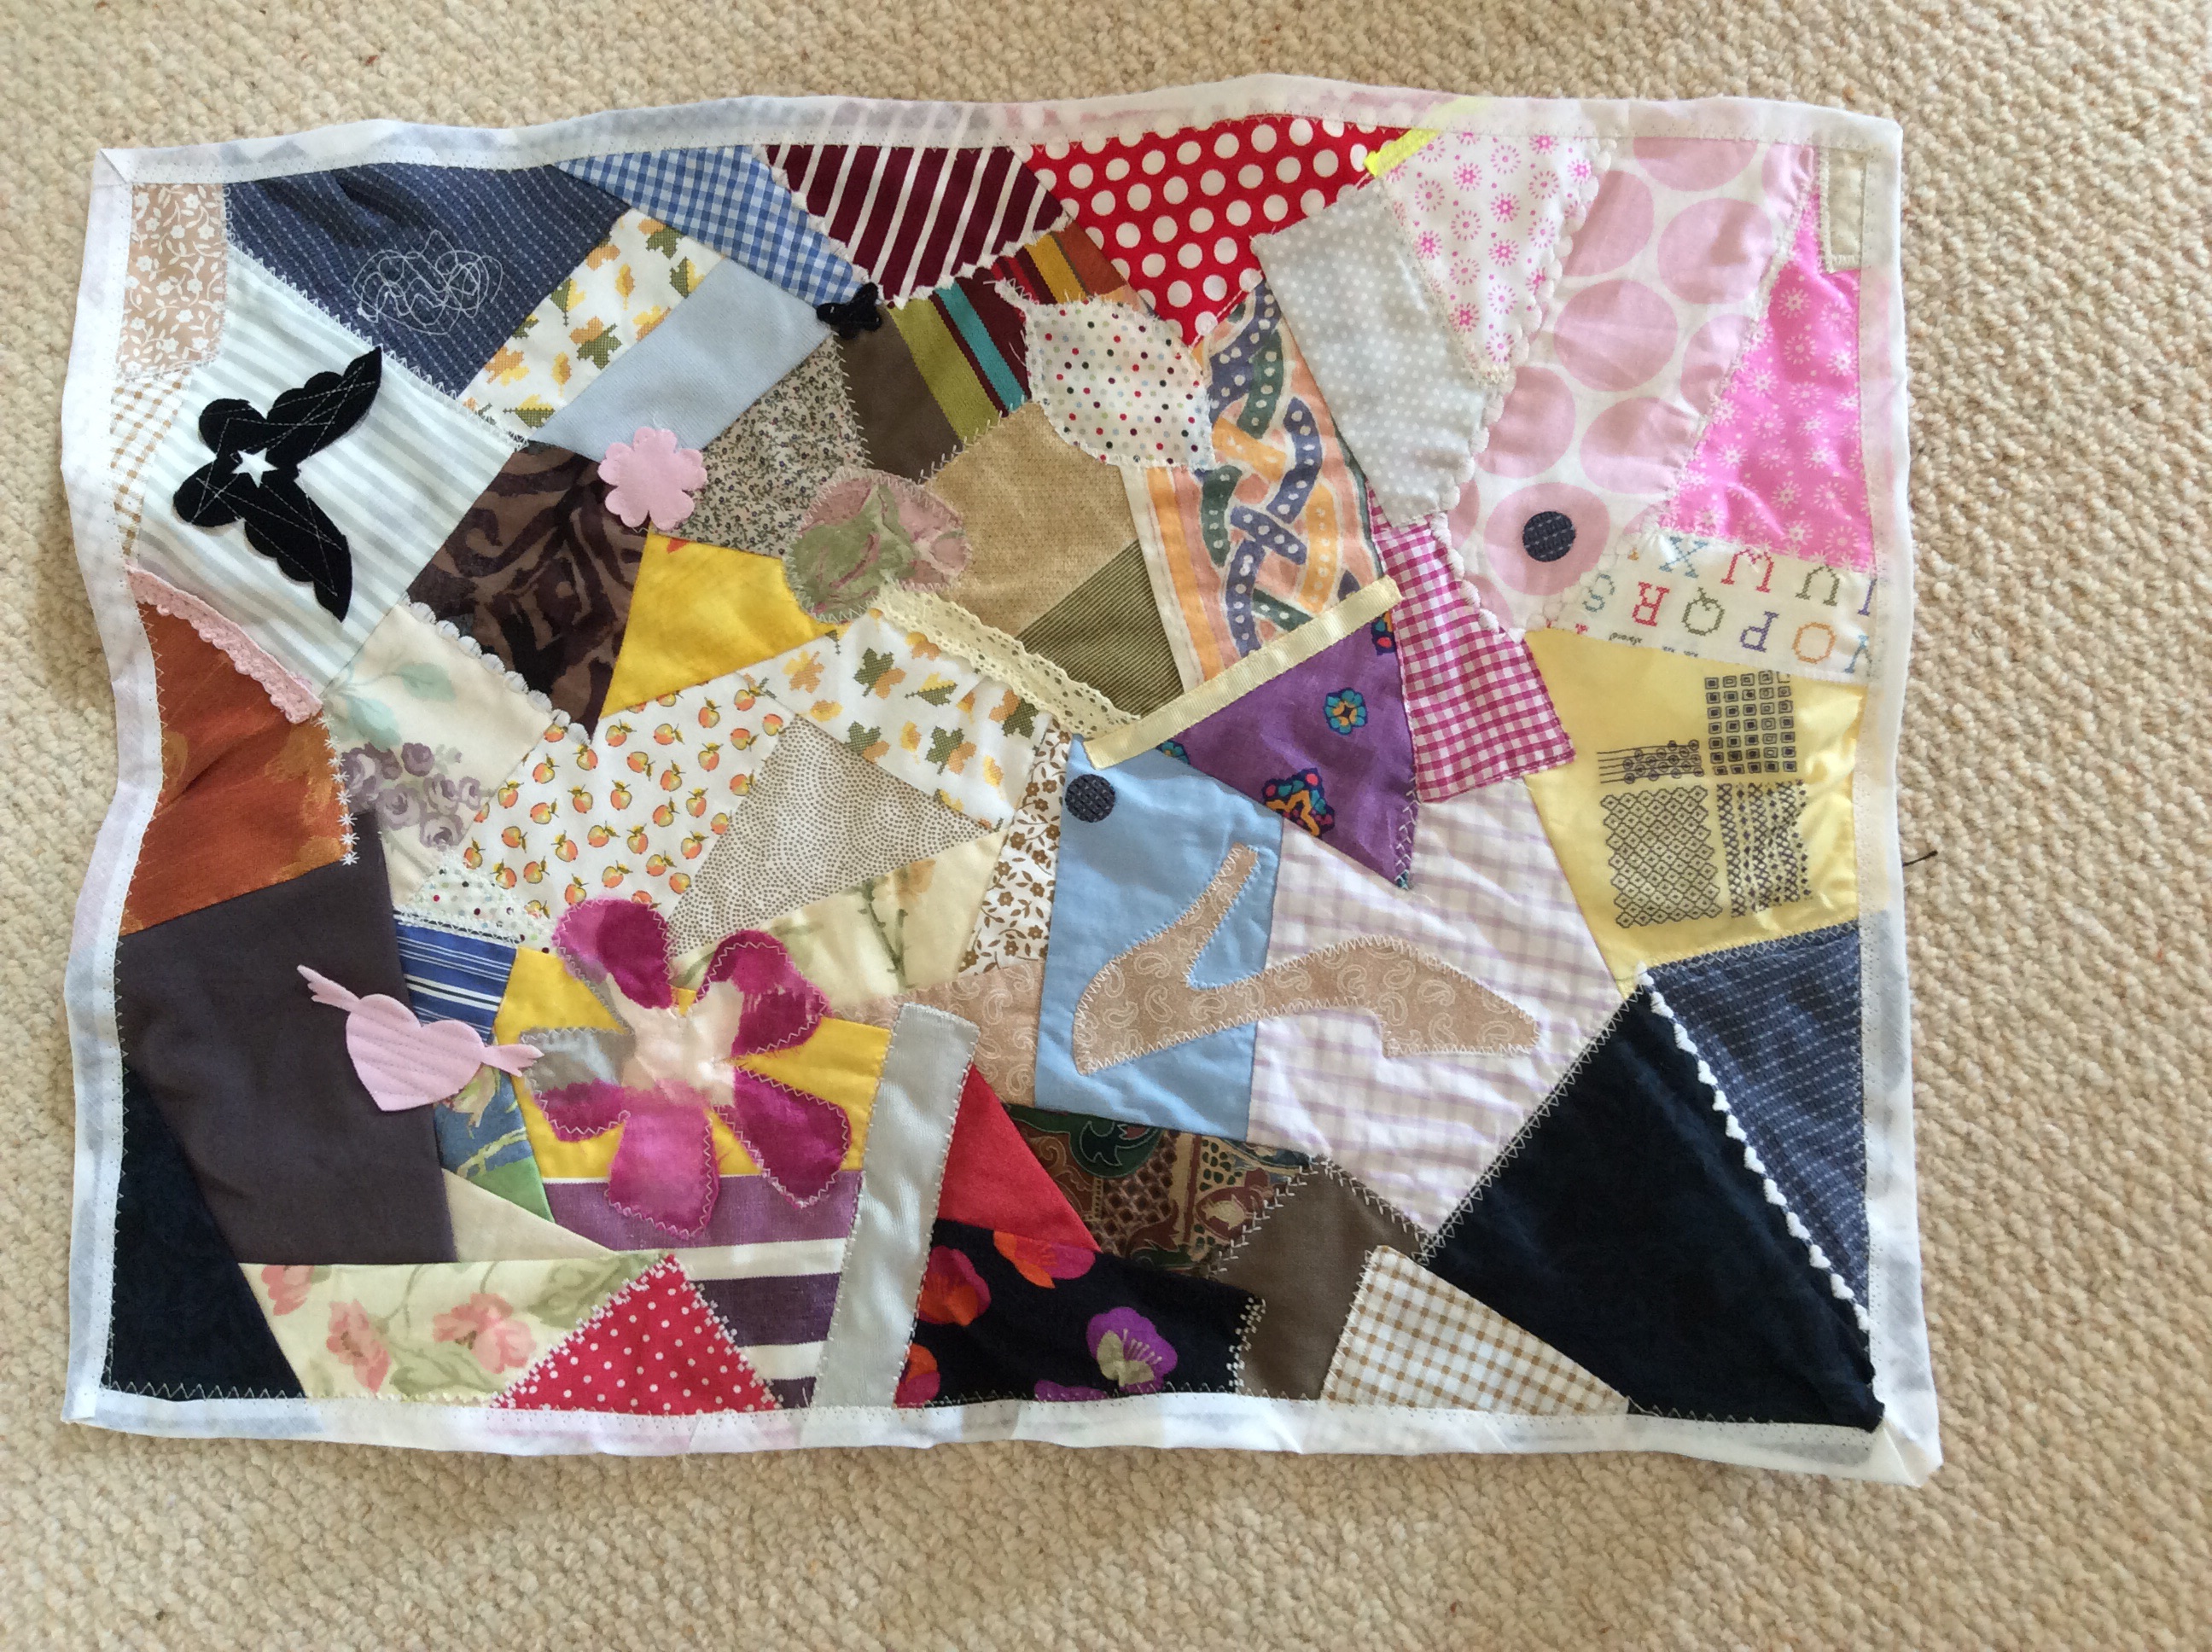
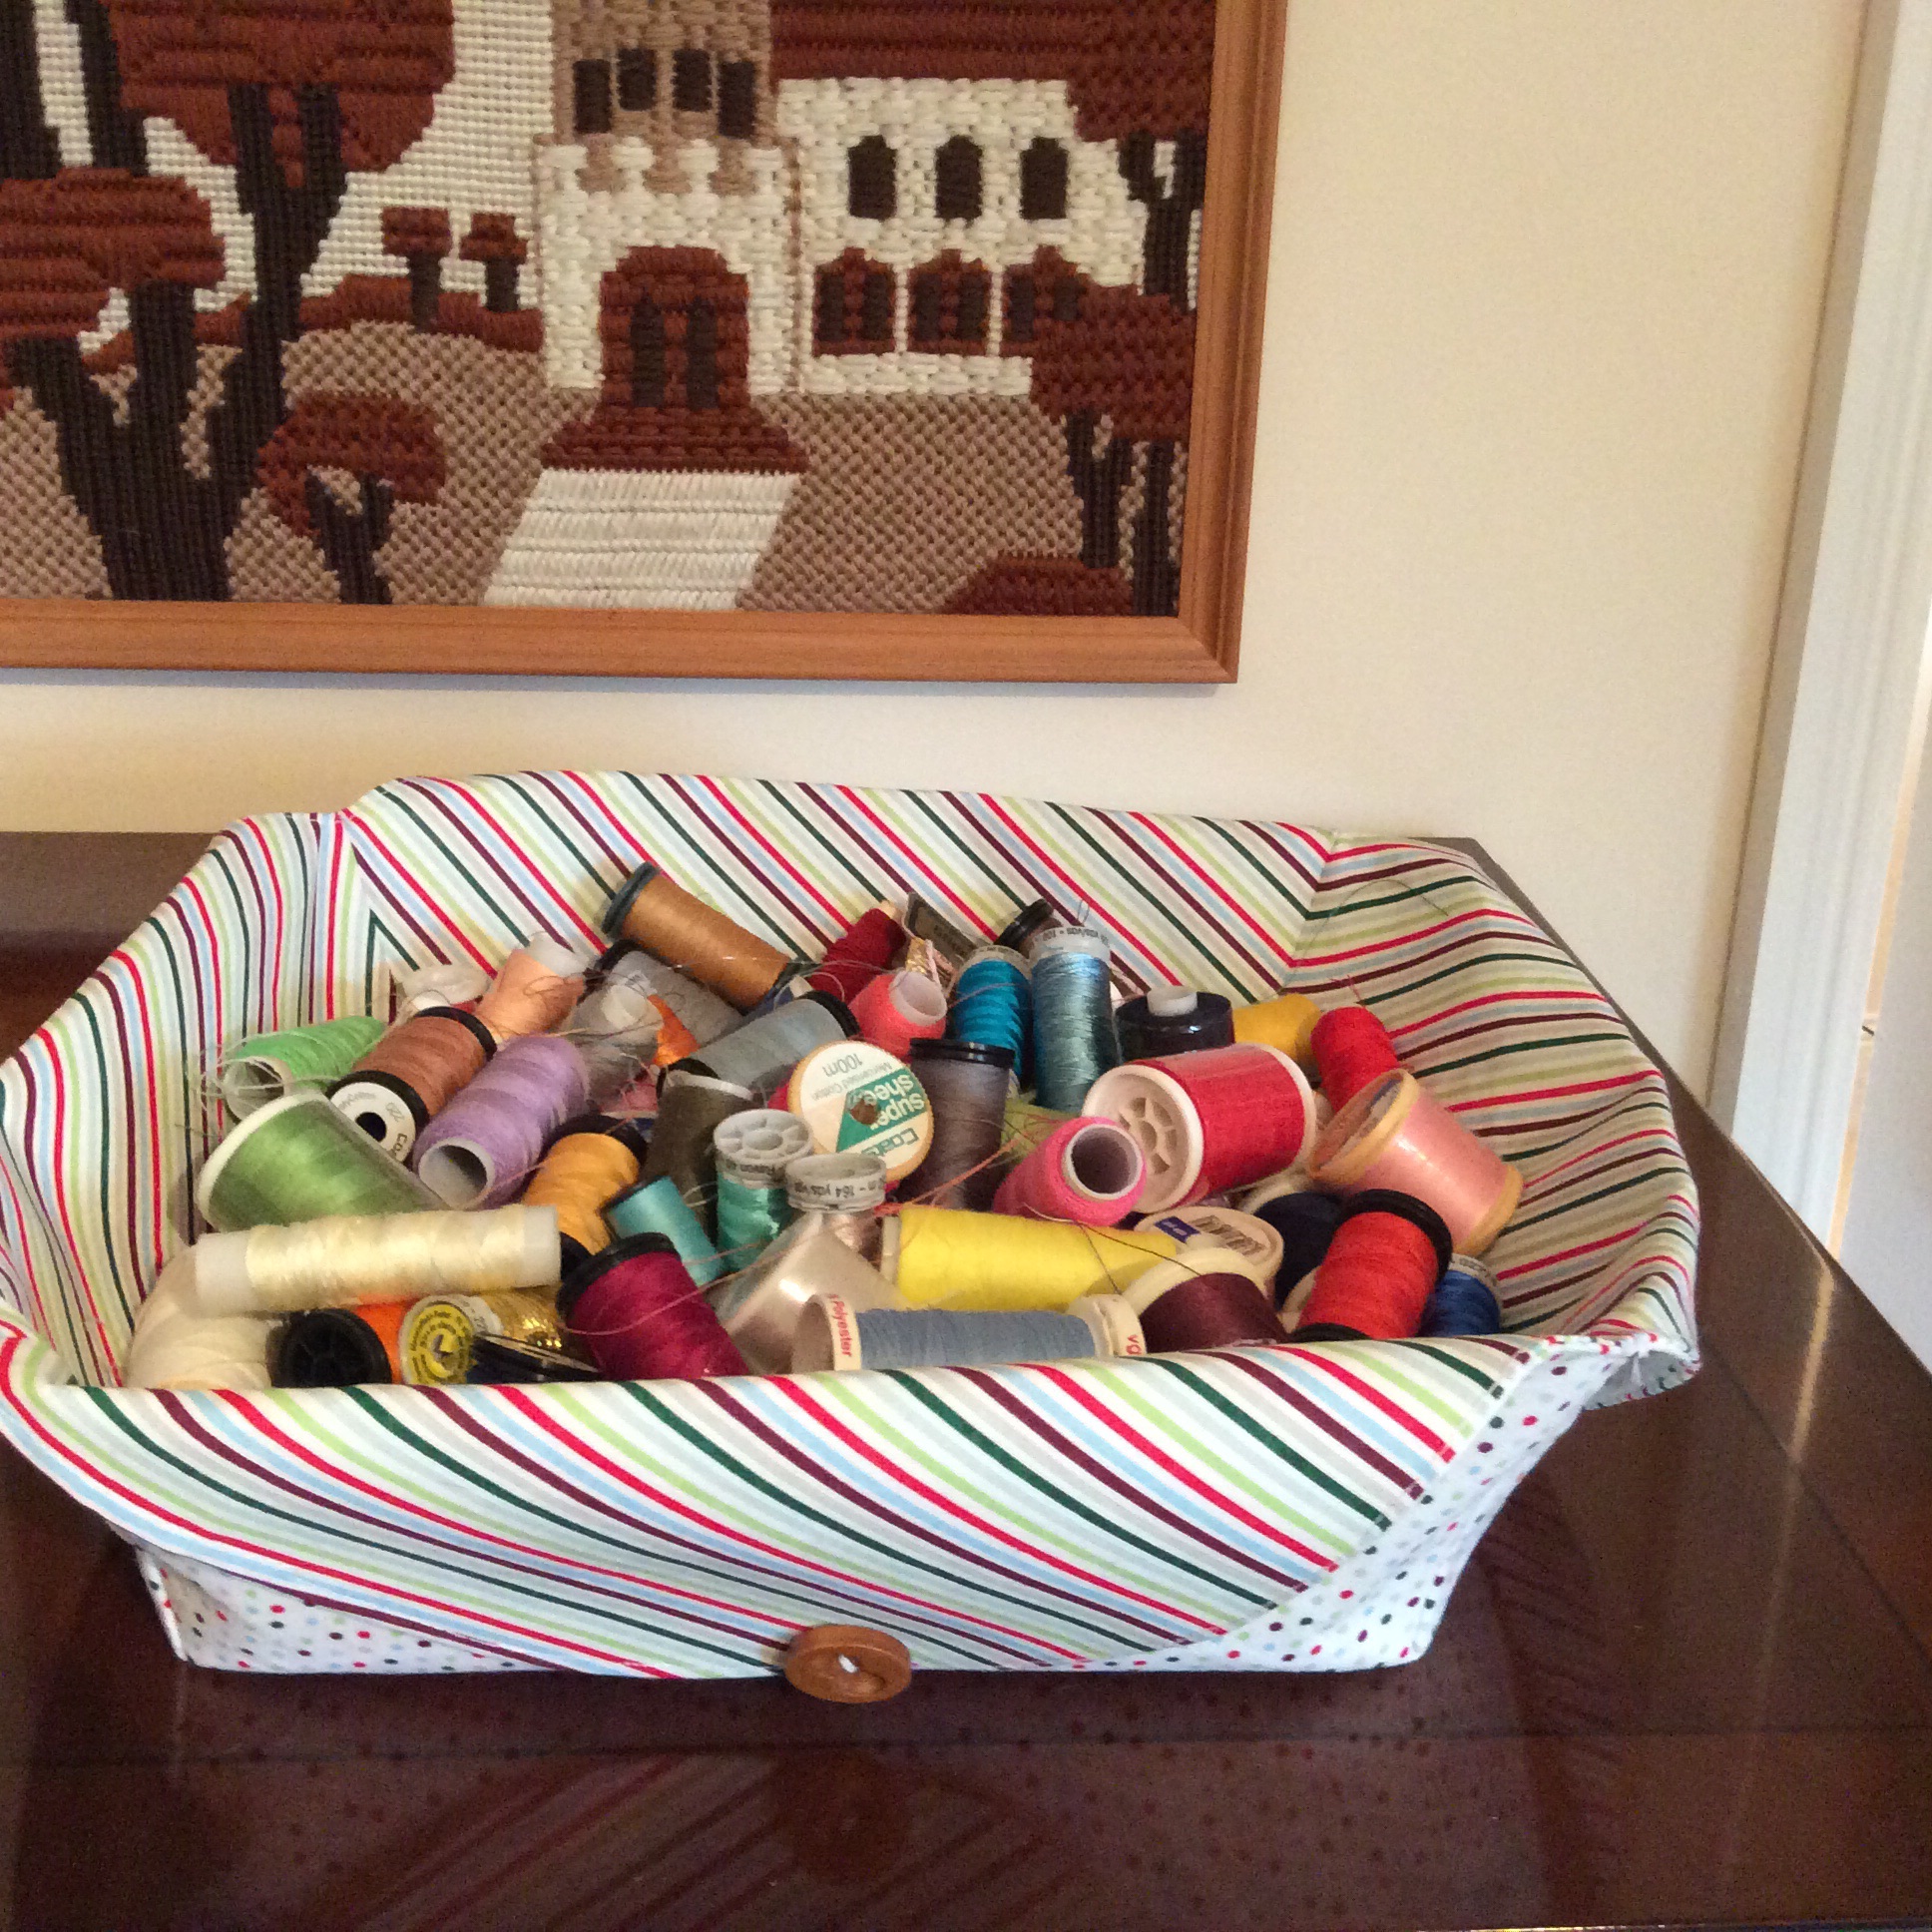
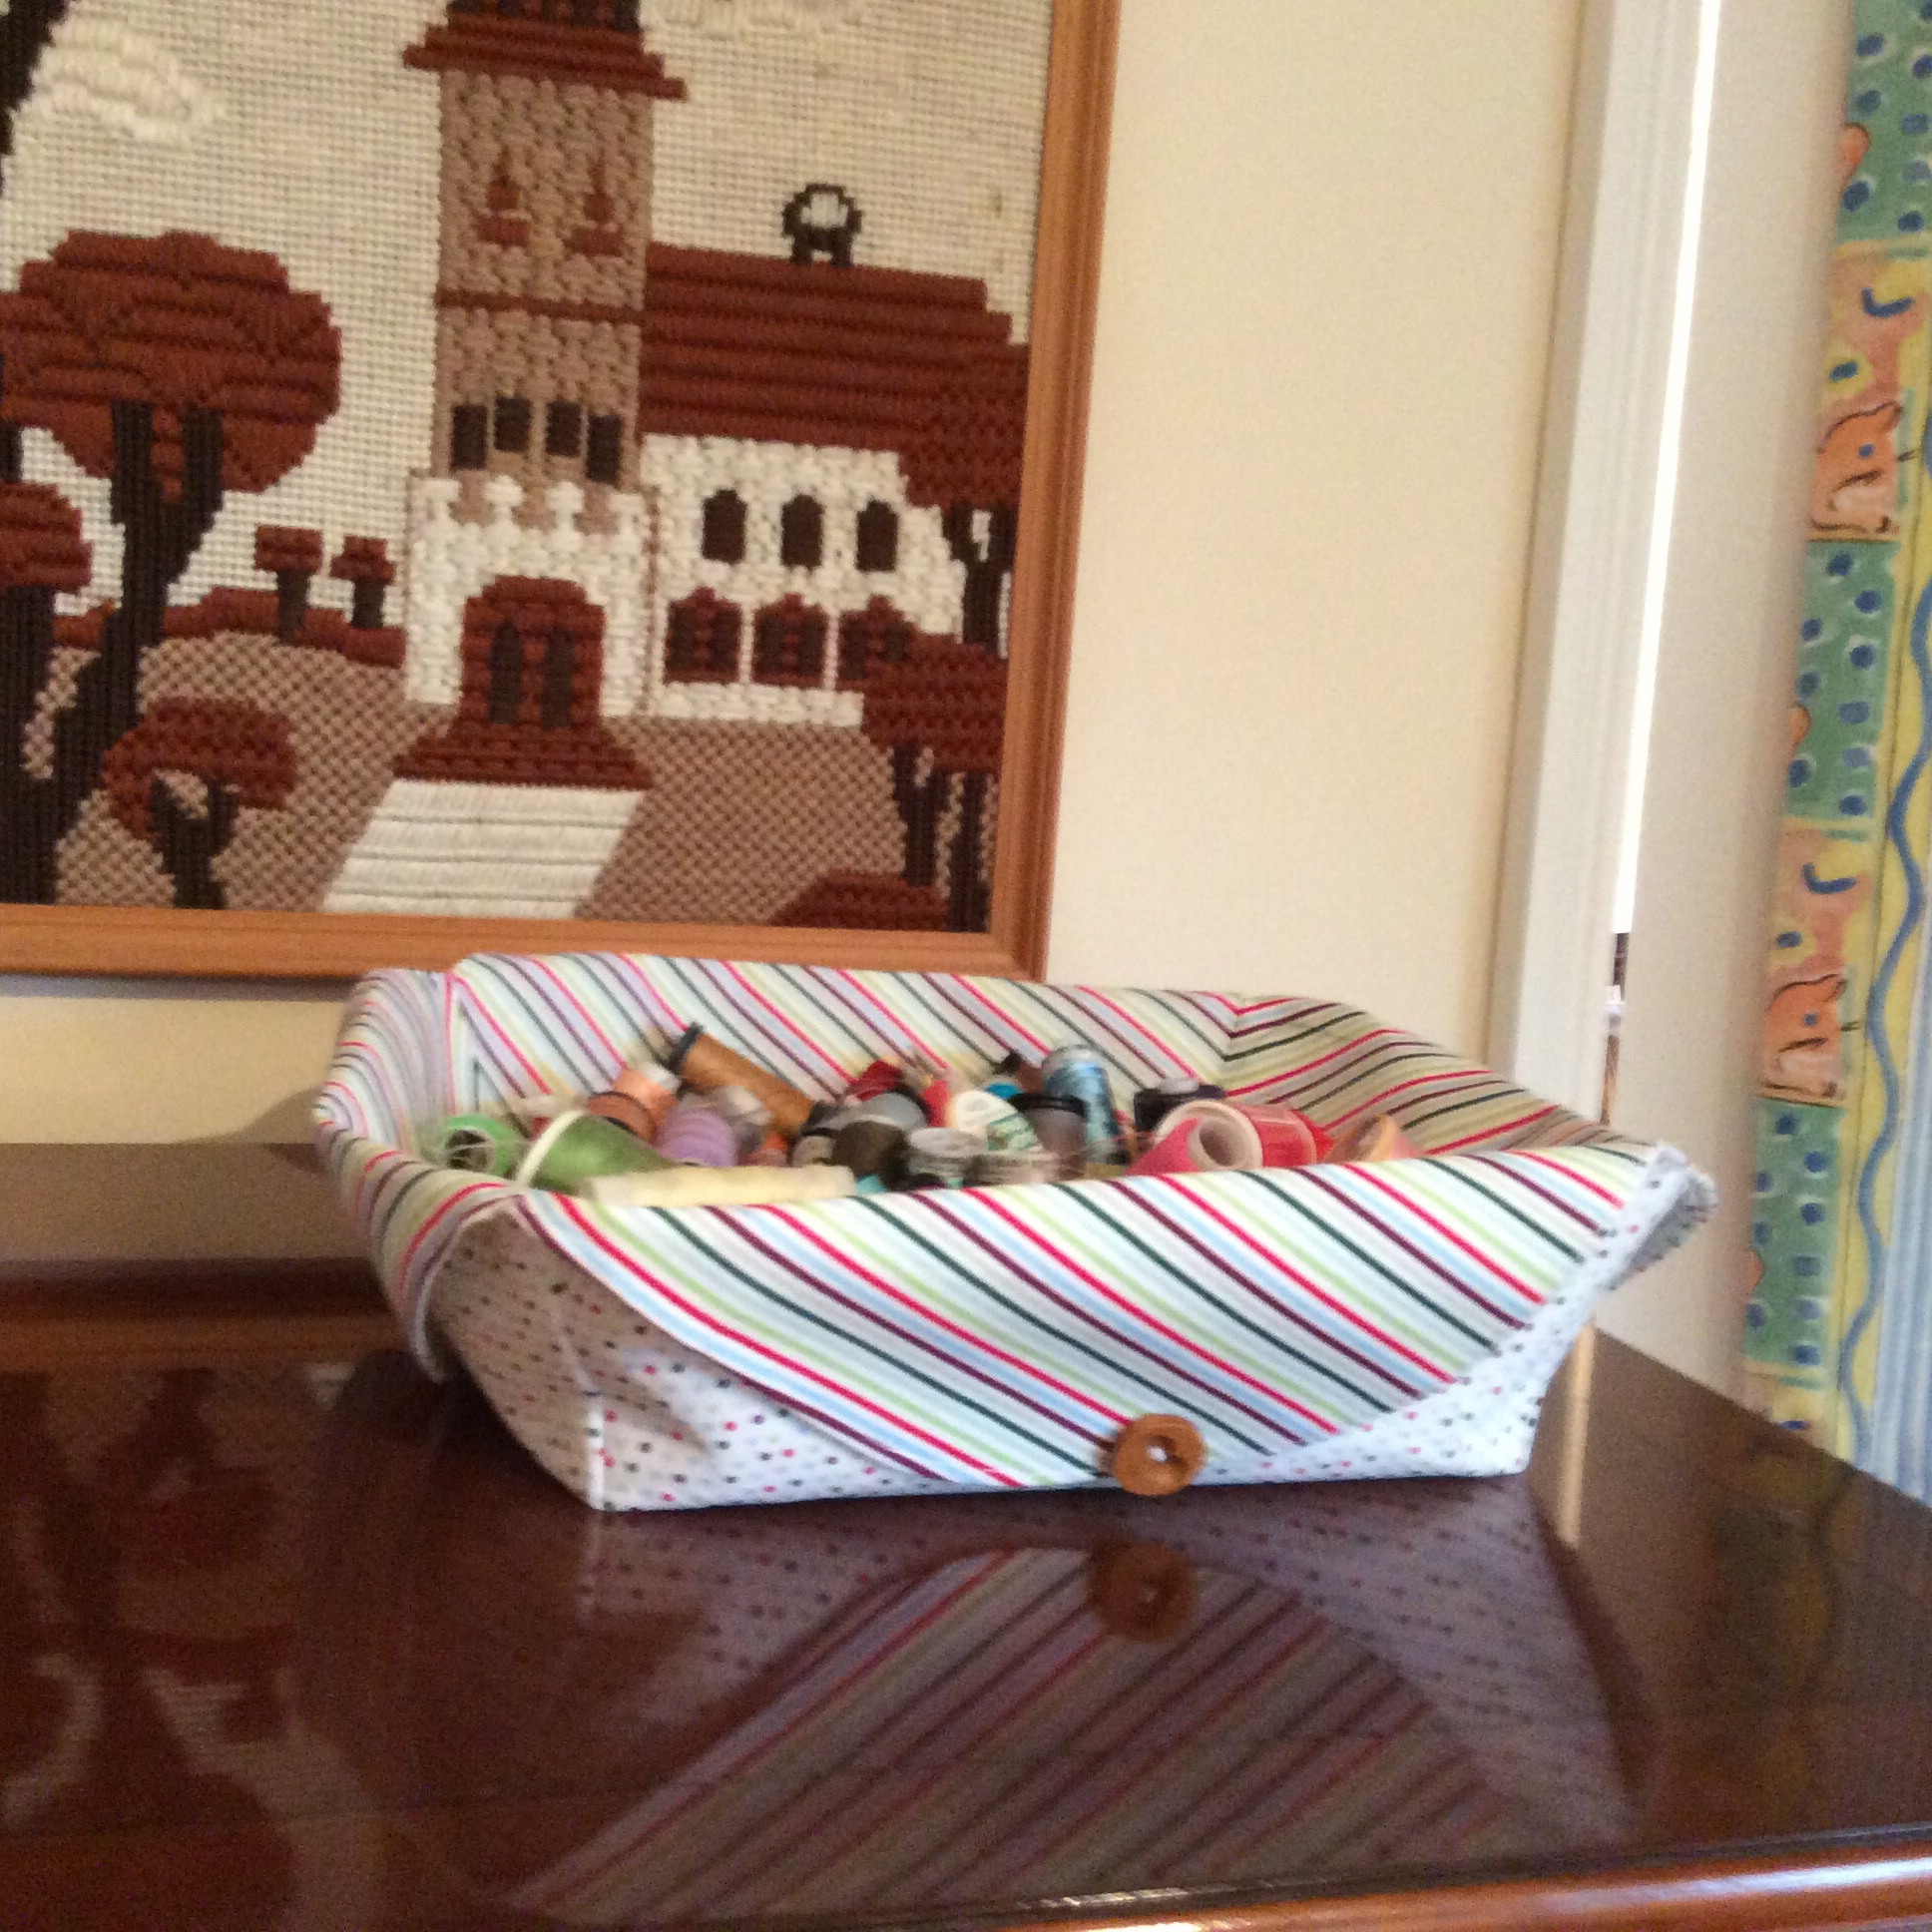
result: love this with contrasting fabric which makes it reversible. so far one bread basket suitable for 2 people (10 inch squares) and one (18 inches) now my cottons basket.

method- take two squares of fabric, back with heavyweight interfacing and iron neatly.

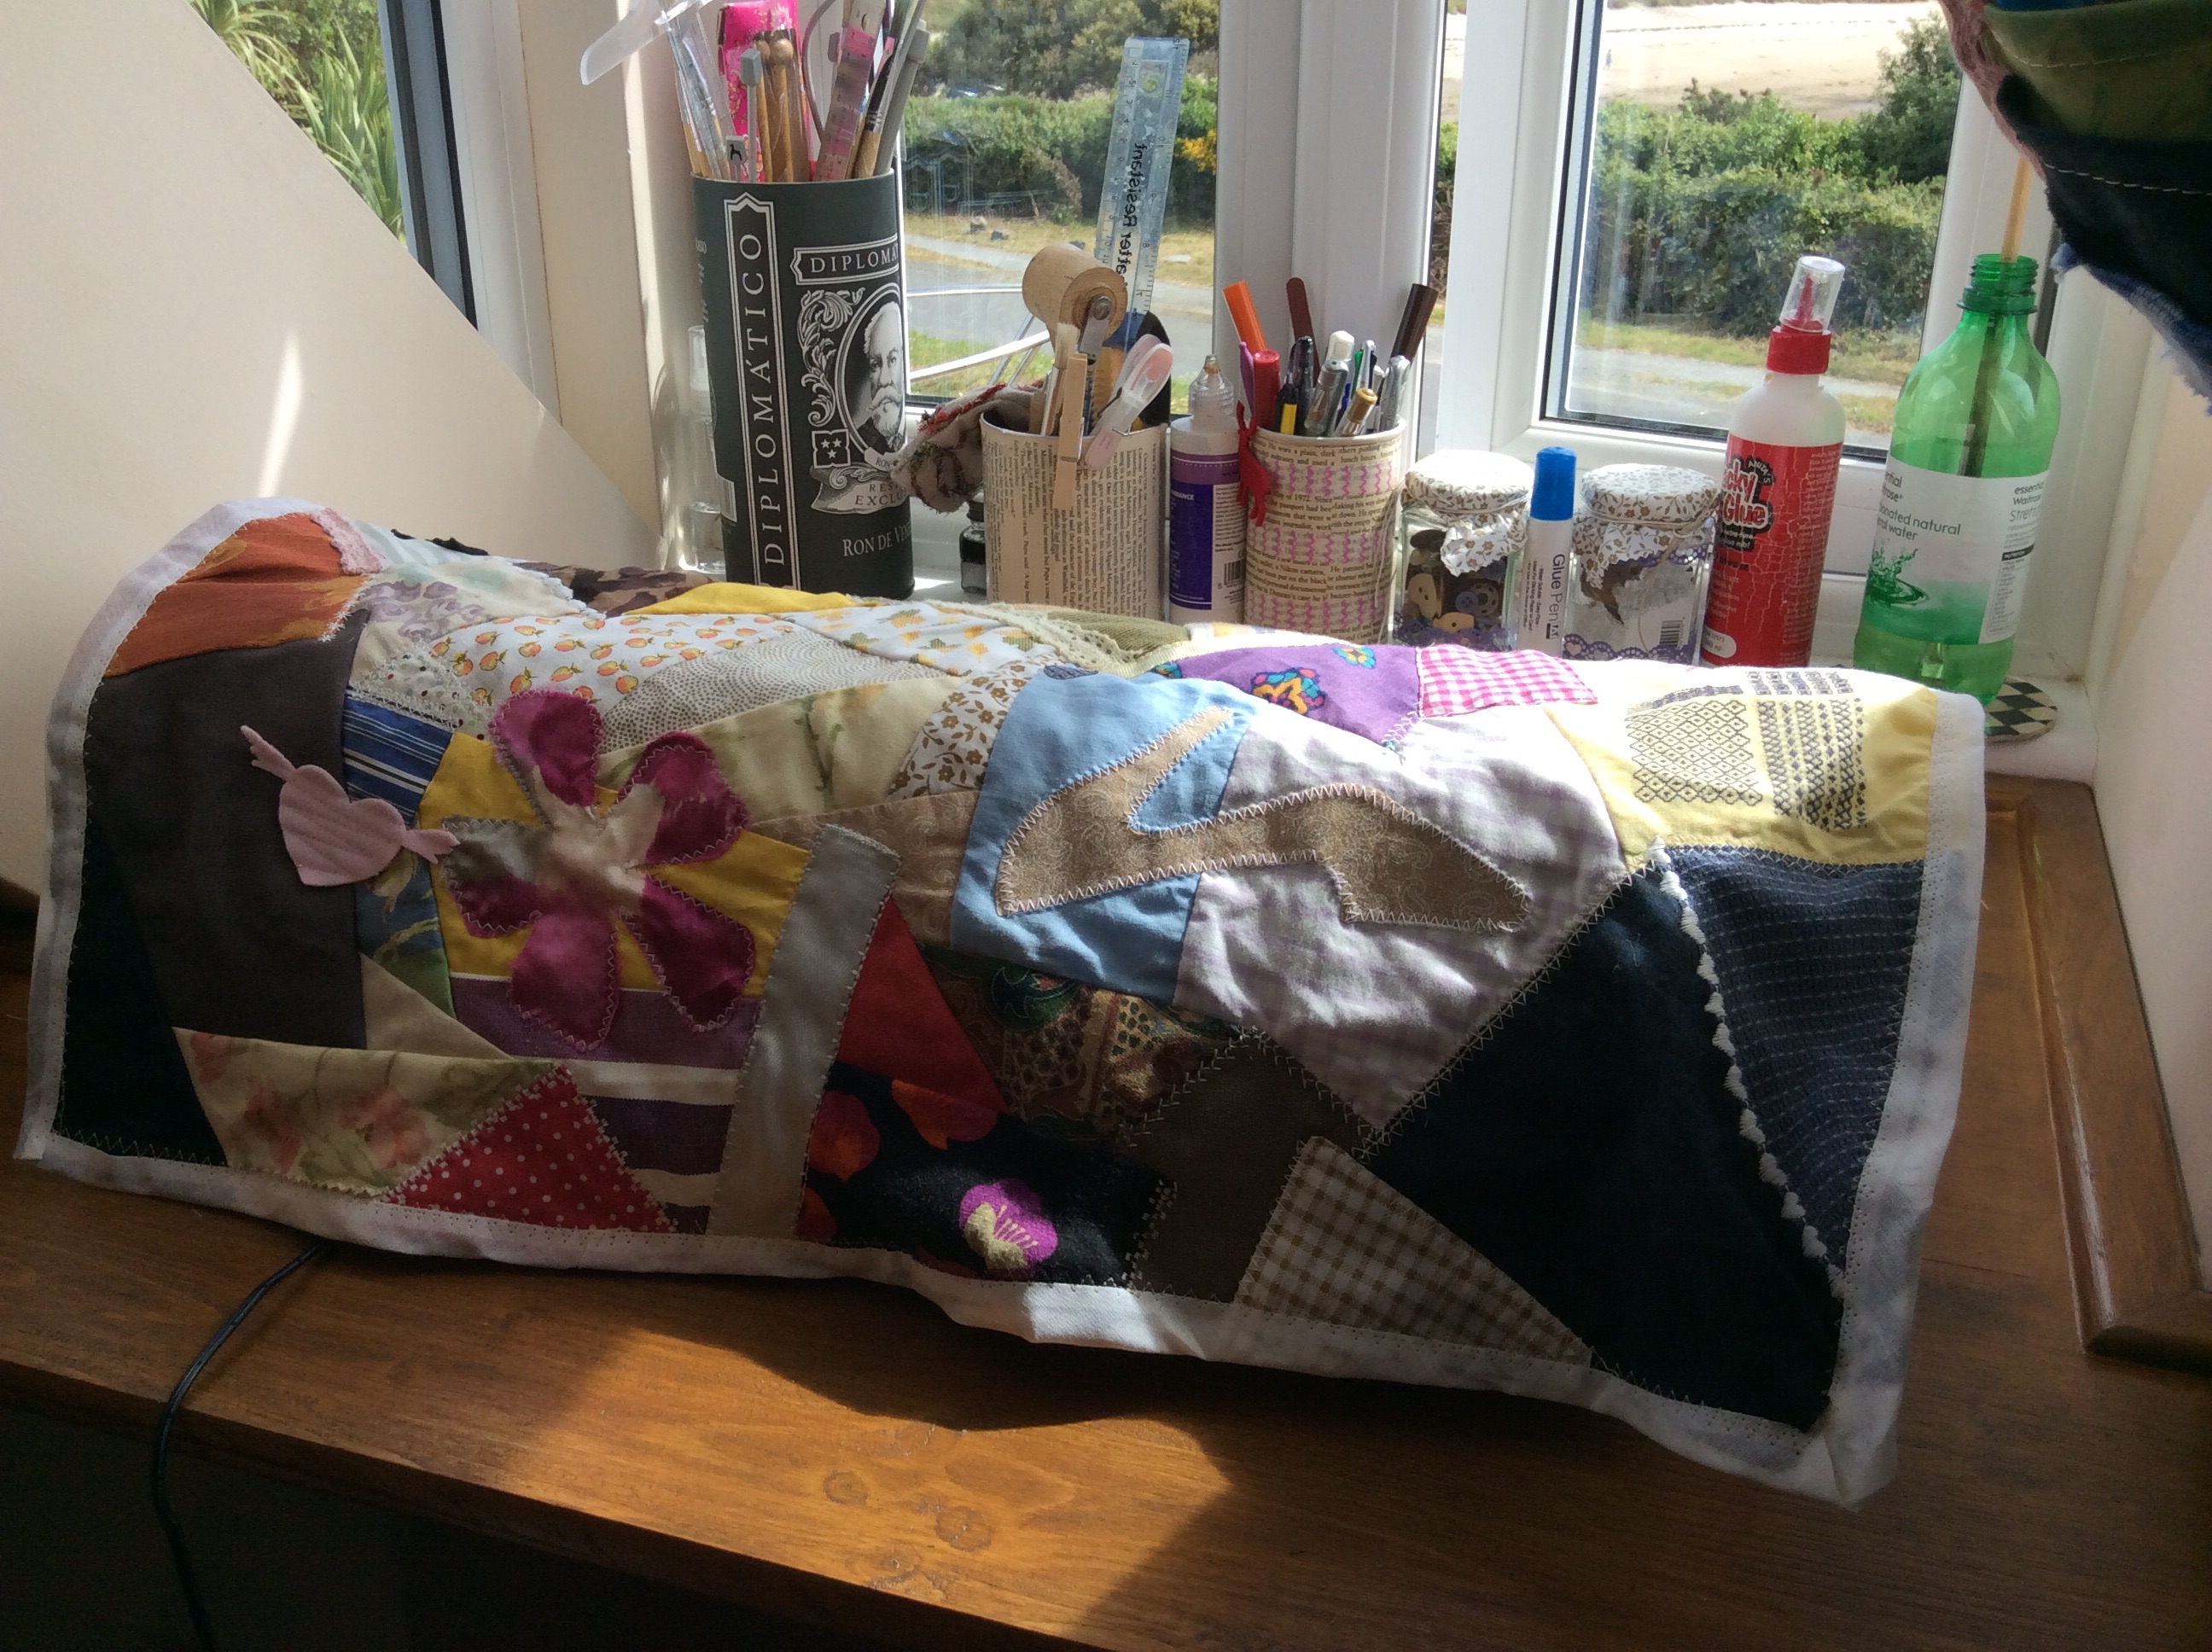
draw darts midway each side – for the large one mine were three inches deep and three inches wide.

image

Sew each dart so it pulls the fabric into bowl shape then, with right sides facing, stitch the pieces together leaving a gap for turning. Turn right sides out, iron to tidy the edge and top stitch to neaten and close the turning gap.

For or the large one I also rounded the corners before I drew the darts using a plate as a template  and at the end stitched a button on each flap. Other variations to follow, love this practical make.


A chic’n cheap dog bed

As doggy outgrew his favourite bed and declined to use the giant pillow we bought him,  I decided to make a new one out of what we had around. A faded Indian cotton throw, a large IKEA pillow pad and  old duvet (world is mad when it is cheaper to buy a new one than get it drycleaned) filling.

Method:make a ‘pillow case’ for the base pillow. make four smaller pillow cases, one  for each side of the base leaving half of a narrow end open for stuffing. sew one  long seam of each of the four smaller pillows to the base  case. stuff as firmly as you can and insert the base pillow in. hand sew  the opening of the pillows closed and then hand sew the short ends of the smaller pillows together . This  pulls the four sides up and together around the base.

Success – he loves it! So much that another one made with the same set of materials.

IMG_0468


Dog coat

image
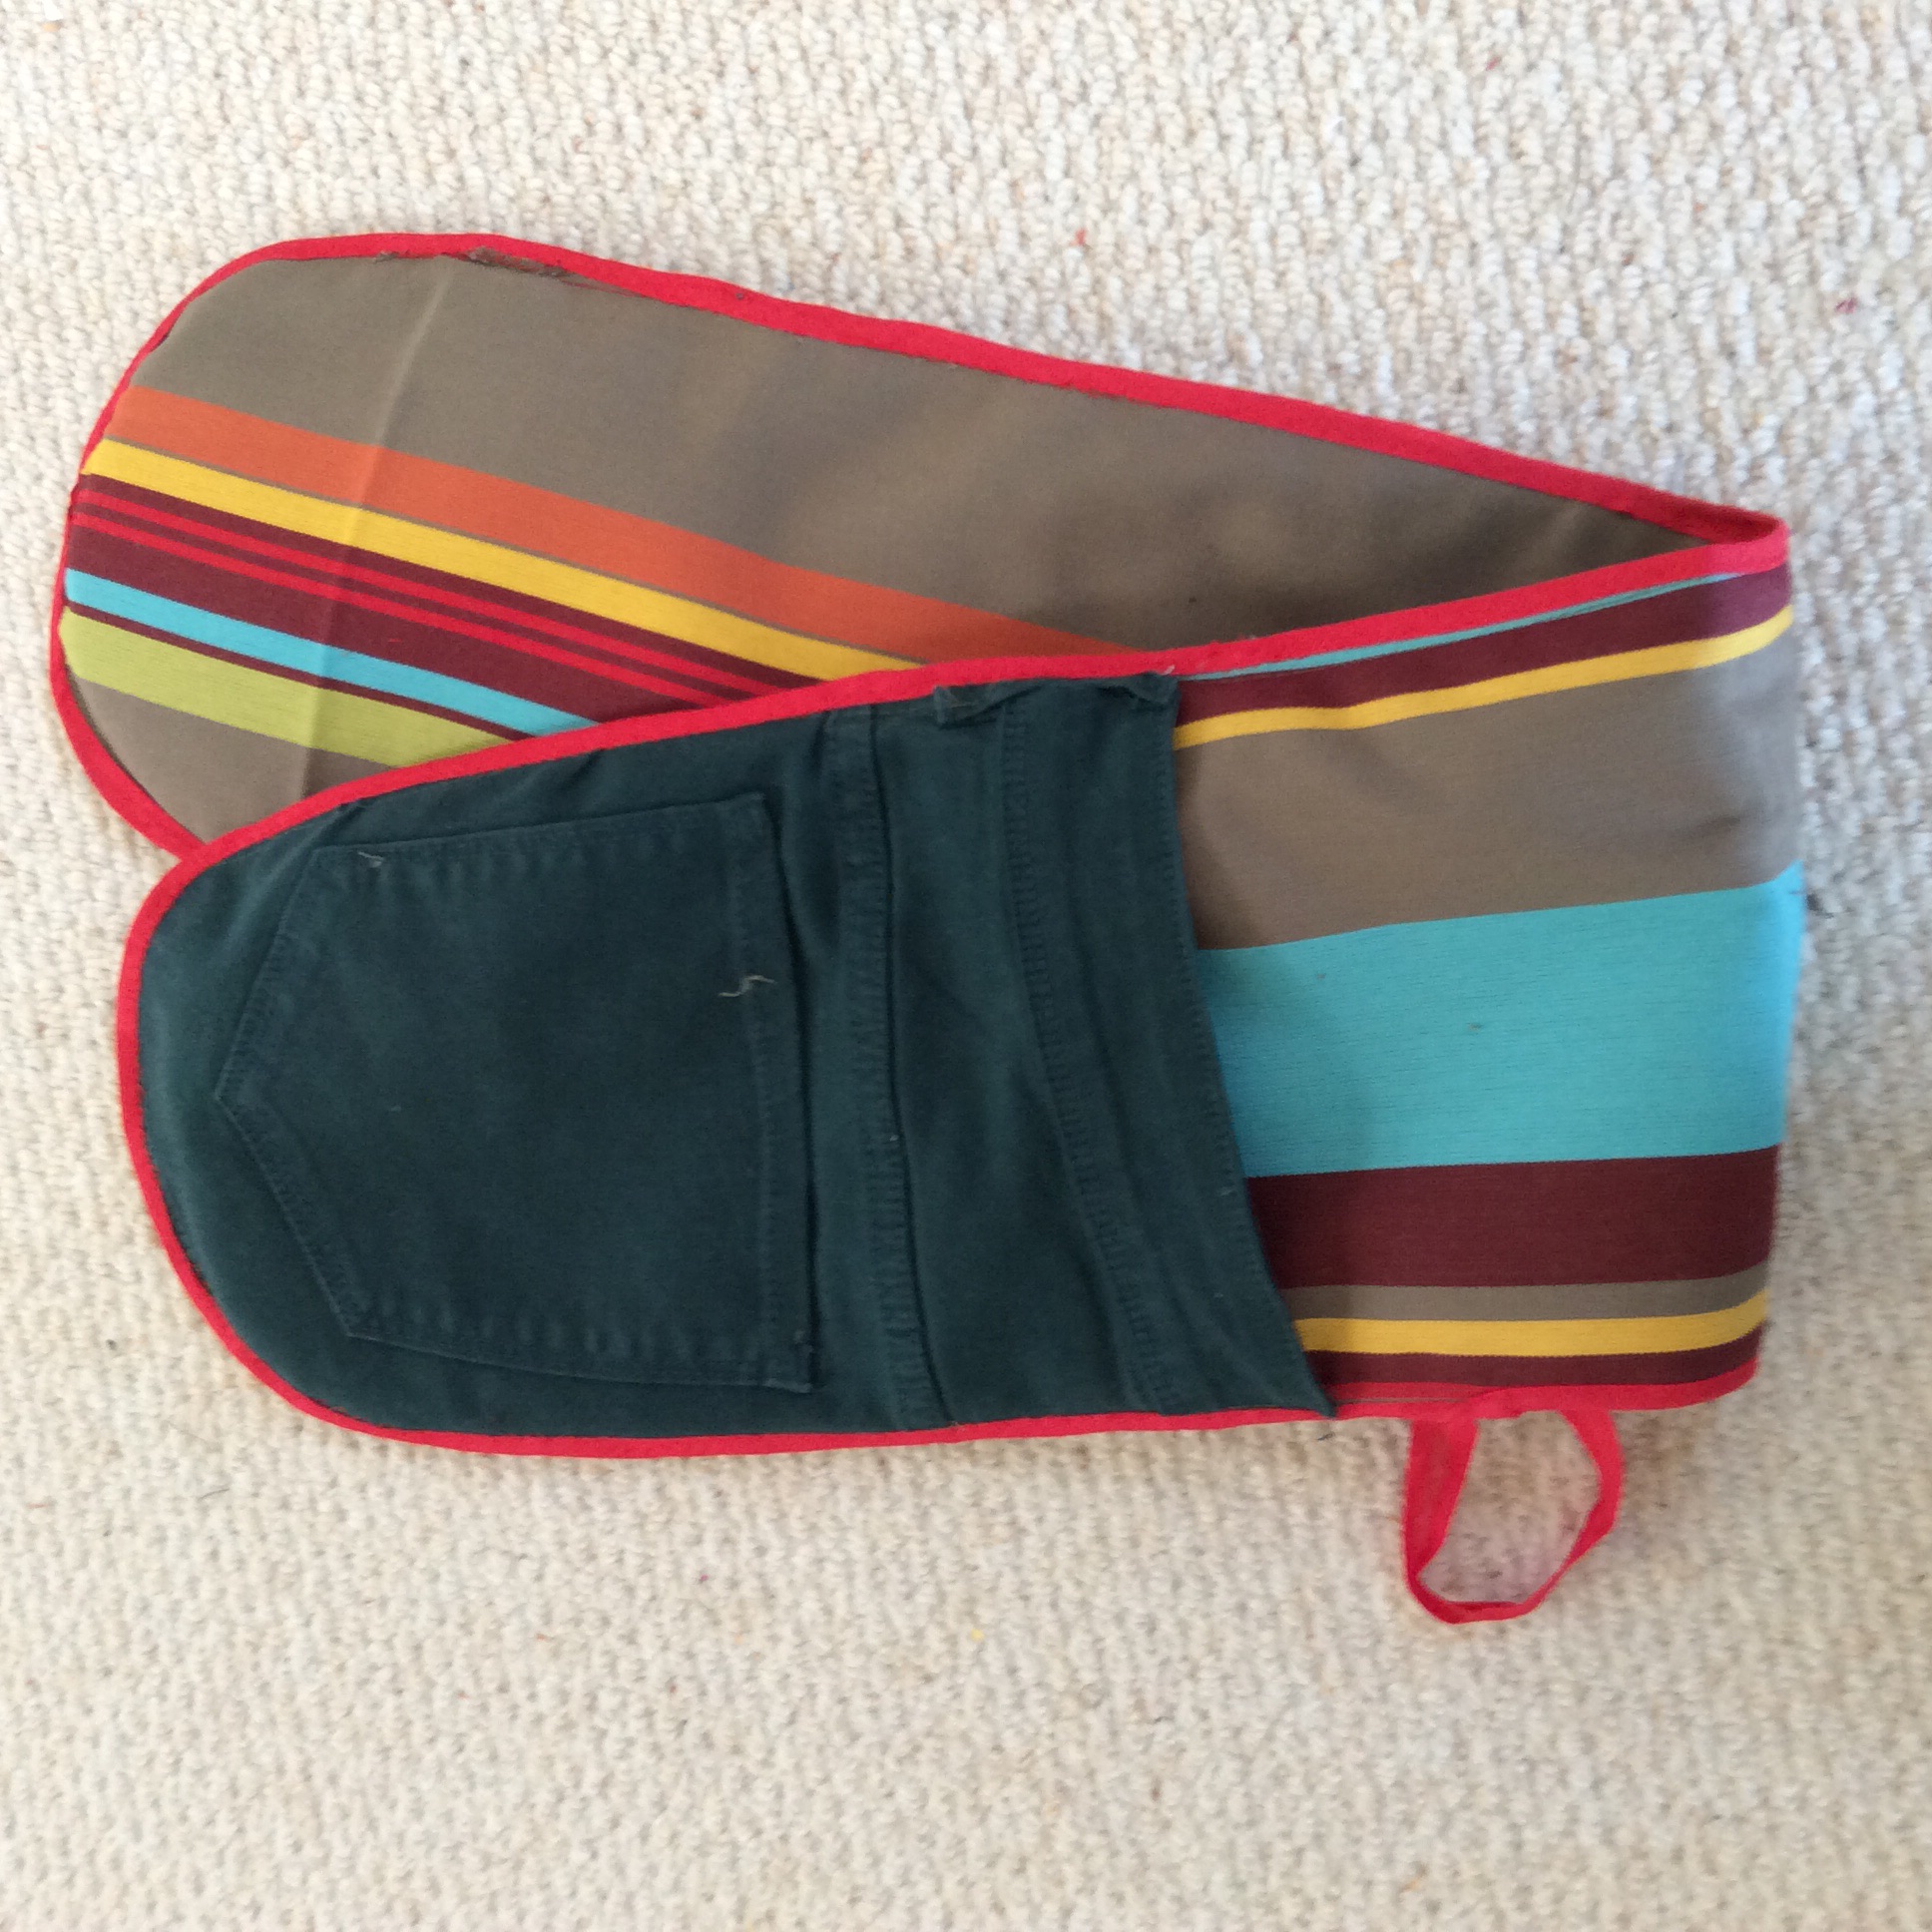
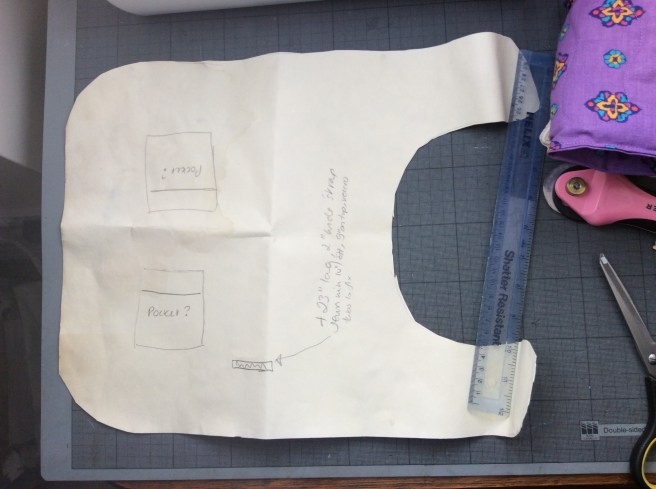
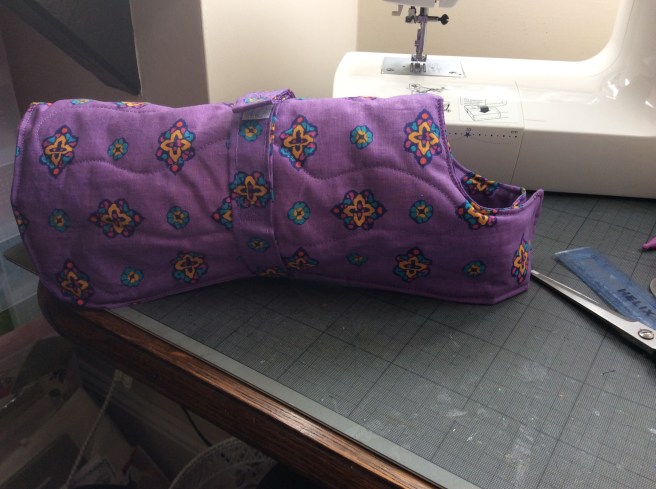
the most expensive dog coat turns out to be the easiest pattern to copy, just traced.


to fit Harvey this is 12.5 inches wide, 11.5 inches back to neck, 17 inches back to end of each tab

image

Method: use pattern to cut two fabric shapes and a 23 inch long four inch wide strip. Quilt wadding to the reverse of one shape then sew shapes wrong side together, leaving a gap to turn. Top stitch the edge, this also seals the turning gap. Iron the strip in half then turn in each edge to make a four ply strip . Top stitch along each edge and fix as on pattern.

once checked on doggie for fit,  affix Velcro tabs on neck and on strip. Now just waiting for the reflective tape to arrive, so his night time walks are warm and safe.


Cornered!

thanks to a great you tube tutorial from fabric junction, I have mitred corners on these place mats

imageBy pinning the centres of two proportionate rectangles and carefully marked boxes in the corners of my top fabric, it worked!

now, shall I make some napkins with the  remnant?

don’t  tell my mum, this is the home made part of her present